
We noticed you are blocking ads. DO THE TON only works with community supporters. Most are active members of the site with small businesses. Please consider disabling your ad blocking tool and checking out the businesses that help keep our site up and free.
You are using an out of date browser. It may not display this or other websites correctly.
You should upgrade or use an alternative browser.
You should upgrade or use an alternative browser.
Huge new project underway!
- Thread starter Tim
- Start date


Mortikan
Coast to Coast
what did that poor room ever do to you but take your shit for the past few years. and this is how you thank it.
that is some pretty funky red check paper you got going on. maybe that should have been your theme for the bike.
someone with photo shop can you please take tin bike and put that red checked paper that is peaking though on his bike so we can all see.
it's almost "gansta" like something from Dolce & Gabana
And if you keep up thid kind of posting we will have to report you to the admin. we see enough of this at home. I don't need to see this at work.
come on
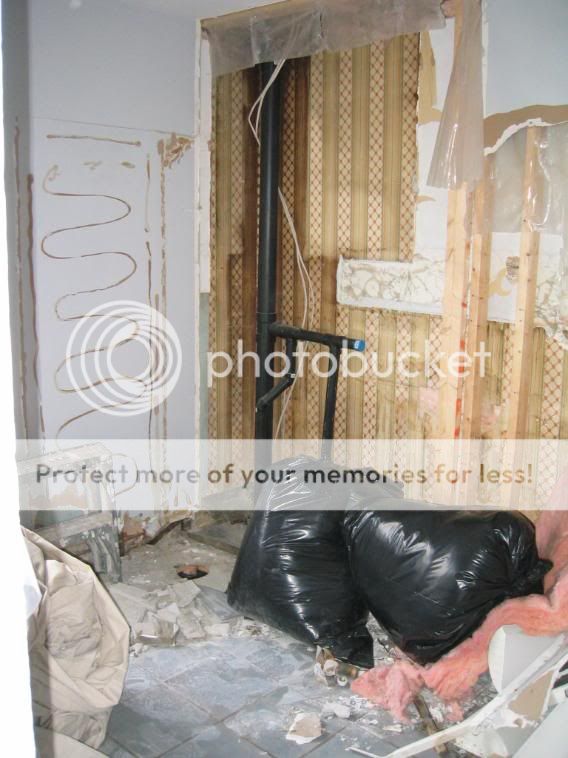
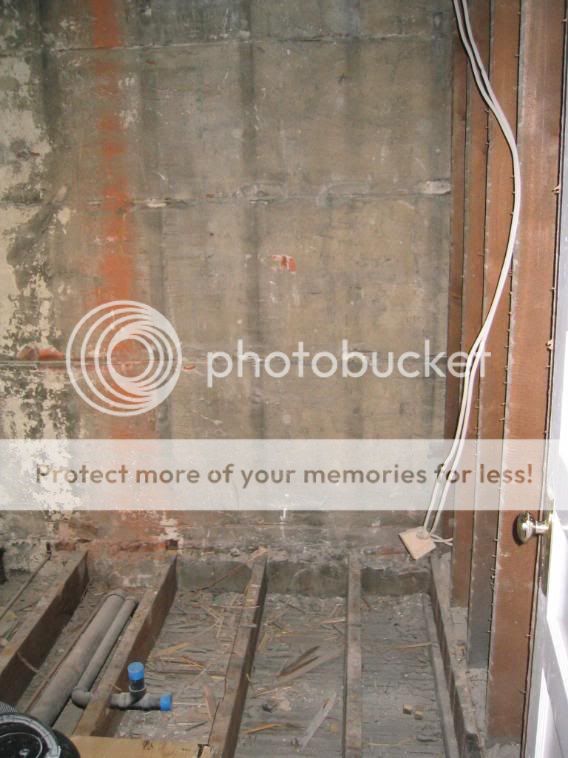
Looks like you are in the same exact boat I was in this winter! I too had to go down to the studs. My plumbing gave out and destroyed the ceilings in two of the rooms below it. I installed all new plumbing/soil pipe and rewired the entire upstairs. The drywall is hung and finished in all the effected areas, the paint will happen this comming week, then its flooring and trim. Now let me stress: I do not like doing home improvements but I had no choice. My bike sat untouched all winter.
Josh
Josh
TonUpSoldier
bad assed, super fast and fully gassed
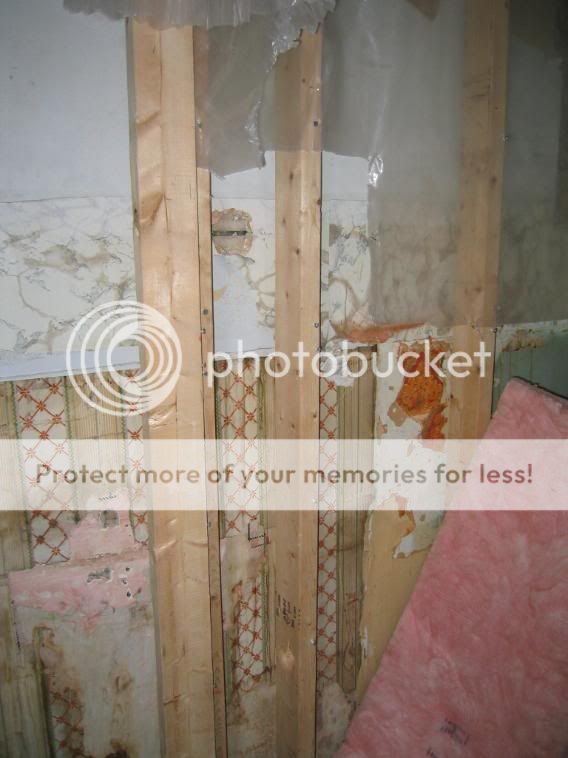
Wow! They still use black iron or glavanized for plumbing up there? Thats crazy! Having done about a billion of those bathroom mods, i can say you have your hands full, but from your choice in wares, she's gonna be a beaut ") Drywall shims, they're your BEST friend...
Drywall shims, they're your BEST friend...
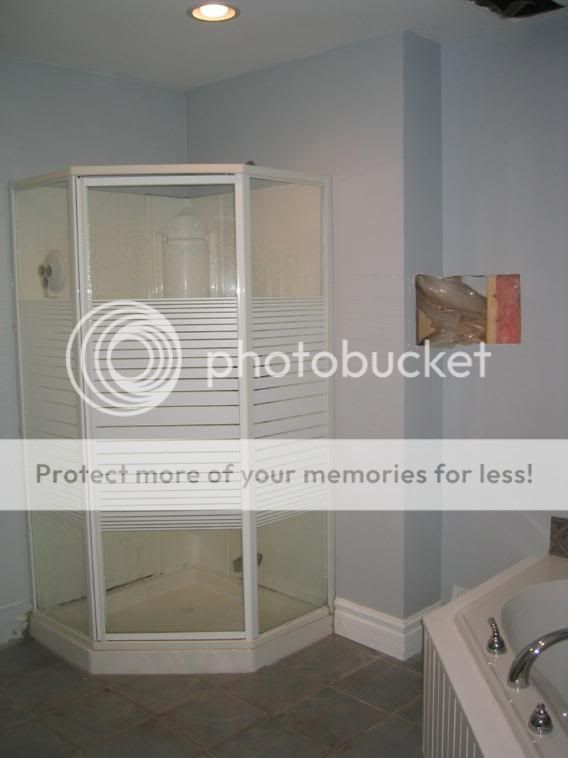
Drywall shims, they're your BEST friend...The only real work I'm doing on this project is writing lots of cheques. I finished my 400 sq ft. basement on my own, including a powder room. That was enough reno for me, and this is the only other bathroom in the house (i.e. no other shower/tub) so it has to be done QUICK!
Work began Wednesday and the shower (which I am installing) should be in Sunday afternoon. It gets drywalled next week with tile to follow later in the week/next weekend. Should be about 10-14 days start to finish.
Work began Wednesday and the shower (which I am installing) should be in Sunday afternoon. It gets drywalled next week with tile to follow later in the week/next weekend. Should be about 10-14 days start to finish.
Nope. I've seen you demolish things. My brick walls are only 18" thick - not sure they're up to your hammer swinging enthusiasm
Got a very good carpenter on the case. He's doing all the demo and then bringing it back to subfloor / drywall (which will all be blueboard including the ceiling). Little bit of framing on the exterior brick walls as well. He doesn't do electrical or plumbing, but got one guy who's a licensed plumber AND electrician. He's coming tomorrow morning to do the plumbing moves, install the shower valve and bits of electrical (6 new low-voltage recessed lights, new Panasonic fan, move wall sconces, move GFI outlet, run wire for heated floor).
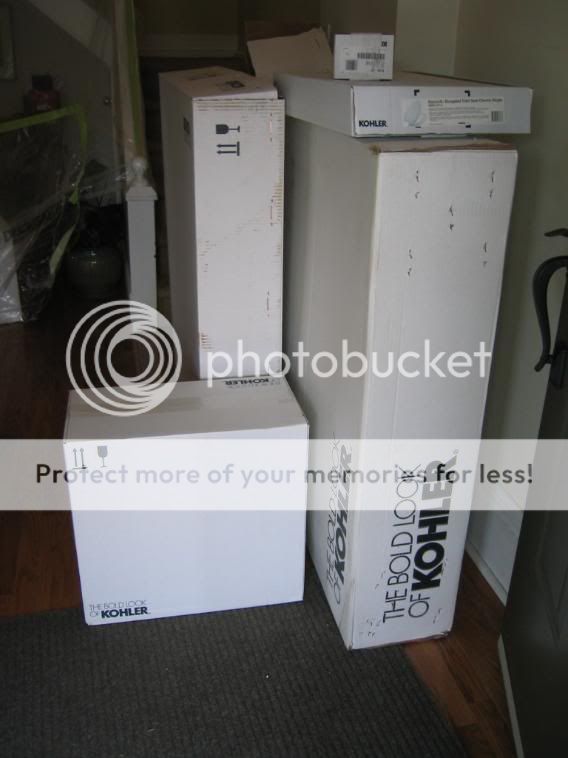
Then on Sunday I get to install the Kohler corner shower unit.
On Monday my carpenter's back to finish off the subfloor, insulate, vapour barrier and hang the blueboard. Then I get to install the heated floor system, which consists of laying a long wire down on the floor covering off the area I want heated spaced 3" apart. Then my tile guy comes in, lays thinset on the cables, lets it set, then lays the 90 sq ft of marble. Then the carpenter will come back and install the beadboard around the room.
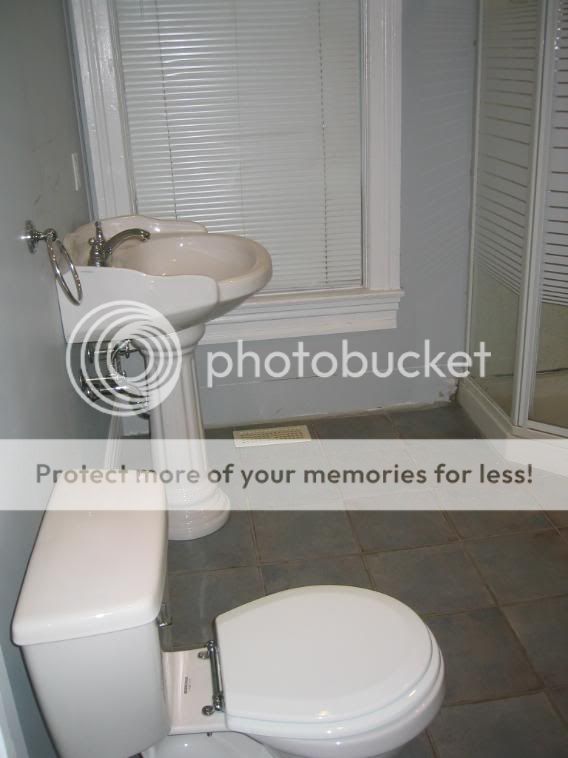
Lastly I get to install the toilet, sink and clawfoot tub.
At least that's the plan. Should take another 10 days I figure. Just in time for the mother-in-law to come and complain about how much money I just spent.
Got a very good carpenter on the case. He's doing all the demo and then bringing it back to subfloor / drywall (which will all be blueboard including the ceiling). Little bit of framing on the exterior brick walls as well. He doesn't do electrical or plumbing, but got one guy who's a licensed plumber AND electrician. He's coming tomorrow morning to do the plumbing moves, install the shower valve and bits of electrical (6 new low-voltage recessed lights, new Panasonic fan, move wall sconces, move GFI outlet, run wire for heated floor).
Then on Sunday I get to install the Kohler corner shower unit.
On Monday my carpenter's back to finish off the subfloor, insulate, vapour barrier and hang the blueboard. Then I get to install the heated floor system, which consists of laying a long wire down on the floor covering off the area I want heated spaced 3" apart. Then my tile guy comes in, lays thinset on the cables, lets it set, then lays the 90 sq ft of marble. Then the carpenter will come back and install the beadboard around the room.
Lastly I get to install the toilet, sink and clawfoot tub.
At least that's the plan. Should take another 10 days I figure. Just in time for the mother-in-law to come and complain about how much money I just spent.
Tintin said:...Just in time for the mother-in-law to come and complain about how much money I just spent.
If she's going to bitch about the bathroom for pete's sake DON"T show her the XS650 ;D
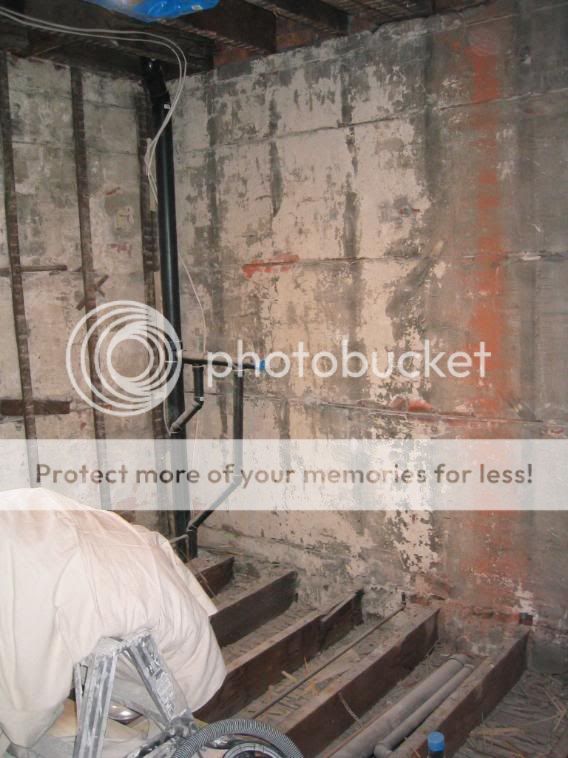
Well, the electrical and plumbing all got sorted today. Took two guys 10 hours, but it's all done.
6 new low-voltage IC recessed lights (one failed - need to pull it down and replace)
Moved wall sconces
Moved tub drain and supplies
Moved shower drain and installed new valve
Re-routed vent lines
Moved GFI outlet
Installed new ventilation fan
So tomorrow I get to clean up and install the corner shower pan and walls, and pull down the one bad light fixture. Monday we move to start closing everything up. Subfloor, vapor barrier, drywall.
Canuck Plumber
Badges? We don't need no stinking badges!
**a-hem** **cough cough**
I happen to know a plumber...
If you have any Qs.. drop me a line...
I happen to know a plumber...
If you have any Qs.. drop me a line...
Could've used you today! All the plumbing is thankfully now complete. Only thing I was wondering was what specifically the purpose of those extra lengths of copper some people put on the supply lines to a shower valve. Something about knocking pipes? Just capped sections of copper extending from a T where the valve is connected.
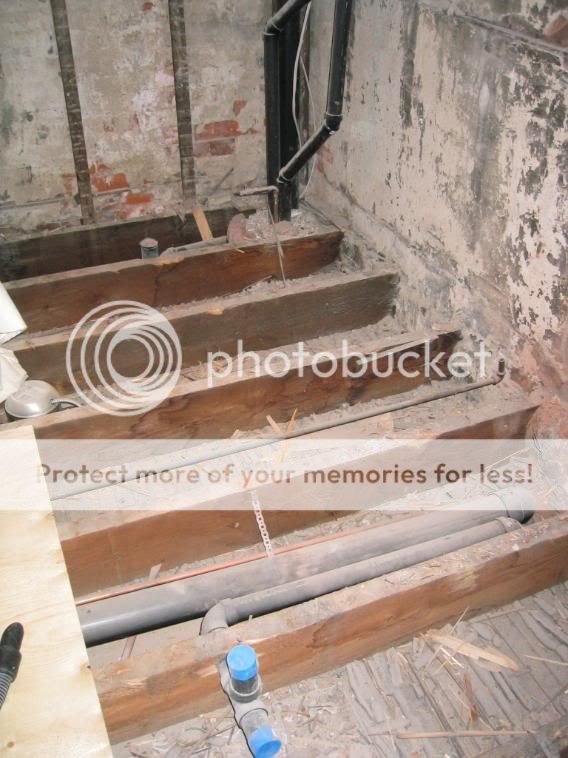
Also, while everything I read says 12" rough-in for a toilet flange, mine is currently at 13.5". I migth move it, as I don't want my Kohler Bancroft toilet sitting abnormally far from the wall. We're doing beadboard, which will add 1/4" or so to the finished wall, so I was thinking 12.25" would be the right rough-in.
Also, while everything I read says 12" rough-in for a toilet flange, mine is currently at 13.5". I migth move it, as I don't want my Kohler Bancroft toilet sitting abnormally far from the wall. We're doing beadboard, which will add 1/4" or so to the finished wall, so I was thinking 12.25" would be the right rough-in.
Tintin said:Could've used you today! All the plumbing is thankfully now complete. Only thing I was wondering was what specifically the purpose of those extra lengths of copper some people put on the supply lines to a shower valve. Something about knocking pipes? Just capped sections of copper extending from a T where the valve is connected.
Also, while everything I read says 12" rough-in for a toilet flange, mine is currently at 13.5". I migth move it, as I don't want my Kohler Bancroft toilet sitting abnormally far from the wall. We're doing beadboard, which will add 1/4" or so to the finished wall, so I was thinking 12.25" would be the right rough-in.
The extra length is basically a pneumatic shock absorber... the shock of the initial water flow compresses the air in the pipe and takes the shock. You can buy special pieces but they contain a rubber diaphram that you can melt during soldering...just use 12" of vertical pipe off a T fitting and an elbow. If the pipes start knocking in the future you drain the system and the absorber resets with air. And make sur eyou pressure test the system before you drywall... made that mistake once and that was the one time I had a pinhole in a joint... never made that mistake again!
13.5" from the stud will give you 3/4" extra rough in... 1/2 for the drywall and 1/4 for the beadboard leaving 12 3/4" Double check in the installations for the Kohler. Moving the flange back may be a pain now but it's impossible later.
Canuck Plumber
Badges? We don't need no stinking badges!
As noted by CanadaDan. The extra copper is exactly as he mentioned; for water hammer... personally I don't put them in. You won't get water hammer unless you shut the water off very quickly.. even then... As well... (I sense another plumber in our midst) the distance between finished wall and the centre of the flange should be 12". (12.5 from stud and keep in mind even further if your adding wall tile). I got caught on this with a 1200 dollar Kohler San Raphael one piece toilet.. I assumed the rough in was 12 inches.... NOPE! 10 inches.... ended up with a Toto and a 10 inch rough in converter and a toilet I can't return. Ouch!
So... CanadaDan.... pop quiz... Quick! What is the maximum distance you can run a 1 1/2 trap arm? (lol kidding)
So... CanadaDan.... pop quiz... Quick! What is the maximum distance you can run a 1 1/2 trap arm? (lol kidding)
Good stuff - I want to cut the flange out as I'm putting down 3/4 ply glued and screwed. Right now the flange is on it's own tiny little piece of plywood which for some ungodly reason has a 1/4 layer on the bottom and 3/4 on top. I'd rather it were very very solid, seeing as it supports a lot of weight.
So I'm going to cut the 3" line and put a new flange in at 13" from stud. We're putting on 1/2 blueboard and then beadboard which will add about 1/4 inch.
BTW, if you mean the max distance from the main stack without a separate vent for the drain, isn't it 5 feet for 1.5" drain? We only have one of those, and it's about 2-3 feet from the stack.


