Follow along with the video below to see how to install our site as a web app on your home screen.
Note: This feature currently requires accessing the site using the built-in Safari browser.
We noticed you are blocking ads. DO THE TON only works with community supporters. Most are active members of the site with small businesses. Please consider disabling your ad blocking tool and checking out the businesses that help keep our site up and free.
Easiest way is to check it after the bike is running by using a strobe light to check timing, but seeing as how your bike isn't running right now, just make sure it's not rusted shut or anything.
You'll need to take off the points cover and then remove the points. There will be a single bolt on the end of the cam that needs to come off. The advancer can then be removed. Twist the shaft of the advancer and then weighted outsides should slide in and out. If you're not getting any movement in the weights you'll want to disassemble the advancer and then clean and lube it.
Matt's correct, but I would suggest that you first mark the points plate position so it can go back in the same place. Then twist the cam with your fingers. Does it rotate against spring pressure and spring back or are the springs all soft and saggy. Is there a lot of free play because the springs are stretched or does the cam snap back with no hint of looseness?
If it's all sticky or rusty or sloppy, that's the time to remove that one central bolt that Matt mentioned to remove the mechanism and clean or repair it.
I've taken the carbs off and disassembled them. Left side float had some fluid in it, not a ton, but I could hear a drop or 2 shaking around. On top of the 2 holes, it's dented and so I've decided to replace it instead of soldering it.
I also noticed this weird brown putty that has been applied to the inside/outside of the carb. Not really sure of the purpose, looks to be blocking a passageway. Pics:
Looks like JB Weld?
I don't remember any passageways in that location on 350 carbs, got pic of outside?
Anything inside float is bad news, replacing it is s a good idea
The complete advance mechanism looks like this, but yours will be either 369 or 312 (this is one I modified for a single points conversion on Yamaha XS650)
The rubber pieces (I believe these are the pilot jets?) are pretty hard. Can't find a replacement for them online without buying 2 gasket kits (already bought 2 rebuild kits that don't have these pieces)
The slow jet (what the pilot jet covers) appears to be stuck in the carb. I turn it, it rotates, but it doesn't get any looser or come out. Looks like I'm going to need to get a replacement here too. Is it possible that the threads got stripped (gut says no cause the threads are brass, but let me know).
Tonight I'm going to dip everything (not the rubber) into carb cleaner. I want to order these replacement parts asap and hopefully have everything sorted out late next week. If you know where to get that stuff, please let me know.
It's way more likely the jets have corrosion/oxidation on the ends and that's holding them in place, it's a real common condition
Remove the fuel screws and try an airline to 'push' them out (passage is connected to pilot jet)
If your going to dip them, remove throttle and choke plates and the spindles, there is a felt washer on throttle shaft that will need re-lubing if it doesn't disintegrate
Okay, so tonight I dipped everything into carb cleaner. (I made sure to remove the throttle and choke components before doing it, thanks for the tip!). I'll add some lube to the felt before final install.
The rubber pieces are hard and look a bit mangled (not sure if they will totally seal in use). Would a mangled, hard rubber plug cause the pilot jet to run super rich? The kit I bought (from DCC) had #38 pilot jets, but I kept the #35 stock pilot jets in there instead. (Also had wrong size float bowl gaskets too).
Still waiting on the float (possibly more) before I can reassemble.
If you get any leak past the pilot jet plug it adds to total fuel and will make it run rich
Have you re-built air filters?
When you re-fit throttle/choke plates, don't forget to stake screws so they can't back out, I use a linemans pliers to 'crush' the ends (just be careful not to damage plates though)
Can anyone identify what this is? I broke it :-\ .
Can't find out for the life of me what the part is or how to get it? I see it in the all inclusive kits, like this one http://www.siriusconinc.com/pro-detail.php?pid=&product_id=2906. I only need the one piece though, and have already bought other rebuild kits.
Uh-ho, that's the primary main jet emulsion/discharge tube.
It looks like a screwdriver should fit but the slot is for fuel to flow to pilot jet.
As long as one side is still intact it will seat primary main jet.
They are available but forget where (SIRIUS? maybe Honda?)
Carbs are on the bike. Used all new internals from Sirius's kit. (still surprised that the mixture screws were not the correct ones). Put new plugs in as well
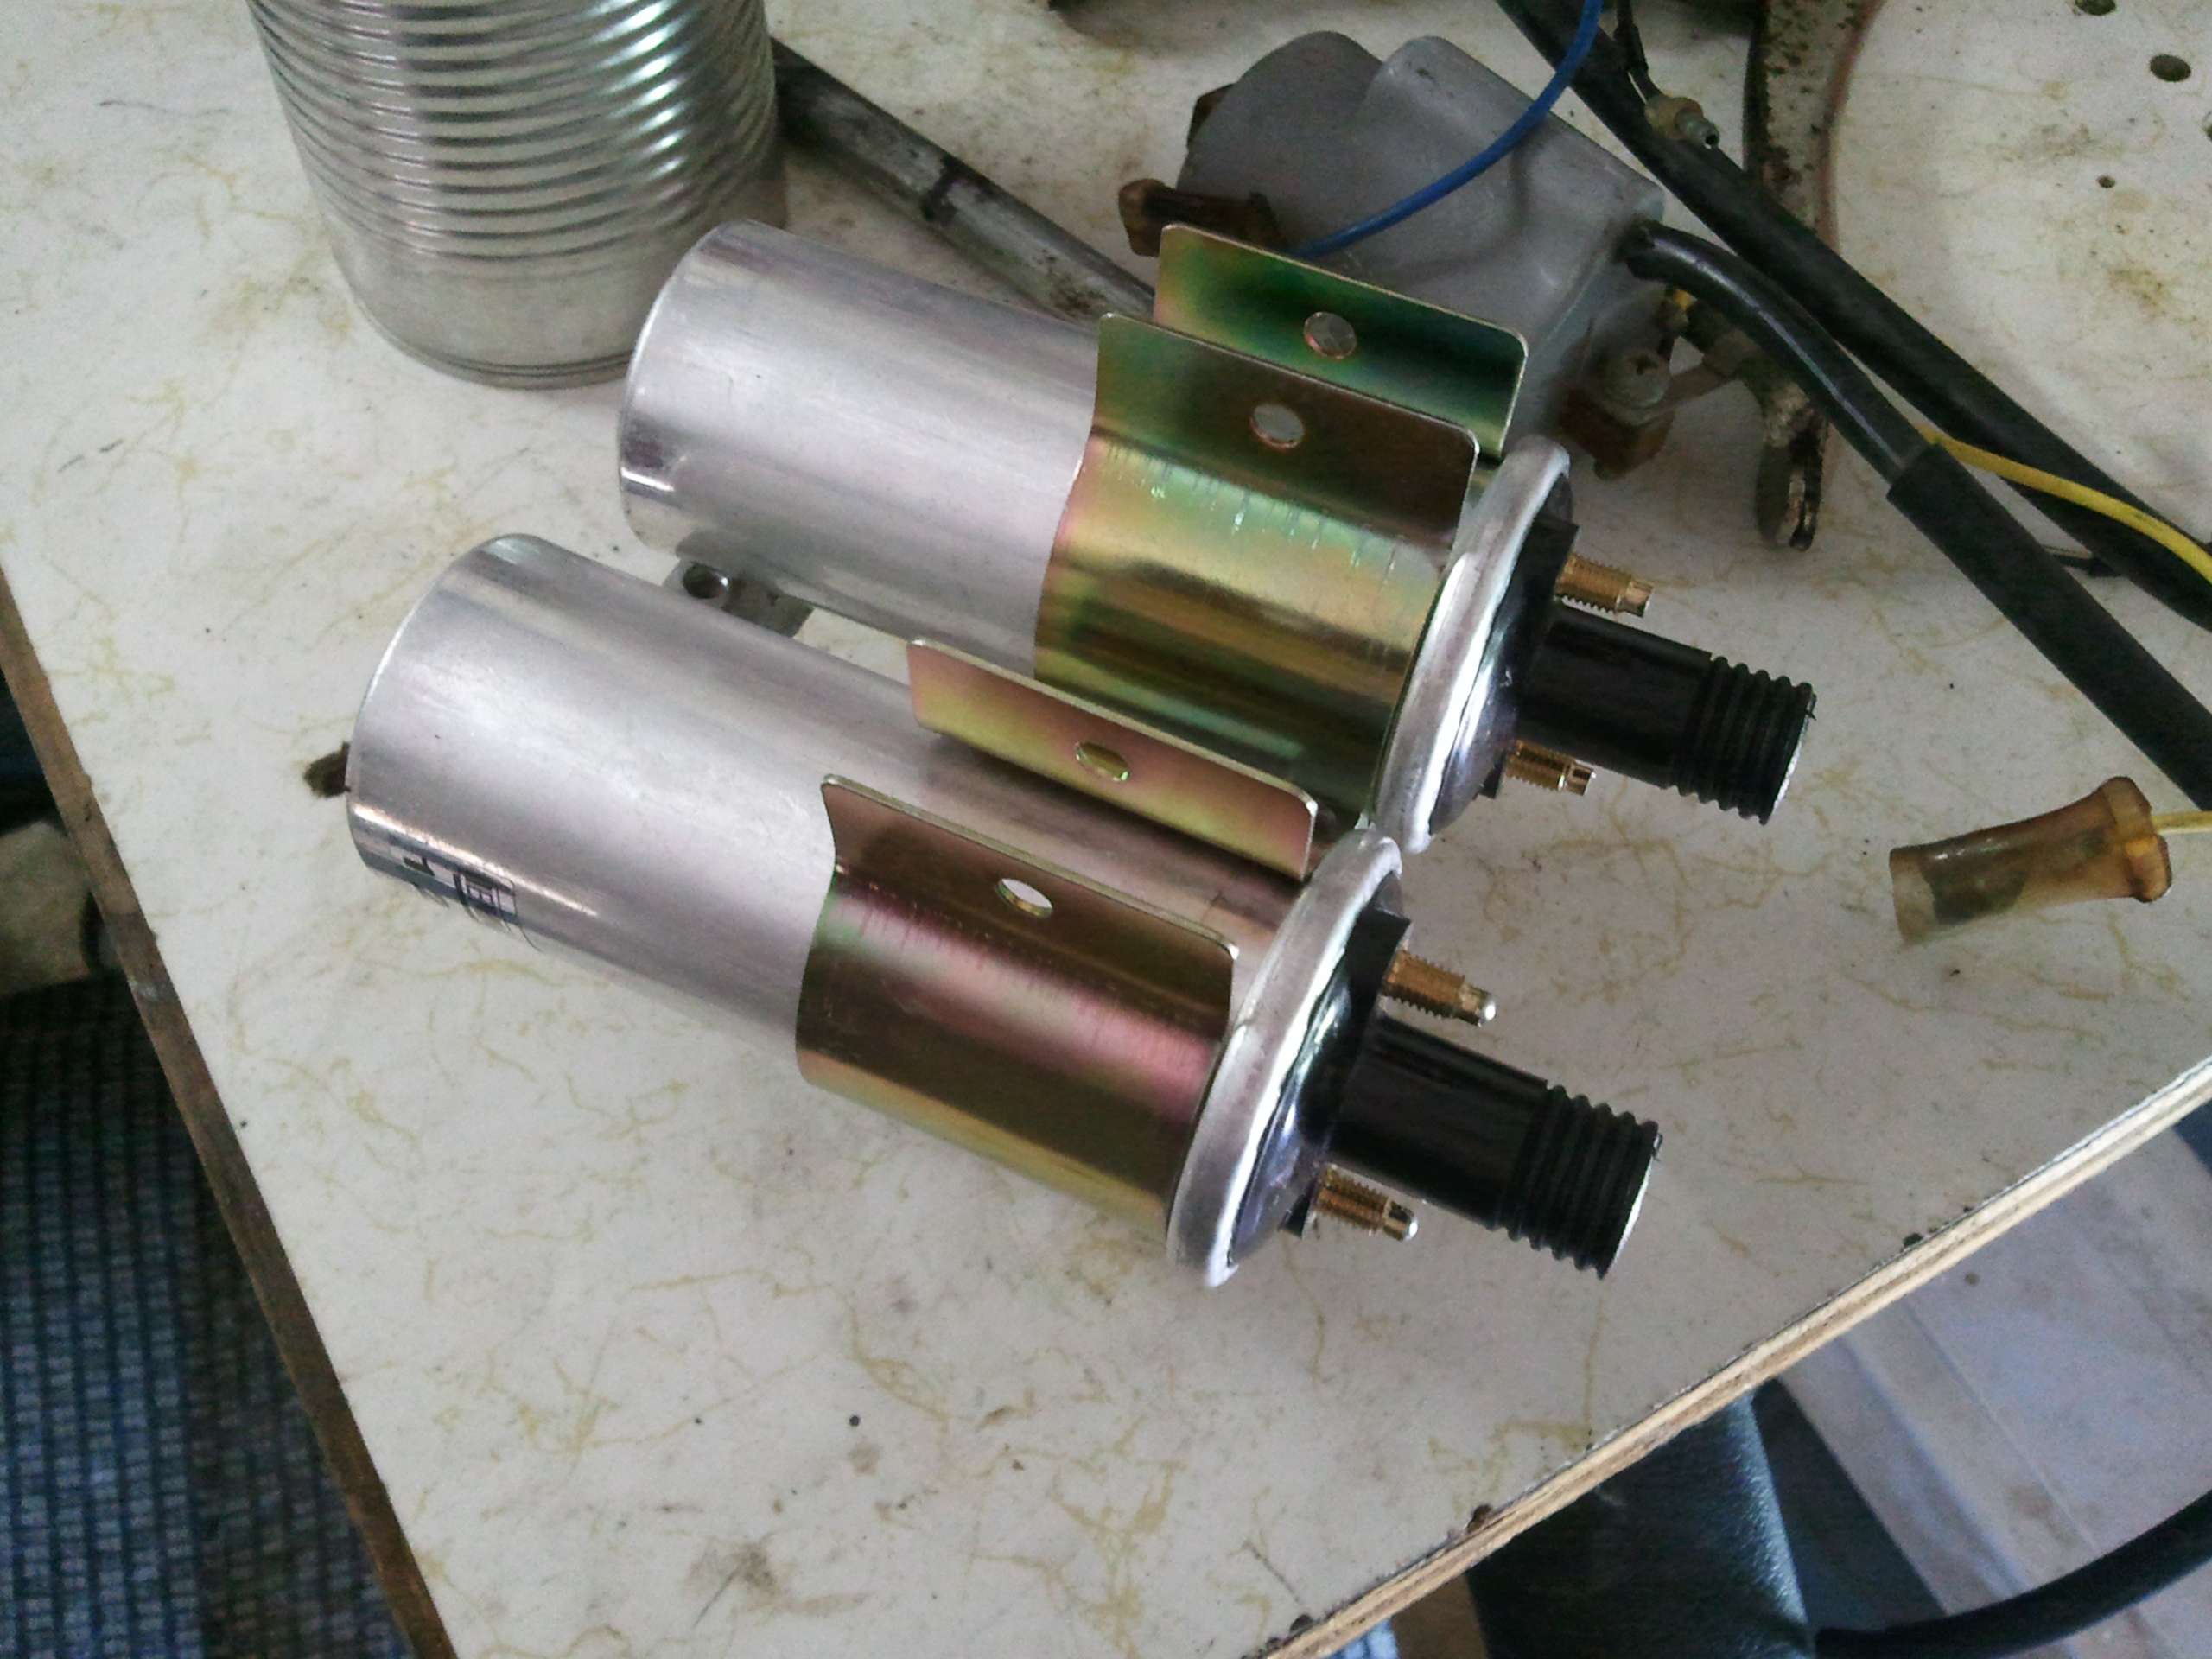
Got everything on the bike and bolted up. Noticed that the left pipe was cold. I decided to pull the plug, and, sure enough, the plug was still clean (just gassy). When I cranked, it wasn't getting spark. Took a quick look underneath and saw wax coming out of the left coil. So, so it's shot. I'm debating between getting another used coil or replacing both coils with something less OEM. Bike is completely stock though, so not sure what to do. Will a future owner care that the coils (which are hidden) are not the stock units?
People upgrade coils all the time. Unless you are going for a concours restoration, don't worry about non-factory coils. Replace both at the same time though.
I wouldn't worry about it either, I went with coils from MikesXS for mine. Good price, only thing is you'll need to fab up a bracket to mount them. http://www.mikesxs.net/product/17-6805.html
Turns out my '76 BMW 2002 is now also not firing on a cylinder. At least I was able to get home on 3. I just wish that was as easy as replacing a coil... probably need to swap distributers and retime :-\
This site uses cookies to help personalise content, tailor your experience and to keep you logged in if you register.
By continuing to use this site, you are consenting to our use of cookies.