Follow along with the video below to see how to install our site as a web app on your home screen.
Note: This feature currently requires accessing the site using the built-in Safari browser.
We noticed you are blocking ads. DO THE TON only works with community supporters. Most are active members of the site with small businesses. Please consider disabling your ad blocking tool and checking out the businesses that help keep our site up and free.
Later model forks for 450s and 500t's should be the same as on 550-4s. SHOULD is the operative word, I'm running 71 model forks which is before the change over and they don't have that rod. Mine are compatible with 750s of the same and older years, which gets me slightly larger front brakes.
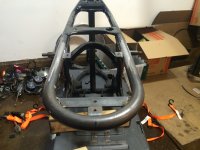
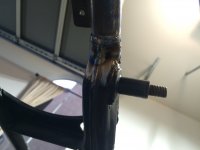
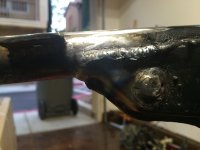
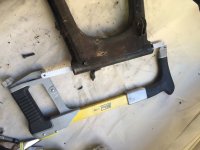
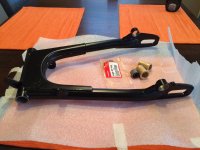
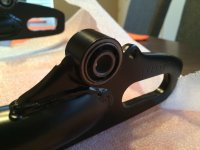
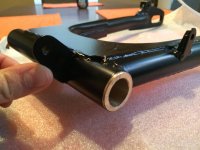
Took my frame to a local welder today, he was "appalled at the botch job" that Bejie's Cafe Racers sent me (talking rear hoop). He offered to reword most of it to bring it up to his standards, seems like a cool guy. He put the frame on one of his tables and showed me just how off it was, when I knew what I was looking for I was a little embarrassed I didn't see it at first glance, it was off center AND crooked AND dipped below the frames natural line. I'm confident its in good hands now.
Thats 2 strikes for BCR so far...even though I hate to admit it
I've seen a lot of people use BCR stuff but I've also heard a lot of bad stuff about their construction quality. Kind of a sad thing, they make some cool stuff but for the price you would expect much better quality.
No problem at all. He is a good guy to work with and you can tell that he is very knowledgable and proud of his work. He is definitely familiar with all the issues that you have with your tail hoop, because he fixed mine as well.
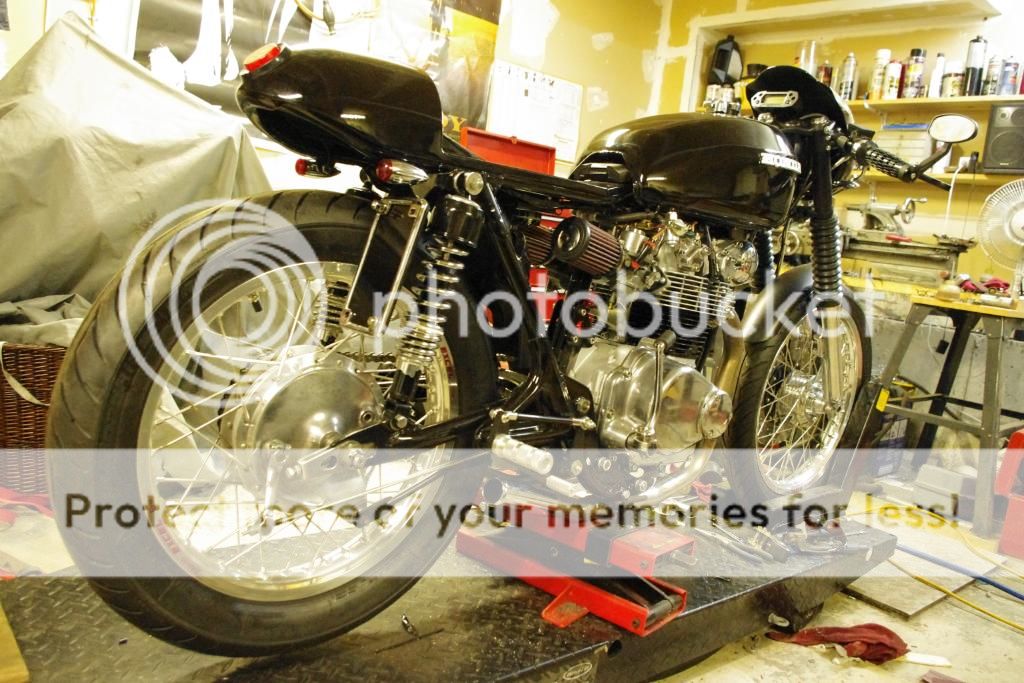
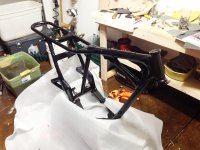
Visited the always delightful DMV: Got the title and registration sorted out! Now that the paperwork is done I feel like a weight is lifted. Also got the frame back from the welder, he did a great job fixing the BCR rear hoop. Enjoy!
Having constructed a '71 CB450 a while back I know you are going to run into clearance issues with that hoop in that position. The rear wheel on a 450 rides up in between the rear frame rails where the shock mounting point are located. That's why there was a frame arch back behind that point which you removed. You will find that that hoop needs to turn upwards at the end by about 1 1/2". Sorry to tell you at this stage in your build.
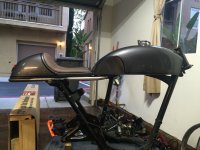
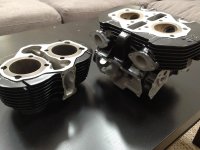
Dropped everything off at powder coat yesterday, I've worked with the shop before and they've done decent work for good price. I didn't realize its under new management and they guy I talked to didn't write any of my instructions down, shrugged his shoulders when I asked him to mask off areas and basically put my parts in a pile on the floor with no label...kind of suspect. I ended up sticking with them because they are the only ones in town with vapor blast capabilities for the cylinders and cylinder heads (soft aluminum gasket surfaces don't do well with sand blasting!). He quoted me on the high end BUT assured me when I picked up the parts i'd love the work. Fingers crossed I guess.
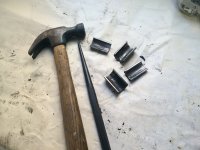
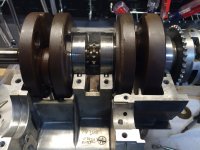
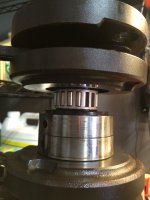
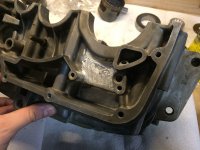
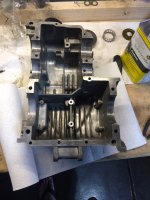
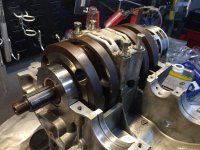
Getting to the bottom half of the engine, there was a ton of sludge but after half a day of scraping and cleaning I put in the crank. I took out a little material from the bottom case for a hopeful oiling upgrade but right now thats an expensive item on the wish list.
DO make sure to check all the oil passages in the crank, they fill up with gunk too and some cranks even have sludge traps in them.
Hmmm, expensive oiling upgrade, that Capellini stuff looks pretty nice. I've done some reading on just the oil filter part of it for my bike which it may be getting this winter.
This site uses cookies to help personalise content, tailor your experience and to keep you logged in if you register.
By continuing to use this site, you are consenting to our use of cookies.