Follow along with the video below to see how to install our site as a web app on your home screen.
Note: This feature currently requires accessing the site using the built-in Safari browser.
We noticed you are blocking ads. DO THE TON only works with community supporters. Most are active members of the site with small businesses. Please consider disabling your ad blocking tool and checking out the businesses that help keep our site up and free.
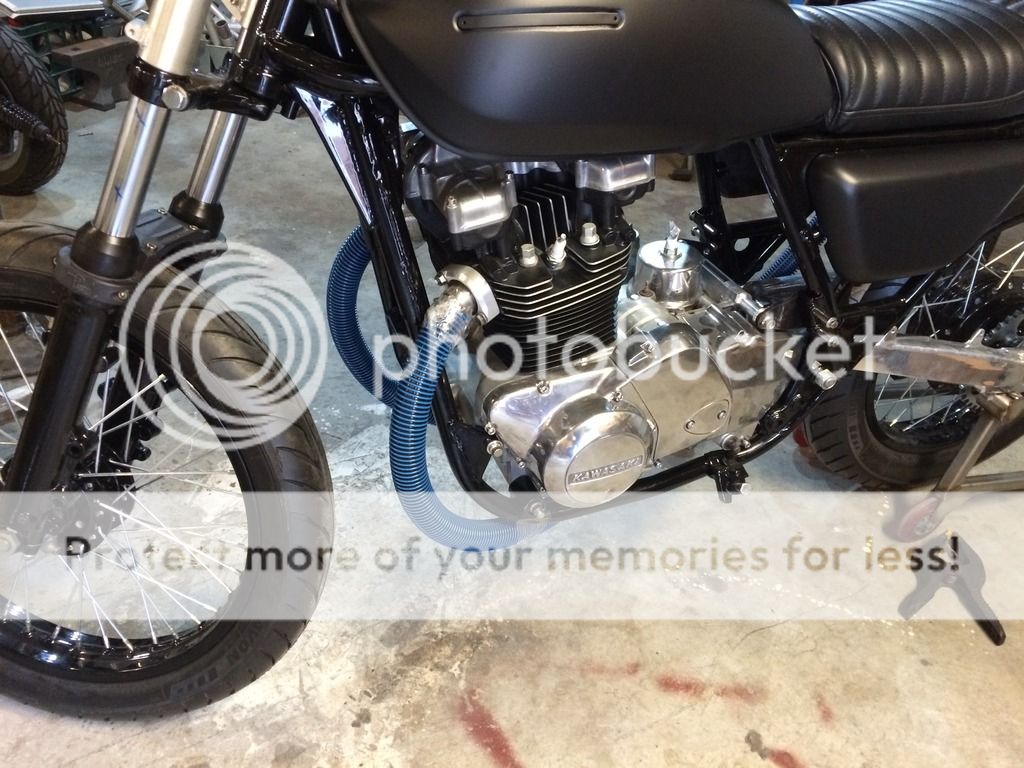
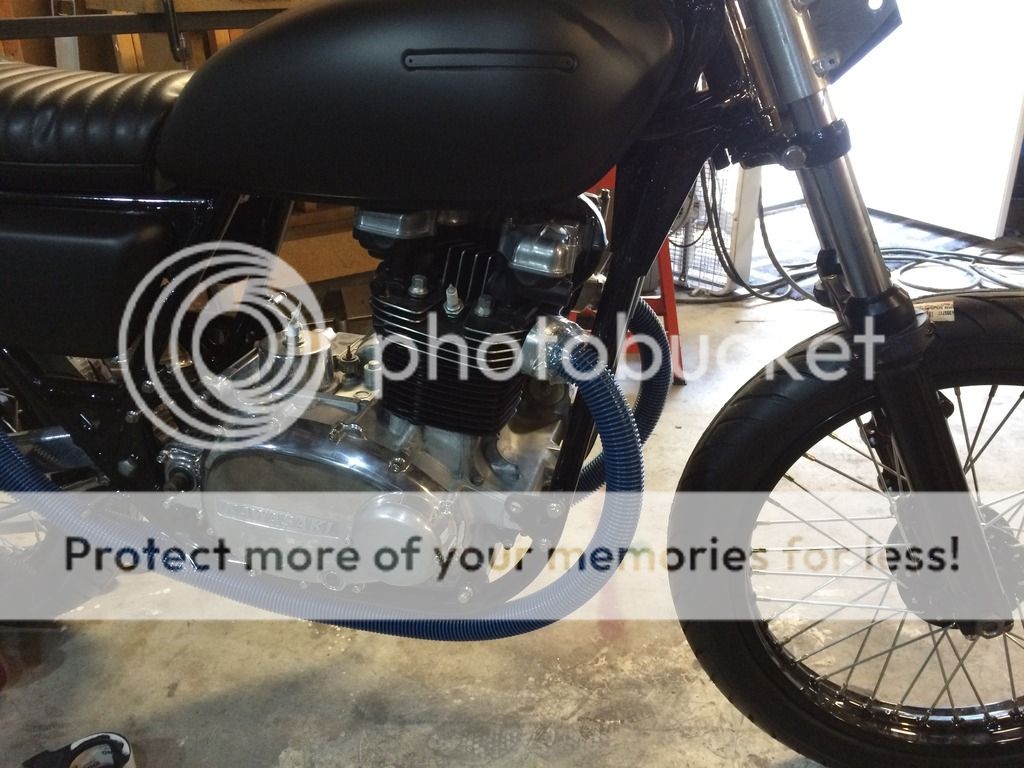
Sweet Jesus. I finally start work on my KZ750twin and find all of these fantastic build threads. Mine's just returning to stock (so far) but holy hell have you done some killer work man.
Thank you. Just having fun learning some new techniques and tools. I talked my buddy into letting me use his shop for a few months which means progress will continue very soon.
Got the bike into my friends shop and he was nice enough to make me a key so I can come and go as I please. What a guy! I made a list of materials and parts I need to buy and should start fabrication on the headers next week. My buddy has a "rose bud" torch so I'm going to give the sand filled tube bending a try, a-la-Yoshimura. I'll attempt it in mild steel first and if that goes well I will try it in stainless. I mocked it up with some tube he had laying around. I don't think they'll be quite as swoopy as this.
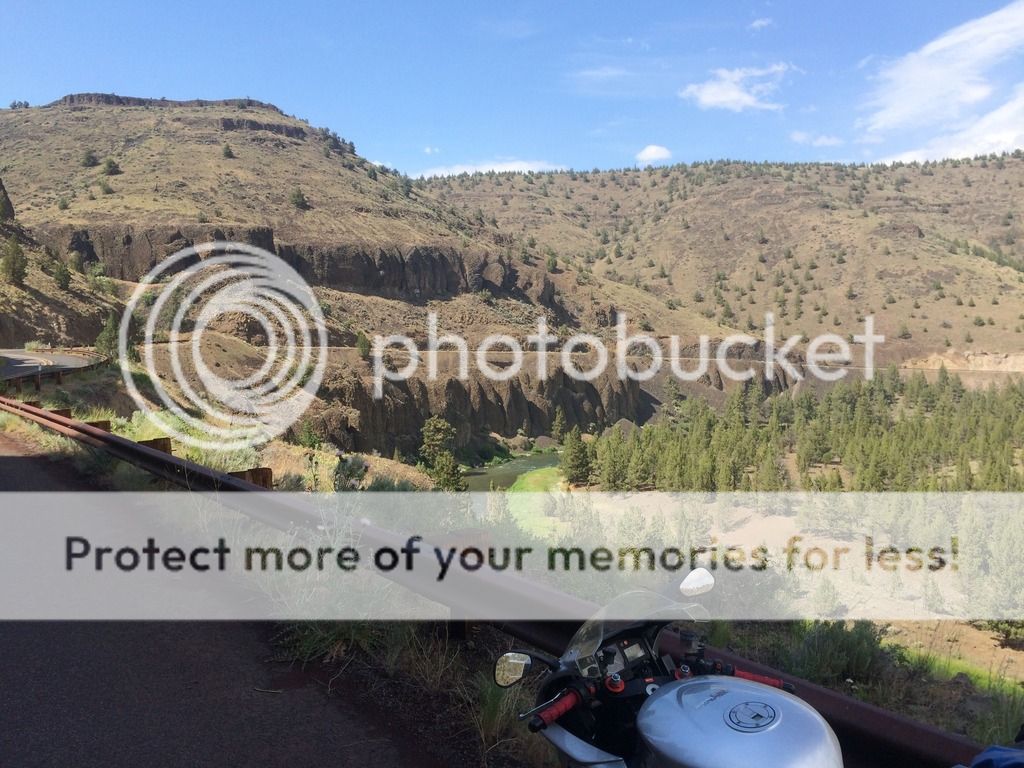
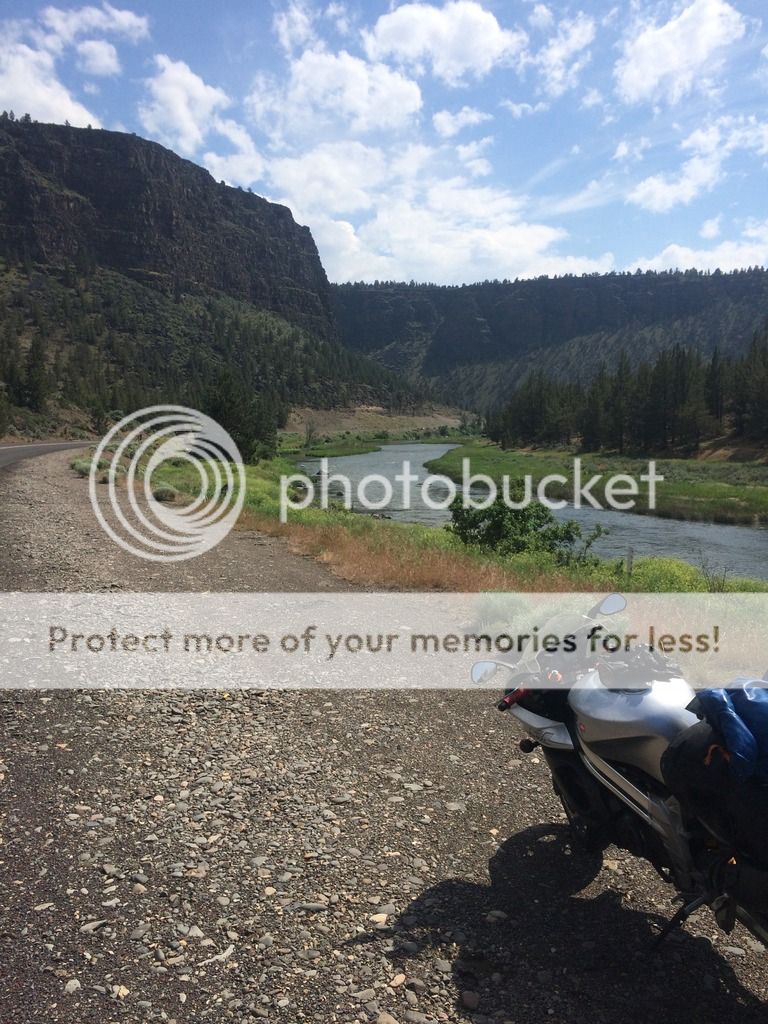
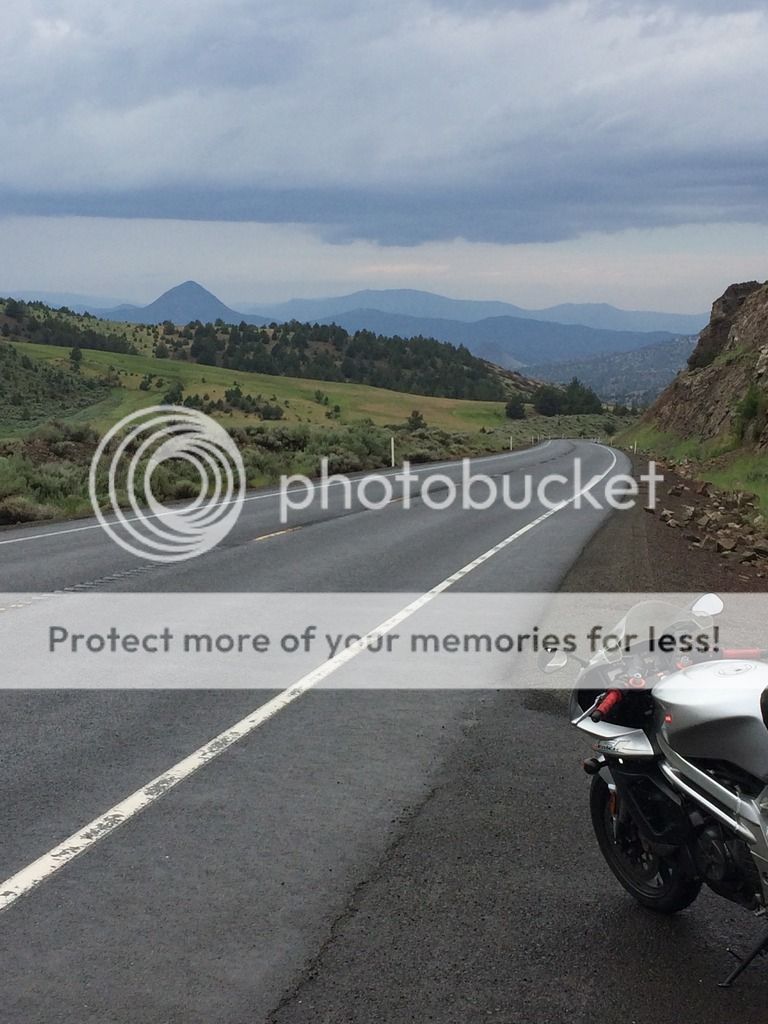
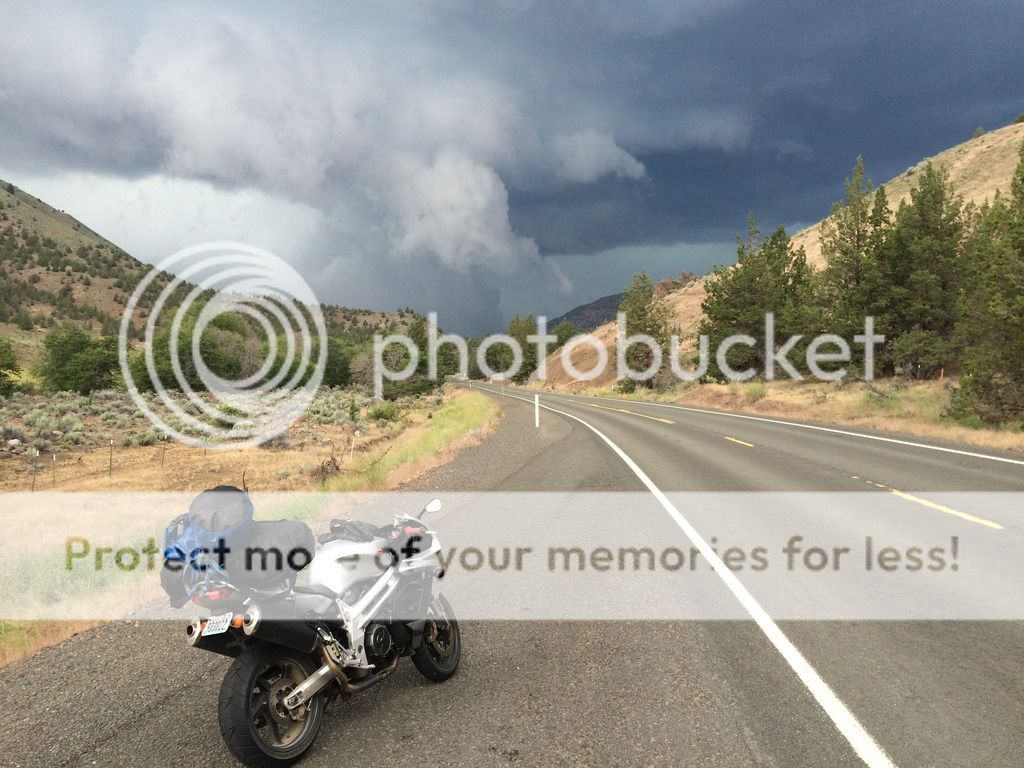
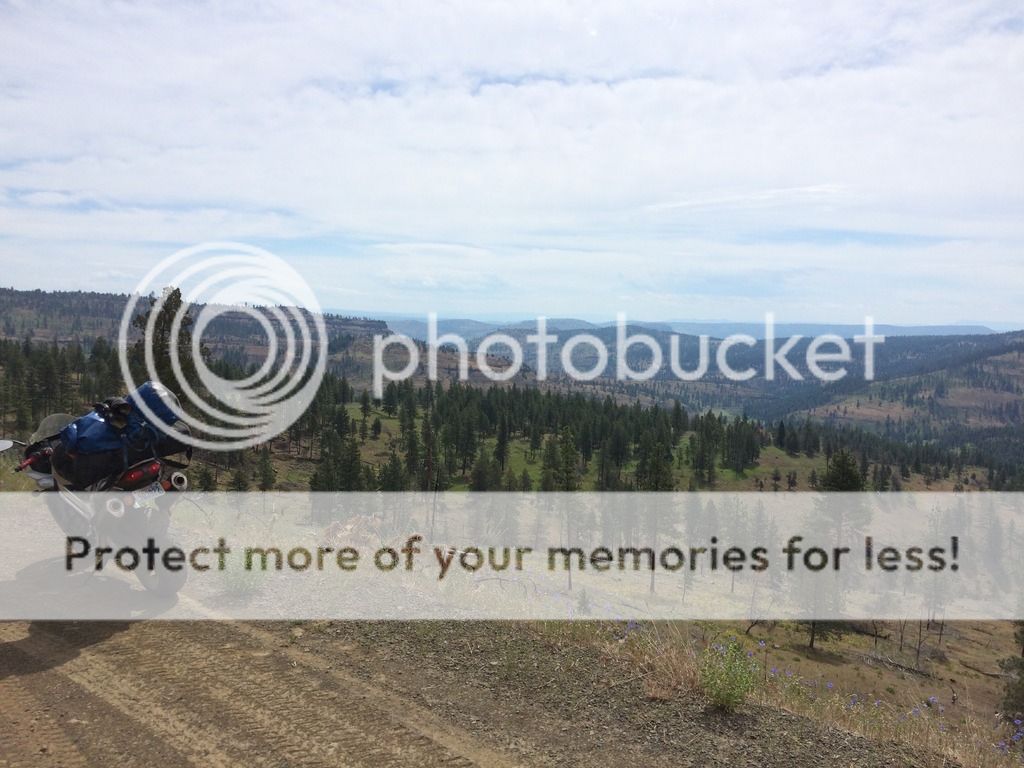
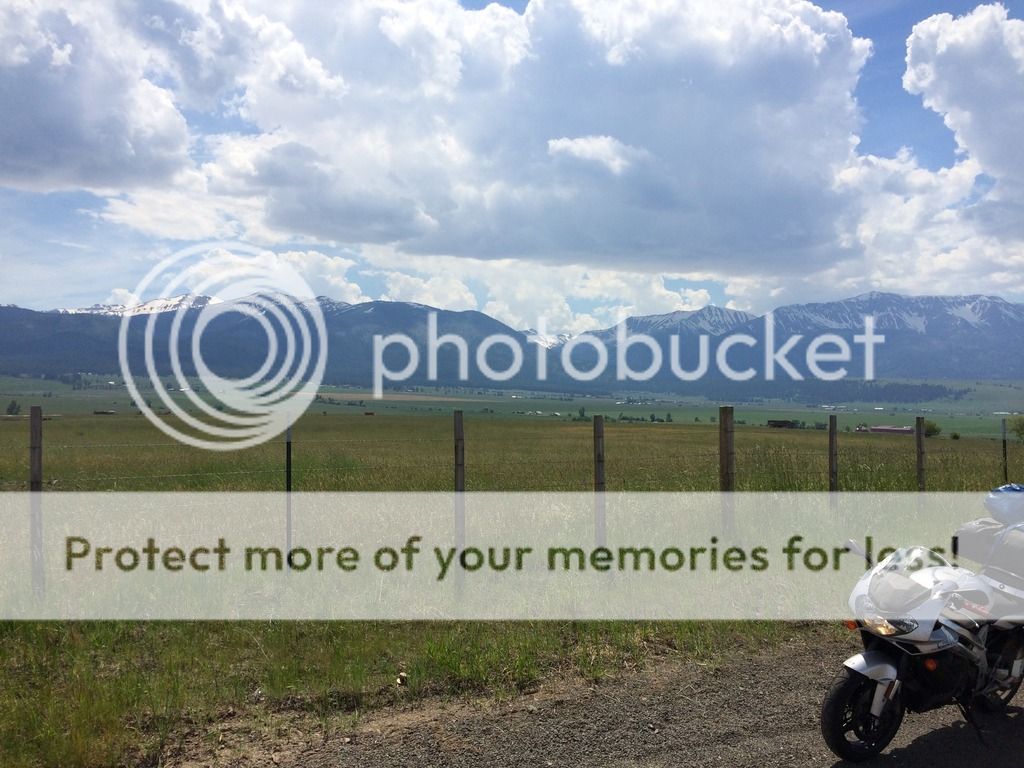
I posted this elsewhere on this site. if you didnt see it; i got distracted for 12 days, I had the opportunity to do an impromptu back-country hike in the Sawtooth Wilderness, so I rode out there and took the long way back. There were a lot of thunderstorms and even rode through some hail. Most of these photos are in Idaho and Central Oregon. I camped in national forests along the way, dirt-bagging it. good times.
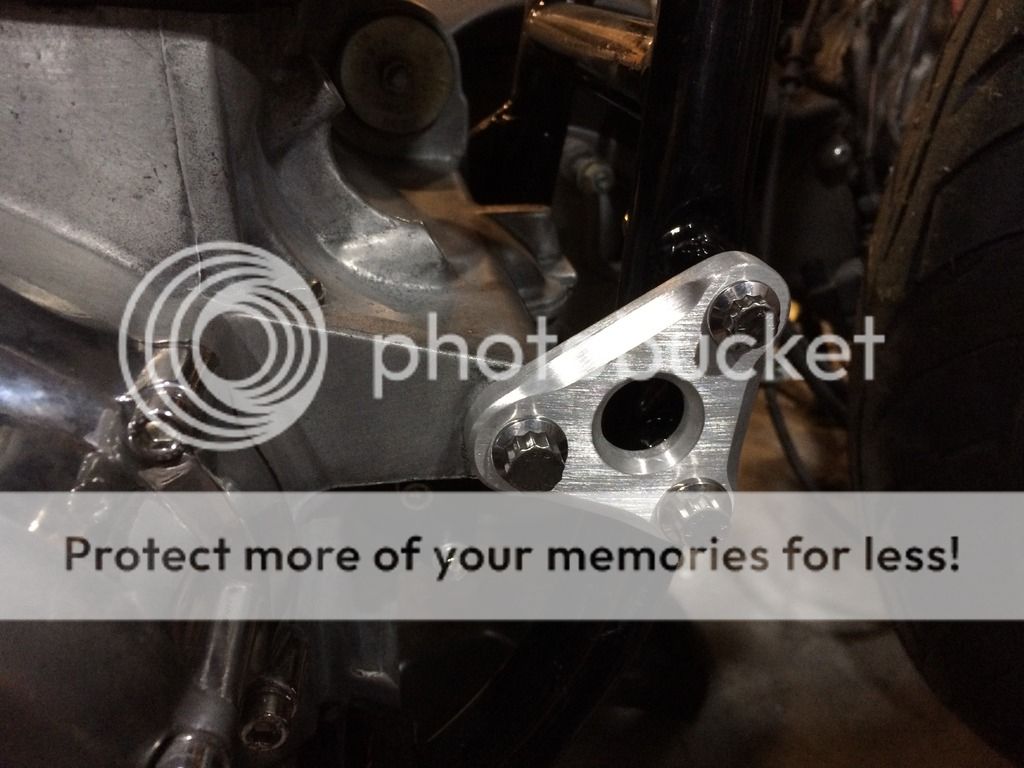
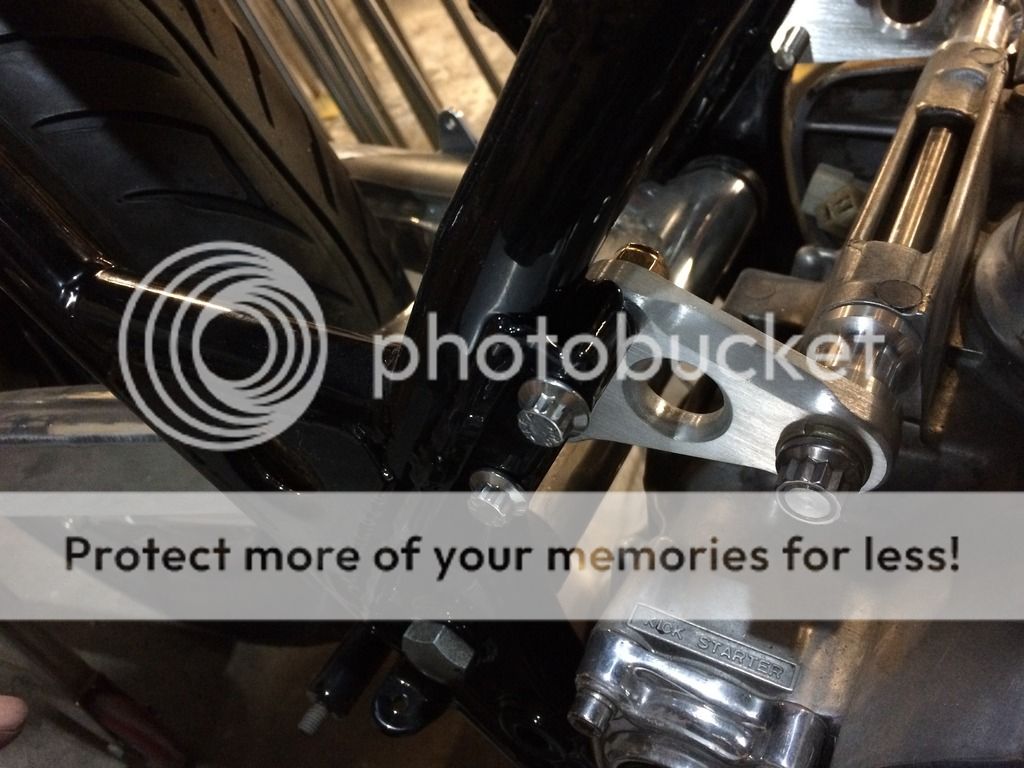
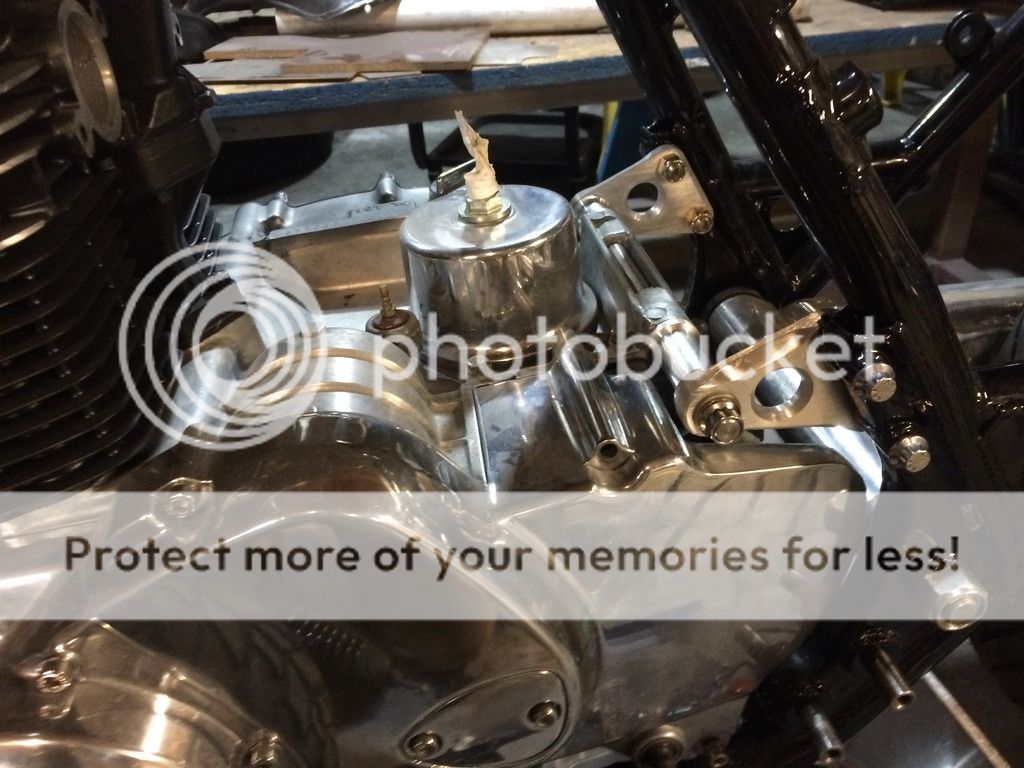
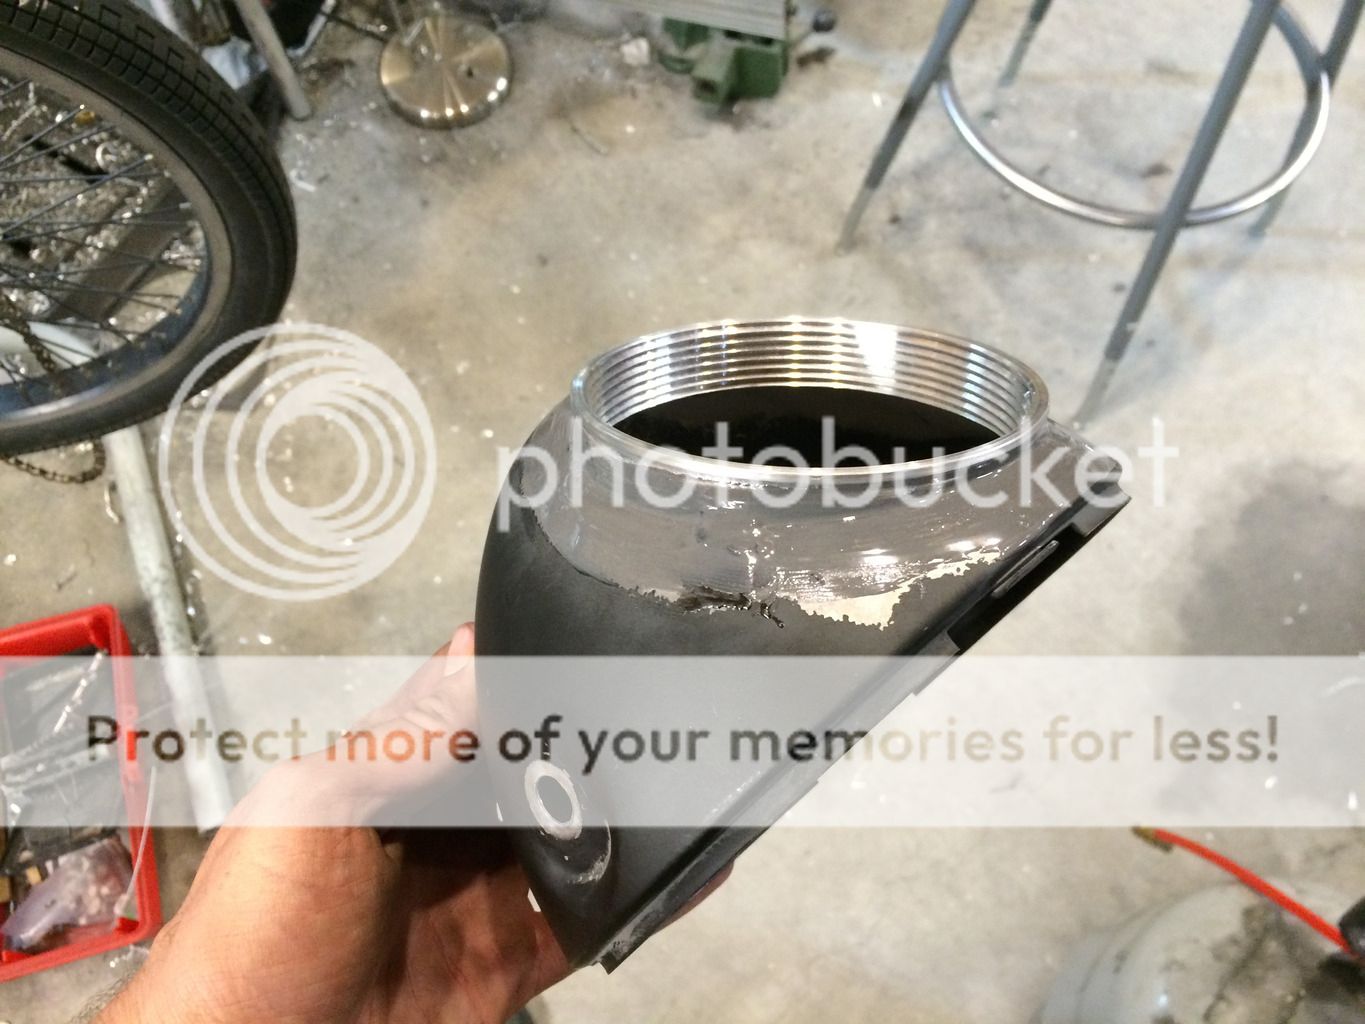
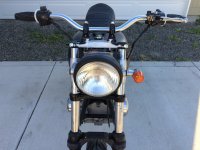
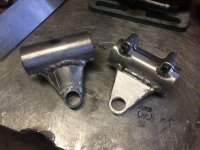
since getting back i have managed to get some work in on the bike. I made the plates for the close tolerance motor mounts and I chamfered them to match the exhaust collars. I also fit the ring I turned for the tach in the headlight bucket, sand blasted the ring and the bucket, and glued it in with some JB weld.
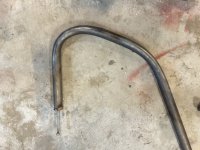
I finally got everything setup to do some sand bending. I already had some 1.5" tube with .095 wall so i tried it with that. for the final i will use 1.5" .065 wall. I don't know how much of a difference there will be in bending them with heat. The smaller kinked radius was the first attempt, the second attempt got a little crushed as well but it was a big improvement. The sand I used was damp when i packed it in there (there were vent holes) and im wondering if that perhaps the loss of water mass as vapour (which there was quite of bit of) allowed the sand to be looser. I'm also going to try welding a nut on the ends and using some all-thread to form a "packer" once it is welded shut. gonna give it another go this weekend hopefully.
In ceramics, typical shrinkage is 6 - 8% because of loss of water (another 7 - 10% during firing). It certainly would happen here. In similar applications, I kiln dry the sand. It also helps to get sand with variable grain sizes, as they tend to "fit" better together. I don't think you'll need to go through that much effort, but food for thought.
I will try drying the sand in the powder oven. I got impatient and just wanted to try it out. I think ill also get thinner tube because it will take less heat input to bend it.
I have another road trip planned for august. A friend of mine and his father are bringing their homemade twin engine triumph land speed racer to Bonneville this year all the way from New Zealand. I have wanted to go to speed week for a while now so i'm using this as an excuse to drive down there and meet up with them. Gonna take 3 weeks and do it right.
I got some 1.5" .065" wall tube. With the dry sand I could pack it much better. This was the second attempt but I ran out of O2. I think with a bit more practice I can get it pretty nice. The tight radius only crushed .17" I'm gonna try heating it a bit differently next time and see what happens.
I posted that video a couple weeks ago on here, and have watched it at least a dozen times. He definitely has something in the tube, you can see it sticking out at the beginning. I don't think its possible to bend a tube without it kinking unless you have some kind of support, either external or internal.
All the good tube benders, i.e. expensive, have a mandrel.
I used to work at a steam boiler manufacture that bent their own tubes.
The Pines bender they had would bend a 2 in. tube with .105 wall at an 8 in. radius.
i really would love to use a CNC bender. I have 8 feet of mild tube left and 3 feet of stainless, if i dont get satisfactory results after going through all that, im gonna buy some stainless mandrell bends and make this the conventional way, just for the sake of "gettiner done"
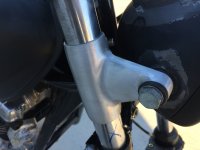
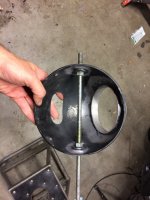
The mounts on the headlight bucket weren't parallel, and for some reason this bugged the crap out of me so I jb welded some washers in, and used some all-thread as a jig. I coated the all-thread and nuts in grease so I could go nuts (pun intended) with the jb weld and still remove the rod and nuts.
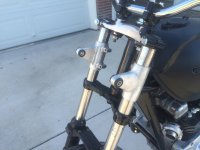
I got on to finally finishing the fork ears after turning all the parts months ago.
I was using a Miller Syncro wave and found it hard to dial the machine and the tungsten/air combo in to weld aluminum. My Chinese inverter welder zaps aluminum so easily with bright shiny welds, I always wondered why people said aluminum was hard to weld until I used the syncro wave. It was a great learning experience though. Eric showed me a bunch of tricks or welding aluminum and feel much more confidant even though most of the welds arent very cosmetically appealing.
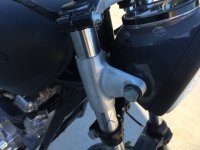
It took me a solid 4 hours to grind and polish the welds down but I am pleased with the result. I decided to rubber mount the headlight since I have an expensive tach riding in it and don't want it to rattle itself to death. The turn-signal stems are too short now and I will need to turn some longer ones. it never ends.
This site uses cookies to help personalise content, tailor your experience and to keep you logged in if you register.
By continuing to use this site, you are consenting to our use of cookies.