'73 CB350G: Project Sakura

First of all, great job cleaning up that bowl.

If you are cleaning the insides, boiling in lemon juice works good (smells bad though- do it outside). To clean the outsides, either a soda blaster or a small brass brush on a drill/Dremel works well. As far as painting goes, the only downside is that there's a very good chance of gas getting on the paint and ruining it.
 
Honeybadger,


I'm using 220 grit to get all of the nastiness off of the metal parts. Then I wet sand with 400, 800, 1000. Then I hit it with the buffing wheel with red then white Ryobi brand polish. Then Mothers polish to top it off. It takes a looong time, but if you've the time to spare it makes it worth it.


-jordan
 
Still no garage of my own to work in, but luckily a friend lent me some space in his for a few days so I can finally finish painting my frame. I hit it with some charcoal spray bombs and I really like the way it turned out. I'll let it settle for a few days in his garage then pick it up next weekend. I can't wait to start tossing parts back on it!


2011-04-09_20-00-51_357.jpg


I really think this color is going to make the creme colored tank/seat/light pop when its all together.


-jordan
 
I'm really excited about getting the bike back together now. I still have a lot of work to do but I wanted to toss some of the "finished" parts back on. I guess I can consider it a half-roller...


DSCN0877.jpg


As is the case with a lot of others here, I have to work in an odd spot. This is the spare room in my apartment (shared with 2 other dudes). They keep their spare furniture in it, and I keep my spare motorcycle :D.
DSCN0880.jpg
 
As you guys can see from the pics, I've got a decent bit of pitting on the front forks. Besides putting the rubber boots back on to hide them, does anyone have any suggestions on what i could do to hide that? Alternatively, I've seen people with 350s or 360s with springs between the bottom of the triple and the shocks, was this stock or did these people just toss springs under there. Cause I kind of like that look...
 
Little by little its coming together. Got a few more pieces bolted on. Fear not, I'm not color-blind, the seat is going to be repainted since the color combination of charcoal frame and white/yellow body is just terrible. Waiting on the rain to clear up before I can paint parts and do more buffing. Its coming together quicker than I anticipated, and if the weather cooperates I could be riding sooner than planned!


DSCN0889.jpg


I also, made a little bracket on either side of the frame for the coils I picked up from MikesXS. The wires I got look awesome too.
DSCN0893.jpg


-jordan
 
Re: '73 CB350G: Project Sakura. A few blisters later...

In my never-ending quest to make things shiny, I decided to tackle the top triple clamp. I didn't like the stock look, so I decided to soften the edges and flatten out the old handlebar hole things before polishing.


One of my best shop purchases...
DSCN0912.jpg


Right after I removed all of the paint with an abrasive wheel:
DSCN0896.jpg


Cleaned up one instrument cluster tab:
DSCN0902.jpg


Onto the second:
DSCN0906.jpg


A little off the top:
DSCN0907.jpg


And its just about done:
DSCN0910.jpg


Different angle showing the "finished" product:
DSCN0911.jpg


I just spent the last two hours with 80-grit getting rid off all of the nicks and dings left by the wheel. Worth it. It's looking mighty fine and I haven't even gone through the wet-sanding or buffing yet! But that might have to wait until tomorrow...


-jordan
 
Finished the top triple clamp today. Pretty happy with the way it turned out. I didn't notice a few scratches in it before I started wet sanding/polishing, but they just add character :).


DSCN0915.jpg

DSCN0917.jpg


wrapping up a few odds and ends on a nice day off. Looks like the sun is comin out so i can get some more painting done.


-jordan
 
Thanks CrescentSon! When I first started hacking into it I had a bit of a sinking feeling in my stomach since I went past the point of no return. But I knew the work would turn out to the best of my abilities, and it ended up looking pretty nice.


Update: Saturday I finally had a day to myself so I spent most of the day cleaning and painting small parts I had forgotten about, and taking care of a few other little parts of the bike. Tonight I got the front wheel all back together, and also finally finished up the gauges that have been sitting in my bedroom for most of the winter.... I had to JB weld the rings back on to seal them back up. I mounted them in the stock carrier and they sit waaaaay too high. I need to make a new bracket to lower them soon. I also want to ditch the stock idiot lights for some LED's, but am going to wait until its up and running for that. Regardless of whats left to do, seeing the bike back on two wheels is real motivation to get it up and running soon!


DSCN0922.jpg

DSCN0921.jpg

DSCN0927.jpg


There is still a lot more to do on the little odds and ends of the bike, but I know it'll be up and running this summer.


-jordan
 
No pics to add today, but I started to clean up the motor. It had/has years of grime and corrosion on it. Tried sanding by hand but then went out and bought a mild abrasive pad for my drill. That thing really really made the work go fast and I really like the raw finish it leaves too. I'm between charges on my drill right now, but I'm hoping to have it all spiffy by the end of the week! I'll be happy if the bulk of the motor is cleaned up, but I want to polish the side covers before I put it back into the frame. So I'm hoping to hear it roar to life soon!


-jordan
 
Rimmy said:
As you guys can see from the pics, I've got a decent bit of pitting on the front forks. Besides putting the rubber boots back on to hide them, does anyone have any suggestions on what i could do to hide that? Alternatively, I've seen people with 350s or 360s with springs between the bottom of the triple and the shocks, was this stock or did these people just toss springs under there. Cause I kind of like that look...

I've run into the same pitting problem with my forks. In reading posts here I've seen most just paint the area, some with truck bed liner. The forks you've seen with springs are listed in the shop manual. Its just a different style of fork (maybe a different year?). Check ebay, I picked up a set there once.
 
Rgrpfrd1, thanks for the info on the springs, I'm going to look into that. I think I might just try to clean up the tubes with some CLR, I've read that works. The clip ons and headlight brackets should hide enough of it so that it doesn't look too bad.


Anyhow, an update for today. Decided to go on tarting up the engine. I started to put on the new stainless bolt kit which makes it look quite nice. The small rubber washers that came off of the alternator cover were pretty junked up and one broke. I figured it was cool until i got spares in (note: the motor was full of oil still). I started putting the new bolts on the right side of the engine and eventually smelled oil. I looked down to see a nice black puddle forming on my deck. Oops... Just ordered some new rubber washers from bikebandit. I hope they arrive soon.


-jordan
 
this thing looks amazing !!! love how its turning out with not being able to build in a garage!!!

Tires make the bike too !!! What size and brand are they!?
 
Zahatsee, thanks a bunch for the compliment! It's interesting building the bike in my apartment but getting it up the stairs is going to be a bitch...


Anyhow, the tires are Avon Roadriders which a lot of people use already. They front are 90/90 and rears are 100/90.


-jordan
 
Re: '73 CB350G: Project Sakura. Slowly getting to the motor.

I recently started polishing up the motor and took of the side panels for easier access and removal of the starter. I'm going to replace the points and make sure the valves are within tolerance and whatnot. I don't really want to do new pistons and rings or any of that mess just yet, so that'll wait til next winter.


Anyhow, I need to borrow a band-clamp strap-wrench thing before I take out the starter, but wanted to get something done tonight so I went ahead and started polishing the stator cover. I'm hoping to have the entire left side of the motor done by the weekend so I can bolt it back together.


Before:
DSCN0940.jpg

DSCN0942.jpg

200 grit and the scratch is gone:
DSCN0944.jpg

400 then 800:
DSCN0946.jpg

1000 grit:
DSCN0950.jpg

Mothers:
DSCN0954.jpg

A bit of a difference:
DSCN0955.jpg


I know the polishing pictures get old, but to hell with it. I love nice shiny metal. But hopefully I'll be posting pics of the bike with the motor in it all shiny and nice soon.


-jordan
 
Re: '73 CB350G: Project Sakura, sans starter

So, I got my beautiful new starter block-off from CrazyPJ and went ahead and installed it. I couldn't find all of the information in one place, so here's a detailed description of removing it.


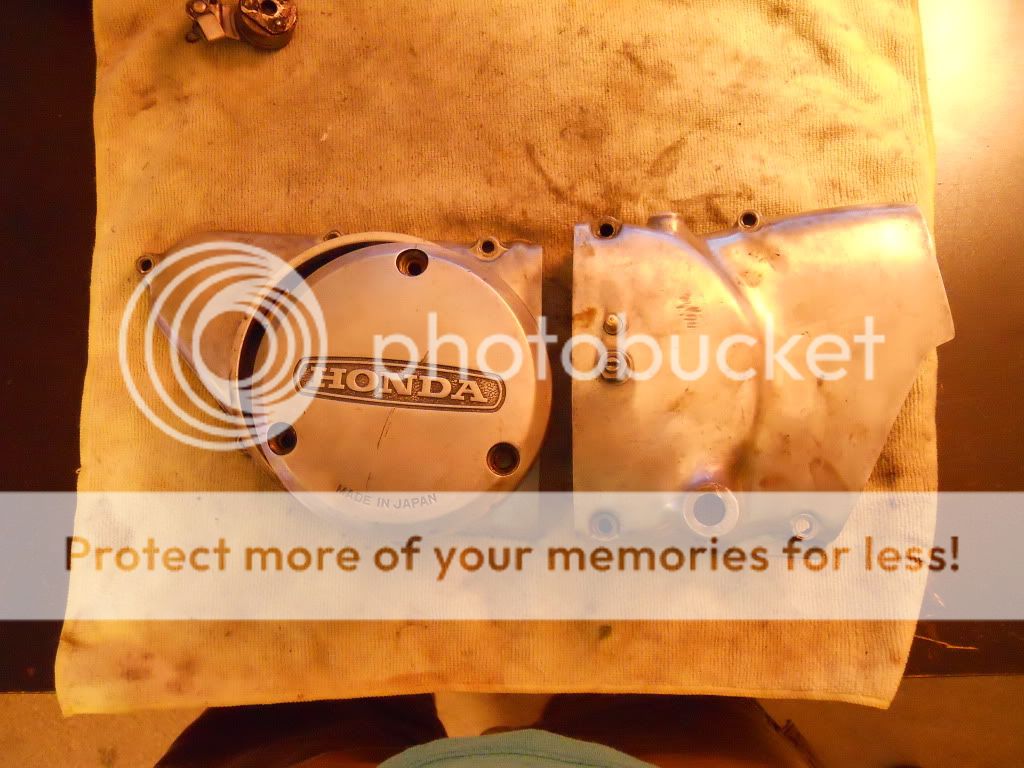
-Drain Oil, remove side-cover.
-Unscrew the two philips head screws holding the starter motor to the engine block.


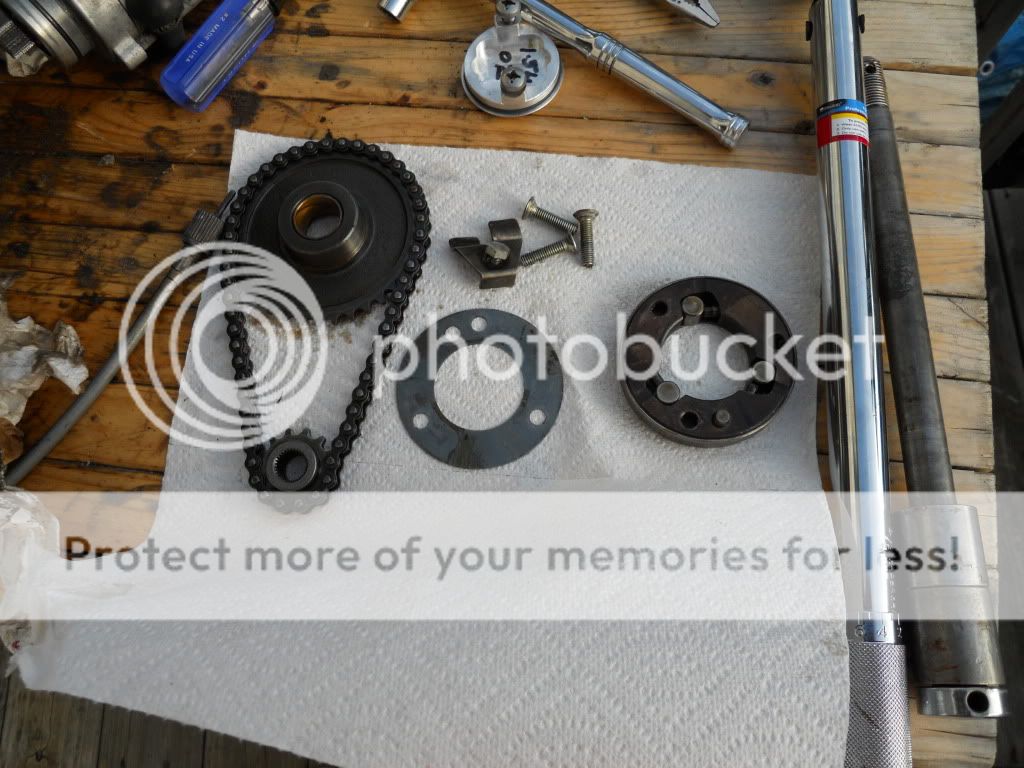
-Pry up the smaller cog to release it from the starter motor and drop the motor


DSCN0957.jpg

DSCN0958.jpg

DSCN0959.jpg


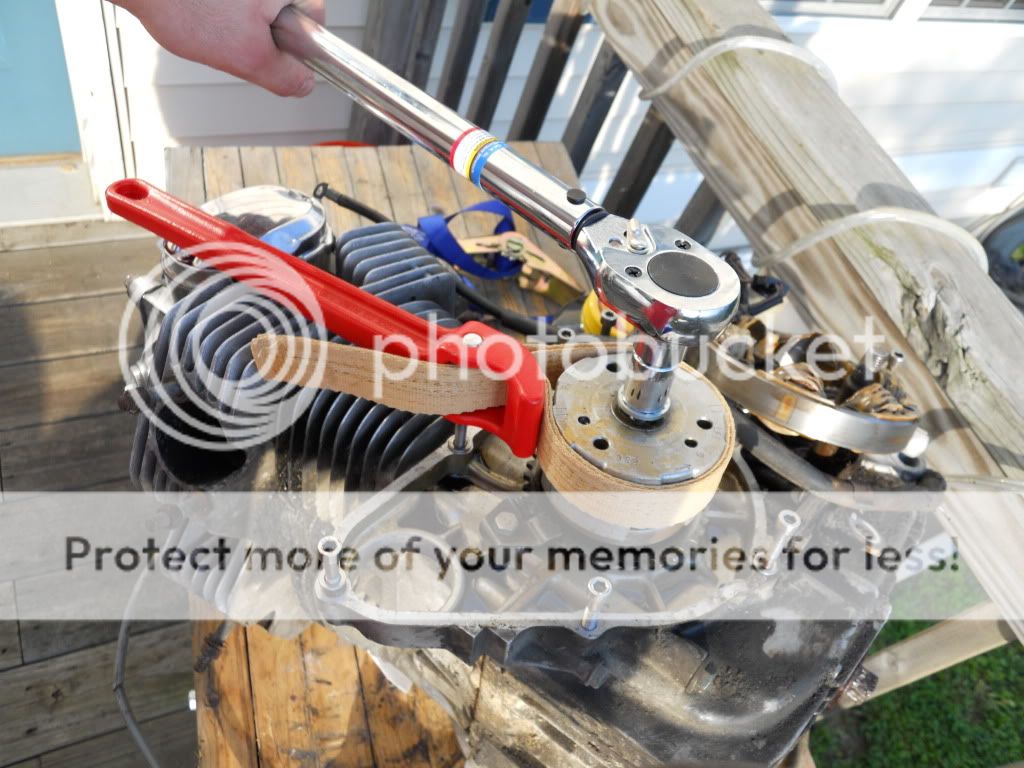
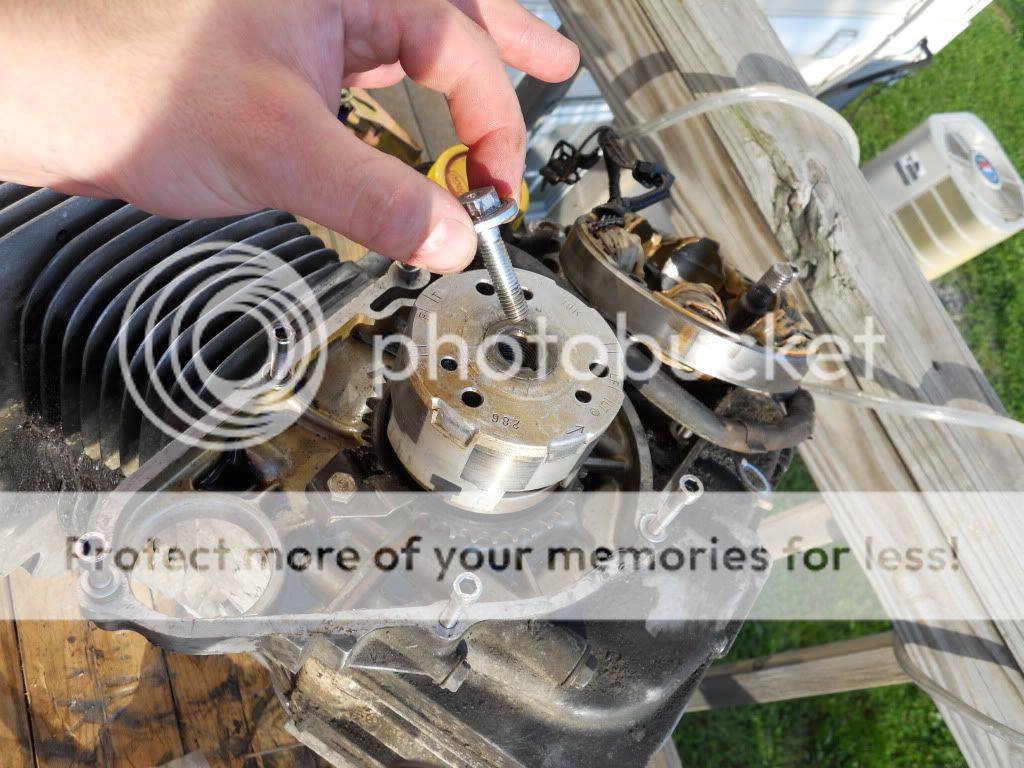
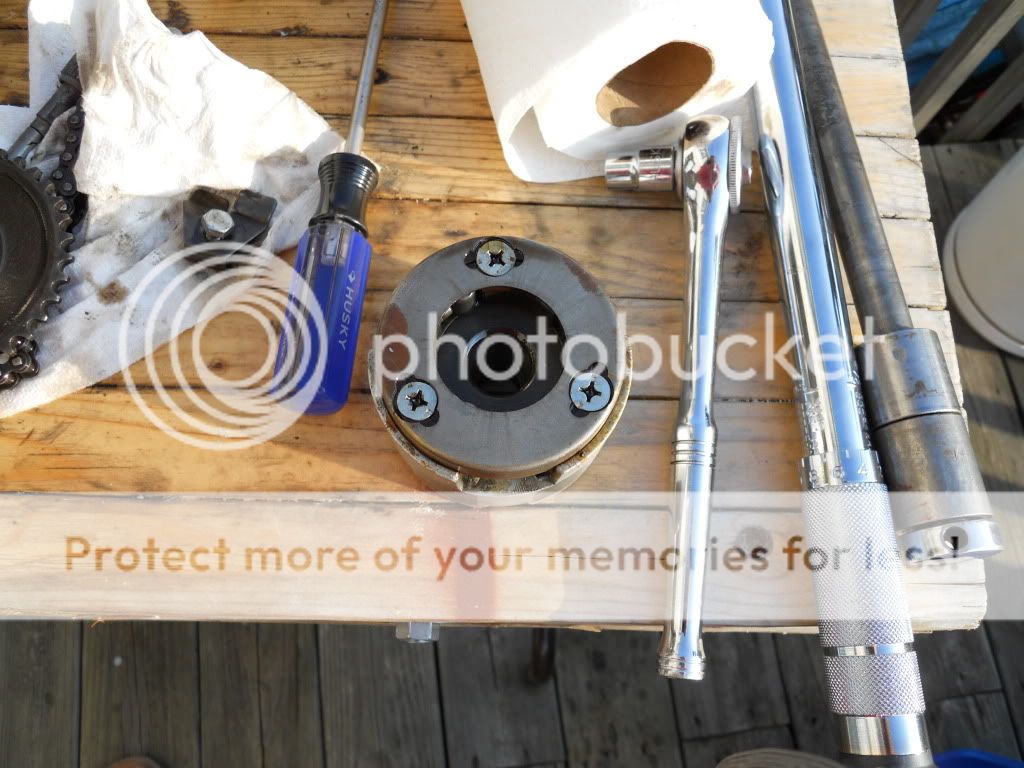
-Remove the bolt holding the permanent magnets. I tried a few times with a different strap wrench and a socket wrench but to no avail. Also tried the impact driver but to no avail. Eventually I got the torque wrench out and bought a nice strap wrench and it finally did the trick.


DSCN0961.jpg

DSCN0962.jpg


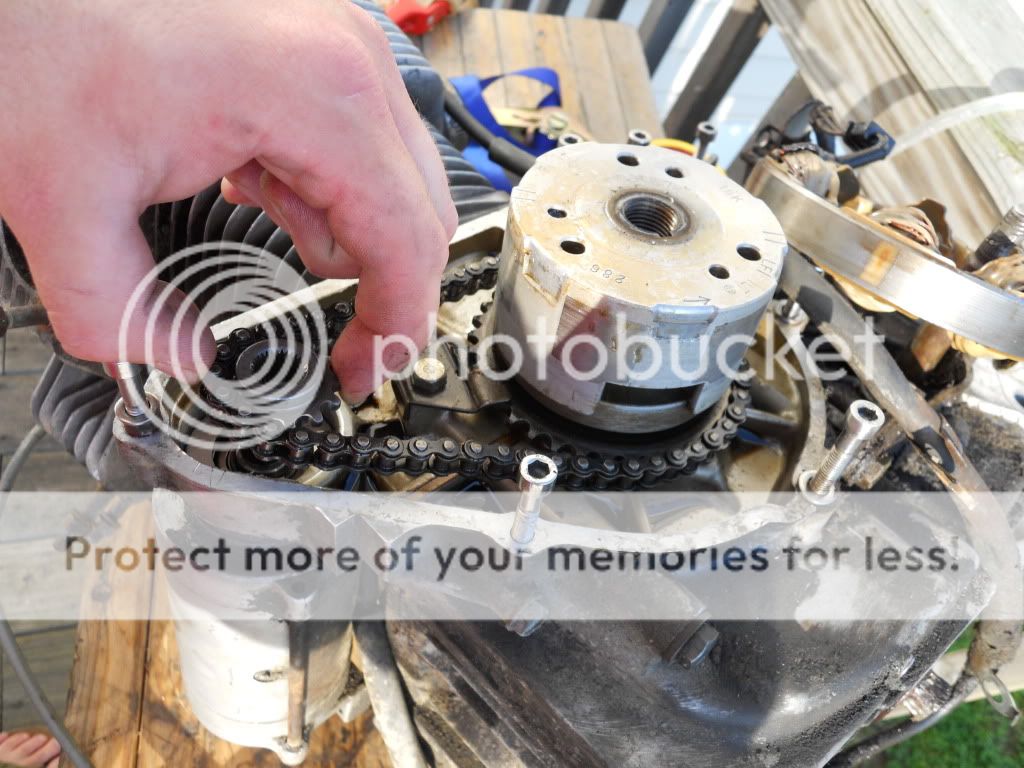
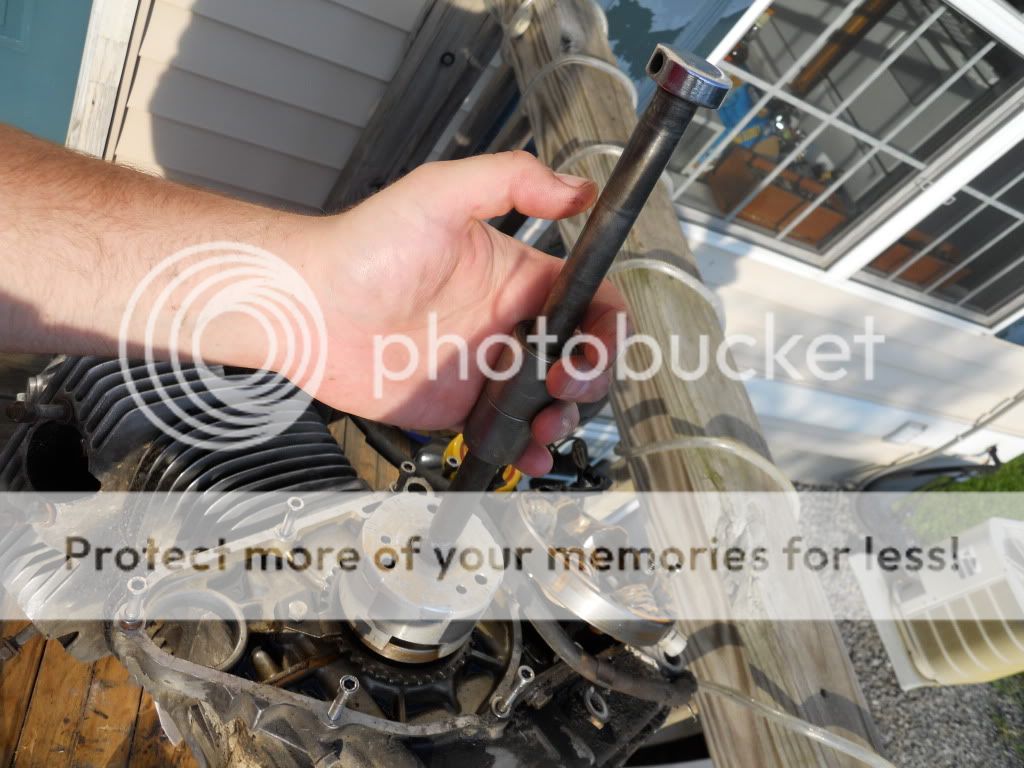
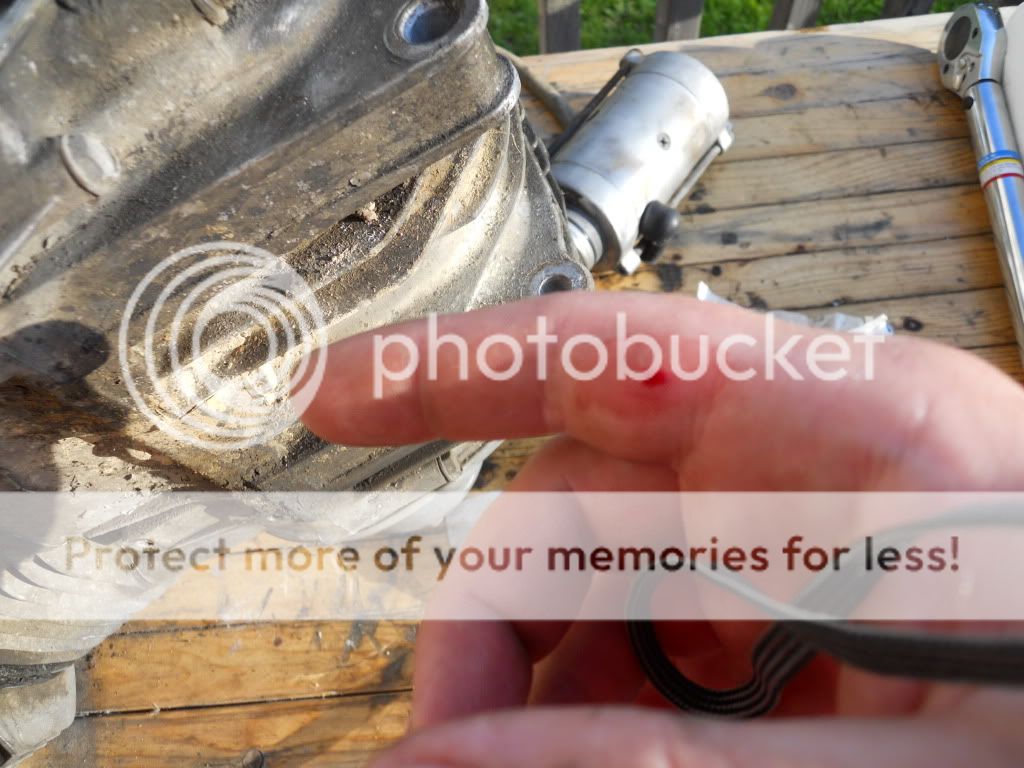
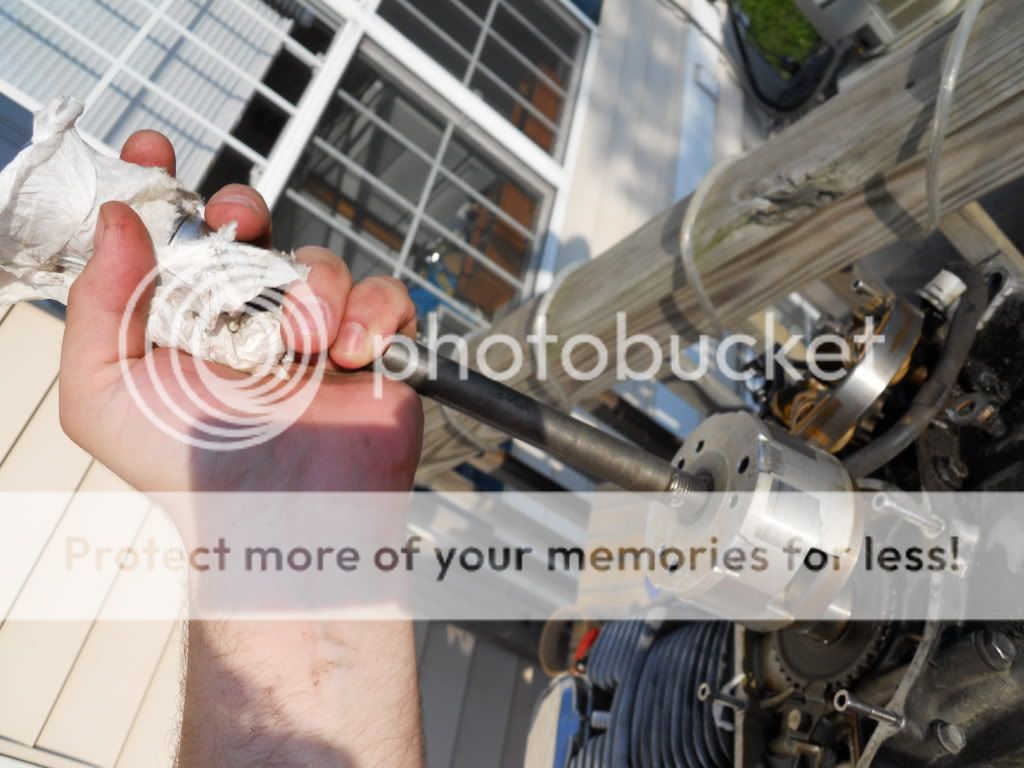
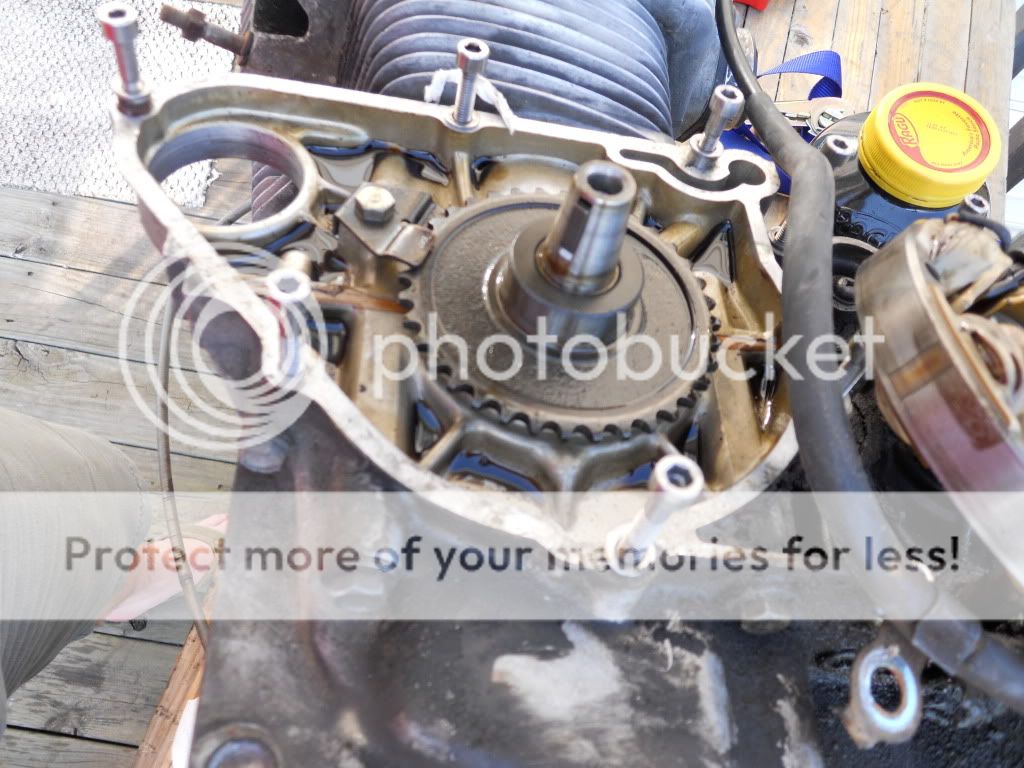
-Honda sells a nifty little tool to pull the magnet housing out for like $15, or you can just take your rear axle off and thread it in. Keep the spacers on and slide them up the axle forcefully smack them off the top. Repeat this until you are ridiculously frustrated, and be sure to pinch your fingers once or twice too. Eventually it'll come off.


DSCN0963.jpg

DSCN0964.jpg

DSCN0965.jpg


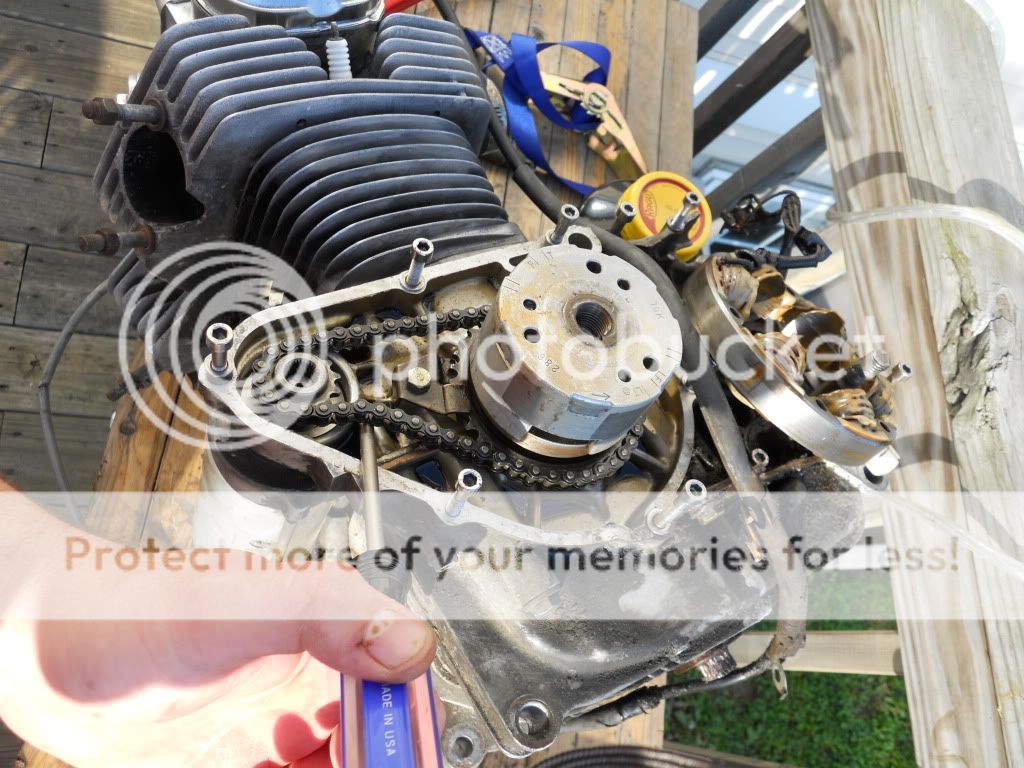
-Remove the larger cog and the little guide holding it in place.


DSCN0966.jpg


-The clutch mechanism (which is ingenious) is still left on the backside of the magnets. Remove it by taking out the three screws. Toss the magnet without the clutch back on the spindle. Note, its tapered and there is a groove, so it'll only go on one way.


DSCN0967.jpg


-Enjoy the moment! Especially since kick-start only will lead to lots and lots of frustration...


DSCN0968.jpg
 
thanks! the axle bolt tip is clever :)

will come in useful when we remove our starter very soon.
 
The polishing is AMAZING. I need to go buy a bench-top grinder pronto. And kudos to you for going kick start only - You'll have a very muscular right leg... Haha
 
Back
Top Bottom