Project Shinjimei- 73 TX500

Deepwaterimports- that's nuts! Maybe these bikes are a little more sought after in Australia.... I don't know... But that would explain why that was the only place I could find a Newtronic ignition! The only place in the world where the supply exceeded demand.... If noone can afford the bike, who can afford parts?
 
IMAG0032.jpg

Well, it appears it was a good thing I checked which marks were accurate... The cams were set a tooth off . Amazing how stupid the last person to open this motor up must have been... The further I get into it, the more I find wrong. I mean, I can almost forgive the cams being timed wrong, but silicone on the head gasket? Ridiculous.
Of course, I am making my own mistakes as well. Apparently, there isn't enough room to remove the head while the engine is still in the frame. Guess I have to pull the sucker to finish this job...
 
IMAG0035.jpg

Well, after weeks of procrastination, I finally got up the motivation to pull the motor and complete the head swap....
IMAG0036.jpg

For the most part, the motor looks good. Obviously barring the silicone slathered on everything.... Bores are smooth, no corrosion. I need to get the valve springs moved over to the new head, and then I can reinstall.
IMAG0040.jpg

Good thing I did this.... The old head is cracked between the exhaust valve seats and spark plug holes in four places. If you look carefully, you'll see them. On the right cylinder, the cracks extend a quarter inch up the spark plug hole! This bike was living on borrowed time....
IMAG0037.jpg

While I have the motor out, though, I figured I'd take care of some other stuff. Like fixing this rat's nest. I'll take the time and eliminate the unnecessary stuff from the harness while I update a few things. I'll also finish de-tabbing the frame and paint it while everything's exposed. It gives me better access to the parts of the motor I haven't gotten clean yet, as well. Carry on!
 
TwoSmoker;
I sure am grateful for your lengthy build thread. I am about to embark on a similar journey, but with a lot less skill and knowledge than you. It is great to see what others have done and not to think everything will be be perfect or work the first time tried.
Best wishes with the bike and getting your life sorted.
Steve
 
I've been meaning to post an update for some time, but I suppose I'd have to accomplish something first, yes? The past few weeks I've been working on just cleaning up the exterior of the motor while I wait for various gasket components... Nothing worth posting pictures. Lol. The head gasket I purchased was apparently a later design, which requires a separate seal for the camchain tunnel, so I'm waiting for that... And I had to drill two little holes in the gasket as well, to match up with cooling holes in the cylinders and head. Frustrating, but necessary....
 
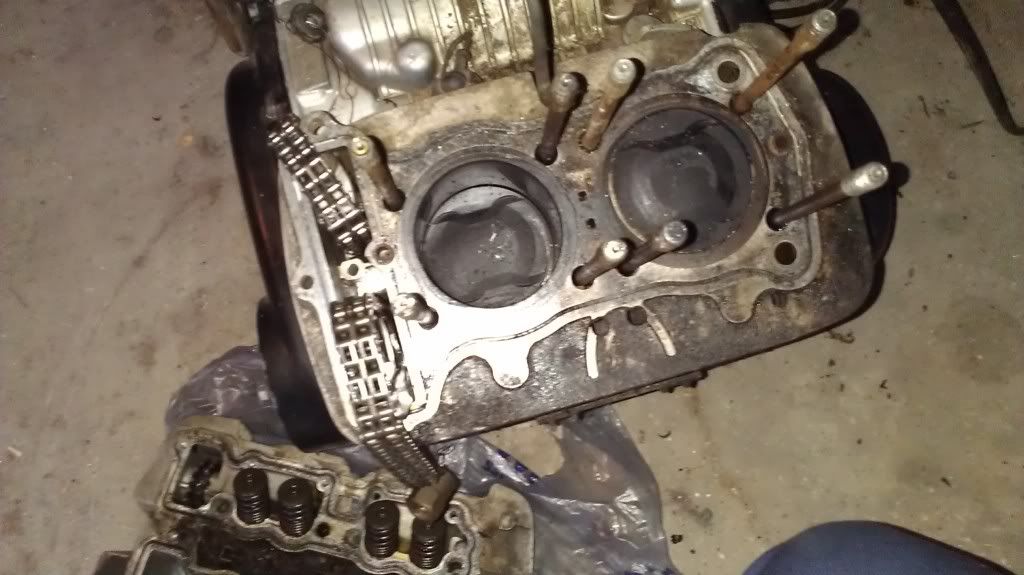
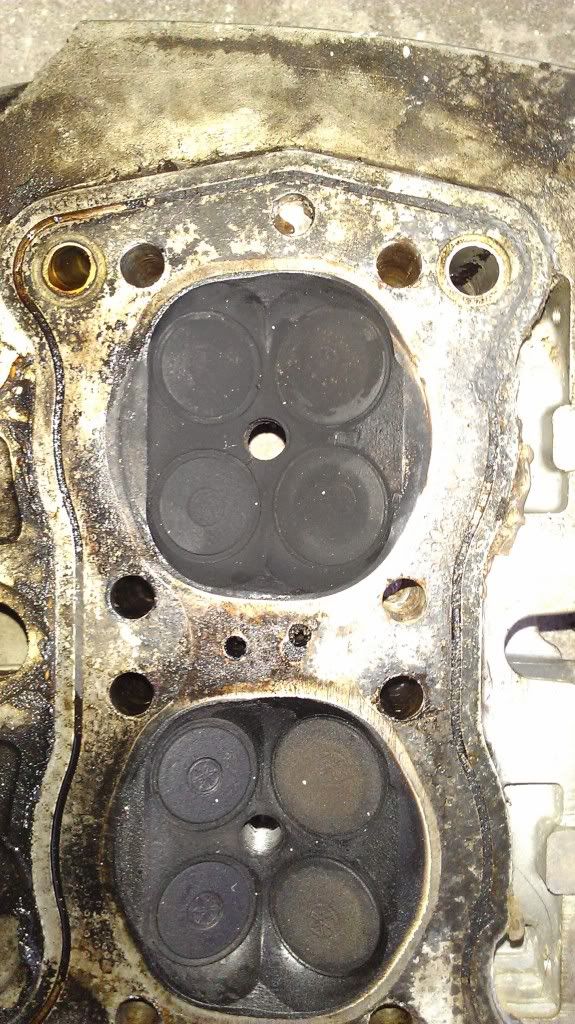
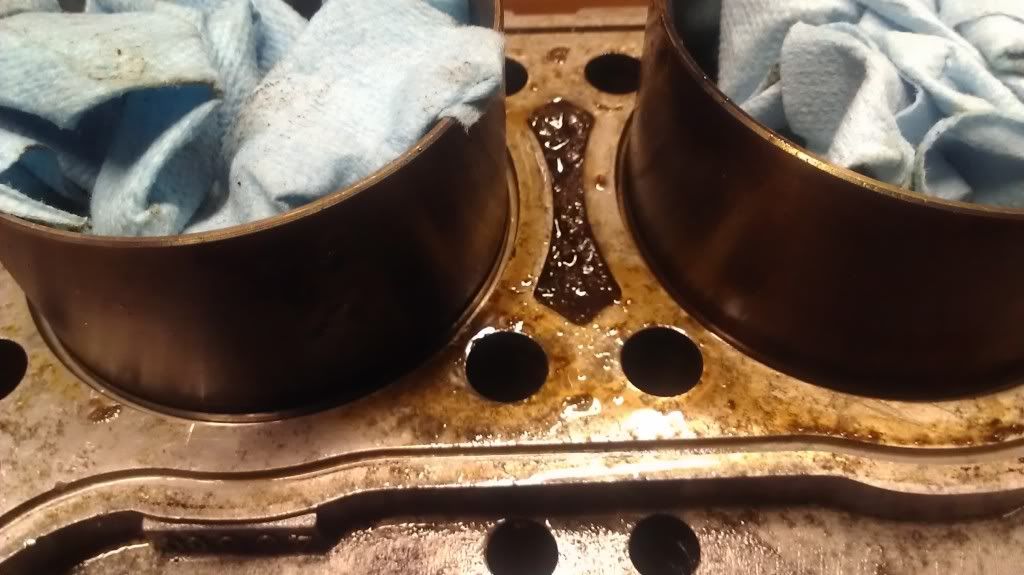
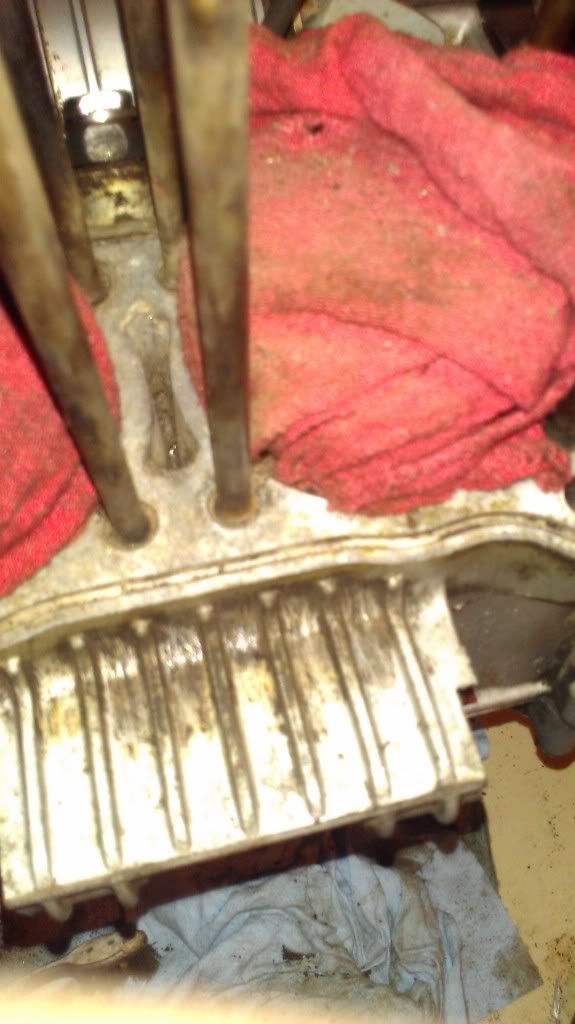
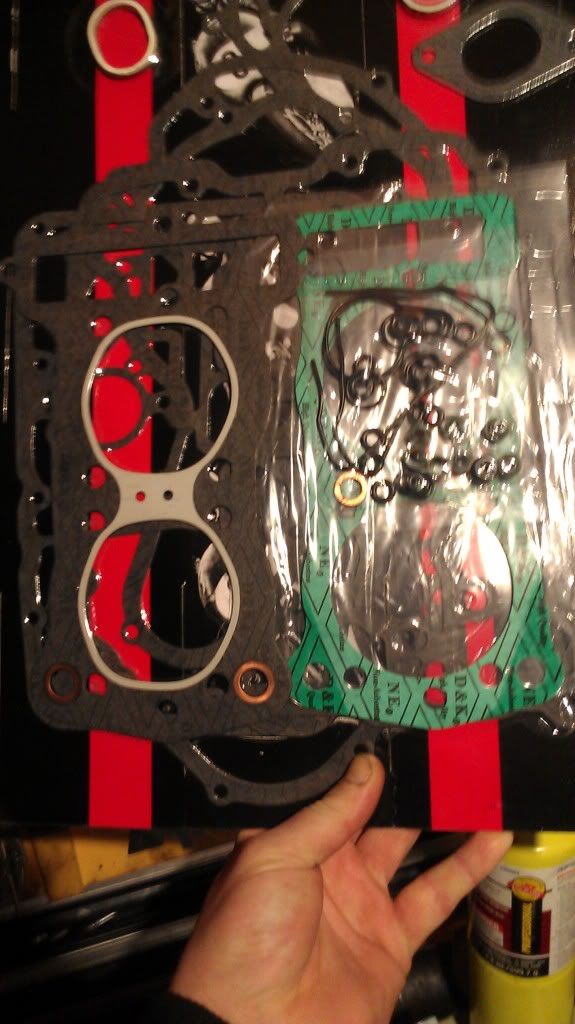
Well, I have stumbled into another delay! After discovering I need a second piece to go along with my head gasket, I figured I'd start putting the two pieces of the head together while I waited. I had set the bottom piece on top of the cylinders to stop dirt falling in the bores, and when I lifted it off, the cylinders came up off the cases with it. So, now I have to get a base gasket, and all the commensurate o-rings. I mention the o-rings, because, yet again, I find someone else wasn't so well-versed in the assembly process. There are orange o-rings at the bottom going around the cylinder liners, and not only were both torn, but one was actually both doubled up and pinched. Also, several of the little black ones around the cylinder studs were doubled up and pinched as well. No wonder I had so many leaks! Oh well, as always, I am doing work that will make the bike more reliable when it's back together. I have decided to pick up a complete gasket set off eBay and and do a "complete" tear-down. Especially since I accidentally dropped an o-ring down in the cases. Doh!
 
rundown said:
TwoSmoker;
I sure am grateful for your lengthy build thread. I am about to embark on a similar journey, but with a lot less skill and knowledge than you. It is great to see what others have done and not to think everything will be be perfect or work the first time tried.
Best wishes with the bike and getting your life sorted.
Steve
That's very kind of you to say! Thanks, I wish you well with your project as well!
 
IMAG0059.jpg

What is this crap? I let this thing soak in solvent for two days, and this gunk didn't budge. The greasy crap between the fins, same story.... I might actually have to farm this part out... Hot tank? Soda blast? I got nothing.
 
Maybe carbon build up ? But will say odd place for it if that whatit is :eek:
 
Yah, I think it's a combination of cooked oil and road grime settled into the ccooling passages. The damn thing leaked like a sieve from the head gasket, with all that silicone all over it.. I'm just amazed that the parts washer solvent didn't dissolve it.
 
Looking at the bike today while trying to get the mounts for the ammo bag side covers brazed on, I was a little put off by the look of the rear frame section. The seat doesn't sit the way I want, and when I moved it into a position I liked, I realized what the problem was- the frame. Yep. The frame looks stupid. So I'm cutting off the whole back end behind where the tubes meet, including the upper shock mounts, and starting over. I'm undecided on wether I'm going to tilt the frame tubes up to match the angle of the seat, or just leave the tubes off, but it will allow me to relocate the shock mounts so I can use my fancy (and obnoxiously long) reservoir-type shocks without clearance or geometry issues. Pictures to follow.
 
IMAG0067.jpg

Okay. Here is what the seat looks like as it sits, laying directly on the frame. In this position, the cut off section of the rear tubes is covered by the seat, but in profile, the seat needs to sit up higher at the rear.
IMAG0068.jpg

Like this. But that exposes the ugly frame. So...
IMAG0071.jpg

Everything I have covered with my hand is getting removed. I may smooth it out, or add new tubes to follow the new angle of the seat. Either way, it allows me to do something I was thinking about anyway ...
IMAG0070.jpg
I'm going to relocate the upper shock mounts so I can utilize my reservoir shocks without raising the rear of the bike so much, as was the prblem I had with these shocks initially. (i realize this pic doesn't illustrate the end result as well as I'd like, but it was really hard to hold the shock in place while aiming the camera. Trust me, it works.)
This is all stuff I'm doing while the motor is out, waiting on gaskets for reassembly.
 
IMAG0099.jpg
this, I'd say, is an improvement. Cleaning this little cooling/drainage passage took me days. It was completely clogged with a mixture of dirt and oil, even a copper washer from the brake system. (how it got there, I have no clue, but it was obviously there a long time.) Now I need to soda-blast between the fins on the cylinders, and I can use this stuff:
IMAG0100.jpg

Amazingly, Yamaha still has an ample supply of these o-rings that go around the bottoms of the cylinder liners. It helps that they were used on XS750s, 850s, and 1100s. I needed them, of course, because they were not included in this:
IMAG0101.jpg

I found this full gasket kit on eBay thanks to a fellow TX/XS500 forum member. The above o-rings were the only thing needed for a full rebuild that wasn't included. Of course, that means I will have many extra gaskets I can part with, so if you've got a 500 and need gaskets... I might be able to accommodate. I won't need the exhaust gaskets, nice viton valve seals, oil filter mount gasket, or oil pan gasket for sure, once I finish assembly , I'll post what's left. Later!
 
282042_10200357552280629_103598141_n.jpg

One of the new members of the TX/XS forum posted this pic of his build..... I had set my mind on retaining my stock front end, partly because of the work my buddy did making the adaptor to fit a Hurricane 600 caliper to it, while using an FZR600 rotor... But this may have changed my mind.....
 
The front end in the picture is ZX6. I'd kinda like to keep it all Yamaha. If I do it.... R6... Jake you're always a life saver in that regard. I'd most likely need the newer stem machined to fit original bearings - and for length. I'll keep ya posted! For right now it's a "file away for future reference " deal. No way I can afford it after I fix my car.
 
Today I went a little out on a limb, and ordered an EX250 swingarm off eBay.... I know they'll fit an XS650 frame with little modification, so I'm hoping that will be the case on the 500 frame as well. I looked up the pivot and axle diameters, and they look to be a match, so, here's hoping! It was too cheap to pass up....
 
Back
Top Bottom