Follow along with the video below to see how to install our site as a web app on your home screen.
Note: This feature currently requires accessing the site using the built-in Safari browser.
We noticed you are blocking ads. DO THE TON only works with community supporters. Most are active members of the site with small businesses. Please consider disabling your ad blocking tool and checking out the businesses that help keep our site up and free.
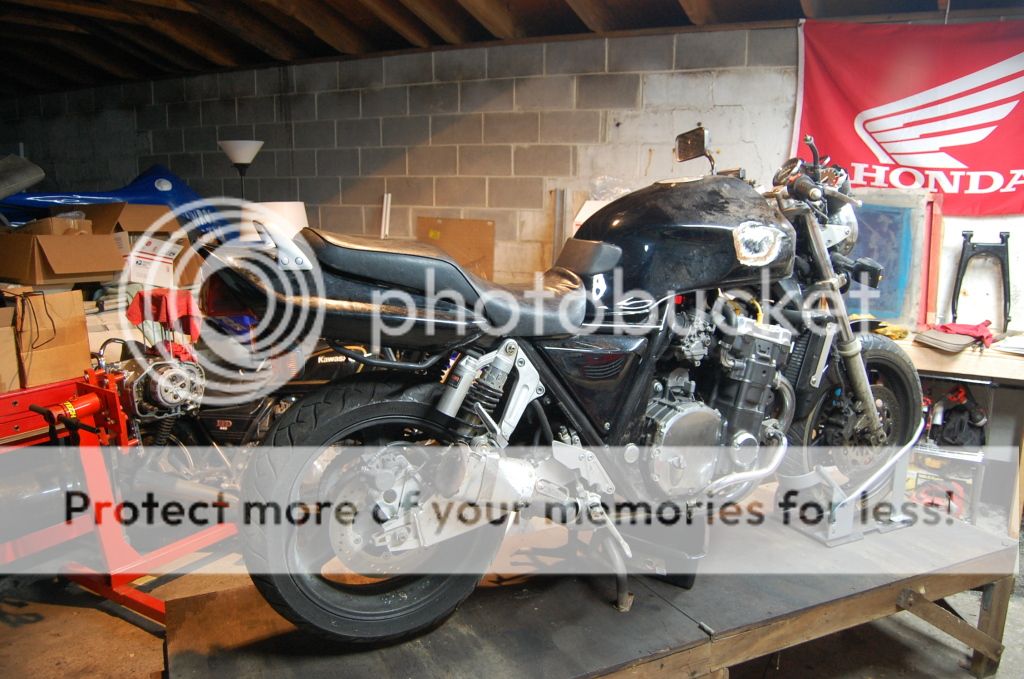
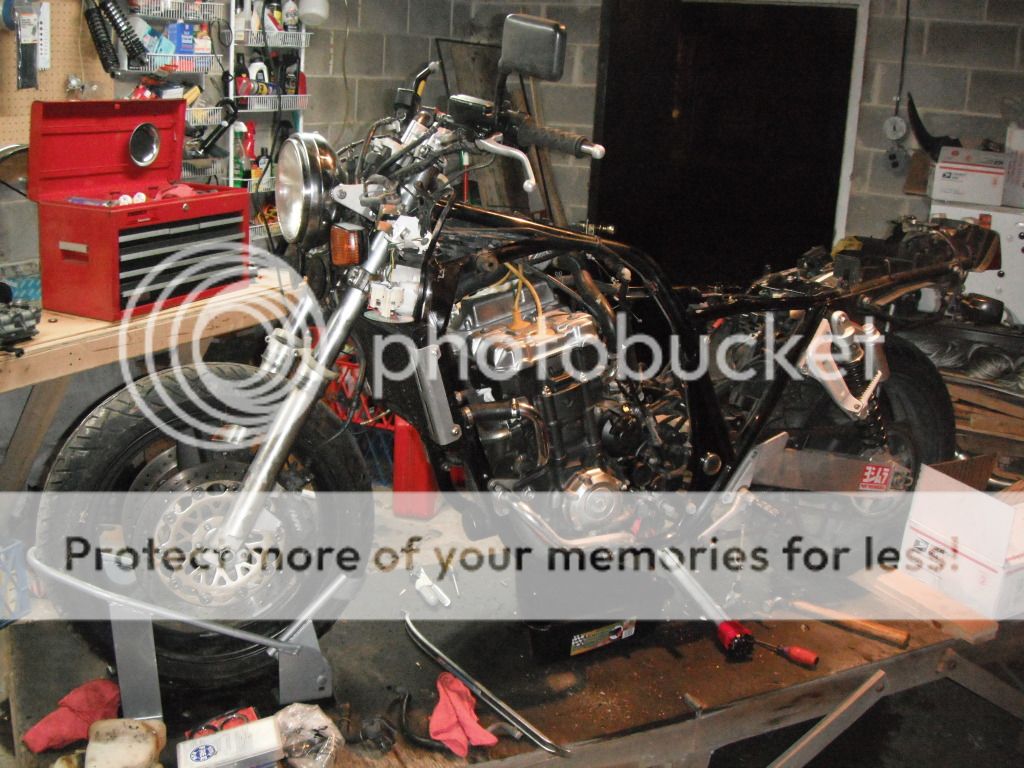
Welp, I'm back after a long but therapeutic hiatus. Figured I'd share what I've been up to in the garage. Last winter after realizing ol' #7 was turning into a very long term project I started shopping around for something I could wrench on in the meantime and have a good commuter for 2012. What I happened upon was a 1994 Honda CB1000F wrecker that I scored off a guy for a steal. Took a few months but I got her on the road and have had an extremely fun and reliable daily driver all summer and fall.
I'm still riding into the winter months here in PA but the plan is to tear her down again in the near future and continue on the project to convert this once sport-touring behemoth into a slick endurance racer for the street. Figure this build log will keep me focused and organized in the next step, something I've been lacking lately.
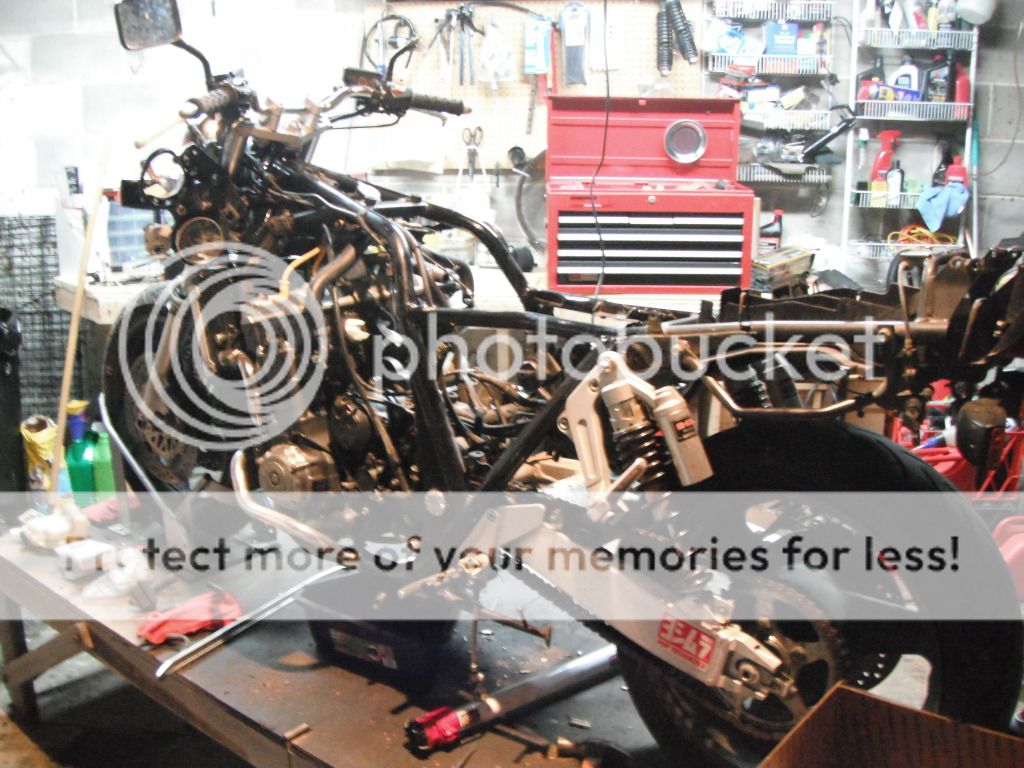
Anyhow, here's the past several months at a glance:
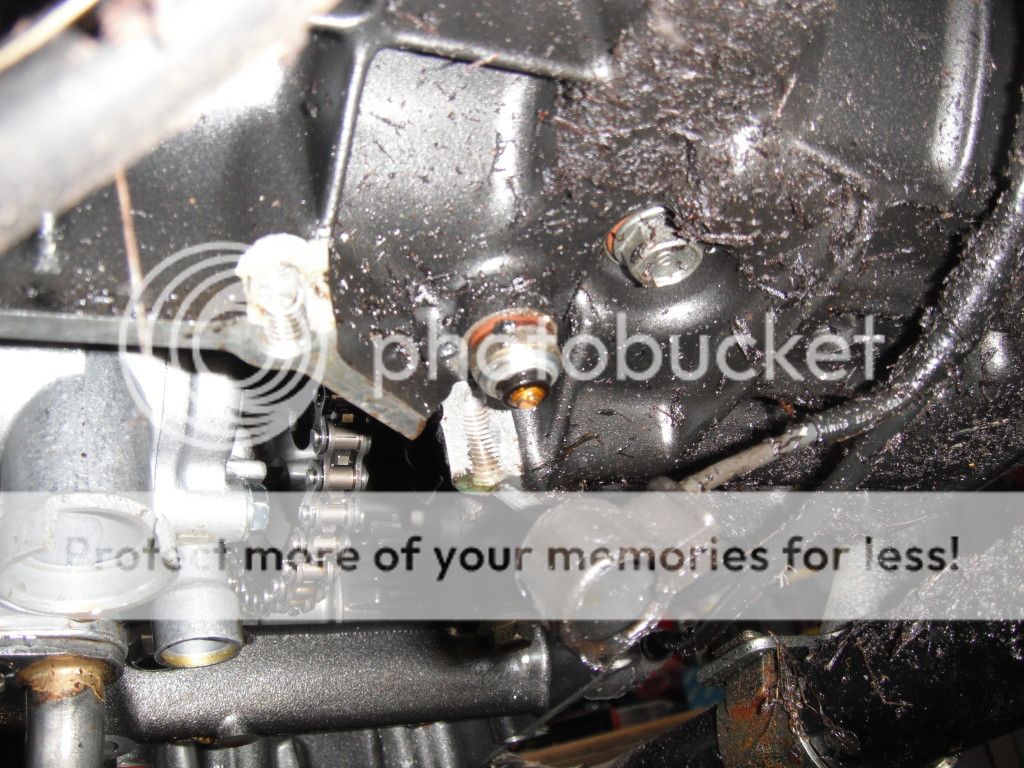
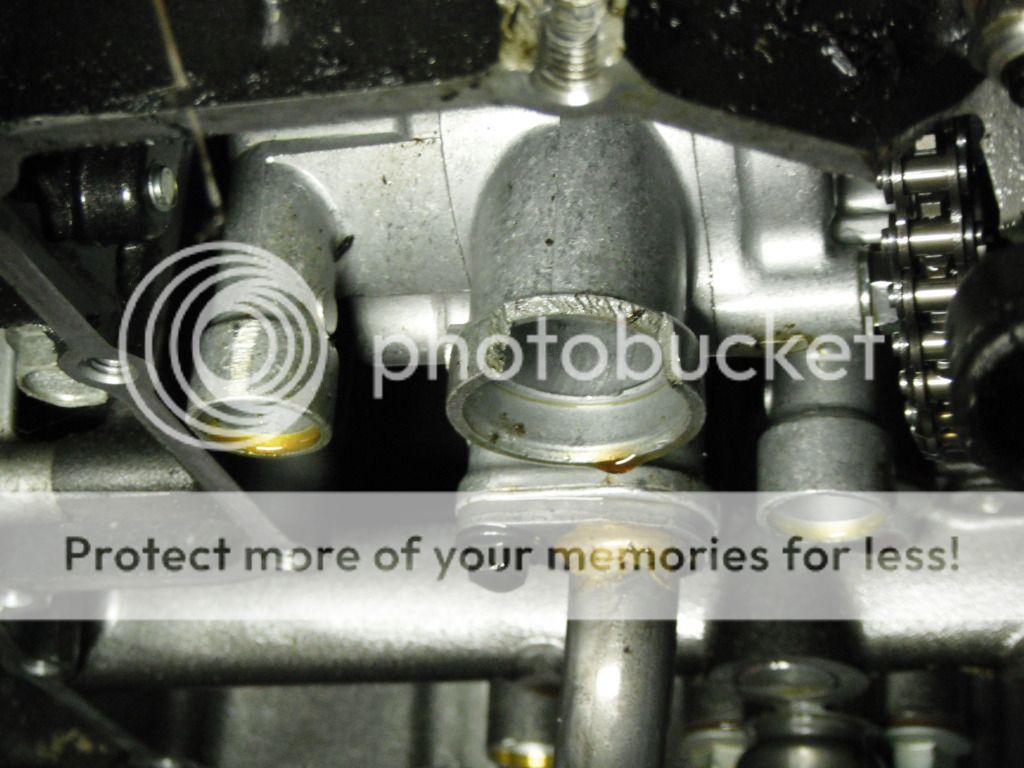
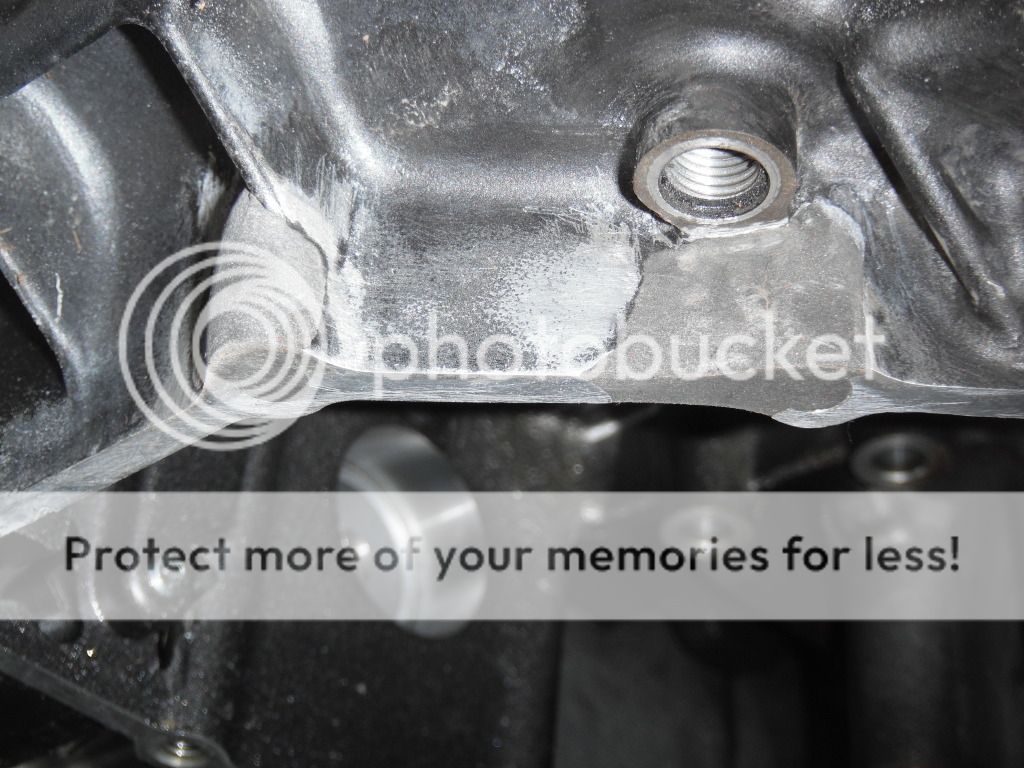
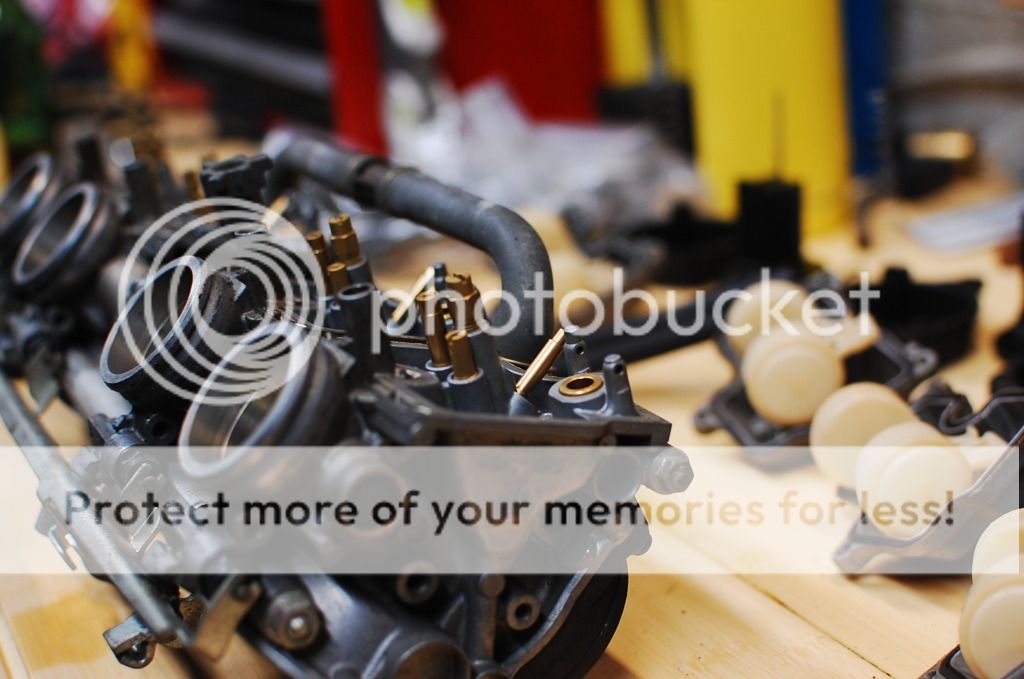
I grabbed a used oil pump off ebay and got the missing pick-up pieces (strainer, seals, and gaskets) from work. The dude I bought it from gave me a used but perfect oil pan that he had picked up when he was still planning on fixing it himself.
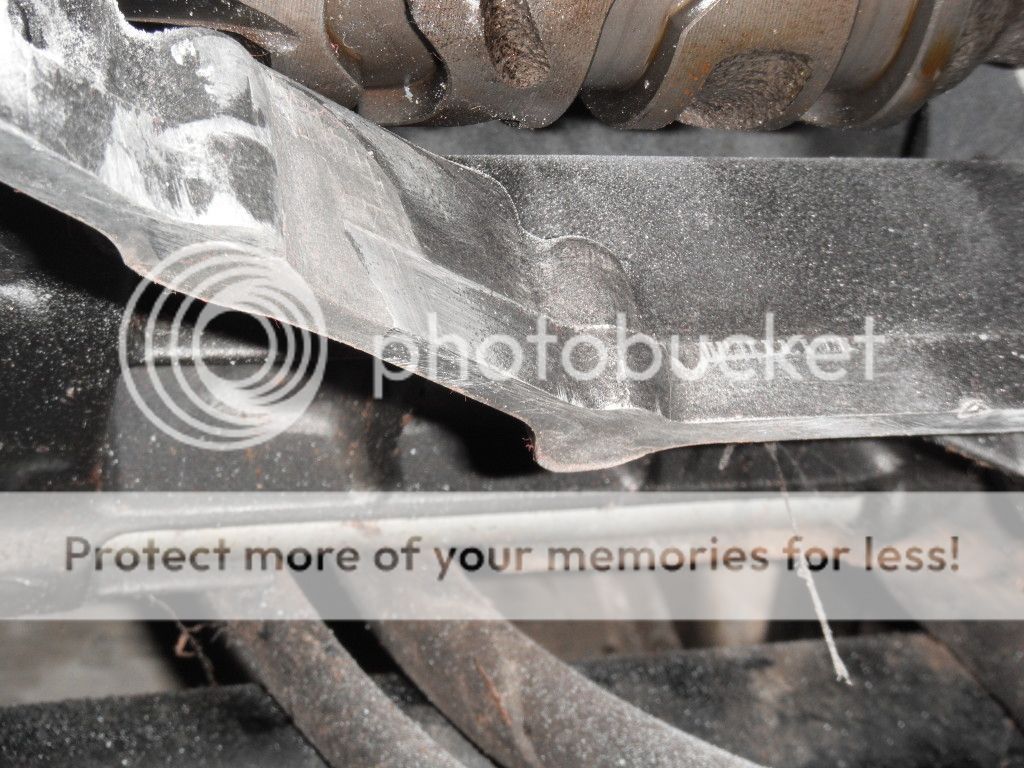
After man failed attempts to simply epoxy the blown out case I was able to braise in an aluminum plug and finish it off with fancy metal epoxy from NAPA. I lost 2 bolt holes doing it this was but figured that would last me until I tear it down again this winter. The oil pan is fastened with about 15 bolts, missing two isnt the end of the world.
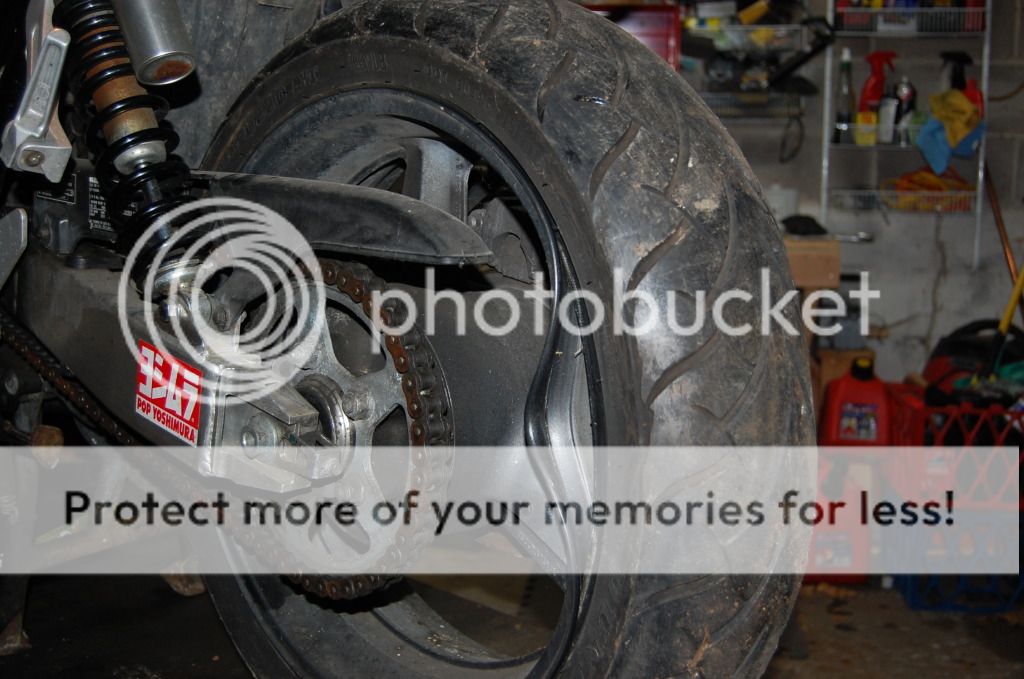
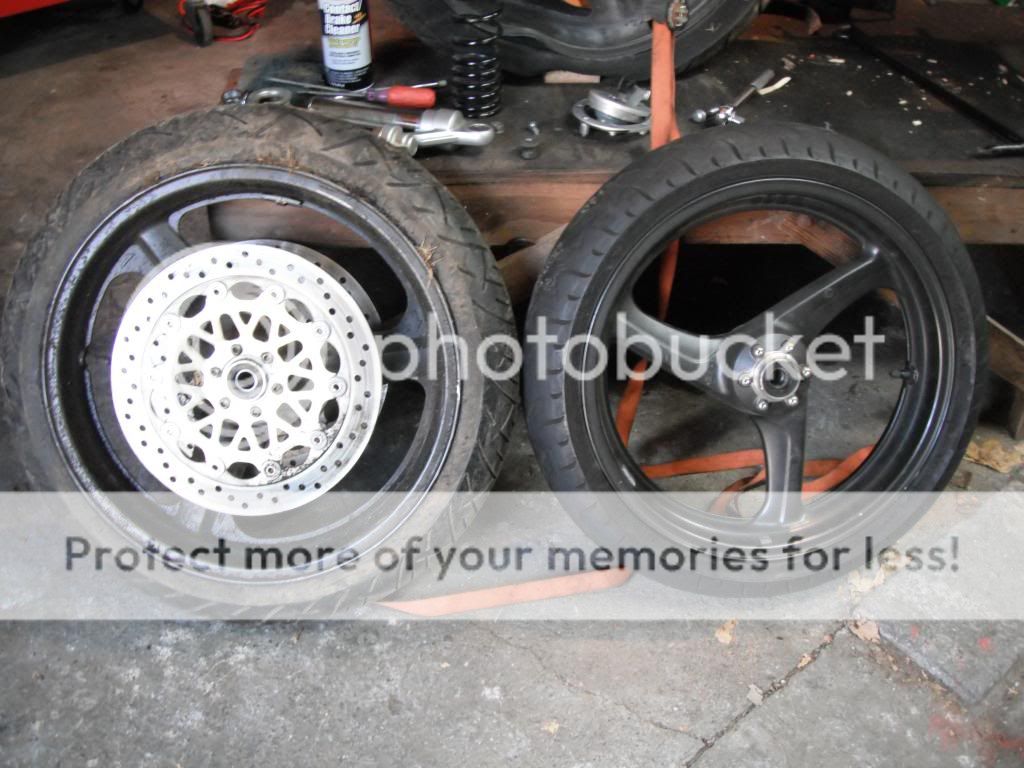
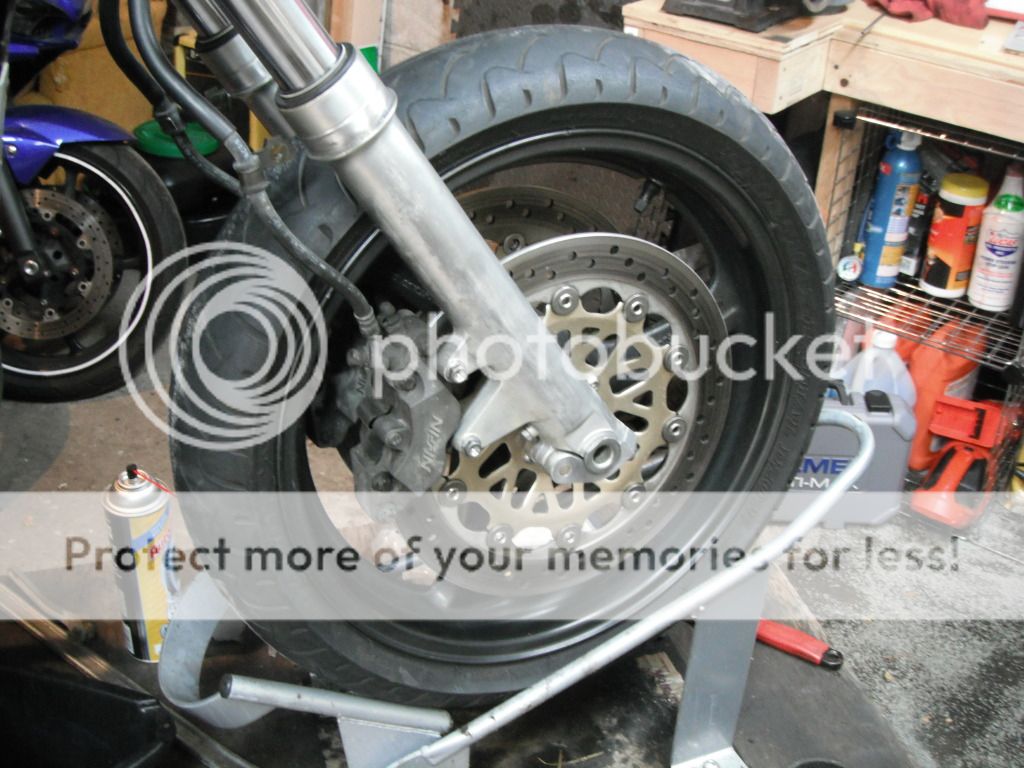
The CB1000 came stock with 18" wheels since it was a sport touring model. I knew from the get go I wanted to increase the "Sport" and put the "Touring" aspects on the shelf so after a bit of research rounded up the parts to convert it to 17" wheels which are standard on todays modern super sport bikes. 18" tires are also very hard to find so its nice to have a wide variety to choose from. With 17's fitted I am able to run 120/70 up front and 180/55 in the rear which is identical to all the modern CBR's, ZX's, and GSXR's and improved the handling accordingly.
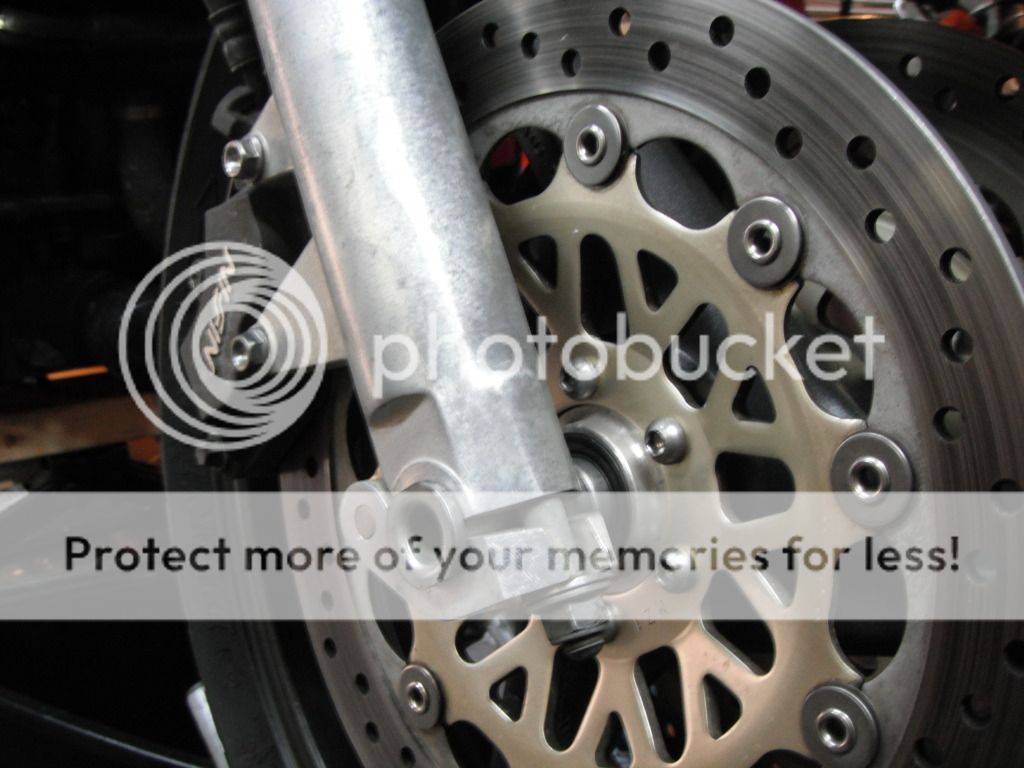
Front rim came from a Honda Super Hawk and is a direct fit, just swapped the rotors from my stocker, now engineering or funky spacers required. Here's the 18" and new 17" next to each other
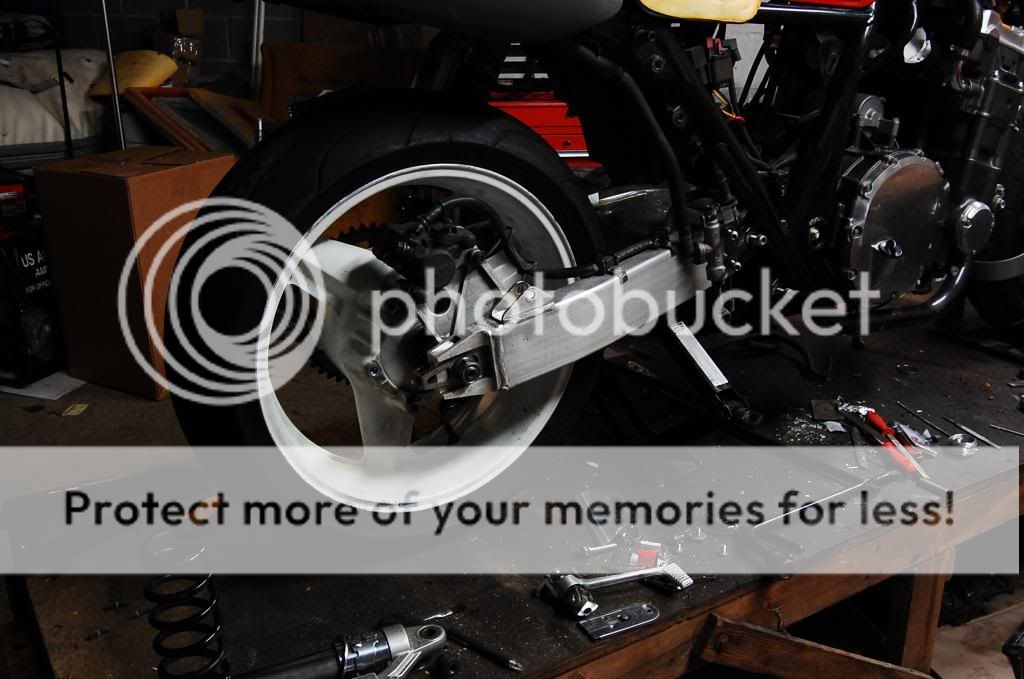
Rear Rim comes from a CBR of the same year. Although the two bikes have different swing arms the rims are interchangeable, again with no added spacers. Both the brake rotor and the sprocket carrier slipped right on.
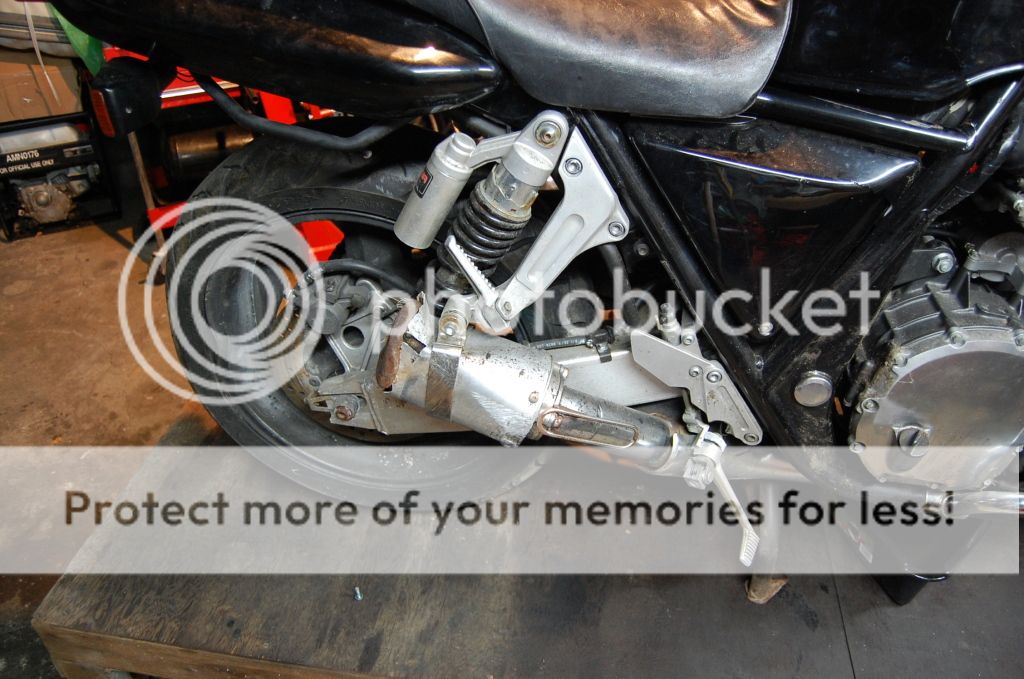
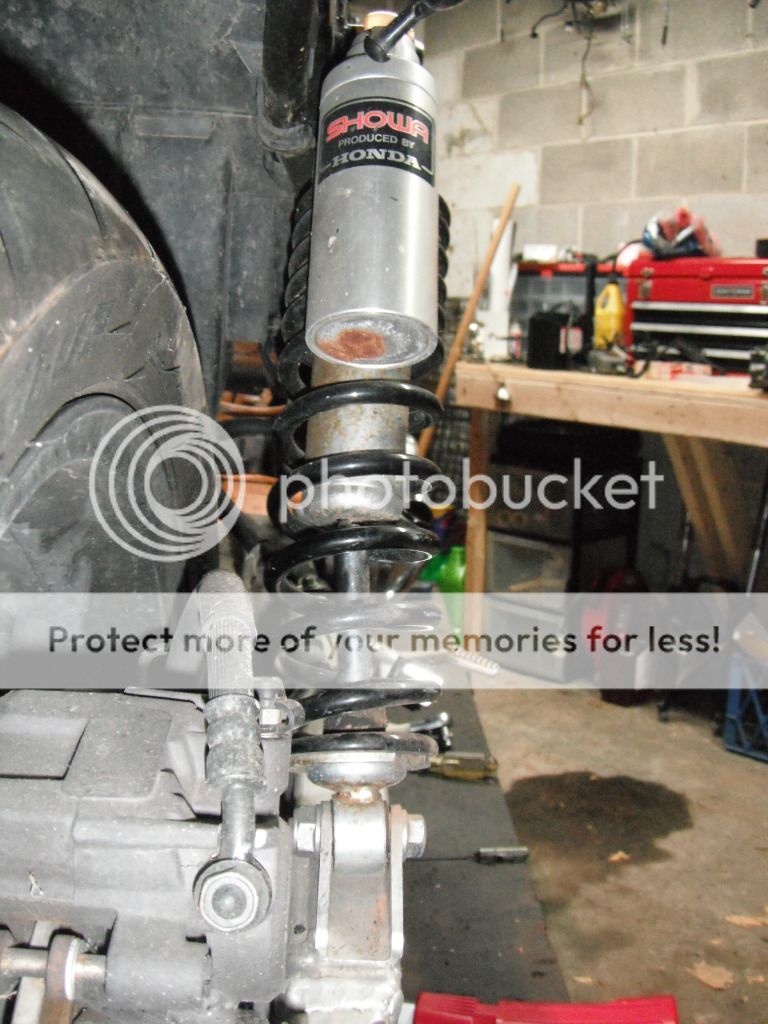
For the bent shock I was able to disassemble it enough to bend the strut back straight. Wish I had a pic of that proccess... I had quite the redneck set-up but in the end it worked and I got full movement back and havent had an issue since.
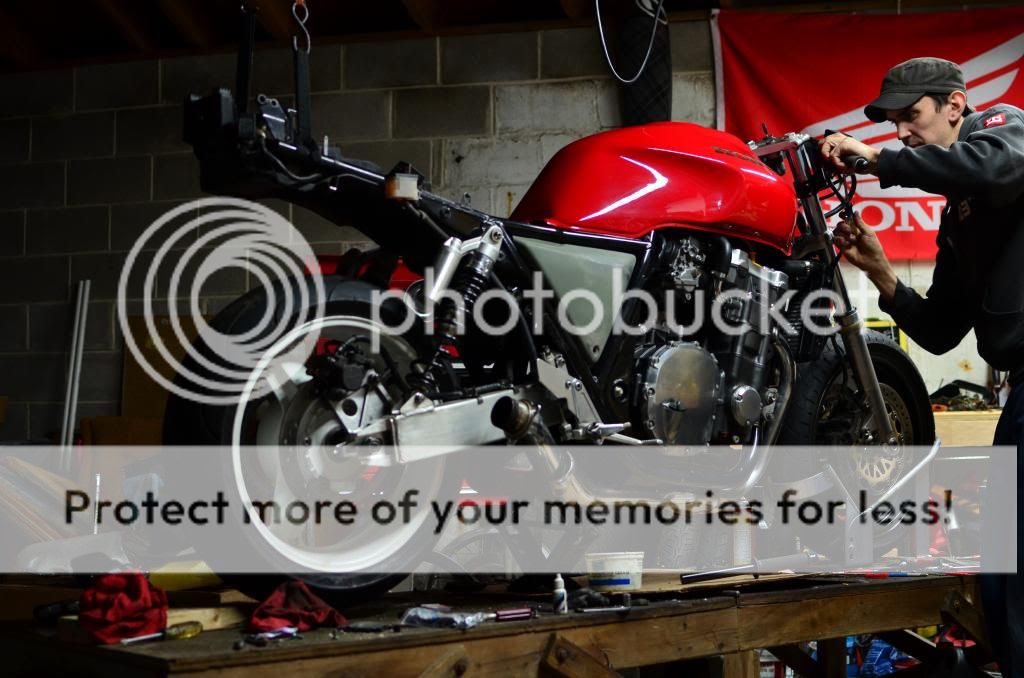
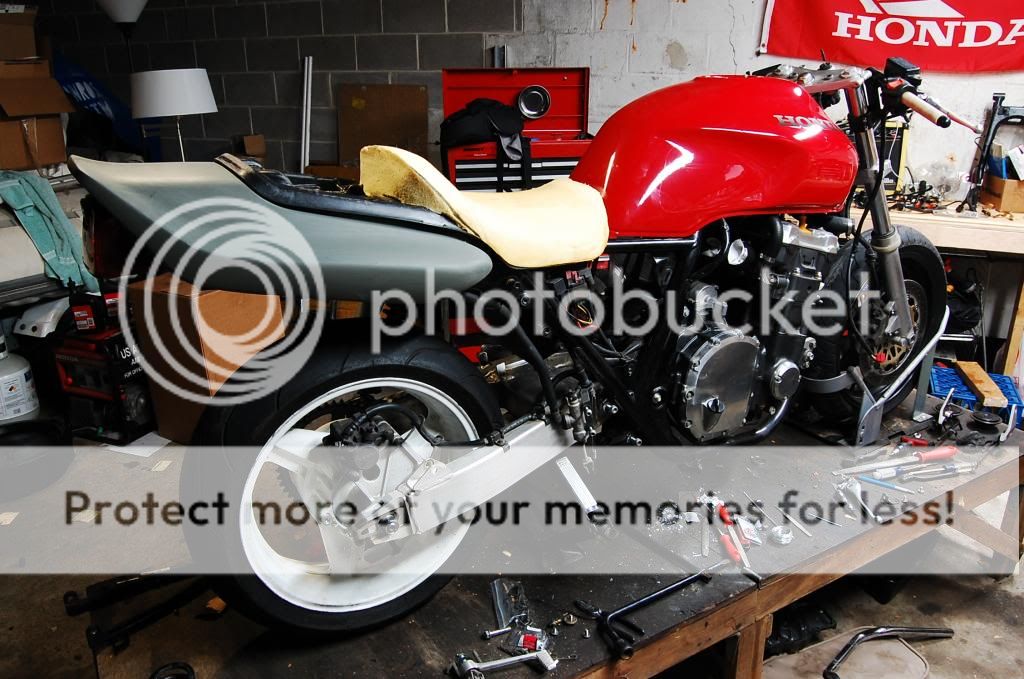
Shock re-mounted and work started on repairing the body work. The tank was good and fucked but my buddy Dan (the man) had just replaced his tank on his 95 model and donated his old previously repaired tank to the cause.
and yes, that tank does hold 5.8 US gallons of gas. awesome.
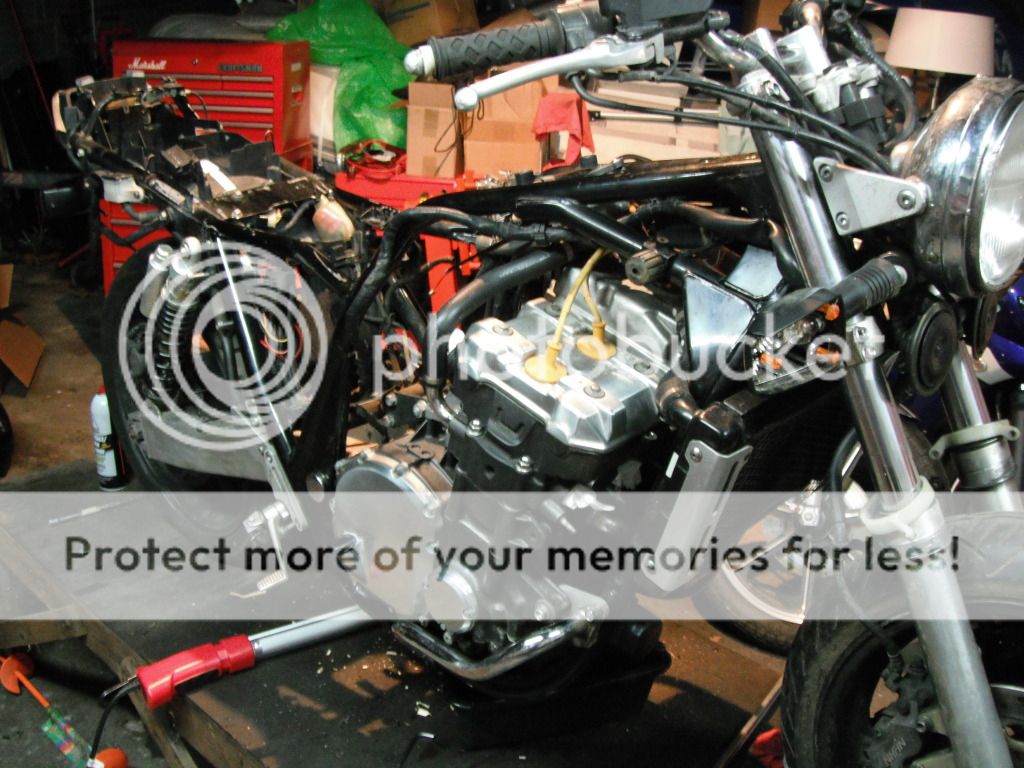
17" fitted and a good look at the trick drop-out forks that came standard on these bikes and no other model. Between that and the huge boxed alum swing arm, this thing is just begging to be a racer.
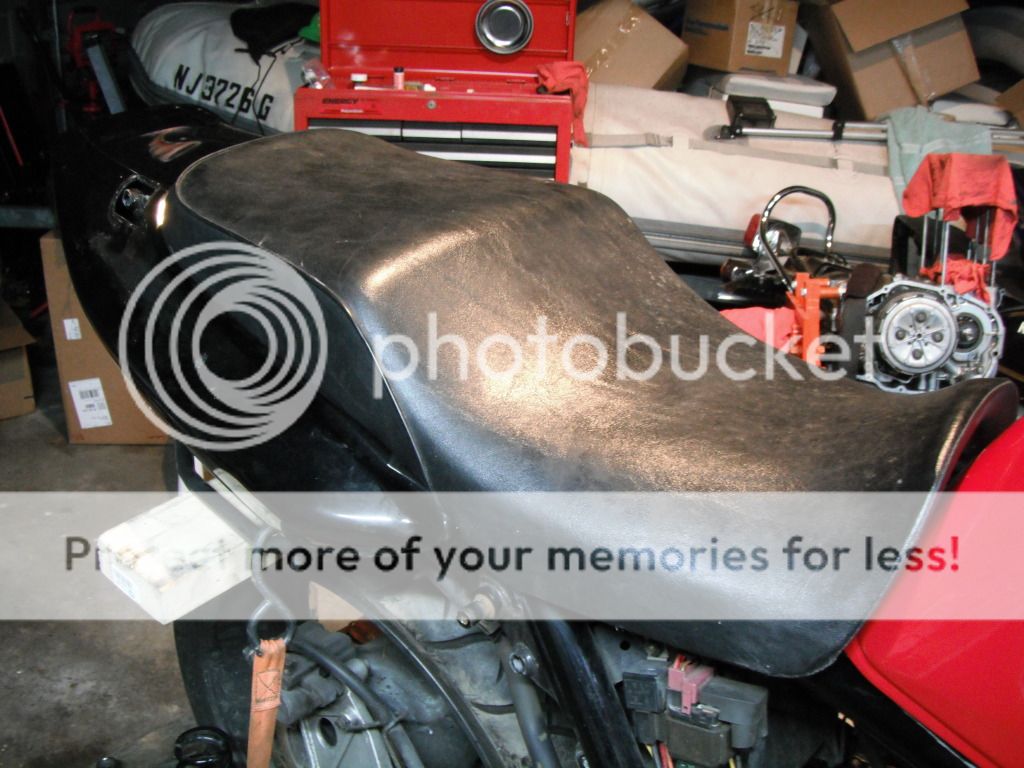
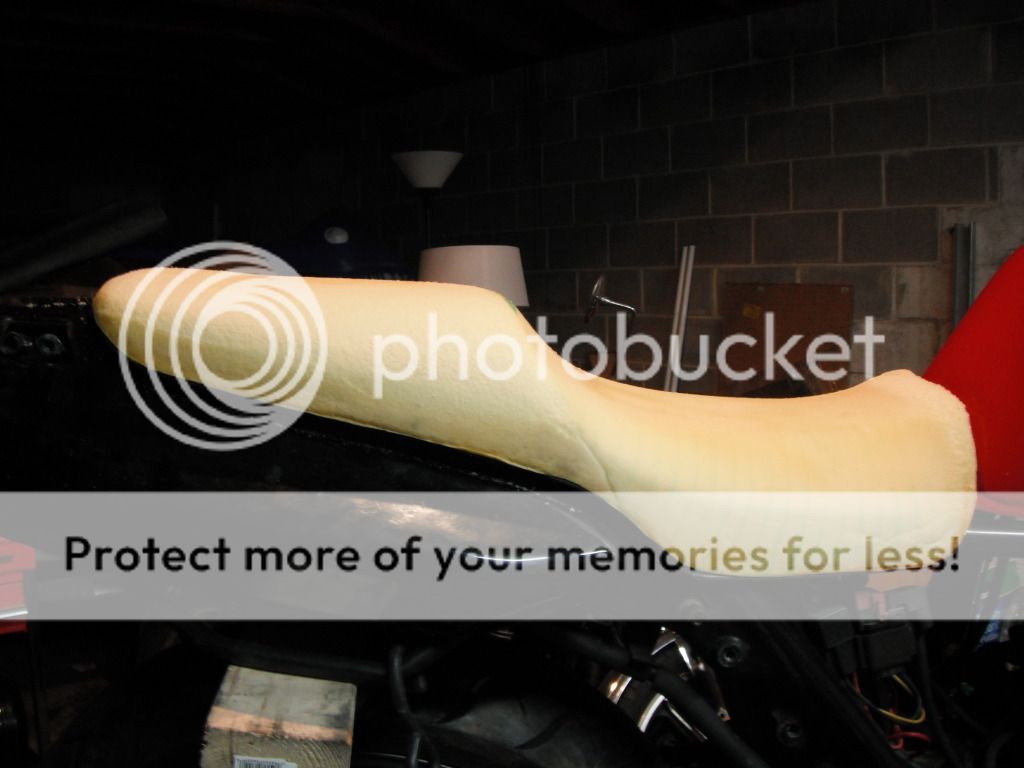
After the hard parts were done I got to do some work on the fun stuff. Started by removing all the grab rails and anything that had to do with carrying a passenger. No more passenger footpegs and no more passenger seat. Seat transformation:
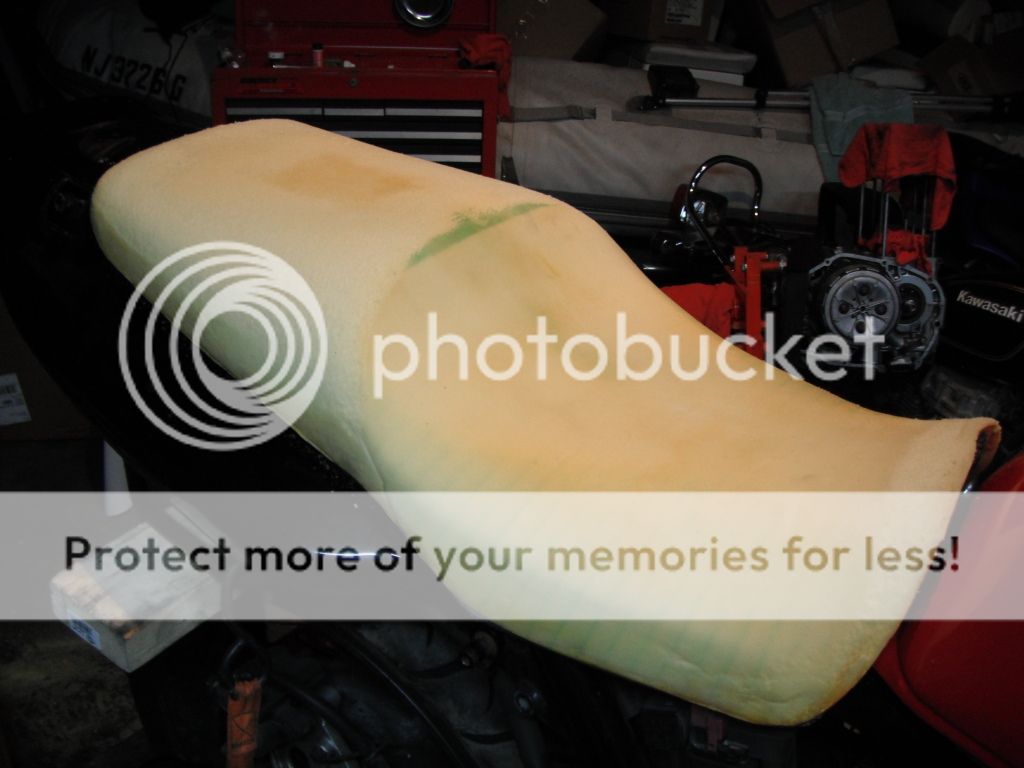
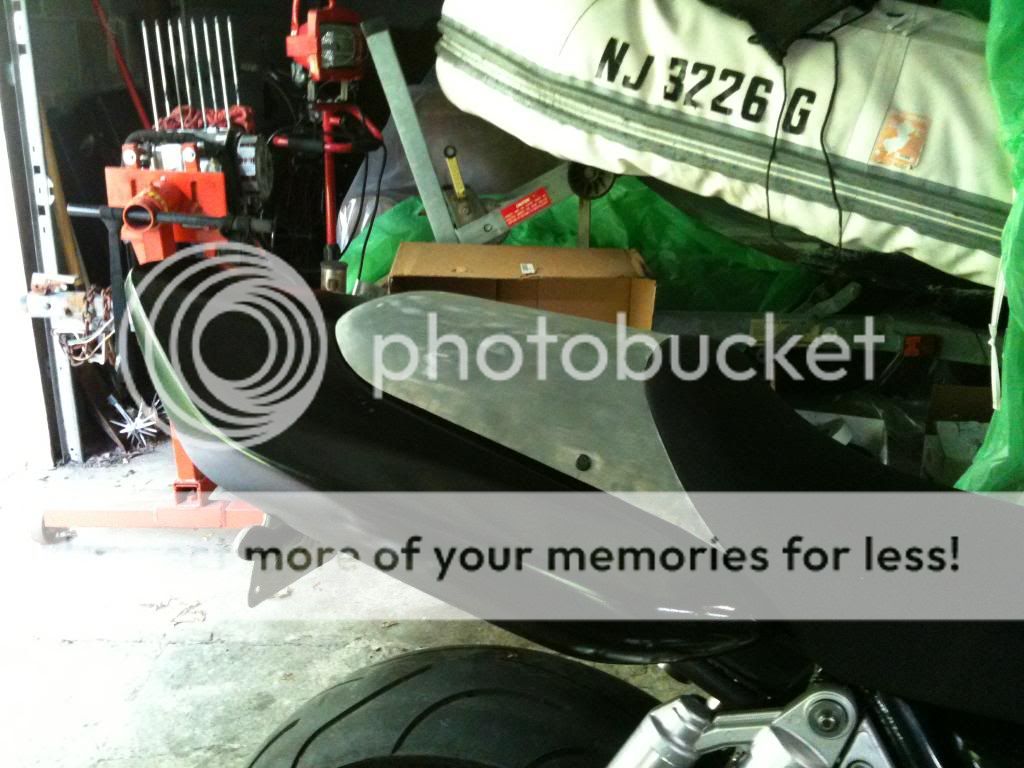
Cut the passenger portion off and used it as a mold for a fiberglass cowl
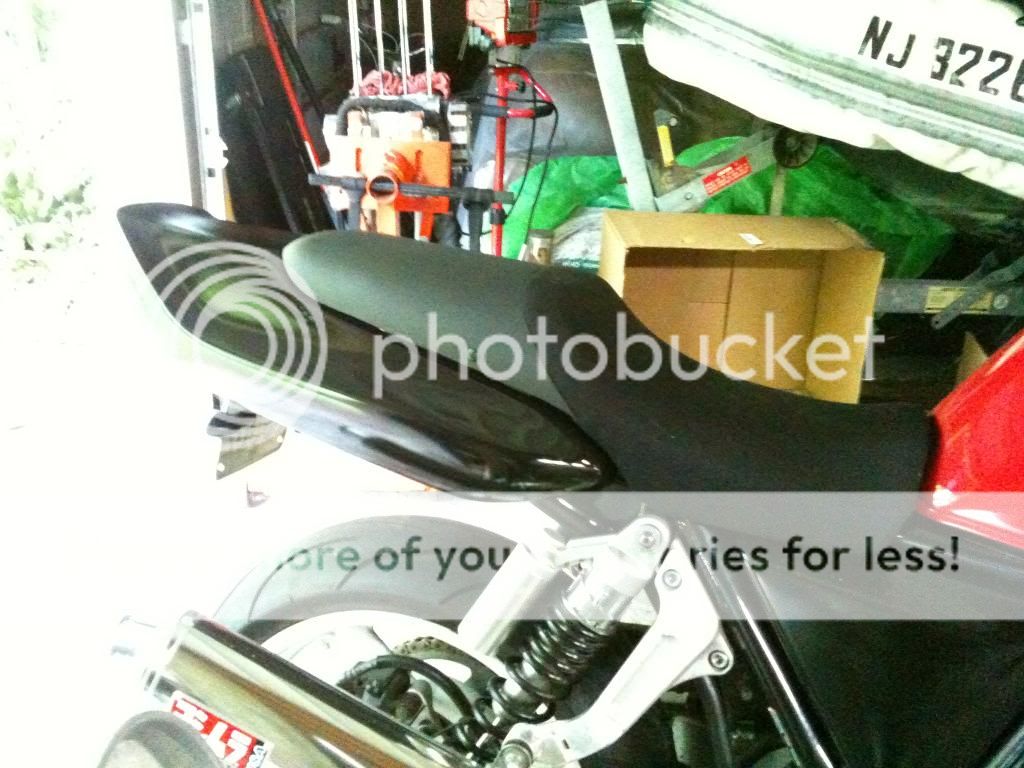
The cowl is held on by 3 push button fairing clips and gives me extra storage space in the seat pan. Re-upholstered the seat with a semi-stretchable fabric the local fabric store labeled "Scuba". Made navigating the complex curves way easier and looks the part too.
You can also catch a glimpse of the new Yoshimura pipe I was able to fit on...
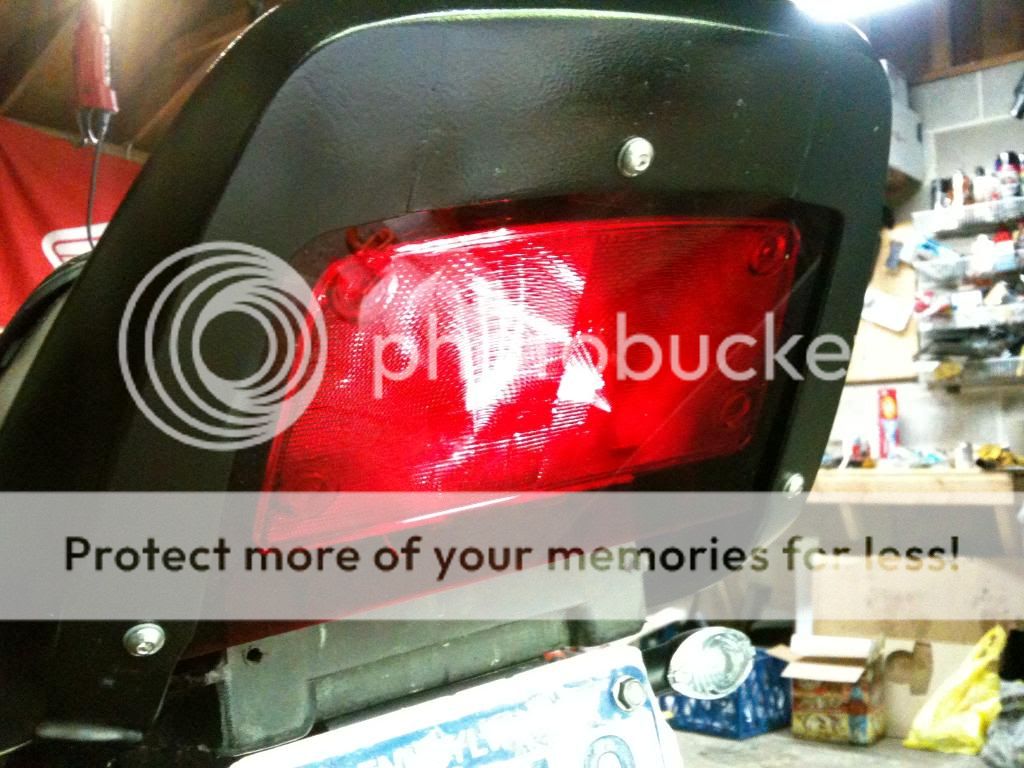
continued the back end clean up by getting rid of the giant box of a tail light and replacing it with a flush red acrylic lens back with LED's. Still working out the LED portion to get more brightness out of it but its working for now.
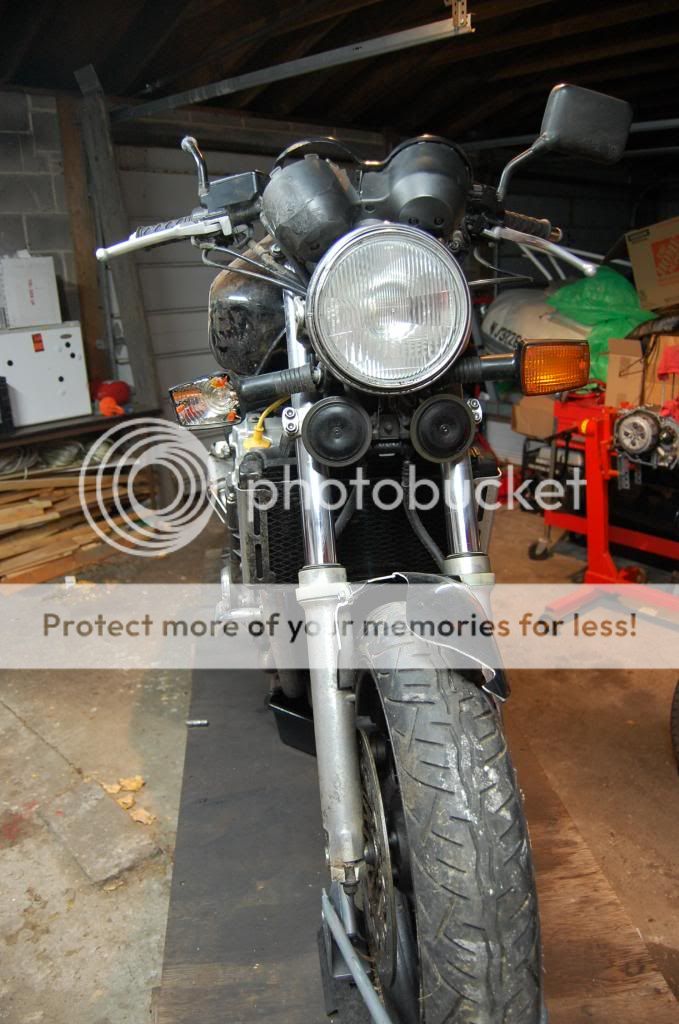
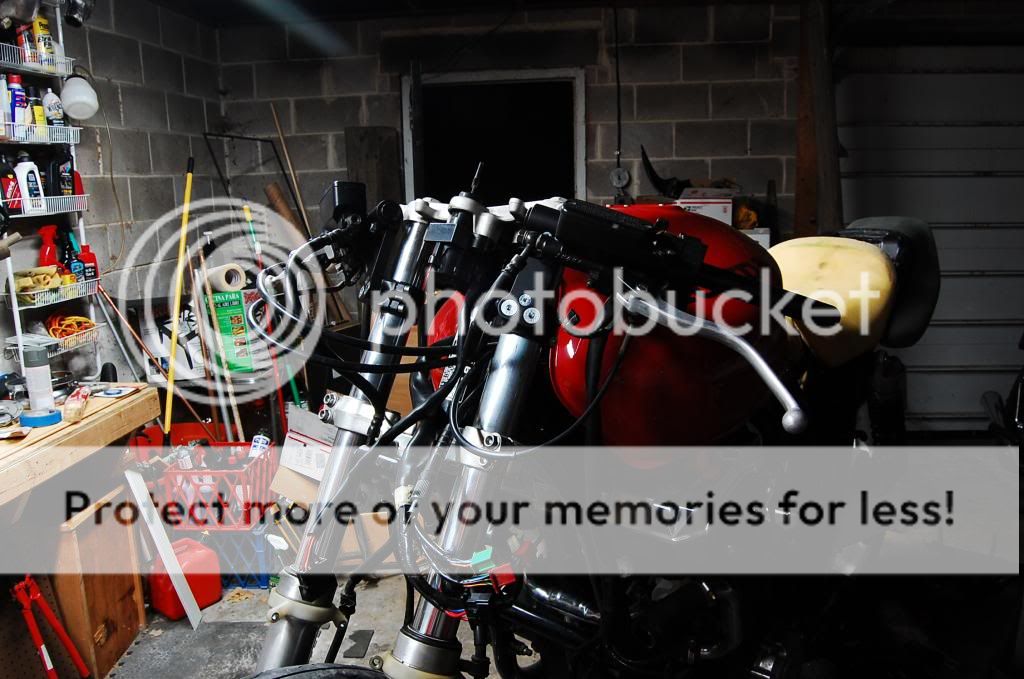
Up front i wanted to change the riding position from upright to more leaned over the tank while lowering the entire front end visually. Stock handle bars and risers were thrown in the trash and replaced with Woodcraft clip-ons with 3 inch risers. The intention was that I can raise or lower the bars according to the riding that I'll be doing. Low sub-top triple for more aggressive riding and raised up above the triple tree for slightly more relaxed long distance riding. Since getting them fitted in a low position that I like, I have not moved them and its super comfortable.
Definitely moving in the race direction now... and it feels good.
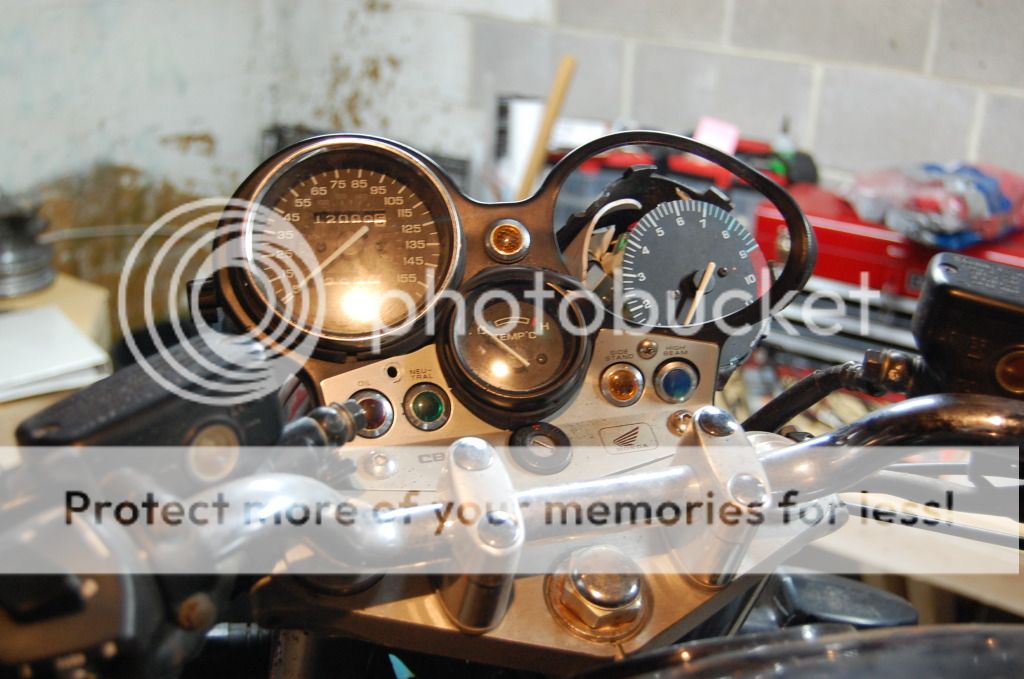
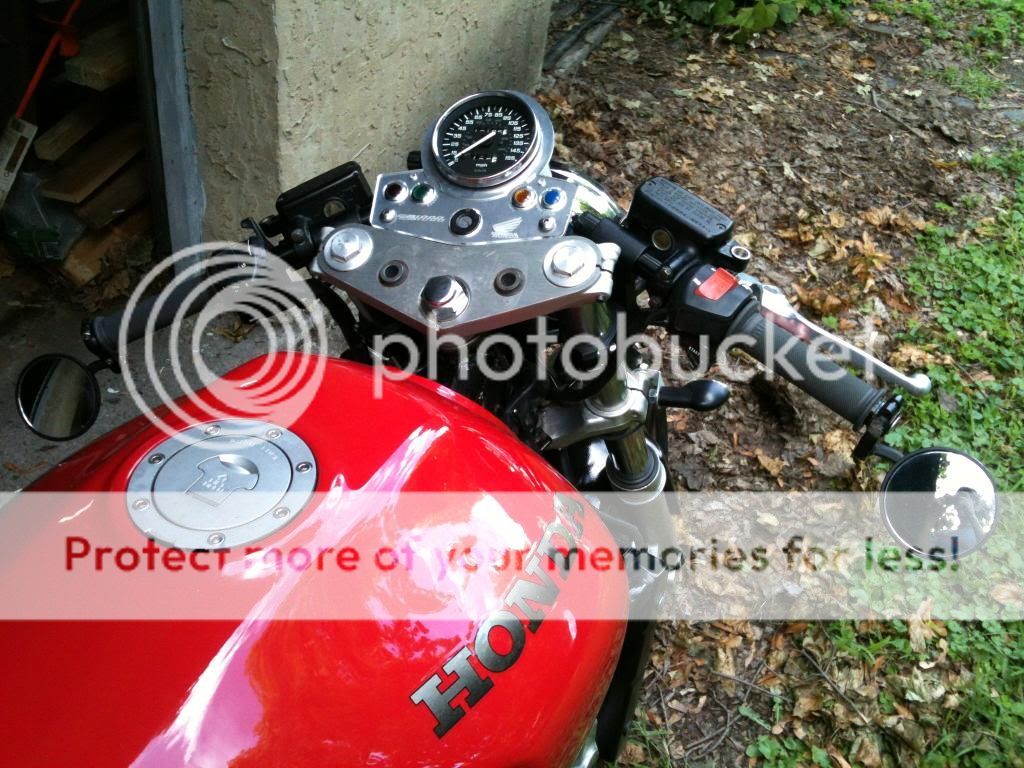
Since the gauge cluster was beyond repair I made a new, lower, simplified single speedo panel. CNC'd sheet aluminum with a laser etched clear acrylic top complete with a few idiot lights. This is the first round for the panel, if I come across a good tach I'll be making an updated version.
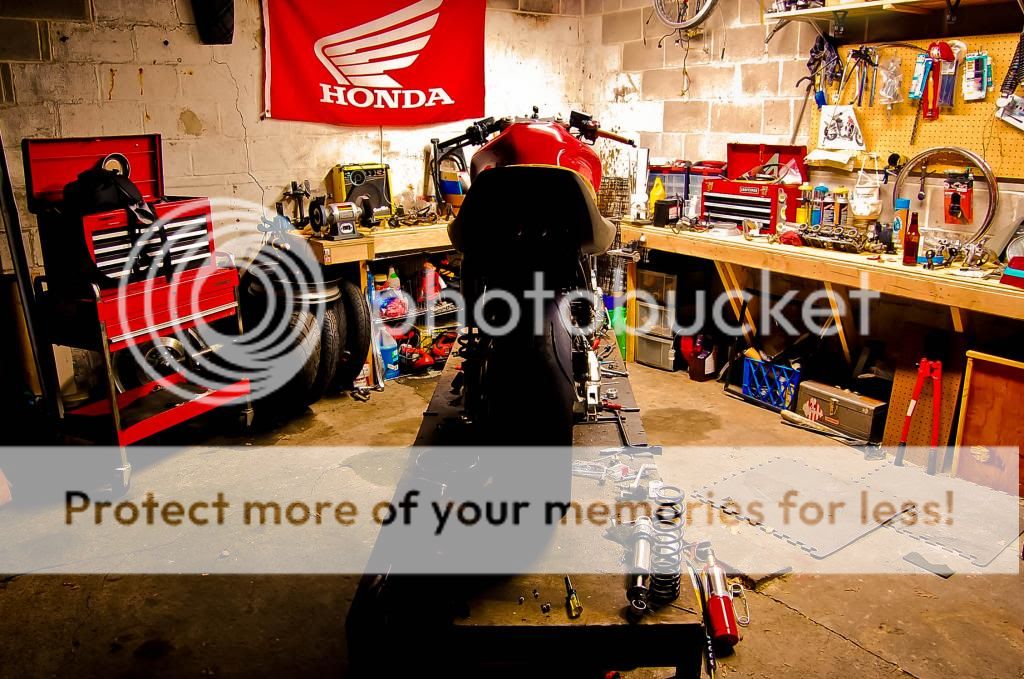
New panel with handlebars, mirrors, and controls installed. Oh, and off the lift for the first time.
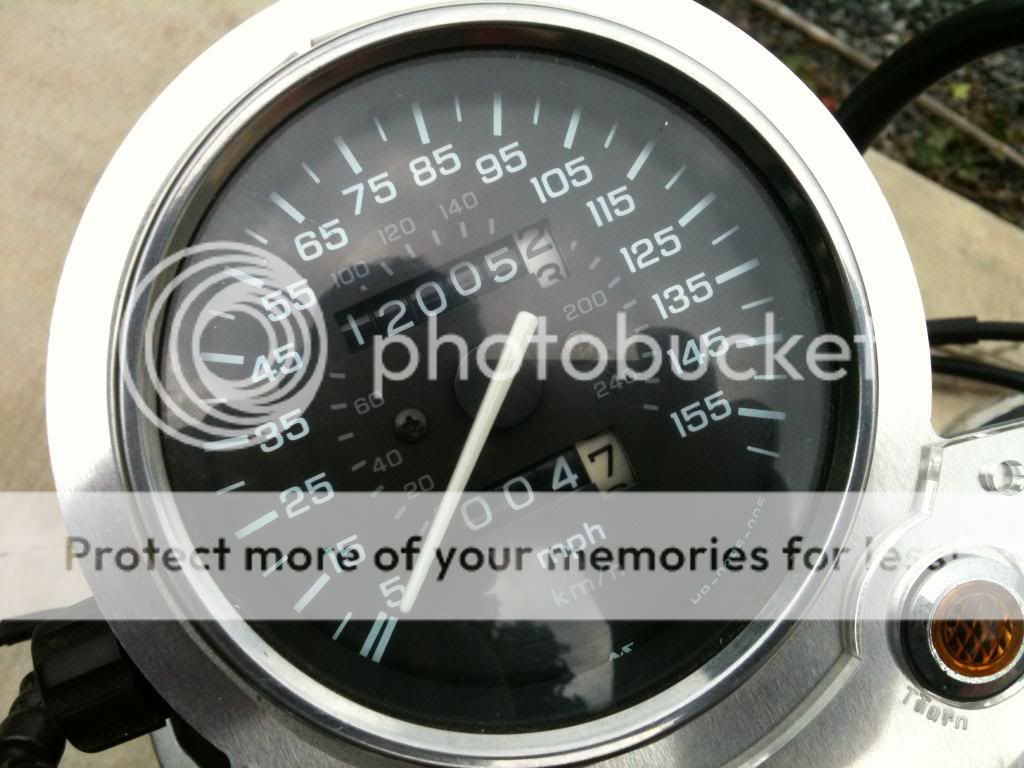
First 5 mi shakedown ride. Bought the bike with exactly 12,000 mi on the clock. P/O rode the bike for a whopping 120 mi before totaling it.
Up front i wanted to change the riding position from upright to more leaned over the tank while lowering the entire front end visually. Stock handle bars and risers were thrown in the trash and replaced with Woodcraft clip-ons with 3 inch risers. The intention was that I can raise or lower the bars according to the riding that I'll be doing. Low sub-top triple for more aggressive riding and raised up above the triple tree for slightly more relaxed long distance riding. Since getting them fitted in a low position that I like, I have not moved them and its super comfortable.
Sounds like you like the Woodcraft clip-ons. I've been eyeballing those for a bit now but with only a 2 inch riser for my ZRX. Did you find a sweet deal on them?
Yea I scoured ebay and craigslist for a good while, ended up finding them for $70 still in the package. I like them a lot, great build quality and good looks to boot, I'd definitely recommend them. Just make sure you get a good accurate measurement of your fork tubes, 1mm is a lot. I believe your ZRX forks are the same as mine, 43mm, but I'd give it a double check.
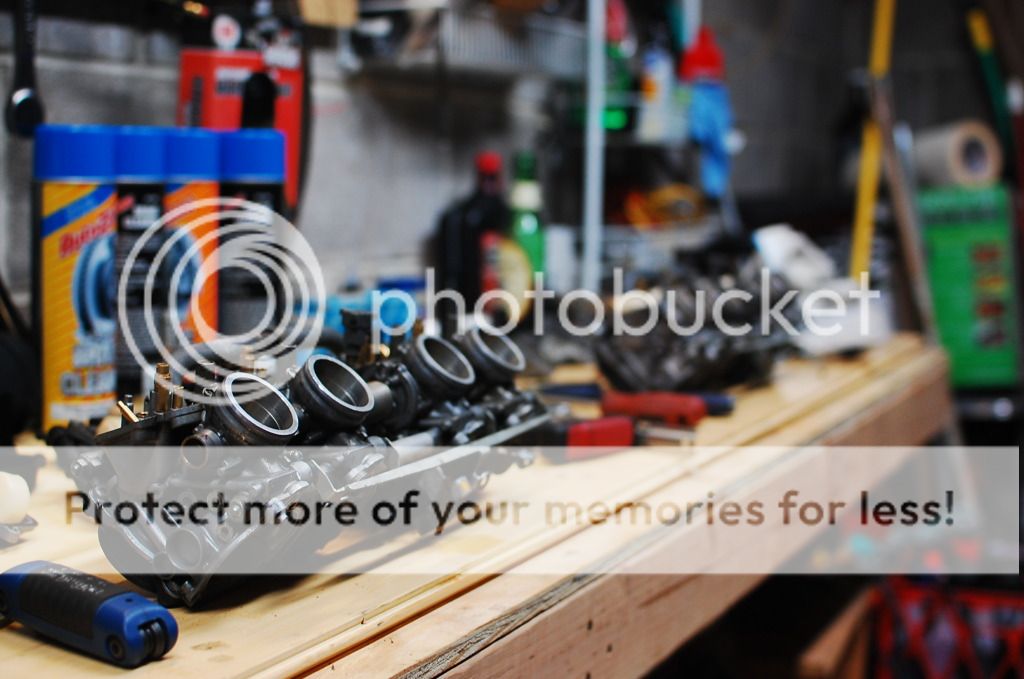
...Forgot to add that after reassembly I changed the oil 5 times and dropped the pan 3 times to make sure anything floating around inside the engine from the accident got cleared out. First pan drop was horrifying, huge pieces of rocks and clumps of dirt hidden in there. Second was much better, and third was clean. Hooked up the 'ol oil pressure gauge and she checked out right on the money.
Here's the first "Official" Start Up of the bike. Little green gadget bouncing around is the oil pressure gauge.
Getting closer to catching up with real time now...
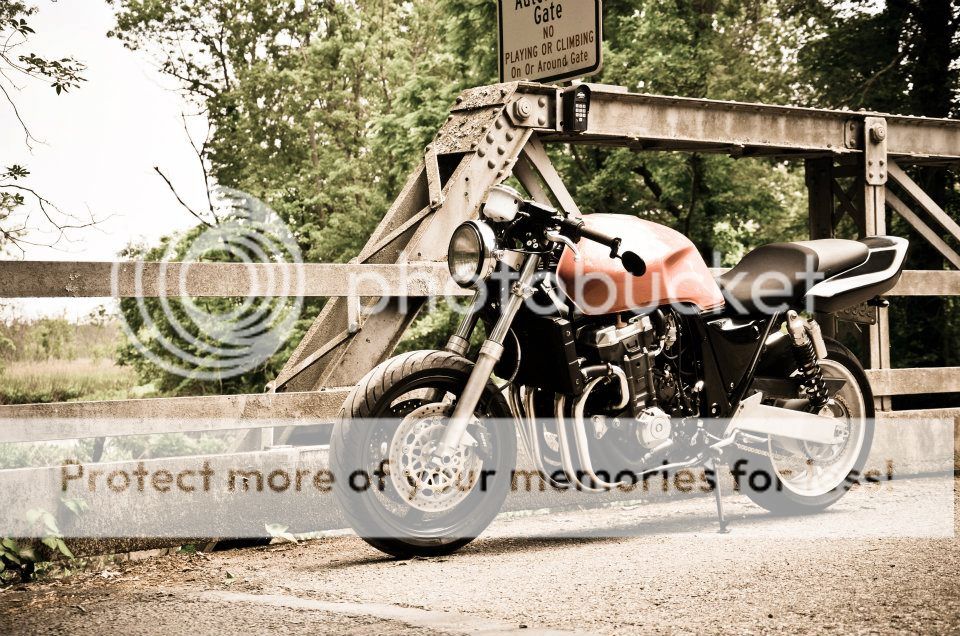
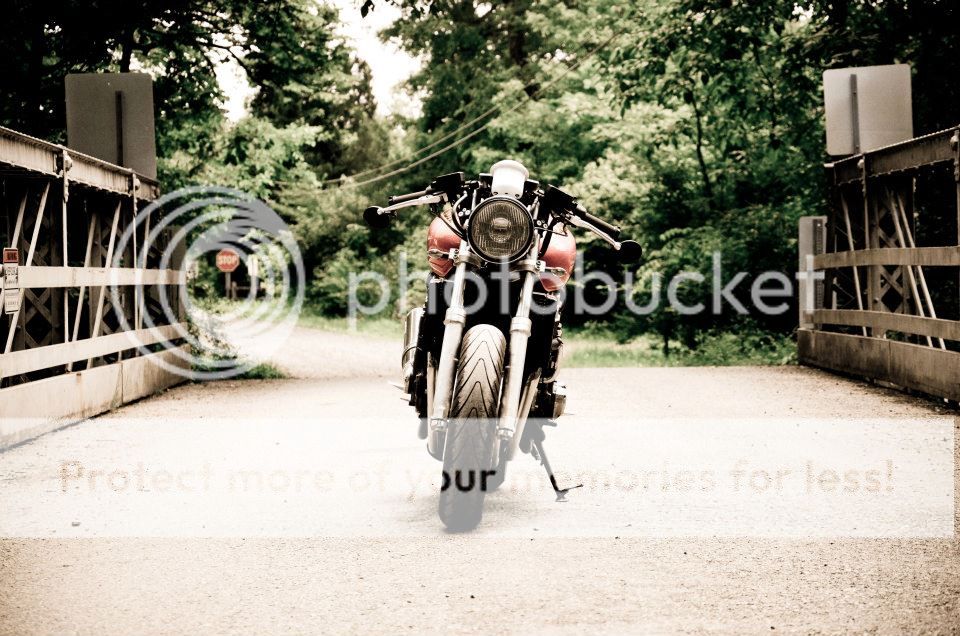
Very shortly after getting the bike off the lift I took a 260mi shakedown ride into the next state to visit a buddy. To my astonishment everything went swimmingly and nothing fell off (yet). Stopped on a bridge in the great boondocks of North Jersey and grabbed a few shots.
This site uses cookies to help personalise content, tailor your experience and to keep you logged in if you register.
By continuing to use this site, you are consenting to our use of cookies.


")


