college kid with a dream (1977 xs400)

What should i do to the tank?

  • Bare metal with clear?

    Votes: 23 43.4%
  • Bare metal with gold or red stripe?

    Votes: 21 39.6%
  • or save myself some time and just paint it!

    Votes: 9 17.0%

  • Total voters
    53
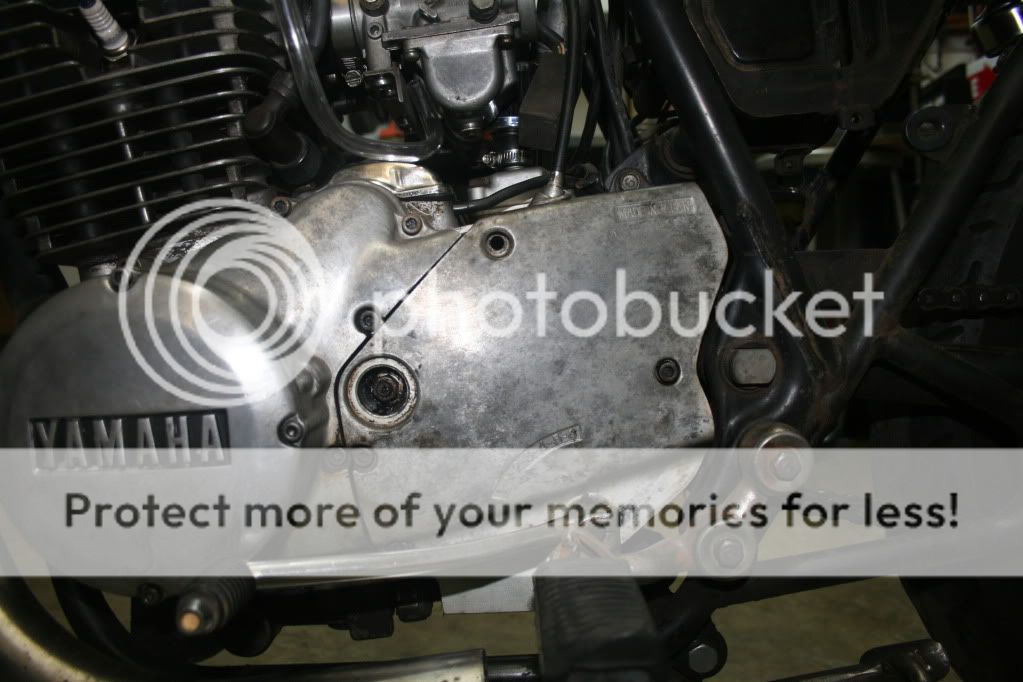
That looks like a good deal $50 for some more spark! and how did you remove the starter on your bike? Iv done some looking around and everyone is saying you have to split the case to get it and the chain out. Then you need to make a custom plate to cover the hole.

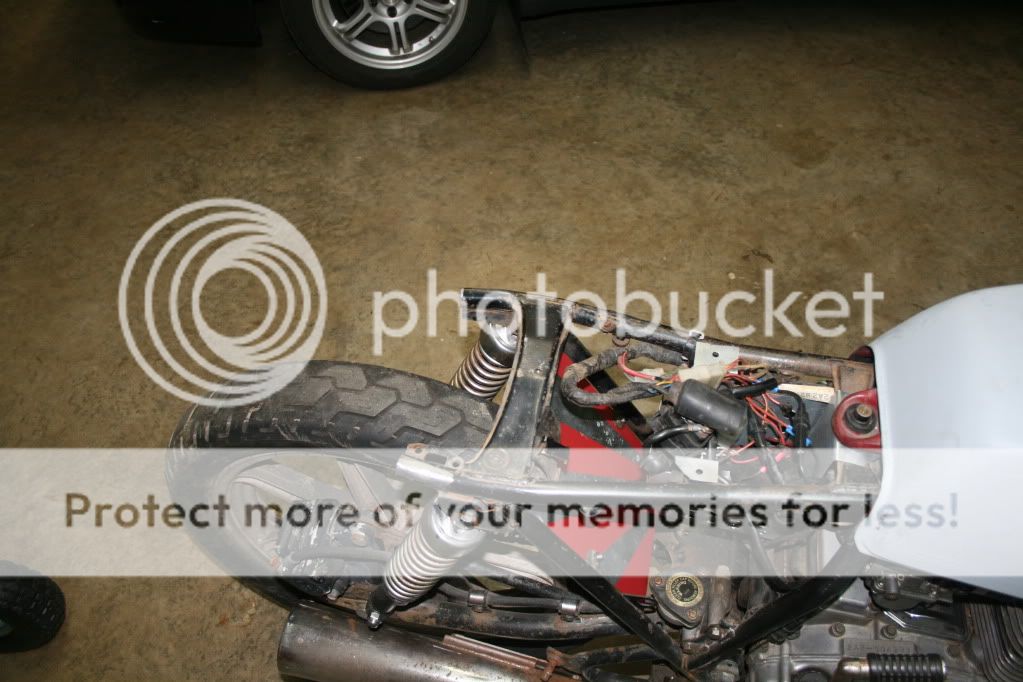
Well now for some pic of my progress on the bike!

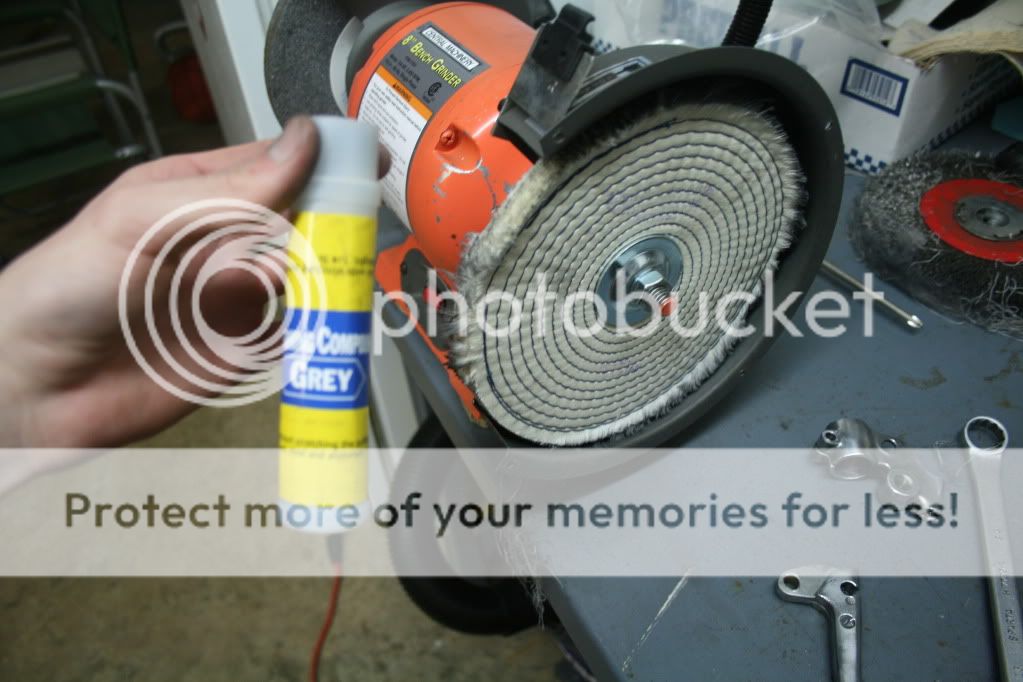
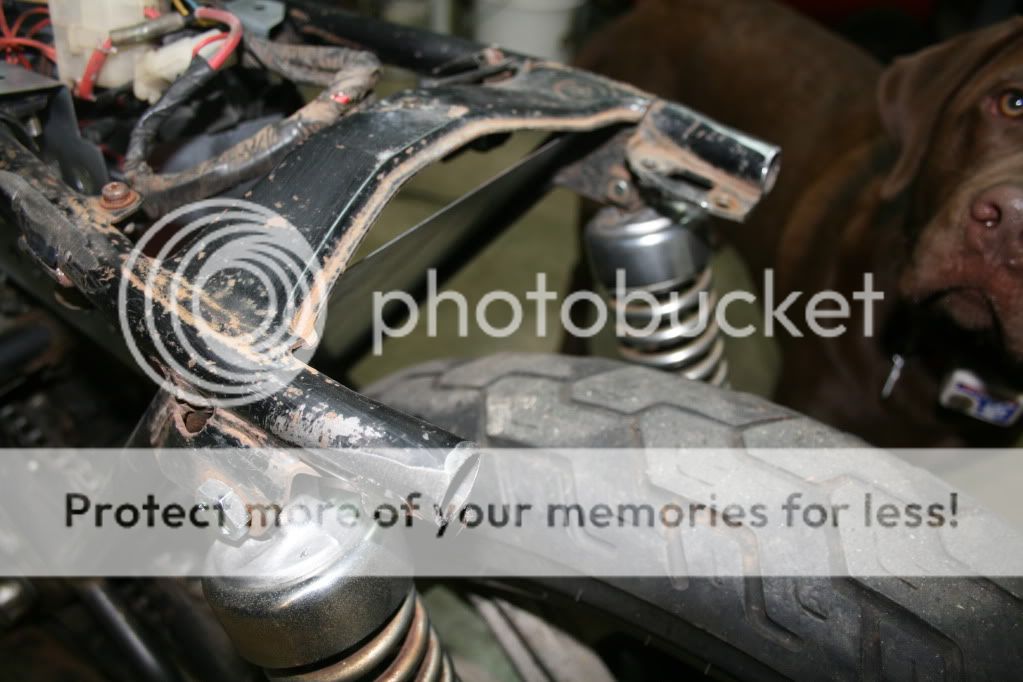
To start i went out and bought a new grinder, only about $40 but its worth every bit of it. I used it to chop the frame and grind down some tabs and clean up the frame.

IMG_3384.jpg


IMG_3386.jpg


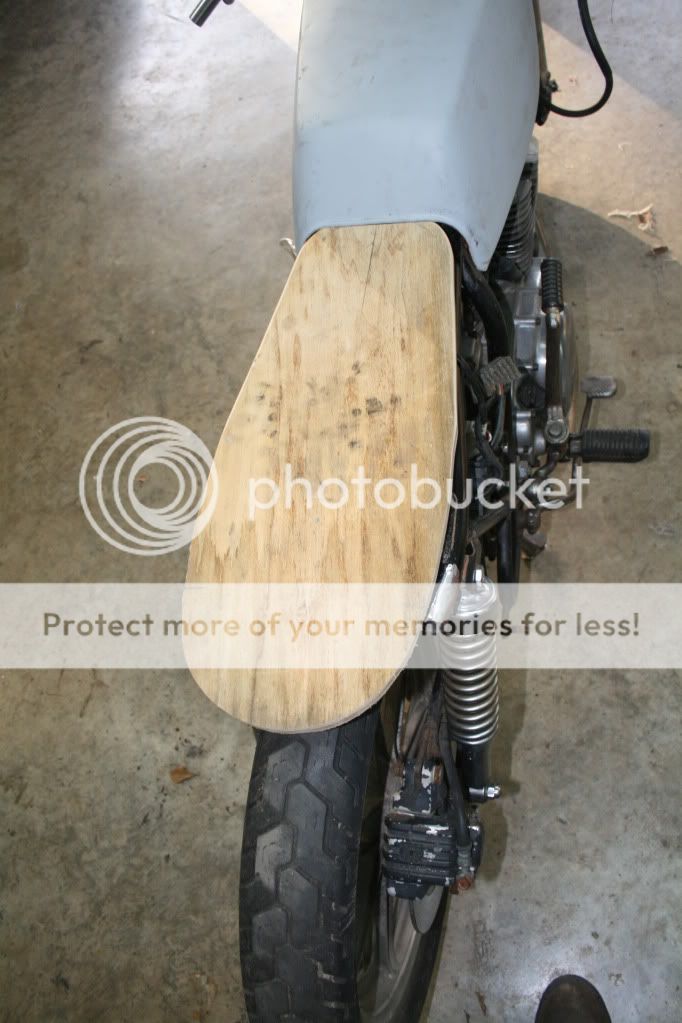
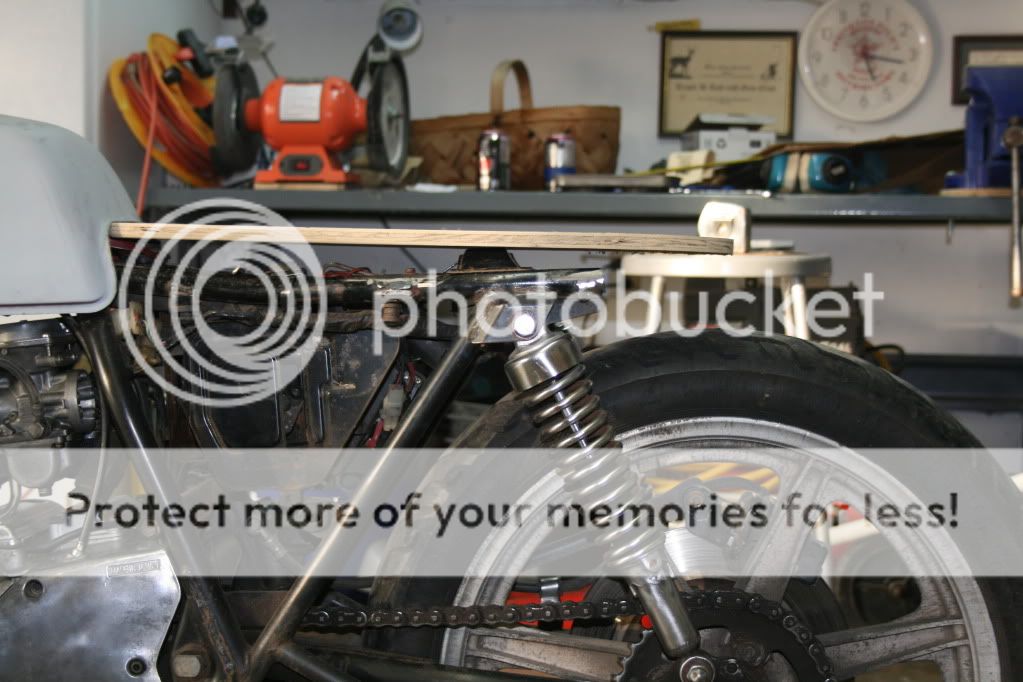
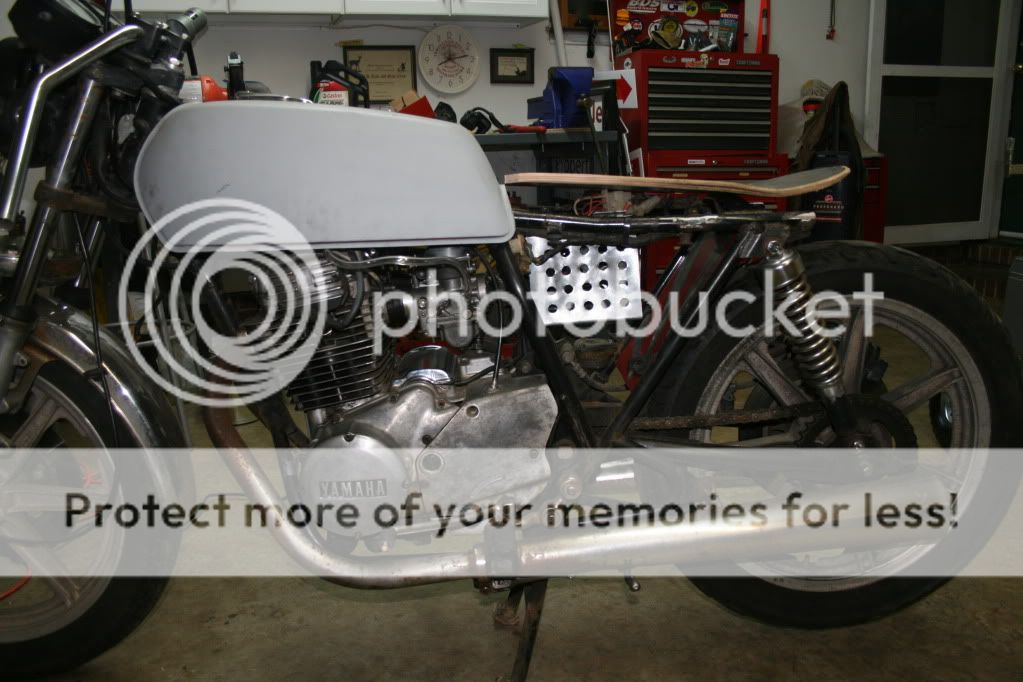
I am probably not going to use the skate board as a seat but in going to do something that will look very similar.

IMG_3388.jpg


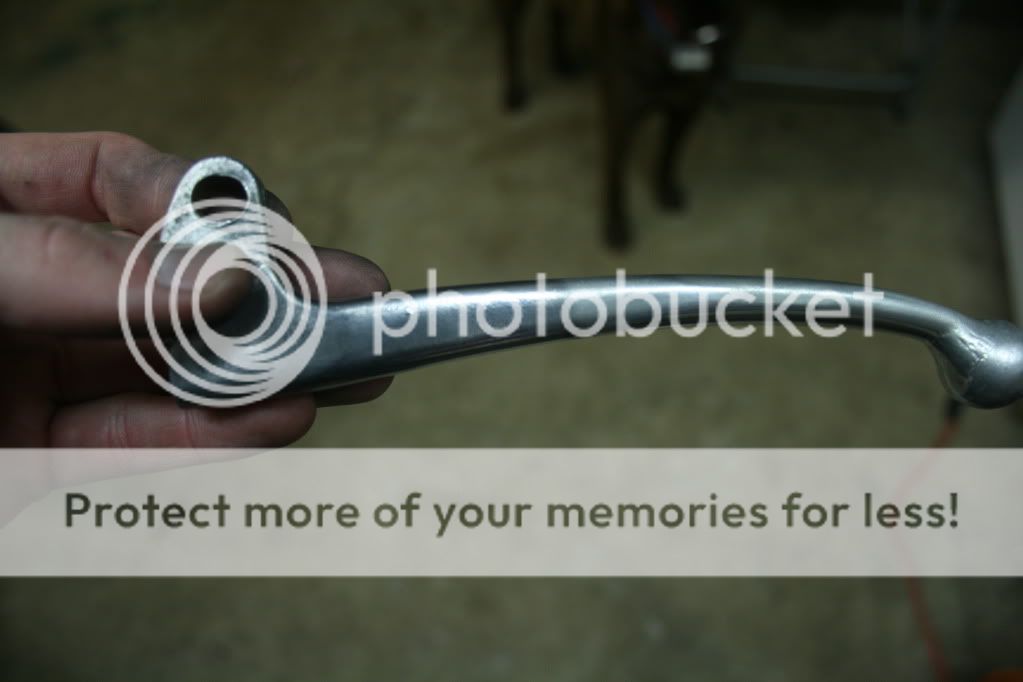
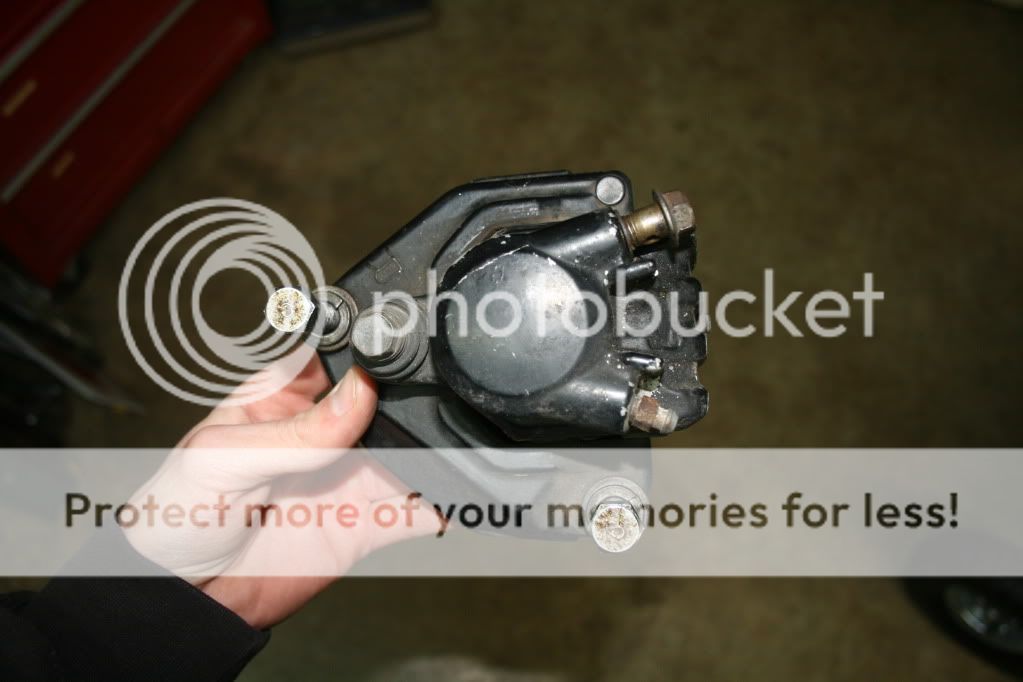
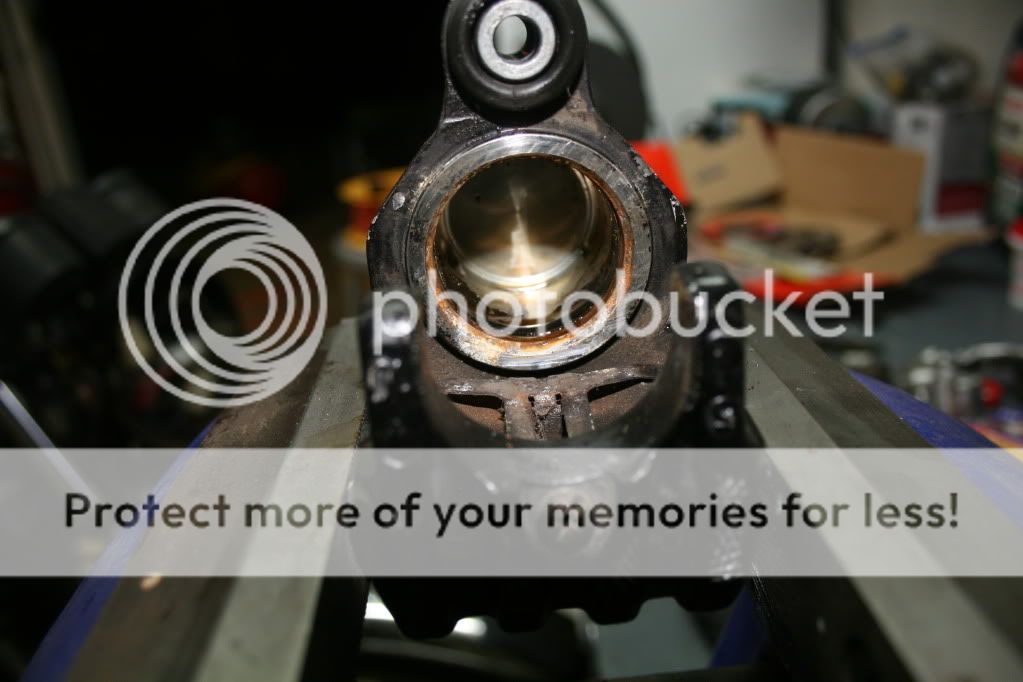
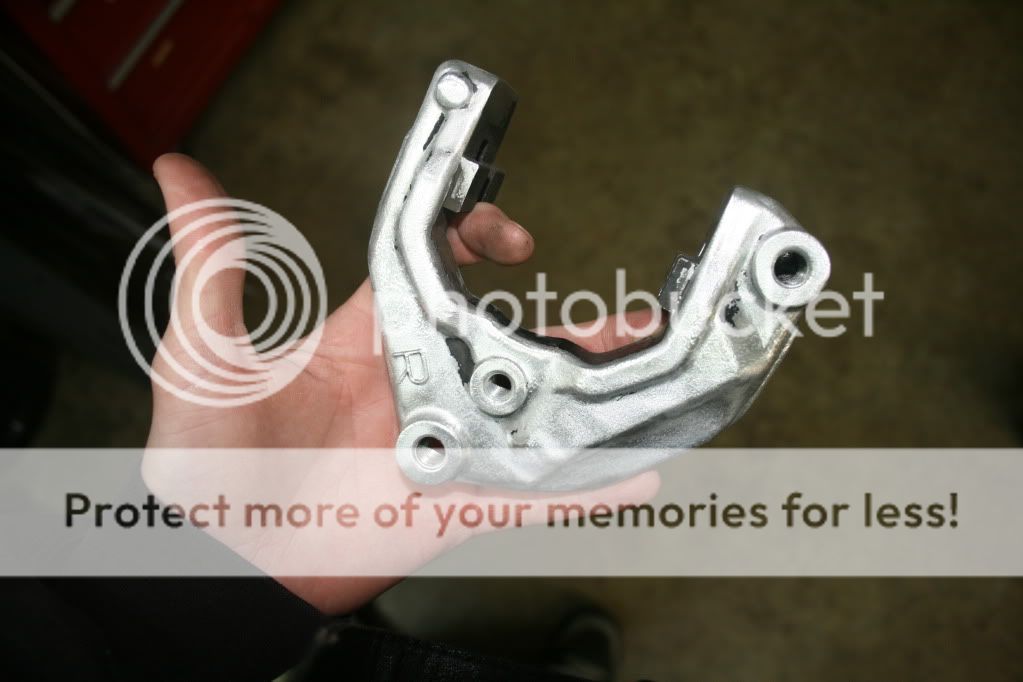
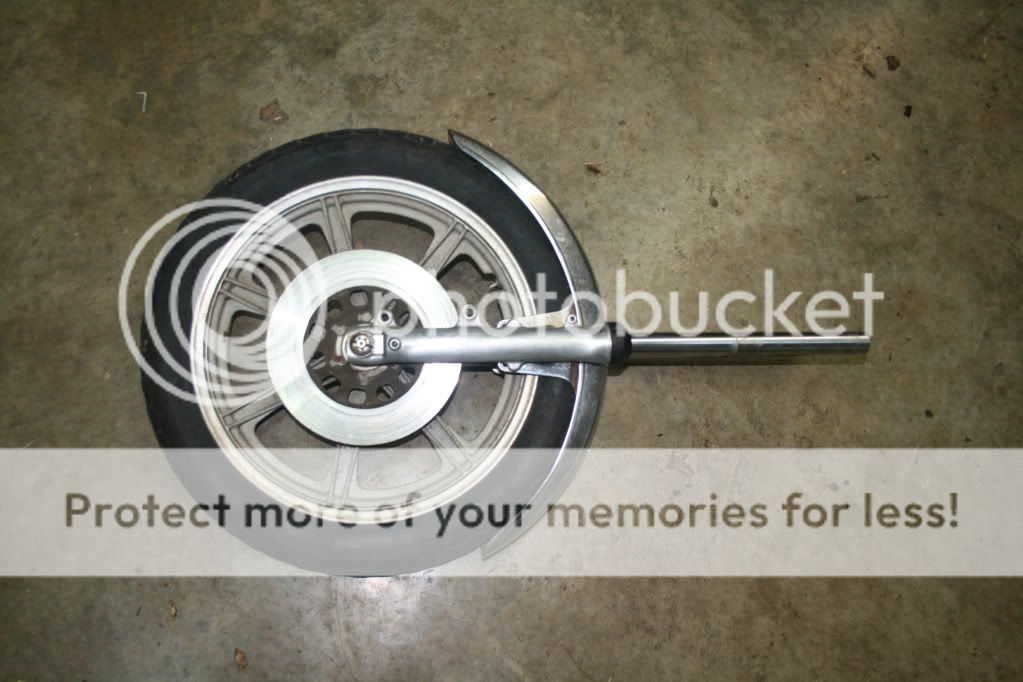
Then i got the front caliper from the Xs650 in and rebuilt it.

IMG_3390.jpg


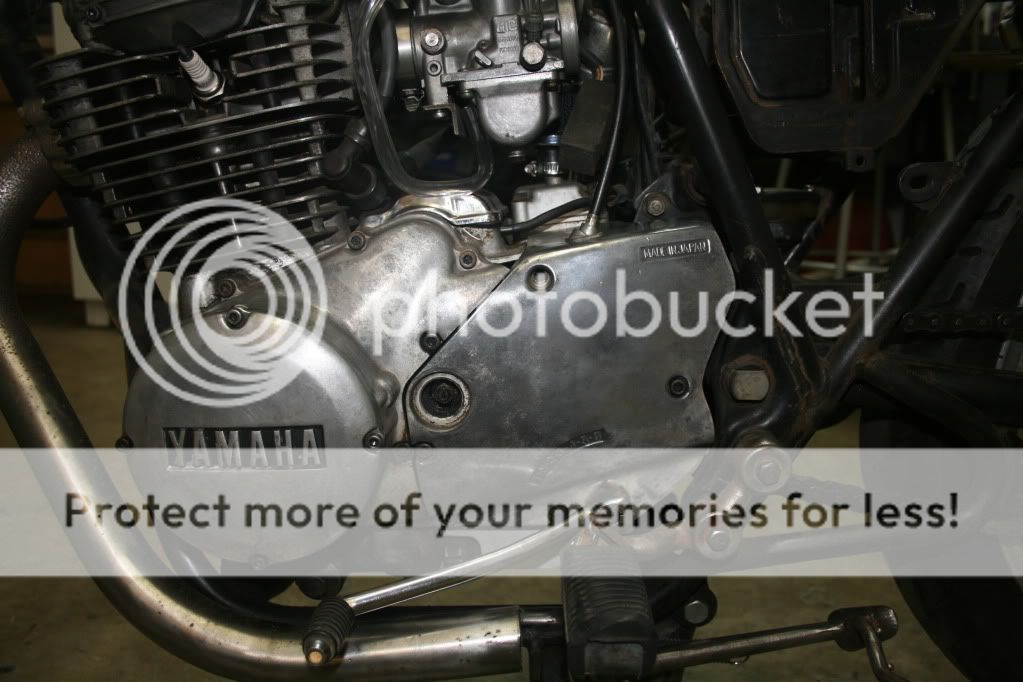
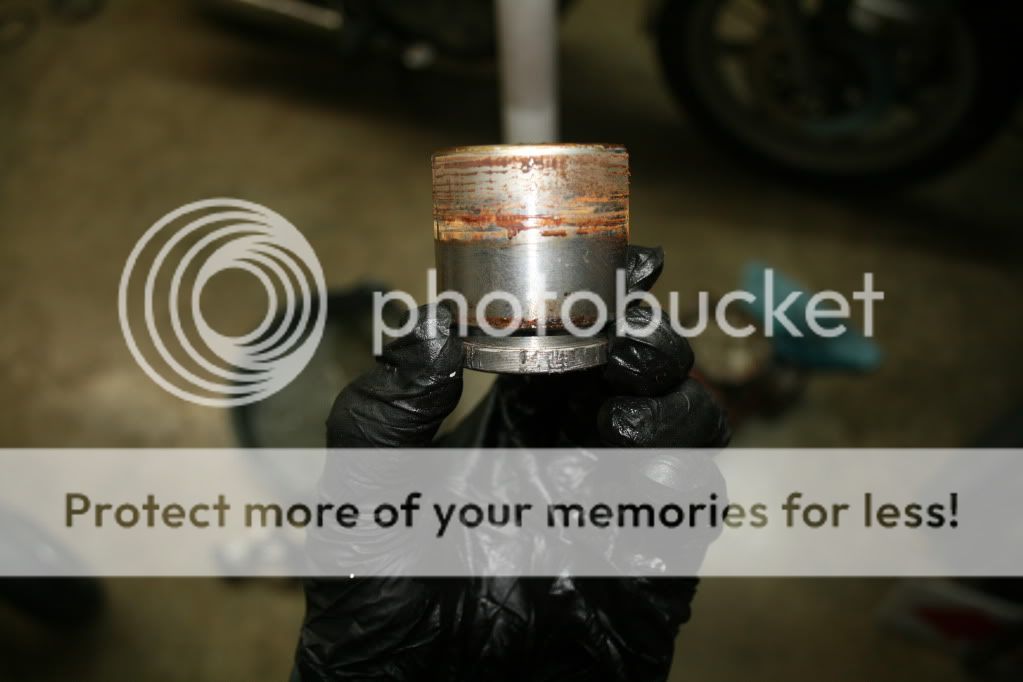
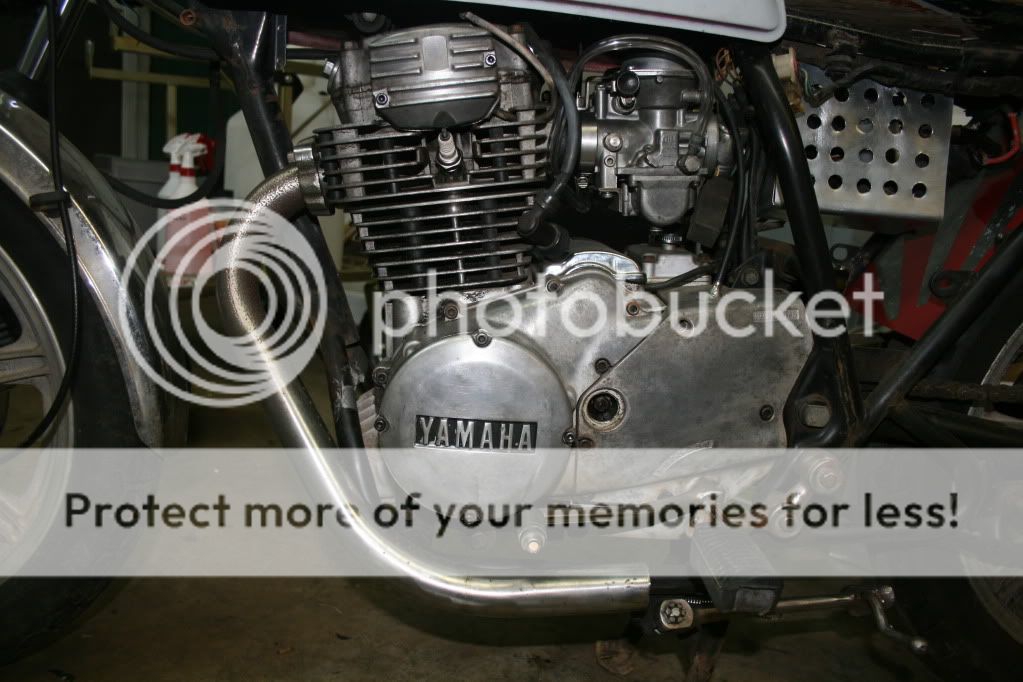
After working with it for a while i got the cylinder out. It wasn't perfect had a little rust but i got it cleaned up and shiny!

IMG_3395.jpg


IMG_3394.jpg


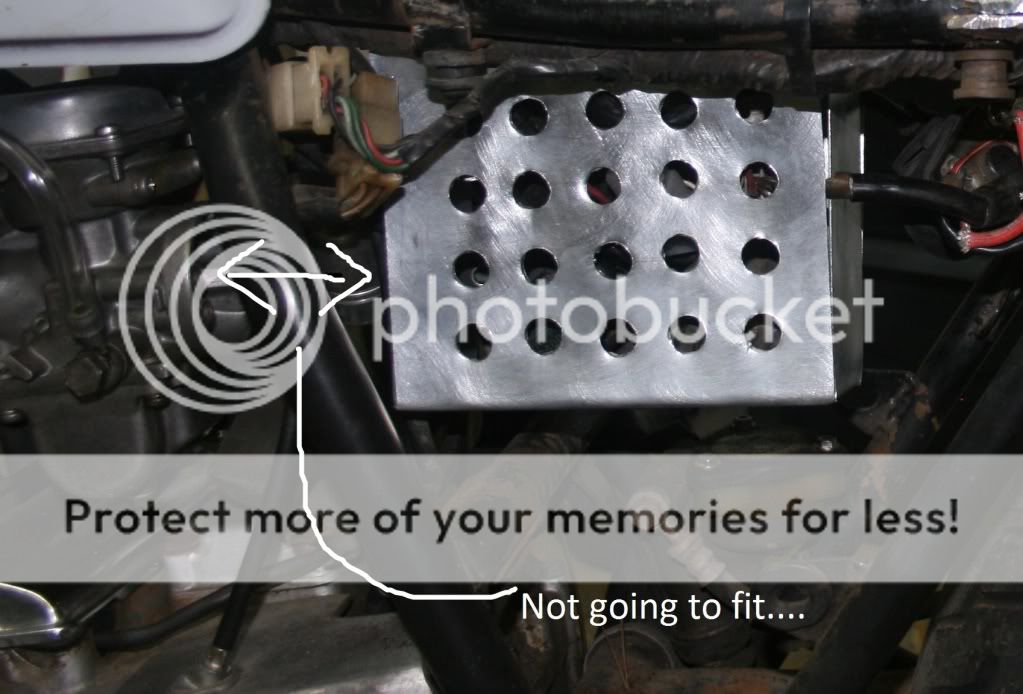
I also brushed the plate for the caliper I think it gives it i nice look.

IMG_3391.jpg


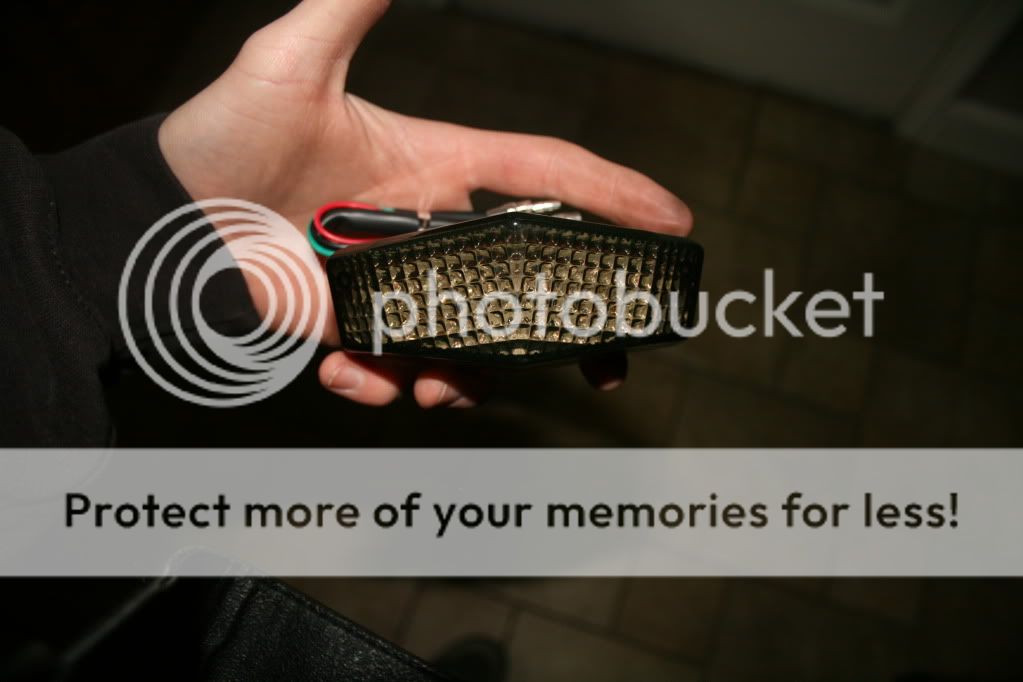
Another thing the UPS man brought me was my new tail light, its a cheep-o smoked led but it will be easy to hide and wont stick out on the bike. Haven't mocked up hot i want it yet but ill be getting there soon.

IMG_3393.jpg


I also chopped the exhaust for now im running headers but will one day out a modern sport bike muffler on it with some black header wrap.

IMG_3399.jpg


IMG_3401.jpg


Then I decided to pull the whole front end off the bike just to clean it... not a grate idea

IMG_3397.jpg


Im trying to get the rust off the fork legs and brush some paint off.

IMG_3398.jpg


IMG_3405.jpg


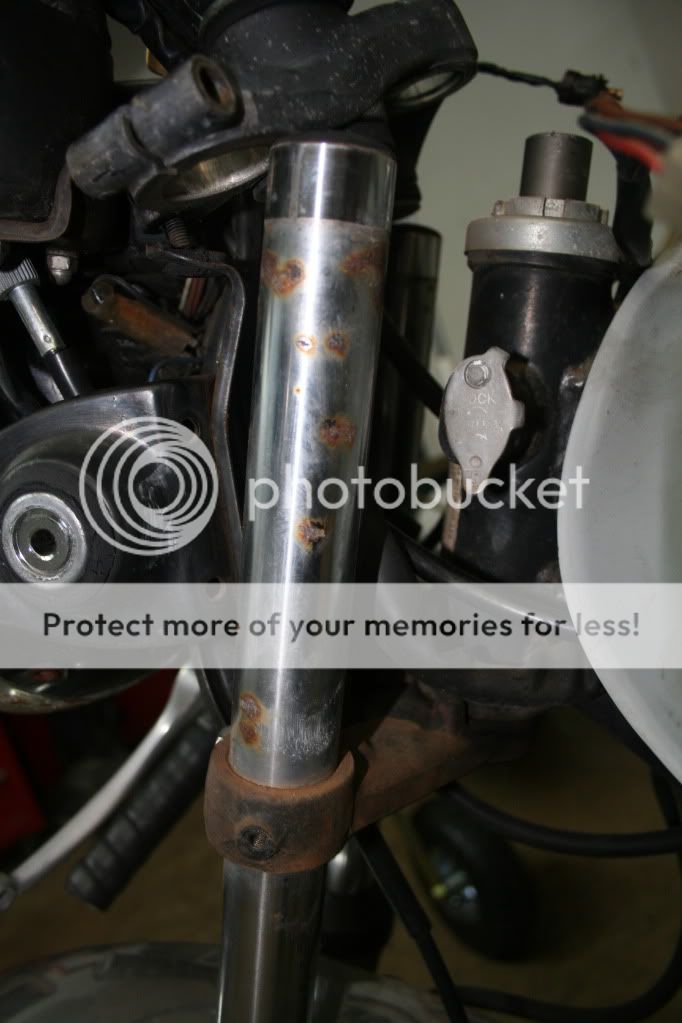
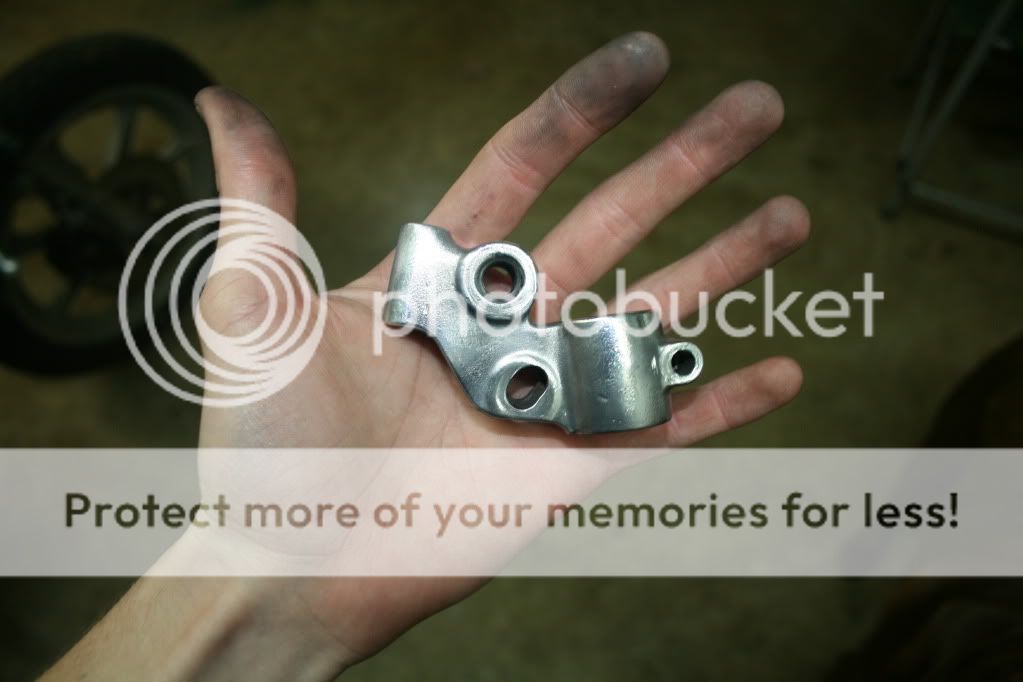
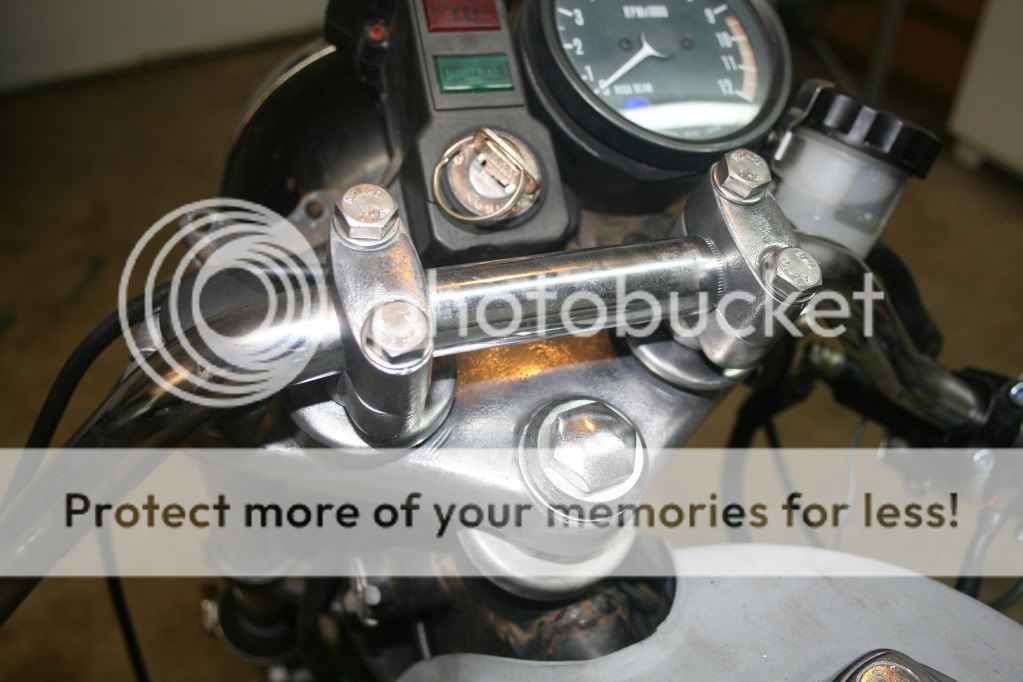
Then i brushed the whole top triple tree clamp.

IMG_3402.jpg


IMG_3408.jpg


IMG_3409.jpg


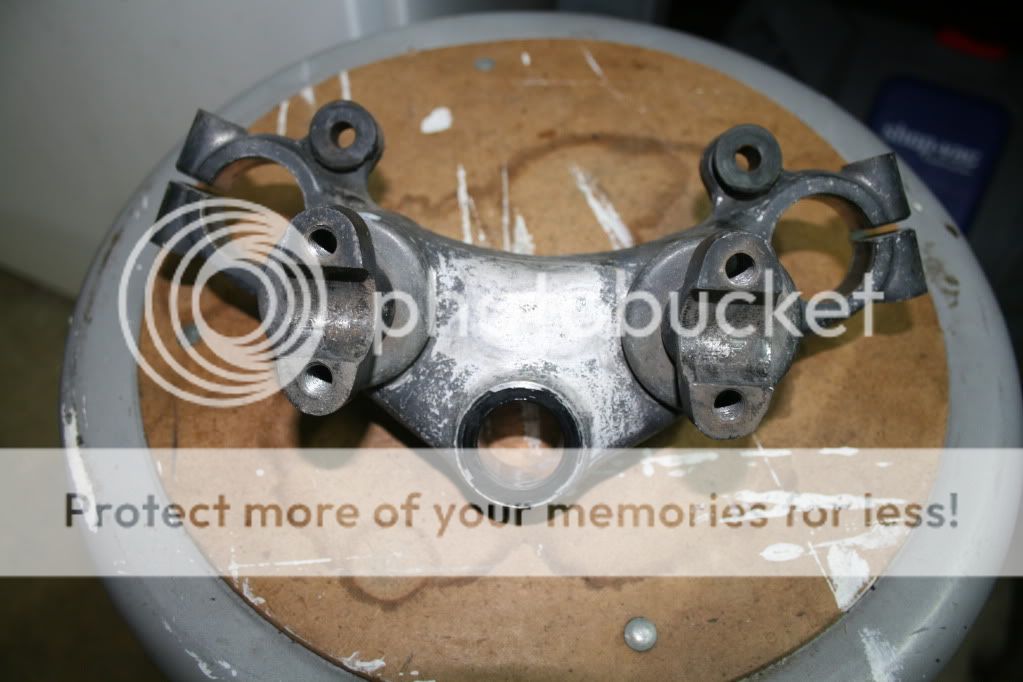
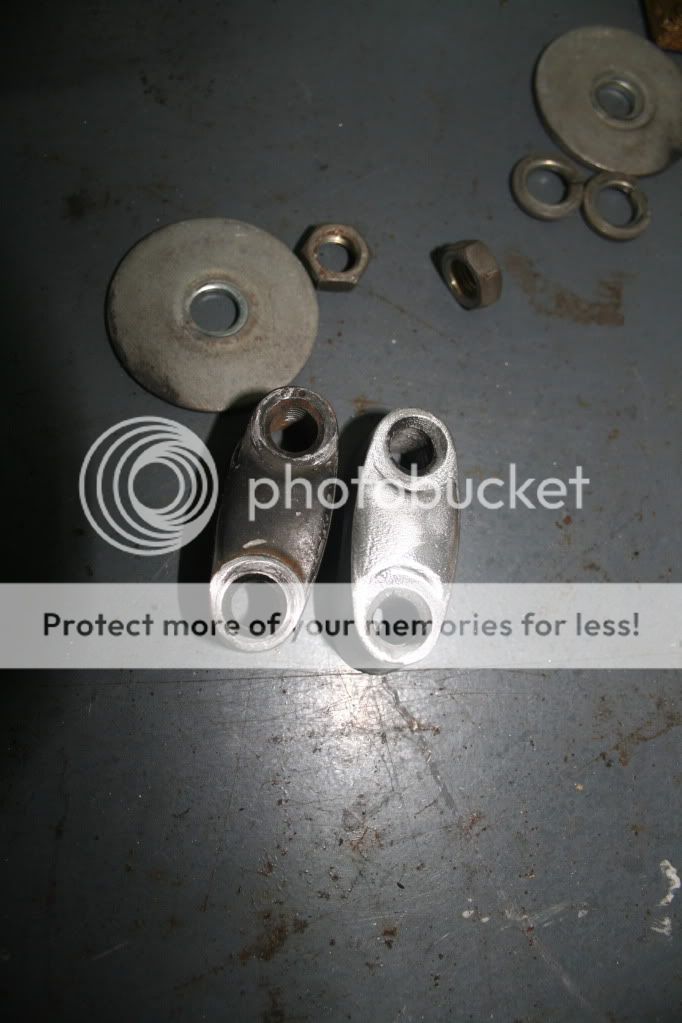
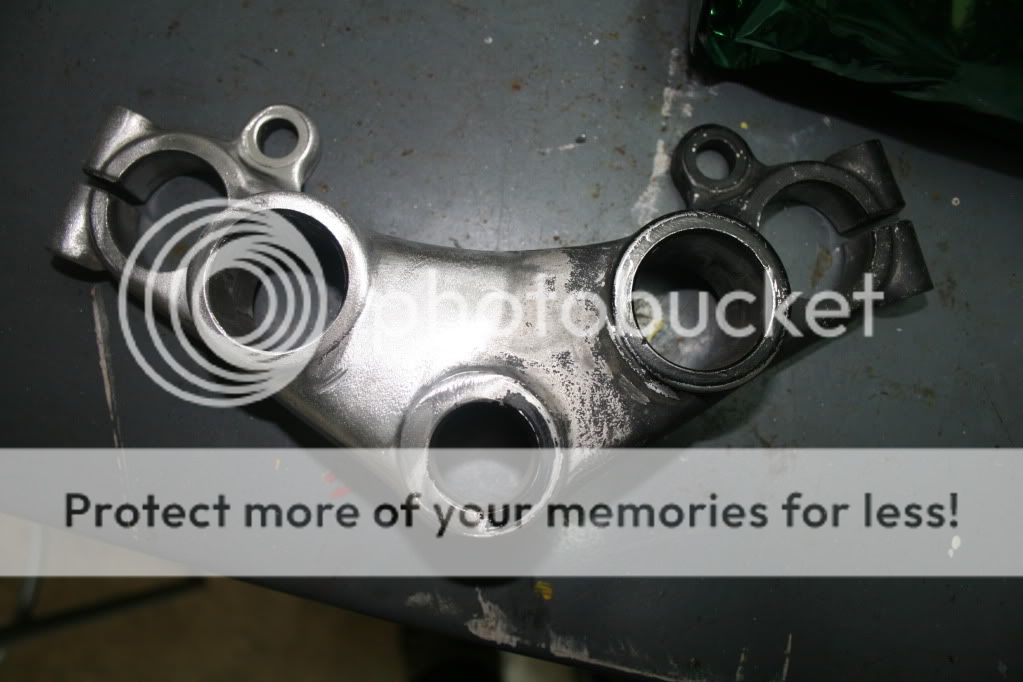
I think the work was well worth it!

IMG_3412.jpg


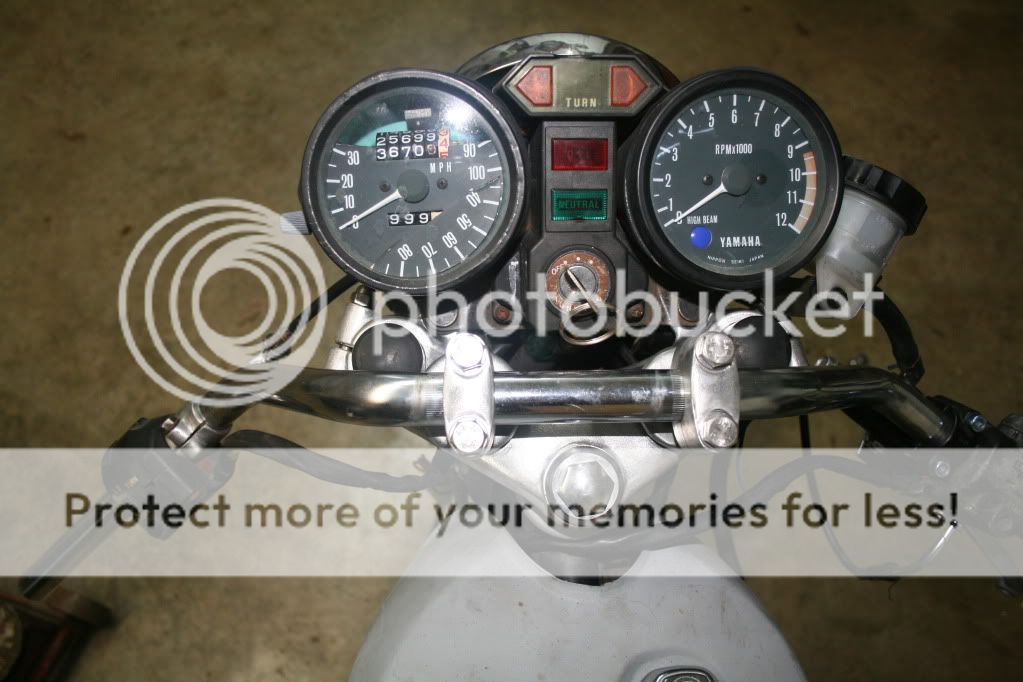
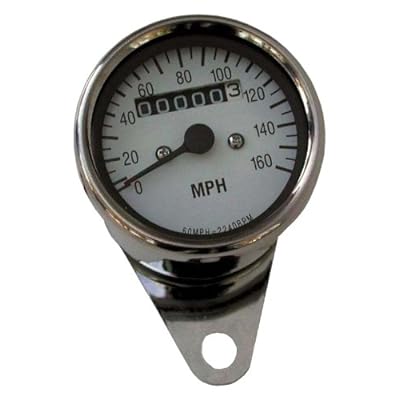
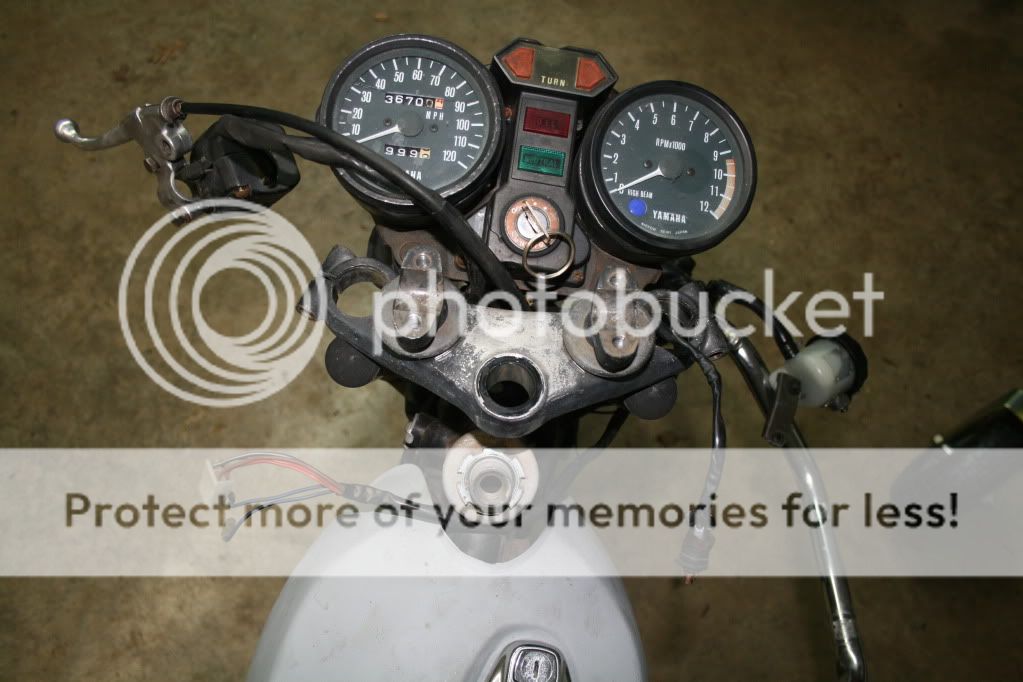
But i did brake off the cracked face plate on the speedo

IMG_3414.jpg


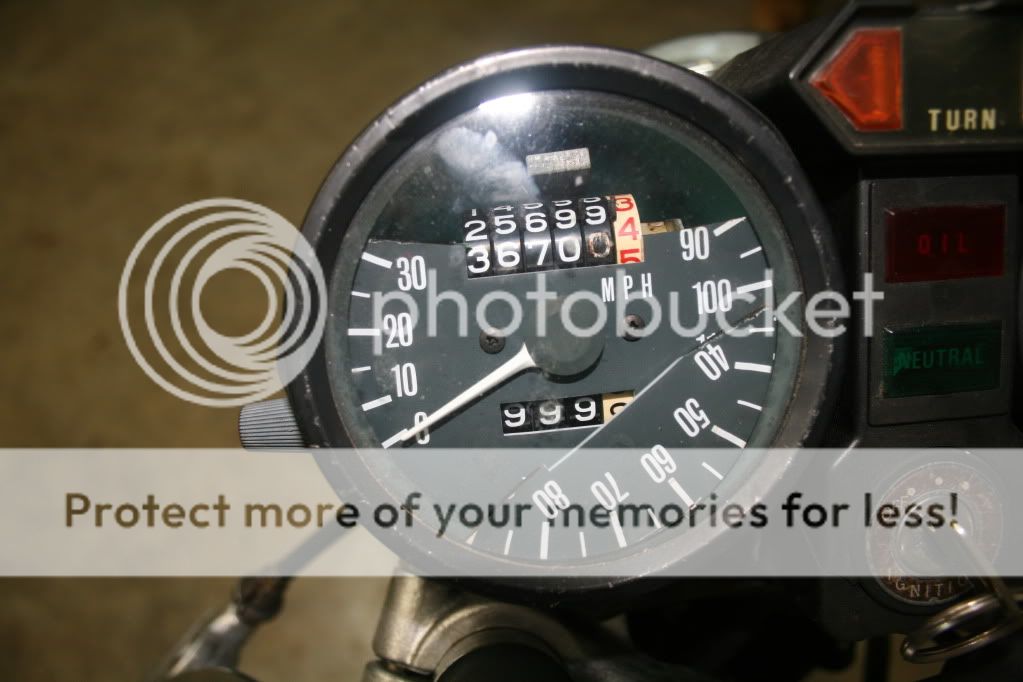
So I have the speedo here with me at school and im going to try and fix it ill have pic on the soon but haven't started yet.
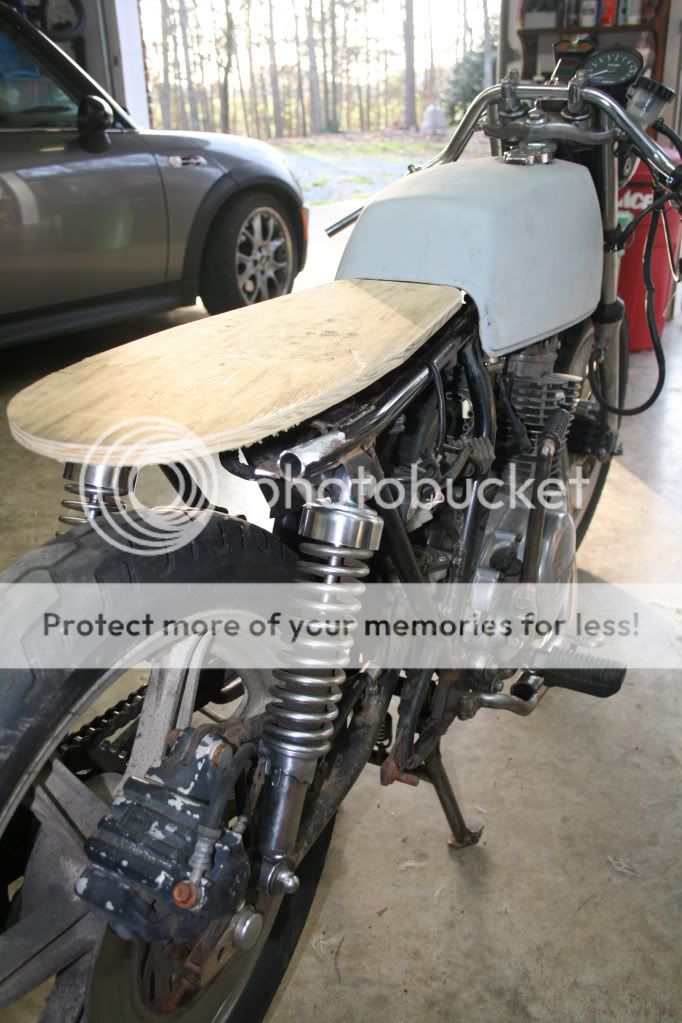
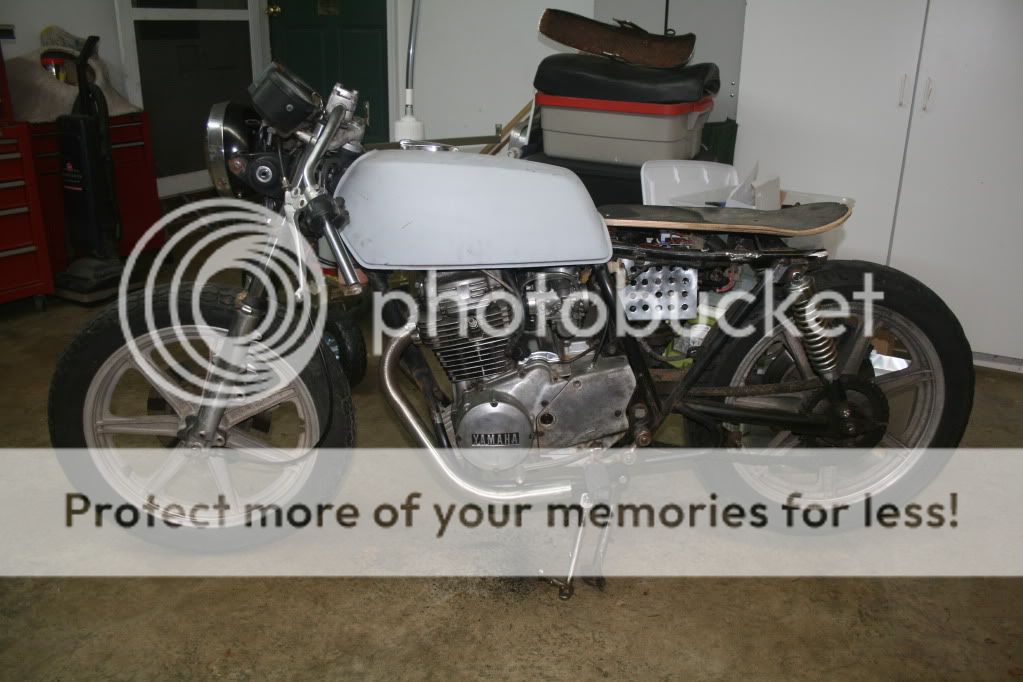
And here is how the bike sits now(i also dropped the front a little more then 1" and adjusting the rear shocks preload down witch dropped the bike about 1" in the back.) It feels really good to sit on and its a perfect height

IMG_3415.jpg
 
Yeah, you gotta open up the bike to get the starter chain and gear out. I gotta admit, I got a friend to do that bit for me as he had the time and tools and I didn't. He also fabbed a plug for the new hole in the block. I think someone on here makes plugs specifically for removing electric starter motors. I know I saw them a few years ago when I was doing all this stuff.
That Dyna kit is totally worth it. My bike was just an old bike before the Dyna (recommended by Swagger), but after the Dyna install and the weight reduction, it's a substantial firecracker now. Certainly nothing compared to modern bikes but it's much quicker off the line and feels more consistent wide open.
I ran into trouble removing my airboxes and running pods. I never could get things pared out and really bogged the thing down/ burned up some plugs. Turns out one of my carbs was bad. I'm going to put my airboxes back on and run the stock intakes again because I didn't really feel any significant power difference without the stock airboxes.
 
Ya Blake I may not get to pulling the starter out unless I do a rebuild. So i guress I will have to put up with the extra 5lb ::)
Also how do the Dyna kit's work? Iv seen alot of people selling them and people that use them and say good things about them but I don't understand what they are doing.

As far as the pods go i am completely lost... I was just going to grab some cheap Emgo pods but after looking at the new battery box there is no way they are going to fit

text.jpg


So i was thinking about building another box to fit a smaller batter. That may give me enough room for the pods, but it might take me a while to get them tuned with the pods. I need to do some looking around and see what the smallest battery i can use is. Im not going to use the tiny lithium battery but just the smallest led acid batter i can run.
 
Yep, I had the same problem when I replaced the original battery tray with a box. That's why I'm going back to stock intake. There was no way my Mikuni's and pods were going to fit. The dyna takes the rather inconsistent spark of a 30+ year old bike and makes it very consistent, power-wise using less overall juice. It made for a better arc of the powerband in my application. Maybe Swagger can better explain it.
 
Hey, Cool little project, I like it!! ;D

Those handle bars turned over like that are going to be a pain in the ass. I would throw on a straight bar. You will achieve the same look, it will 100% more ridable as far as seating postion and comfort and it will cost ya 20 bucks for the bar. Or if you are really stuck on the "clip on look" grab a set of clubman bars, also only like 25 bucks. Just my 2 pennys. Build on bro!! 8)
 
Ya ctluba im not staying with the stock bars iv got about 12 screws in my right arm that don't like to be bent. I don't know what bars I will run but im looking at Clip-on's right not. But flipping the stock bars makes it look alot better when it is sitting in the garage!

Xray2-1.jpg


Blake that sounds good. Im not an electrical engineer but I think I have an idea of how it works. Might have to get some when I get the bike on the road. Do you run 2 since the bike runs with 2 points? (sry don't mean to ask to many Q's)

As far as battery goes im thinking about trying something like a scooter battery. I wont use the electric starter much (i think it is slipping anyway) so all i need is it to run lights and spark to the motor. Something like this its only 3" beep and 3" wide

ptx7abs-fs.jpg

http://www.batteryprice.com/powersonicptx7abs-fs12v6ahleadacidmotorcycleatvscooterbattery.aspx
 
Kool i think that battery will fit with my pods. But that just means that i spent all that time on the first one for nothing... oh well it was a good test run. Going to try and work on my broken speedo over the weekend. I need a paint can opener and some super glue. Any one know right off hand what ratio the XS400 speedo is? I might see how much a new one is. If this one will work i might upgrade to it after a while.

41SmJh9UzrL._SS400_.jpg


But i relay don't need one that goes to 160mph but i guess as long as it shows me when im doing the ton ill be fine! haha
 
I am really excited what this will look like when finished.
;)

I am thinking about getting myself a xs400 or sr250 for a long time now, because i want to build myself a fun bike for short distance rides and the city, and i guess the xs400 will suit there quite well ;)

So ... really excited, keep em updates coming ;)

greetings
 
Hey thanks raoulduke! Ya I love the bike im a smaller set guy only about 130lb so this bike is perfect. It so easy to move around on the bike because its so light and low to the ground. Im not extremely tall but when I stand up my butt comes well off the seat. I lowered it about 1in all around but the biggest thing was taking off that HUGE stock seat.

Well a quick update I opened up my speedo and tried to super glue the broken part of the face plate but couldn't get it to stick... It looked like it was burnt right where it broke?! Im thinking it was from the light bulb behind the face plate that just got the plastic to hot. But anyway I pulled the broken piece out and ill just have to guess my speeds between 35 and 85 haha.
 
Finely i have new things to post!!!

I got a polishing wheel for the grinder, and wow it does work! I had a little time and took some parts to it never got anything to 100% shine but it did make huge diffrince on some parts. And of coarse some pic of the work.

IMG_3510.jpg


IMG_3512.jpg


IMG_3511.jpg


IMG_3515.jpg


I also took of the "sprocket cover" (i think there is another name for it) but I worked on it for any 5 min and got it looking alot better. I don't want to get it looking to nice because it will make the rest of the motor look bad haha

IMG_3513.jpg


IMG_3514.jpg


In other news I had some time to work on the seat for the bike. This seat is only a temp seat becouse im planing on doing some fiberglass work next winter. But In the mean time Iv got some foe leather and foam so it should look nice.
Here is the start I have so far just simple plywood.

IMG_3520.jpg


IMG_3521.jpg


IMG_3522.jpg


I am going to put the seat under the gas tank now after looking the side of the bike. It will give me more flat lines but i don't have a pic of it, but its not a big change.

Im also planing on bending the back side of the seat like the skate board but im not 100% shore on how to go about this. I know you need steam to do it the right way but I might try some water and alot of patients ill see how that goes. If anyone know another way im all ears!! And if all that fails ill talk to my old shop teacher and see if he knows some one who can do it for me. And if that falls through im still fine with a flat seat!
 
To get something to a mirror finish, it takes a lot of time and effort. If it were easy, everyone would do it. :)

For my stator cover, I started with 220 grit sandpaper, then on to 400, 600, 800, 1000, and then 1200. The object at each step in sanding was to remove the all the visible scratches. For instance, starting at 200 grit, I was removing all the oxidation and scratching that had built up over the years. Then I moved on to 400 grit and sanded until no marks or lines from the 220 were left visible. I like to sand all in one direction so that when I move onto the next finer grit, it makes things easy to see. Also, all this sanding was done wet. No dry sanding here.

After I finished up with the 1200 grit, only then was it time for the buffing wheel. I started with brown tripoli compound (the different buffing and cutting compounds come in colors that designate their purpose; make sure you're using the right stuff. They gray bar is a heavy cutting action and is better for removing scratches than it is for polishing). After a pass with the brown I switched wheels (there are also different buffing wheels and not at wheels are created for the same purpose, either) and used the red compound, also called jeweler's rouge. In retrospect, I probably should have used a flannel wheel instead of a loose cotton wheel.

All in, it took about three hours. I'll let the pics take it from here:

73255_492634590158_734955158_7012219_1429594_n.jpg


76949_492634610158_734955158_7012220_7873790_n.jpg


149230_497184385158_734955158_7068390_1210542_n.jpg


150320_498948620158_734955158_7087954_3180204_n.jpg
 
Man that looks sweet! i don't want to get it that shinny but i do want to pull off all the deep scratches. And ya i know about all the colors for the compound and the gray in the northern tool brand is for that. Iv got some other stuff that i will use to get it to shine. But for now cleaner is good enough.


Also took my bike to a guy to get some of the tuning done and he said since I have carbs from difrent years that they will never work perfectly?!? So anyway i got a hold of some carbs of a 650 for cheap and im going to try them on the bike. Does anyone know for a fact if they will work?? The carbs are off a 1980 xs650 as far is i know they are the stock BS34's just like the xs400 but different jetting
 
Well good and bad news and some more good and some more bad...

The guy that was working on my bike got it to pop off starter fluid but not to idle. He said that the carb that i was having trouble with was bad and since they weren't a matching pair they would never work right. So i found a set of the same carbs BS34's from a 1980 XS650 im getting them for $40 but they will need to be rebuilt witch ant to bad. But im just hopping they will fit to my motor iv heard mixed reactions from people on every form iv looked at. If they don't fit i may be ably to take all the parts from the current set and make something work. So i will just have to see.

In other news i went to the title place today. I got the bike from a guy who got the bike in South Carolina and the guy i bought it from never got it titled in his name so i was able to fill in the buyers part of the SC title. I was scarred that they wouldn't take the title since it had not been notarized but they will take it! But i have to have to get the bike inspected since its 35 years old and coming from out of state... Can anyone tell my if they are just going to check my vin # to see if it matches or if they check things like lights blinkers and safety stuff?

I could pass with a little work if they check for safety but my biggest problem would be the high/low switch mine is missing
IMG_3516.jpg
 
Well Iv got my carbs waiting on me! thay look to be ok a little cleaning and a rebuild kit for both of them and they should be good to go. After i bit of thinking I am pretty sure that i will get them working on my bike. I think the spacing will be off since they are for the 650. But on of the carbs that is on my bike now looks just like that ones that cam off the 650. So i should be able to take off the mounts and fuel lines from the one that came off my bike and install it on the 650 carbs bringing them closer together. Then it should just be a matter of jetting the jetting right.

IMG957095.jpg


The carb that is circled is the newer one that came on my bike when i got it. It looks a lot like that carbs that im getting from the 650

IMG_3239-1.jpg
 
Wow well I got into the 650 carbs when i got home and wow... there was mold and all kind of nasty things growing in them but i got them cleaned and ready for a rebuild kit. Then I get a call that a guy has a set of XS400 carbs that he is going to let go for $30... So my time with the xs650 carbs was a lost haha but thats how it always works right? So i should be getting the carbs this Friday and then get them on this bike as soon as i can get the rebuild kits. So things have been coming along.

Also I ordered some clip-on bars for the bike off the ebay. They look ok but about 10 times better then the stock bars flipped. So for everyone who thinks im crazy with the stack bars you can rest easy!

here is a pic

554728727_o.jpg
 
honda53rider said:
Kool i think that battery will fit with my pods. But that just means that i spent all that time on the first one for nothing... oh well it was a good test run. Going to try and work on my broken speedo over the weekend. I need a paint can opener and some super glue. Any one know right off hand what ratio the XS400 speedo is? I might see how much a new one is. If this one will work i might upgrade to it after a while.

41SmJh9UzrL._SS400_.jpg


But i relay don't need one that goes to 160mph but i guess as long as it shows me when im doing the ton ill be fine! haha
^^^^ What kind of speedo is that?
 
Well its been a while but haven't gotten a lot done. The bike is still in the shop we are having a time getting the carbs to work. I have the XS650 carbs and i got a set of carbs off another XS400 but they don't match my carbs at all. The spacing is even off on the new set of 400 carbs. So im hoping we can get the 650 carbs to work, but we will just have to see. Still havent gotten the clip-ons for the bike but they didn't give a delivery date so i have no idea when they will be here. But i did order some new rubber for the bike!

31Lhd1Ojh3L._SL500_AA300_.jpg


They are Shinko 712 for the front and back. I have a friend who is running them and he likes them. They dont have a long life from what iv heard but im not planing on making the bike a daily driver so im not to concerned with longevity.

Also what have yall done for rust in the tank? Im thinking of using some watered down CLR overnight then running that out with gas to keep it from flash rusting.

But what have yall done?
 
Back
Top Bottom