
Deviant1
Over 1,000 Posts
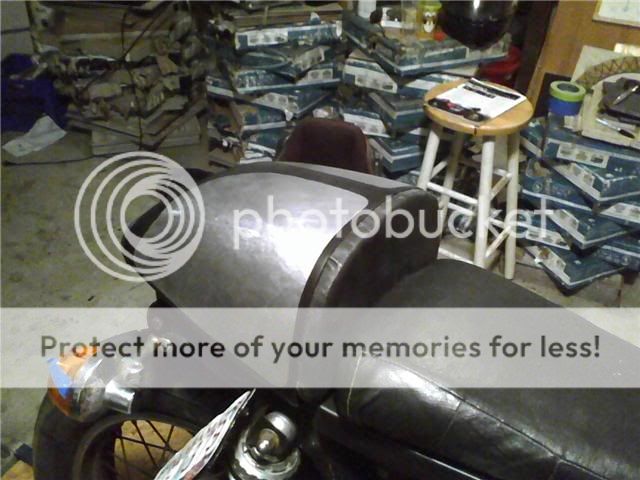
I made a new seat! My old one wasn't terrible:
But it was my first cafe seat. I learned a lot while I was making it, but I learned more by living with it. So I began a complete rebuild on my bike with my buddy TwistedWheelz commited to helping out two days a week. At first I was going to keep my old seat to save time, but then I found this old outboard motor cowl (freebie):
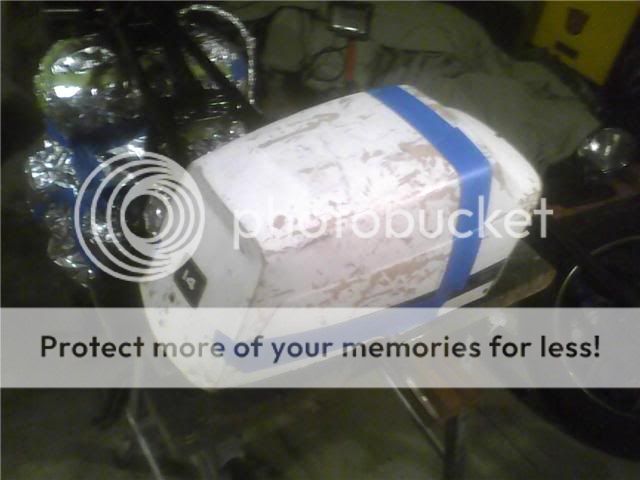
I showed the cowl to TwistedWheelz and told him I thought it'd make a nice bum stop. While I was working on something else, he taped off a shape that was perfect. We painted some black over it and pulled the tape. Then we cut out the shape. I had tucked away a thick ass (1/16th) sheet of steel that I had found at the local c&d dump, so we cut the metal with a grinder wheel and bent it using a hammer and two pieces of angle iron viced together. We then attatched the cowl piece to the metal pan using four pop rivets.

Here's a shot of it mocked up on the bike at this stage:
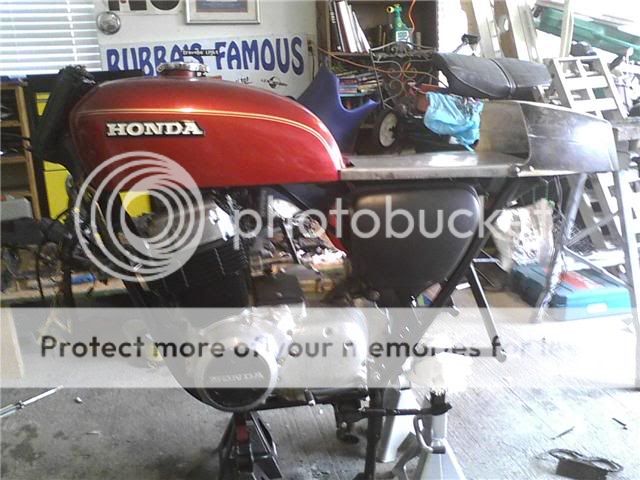
Up next was some fiberglass reinforcement on the inside to help it all hold together. The cowl sits flush on the hoop where the fender mounted before, so it's supported from the back there, and the fiberglass seat pan we built has wood attatched to the back which gives it support under the arch. And then bondo, I probably ended up doing eight or nine coats total to get the edges sharp. The area where the rivets are was a total PITA to get smoothed out as well.


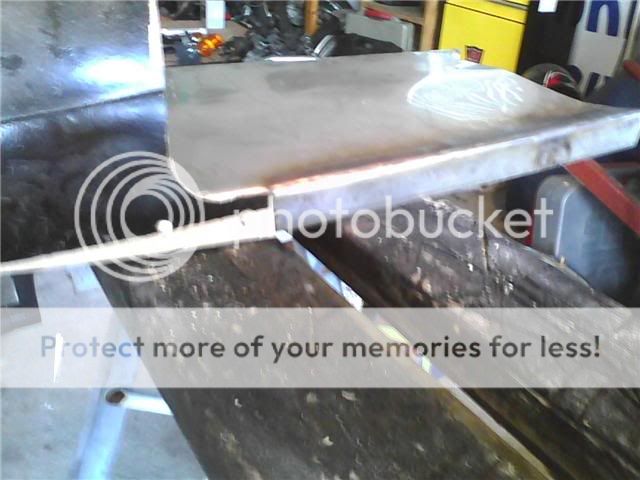
Next we laid Saran wrap over everything and began my first fiberglass project. The seat pan went incredibly smoothly. When we were done we had two layers of cloth and two layers of mat with reinforcements strategically placed on top of that. We laid four peices of wood into the bottom so that the staples would have something to grab when the upholstry was done. We also attatched a piece of wood across the back of the seat for this purpose, plus added support.

Here it is on the seat:

Then TwistedWheelz got to carving on the foam. He made a pretty rough shape, and when I asked him if he wanted me to clean it up (i had taken a lot of time shaping the pad on my last seat project), he was like "No, we're going to go over it with batting and that along with the tension on the vinyl will pull the seat down to an even shape." I had my doubts, I'm sorry to say.

Brandon's girlfriend's mother does some upholstry work, and she was in town that weekend, so he got her to help and together they covered the pad with batting.

Then they covered that with the vinyl, pulling and stretching and stapling. I'm glad to say that my doubts were unfounded, as the shape is smooth and pleasing.")

I get by with a little help from my friends (and their future-mothers-in-law). ;D
We cut the hole out of the back of the cowl for the taillight around this time too.

Here's the test fit of it all united for the first time.

After lots of paint work (See TwistedWheelz's thread about the rattle bomb process for more on this) with some Primer, RustoLeum Burnt Orange, and clear this is what we came out with:


Next we ran some black trim molding around the bottom and mounted it on the bike. One of the great things about this seat is that I can still swap out the stock seat (once I get my other taillight attatched to it) in a couple of minutes. This makes my wife happy!
Here it is on the bike:

So that's how TwistedWheelz and I turned two pieces of garbage into a cafe seat.
But it was my first cafe seat. I learned a lot while I was making it, but I learned more by living with it. So I began a complete rebuild on my bike with my buddy TwistedWheelz commited to helping out two days a week. At first I was going to keep my old seat to save time, but then I found this old outboard motor cowl (freebie):
I showed the cowl to TwistedWheelz and told him I thought it'd make a nice bum stop. While I was working on something else, he taped off a shape that was perfect. We painted some black over it and pulled the tape. Then we cut out the shape. I had tucked away a thick ass (1/16th) sheet of steel that I had found at the local c&d dump, so we cut the metal with a grinder wheel and bent it using a hammer and two pieces of angle iron viced together. We then attatched the cowl piece to the metal pan using four pop rivets.
Here's a shot of it mocked up on the bike at this stage:
Up next was some fiberglass reinforcement on the inside to help it all hold together. The cowl sits flush on the hoop where the fender mounted before, so it's supported from the back there, and the fiberglass seat pan we built has wood attatched to the back which gives it support under the arch. And then bondo, I probably ended up doing eight or nine coats total to get the edges sharp. The area where the rivets are was a total PITA to get smoothed out as well.
Next we laid Saran wrap over everything and began my first fiberglass project. The seat pan went incredibly smoothly. When we were done we had two layers of cloth and two layers of mat with reinforcements strategically placed on top of that. We laid four peices of wood into the bottom so that the staples would have something to grab when the upholstry was done. We also attatched a piece of wood across the back of the seat for this purpose, plus added support.
Here it is on the seat:
Then TwistedWheelz got to carving on the foam. He made a pretty rough shape, and when I asked him if he wanted me to clean it up (i had taken a lot of time shaping the pad on my last seat project), he was like "No, we're going to go over it with batting and that along with the tension on the vinyl will pull the seat down to an even shape." I had my doubts, I'm sorry to say.
Brandon's girlfriend's mother does some upholstry work, and she was in town that weekend, so he got her to help and together they covered the pad with batting.
Then they covered that with the vinyl, pulling and stretching and stapling. I'm glad to say that my doubts were unfounded, as the shape is smooth and pleasing.
I get by with a little help from my friends (and their future-mothers-in-law). ;D
We cut the hole out of the back of the cowl for the taillight around this time too.
Here's the test fit of it all united for the first time.
After lots of paint work (See TwistedWheelz's thread about the rattle bomb process for more on this) with some Primer, RustoLeum Burnt Orange, and clear this is what we came out with:
Next we ran some black trim molding around the bottom and mounted it on the bike. One of the great things about this seat is that I can still swap out the stock seat (once I get my other taillight attatched to it) in a couple of minutes. This makes my wife happy!
Here it is on the bike:
So that's how TwistedWheelz and I turned two pieces of garbage into a cafe seat.


