xulf13
West of Tennessee
As promised, here is my build project. Many of you know I ride the 82 seca. Many don't, oh well.
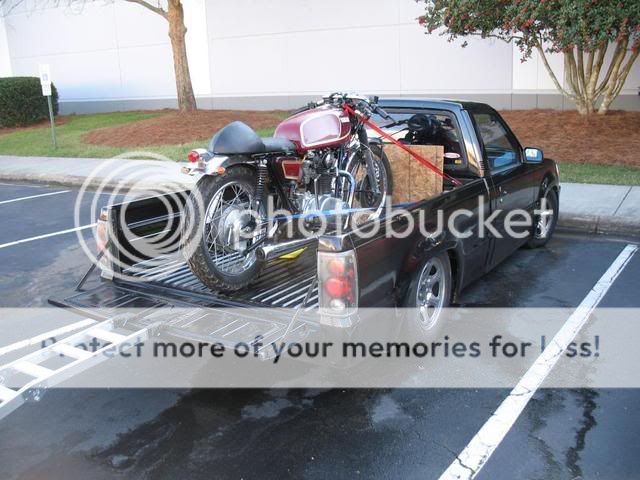
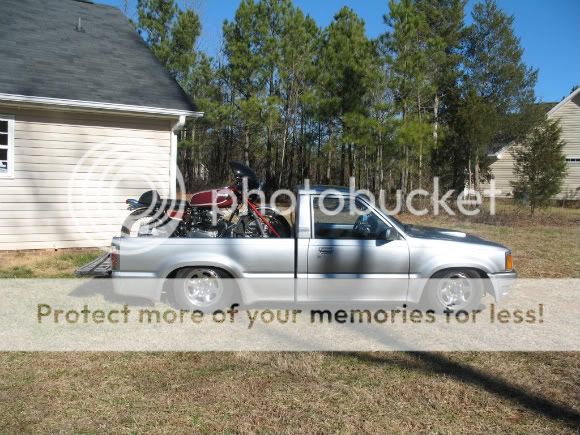
I picked this 1973 TX650 last Friday January 15, 2010
The photos looked great, the price was decent (I suppose) for a running 650.
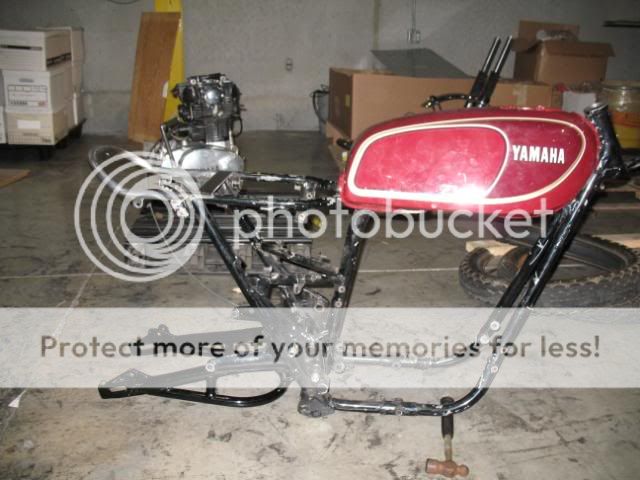
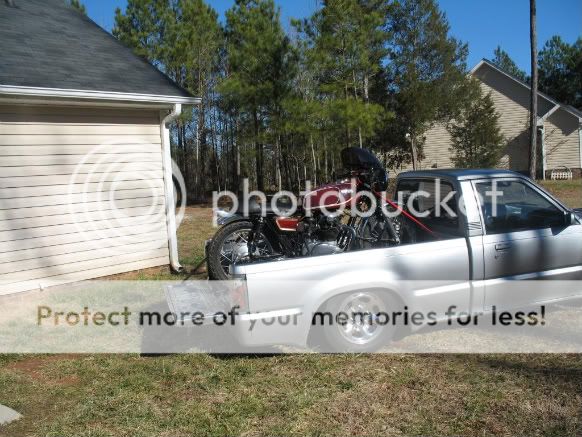
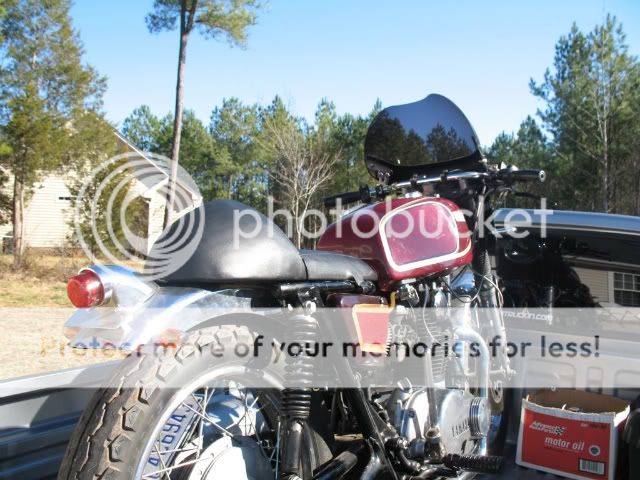
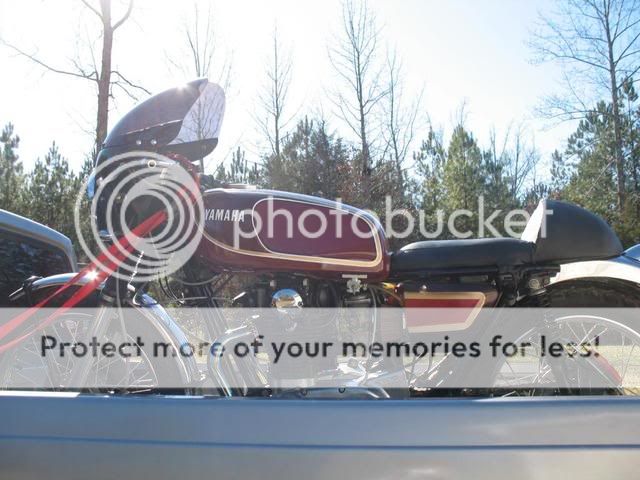
These are the photos from the CL add:
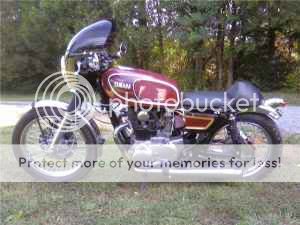
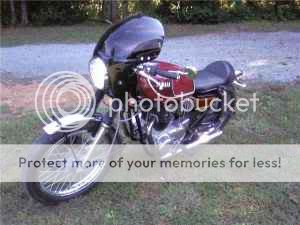
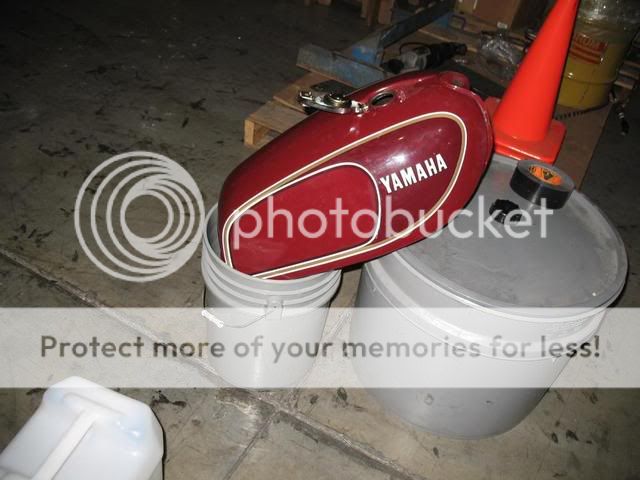
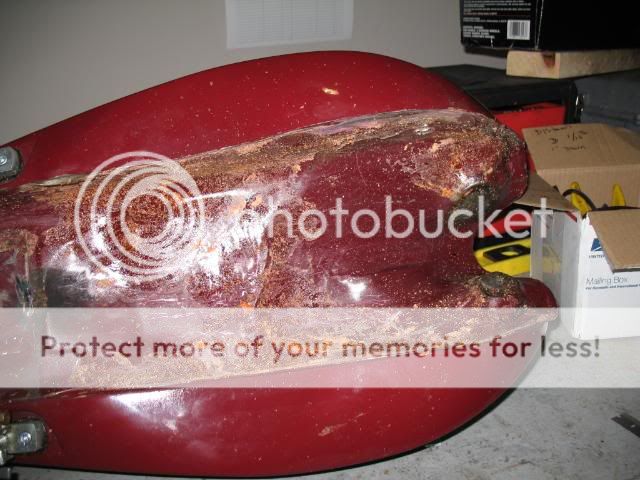
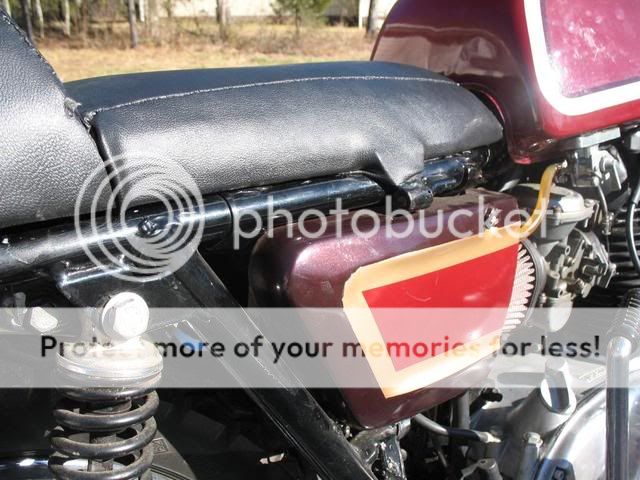
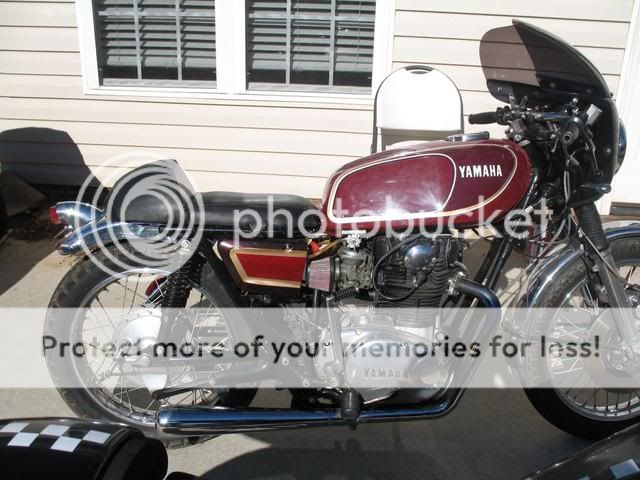
As soon as I saw it, I knew all the things that would need to be done in order to get it right. Yes It's already a cafe, but it needs attention to detail and poor quality photos can hide a lot. I knew the tank was not lined up properly by looking at the photos. See how the front of the tank is slanted upwards? I'll get to that later.
I drove to Denton NC about 2 1/2 hours from home. I spoke to the P.O. prior to this and asked what this bike would need within the year. He said he would upgrade the ignition to an electronic one. I agreed and planned on that expense.
The seat looks descent right? I'll get to that later
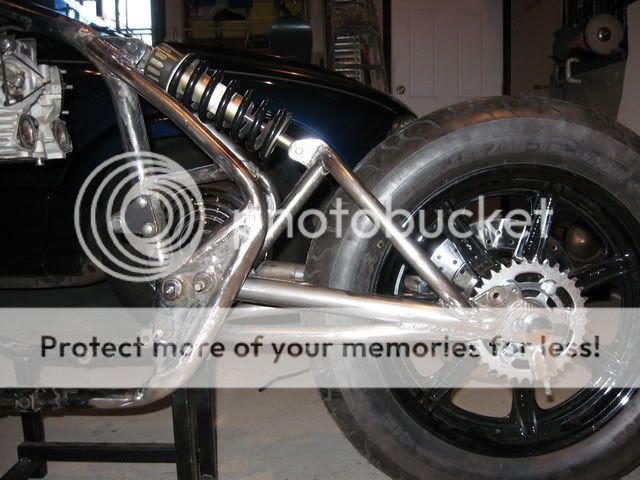
The rear shocks seemed very worn when I arrived at the location and even by looking at the photos They seemed a bit short in my opinion.
When I arrived, I noticed the front had been lowered about 1 1/2" but yet the front still seemed high. Probably because the rear shocks are smaller, even though they look to be stock.
I took it for a test ride and it had good pick up on the bottom end, but could not get it to go past 65MPH. The bike had just woken up for it's hibernation. A little too soon perhaps, but it was backfiring off and on. I presumed it was the fuel mix and or the timing, so being that I will keep on riding my SECA while I work on this, i opted to buy it anyways and was able to get a $300 discount off the overall price.
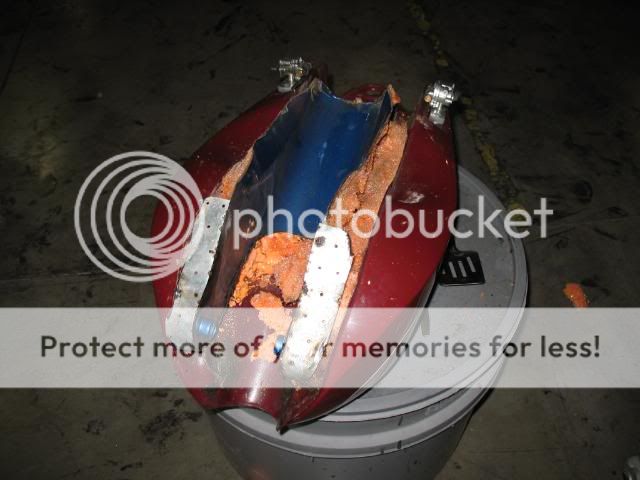
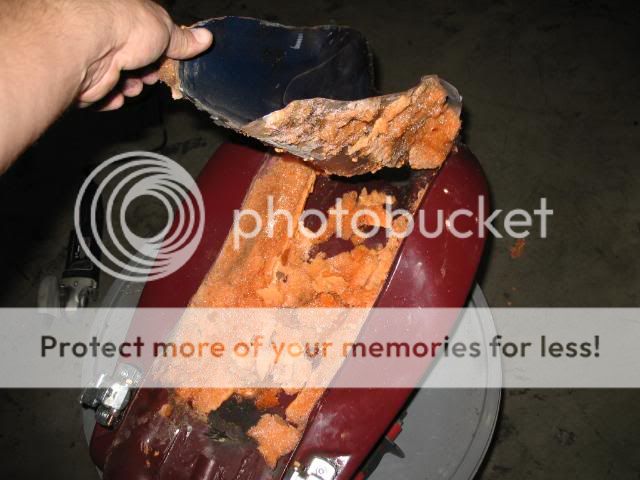
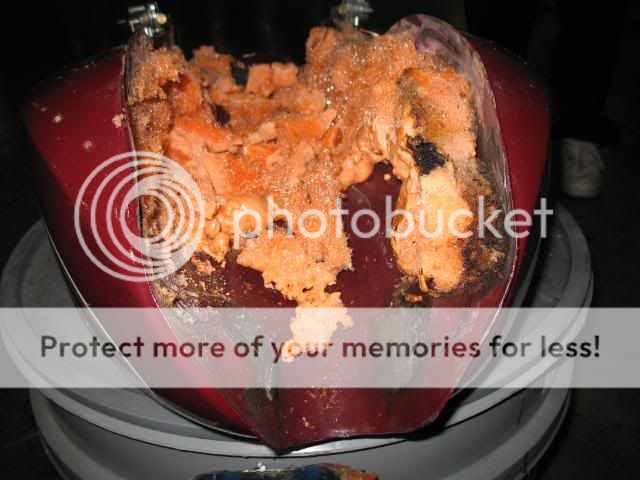
The tank was wobbly, I asked the guy why and he said he never got it quite right and he did not know how to weld so he cut out the old stock tank tunnel and welded it to the bottom of this tank and filled the gaps with high density spray foam. It looks horrible under there. ( I will eventually take pictures of that ordeal.) But when the guy grinded down the mounting tabs on the tank he left two holes on top of the tank and sealed them with some sort of putty. I want to remove all that and weld the stock type tabs on this tank but the proper way. this in itself will be a project. of its own.
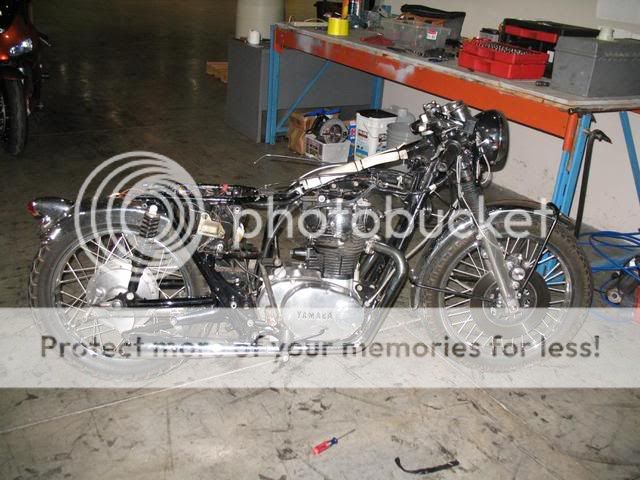
This is my bike soon after getting it to my house.
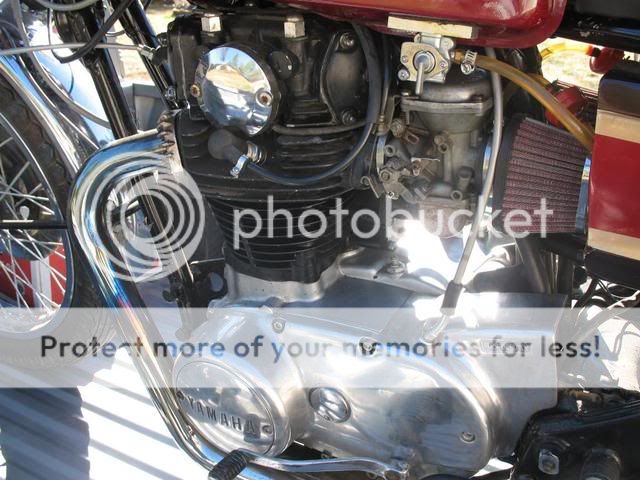
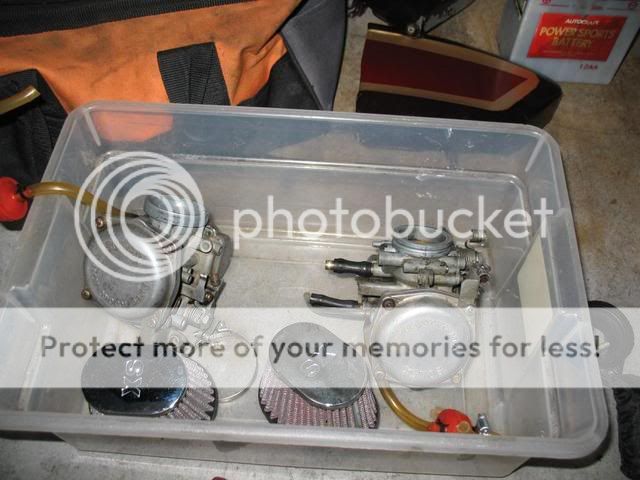
In this photo you can see the carb is missing the choke lever and will need to be replaced.
This is the attention to detail that you don't see in poor quality photos, but I will strip this and repaint with a solid color more than likely or do away with the side covers once I relocate the battery sometime in the future.

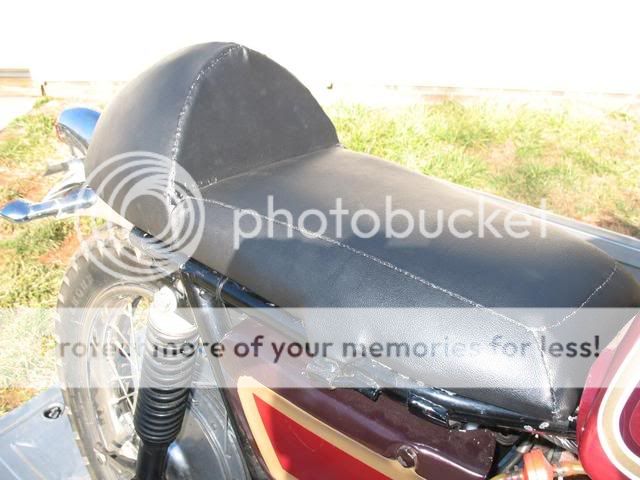
The seat stitching is not the greatest, but it will hold my butt until I get another seat.
This seat is made out of plywood and fiberglass. not too bad but I want something lighter and that is properly mounted. this seats mounting points are iffy and where the hinge mounts is not very stable causing the seat to slide backwards.
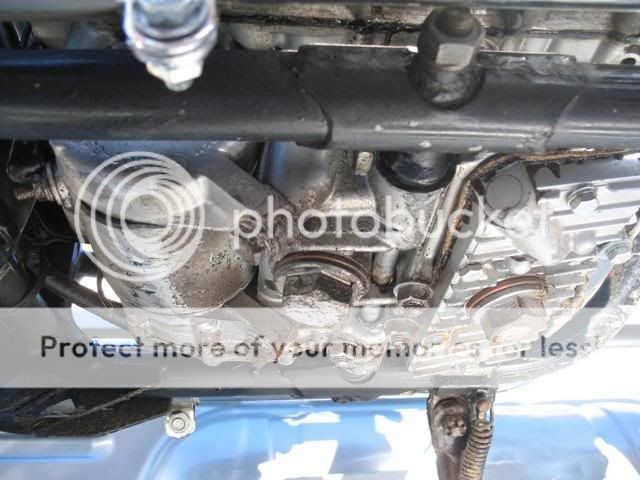
There is a leak or two somewhere, I still have to determine where it is coming from. one I found coming from the valve adjustment cover on the rear right.
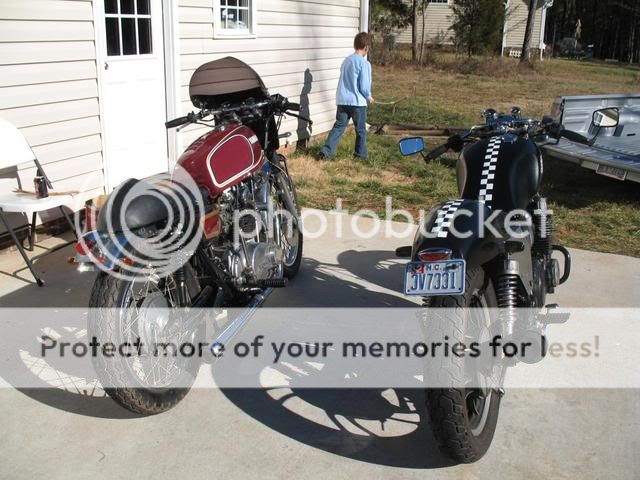
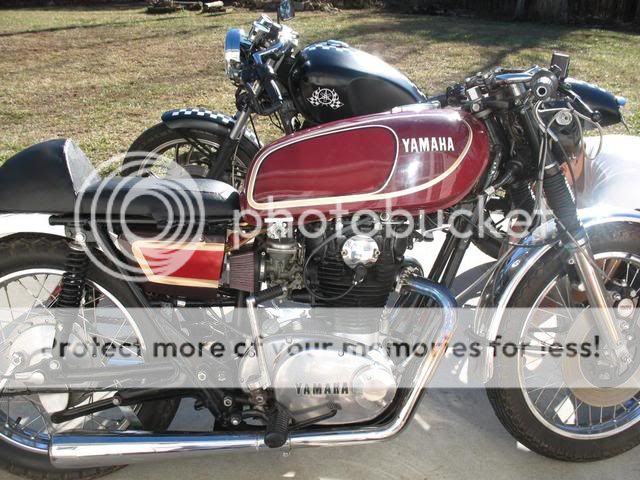
My two bikes side by side. The specs rate both these bikes at 478 Lbs, but the SECA sure weighs an extra 100lbs. the TX650 is light as a feather compared to the SECA.
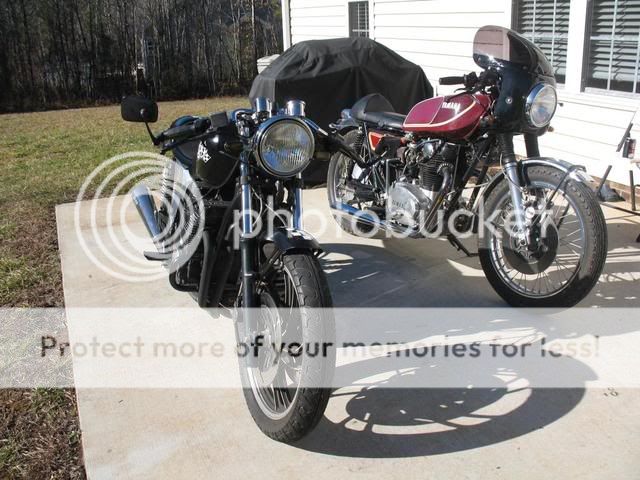
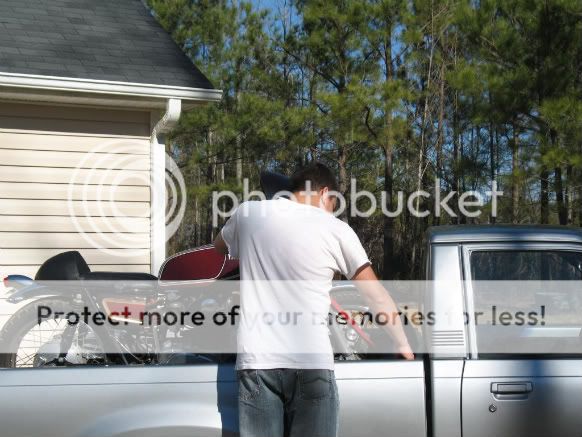
My 10yr old son in the background getting ready to help me out. He passes me the tools and takes photos as I go.
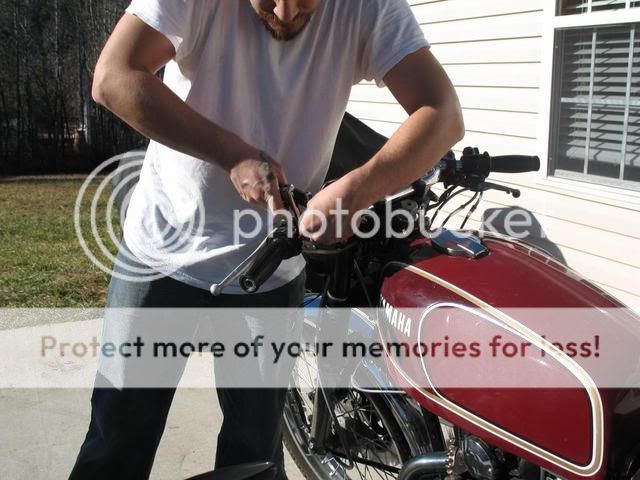
First thing I decided on was to remove the front windshield fairing, Although it looks ok, I personally can do without and it wasn't properly mounted anyways and had some damage.
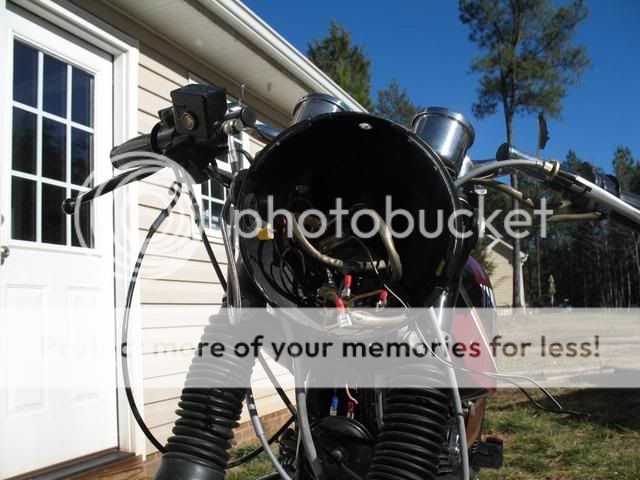
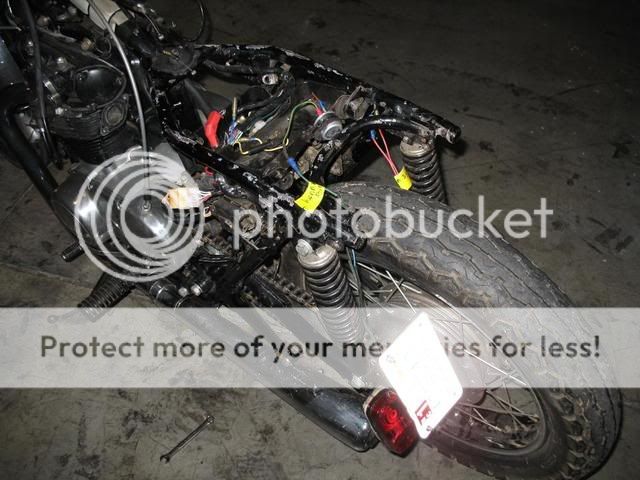
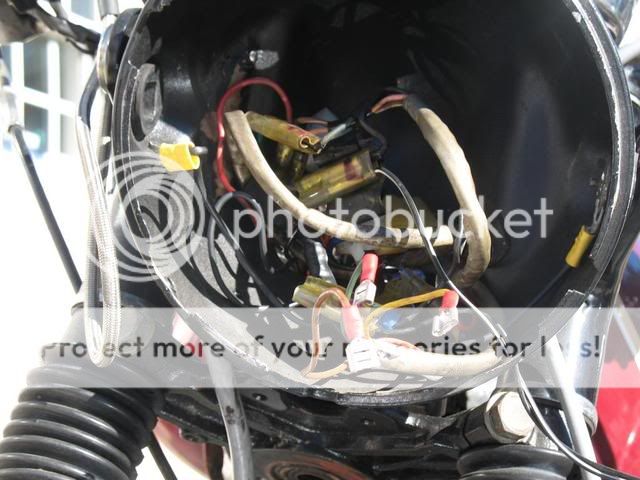
This doesn't scare me, I've seen worse. Thing is, every other connection has a crimp connection on. I will go the solder route when I get to it. The gauges are not lighting up at the moment.
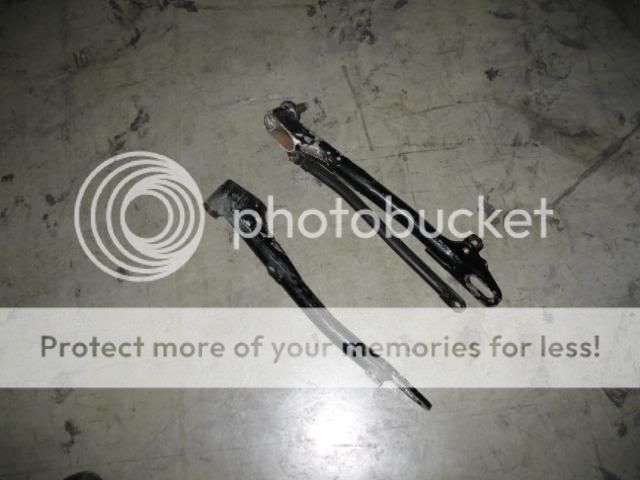
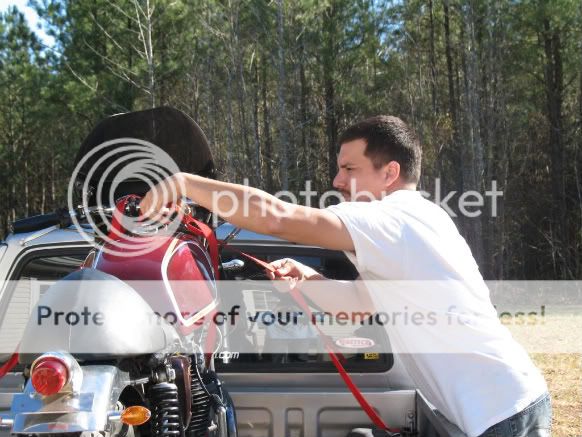
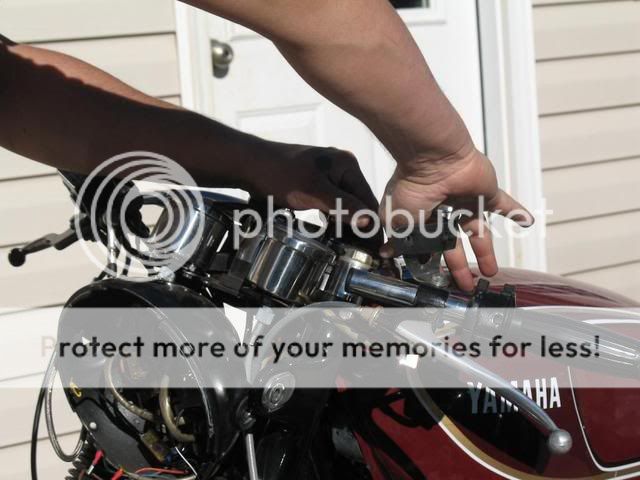
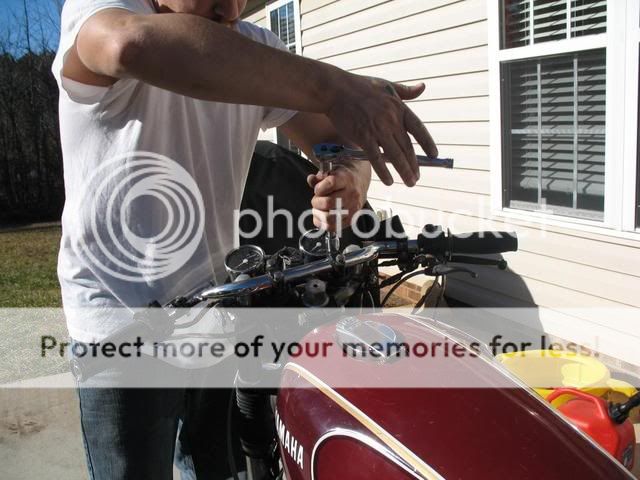
Here I am removing the brackets for the fairing.
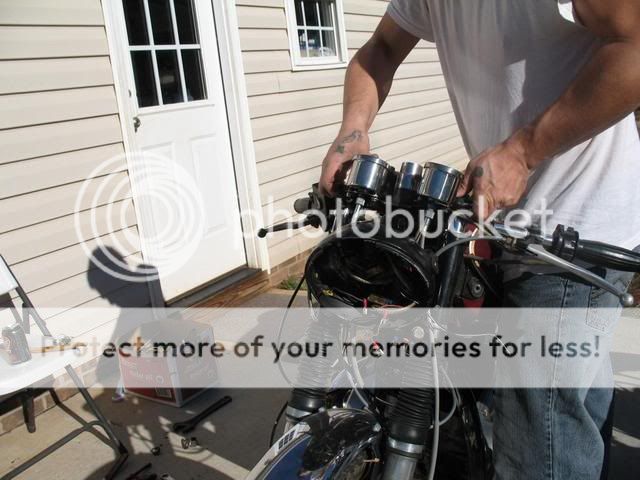
These cheap handlebars cracked when i was trying to strap it down on my truck on my trip back home. I had to find another location to tie the bike down. I ordered a new set of clubman's until I can afford my tomasellii adjustable clip ons.
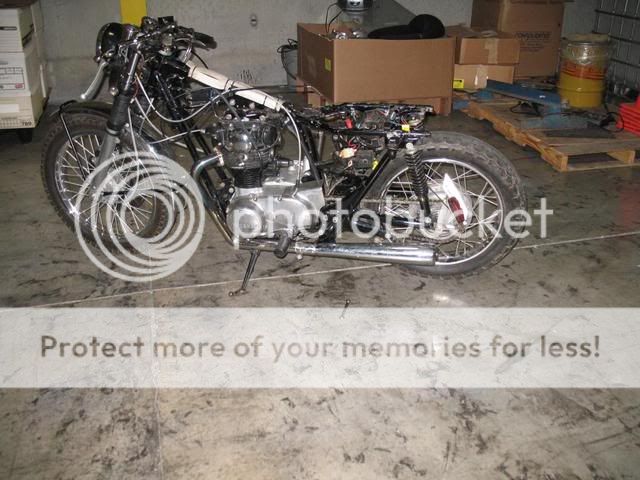
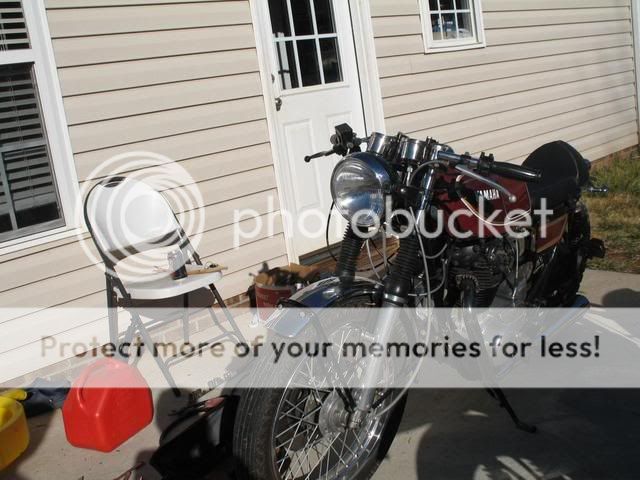
And this is how it looks at the moment.
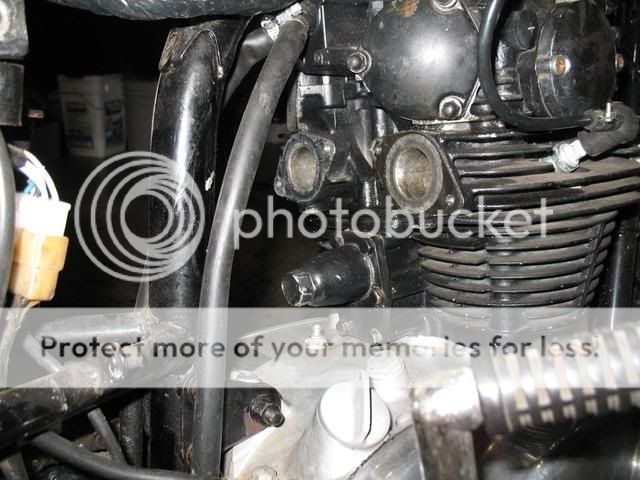
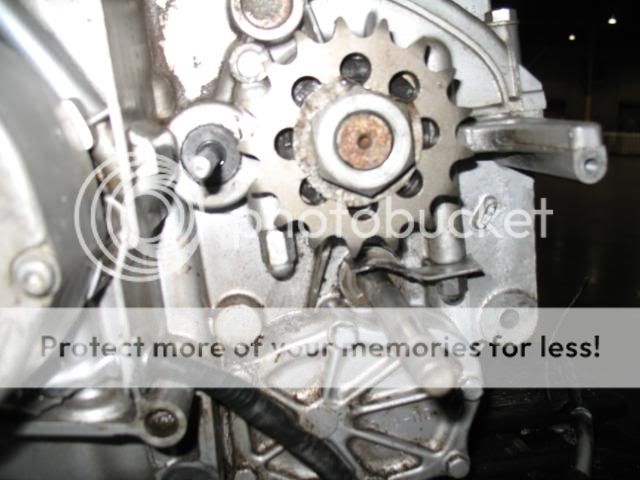
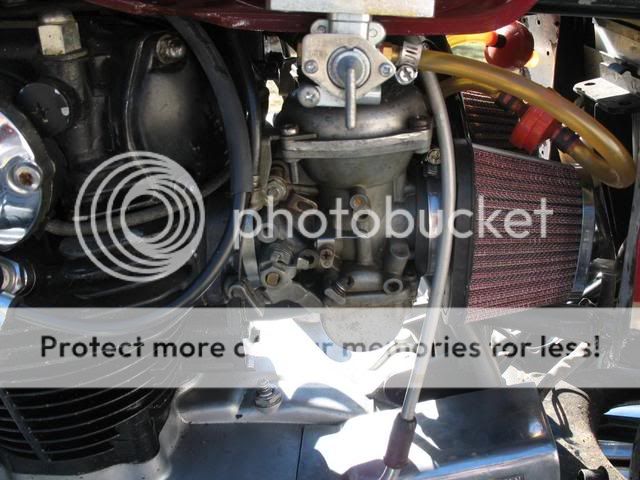
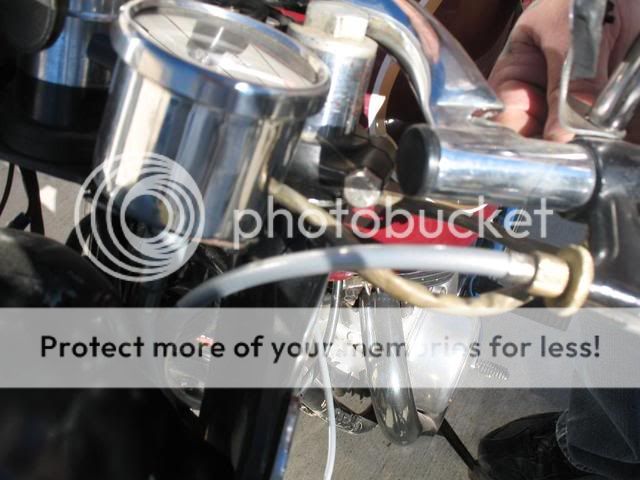
I figured out why the bike was back firing and perhaps it is also the reason why the bike wouldn't go past 65MPH. The left carb rubber holder has cracks all over it and you can see the back firing in there and it's sucking a lot of air through there. I temporarily placed some electrical tape around the holder (it's what I had at the moment) to see how it would run. Well it idled much better.
In my haste to take it for a ride around the property (I have a little acre to putter around and some woods in the backyard.) I disregarded the handlebar being damaged (big mistake) and went for a ride around the property. A couple of passes later My son climbed in the back and we headed for the woods, when suddenly the handlebar gave as i was slowing down around a turn and down we went.
I got a bit of tree rash on my left forearm and a few bruises, my son twisted his ankle as he jumped off the bike. We were only going about 5MPH when this happened. After I checked on him and make sure nothing was broken, I lifted the bike back up and rode back to the shed, where the bike rests until the handle bars and now a set of headlight brackets are on their way (yeah I broke those too.LOL)
My son put some ice on his ankle and says he can't wait for the handlebars to arrive so we can do it again.
So this is my list of things needed in order of priority.
Handlebars (on their way)
Headlight brackets (on their way)
carburetor holders (need to order) ( will clean the carbs when swapping the holders)
Rewire lights and buy a new set of turn signals.
Electronic ignition system 9next month)
Tank modification and fixing (will start in two weeks)
Fiberglass seat
New tires ( the ones that are on have cracks all over)
I picked this 1973 TX650 last Friday January 15, 2010
The photos looked great, the price was decent (I suppose) for a running 650.
These are the photos from the CL add:
As soon as I saw it, I knew all the things that would need to be done in order to get it right. Yes It's already a cafe, but it needs attention to detail and poor quality photos can hide a lot. I knew the tank was not lined up properly by looking at the photos. See how the front of the tank is slanted upwards? I'll get to that later.
I drove to Denton NC about 2 1/2 hours from home. I spoke to the P.O. prior to this and asked what this bike would need within the year. He said he would upgrade the ignition to an electronic one. I agreed and planned on that expense.
The seat looks descent right? I'll get to that later
The rear shocks seemed very worn when I arrived at the location and even by looking at the photos They seemed a bit short in my opinion.
When I arrived, I noticed the front had been lowered about 1 1/2" but yet the front still seemed high. Probably because the rear shocks are smaller, even though they look to be stock.
I took it for a test ride and it had good pick up on the bottom end, but could not get it to go past 65MPH. The bike had just woken up for it's hibernation. A little too soon perhaps, but it was backfiring off and on. I presumed it was the fuel mix and or the timing, so being that I will keep on riding my SECA while I work on this, i opted to buy it anyways and was able to get a $300 discount off the overall price.
The tank was wobbly, I asked the guy why and he said he never got it quite right and he did not know how to weld so he cut out the old stock tank tunnel and welded it to the bottom of this tank and filled the gaps with high density spray foam. It looks horrible under there. ( I will eventually take pictures of that ordeal.) But when the guy grinded down the mounting tabs on the tank he left two holes on top of the tank and sealed them with some sort of putty. I want to remove all that and weld the stock type tabs on this tank but the proper way. this in itself will be a project. of its own.
This is my bike soon after getting it to my house.
In this photo you can see the carb is missing the choke lever and will need to be replaced.
This is the attention to detail that you don't see in poor quality photos, but I will strip this and repaint with a solid color more than likely or do away with the side covers once I relocate the battery sometime in the future.
The seat stitching is not the greatest, but it will hold my butt until I get another seat.
This seat is made out of plywood and fiberglass. not too bad but I want something lighter and that is properly mounted. this seats mounting points are iffy and where the hinge mounts is not very stable causing the seat to slide backwards.
There is a leak or two somewhere, I still have to determine where it is coming from. one I found coming from the valve adjustment cover on the rear right.
My two bikes side by side. The specs rate both these bikes at 478 Lbs, but the SECA sure weighs an extra 100lbs. the TX650 is light as a feather compared to the SECA.
My 10yr old son in the background getting ready to help me out. He passes me the tools and takes photos as I go.
First thing I decided on was to remove the front windshield fairing, Although it looks ok, I personally can do without and it wasn't properly mounted anyways and had some damage.
This doesn't scare me, I've seen worse. Thing is, every other connection has a crimp connection on. I will go the solder route when I get to it. The gauges are not lighting up at the moment.
Here I am removing the brackets for the fairing.
These cheap handlebars cracked when i was trying to strap it down on my truck on my trip back home. I had to find another location to tie the bike down. I ordered a new set of clubman's until I can afford my tomasellii adjustable clip ons.
And this is how it looks at the moment.
I figured out why the bike was back firing and perhaps it is also the reason why the bike wouldn't go past 65MPH. The left carb rubber holder has cracks all over it and you can see the back firing in there and it's sucking a lot of air through there. I temporarily placed some electrical tape around the holder (it's what I had at the moment) to see how it would run. Well it idled much better.
In my haste to take it for a ride around the property (I have a little acre to putter around and some woods in the backyard.) I disregarded the handlebar being damaged (big mistake) and went for a ride around the property. A couple of passes later My son climbed in the back and we headed for the woods, when suddenly the handlebar gave as i was slowing down around a turn and down we went.
I got a bit of tree rash on my left forearm and a few bruises, my son twisted his ankle as he jumped off the bike. We were only going about 5MPH when this happened. After I checked on him and make sure nothing was broken, I lifted the bike back up and rode back to the shed, where the bike rests until the handle bars and now a set of headlight brackets are on their way (yeah I broke those too.LOL)
My son put some ice on his ankle and says he can't wait for the handlebars to arrive so we can do it again.
So this is my list of things needed in order of priority.
Handlebars (on their way)
Headlight brackets (on their way)
carburetor holders (need to order) ( will clean the carbs when swapping the holders)
Rewire lights and buy a new set of turn signals.
Electronic ignition system 9next month)
Tank modification and fixing (will start in two weeks)
Fiberglass seat
New tires ( the ones that are on have cracks all over)
")