Project "Gateway Drug" build thread - Single Cylinder Mashup!

IL8APEX

New Member
Okay, here goes...

The Winter mod bug hit hard this year. Real hard.

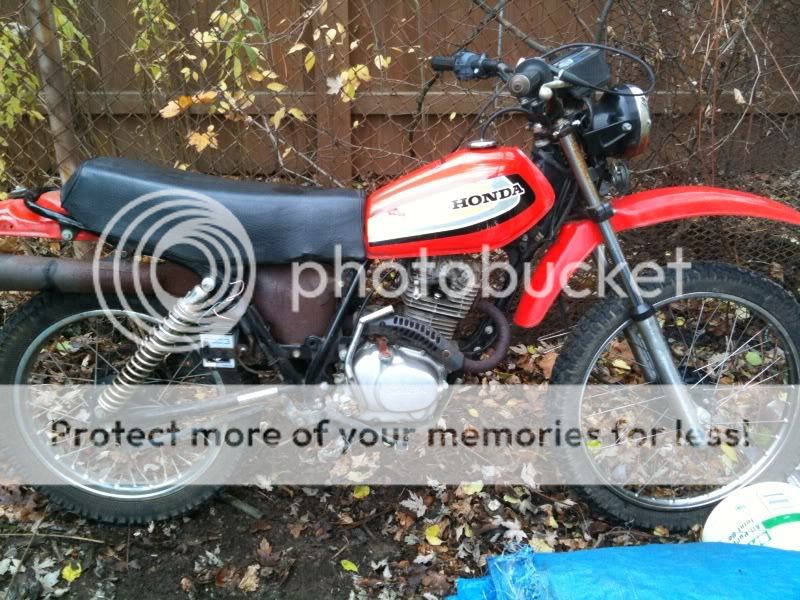
I'd been thinking about a cafe project based on an off-road bike for quite some time (Thanks, Roland Sands!). My mistake as it turns out was that I had always been thinking about it as a motorcycle in the traditional sense. It was always subject to what the current market and media had taught motorcyclists a motorcycle should be. You know, BIGGER BETTER FASTER MORE! As long as I bought into this notion the project stayed in my head, falling short of expectations.

Finally I woke up. Damn the expectations, let's make this thing what I think a motorcycle should be!

Initial Project Description:

Air cooled single cylinder
20+ hp with lots of torque
<55" wheelbase, <240lbs wet.
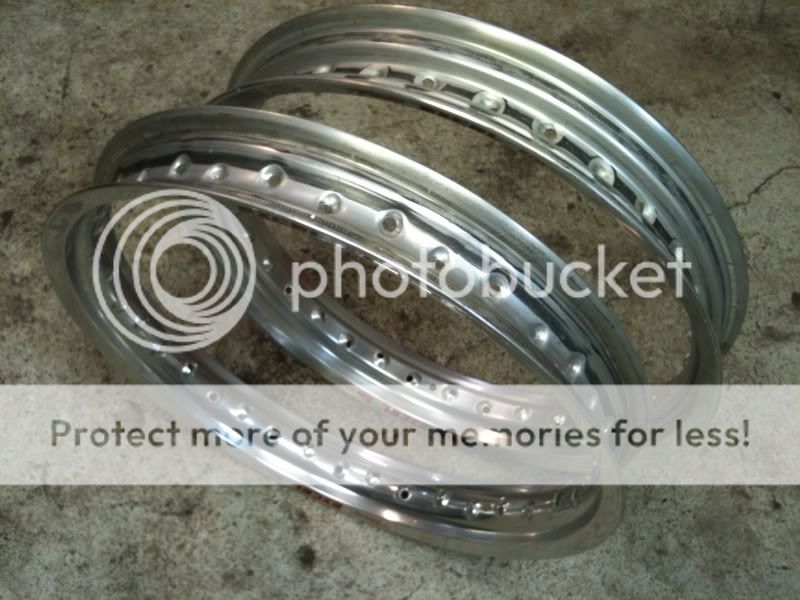
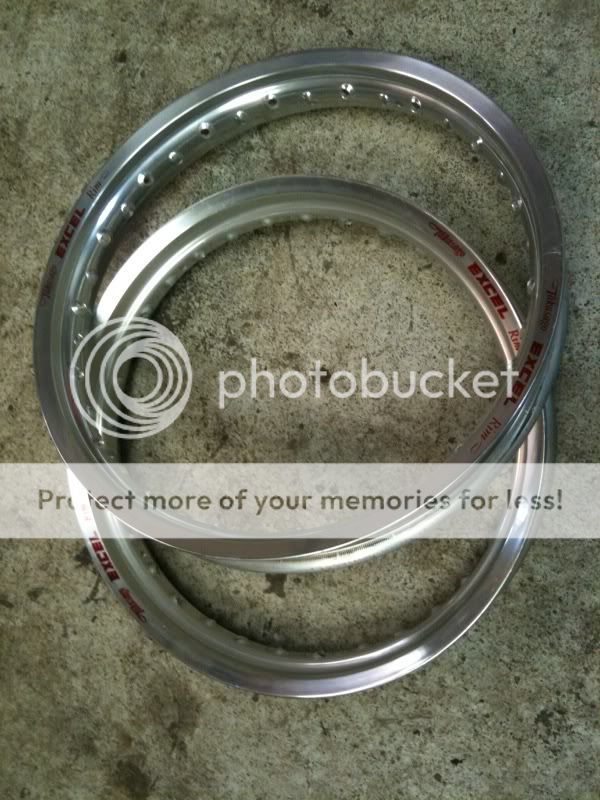
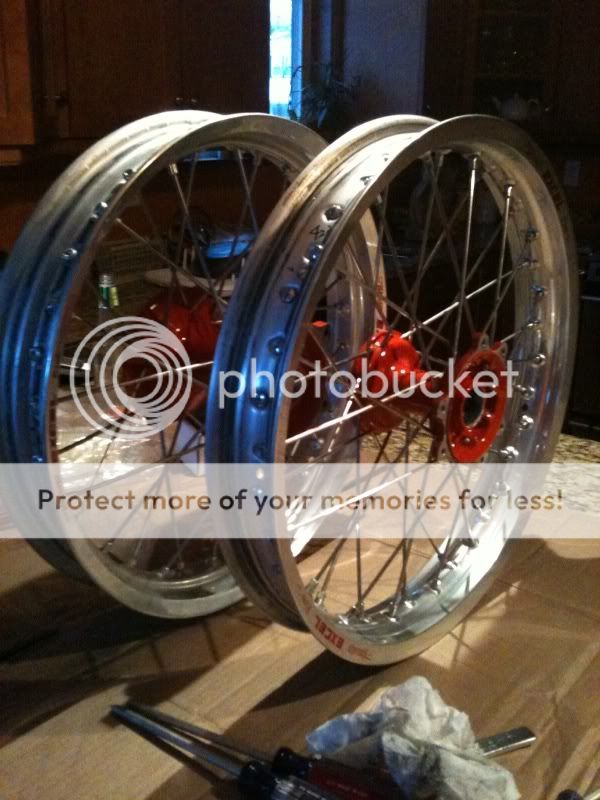
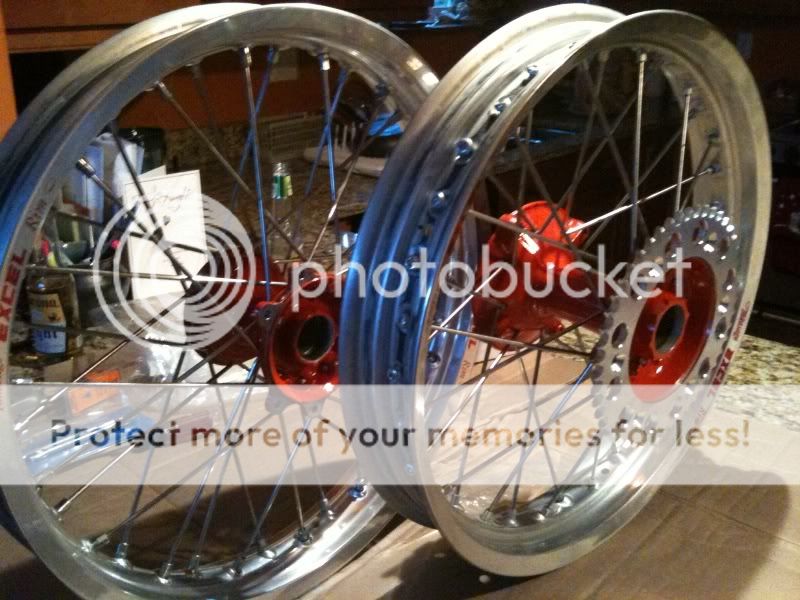
17” or 18” spoked wheels
Stiffer suspension revalve
MAJOR stator upgrade for lighting
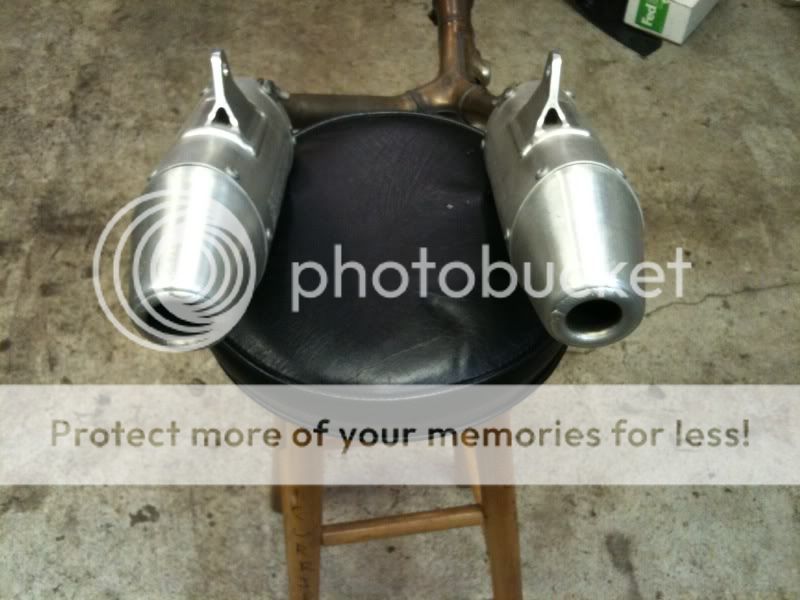
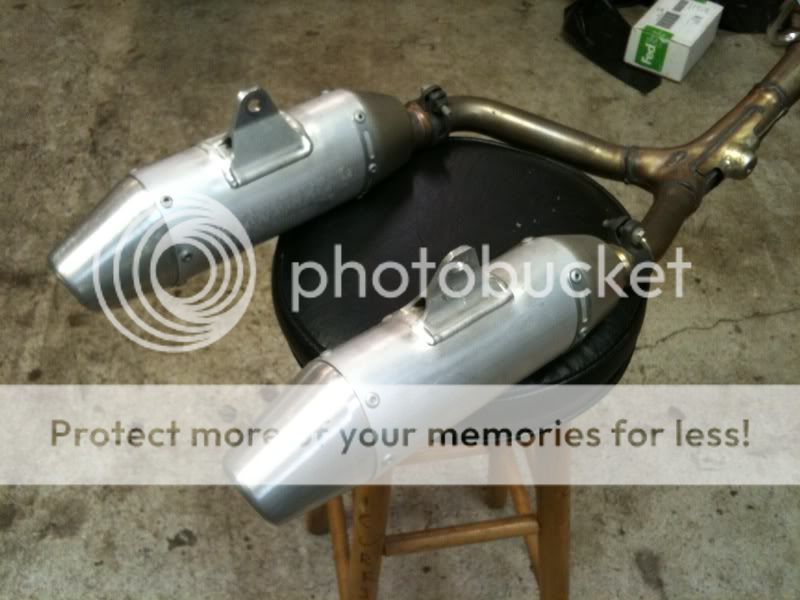
Exhaust - It's got to be quiet!
Clip-on handlebars
Custom rearsets
Custom rear subframe and seat
Custom tank cover
Custom bodywork (later, MUCH later!)

I wanted this to be a bike that riders and non-riders alike would covet. Something that I could loan to my 21 year old nephew and let him ride as basic transporatation not because his car was broken but because the bike is cooler.

Classic Cafe Style is cool, but I really wanted to broaden the bike's appeal. Inspiration for the looks of the thing would come from the following:

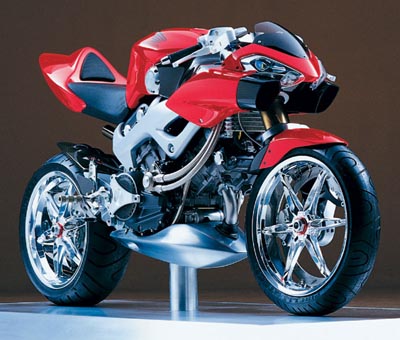
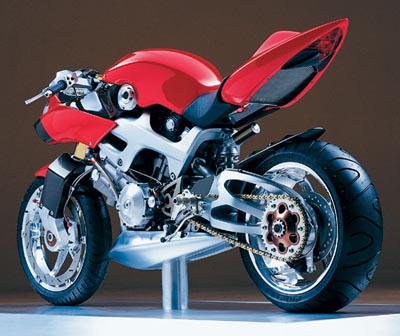
The 1999 Honda NAS Concept:

honda-NAS_2.jpg


honda-NAS_1.jpg


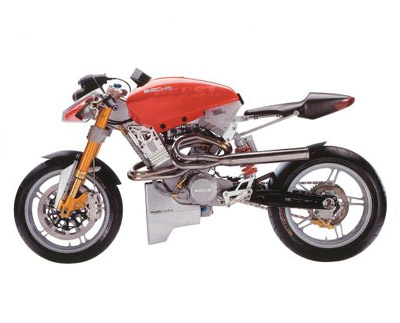
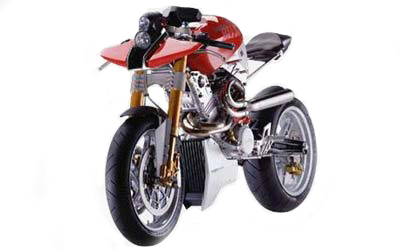
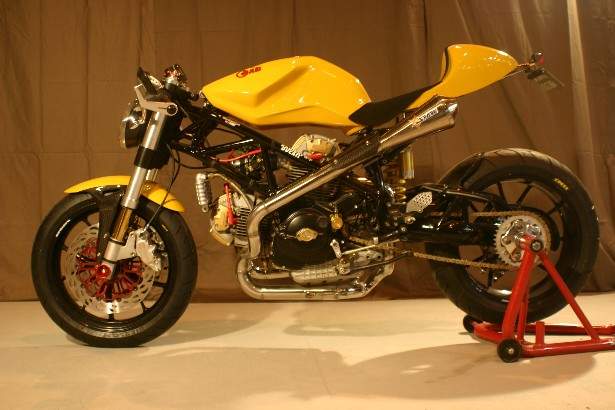
The Sachs Beast Concept from 2002:

sachs_beast.jpg


sachs_beast_front.jpg


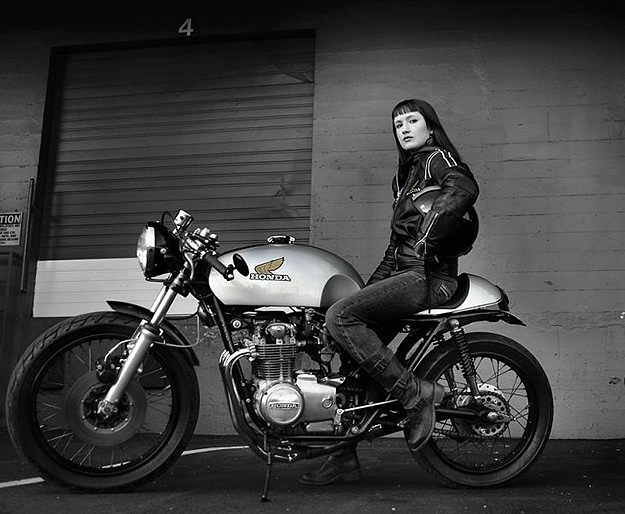
Clean, modern-ish cafes, like these BCR classics:
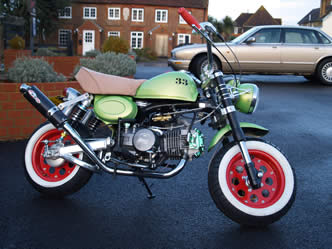
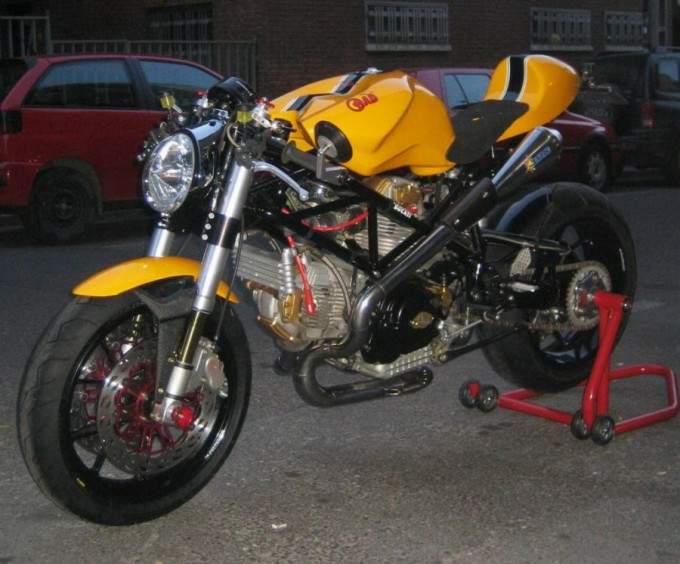
sarah_benjies_cafe_racer.jpg


benjes_cb350_cafe.jpg


Whatever this is!

Radical%20Ducati%20Cafe%20Racer.jpg


RAD%2002%20Cafe%20Racer.jpg


imola2.jpg


More project details and photographs to follow!

-Tom
 
Those last two Ducatis are 1000ss's (I think) from the Radical Ducati concern out of Spain. They may have some others you would dig for inspiration:

http://www.radicalducati.com/index.php?page=carallo-sport

http://www.radicalducati.com/index.php?page=48sportiva

http://www.radicalducati.com/index.php?page=old-blue
 
Thanks, Tony!

Combing Craigslist's Motorcycles For Sale section in the Fall is amazing. A National financial crisis and no garage space makes for easy pickings. Good thing, as this build was going to be executed on a serious budget.

At first I thought I would start with a MiniMX platform (CR85 Big Wheel) and transplant a newer CRF230 motor to take advantage of its electric start and six speed transmission.
The cost of the 230 motors soon put the stops to that plan. Much more research and classifieds shopping later the plan began to take better shape.

The Motor Donor: 1979 XL185

1266029656.jpg


Unloved for far too long, but seemingly unmolested as it showed only 4,000 miles on the clocks and had original tires. I blamed its reluctance to run on a dirty carb and took it home. Once the carb was clean she started up and immediately settled down to idle. Nice! Counting myself fortunate I tore the motor out of the frame before anything negative cropped up!

The Chassis Donor: 1996 CR125

1266029683.jpg


Purchased as a rolling chassis, the last generation of the Steel Framers before Honda made the move to aluminum. Extensive rework would be needed, however, in order to shorten the wheelbase and retain decent rake / trail numbers.

So with the bare bones in house the project outline was revised slightly: Air Cooled Single with ~17hp and ~14ft/lbs torque (goodbye, freeway!). We'll see about the rest!

-Tom
 
Before I could install the motor I had to have a good portion of the frame modifications finished. Out came the cutting wheel...

1266029727.jpg


1266029732.jpg


The cross tube had to be removed to make way for the 4-stroke motor's head.

1266029762.jpg


While the cutting wheel was warm I chopped off one of the upper motor mounts as the spacing was different on the new motor.

1266029779.jpg


Initial measurements on the CR chassis told me a I to shorten the wheelbase by at least 2". Most of this would be taken out of the frame's top tube.

1266029767.jpg


Aligning my marks and tacking the frame back together. Looks like someone needs more welding gas!

1266029800.jpg


Putting the two parts back together was made easier by the 2-stroke chassis' full lower cradle. Notice the tubes overlapping at the bottom:

1266029815.jpg


Of course the 4-stroke motor is a stressed member and doesn't use a cradle, so those extra tubes didn't last long!

1266029828.jpg


Next: mounting the motor.

-Tom
 
So the next major hurdle came in the form of mounting the 4-stroke in the 2-stroke chassis.

The highly focused MXer used the engine cases as additional support for the rear swingarm mount. The old dual-sport, however, utilized small diamter upper and lower mounts in the rear spaced about 8" apart on either side of the countershaft sprocket. I had my brother-in-law turn up a quick spacer on the lathe to fit into the swingarm in place of the engine cases.

Locating said sprocket relative to the swingarm pivot...

1266029891.jpg


...and then pivoting the engine up until the upper cylinder mount was where it needed to be...

1266029928.jpg


...and whadddaya know, the rear motor mount nearly made itself!

1266029944.jpg


1266029955.jpg


Lining up the countershaft sprocket across the chassis results in the motor shifting to the left. No problem.

1266029909.jpg


That's all the fabrication for now. Next up: Parts Shopping.

-Tom
 
Man thats a lot of work. I would have done a big single to get some power to go with your mods, just my opinion. Looks good looks like you know what youre doing. Keep it up and keep up with the pics.
 
Not sure why you'd want to cut all that bracing out of the neck area ???

But you're only running a 185 so it probably doesn't matter :D

Keep the pics coming ;)
 
Awesome stuff man. Real ballsy. If you put half as much thought and work into the rest of the bike it may be one of the best on here!
 
hillsy said:
Not sure why you'd want to cut all that bracing out of the neck area ???

Well, it had to come out to shorten the top tube. Now these need to go in:

1266101094.jpg


Some more pictures with motor installed, since I'm stalling for time!

1266101014.jpg


1266101052.jpg


Nice "Macintosh" cutout in the spricket cover, eh?

1266101028.jpg


So I said I had done some shopping.

The 185 is getting bumped to 200cc for some more oomph. This goes inside:

1266029875.jpg


I also have fresh cam chain, guides, head bolts, etc... Just to make sure she's all up to spec!

Oh, also found these:

1266101144.jpg


1266101124.jpg


This should quiet things down a bit.

Oh, also worked VERY HARD to get these of eBay:

1266101184.jpg


1266101167.jpg


18" x 2.15" for the front, 18" x 2.5" for the rear. Oh yeah.

So while Hal (username HPRICE) was over today we built up the original MX bike hubs (with a fresh coat of paint, of course!) with the new spokes and rims.

1266101200.jpg


1266101243.jpg


The wife wasn't too happy we were doing this on the kitchen counter. I told her there were lots of people on here who would love to have them on their kitchen countertop!

-Tom
 
Man you work fast. looks cool so far. Are you planning on running the suspension from the cr? Is that a set of crf 250 pipes? Those should have more than enough flow for that 200.What are you gonna do for a tank? That back bone is gonna make it tough to fit a normal streetbike tank. Keep it up.
 
Very cool. I am also a subscriber to the school of "if they don't make want you want, make one yourself". Keep up the good work.
 
YA......I guess thats cool, if your into that sort of thing....

Thanks again for the lesson in lacing! Can't wait to roll this summer on the small bikes. MPG is where its at.

Now we just have to get Chad on a bike that fits him.....something along the lines of a 100
 
Tom. Look at my stuff let me know what you think. That 21" you gave me has a tiny axle and doesnt fit my stuff. bummer.

Let me know if you escape the house. I want to head down to the clubhouse to work on the bike!.....and i need to use the welding equipment......
 
Back
Top Bottom