CB360-based mutt "Lucky"

Gimpy Joe

New Member
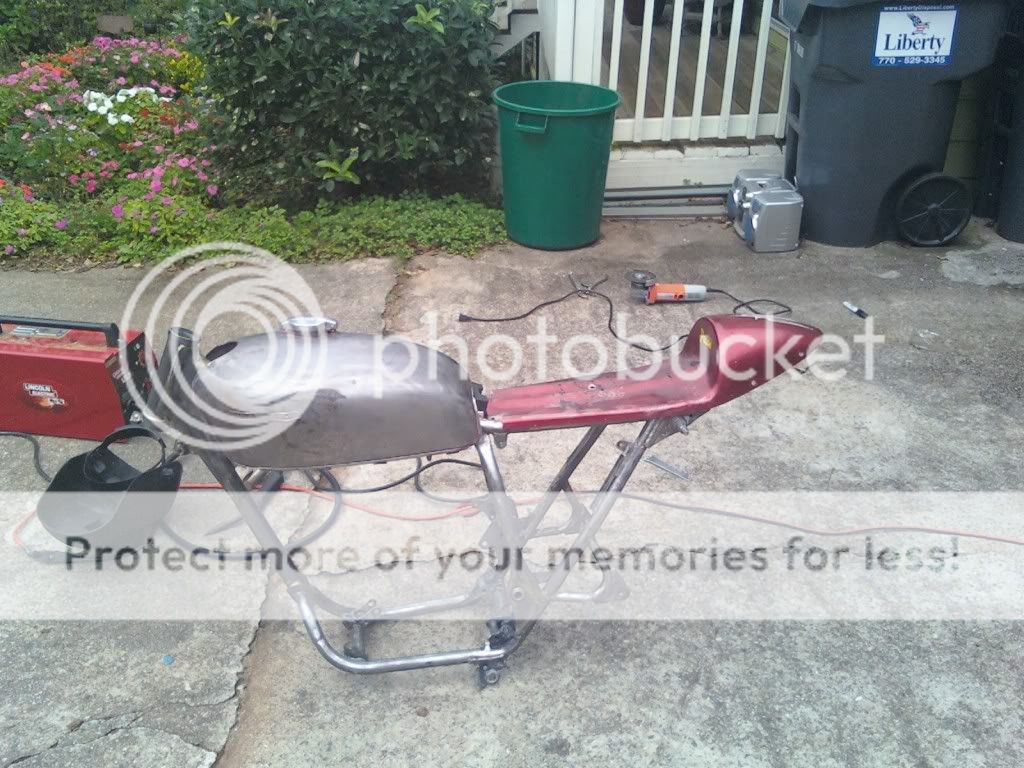
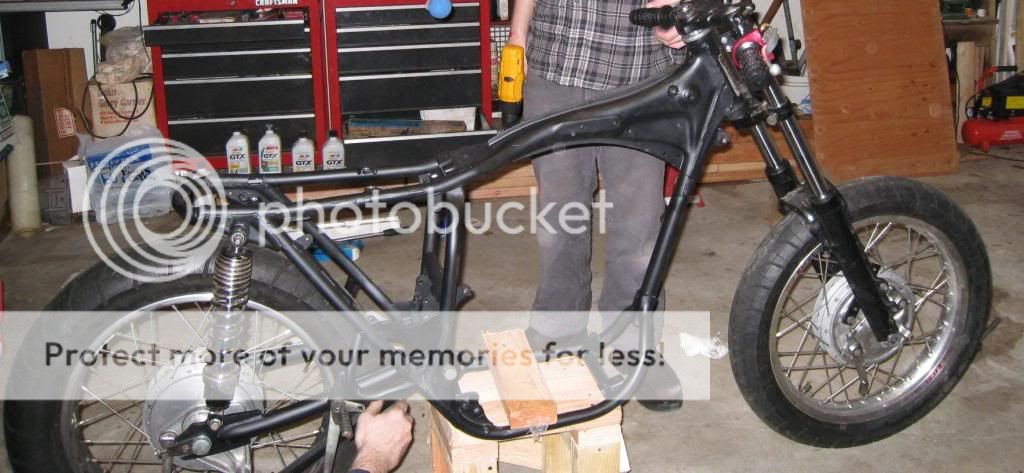
Back in September I bought a nasty, ratty CB360 frame and motor off a buddy and started my first ever motorcycle build. I'll get some "before" pics up once I figure out how to bluetooth my phone to the computer. I also have more "in progress" photos I will upload.
Anyway, I am an unconventional person and this will be an unconventional build thread. First, the finished-ish product:
Motorcycle034.jpg


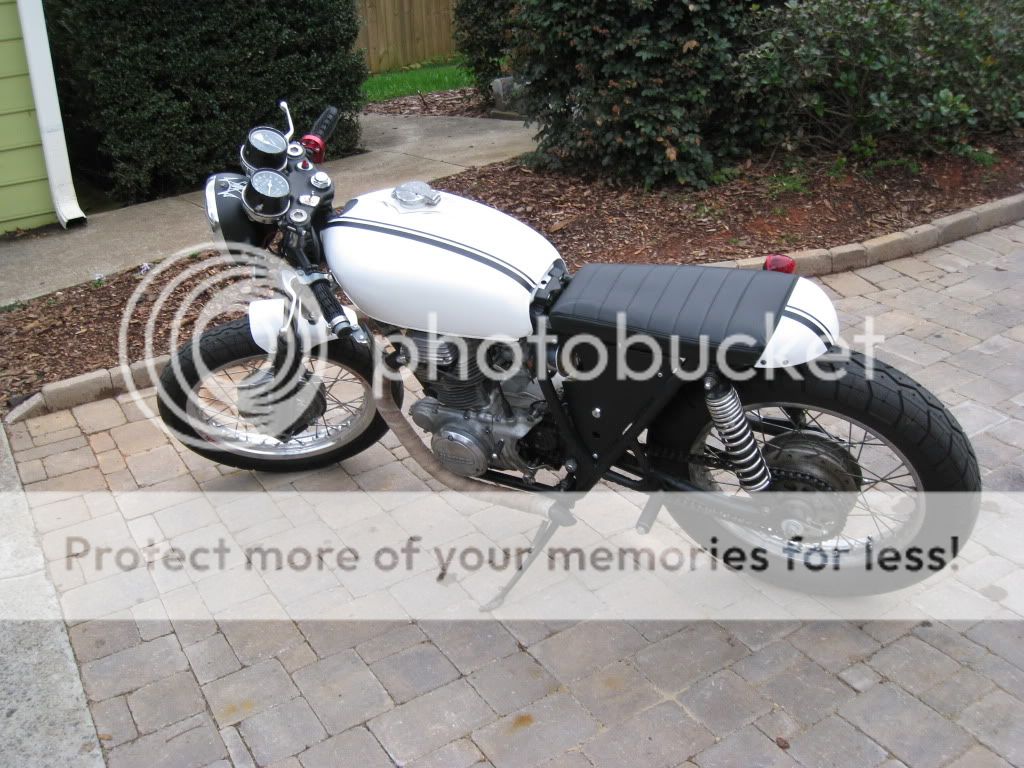
The gap between the seat and tank will be fixed, and the side covers will eventually come off if I get around to hiding the battery and wiring. Still with me? here we go...
First off, the seat:
Motorcycle045.jpg

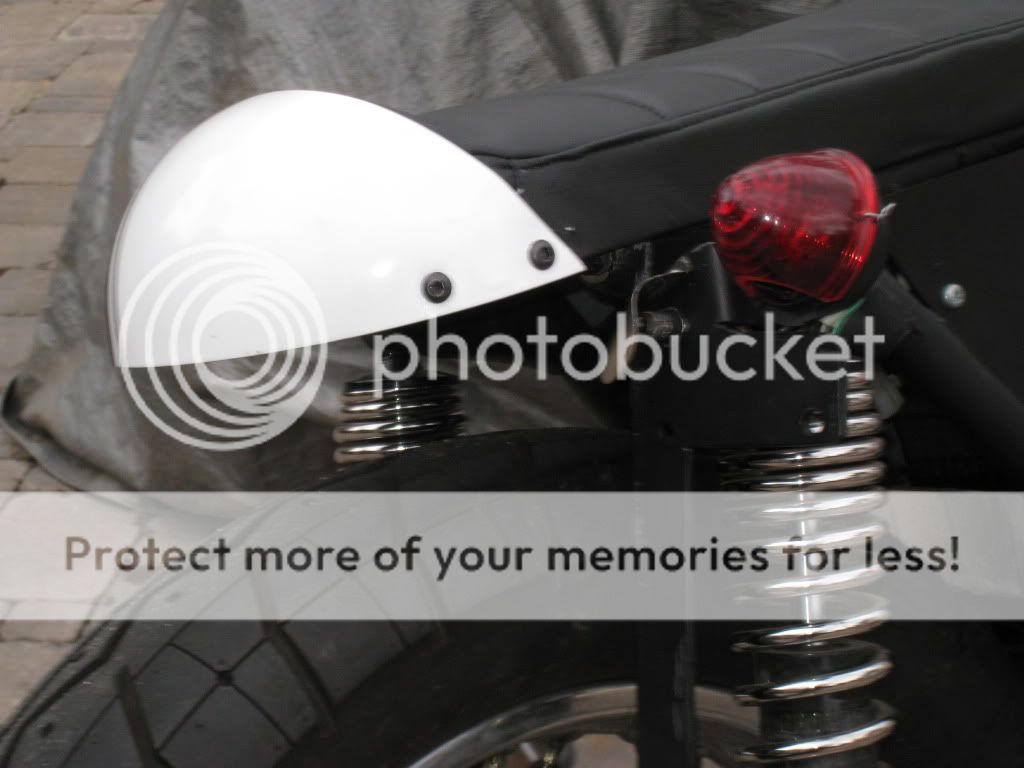
The bumstop is cut from a stainless steel Ikea bowl I got at a thrift store for $2. The seat frame/seat pan is 1/8" aluminum sheet, riveted to 1/4" thick one inch aluminum angle. I figured I'll be sitting here an awful lot, so I got it professionally upholstered. The photo also shows the taillight I made from a cheap marker light. I took out the light's guts, then made a socket for a dual filament bulb using epoxy putty. I formed the putty into a block, let it mostly harden, then pushed the light into the block and pulled it back out to form the socket. When the epoxy was hard, I tapped it for screws which both hold the bulb in and make contact with the light's contacts. I glued the whole shebang into the old marker light. This way I can change the bulb if I need to.

You can also see license plate mount which is made of 1/8" aluminum sheet. The plate light is one of the lights from the gauges, with a little stainless steel reflector.
I know I've been a bit wordy so far. Plenty more to come soon. I had to make just about everything on this bike.
 
Here's what I started with. Sorry for the phone pic.
0913091625.jpg

The cam chain tensioner was off, so the motor wasn't running. The tank is an old 350 tank, which caused problems later. The seat in the picture didn't fit, so I made my own. I got this whole bucket of magnificence along with a bunch of random parts. I decided to strip the bike down to the frame, re-paint the frame and tank, and then go from there.

1010091405.jpg


I welded up the seams, ground off the tabs, and welded on new tank mounts to fit the CB350 tank. I didn't want to put a big chunk of bondo in the tank badge mounts and then have the bondo crack off, so I fiberglassed over both sides and sanded them smooth. I can still feel the cramps in my hands just thinking about it.

Motorcyclebefore001cropped.jpg


Here's the frame and swingarm painted and put together. The bars are clipons I made myself. The front wheel is my friend's old race bike wheel with rebuilt 350 drum and Takasago alloy wheel. The front end is off a CB750.
 
Lookin' good, I like watching build threads of bikes that are like what I have, I have two CL350s, '68 and '73, I'm currently working on a Norton and can't wait to get my hands on the Hondas. You do great work, can't wait to see the rest ;)
 
Thanks Nortasaki!
The next annoying challenge on the bike: Switches and electric

Motorcycle018.jpg


I wanted the brake light to come on when I squeezed the brake lever, so I made a bracket for this snap-action switch. The lever itself is drilled and tapped for a screw, which pushes the switch lever when I brake. You can also see the quarter-turn throttle and scrambler grips.

Next up, the kill switch and headlight highbeam/lowbeam:

Motorcycle019.jpg


I cut off the old handlebar mounts, leaving two holes in the upper tree. I made mounting plates for my switches and then screwed them into the holes. The red switch is a kill switch and the on/on switch is headlight. In the picture you can see the speedo and tach, which are screwed directly to the tree. You also see the CB550 headlight bucket, which my friend pinstriped, and the mini turn signals.

Motorcycle041.jpg


My homemade clip-ons.

Motorcycle007.jpg


My linkage setup for the steering stabilizer. Like I said, this used to be a race bike, and I have a lot of the old race parts laying around.


Motorcycle012.jpg


Bobbed and re-painted front fender. You can see the coils, which I had to move to the downtube so the 350 tank would fit.

Motorcycle016.jpg


Turn signal switch on homemade bracket. Homemade mirror mount. The hose clamp is there to keep the clutch lever from being pulled all the way down, since I'm having problems with the clutch cable overextending.
 
Coming up: right-side shift! I have a bum left ankle with nerve damage, and right now the shifter is straight up so I can kick it back and forth, but I think right-side would make the bike much easier to ride. I'm planning a linkage running under the bike, but this seems to be uncharted territory so if anyone has any suggestions I'd be glad to hear them. I'll post updates as this progresses.
 
Gimpy Joe said:
Motorcycle007.jpg


My linkage setup for the steering stabilizer. Like I said, this used to be a race bike, and I have a lot of the old race parts laying around.

How many miles have you put on the damper with those mounts? That looks pretty flimsy :eek:
 
Re: CB360-based mutt "Lucky" UPDATE: right-side shift in the works

I'm not positive, but there are a couple left hand shifters around (maybe Loco Leon?). Somebody even mentioned having a left-grip-twist shifter on an old scooter.

Bike's looking good so far man!
 
Re: CB360-based mutt "Lucky" UPDATE: right-side shift in the works

Thanks Big R. I'll have to look into those hand shifters. Hillsy, you can't tell from the pic, but that's all 1/8 7075 aluminum. The fork mount is cut from a piece of al. channel, not bent out of sheet, so it's a hell of a lot stiffer than it looks. I haven't had any problems yet, and I keep an eye on that just in case.
 
Re: CB360-based mutt "Lucky" UPDATE: right-side shift in the works

Made bushing blocks for the rod which will run under the bike.

rightsideshift001.jpg


The raw materials. Two 3" pieces of one inch square al. for the blocks and a piece of al. sheet to strap them to the frame.

rightsideshift006.jpg


Clamped the blocks together and drilled through them. This is to make a channel which will fit up onto the frame rails.

shiftandsignals001.jpg


Finished blocks with press-fit bronze bushings for 3/8" rod. There are tapped holes for the straps and another tapped hole through the bottom which will allow a bolt to push against the frame and secure these.
 
Back
Top Bottom