Follow along with the video below to see how to install our site as a web app on your home screen.
Note: This feature currently requires accessing the site using the built-in Safari browser.
We noticed you are blocking ads. DO THE TON only works with community supporters. Most are active members of the site with small businesses. Please consider disabling your ad blocking tool and checking out the businesses that help keep our site up and free.
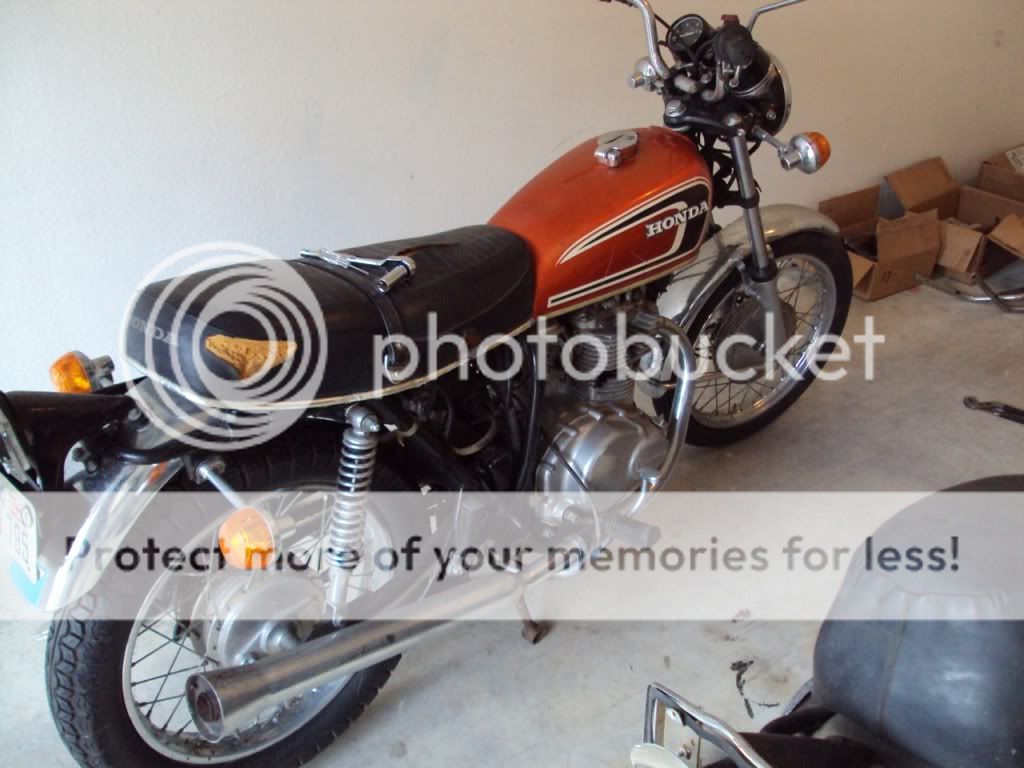
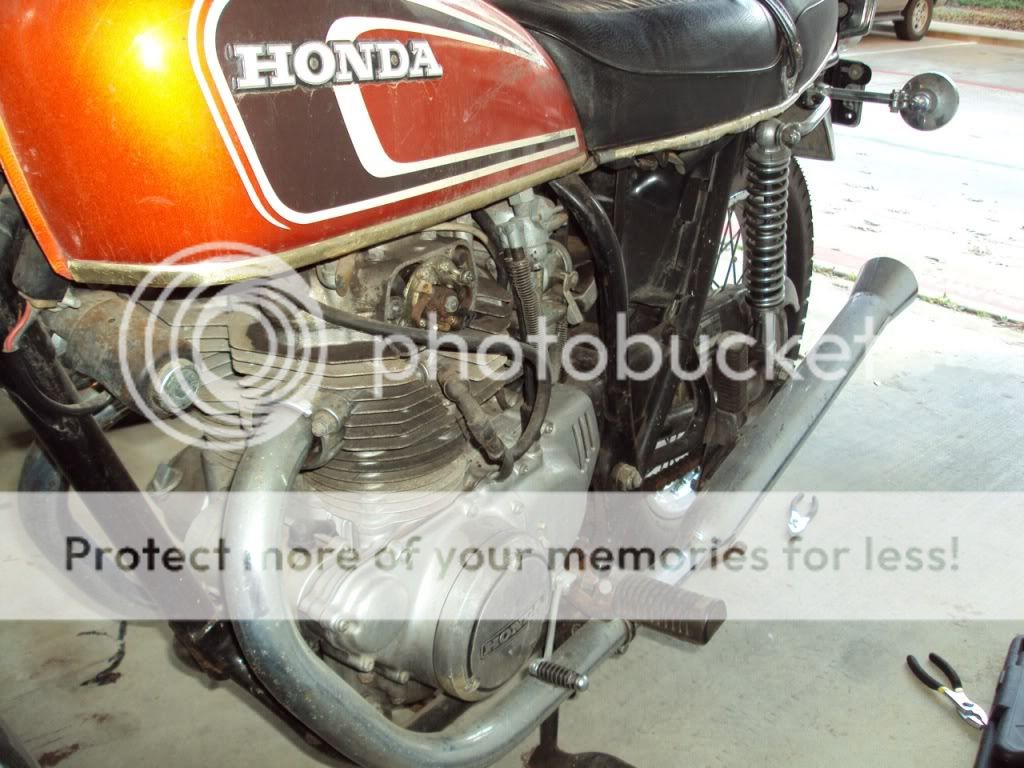
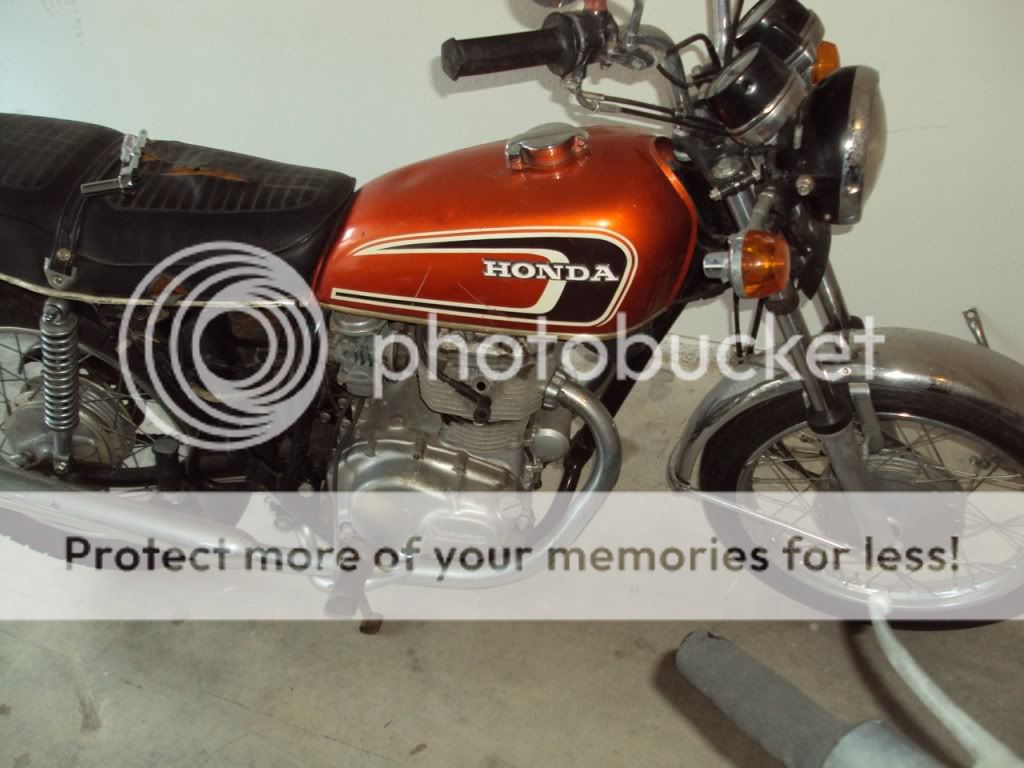
Been reading here for a while, decided to post what I'm currently working on. I got a package deal on 2 CB360s and 2 CL360s recently but only 2 of them had titles. I picked the best looking one and started on her, unfortunately, the motor didn't have good compression. They were all pretty rough. The first thing I did was remove everything from the bike and rebuild the motor. Since I can only post 4 attachments, I'll reply to this with the rest of the story.
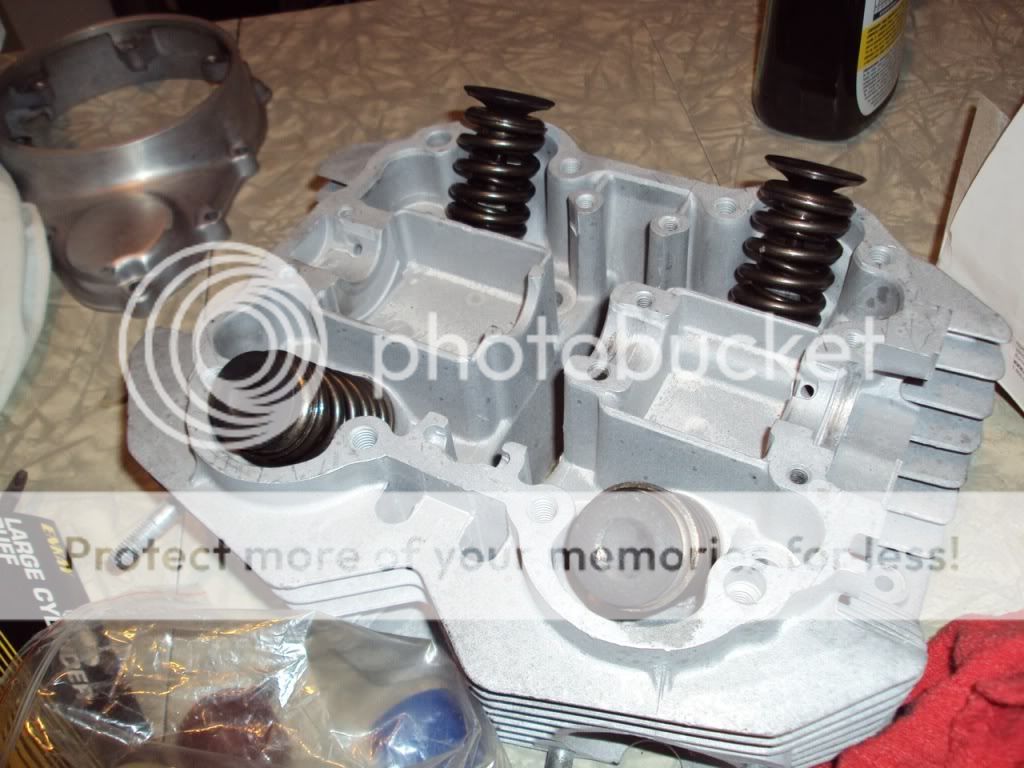
Head carnage. Guess I'll have to pull one of the heads from the other bikes.
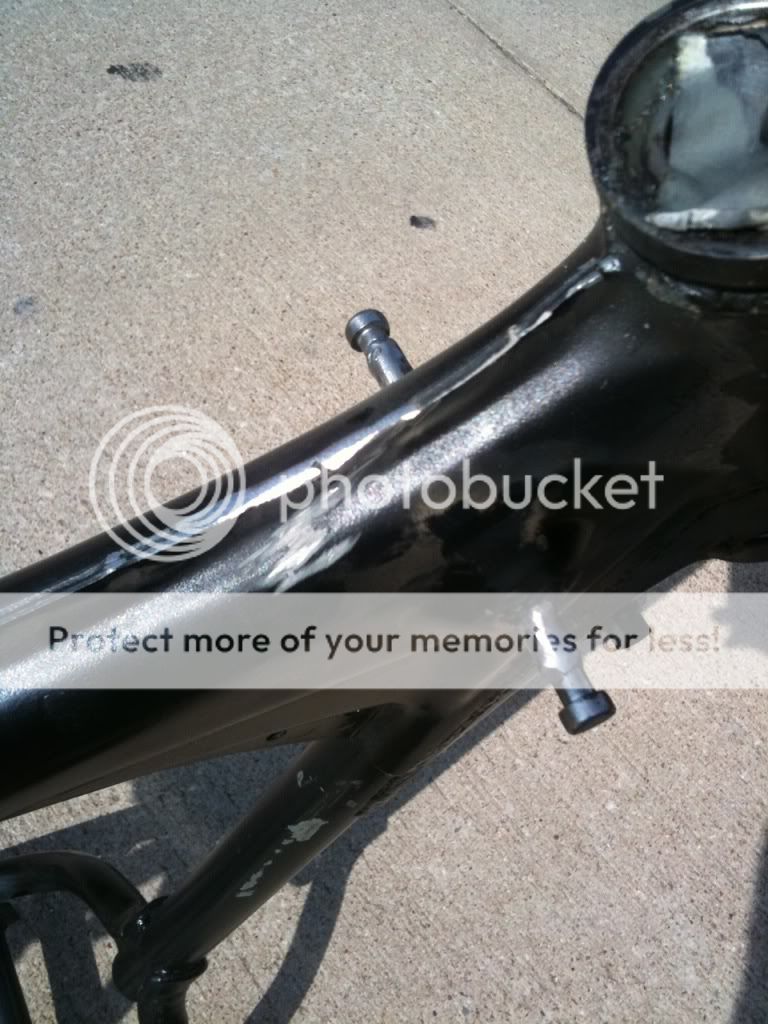
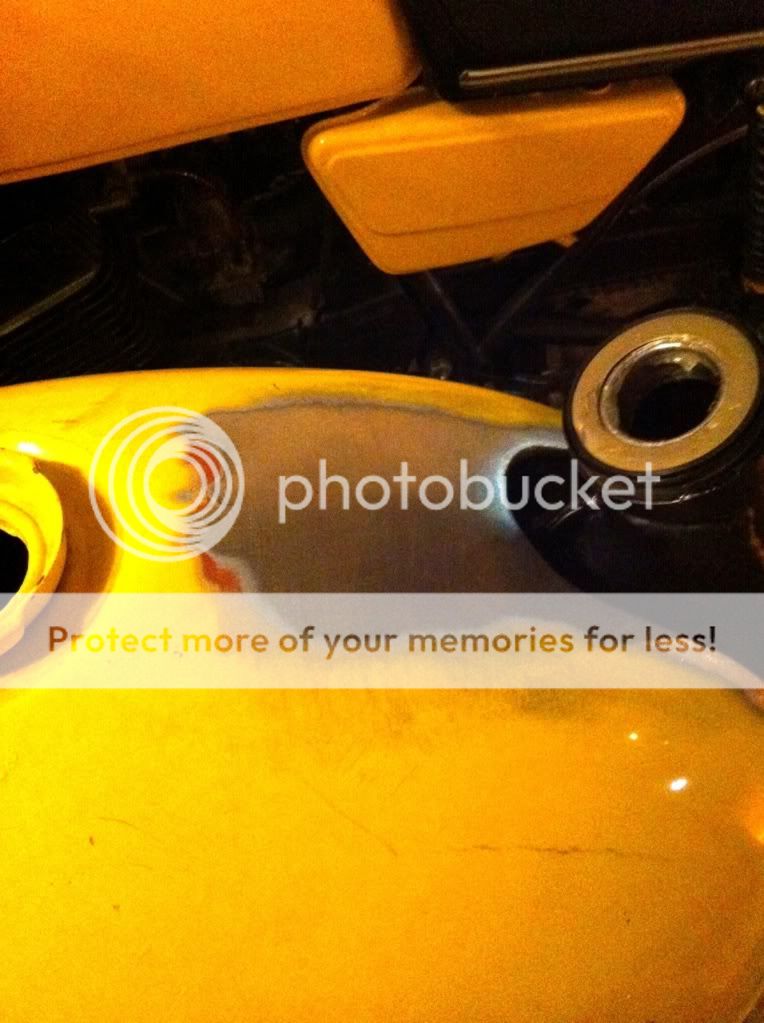
After I rebuilt the motor I decided to pick up a Benelli tank for the bike. I originally tried to mount the tank with a threaded rod welded on the top of the frame along with an L bracket on the back. While it worked, I didn't feel very good about the stability or how difficult it was to slip the tank onto the top mount. After that, I had a friend help weld the original Honda mounts onto the inside of the Benelli tank and extend the rubber mounts on the frame. Here's some photos of the new mount.
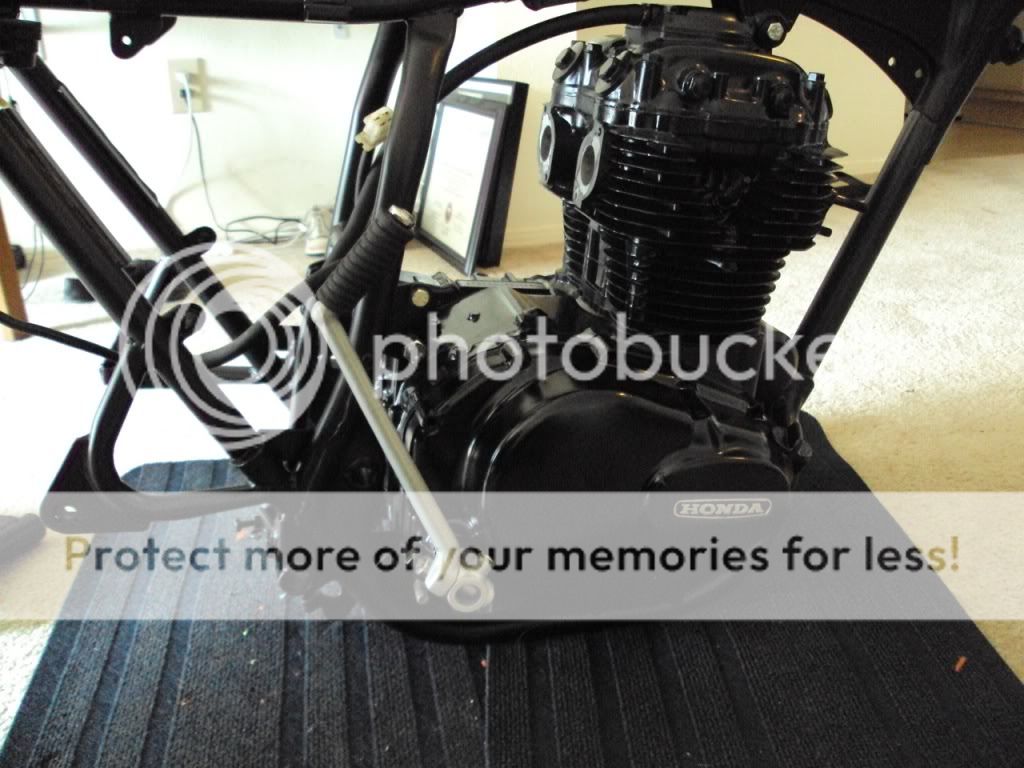
This post brings us to present day progress. I shortened the frame by about 4 inches and had a friend weld the hoop onto the back of the frame. Afterwards I had the frame, swingarm and some other pieces powdered. Last week I painted the engine with Rustoleum High Temp Semi Gloss Black. Today I mounted the engine in the frame. This brings me to my current dilemma. I originally wanted to use the original seat pan/foam and just shave it down into a nice small two up seat. Unfortunately, the original seat pan is about 1" too wide to fit up to the Benelli tank nicely. Now I'm considering making a solo seat out of fiberglass or building a two up seat from scratch. If I build the two up seat, I would need to remove the original seat hinge mounts as well as the supporting piece on the back of the frame. Since I've already had the bike powdered, I'm not sure if I should cut any brackets off. Thoughts?
If you do have to cut the mounts, try some black appliance epoxy on the bare steel. Once fully cured, it's some great stuff. You can spray it into a small paper plate and use a small artists brush to dab it on.
looking good and i too like tha blackness.
i bought both my bikes without titles and was able to get them with many hours of research and letter sending and hold time on the DMV phone line.
it is possible just frustrating, so if you want to ditch the two no titles just let me know and ill swing by, where are you located i dont see it in your pro.
Started off with some etching primer, about 8 coats, sanded that smooth, then finished off with about 10 coats of Rustoleum High Heat Engine Paint. I should have gone with low gloss instead of semi though...oh well.
Some progress today: Rebuilt the swingarm with brass bushings and new rubber shock mounts. Also cut/ground off all of the older seat mounts and side cover mounts. My wife started to build a new seat pan out of fiberglass for me. She's a materials & processing engineer specializing in composites so hopefully it comes out good!
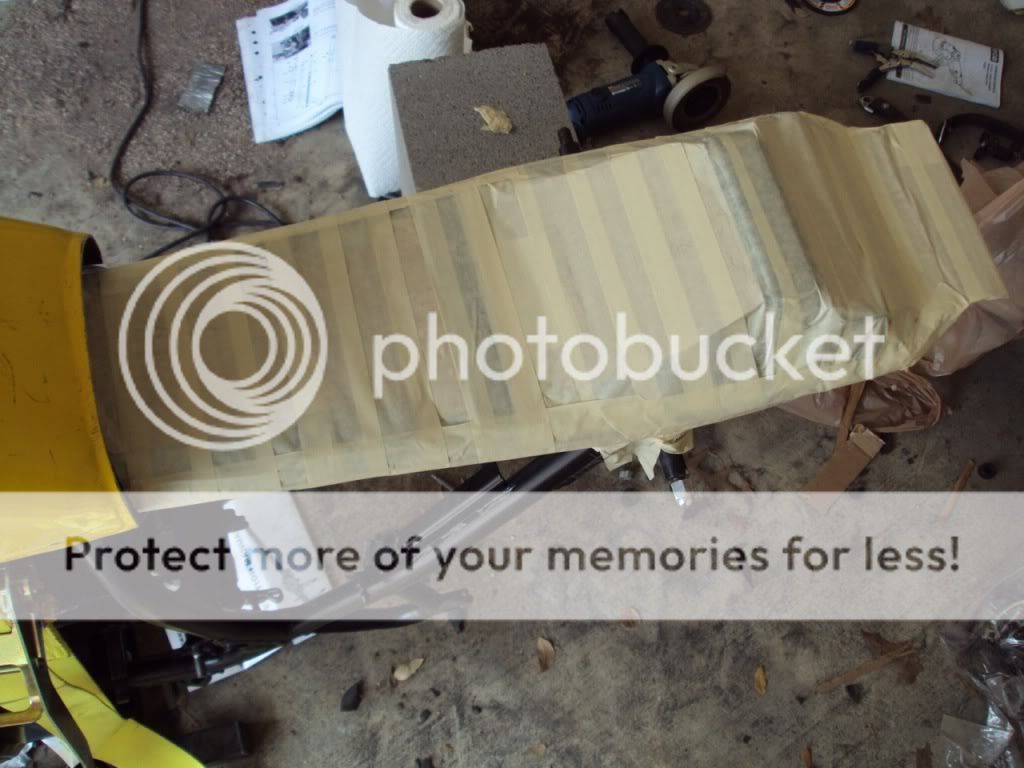
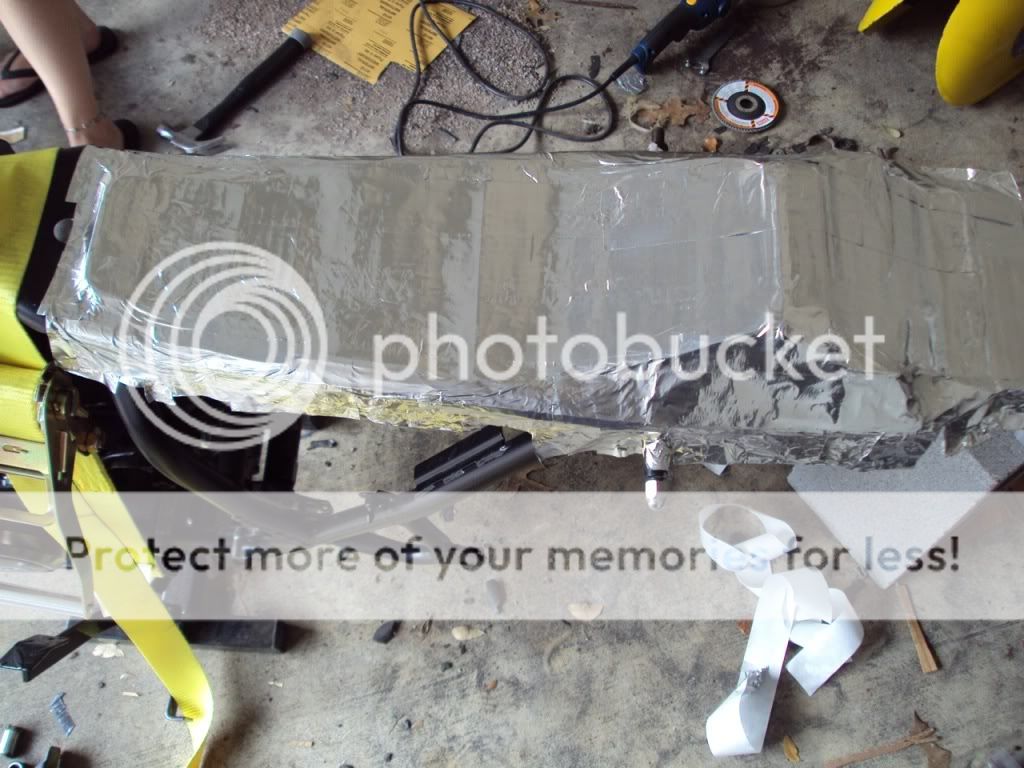
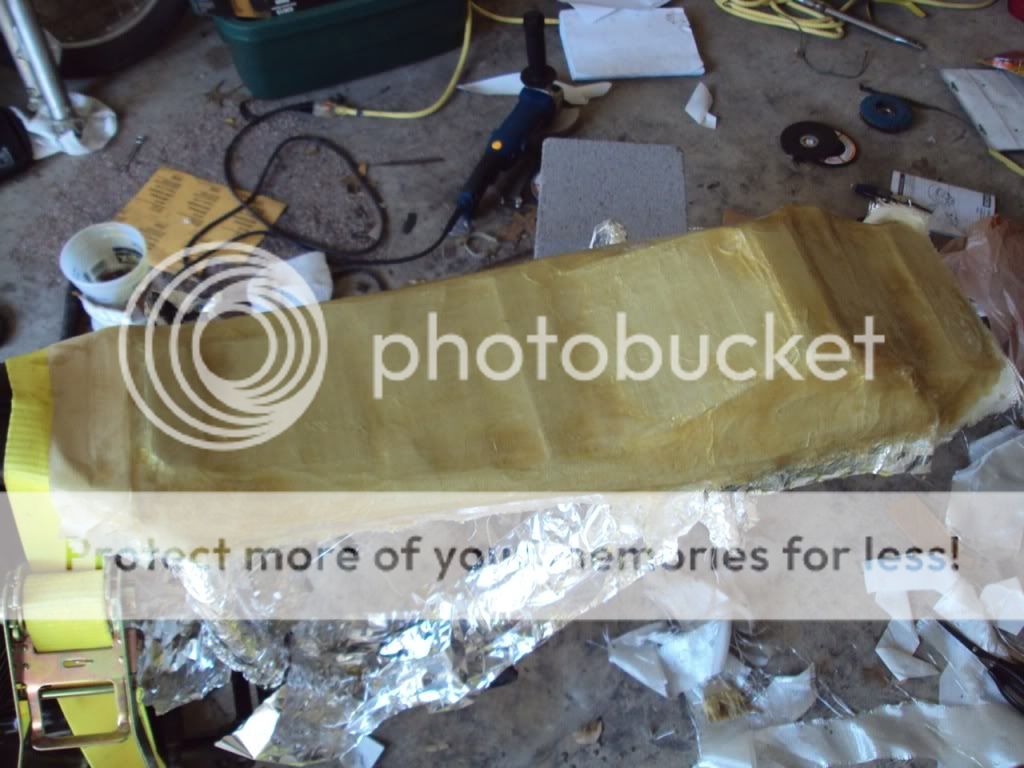
Basically the plan is to make a seat pan with a slight rise in the back to fit the interior fender and hopefully a small battery. I'm then going to cover it in foam to make it flat on the top. It'll be a two up seat, real low profile. I've attached a few pictures of the build so far. She just used some tape and cardboard to build a base, covered with aluminum tape, then laid up a fiber cloth. Still have a bit more to do but we ran out of resin. The seat is going to wrap the top bar of the frame on the sides and end about an inch before the frame does in the back.
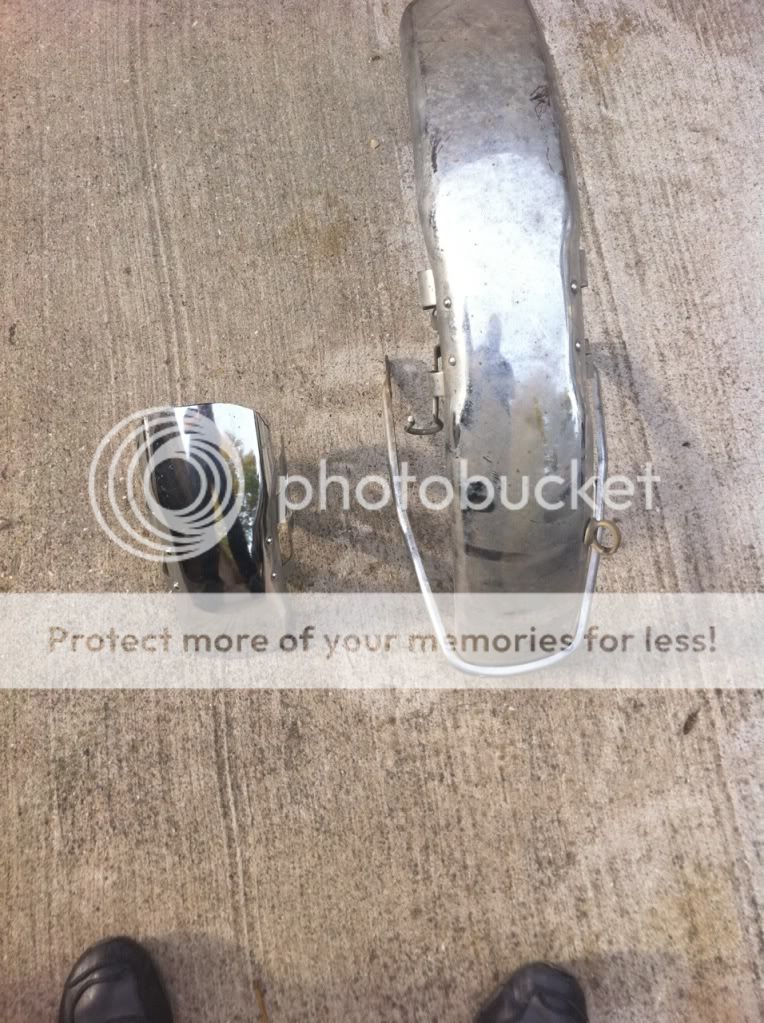
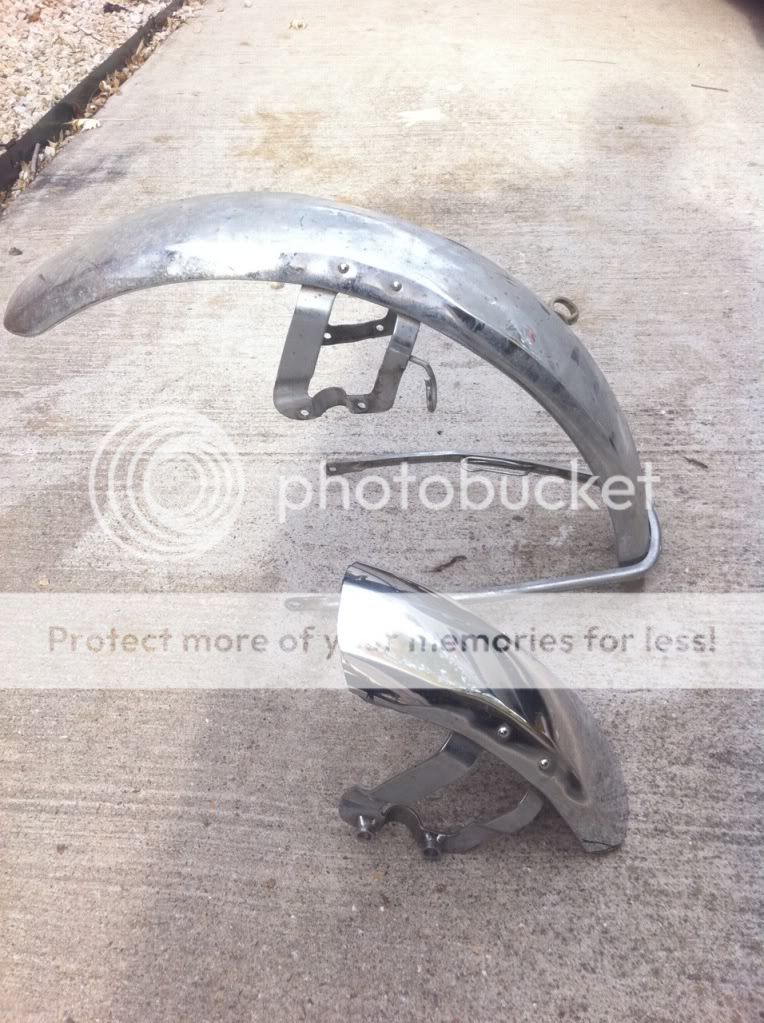
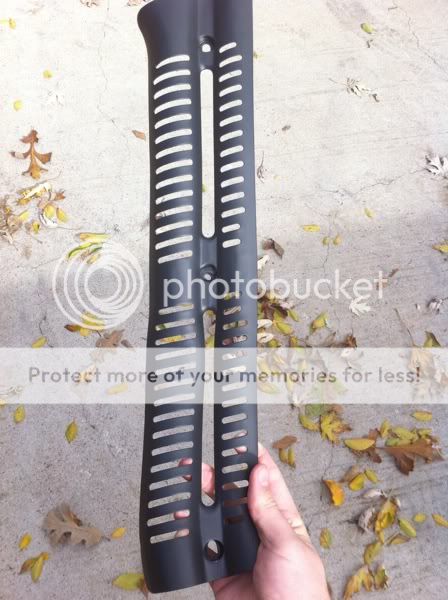
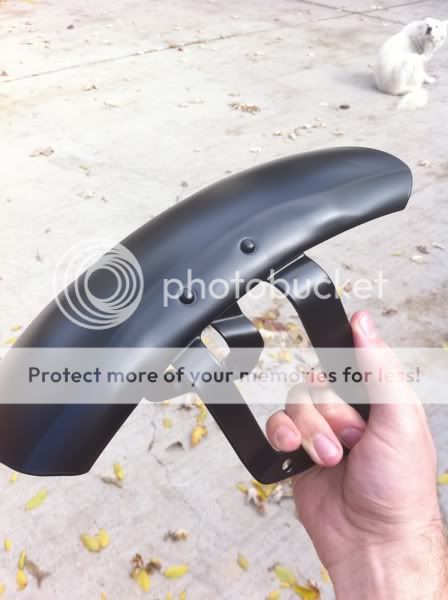
After a move and some life changes I've finally got back to my bikes. Progress has picked up where I left off on the CB. Chopped the fender, new All Balls bearings in the steering stem, cleaned rims/prepped for paint, powdering the fender, fork lowers, other odds and ends. I found a guy to paint my tank and headlight bucket and picked colors. I also ordered a set of Am26 tires - $150 with tubes and free shipping! Here's a couple pics of the chopped fender before I cleaned it up with some sandpaper to smooth out my terrible grinder skills.
I'd like to have a custom tank badge for the Benelli tank. I'm thinking about doing a vinyl overlay on the original so I can keep the curvature of the tank badge. Any thoughts on additional ways I could replicate a tank badge shape with a custom graphic?
I also bought an RD400 on CL. It's clean and runs well but man is it ugly! The PO painted it bright yellow including the fenders. Oh well, mechanically it's great. Cosmetics can be changed easily.
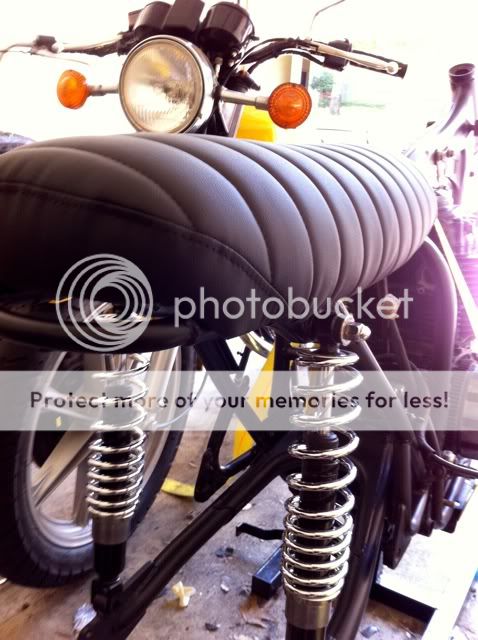
Oh, I forgot. Before the move I finished the seat. My wife made the seat pan out of fiberglass to fit the frame exactly, I used the CB's seat foam and shaved ~60% off. Had a local shop do the vinyl work.
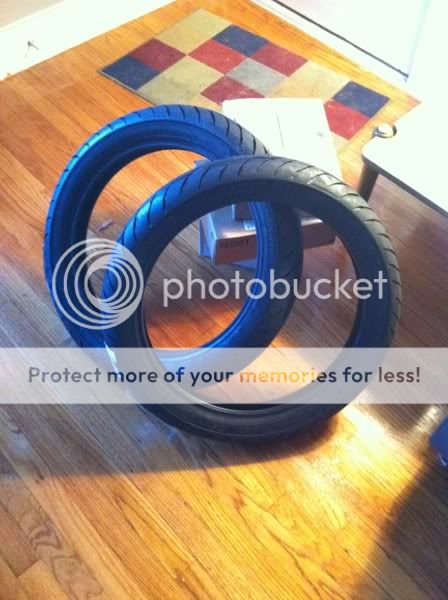
It's like Christmas morning! Got a lot of little pieces back from powder coat, got my exhaust back from ceramic coat and my tires came along with a speedo I got on eBay. Unfortunately, during my last move I misplaced my new fork seals. Damn. Now I have to wait on those to get my forks back together.
Couple small updates. The tank/headlight at at the painter as we speak. Should be done in a week or so. I'm putting the tires on tomorrow and painting my rims. I spent a couple hours cleaning the rust off the inside of the rim and sprayed them with rust inhibiting primer in an effort to stop the rust. Once the tires are mounted everything except the spoke nipples is going black.
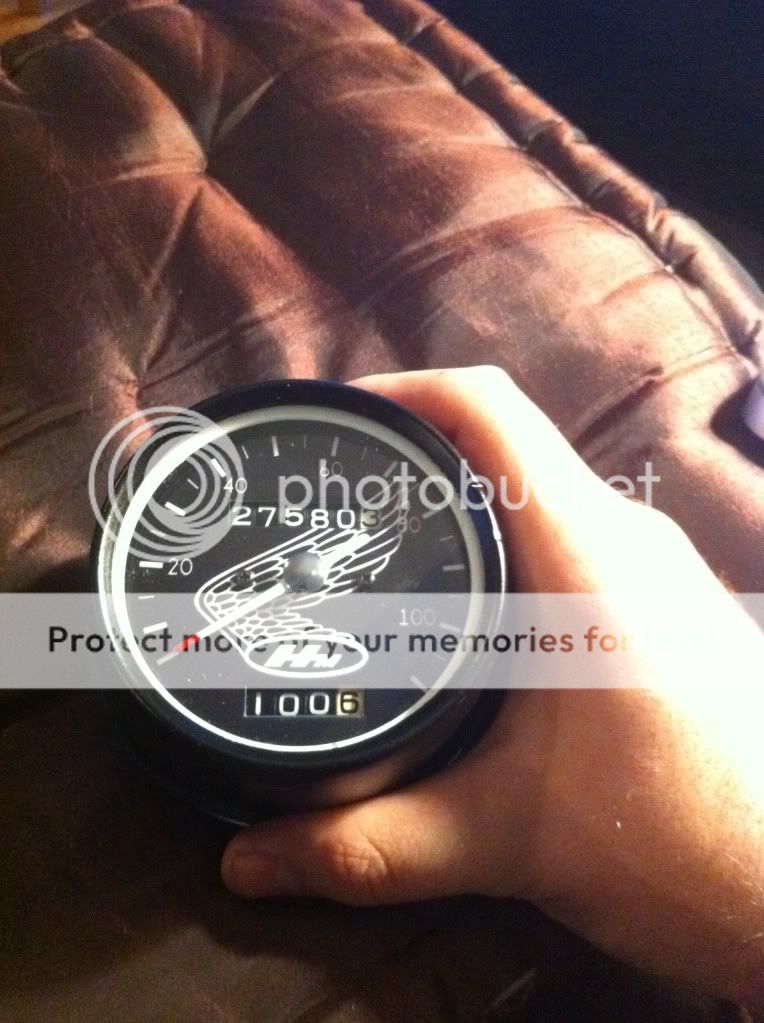
Here's the new gauge with overlay. Thanks to treitz for the vinyl printing action!
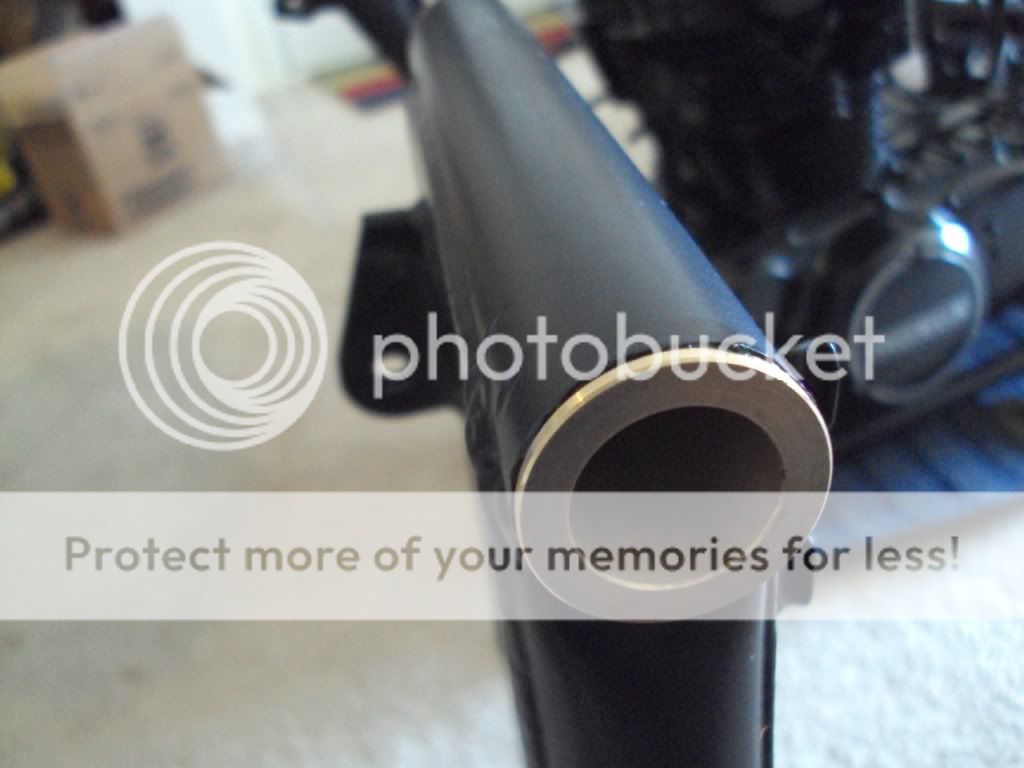
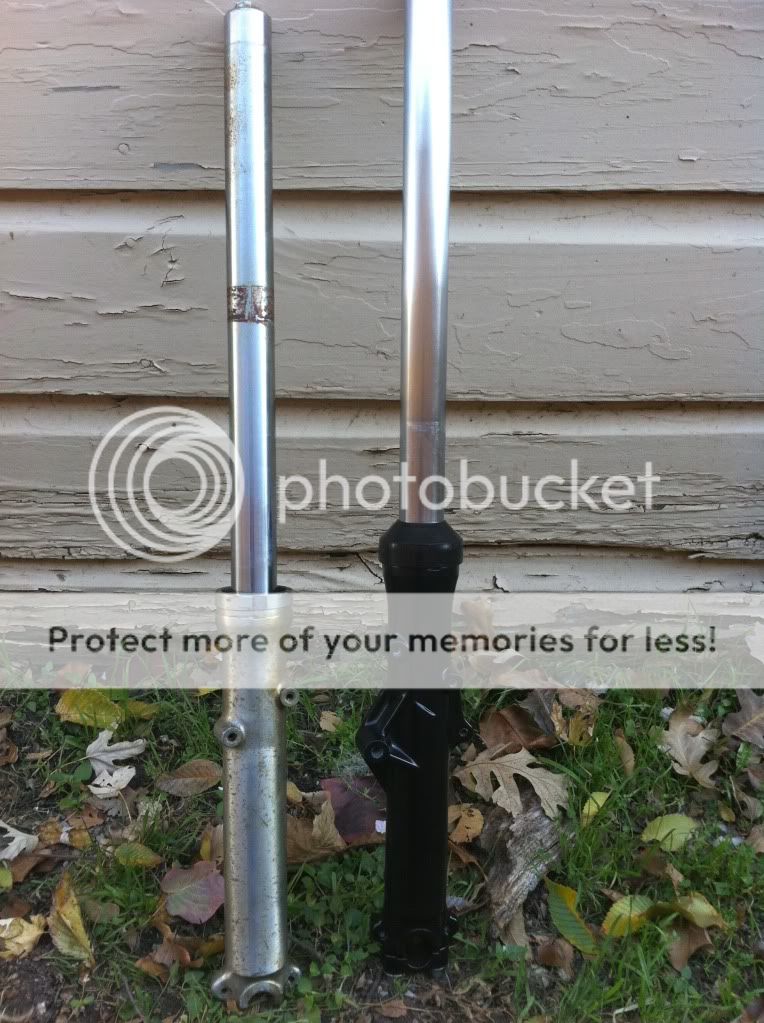
Rebuilt the forks over the weekend. Here's a before/after.
This site uses cookies to help personalise content, tailor your experience and to keep you logged in if you register.
By continuing to use this site, you are consenting to our use of cookies.


")