
Deviant1
Over 1,000 Posts
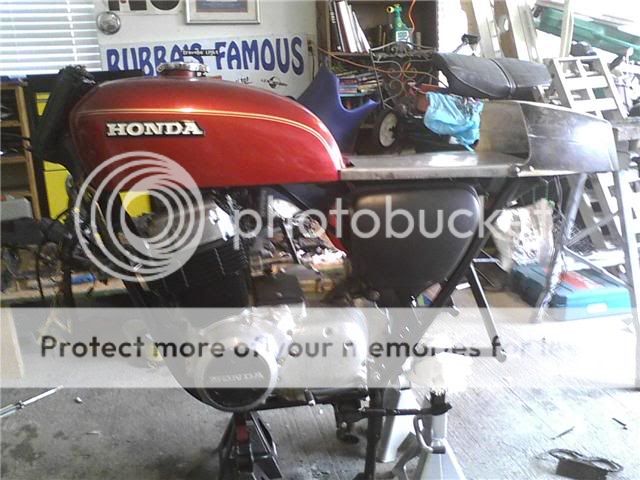
I built Dolores the first time with the help of my long time buddy Brandon (TwistedWheelz). He came over a few nights a week and we worked on her like that until we got to a stopping point. This was her "Orange Period." She was a fine looking scoot, but she still had some issues such as no front brake and wiring gremlins. She had a custom seat made from an outboard motor cowl and some scrap steel. I taught myself some basic bondo skills with the seat project.

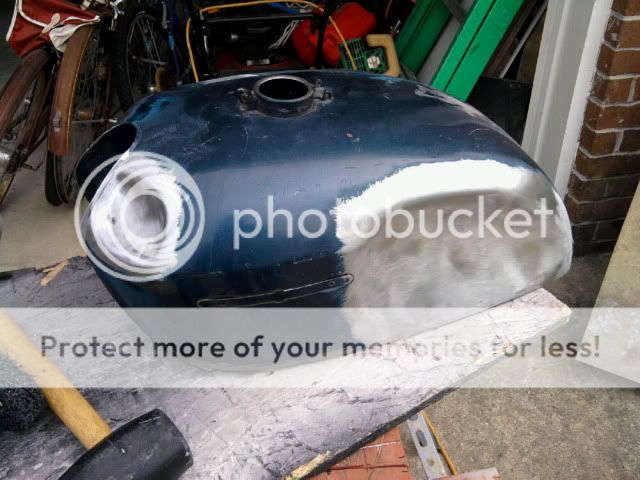
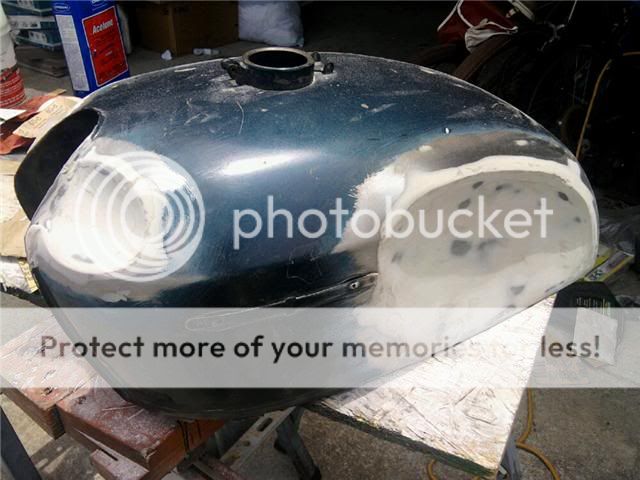
When my clutch cable broke, I thought that was a fine excuse to tear her down again and do some things differently. I had bought a beat to shit 72 cb750 tank from a member here for like $30.00. I got that tank to try knee dents and not worry about ruining my nice stock tank. There was some rough unfinished bondo on one side of the tank and when I pulled all of the bondo out I found lots of dents, including a bad crease dent right in the curve on the side.
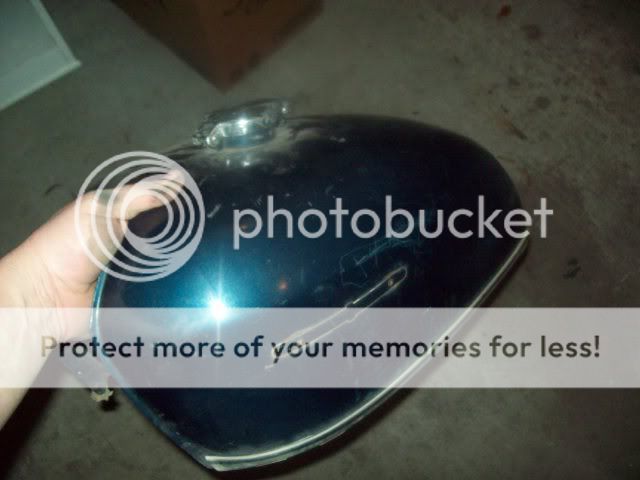
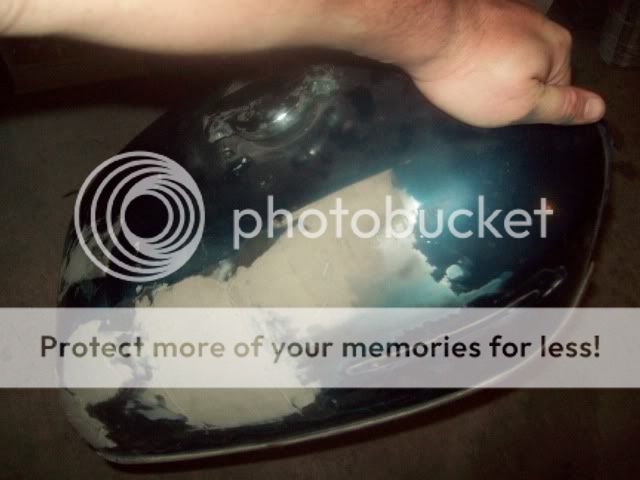
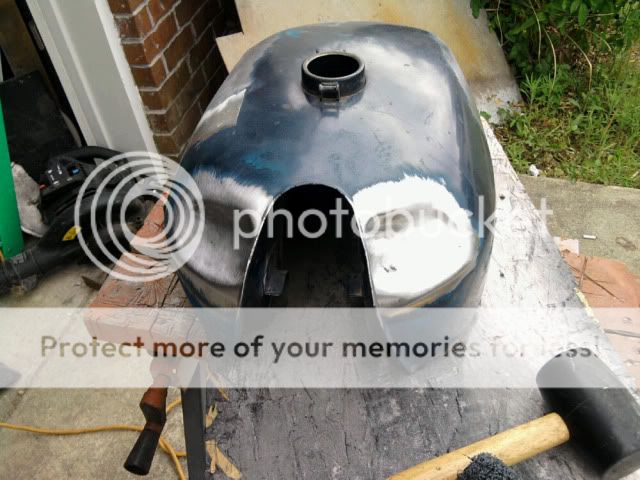
I watched Sully's video several times and then I learned everything I could from this site. I made a tool out of a 2 inch wooden dowel with several layers of leather wrapped around the end of it and zip tied to the dowel. I also had a rubber mallet and a regular claw hammer. Brandon came over one afternoon and after some ice cold mountain dew we got to beating on the tank. It looked pretty cool, but the side with the crease dent had caved in a good bit.
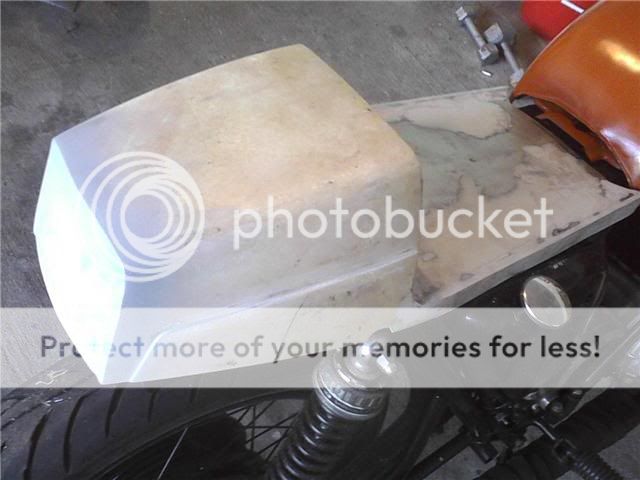
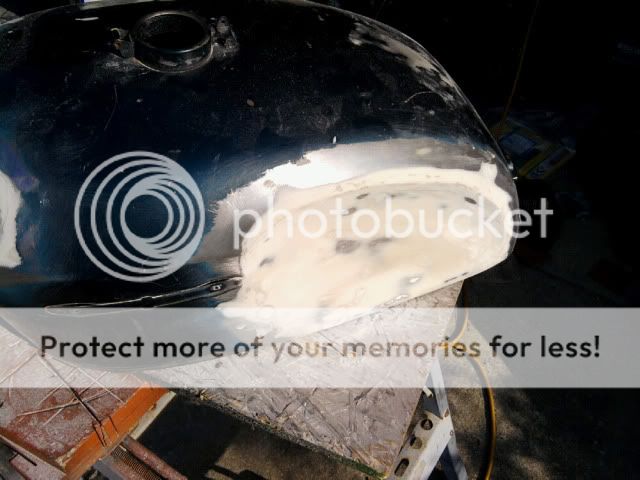
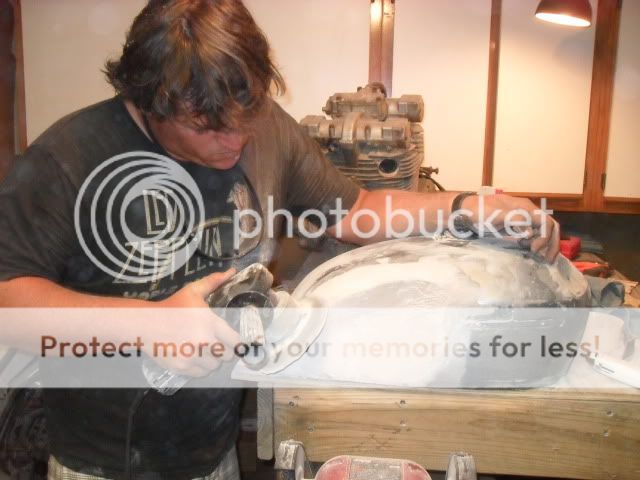
First coat of bondo over the nasty crease dent.

and the rest of the tank.

More bondo...
And more sanding... and more bondo...
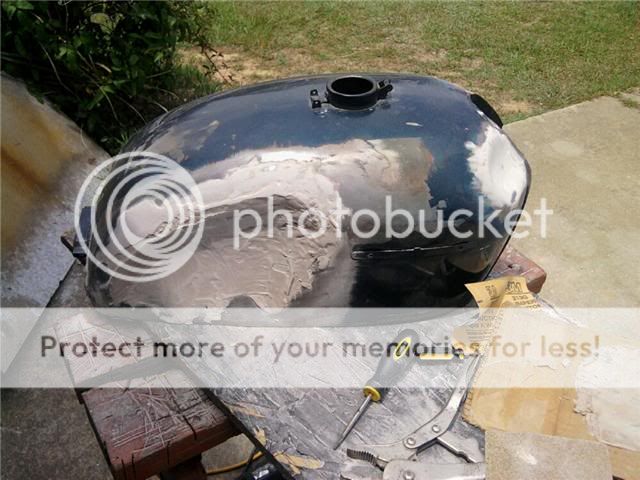
At this point, at Brandon's suggestion, I started to sculpt the rest of the tank a bit. Making bulges in the curves, making new body lines, etc.
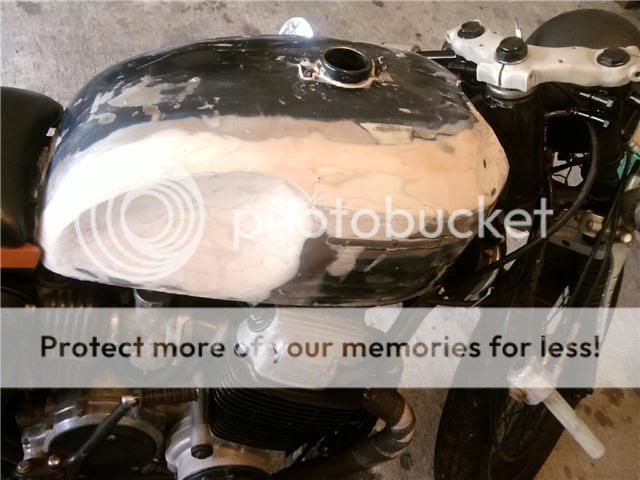
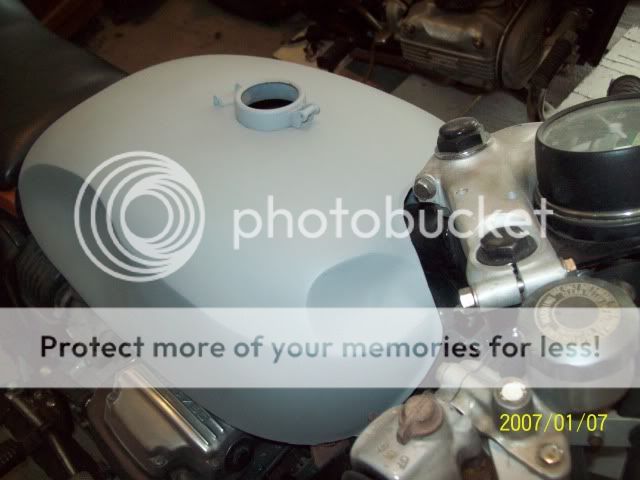
Next I got the tank ready for primer. This took a LONG time.
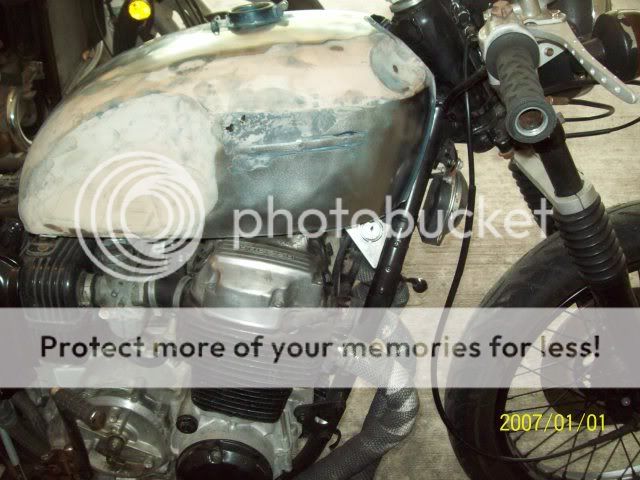
Then primer...
Then a horribly bad attempt at painting a two tone job. The humidity ruined the paint and the colors didn't work on my bike at all.
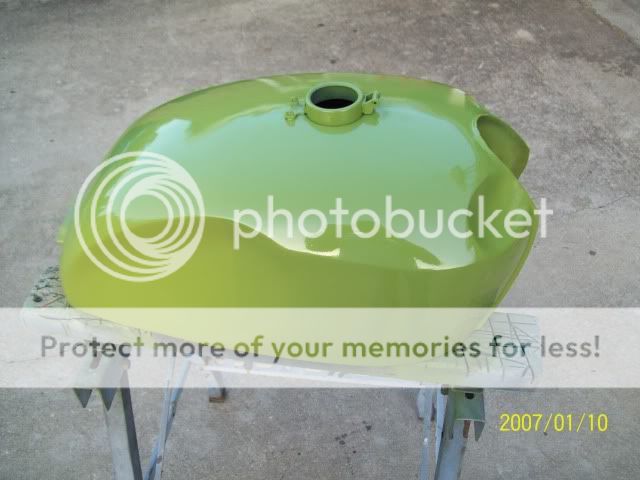
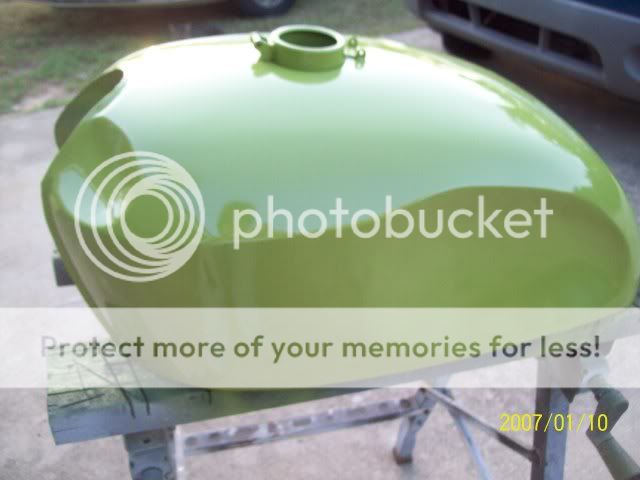
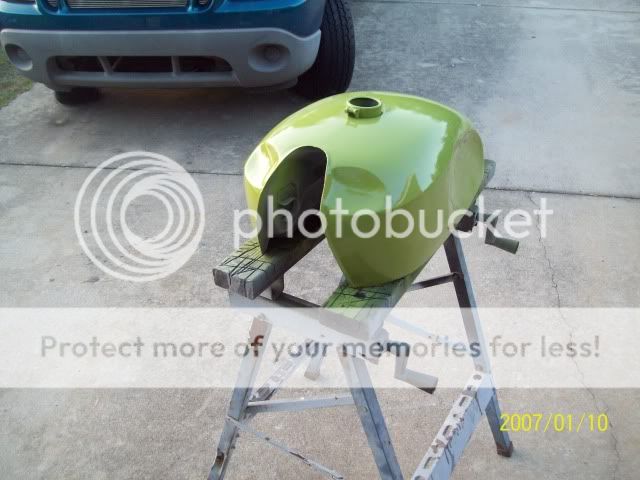
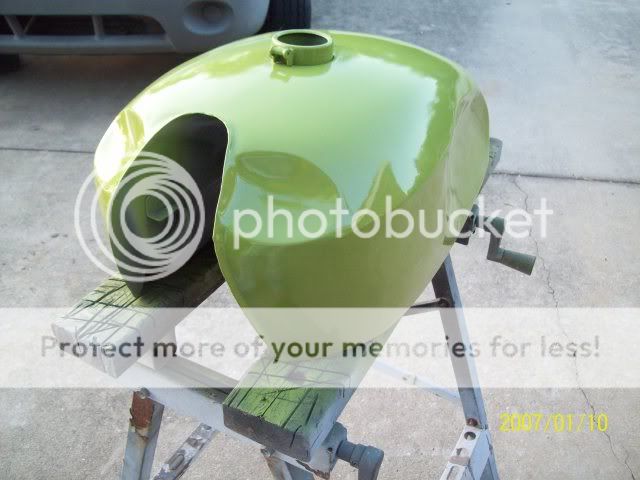
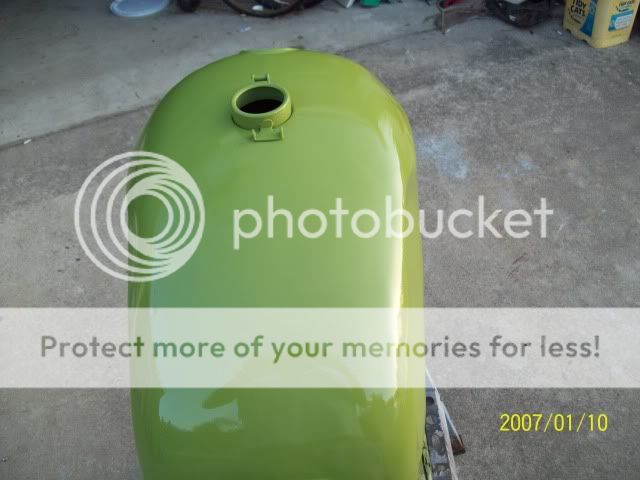
Then Brandon came over and we found a new color and Brandon, being the rattlecan guru, laid the paint on. It's a rustoleum paint again... So no 2k clear this time, but I'm going to be more careful with this one...
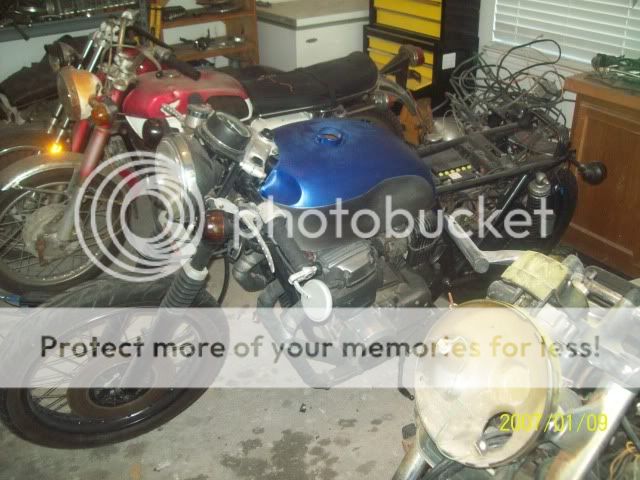
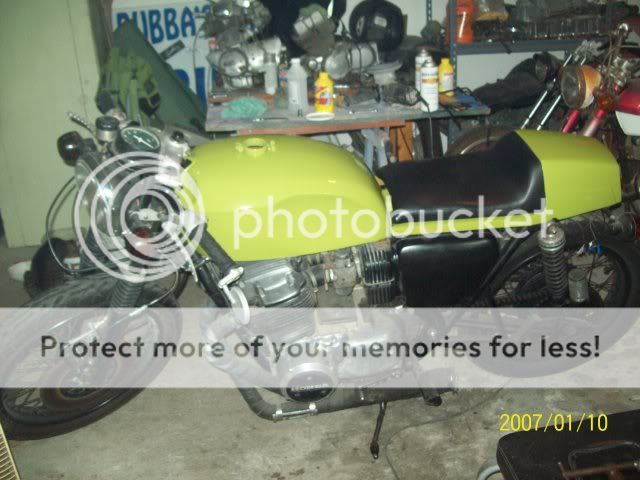
Here's a mock up of the tank on Dolores.
When my clutch cable broke, I thought that was a fine excuse to tear her down again and do some things differently. I had bought a beat to shit 72 cb750 tank from a member here for like $30.00. I got that tank to try knee dents and not worry about ruining my nice stock tank. There was some rough unfinished bondo on one side of the tank and when I pulled all of the bondo out I found lots of dents, including a bad crease dent right in the curve on the side.
I watched Sully's video several times and then I learned everything I could from this site. I made a tool out of a 2 inch wooden dowel with several layers of leather wrapped around the end of it and zip tied to the dowel. I also had a rubber mallet and a regular claw hammer. Brandon came over one afternoon and after some ice cold mountain dew we got to beating on the tank. It looked pretty cool, but the side with the crease dent had caved in a good bit.
First coat of bondo over the nasty crease dent.
and the rest of the tank.
More bondo...
And more sanding... and more bondo...
At this point, at Brandon's suggestion, I started to sculpt the rest of the tank a bit. Making bulges in the curves, making new body lines, etc.
Next I got the tank ready for primer. This took a LONG time.
Then primer...
Then a horribly bad attempt at painting a two tone job. The humidity ruined the paint and the colors didn't work on my bike at all.
Then Brandon came over and we found a new color and Brandon, being the rattlecan guru, laid the paint on. It's a rustoleum paint again... So no 2k clear this time, but I'm going to be more careful with this one...
Here's a mock up of the tank on Dolores.
")


