1962 BSA DBD34 Gold Star restoration (1000 miles and more)

Re: 1962 BSA DBD34 Gold Star restoration (making progress)

Thanks Andycafe!

Look what the FedEx guy just dragged in....
My new Phil Pearson clutch, oil slide plate and needle bearing timing plate.
IMG_0191-Version2.jpg

IMG_0198-Version21.jpg

IMG_0199-Version2.jpg

IMG_0202-Version2.jpg

IMG_0195-Version2.jpg


Timing plate with needle bearing:
IMG_0192-Version2.jpg

IMG_0194-Version2.jpg


Sold my original clutch set up for $200 yesterday on E-bay which takes some of the sting out of this. This complete clutch weighs 5.4 pounds and my new hardened DID 428 primary chain arrived yesterday. Looks like I need to make the time this weekend to polish my primary cover and the lower end will be complete!
 
Re: 1962 BSA DBD34 Gold Star restoration (making progress)

That's too damn pretty, your going to HAVE to run an open primary ;D
 
Re: 1962 BSA DBD34 Gold Star restoration (making progress)

That is way too pretty to hide inside a cover. Did you say 428 chain? My that's small. Our Honda 160's use a 428 rear chain and it doesn't last long with all of 20hp.
 
Re: 1962 BSA DBD34 Gold Star restoration (making progress)

Face cam on engine sprocket should prevent the worst shock loadings?
Strange how small bikes can beat the hell out of final drive, I found same thing with 175 'slopers'
Must be down to shock loadings, small front sprockets and not very good cush drive?
 
Re: 1962 BSA DBD34 Gold Star restoration (making progress)

Our 160s are 175 slopers and you are right about the cush drive which allows sprockets to wobble.
 
Re: 1962 BSA DBD34 Gold Star restoration (making progress)

Just noticed in your sig 400f cafe? did I miss this or was this done before you joined? care to share a couple of pics of the beast anyhow?
 
Re: 1962 BSA DBD34 Gold Star restoration (making progress)

Andy, Sold these three CB400F's that I rebuilt:
IMG_1195.jpg

_MG_0146-Version2.jpg

IMG_5907.jpg


Great bikes and a blast to ride.

I have one more CB400f in pieces; titled, frame and engine painted, new bearings, seals, gaskets, tires spokes etc just need to find/make the time to finish and sell it. I have been prepping the tank and side covers and would like to finish them by next week.
 
Re: 1962 BSA DBD34 Gold Star restoration (making progress)

Nice thanks for the pic's, I have seen pic's of the first 1 on the net before, V nice! you would be very familiar with the 400F after doing 3 and 1 on the way. Just a personal thing or just cause you the have been easy to get your hands on ? cheers Andy.
 
Re: 1962 BSA DBD34 Gold Star restoration (making progress)

Andy, I cannot pass up $50-100 CB400f parts bikes when I find them.

I made some time this weekend to install the clutch and timing plate.
IMG_5146.jpg

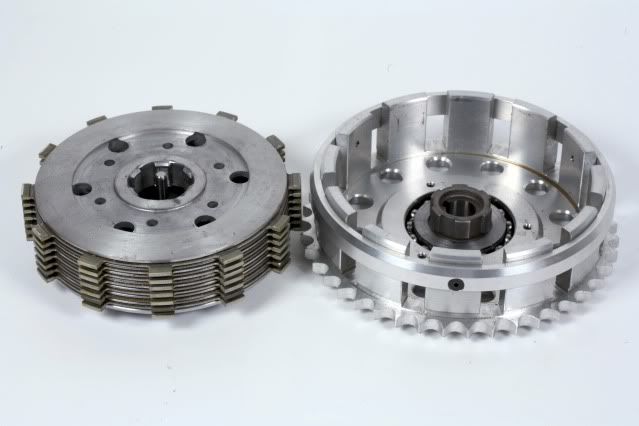
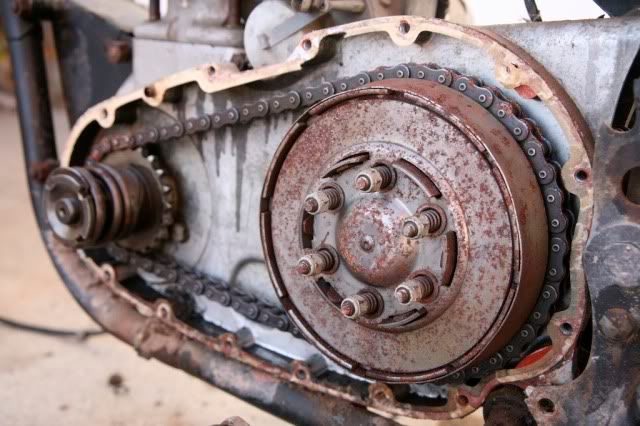
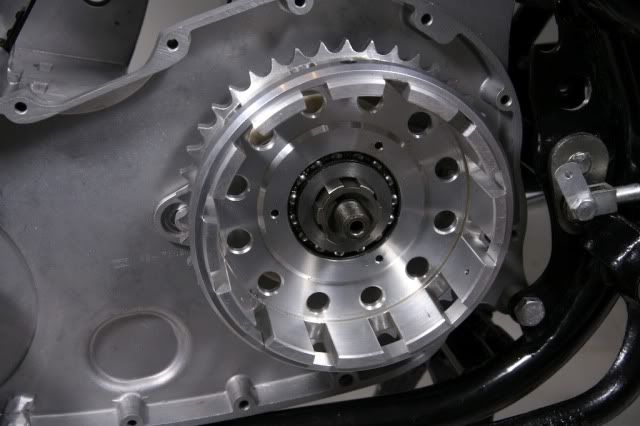
Original clutch and primary
IMG_0253-Version2.jpg

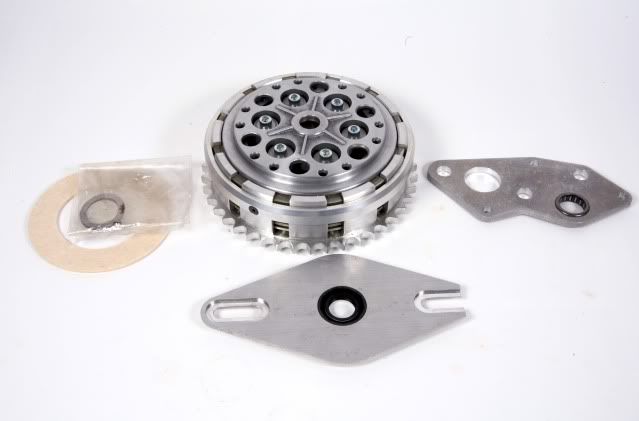
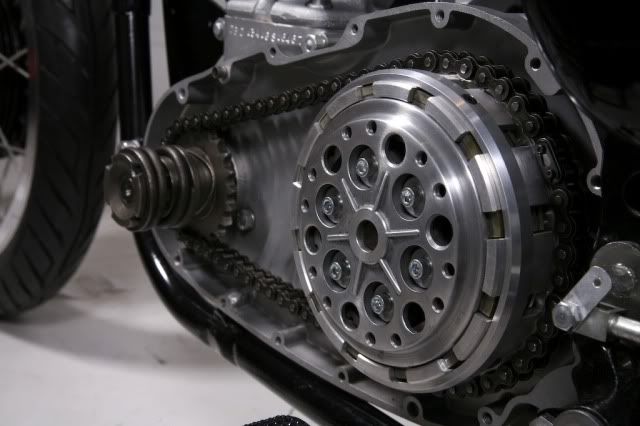
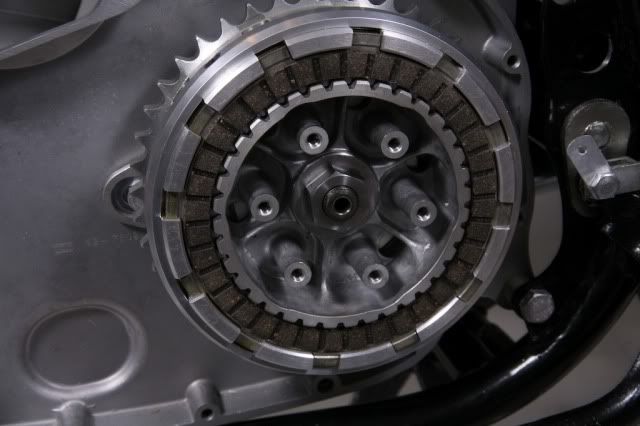
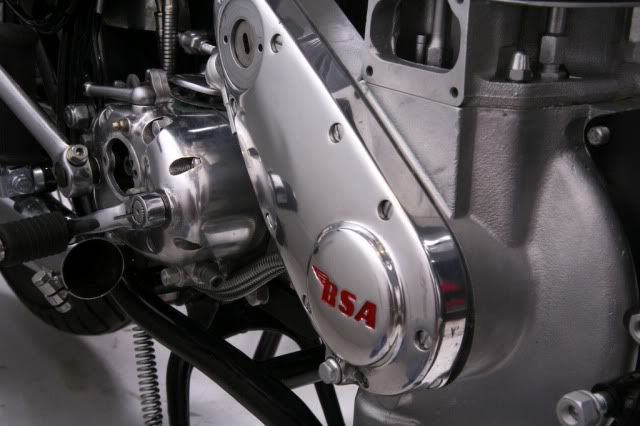
New clutch and primary

I did this in several stages and I started by installing the clutch and cush drive without the back primary cover so it is easier to align them with a straight edge, as suggested by Dave Kath on the Britbike.com forum.

I made a crude, but effective, tool to tighten the cush drive nut from a 2" washer, large nut and some 1/4" square stock. Four pieces of square stock were welded to the back of the washer to correspond with the four slots on the cush drive nut. I can now use a socket and a torque wrench to tighten the cush to the correct tolerance. The factory service and Haynes manuals suggest tightening the cush with a drift and hammer! I did not want to pound on my new crankshaft end. SRM offers a nice nut driven cush drive nut, but I chose to re-use the original.
IMG_0214-Version2.jpg

Homemade service tool

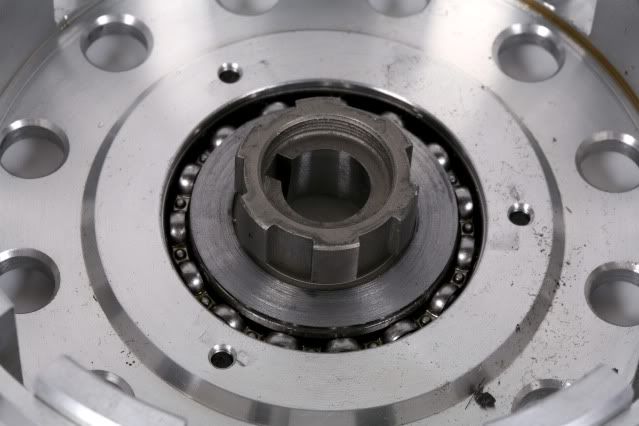
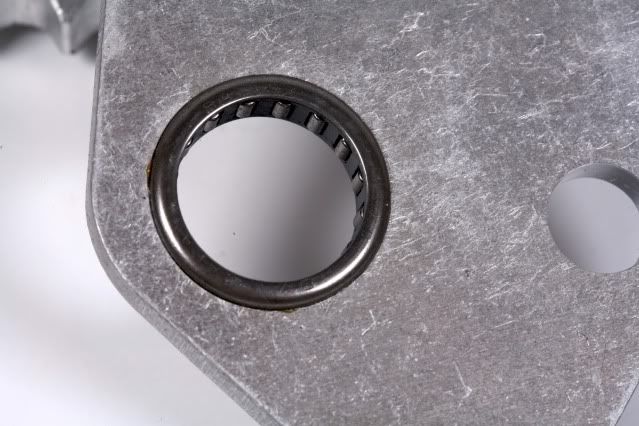
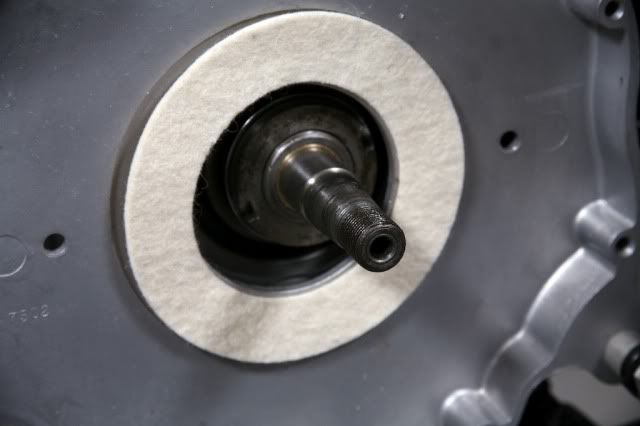
Cush drive (without washer, replacement still on order)
IMG_0261-Version2.jpg


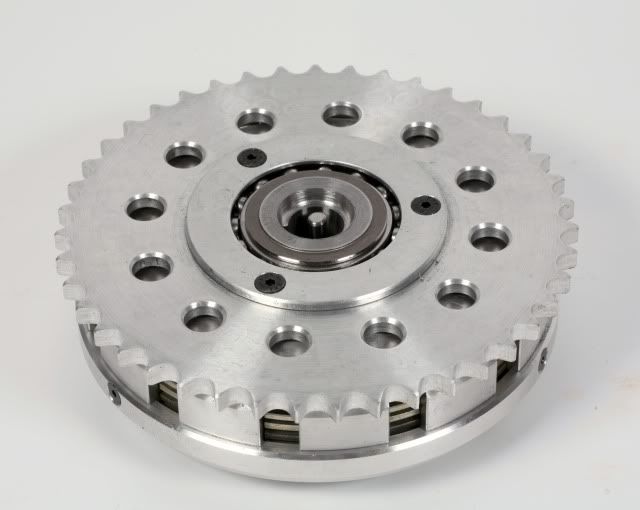
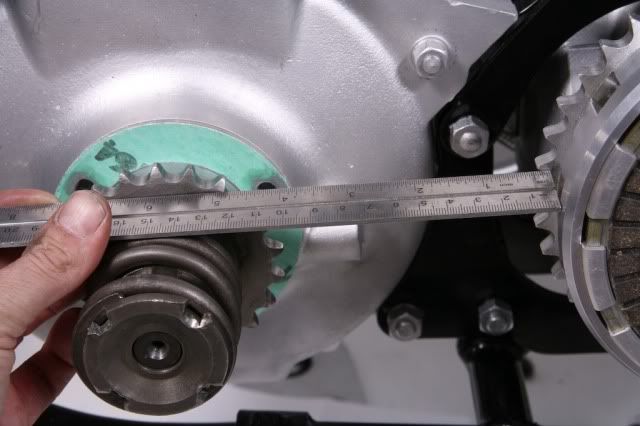
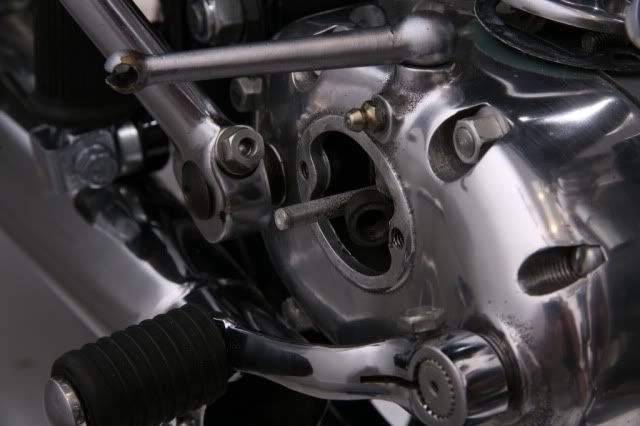
Aligning clutch basket (chainwheel) with drive sprocket.
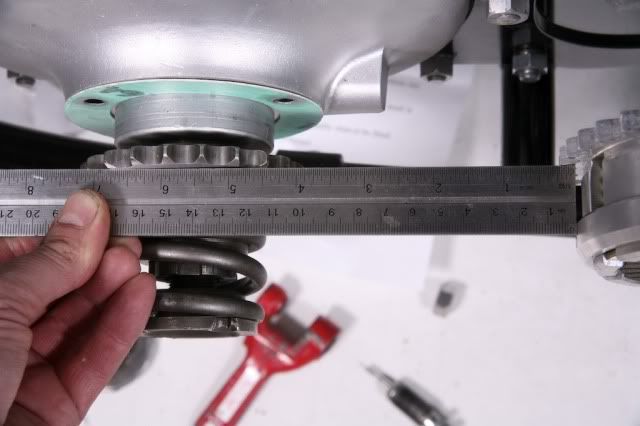
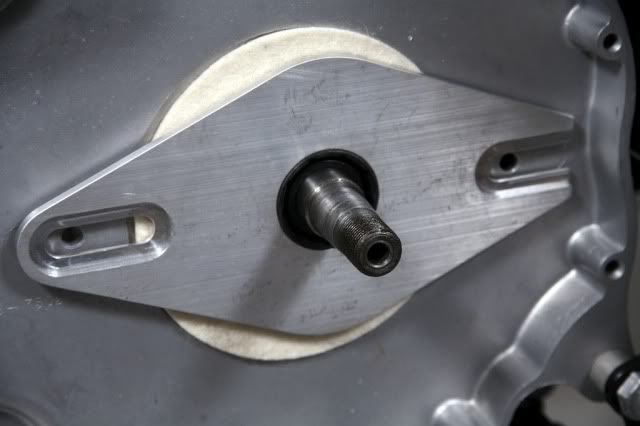
IMG_0263-Version2.jpg

IMG_0262-Version2.jpg

IMG_0259-Version2.jpg

Shimming

I used three different straight edges and checked alignment with the gearbox pushed forward, in the middle and pulled all the back. The cush sprocket is .010" narrower (.2825") than the clutch basket sprocket (.2925") so I needed to account for the .005" difference on each side of the drive sprocket while shimming. I asked Pearson to throw in some shims with my clutch and I ended up shimming the drive sprocket out .027" and checked alignment again throughout the swing of the gearbox. All good.

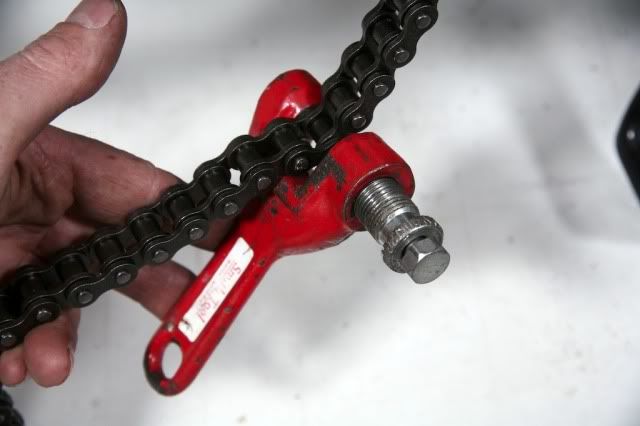
Next, I fit and cut the primary chain to 70 links and left 1/2" chain play.
IMG_0225-Version2.jpg

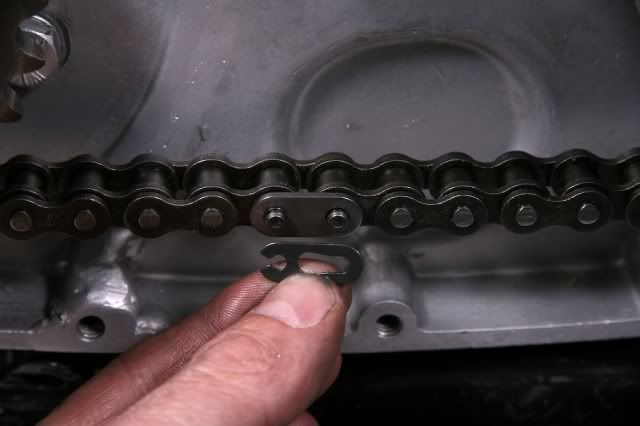
The closed end of the clip faces the direction of the chain travel.
IMG_0247-Version2.jpg


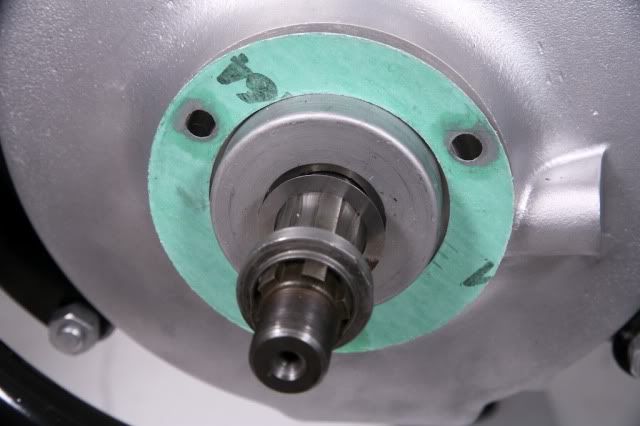
With the shimming done, I installed the back of the primary cover and did it all over again.
IMG_0233-Version2.jpg

felt washer
IMG_0234-Version2.jpg

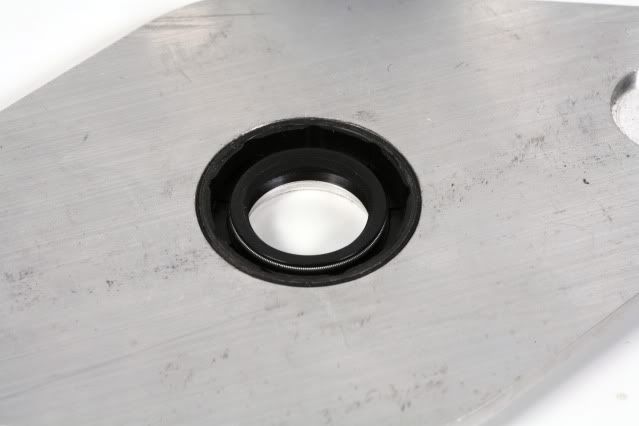
Sliding oil seal plate
IMG_0235-Version2.jpg

bolts
IMG_0236-Version2.jpg

IMG_0237-Version2.jpg

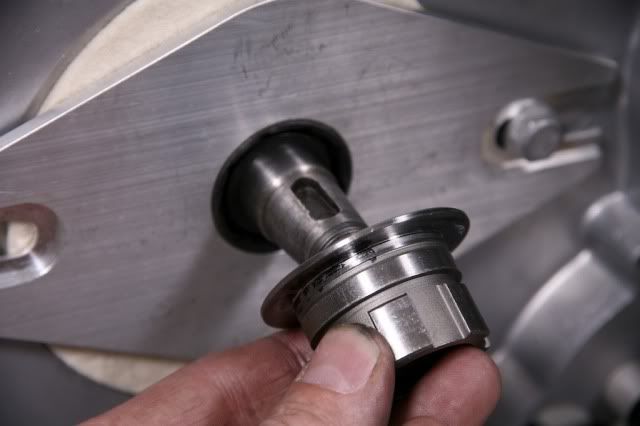
adapter and woodroof key
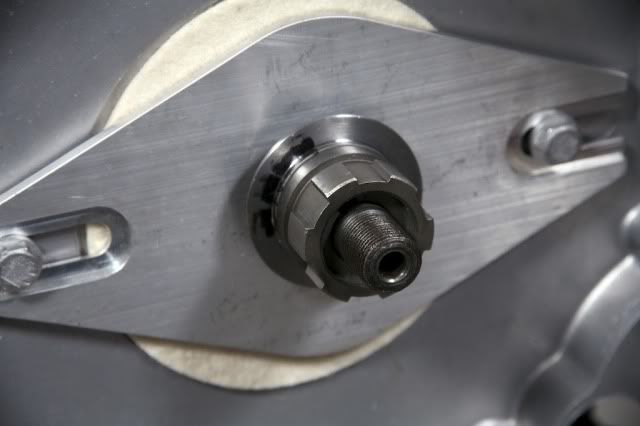
IMG_0238-Version2.jpg

clutch basket
IMG_0241-Version2.jpg

clutch nut and plates
IMG_0242-Version2.jpg

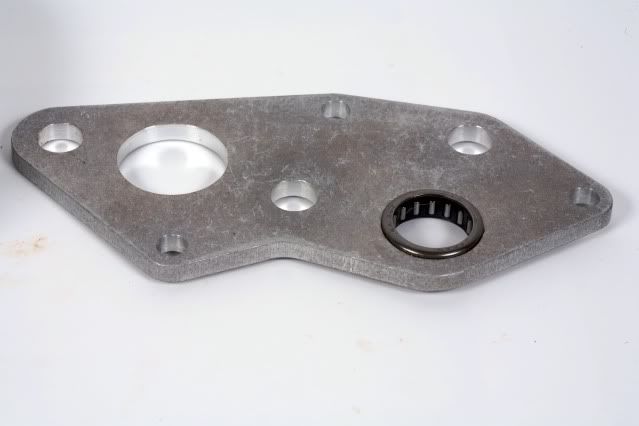
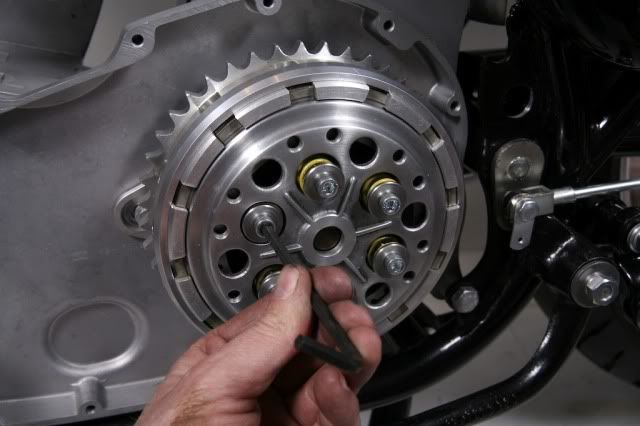
lifter, needle bearing plate, hardened washer and ball bearing
IMG_0246-Version2.jpg

installed the lift plate and tightened the springs all the way down

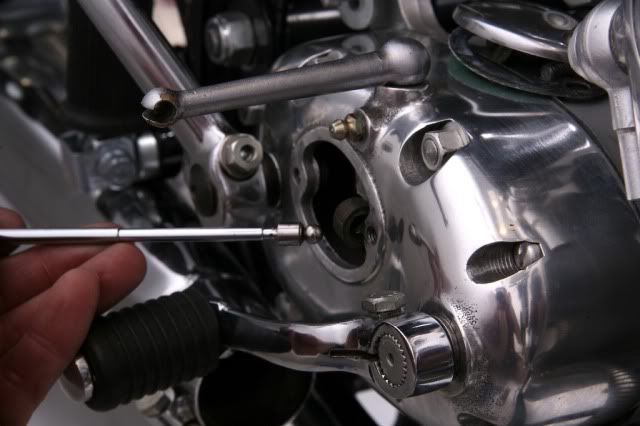
Next, I fitted a 1/4" ball bearing and the original clutch push rod through the gearbox mainshaft. Obviously it is too long, so I cut it and left 5/16" of the rod protruding on the timing side (9 5/8" overall length). I heated the end to cherry and quenched it oil to harden it and keep it from mushrooming. Many suggest (including SRM) to quench in water, I have read the arguments on the Britbike forum and elsewhere chose to quench in oil. The clutch adjuster was replaced, tightened and I adjusted the cable. The clutch works beautifully and does everything it should and nothing it should not.

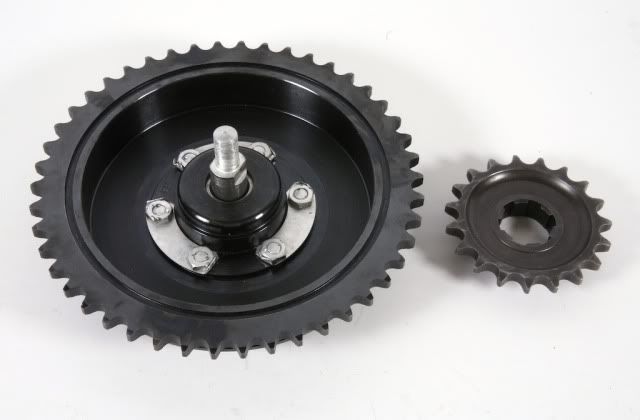
This is a dry run and not the final installation. I am still pondering machining down my transmission sprocket and rear wheel sprocket to fit a modern drive chain so I will need to remove the clutch again to do so. Once the drive chain is installed, I will safety wire the inner primary cover bolts, torque the cush and clutch nuts to spec, use a bit of loctite and oil the clutch plates and chain. And I still need to make the time to polish the primary cover.
IMG_0284-Version2.jpg

ball bearing
IMG_0283.jpg

original clutch push rod

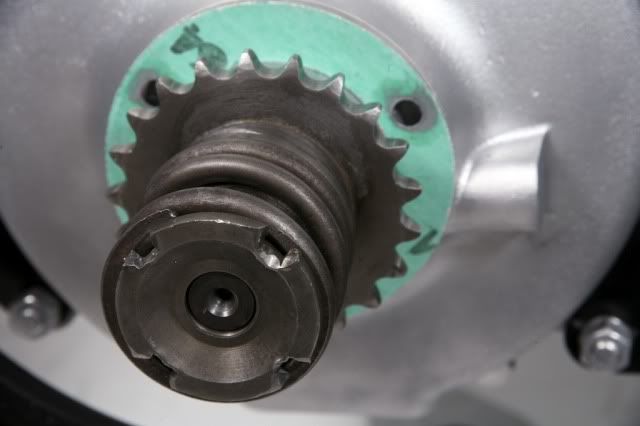
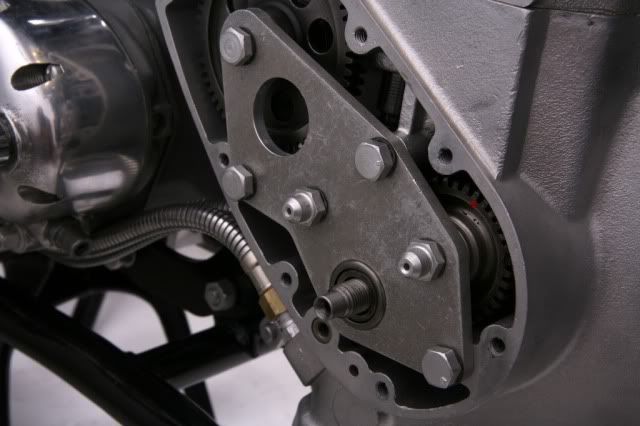
The new timing plate was easily installed
IMG_0275-Version2.jpg

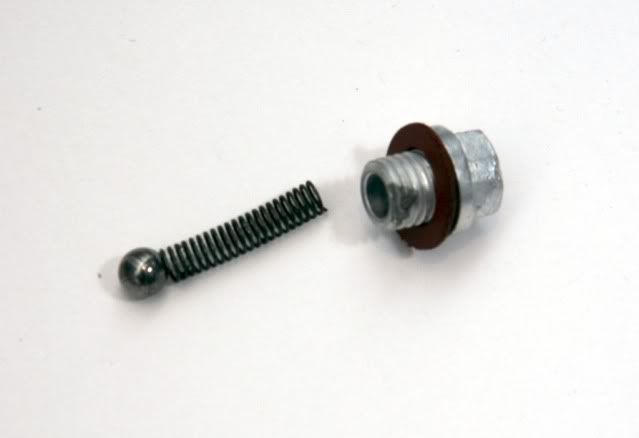
I added the oil release ball to the timing cover and and installed that too.
IMG_0279-Version2.jpg

IMG_0280-Version2.jpg


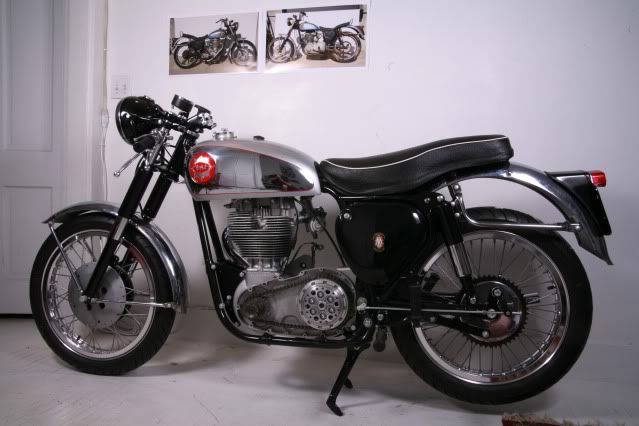
It is beginning to look like a motorcycle!
IMG_0269-Version2.jpg


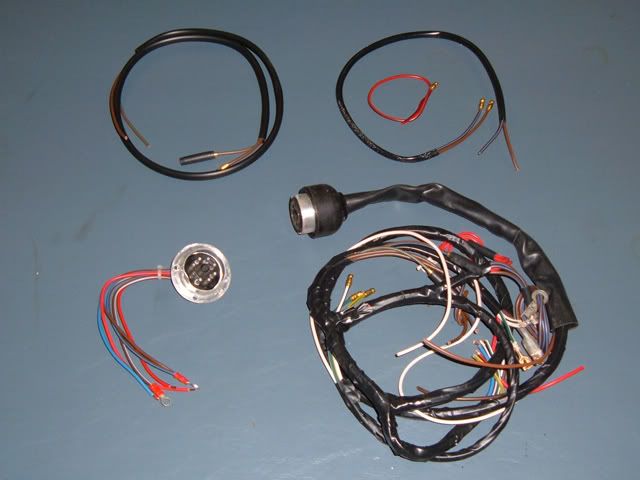
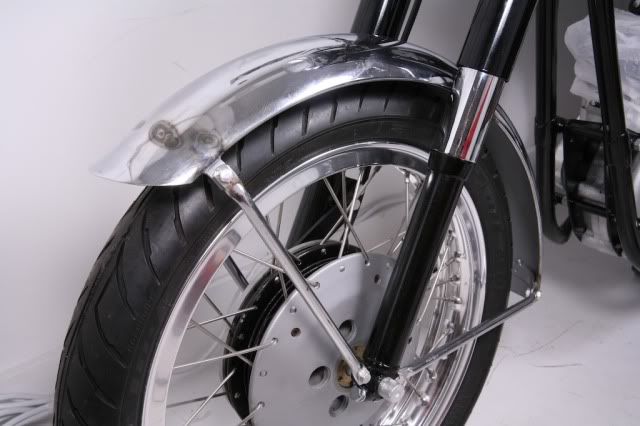
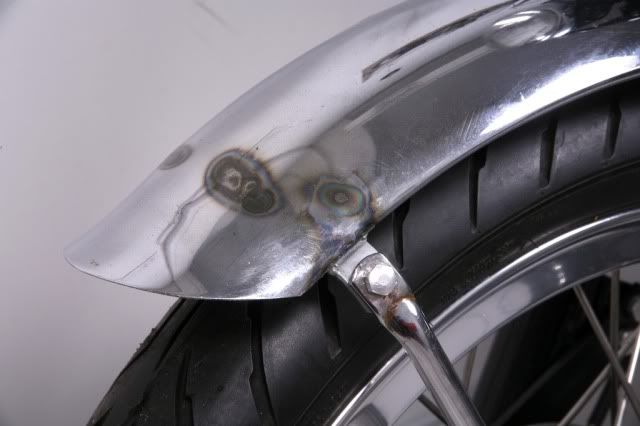
I also painted the inside of the ugly ass front fender, polished the stays and installed them. The exterior still looks like crap and I really want a new clubman fender and stays but first I need to restore the speedo, rebuild the magdyno, new wiring harness, battery, rear chain and guard and install new valves and guides. Speedo will go out for restoration this week and am waiting for new bearings for the mag and dynamo so they can be serviced as well. Getting closer!
 
Re: 1962 BSA DBD34 Gold Star restoration (clutch and primary are done)

*fap fap fap*


Jokes aside, that is one damn beautiful bike. Nice work.
 
Re: 1962 BSA DBD34 Gold Star restoration (clutch and primary are done)

It's a fine line between sickness and genius. Swan you walk that line. Amazing.
 
Re: 1962 BSA DBD34 Gold Star restoration (clutch and primary are done)

Thanks guys! The fine line between hobby and obsession is passion. Two Wheels of Hell, we need updates and images on your Triton project!
 
Re: 1962 BSA DBD34 Gold Star restoration (clutch and primary are done)

That's a helluva nice pic 8)
 
Re: 1962 BSA DBD34 Gold Star restoration (clutch and primary are done)

Nice! GREAT work on the pictures to, we sometimes get caught up in the moment of doing, that when we are done we remember " Ahh thats right pic's " so again Nice!
 
Re: 1962 BSA DBD34 Gold Star restoration (clutch and primary are done)

Well, my original front fender lasted less than 36 hours on the bike... It was too ugly with the weld discolorations so I broke down and bought a new, made in the UK Clubman fender (mudguard), stays and hardware. I sell my original one once the new one arrives to offset the cost.

original fender/ mudguard
IMG_0291-Version2.jpg

IMG_0294-Version2.jpg


Frustrating day trying to order new wiring harness from Tricor: their line is engaged or goes straight to voicemail. Also, Hawker is not offering the 12 volt dynamo kit on his website nor answering my e-mails. I do not like working hard to give someone my money. Sorry for the first-world whine, but I am cranky today...

Still trying to sort out my cylinder head and valve dilemma but some good news, my machinist will turn my drive train sprockets down so I can use a modern 520 chain. Dropping them off tomorrow.
 
Re: 1962 BSA DBD34 Gold Star restoration (clutch and primary are done)

When you're ready to sell the fender let me know - I might be able to make use of it :)
 
Re: 1962 BSA DBD34 Gold Star restoration (clutch and primary are done)

Tim, you are first in line!
 
Re: 1962 BSA DBD34 Gold Star restoration (clutch and primary are done)

Hope you won't be offended if it makes its way onto an XS650 bobber :D If you'd rather it go onto a proper BSA restoration I'd understand of course.
 
Re: 1962 BSA DBD34 Gold Star restoration (clutch and primary are done)

Tim said:
Hope you won't be offended if it makes its way onto an XS650 bobber :D If you'd rather it go onto a proper BSA restoration I'd understand of course.
Tim it is yours to do what you like. But if you are looking for a better fender I highly recommend using an alloy fender from Royal Enfield USA. They are super lightweight, undrilled and work with 19"wheels on nearly any motorcycle. I painted one black and installed it on my Triton with Converta style y brackets and had a friend polish one to a mirror finish for his CB750 cafe. They are $69 USD: http://nfieldgear.com/enfield-store/aftermarket-parts-accessories/body/alloy-mudguards.html
 
Re: 1962 BSA DBD34 Gold Star restoration (clutch and primary are done)

All right, I am in a much better mood this morning. I was able to order a quick detach wiring harness from Tricor via e-mail and Paypal (thank you Andy!) and will post images and a review once it arrives. For now, here is a dramatic recreation (not the real thing, it is for a Triumph Trophy...)
Triumphtrophyqdharness.jpg


New magdyno bearings from Simply Bearings UK arrived yesterday afternoon and I removed the transmission (gearbox) and rear drum sprockets, bought a new 520 0-ring chain and dropped the sprockets off at the Engine Store of Winona to be lathe tuned to the correct width. I'll post images and specs once they are done on Friday.
IMG_0296-Version2.jpg

IMG_0302-Version2.jpg

Before

Good references for chains:
http://www.britbike.com/forums/ubbthreads.php?ubb=showflat&Number=261491&page=all
http://www.gizmology.net/sprockets.htm
http://victorylibrary.com/brit/chain-c.htm

That is it for now!
 
Back
Top Bottom