rentedshoes
Been Around the Block
Ok, Long story short. I bought this last year about this time. I only decided to really get after it about a month ago. I am a reformed mini-trucker so the urge to cut first and ask questions later is quite prevalent. This build is sponsored by Pandora radio, NewCastle brown ale, and Miller High Life.
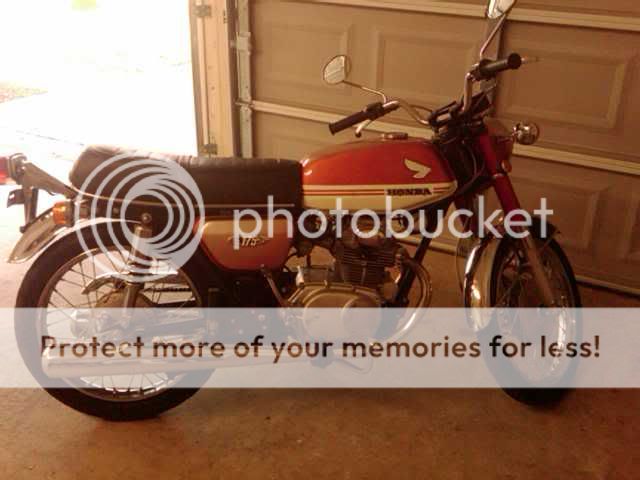
Stock...not for long.
Then came clubmans and a carb rebuild.

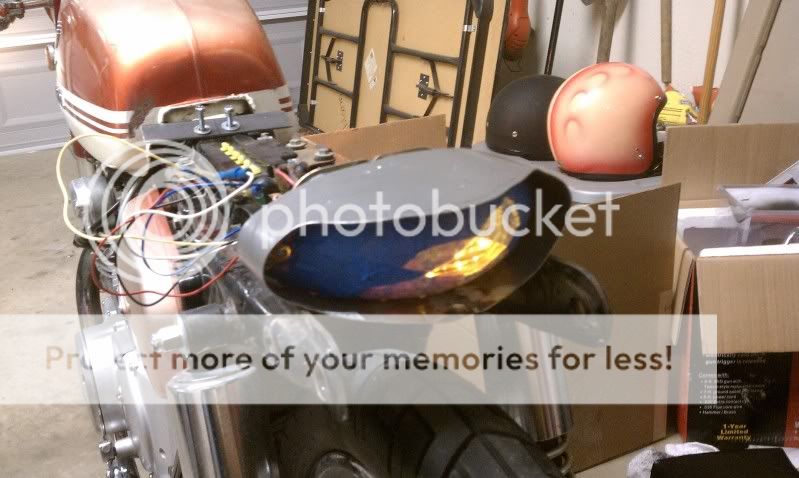
After that came rearsets and a cafe seat.

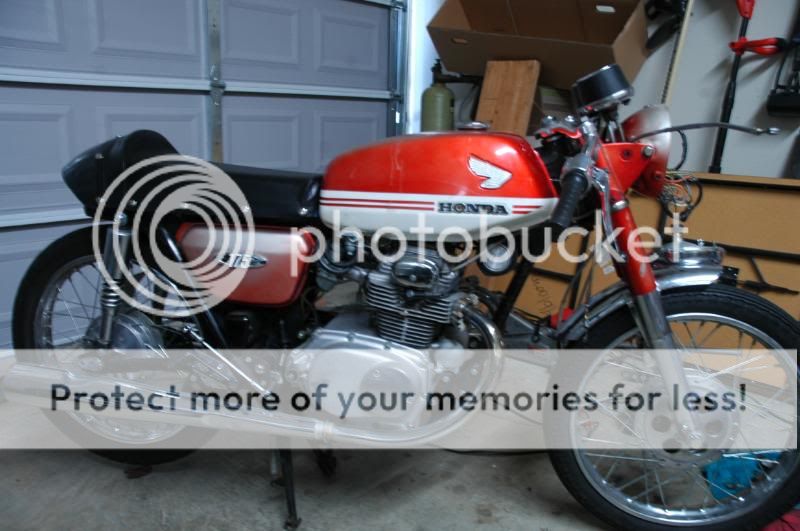
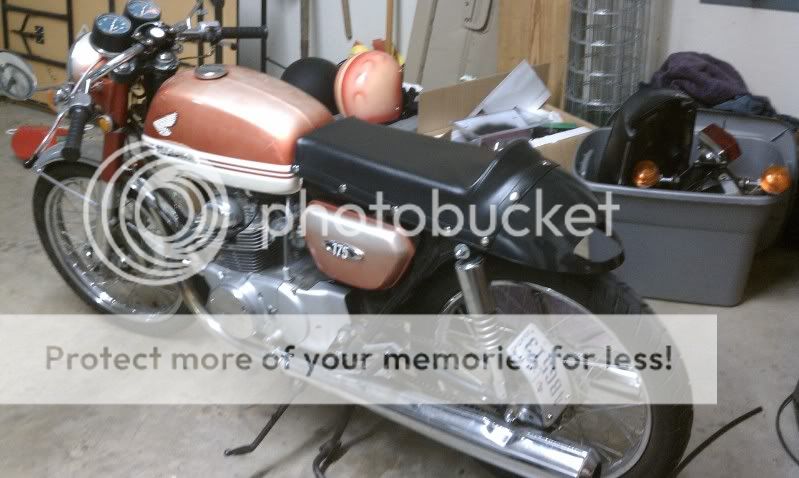
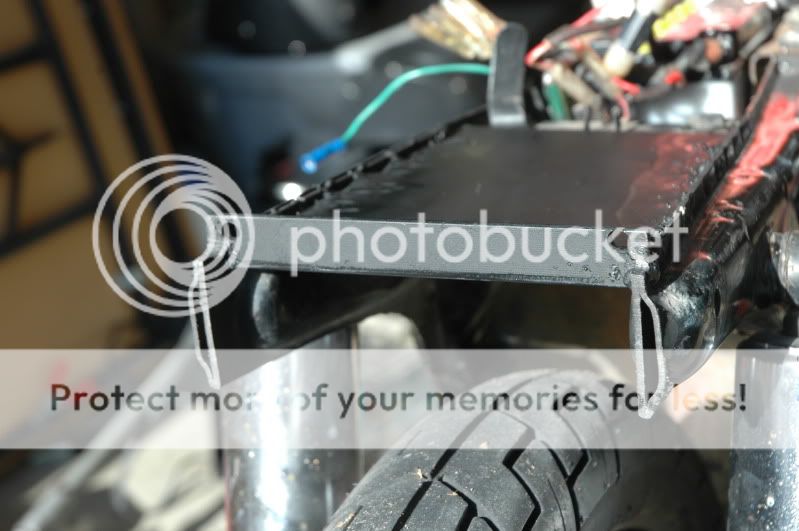
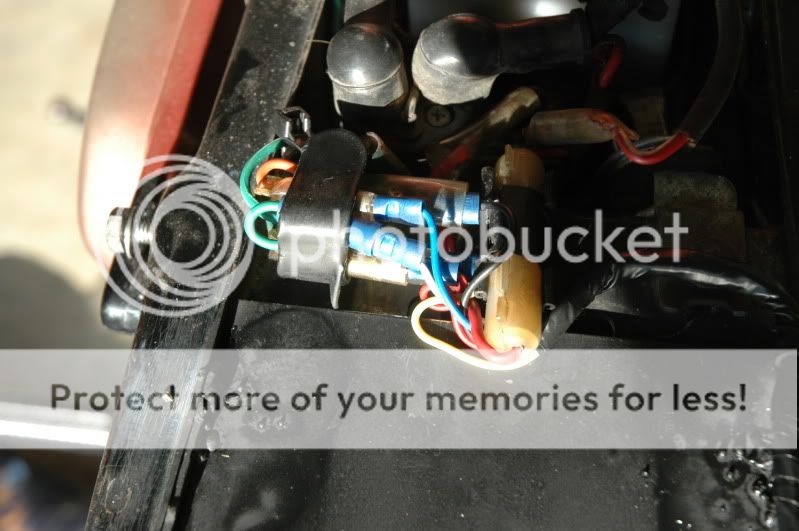
Here it is as it sits now.
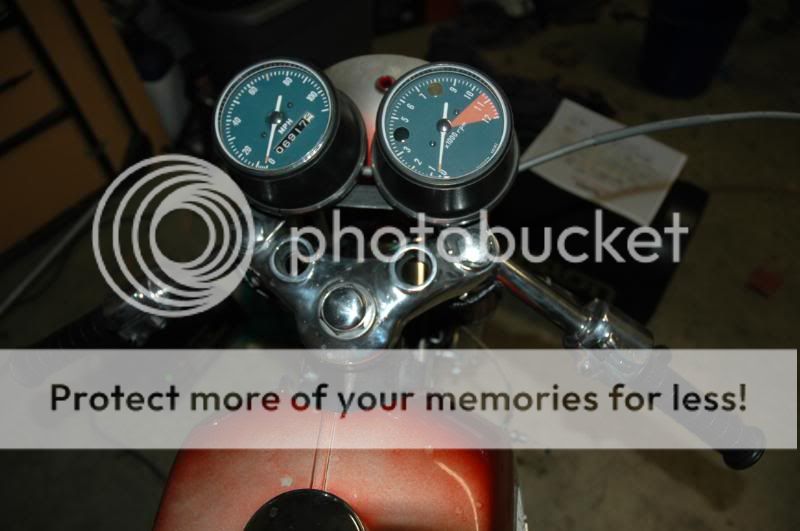
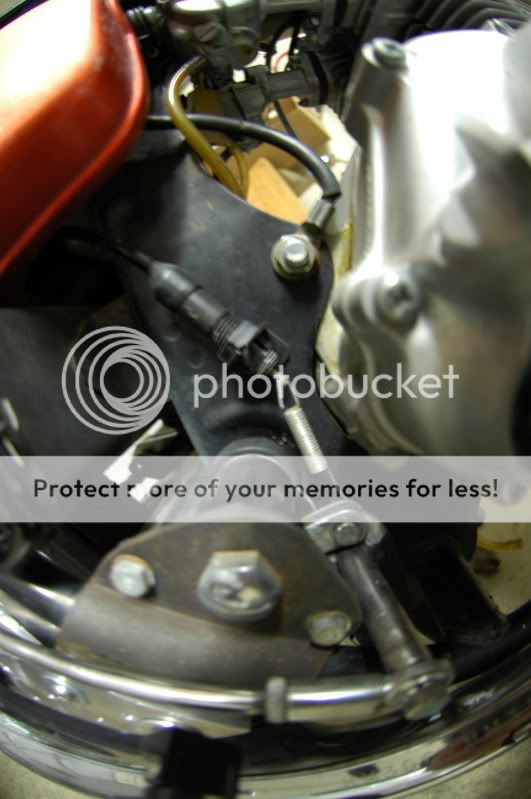
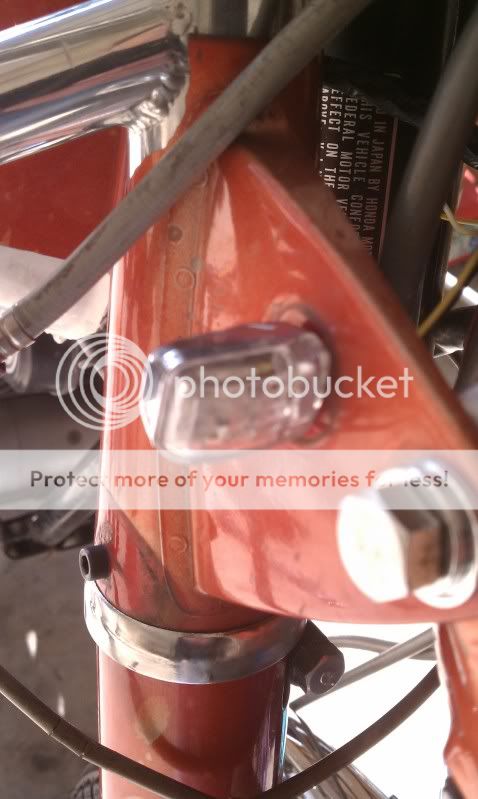
Do you have any idea how difficult it is to turn the gauges even that little bit. Also, note the polished factory controls. That was an entire snow day start to finish.

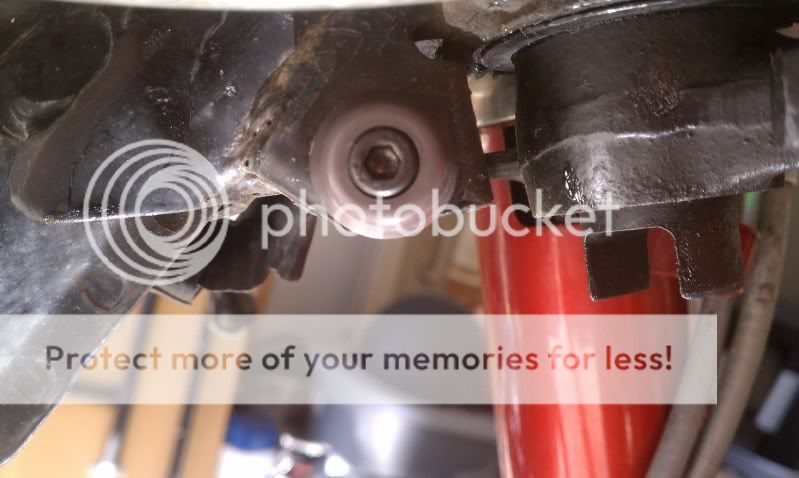
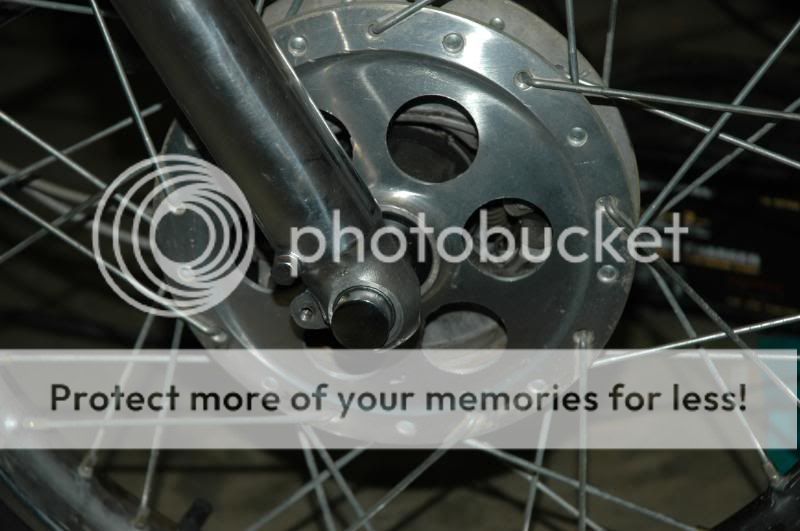
Drilled the front hub last night. Chucked up the hole saw and yelled "fuck the world". Actually, I shivered tensely (it's freakin cold here) until all six holes were cut. It will wither work or it is ruined.
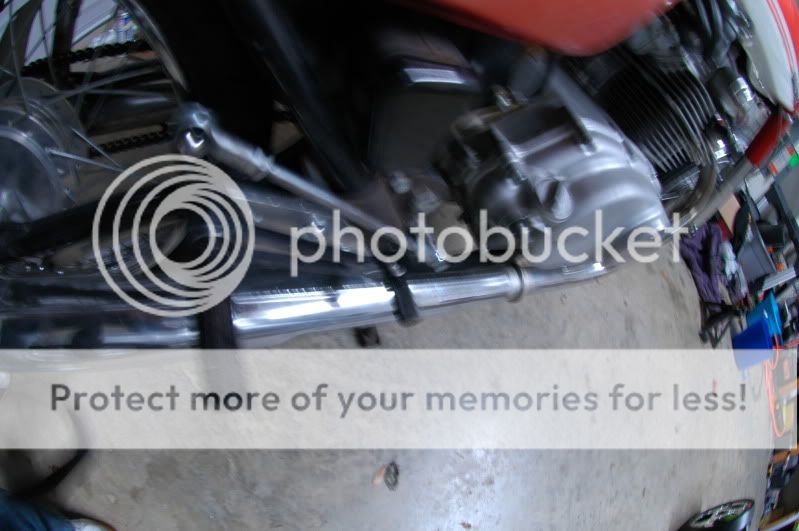
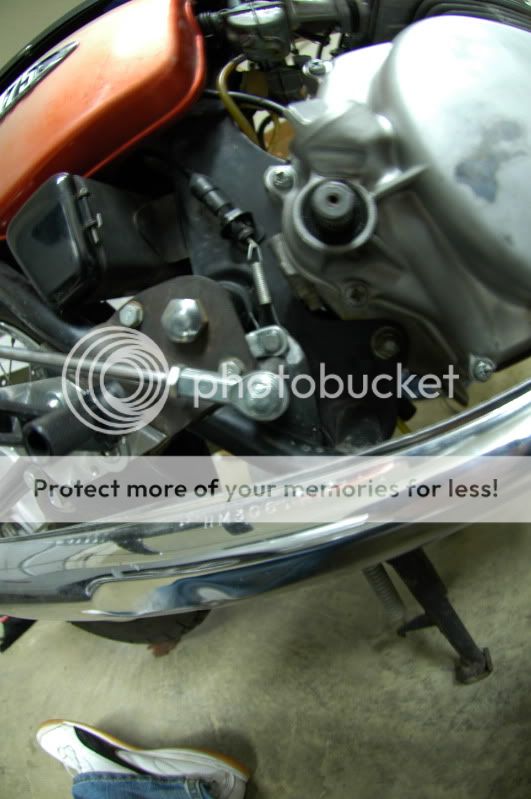
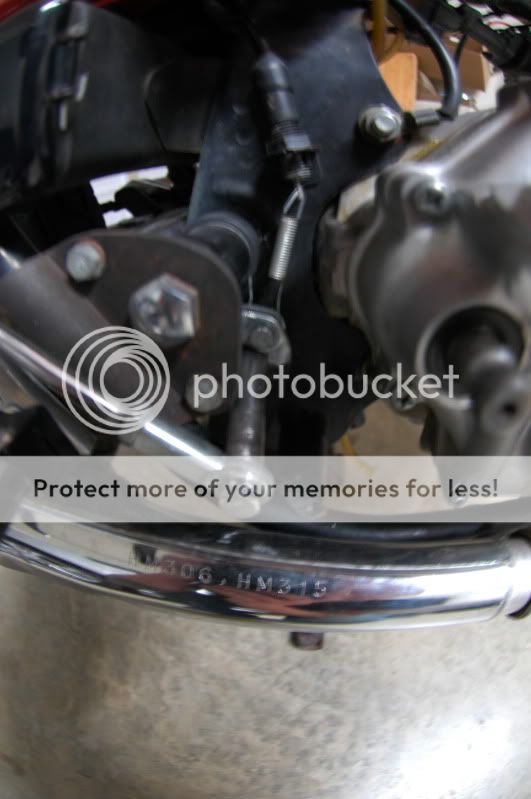
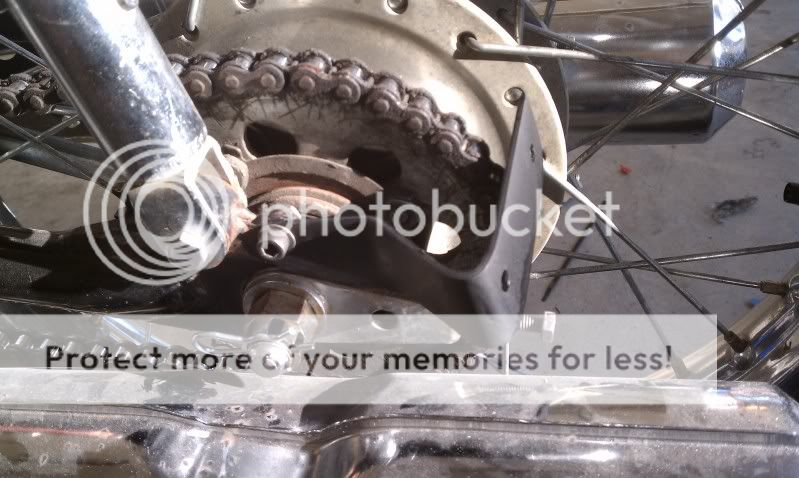
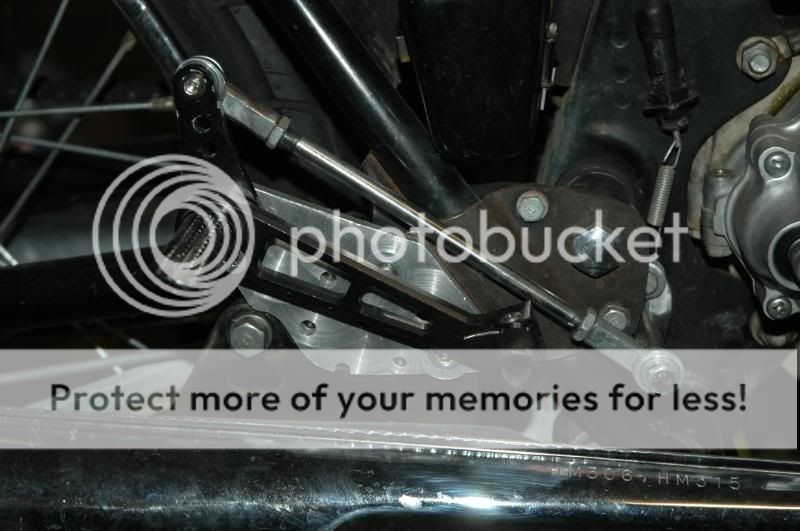
These rearsets took about 5 weeks to sort out and get working. I am particularly proud of the fact that there is no "bent brake rod" and I used the factory brake switch. Word.
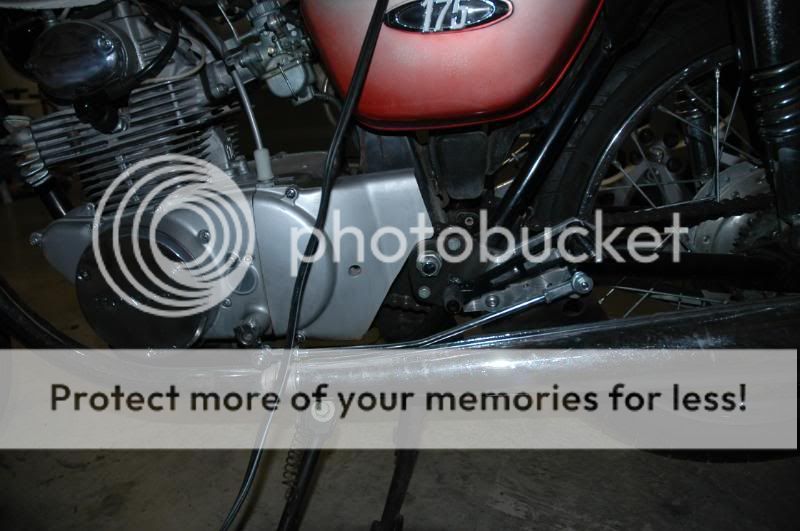
Shift side...as to be expected
Polished alternator cover

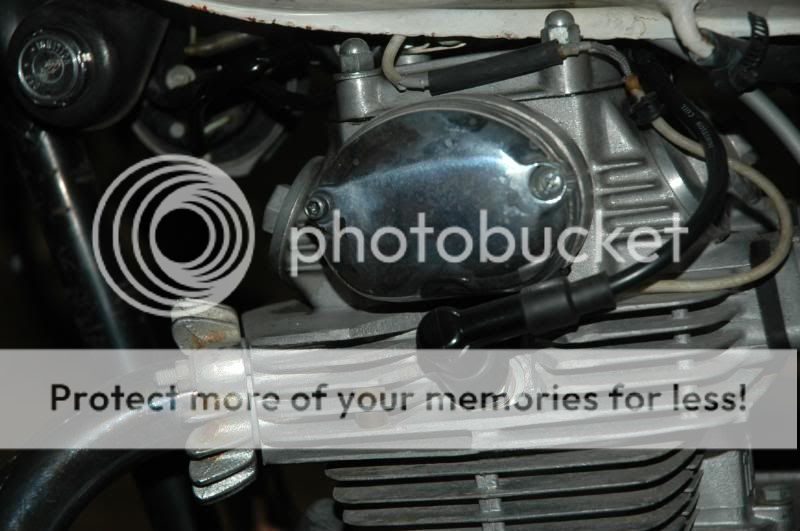
Polished points cover
Broke the key off in the ignition while fitting the clip-ons. Guess I had too many beers.
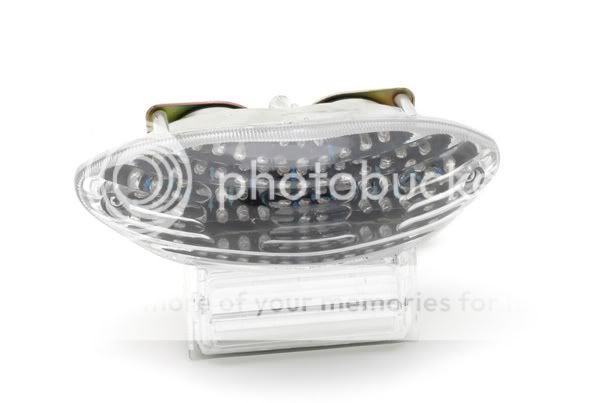
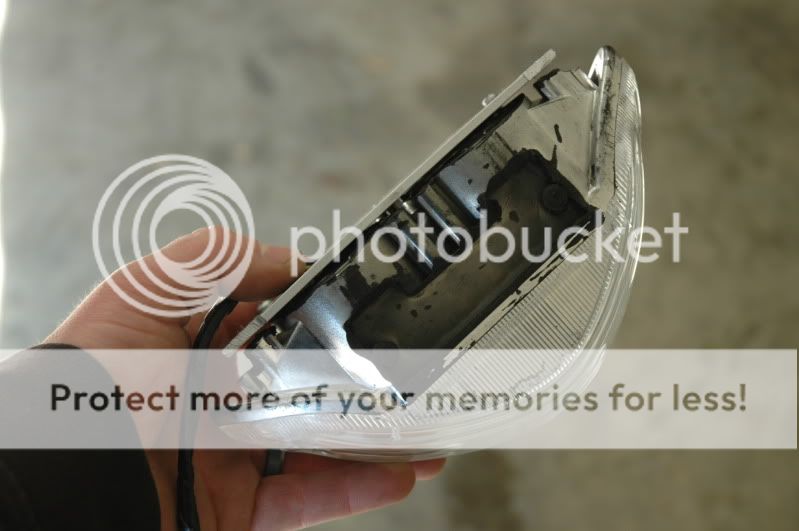
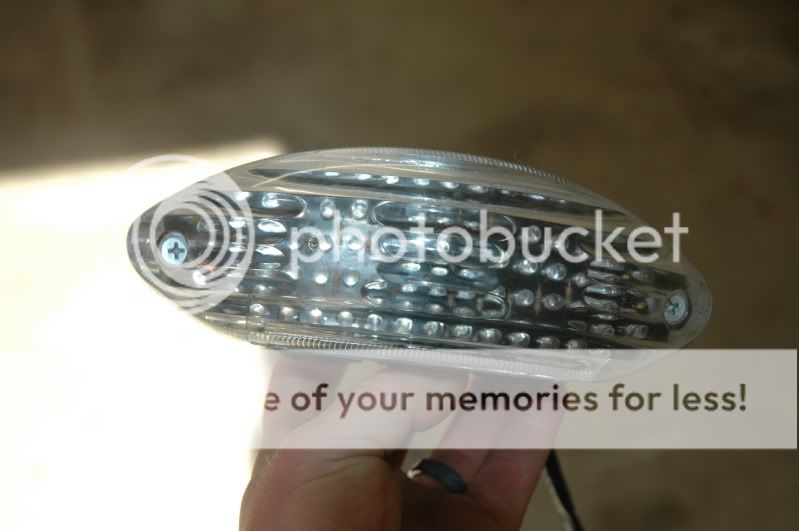
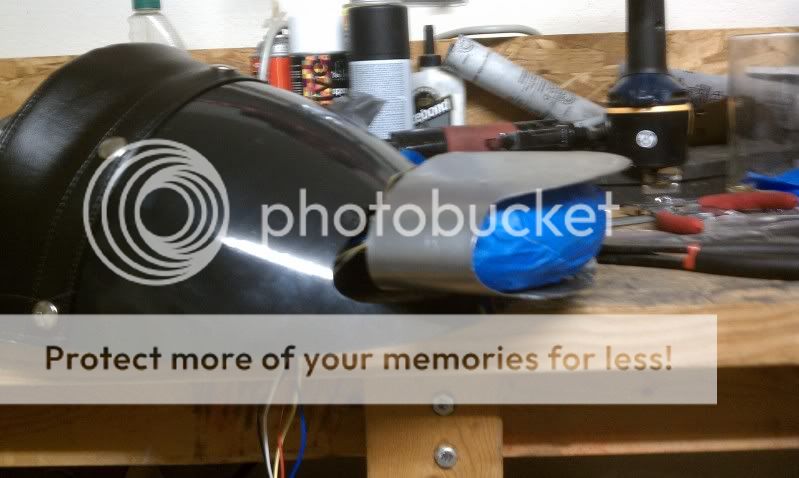
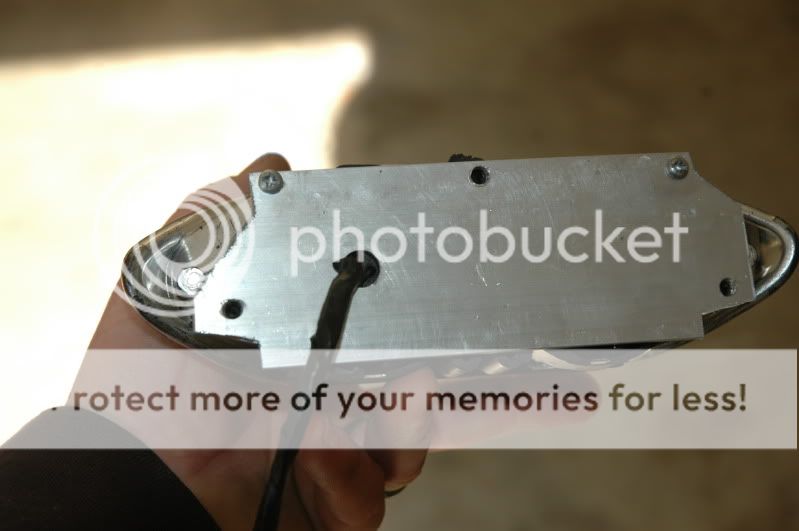
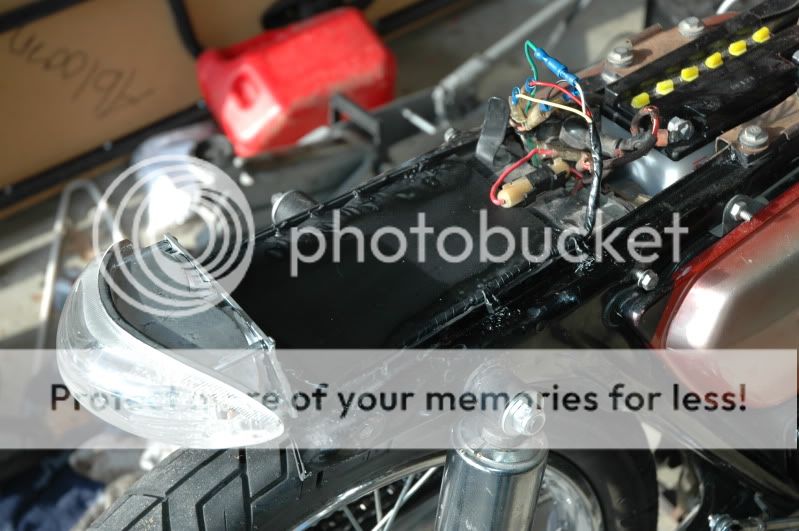
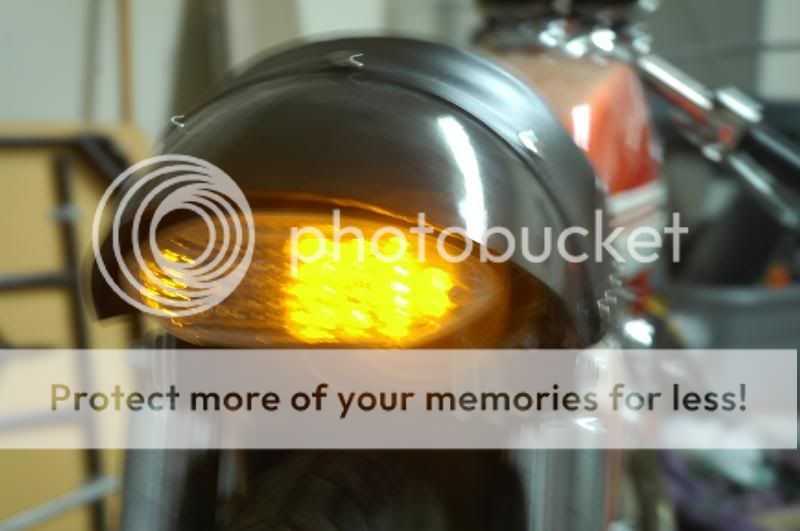
Modified hiyabusa led tailight...
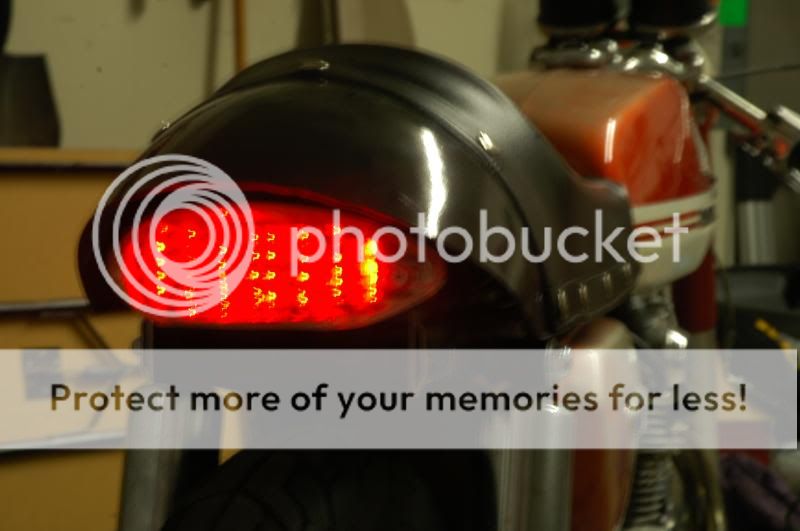
with turn signals
Much more to come very soon. I have plans to paint the tins and fork covers in a few weeks. Then comes the engine goodies. I know it will never be a rocket. The fastest I have had it is 76mph. I hope to be able to see 80 consistently. I figure just rider posture alone will boost max speed a bit.
Stock...not for long.
Then came clubmans and a carb rebuild.
After that came rearsets and a cafe seat.
Here it is as it sits now.
Do you have any idea how difficult it is to turn the gauges even that little bit. Also, note the polished factory controls. That was an entire snow day start to finish.
Drilled the front hub last night. Chucked up the hole saw and yelled "fuck the world". Actually, I shivered tensely (it's freakin cold here) until all six holes were cut. It will wither work or it is ruined.
These rearsets took about 5 weeks to sort out and get working. I am particularly proud of the fact that there is no "bent brake rod" and I used the factory brake switch. Word.
Shift side...as to be expected
Polished alternator cover
Polished points cover
Broke the key off in the ignition while fitting the clip-ons. Guess I had too many beers.
Modified hiyabusa led tailight...
with turn signals
Much more to come very soon. I have plans to paint the tins and fork covers in a few weeks. Then comes the engine goodies. I know it will never be a rocket. The fastest I have had it is 76mph. I hope to be able to see 80 consistently. I figure just rider posture alone will boost max speed a bit.
")