1975 CB200T Café Racer Project

FrankDaTank

New Member
1975 CB200T Café Project

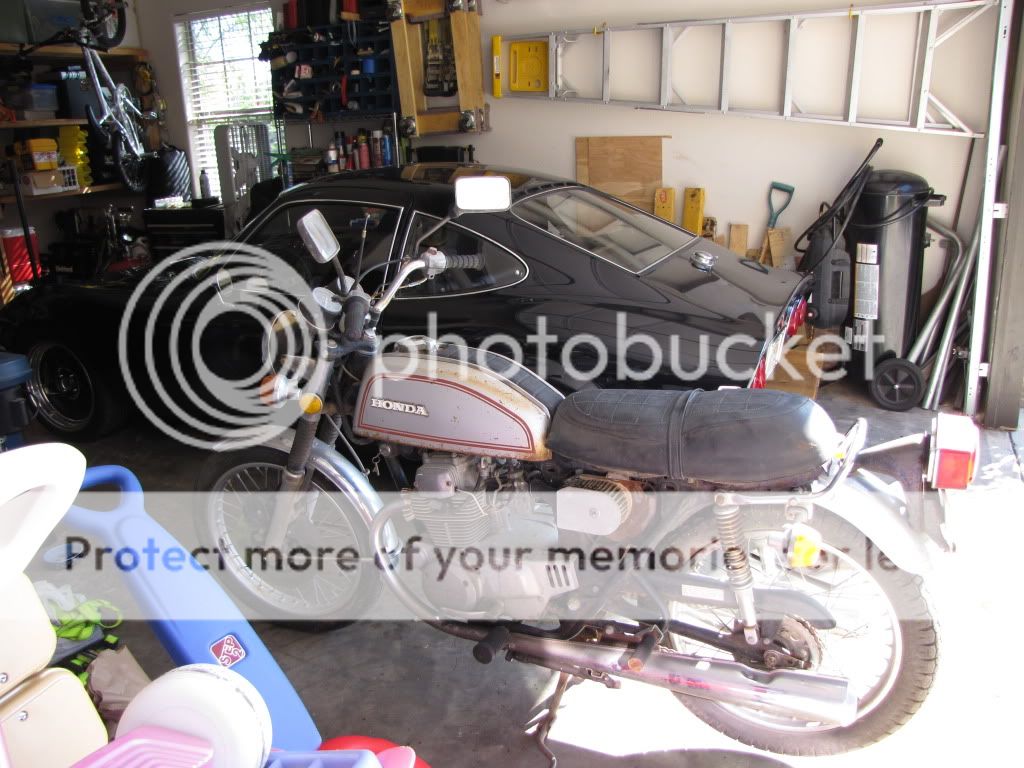
After finishing my last project (1973 Opel GT), I had been considering a motorcycle project for the last year or so. Finally last November, I decided to build a Café racer. I started my bike project by buying one of the Bennelli Tanks on e-bay. And I started to look for a bike. After several months of searching, I found her in a bike shop in my home town. A 1975 CB200T, Silver, with 6,048miles on the clock, and with the Title in hand. The bike shop owner bought her 8 years ago turned her on, and left her awaiting restoration.

IMG_0240.jpg


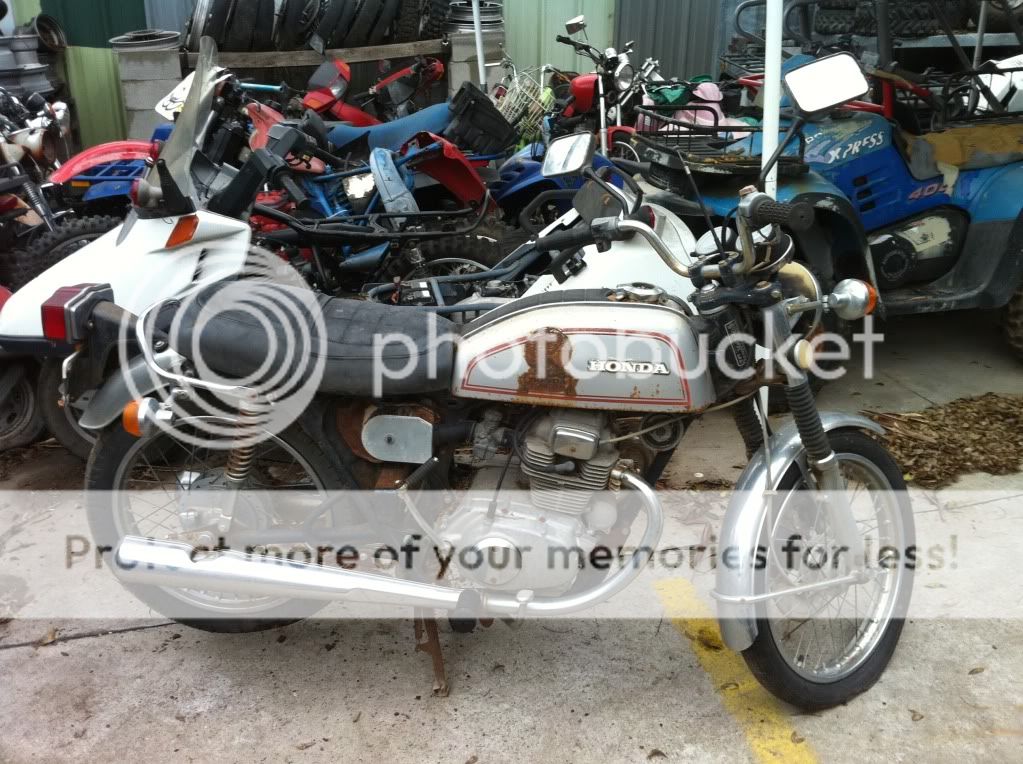
Paid $350 plus TT&L and took her home.
January022.jpg


The idea was to do a mechanical restoration, and use it as is for a while I learned how to drive a motorcycle…. Oh yea, I forgot to mention I never ridden before.
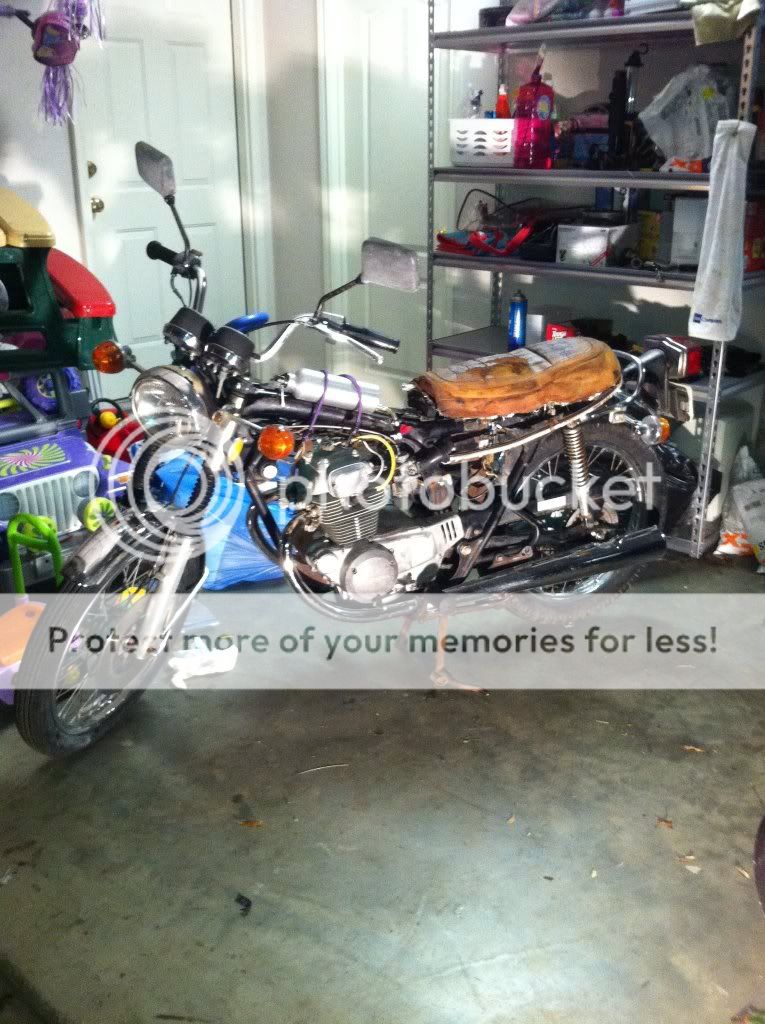
I expected to take three weeks to ride, it actually took four to drive her around the block a couple of times. In five weeks I had every light bulb, every switch, and both brakes working. Since then I would drive her to work almost every day.

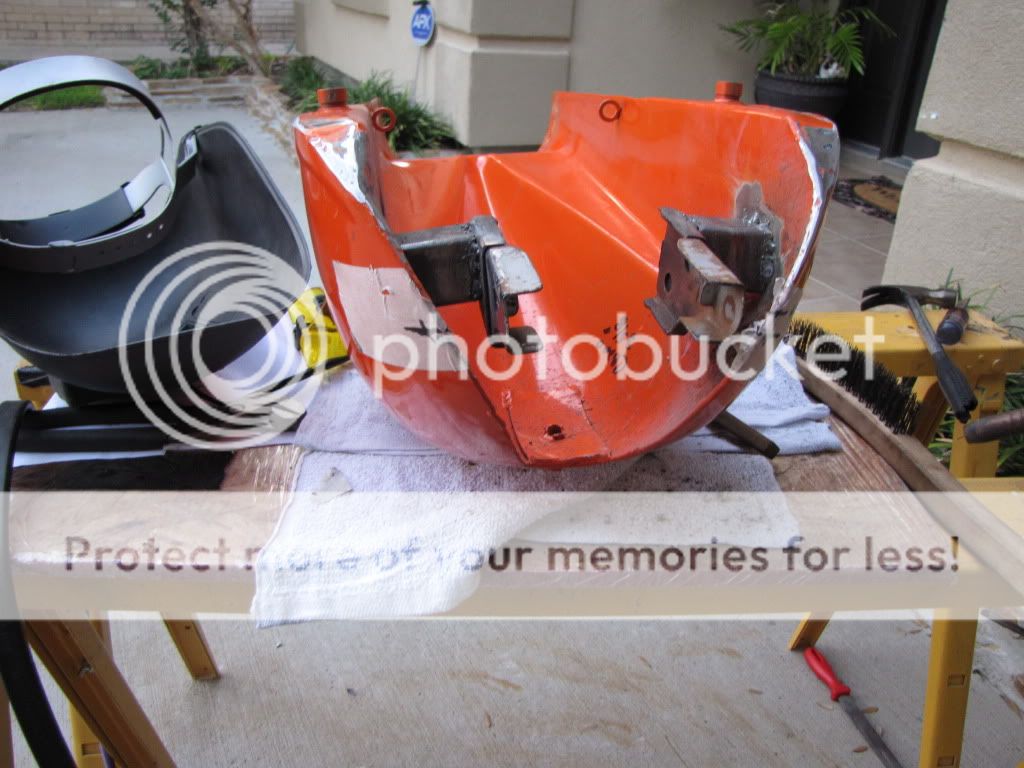
I had to cheat and use an 25oz aluminum water bottle as the temporary gas tank cause the original tank was rusted out. I cut out the bottom of the tank to cover the small water bottle tank so that now one could tell.

JanuaryTempTank.jpg


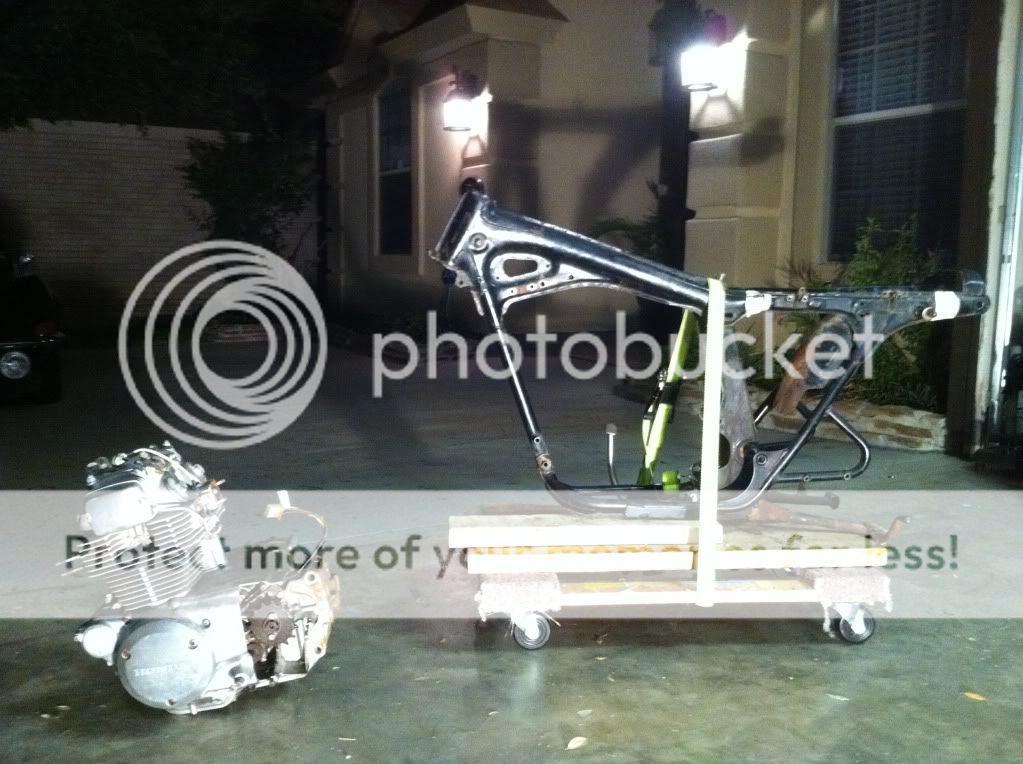
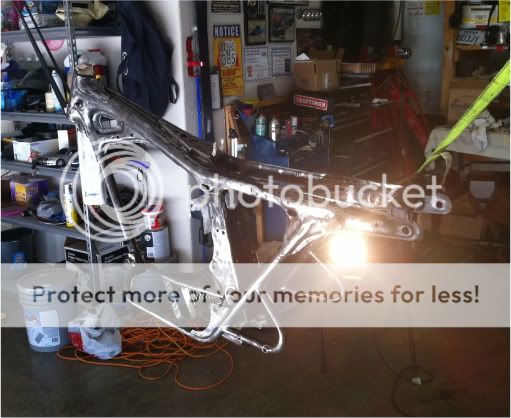
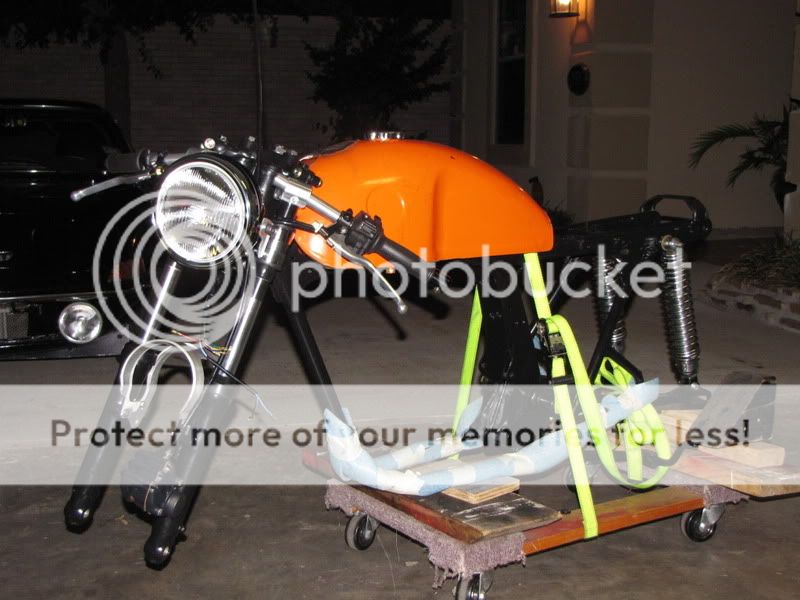
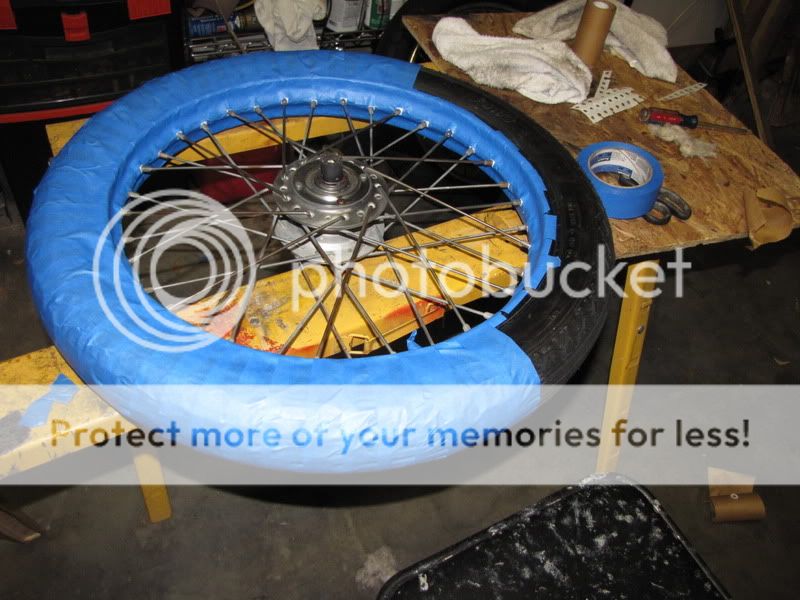
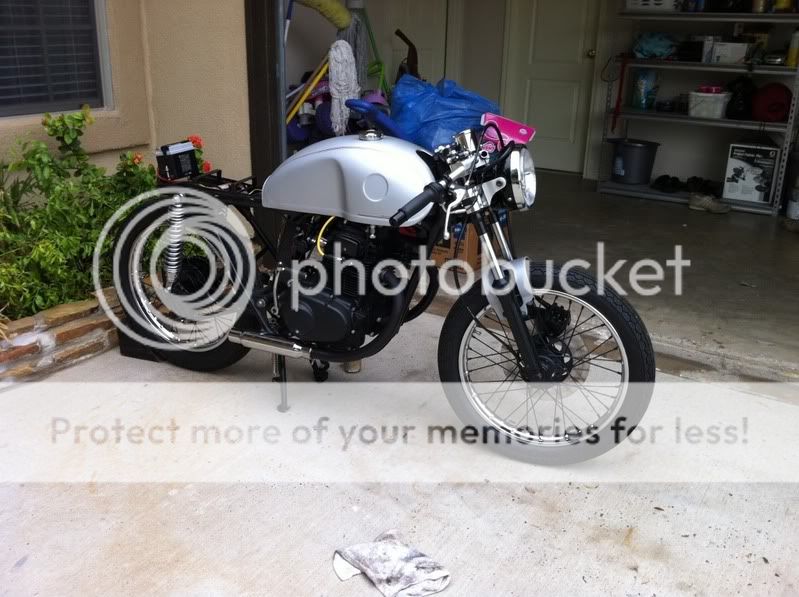
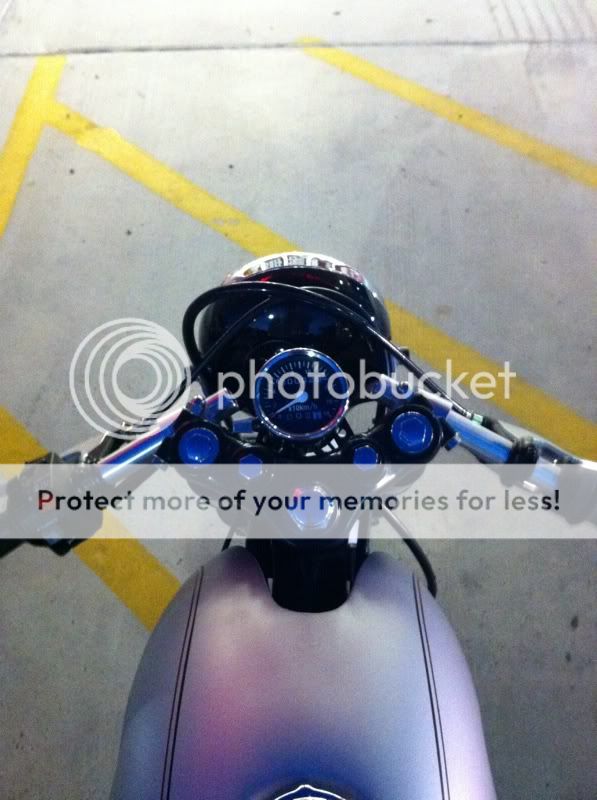
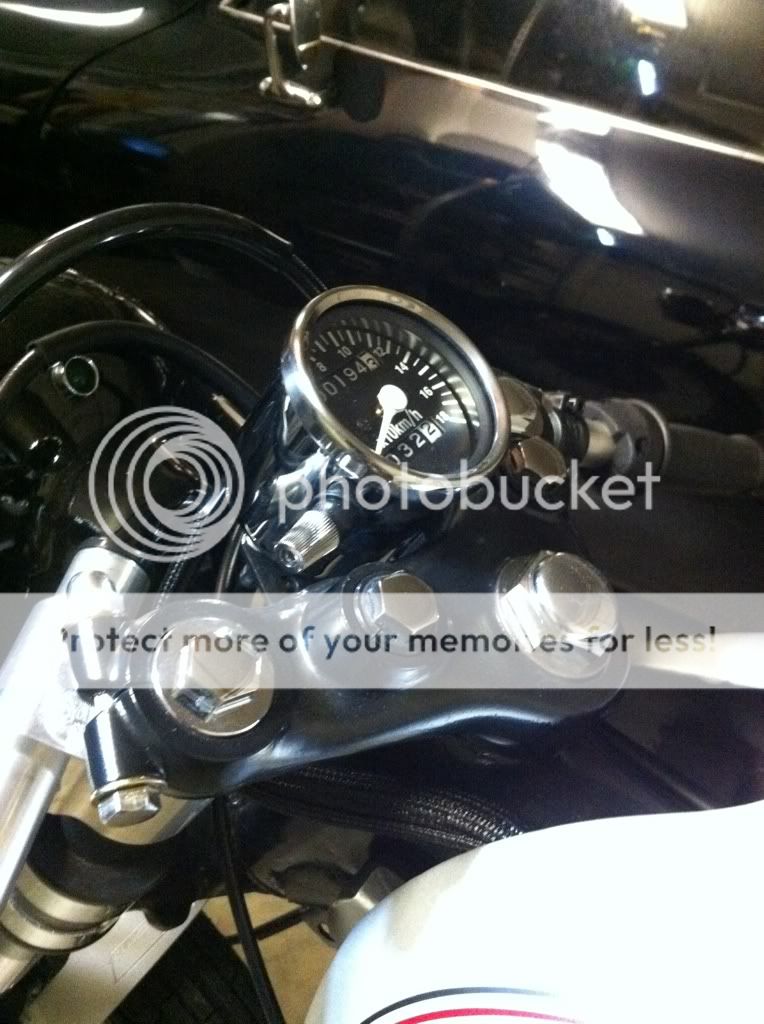
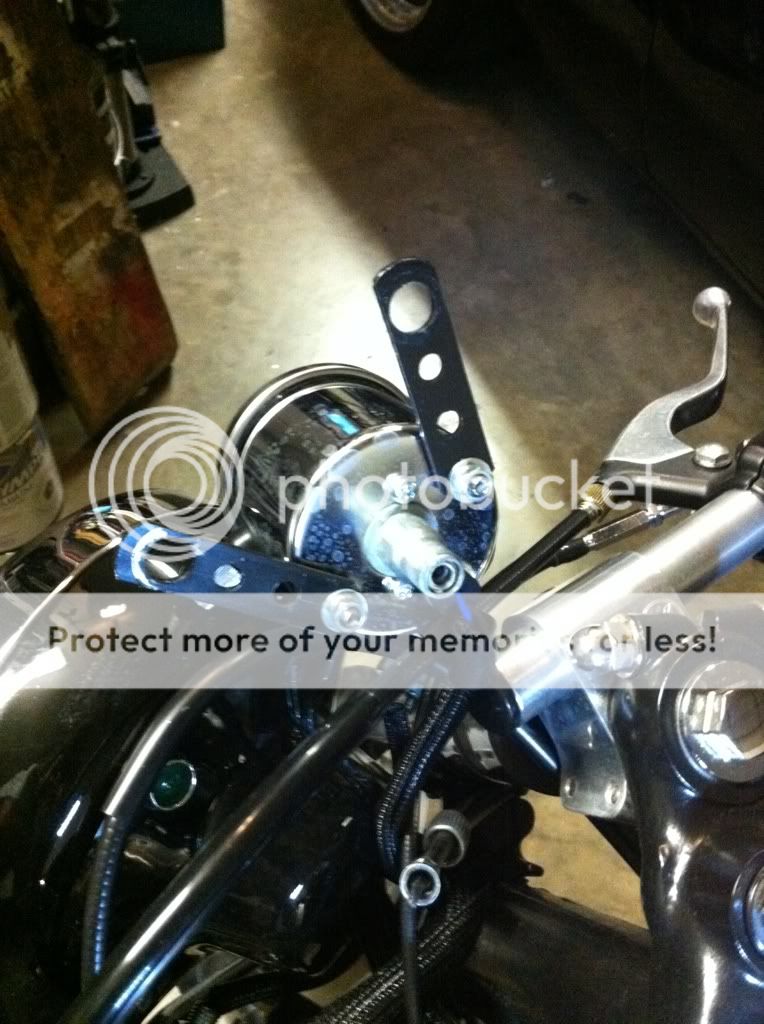
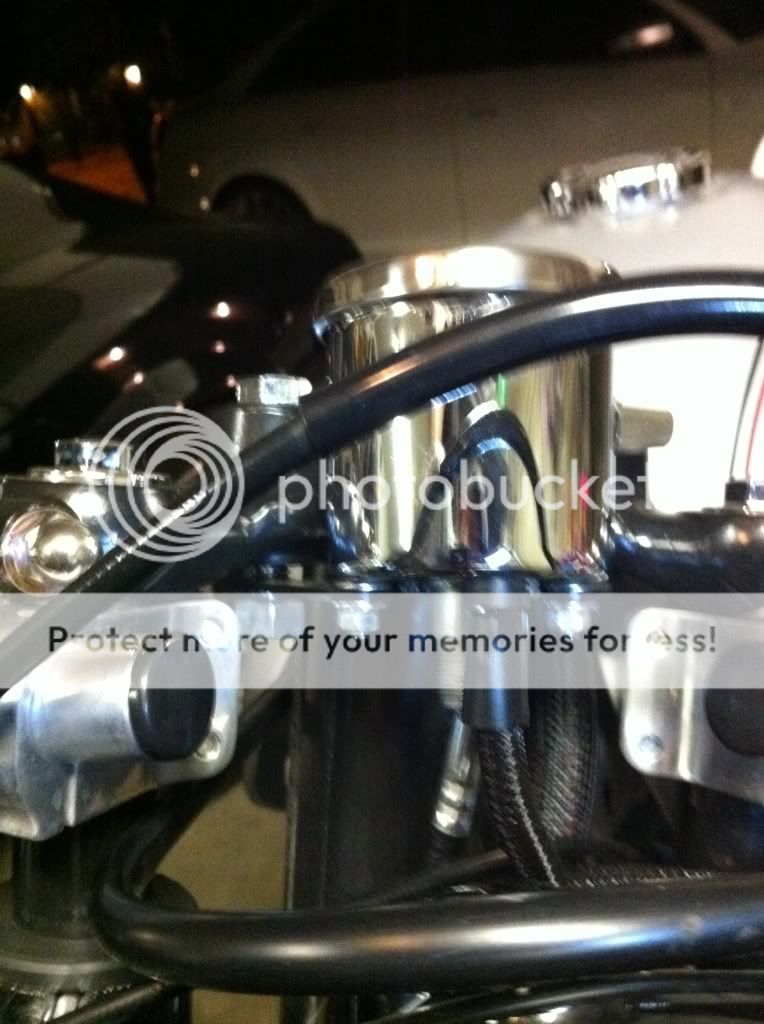
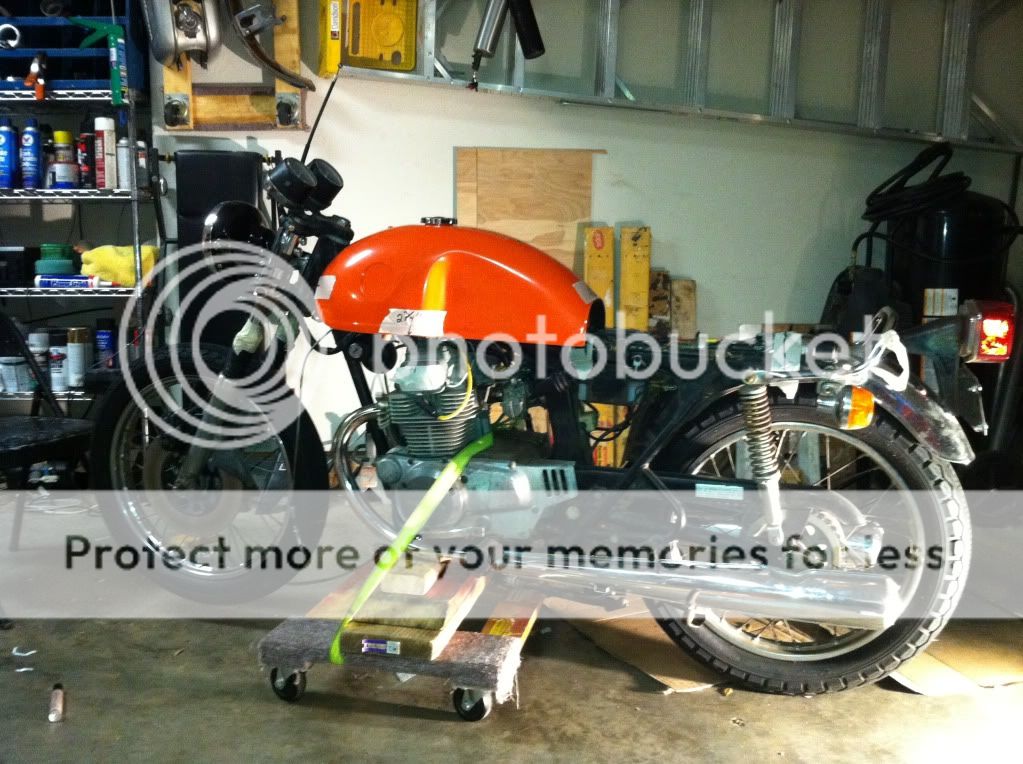
The last couple of weeks I have been ordering parts and planning my build. This past Monday I officially started to build the café racer… I tore the front end down and mocked up the Tank, Clip Ons an new headlight. The benelli tank is not mounted yet, that’s the next step.
IMG_0357.jpg
 
Looks like a lot of fun.
Like the temp tank idea :eek:)

How is the riding lessons going?
Got a little restoration on the go, but I went from riding to learning how to fix a bike.

Do you have an idea of what you want the bike to look like at the end ?
 
Blue: Lessons? what lessons, more like self taught so far... but i got the hang of it real quick,. Especially once i asked how to get her in neutral... ha ha, I had no idea, I knew 1st was down, then the rest were up, but that was it. don't get too scared, I am signing up for some rider lessons soon so that I can get my license.

I have been researching(lurking) these forums, and several blogs and have come to decide on the following project plans:
  • · Satin Black Frame, all extra tabs removed, and factory welds smoothed out(grinder)
  • · mostly blacked out engine, shorty exhaust ending before or near the rear tire
  • · chrome outer wheels with black hub and spokes, classic looking tires
  • · Cafe style fiberglass seat , bennelli tank (colors to be determine)
  • · no rear fender, no front fender, Rear rock guard removed, rear fender converted to tire huger.
  • · clip ons, new levers and controls, no Honda control switches, bar end mirrors
  • · rear foot controls, near pass foot peg location
  • · mikuni carbs with unipod filters,
  • · gold/bronze color chain, no chain guard, “taller” sprocket gearing (for top end speed)
  • · smaller sealed battery and electronics relocated hidden under seat
Nothing is set in stone, but i already ordered a lot of parts and paints with these design parameters.
 
  • Update:

    Yesterday, I fabbed up the front tank mounts, I used the Old CB200T tank brackets and some 1.5”x1.5” Square tubing I had on hand. I liked how it tuned out, except my little non gas welder makes some ugly looking welds.I plan to clean these up a bit and finish the rear bracket next week.
    Mar031.jpg


    Since it got dark outside and could not make too much noise(cutting and grinding), I decided to start disassembly. and a couple of hours later (1:00 AM), I was done!!!

    IMG_0367.jpg


    I did how ever have two issues I could not figure out.
    The bottom bearing race from the Steering stem… How in the world do you remove it. The manual I have says to use a chisel. I started to but would only bend the thin washer like material that's at the bottom of the stem… Need to do some research.

    And the second issue… I could not remove the center kick stand “bolt”. The brake pedal seems to be fused to the “bolt”. I tried heat, wd-40 and a hammer, to no avail. I’m sure there’s a trick, If not I plan to use the grinder to cut out the pedal since I’m not re-using it.
 
Update:

I made progress on the Frame, and the Tank….

On the tank I finished the rear bracket, I used the stock bracket that holds the Tank rubber mount and fabed up a cross member to the tank.

Honda005.jpg


On the Frame…. I took off all the tabs that did not plan to reuse, also took off the rear rock guard. I then ground and smoothed out allot of the factory welds. I also took a wire wheel to all the frame and striped it down to bare metal.

IMG_0393-1.jpg


I then applied the paint. I used Eastwood’s extreme chassis paint in a Satin Black, I have used this companies paints in the past, and have liked the results and the durability of this paint. BTW Satin black is hard to photograph. This pick showed the frame hanging to dry the second coat I had just laid down 15 minutes before.
Honda017.jpg


Plan to work on the Rear swing arm and front forks this week.
 
  • Update:

    I have been making progress, just haven’t been updating this post.

    In the Last Couple of weeks, I have been busy working on the Front end and Rear end of the Bike. New steering stem bearings, rebuilt the forks, Re-painted the Front Brake, installed a fork brace instead of the fender. In the rear new bushings and NOS aftermarket shocks were installed along the rear swing arm.


    May005.jpg


    Also installed the 31mm Clip-ons I got from Rick at Perrault Performance, along control levers, switches and throttle tube. The new 6" headlight is mounted with NOS Tomasselli headlight ears.


    May002.jpg


    I also got the Front wheel centers and spokes taped an Painted, but ran out of paint for the rear.
    On the agenda this next few weeks, Mount Painted Wheels, Install Fiberglass Seat, Clean and Paint Engine, and make a decision on paint color for tank and seat.

 
Im afraid i hadn't updated this in a while, but the truth is that to me, it is more fun to work in the garage than to work behind a computer.... with thant being said... here is my update... ALMOST DONE!!!

I only have a couple of tasks left to be 100% like, the rear sets a bit, Paint the Rear shocks... and also I need to take a bunch of quality Pictures.

For now here are some phone pics

Finally decided on the Color, BMW Platinum silver with a matte finish.

IMG_0487.jpg


IMG_0492.jpg


IMG_0497.jpg


Here is the Latest Pic of her last Friday. Already put on her 170 km (in short trips with no rear brakes)

IMG_0594.jpg
 
Nice job on this bike! I am interested in learning more about how you use the "bottle" fuel tank. Whats the mileage range and do you have to remove the tank every time to add fuel? How much does it hold? Any plans for changing that setup?
 
That was a temporary set up. When i first did the mechanical resto, I needed a way to be able to ride, so I used a 25oz Aluminum drinking water bottle, just made a hole and put a brass fitting on the bottom with a couple of orings, this took a couple of tries until i got a leak proof setup. then an inline petcock, and the straight to the carbs via a "T" Fitting. I also drilled a tiny vent hole on the top, and changed the bottle cap o-ring to one that was fuel resistant. This set up had about 9-10 mile range, But I carried a extra bottle and funnel to refill on the road if necessary. ( and it was necessary several times) I ran this set up for about a month and a half (100 Miles).

The Original gas tank was beyond repair, so I gutted out the bottom of it. The shell did have to be removed every time I needed to refill it, but I had the shell just held in place not bolted down so it was pretty easy. You had to kneel down and look under the tank to be able to tell that the set up was there.
 
So what are you running it with now? Did you repair the tank? Sorry if I missed it in the thread.
 
I'm running a Bennelli tank I got from e-bay. I still have the CB200 Tank shell which I plan to make into piece of gear head "Art" for my garage wall.
 
great tank and seat combo! are you able to show how you mounted the speedo central like that?
is it a custom bracket bolted to the triples?
 
VBroom,
It’s a simple set up, using the mounting holes were the handle bar risers were. The top of the triple trees had the original Speedo/Tach mounting tabs removed. Then using a 7/16 x 2” bolt, through the holes and bushings for the risers, I attached two simple straight strips of steel to the mini speedo.
Here are some pics:
2d923e70.jpg

d264d31e.jpg

1ba2b0fe.jpg

9775f2e2.jpg
 
Back
Top Bottom