Understated big arse

Herm21

Been Around the Block
I recently came across a rare find and after years of owning various scoots (always Hondas), and drooling over some of the custom jobs i've seen out there I decided to finally commit to taking on my first project! I am by no means a bike builder, and in fact after picking up my prize CB450 the second thing I did was invest in about $500 worth of tools to get this started.

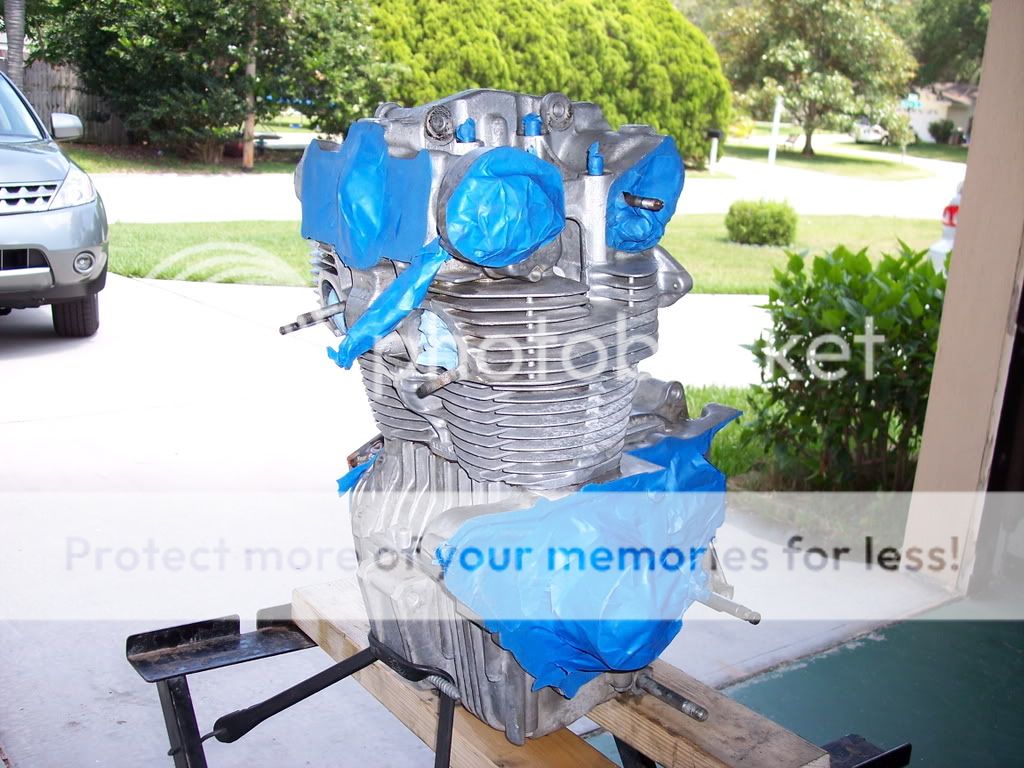
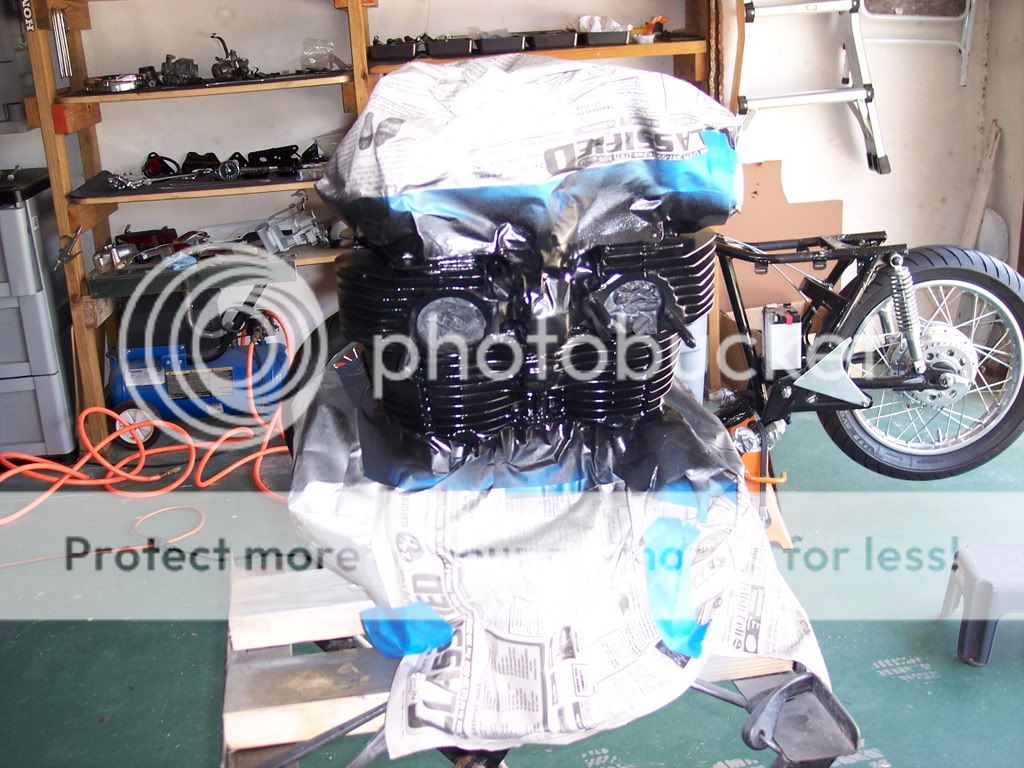
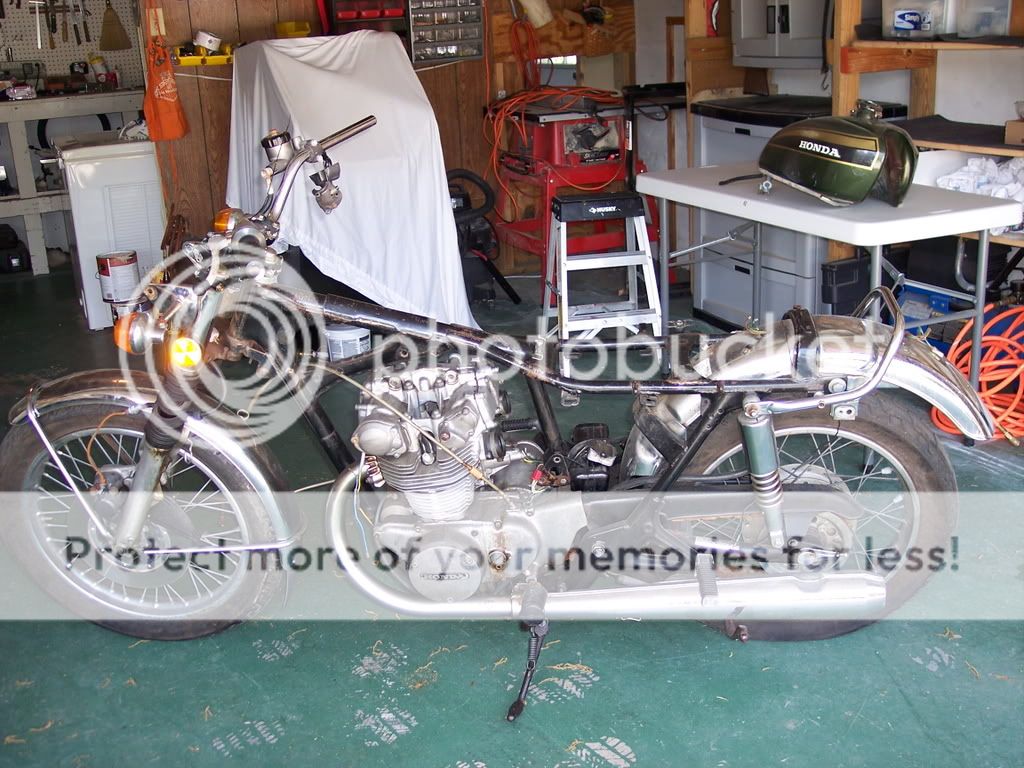
Here’s what she looked like after a little tear down: ..overall not in bad shape (11k miles on the speedo)

100_5200.jpg


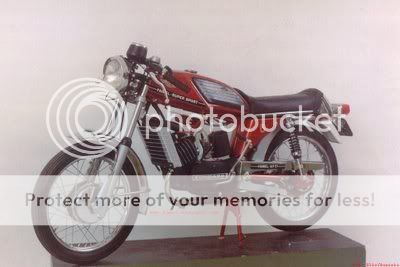
I’ve never owned a café bike, except for a 50cc Zundapp Famel XF17 during a stint in Europe back in the 80’s, it’s exactly like this one here, except mine is actually still tucked away in my grandfathers barn where i left her.
FamelXf17.jpg


Those bikes were light, quick and could turn onto a dirt road like it was asphalt. So that’s what I’m going after with this project, light, low, and fast! Although to get real light I’d have to lose lots of the oem parts and ultimately lose the classic café look and feel, so for the time being I’m focusing on low and fast! I plan on dropping her about 3 inches, and to compensate for the weight issue I’ll try for more power by overboring. ...although I won’t know to what size till I find some pistons.

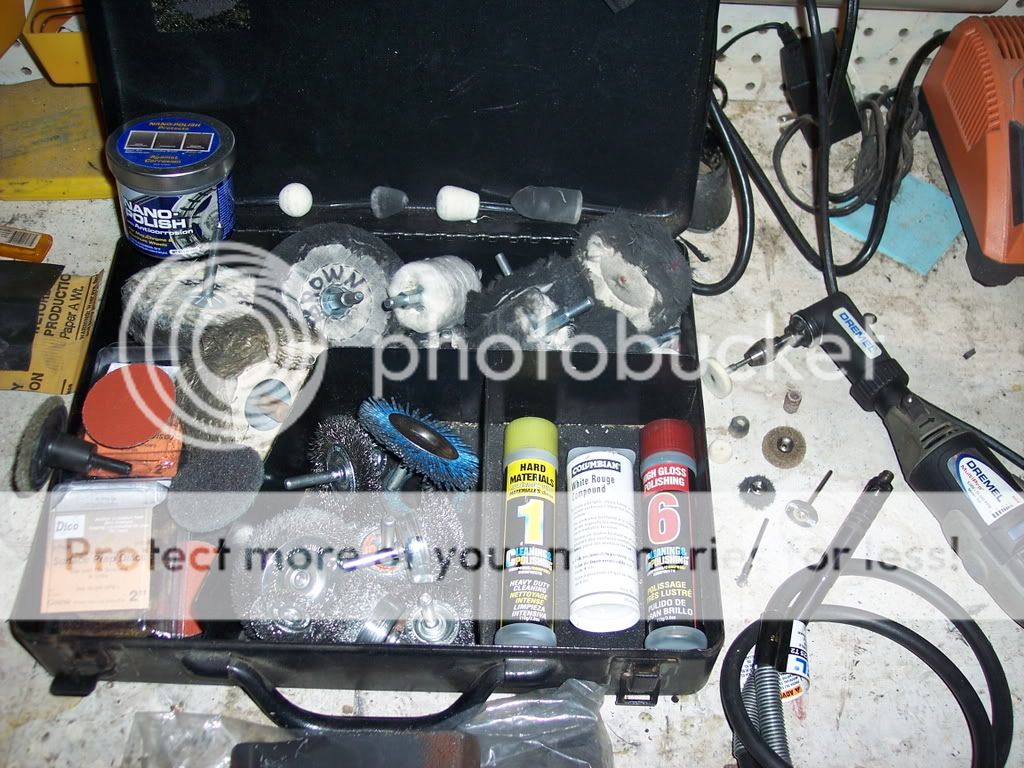
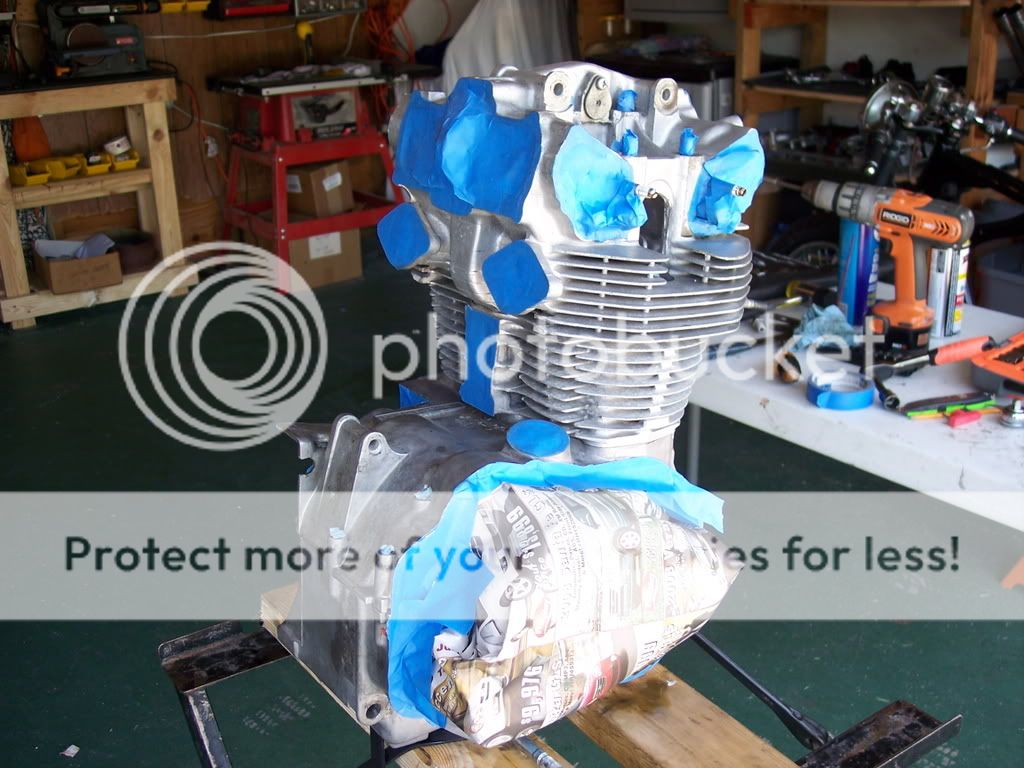
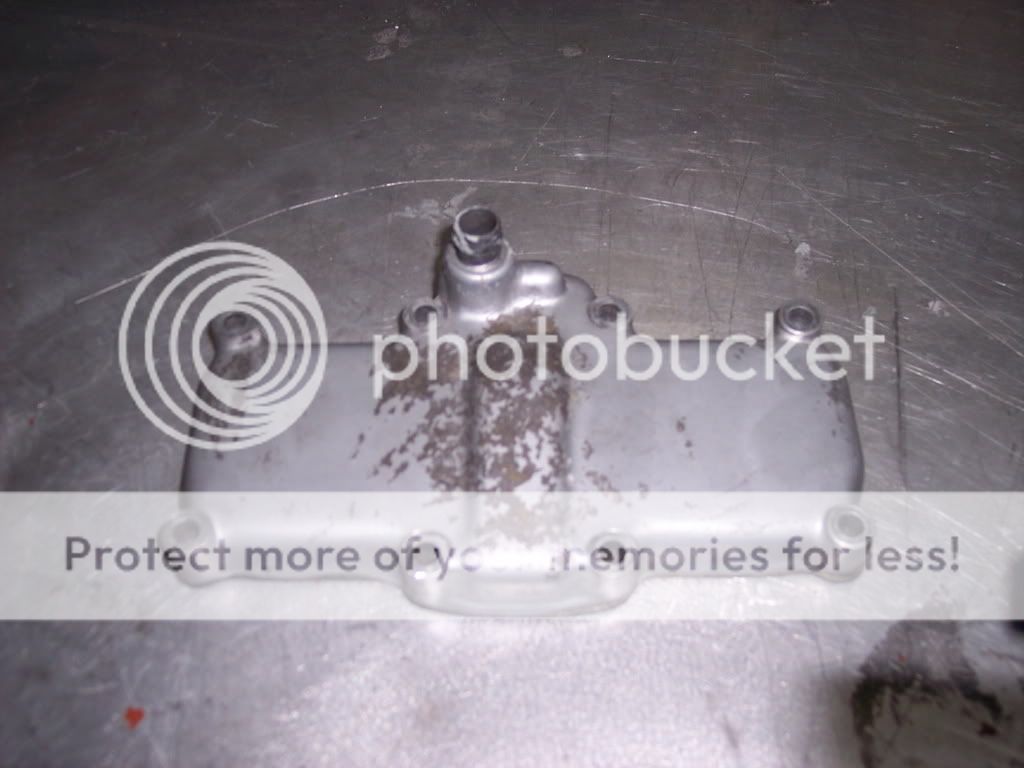
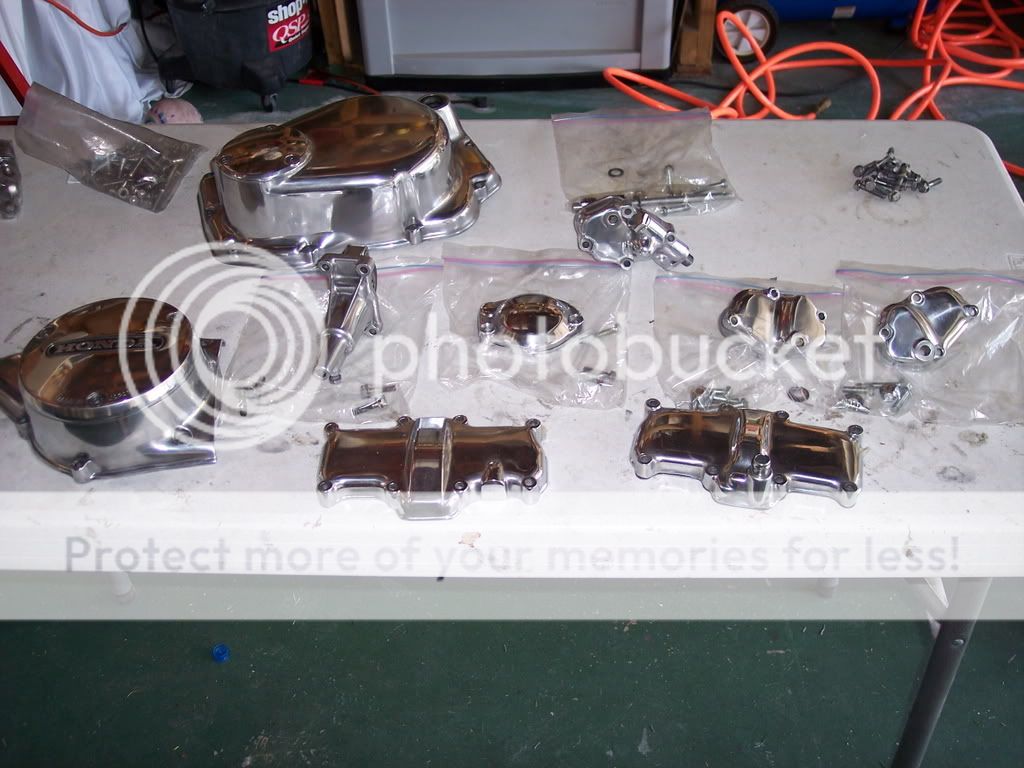
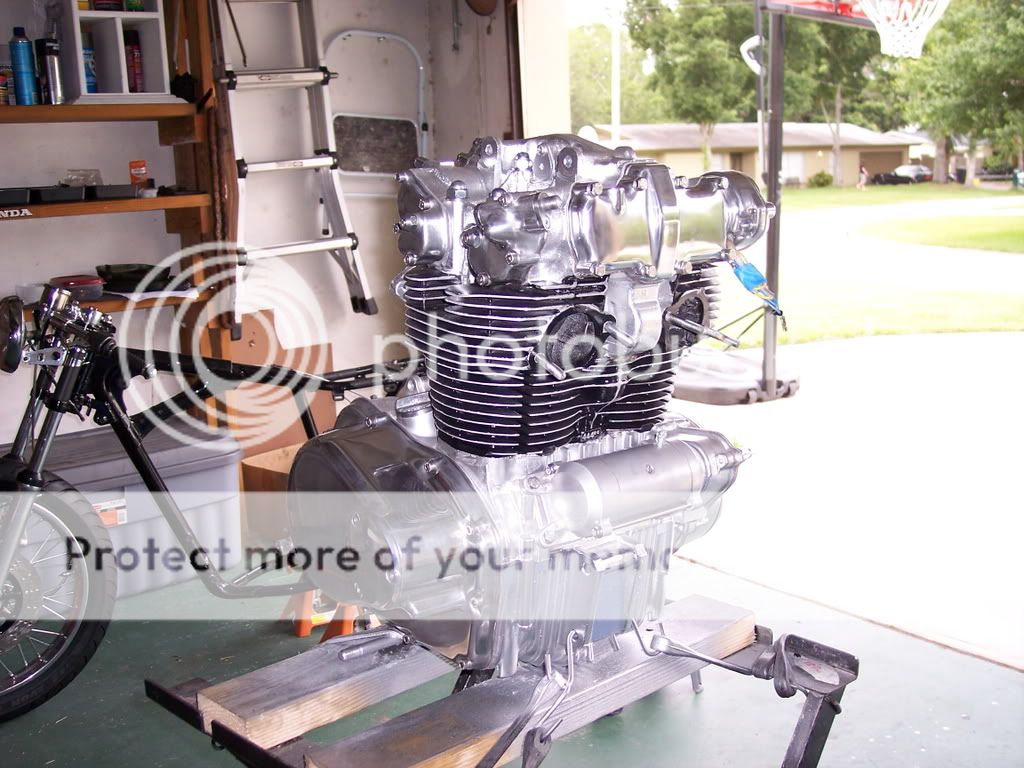
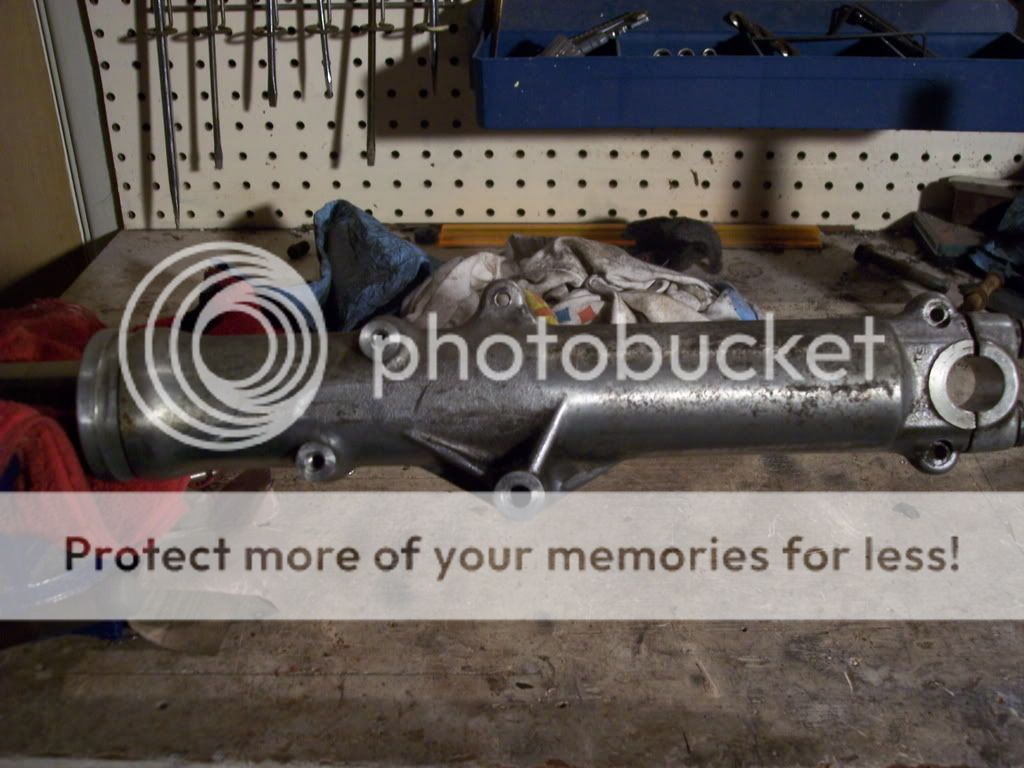
I've already dropped the engine at a buddies shop to break down while i look for the parts and dropped off the frame and other misc parts to be blasted and powder coated. In the meantime I’ve accidentally taken up the hobby of polishing!!! I started with the forks which looked like this:
100_5249.jpg


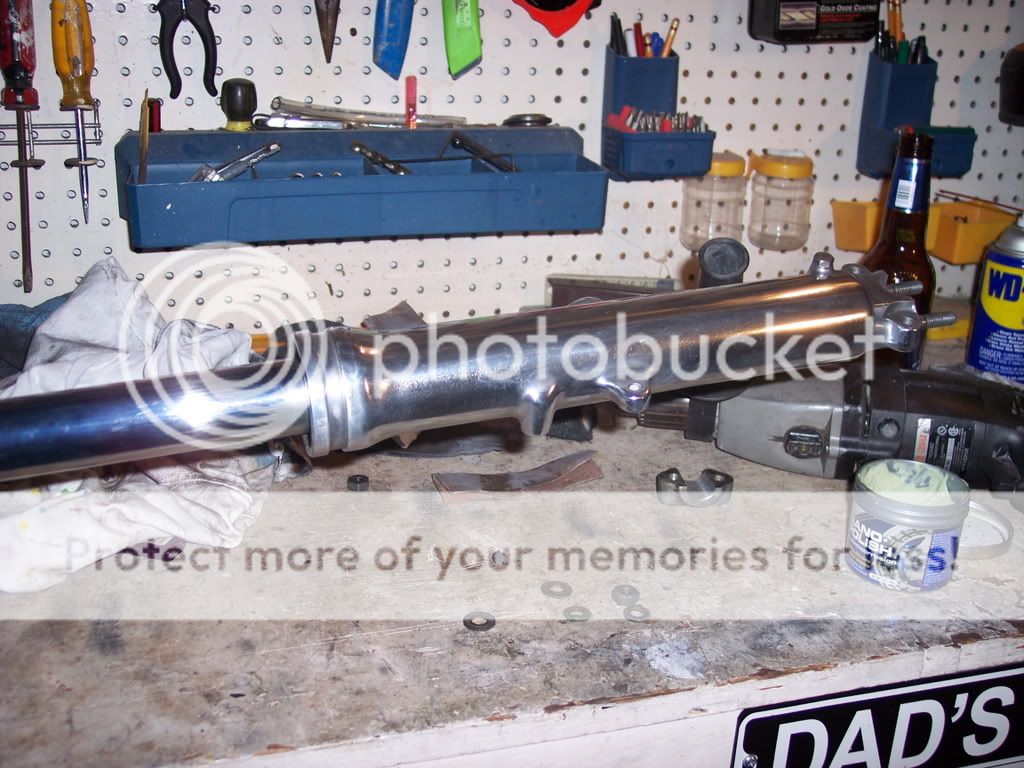
And after using a 15 year old porter cable 3500rpm electric drill, a wire wheel, sandpaper, some buffing wheels, and a few beers, it ended up like this:
100_5251.jpg


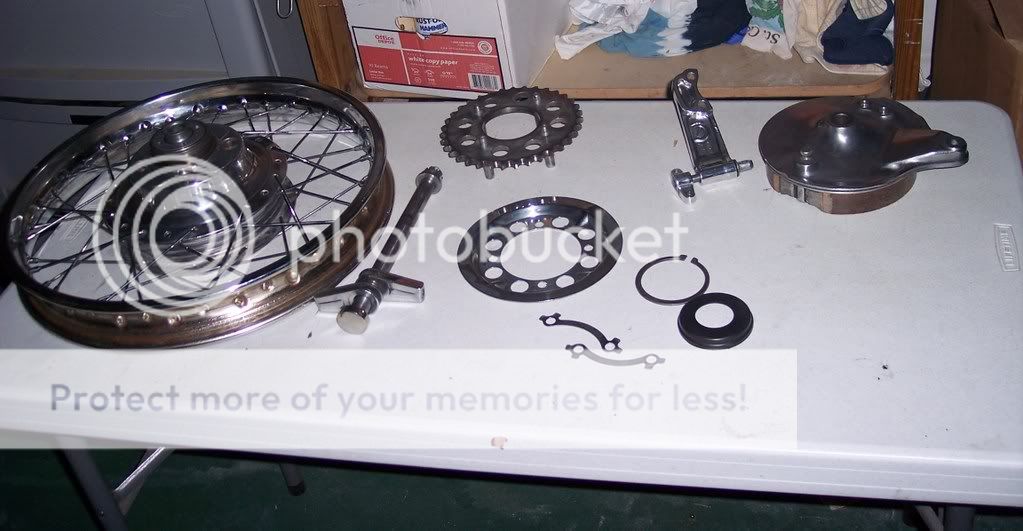
Not perfect, but it was close. I tried the rear wheel and a few other parts but quickly learned this was tedious, dirty, and hazardous to your ears! Tedious because the few parts below took about 20 hours! Dirty because there is the appearance of permanent mascara on my eyes lids from the aluminum dust, (the stuff is impossible to get off!) And apparently the hours of the same constant frequency from the ringing of the drill tends to leave the ears with an annoying “sensitivity” which doesn’t go away. Nevertheless, I'm pretty satisfied with the result.
100_5246-2.jpg


I have a few more parts and the front wheel to do, but am now using goggles, a mask, ear phones hooked up to my iPod, and on top of those I have a good pair of padded ear protection. ..live and learn I guess!

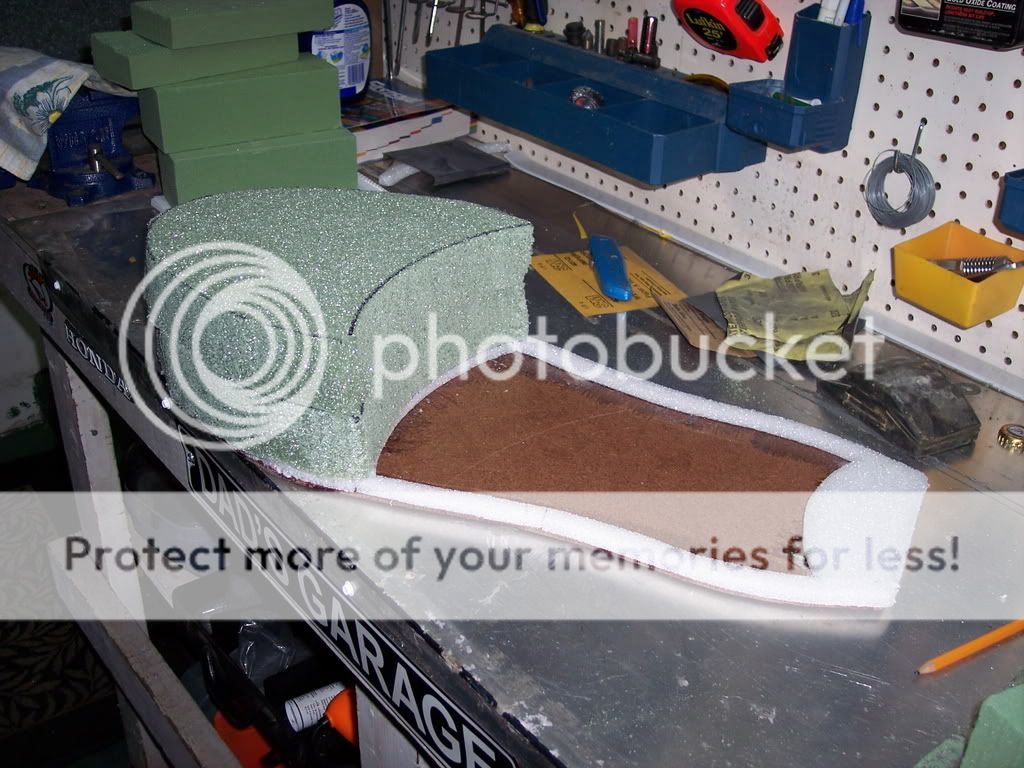
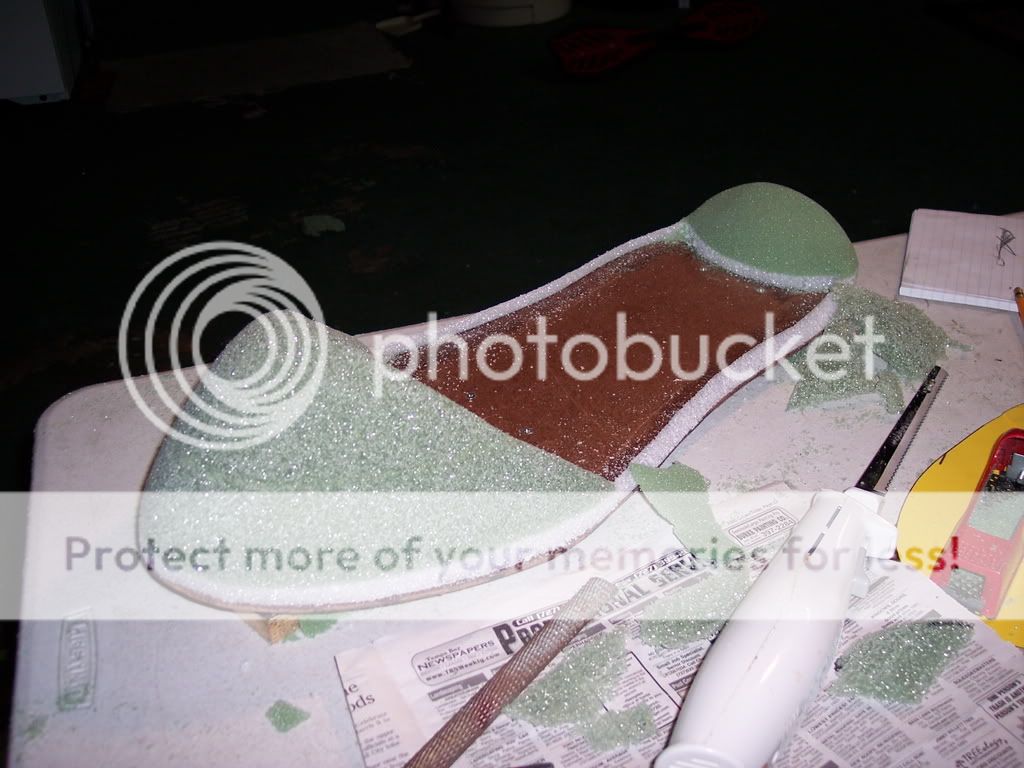
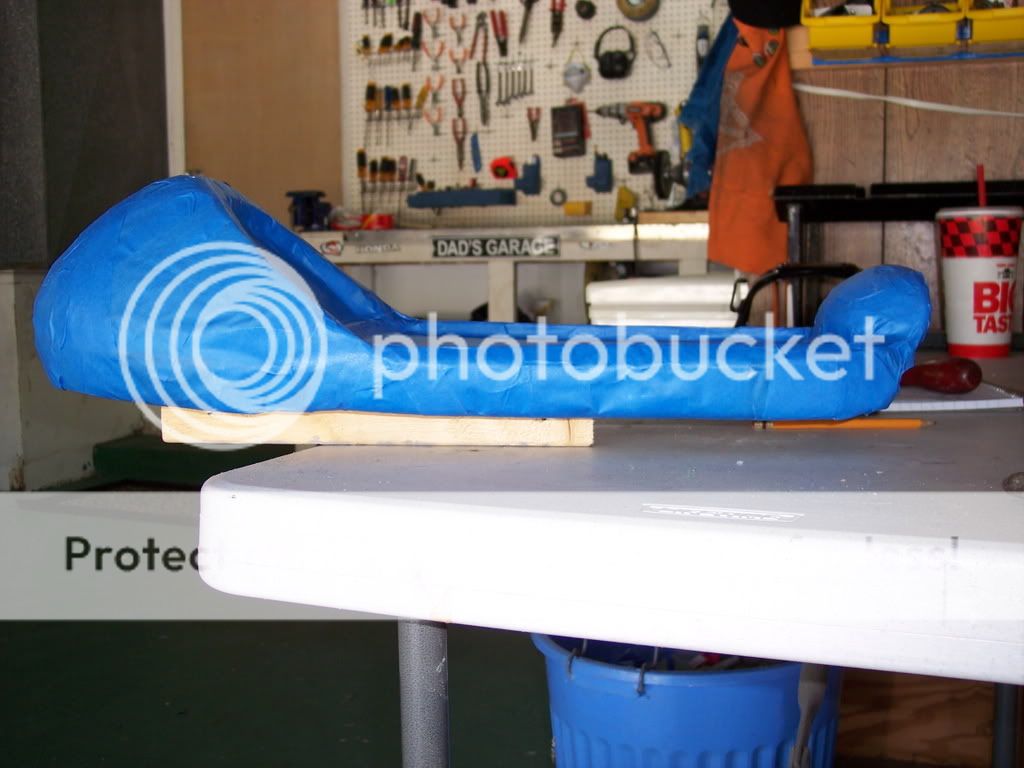
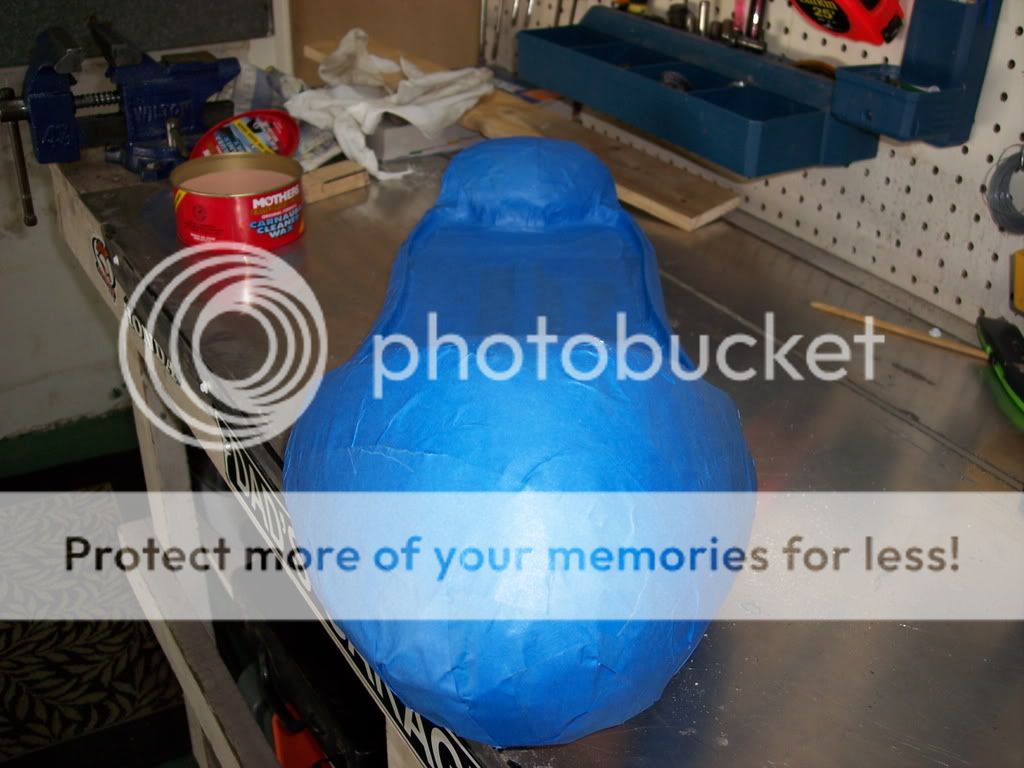
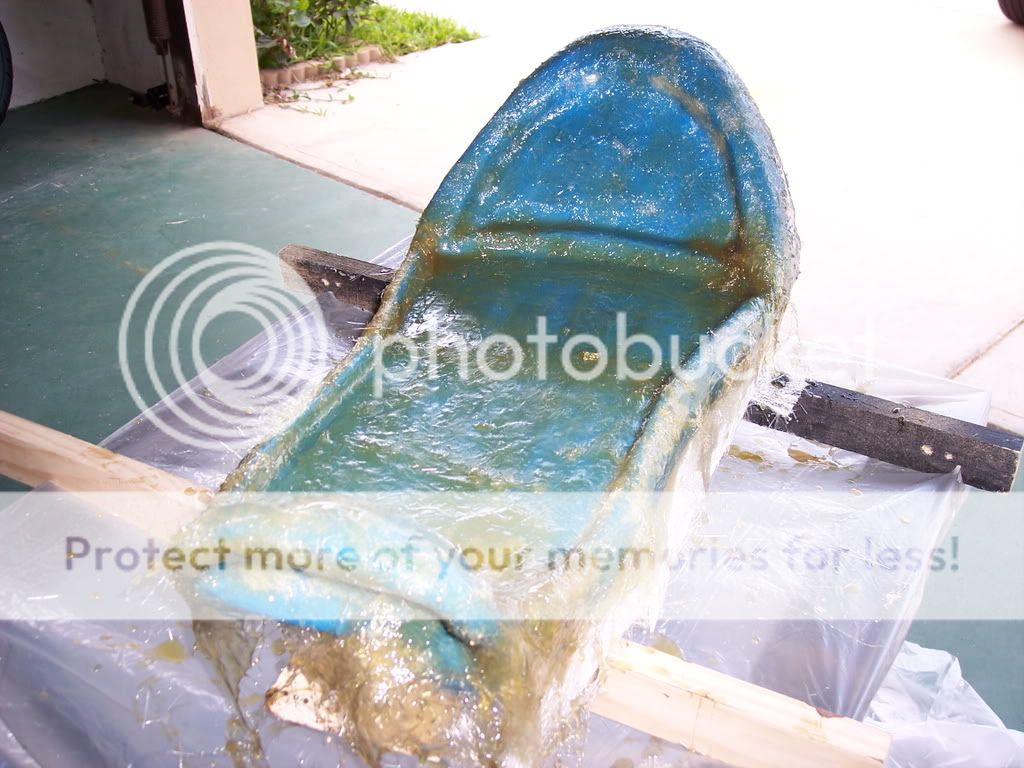
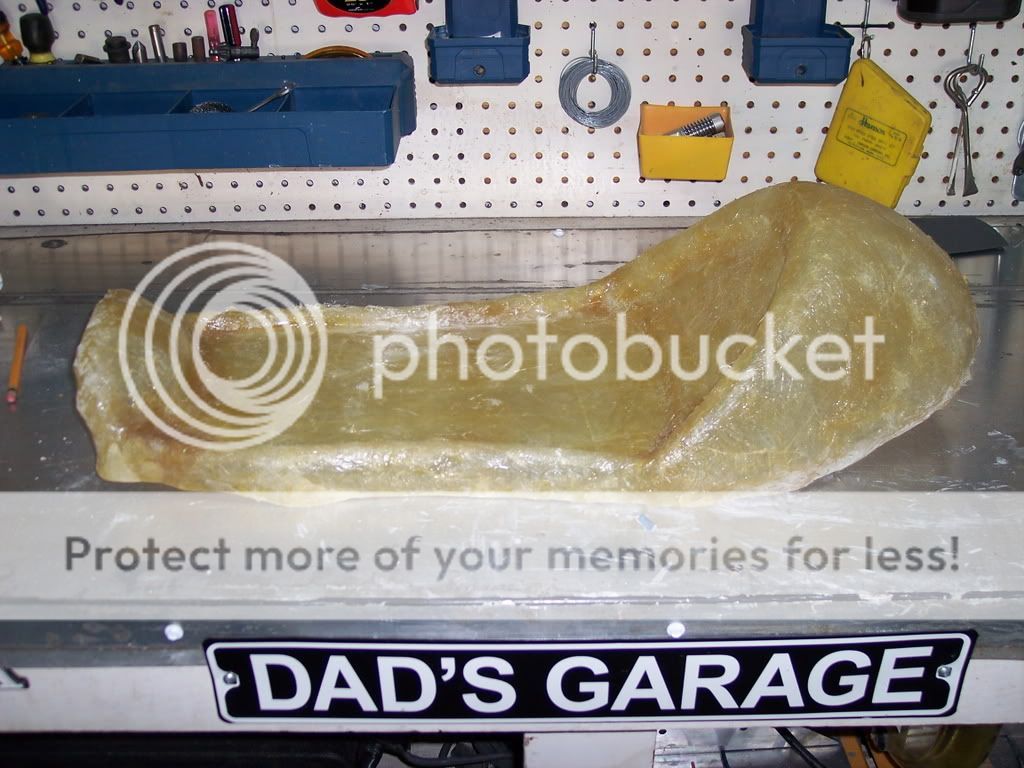
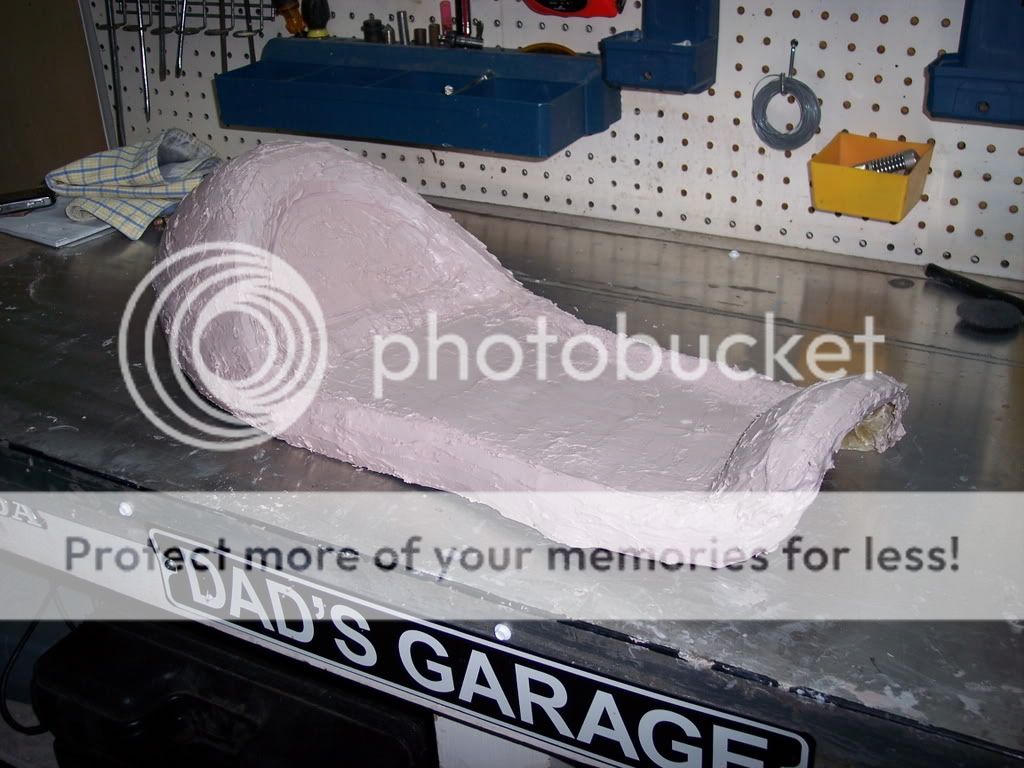
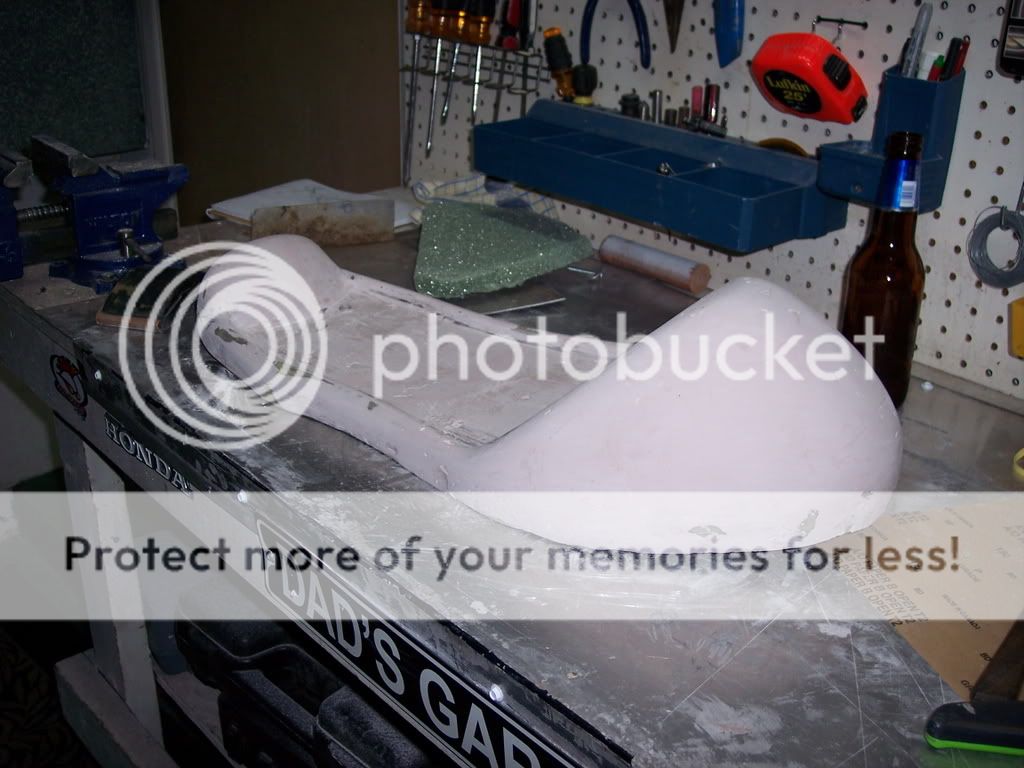
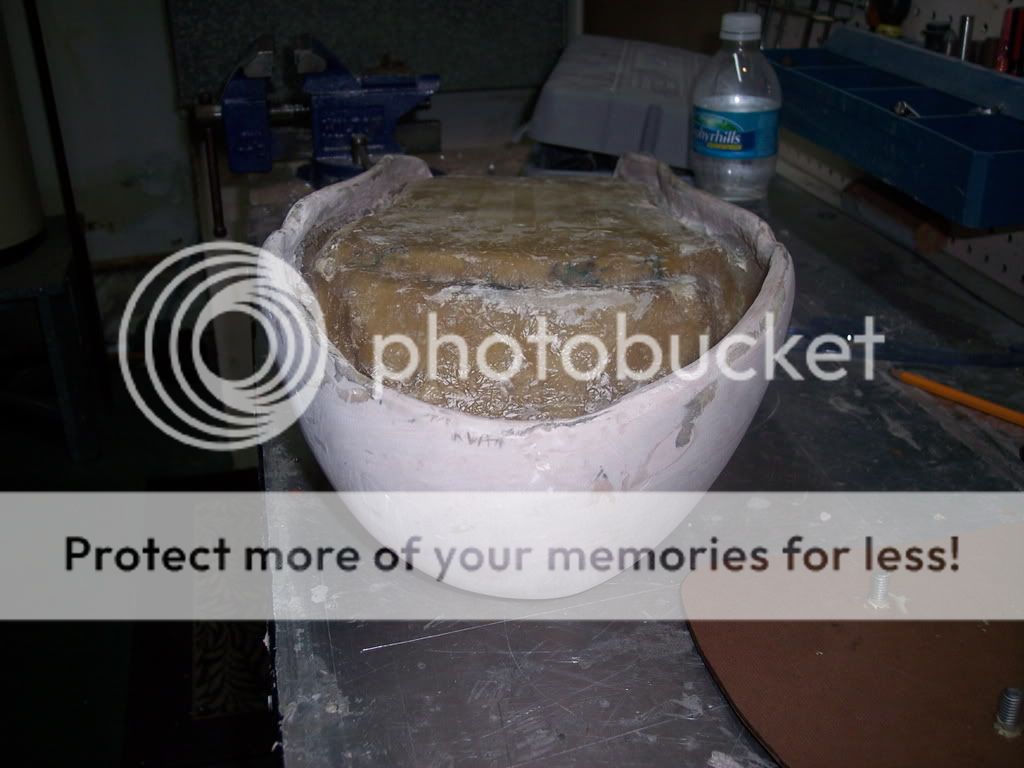
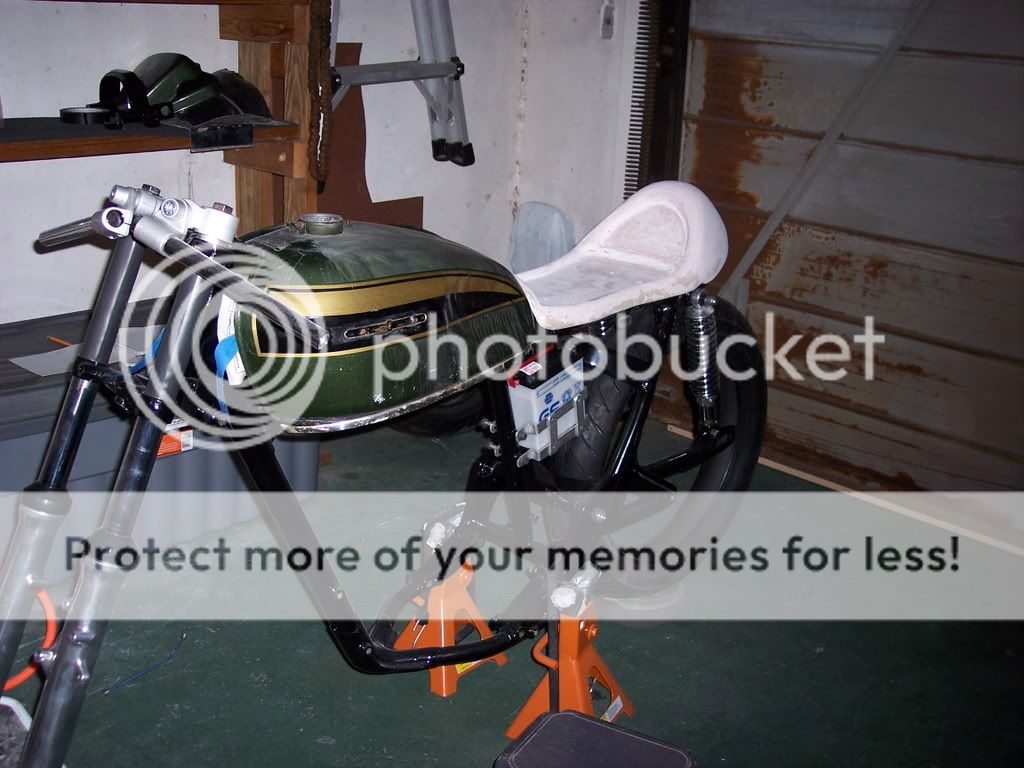
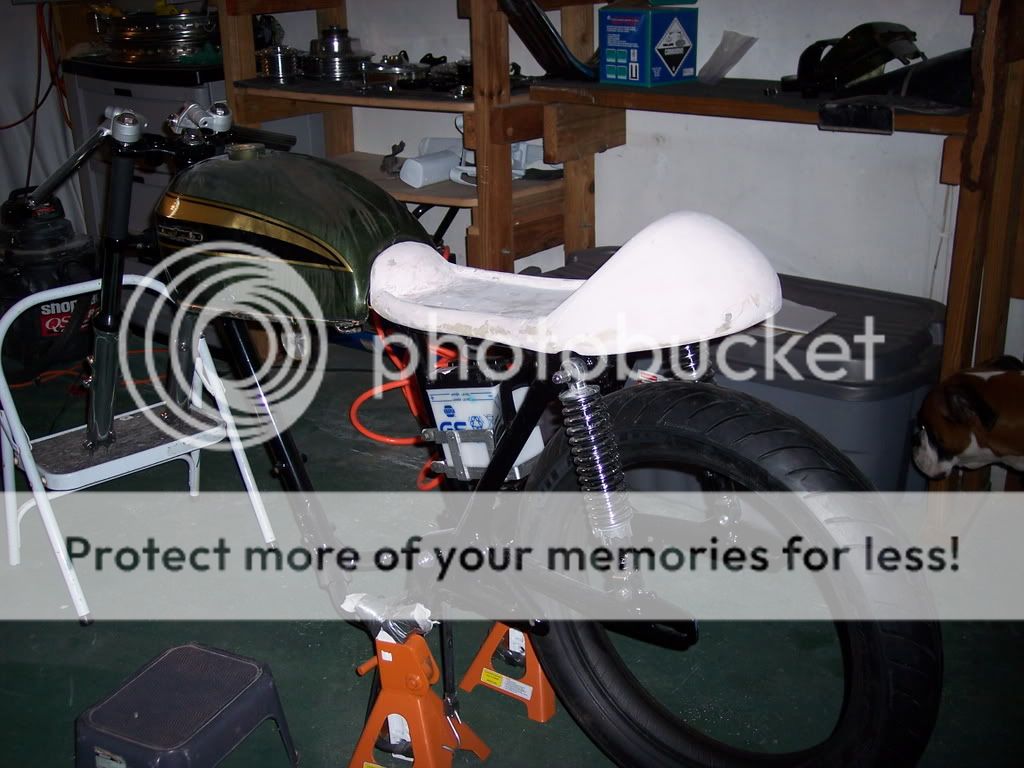
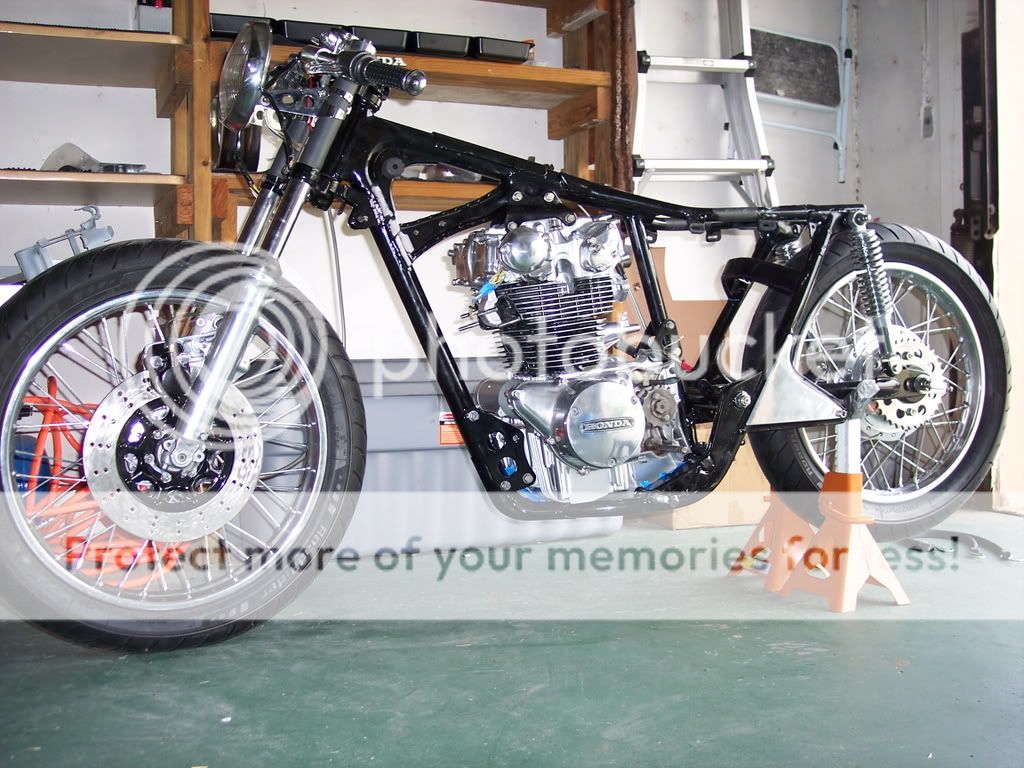
I plan on having a rolling chassis in about a week (hopefully), then I can begin the seat and tank mock-ups...got an idea for the color of the tins and design of the tank, but the seat is still in the air, what's holding me up is whether to do solo or dual, i'll post my progress as i go but in the meantime if anyone has any suggestions on where I could find oversized pistons and new cam parts I'd be grateful, they're proving harder to find than anticipated. Cheers, Herm
 
Hey, welcome to the site! Nice little project you got going there. For polishing, you gotta give up on that drill. Get a cheaper (not cheapest) bench grinder and pick up some buffing wheels and compound for it. It's SOOO much quieter and you can clamp it to the table. I have a 6 inch grinder with 6 and 8 inch wheels and the 8 inch ones actually work better and are harder to stop. Polishing is tedious and dirty, but its addictive. You'll find yourself making parts out of aluminum just so you can polish them. Keep up the good work!

Rudy
 
I think Rudy is half right - Skip the drill and use a buffing wheel on a grinder (or mounted on almost any electric motor - I posted some pics of my home made creation)

I'm not sure that polishing becomes addictive. The more I polish, the more of a flat black rattle can guy I become.

Infact I decided all the sanding required to paint my bike was too much work so I wrapped it in fabric instead....
 
rudy said:
Hey, welcome to the site! Nice little project you got going there. For polishing, you gotta give up on that drill. Get a cheaper (not cheapest) bench grinder and pick up some buffing wheels and compound for it. It's SOOO much quieter and you can clamp it to the table. I have a 6 inch grinder with 6 and 8 inch wheels and the 8 inch ones actually work better and are harder to stop. Polishing is tedious and dirty, but its addictive. You'll find yourself making parts out of aluminum just so you can polish them. Keep up the good work!

Rudy

Addicted..ha! it's more like astonishment that I could actually take something that looks like crap and turn it into bling, then seeing it sooo shiny you just want more and more bling...ok so maybe it's an early form of addiction ;) !! Thanks for the advise on the bench grinder, picked up a 6" model on the way home today and will be giving that a try on the remaining parts!
 
Follow Rudy's suggestion and get some compound. Theres white and red. Each with a specific purpose. I can't remember if it's start/finish or ferrous/non-ferrous. Using the right one at the right time helps amkea better job. A little trip into the machinists handbook should tell you if you have a copy. Likely the Net can shed light on that too.

Also I think using Mothers mag and aluminum polish as a final step gives a very good result.
 
Herm21 said:
Addicted..ha! it's more like astonishment that I could actually take something that looks like crap and turn it into bling, then seeing it sooo shiny you just want more and more bling...ok so maybe it's an early form of addiction ;) !! Thanks for the advise on the bench grinder, picked up a 6" model on the way home today and will be giving that a try on the remaining parts!

LOL, I know what you mean. I love polishing metal, especially aluminum. It looks so much better than chrome. More of a natural warm kind of shine. Chrome to me always seems cold in comparison. Then add on that you actually done it yourself and the feeling is great. I used to polish by hand and a dremal, but recently picked up a bench grinder, wheel and polishing compound. Makes it a lot easier.
 
zixxerboy said:
Follow Rudy's suggestion and get some compound. Theres white and red. Each with a specific purpose. I can't remember if it's start/finish or ferrous/non-ferrous. Using the right one at the right time helps amkea better job. A little trip into the machinists handbook should tell you if you have a copy. Likely the Net can shed light on that too.

Also I think using Mothers mag and aluminum polish as a final step gives a very good result.

I start with the black compound (coarsest) with an abrasive wheel (the yellow ones). This strips through anything in no time and leaves a pretty nice clean finish. You can still see the small scratches and "grain" left by it though. So, I finish off with a quick run through with white diamond compound and a nice clean soft white wheel. I've used the liquid Mother's polish too with great results, but it's expensive compared to the bars of compound, and the liquid stuff makes a HUGE mess with higher speed polishing. As if polishing with bar compounds wasn't dirty enough. :p
 
Great job so far!!

Just a few hints general about buffing... I buff a LOT of gold, silver & brass in my antique shop... oddly I have never buffed a part for any of my bikes  :D

Mechanic's gloves are great for protection from the heat and the wheel. They allow much more dexterity than $3 work gloves

Wash the parts after with hot soapy water to get rid of the compound left on the metal... it will make a difference. And while tedious... try to wash your parts between compounds so you don't get coarse grit onto your fine wheel... your finished product will be better for it. Also don't mix compounds on one wheel... your end up with a courser job than your finest compound would do.

Wear a dust mask at minimum, preferably a good respirator... think about how dirty your face gets and think of that crap in your lungs.... I smoke and I won't buff without a mask.
 
rawfish said:
after seeing your polishing I tackled some of my parts and it's coming out pretty nice.

Yeah and I’m convinced that no mater how crappy a piece looks if you're patient enough and take your time it always turns out looking great…I found these steps to work very well....

Start with a wire wheel to remove any paint or rust from the metals, if you have to use a coarse wire wheel, follow it up with a fine wheel before moving to sandpaper. I use 400, then 600, then I use a compound wheel with yellow compound (occasionally hitting it again with 600 if any rough spots remain) then move to a clean buffing wheel using red or white rouge compound, and finally apply a good polishing sealer by hand, Nano Polish really gives off a nice finish...it’s definitely a tedious process so set aside a few hours for each part, grab a six pack and be patient!

BTW- i do like the bench grinder for small pieces, but for wheels and bigger parts the drill with a good assortment of attachments wins hands down, it just so much easier to maneuver and angle as needed...and for difficult crevices there's a ton of different attachments for the Dremel that work great!!


100_5284.jpg
 
zixxerboy said:
I think Rudy is half right - Skip the drill and use a buffing wheel on a grinder (or mounted on almost any electric motor - I posted some pics of my home made creation)

I'm not sure that polishing becomes addictive. The more I polish, the more of a flat black rattle can guy I become.

Infact I decided all the sanding required to paint my bike was too much work so I wrapped it in fabric instead....

Was Dolly Parton playing in the background ? ( Coat of many colours ) ;D
 
So I spent the last month or so mostly data mining cause as I mentioned earlier this is my first rodeo and I really have no clue what I’m doing. ...after some reading on a couple of related topics, I decided I needed to dive in an did eventually manage to get a few things accomplished- including the seat.

This was my first go at anything remotely close to this but it actually came out lookin pretty sweet! :eek:


I first used the original pan for reference and cutout a template resembling something I liked.
100_5395.jpg


I then traced it onto an 1/8” piece of backer board and used a jigsaw to cut it out.
100_5430.jpg


Then I traced it again on a ¼” piece of Styrofoam, cut it, and then outlined the inside of the foam ½” in.
100_5431.jpg


This gave me a nice “rib” around the base, which I thought would look good hugging the seat cushion.
100_5432.jpg


I then stacked foam and started cutting and shaping….
100_5435.jpg


2hrs and a few brews later I ended up with a decent result which I then covered in painters tape and wax.
100_5436.jpg

100_5445.jpg


You can see I angled the ribbing pretty steeply so it’s easier on the legs and gives a nice edge…
100_5444.jpg


Then came the fiberglass!!! No matter how much you read about this stuff you never really get a feel for what it’s like working with it until you’re knee deep in it, and man was I...this part really sucked but it worked out ok.
100_5447.jpg

And the shell.
100_5451.jpg


Then the icing on the cake
100_5453.jpg


And lots of sanding got me this!
100_5457.jpg


But once I had the bottom edges trimmed I decided I wasn’t happy with them and had to do something. I’m not sure if you can see it this pic, but they’re pretty rounded now. I basically took some coated wire (maybe 14gauge) and hot glued it around the entire bottom of the seat and then wrapped the edges with another layer of fiber glass. Now it's nice and rounded and hard as hell!
100_5470.jpg


Here’s what it looks like on the bike; I think it'll look pretty good with that tank ...
100_5461.jpg

100_5460.jpg


Next I’ll make the seat cushions and figure out how to bolt it in….
 
that looks awesome man. i really like the raised edge to cover the gap at the rear of the tank, i'm glad i saw this before i glassed my seat.
 
Great job Herm. Love the idea of the raised lip for the cushion, that should look awesome. May have to borrow that idea for my next seat. The cushion should look awesome sunken into the seat that way. Keep posting pics of the progress.
 
tobiism said:
Great job! That'll look great. Got any detail shots of your battery box?

Thnx Tobi.
That battery box is work in progress and until I get the motor in I'm not even sure if I’ll use it, or if it'll be in that space. I put it together using some 3/4" by 1/8" aluminum flat bar I had lying around. I bent it on the vise with nothing more than a hammer and just used rivets to hold it together. Once I decide what to do with it I’ll post some better pics. -Herm
 
After 2 months of waiting I finally got my engine back this past Friday and immediately got to work on trying to make it presentable!

I started with a good degreasing and high pressure bath, then pulled off all the covers and taped it up to get ready for paint!
100_5574.jpg

100_5577.jpg

It was pretty gnarly!

I shot it all with Dupli-Color ceramic silver and once that was nice and dry I then taped up the lower and top end and shot the outer cylinders black.
100_5595.jpg


In the meantime while the paint was drying (between Saturday and Monday), I polished the hell out of the covers!
They all looked pretty much like this one:
100_5578.jpg


After 2 days of wire wheeling, sanding, more sanding, buffing, and more buffing, and then some very fine Dremel-ing, I ended up with lots of baaaaling!
100_5588.jpg

..for some reason polishing aluminum is not as much fun as I remember it to be when I first started this project :-\

Once all the black paint on the motor was nice and dry I took some 220 and sanded the fins down to the aluminum again.
100_5596.jpg

Paint and polishing is complete!!! Damn that was a seriously tedious weekend!!

But, I’m pretty happy with the results...and finally it's back in her comfort zone.
100_5601.jpg
 
Back
Top Bottom