Follow along with the video below to see how to install our site as a web app on your home screen.
Note: This feature currently requires accessing the site using the built-in Safari browser.
We noticed you are blocking ads. DO THE TON only works with community supporters. Most are active members of the site with small businesses. Please consider disabling your ad blocking tool and checking out the businesses that help keep our site up and free.
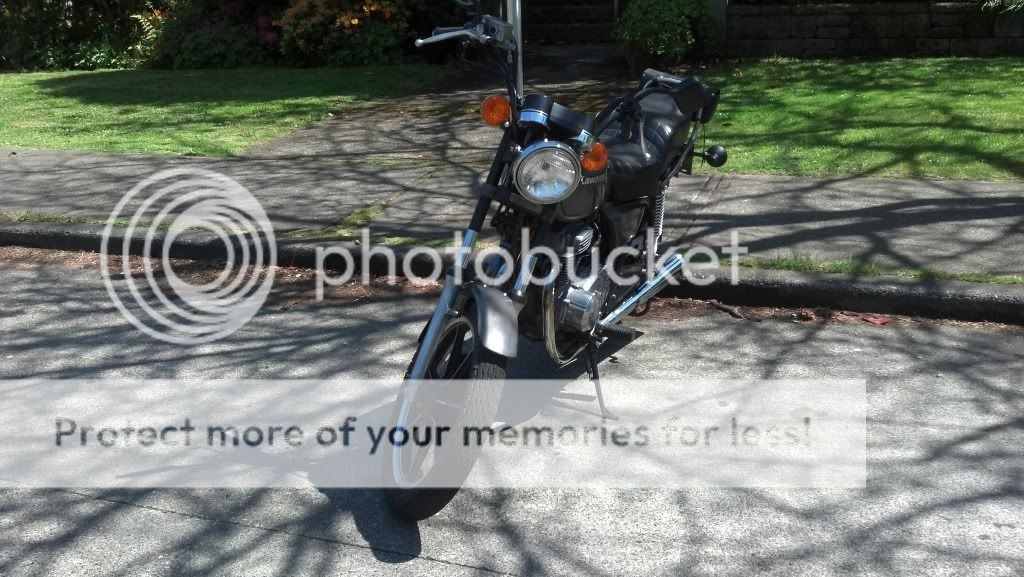
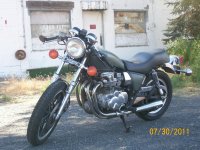
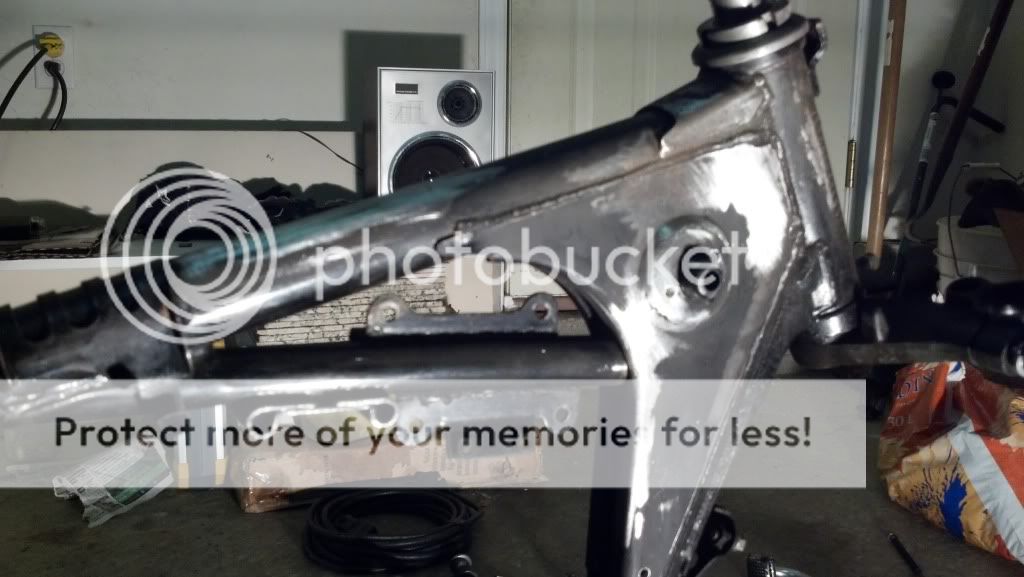
So, this is my first project bike, a little Kawasaki KZ305 LTD from Vancouver, BC, Canada.
I haven't really figured a specific direction to go with this project so I figure, strip it down and see what happens as she goes back together! All I do know is that I like the bratty/cafe look.
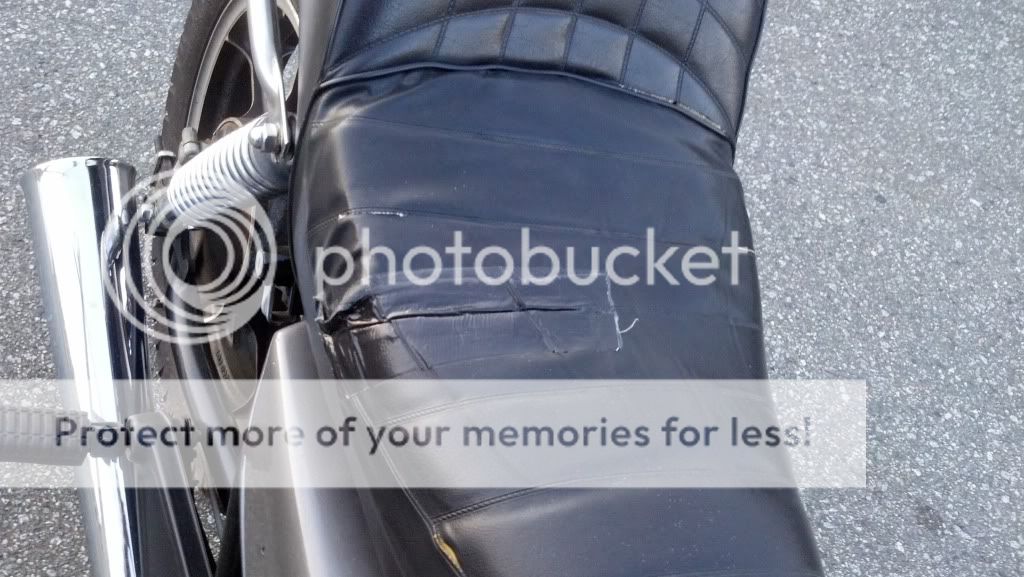
Flatten the back part of the seat. Theres a seat bracket under your seat (most likely)toward the rear fender. Unless you plan on fabricating a seat hump to cover it it's the ugliest part of any bike from the 80's. Mine had one, I cut mine off along with about 6 inches of rear frame. Brace BEFORE you cut. That's just whatI'd do. When I first got on this forum, I wasn't going to cut my bike. But after seeing the difference,I'm glad I went a little farther than I was going to. Here's some before and after of mine. Just my .02.Good luck man!
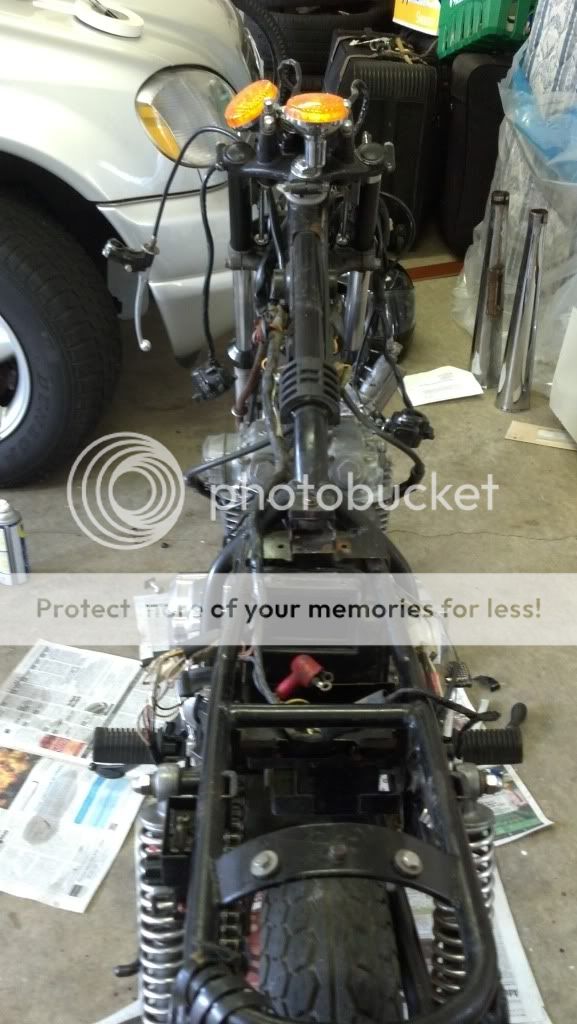
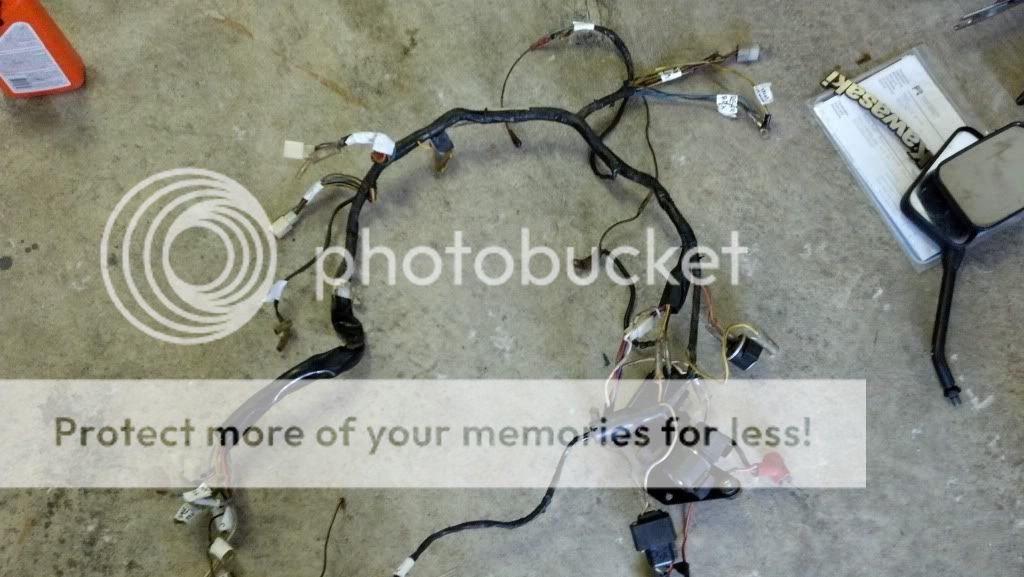
So, with a few interruptions through the day (Whitecaps vs. Sounders, go caps!) I reached the point where I got stuck. For my first time working, I think it went reasonably well, with a little big of white tape and sharpy, the electrical harness is labeled nicely. Now I just need to go about getting them pesky wheels off, not entirely sure how to get the back one off, brake n chain n all...
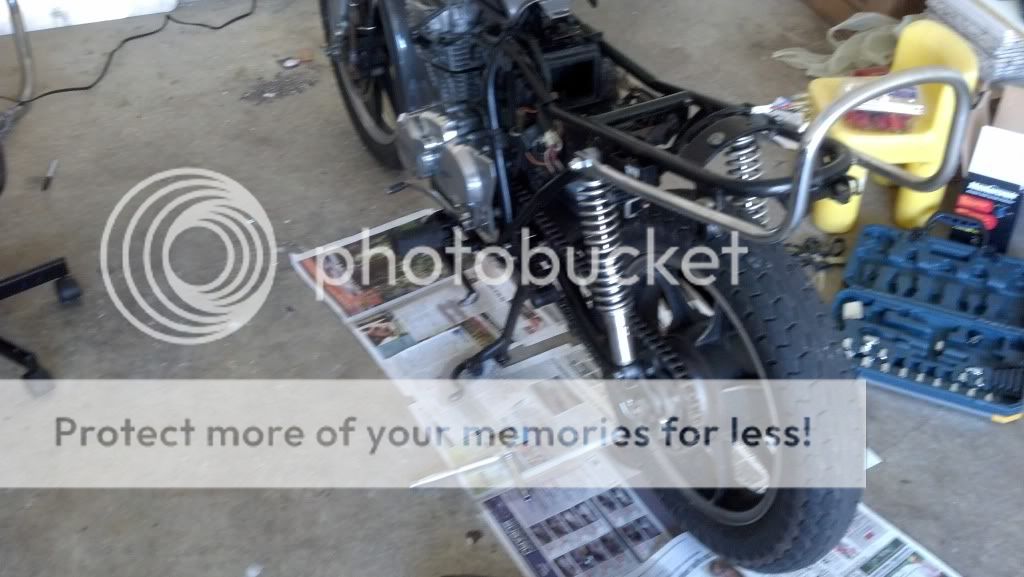
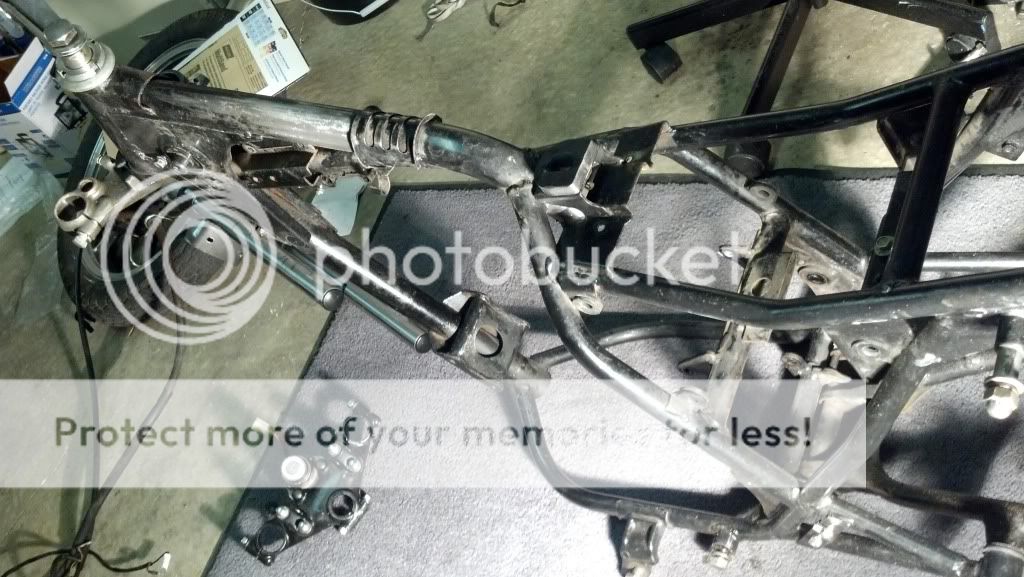
I was planning on chopping the whole back, from just behind the rear shocks. I don't know if that's advisable or not, I'm in the learning process here. (feed back please!)
Aaand, pictures;
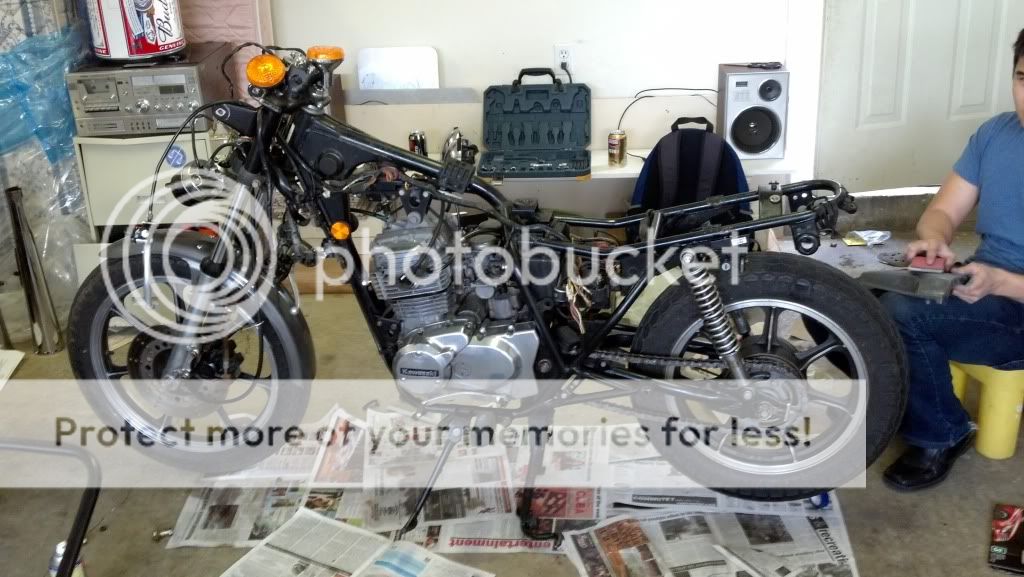
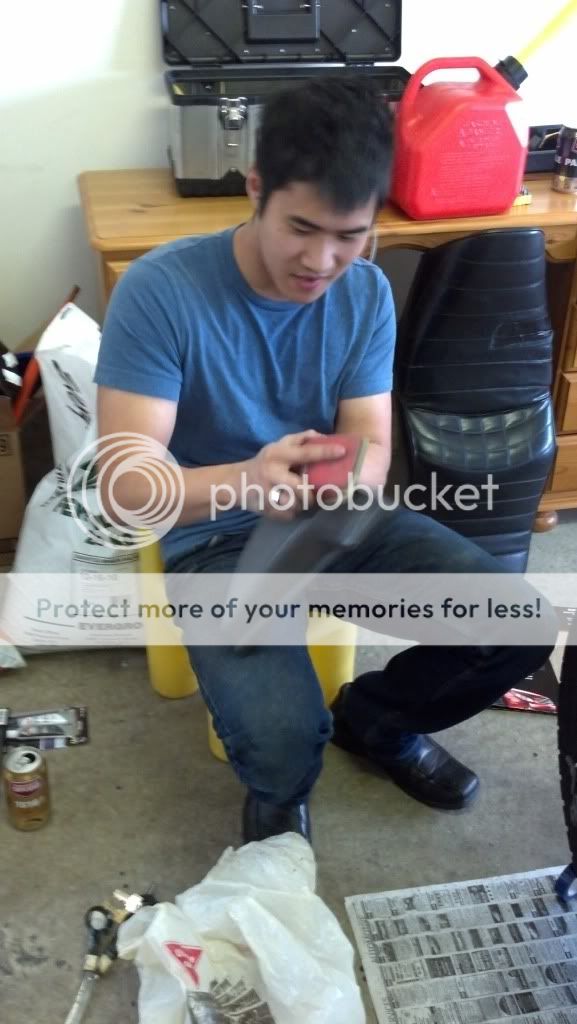
Some 'hired' help getting a start on sanding down the side covers
Looks like there's already a tubular brace just ahead of the rear shocks. That's what I was talking about, although your bike doesnt have a really pronounced "hump".The back of the frame over the rear tire looks a little long. You could take a few inches out of that back hoop above the rear tire,(in the straight part, not the curve) then put it back together with some tubing that fits inside the frame tubes. Then weld it together.
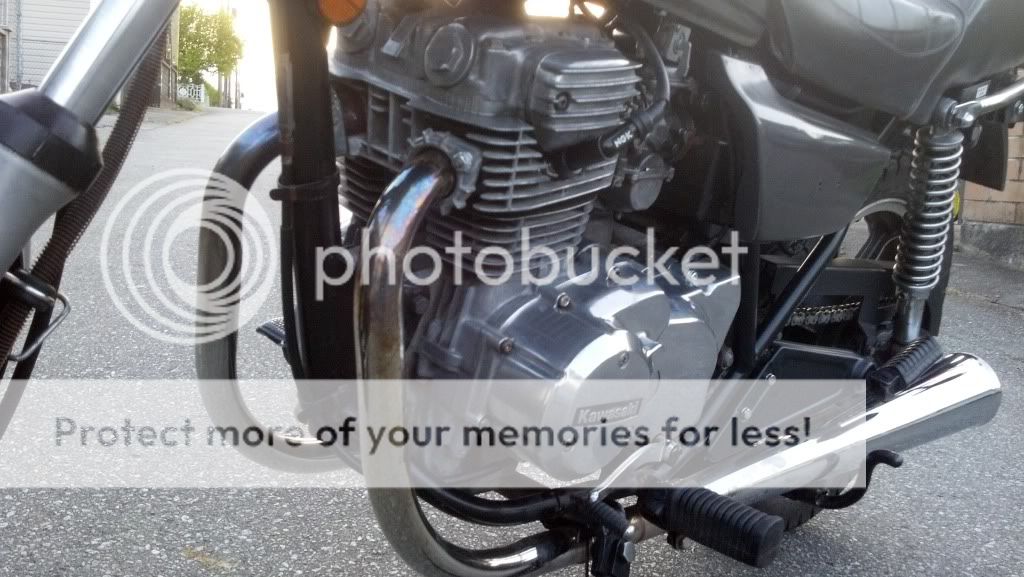
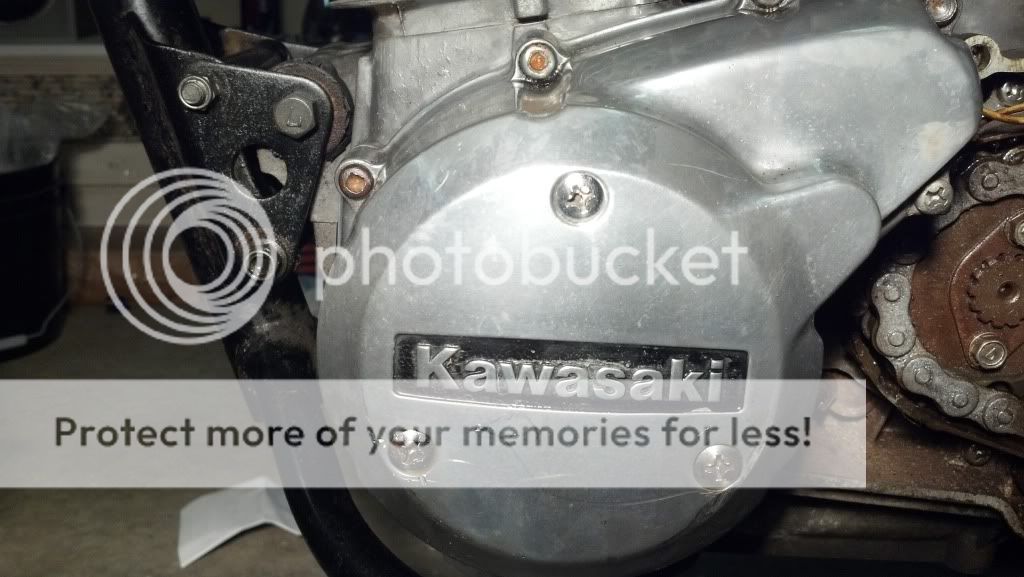
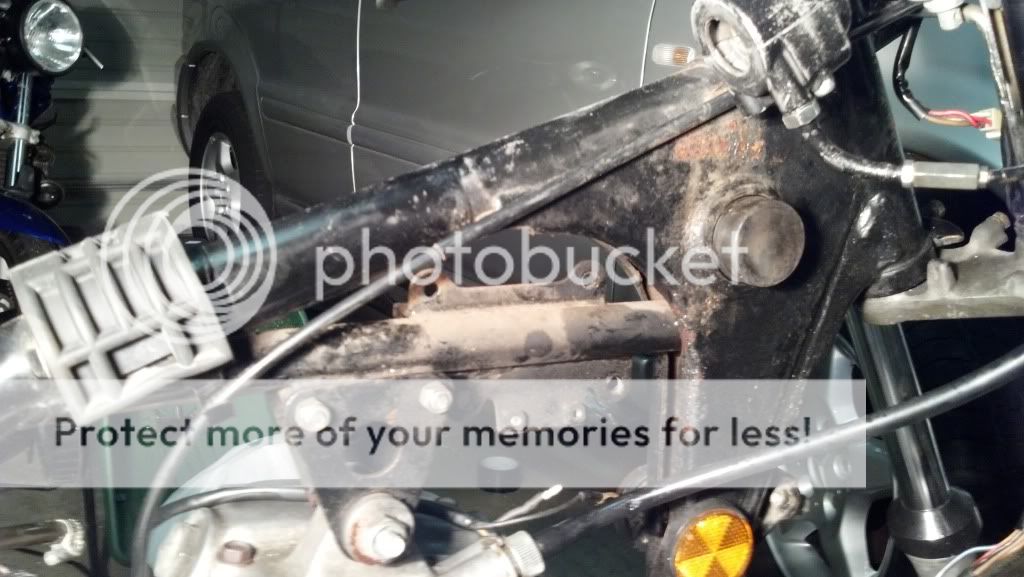
It looks like quite a few of the screws in various places over the engine are stripped at various different levels. Already coming to terms with the fact that it's gonna be $10/20 per screw to get them drilled and re threaded :'( (unless someone has a secret...PLEASE SHARE)
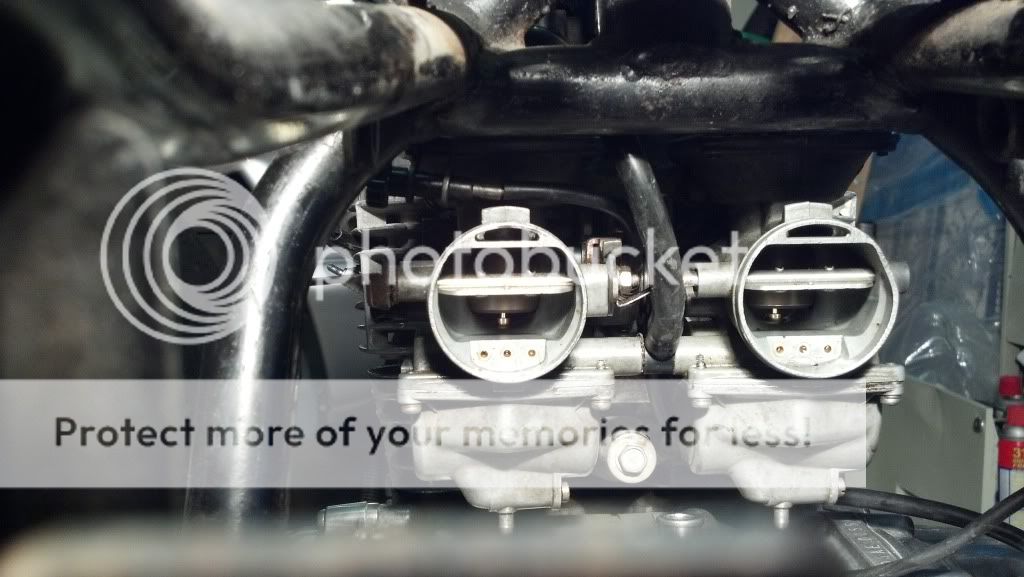
CARBS
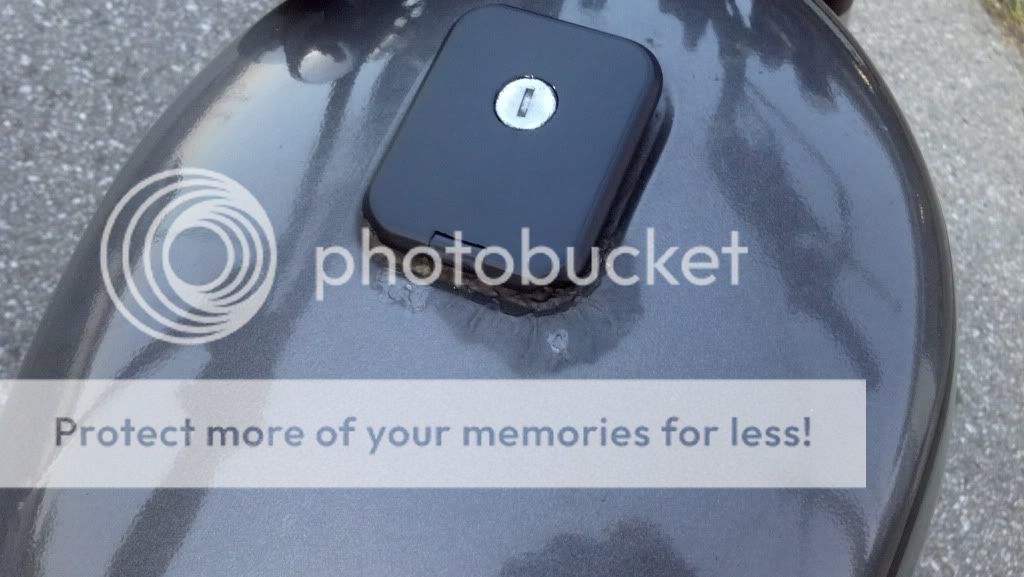
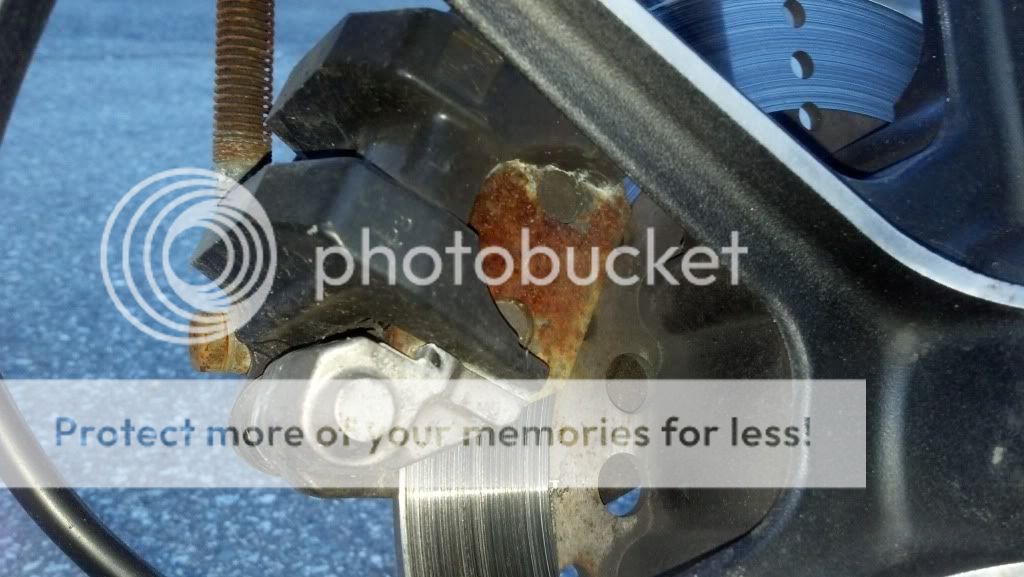
Bit of rust, not sure if its just skin deep or down to the bone yet...
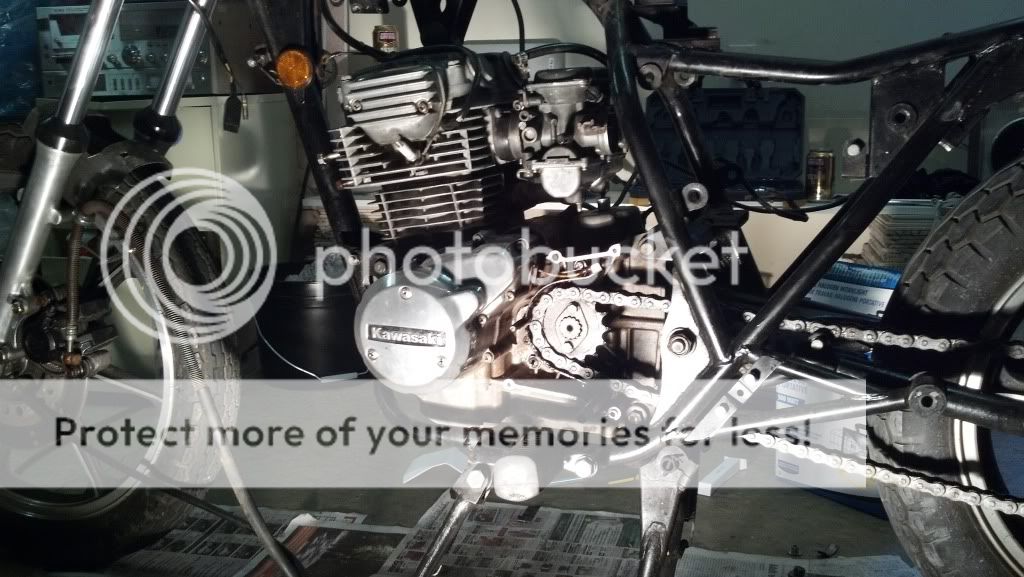
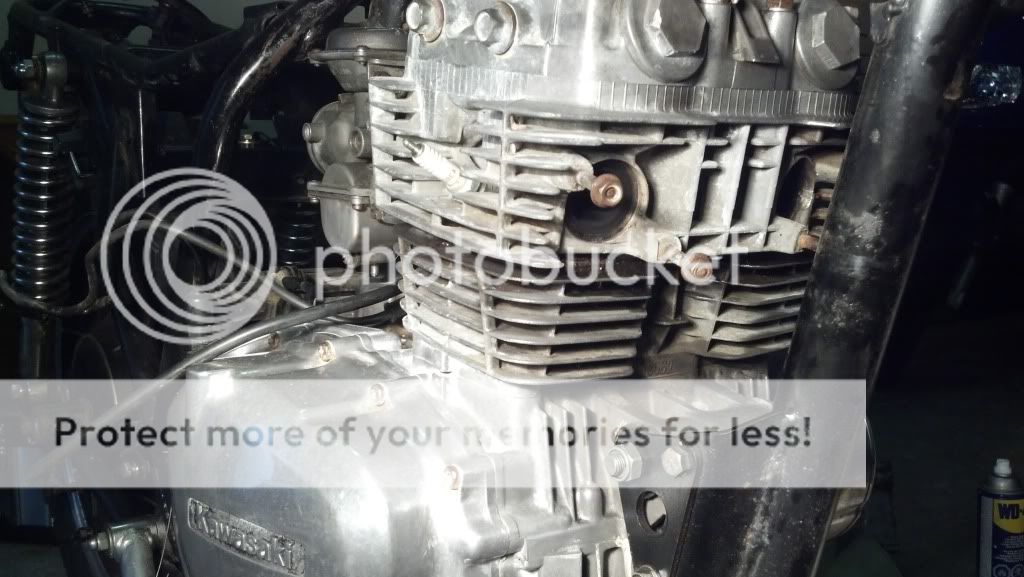
Dirty engine, needs a good shine going on
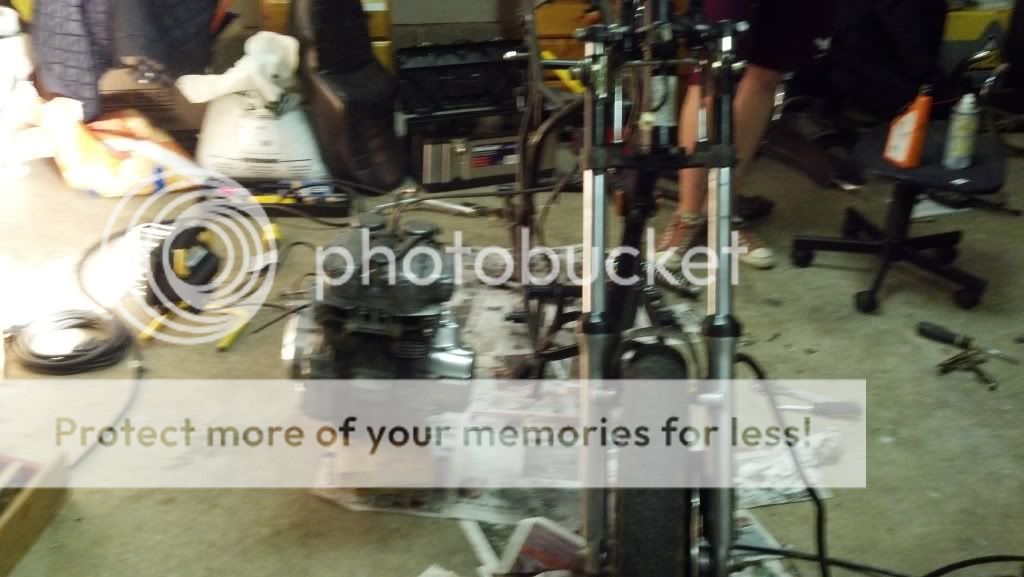
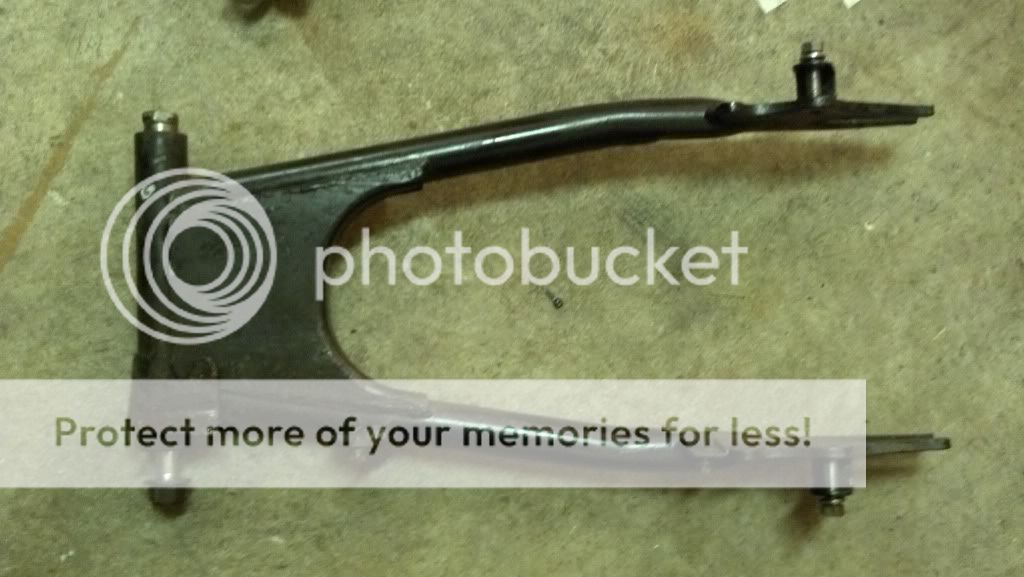
Calling it a night after 10 hour work day, a few beers and a little shy of two hours work on the bike, removed swing arm, shocks and got the engine out
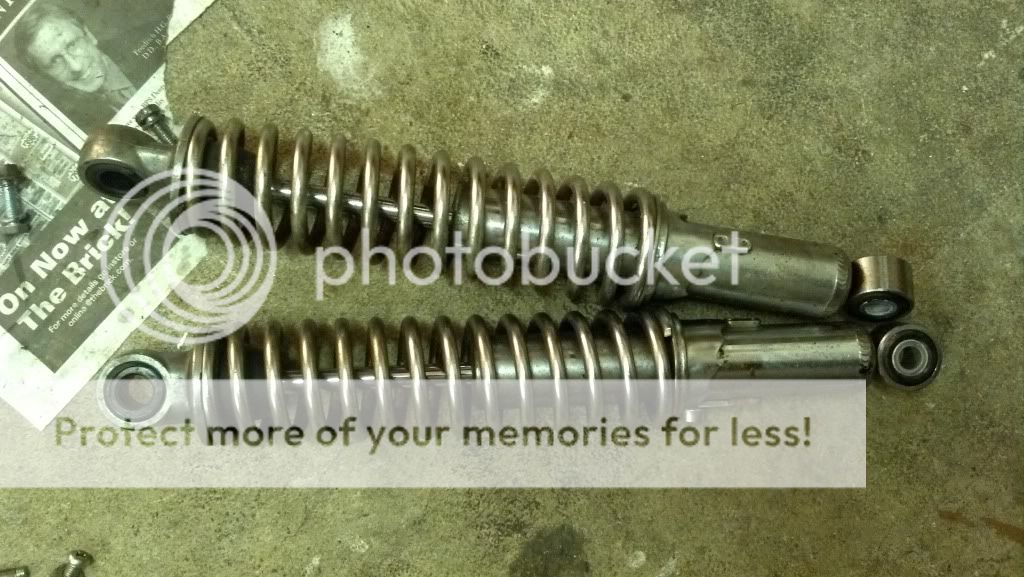
Shocking...
After a little clean, should be wonderful
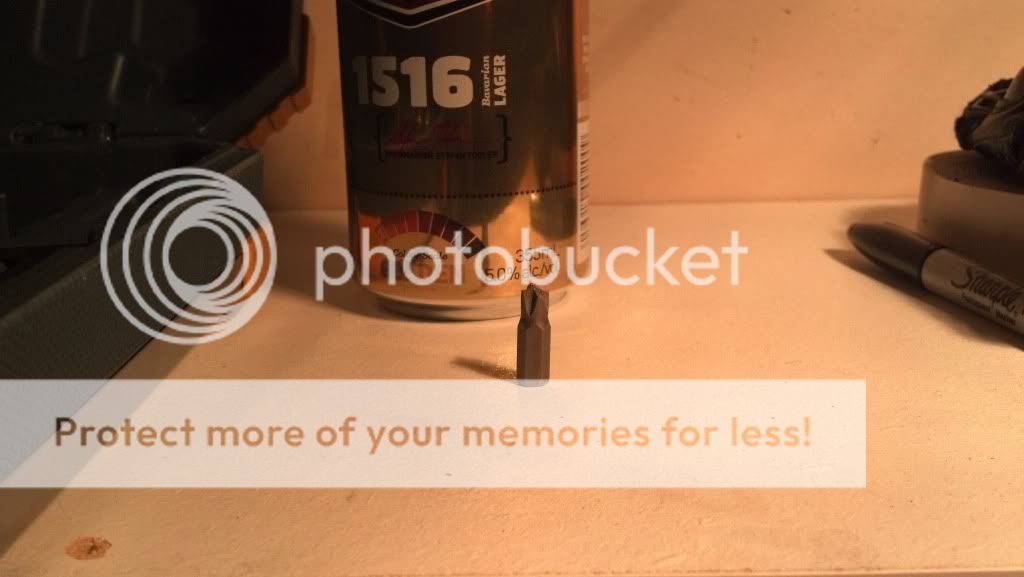
Didn't strip the screw, but this is why you should buy real screwdrivers, not interchangeable consumer stuff
Quick little update here. After the May long weekend is all said and done, and the project has begun, I think its going along quite well (for now) will have to see how it goes now the easy part is done.
There's a shop near by that rents out blasting booths so you can go down with whatever you like and sand/soda/walnut/plastic blast the snot out of whatever you like. So being a younger guy on his first project, I'll be heading over there with all the goodies once they are at an appropriate stage to do so!
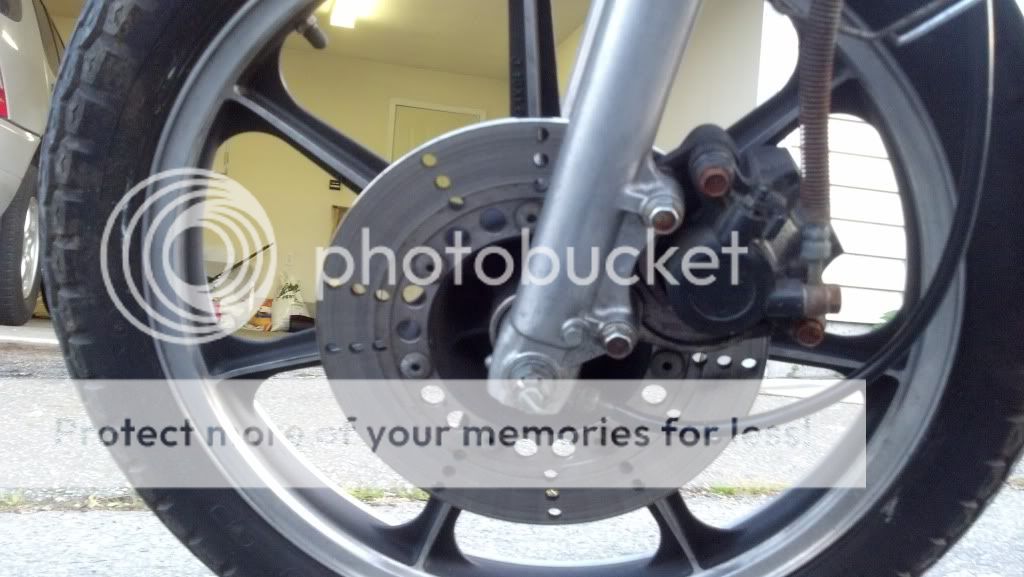
The good news is that the rust I could see on the frame, hasn't done any damage to the frame (that I can tell). My only problem that I'm having right now? Removing the front axle. That thing is on there good n tight. Gonna let WD40 work its magic for a while and see what happens tomorrow night.
After a bit of digging I figured its 33mm clip on's that I need for my forks. Hoping to confirm this? Hoping someone might have some kicking around I could purchase, or any recommendations for where to buy. Also looking for some bullet style indicators, and new headlight mount and maybe headlight, gota see how this one cleans up. Cos I dont wanna pay $55/hr to use some else sand blasting booth, I'm going to purchase a compressor and make my own. So parts I'm looking for help with finding
- 33mm Clip on's
- grips (suggestions? I would like some cream ones to go with british racing green colours)
- bullet style indicators (x4)
- headlight mounting bracket
This probably won't help much for the one already stripped, before you strip any, find a JIS screwdriver set, those are not philips screws. You can also modify a philips bit if you want to do it on the cheap.
So its going slow, work got busy again (yay 60hr Weeks).
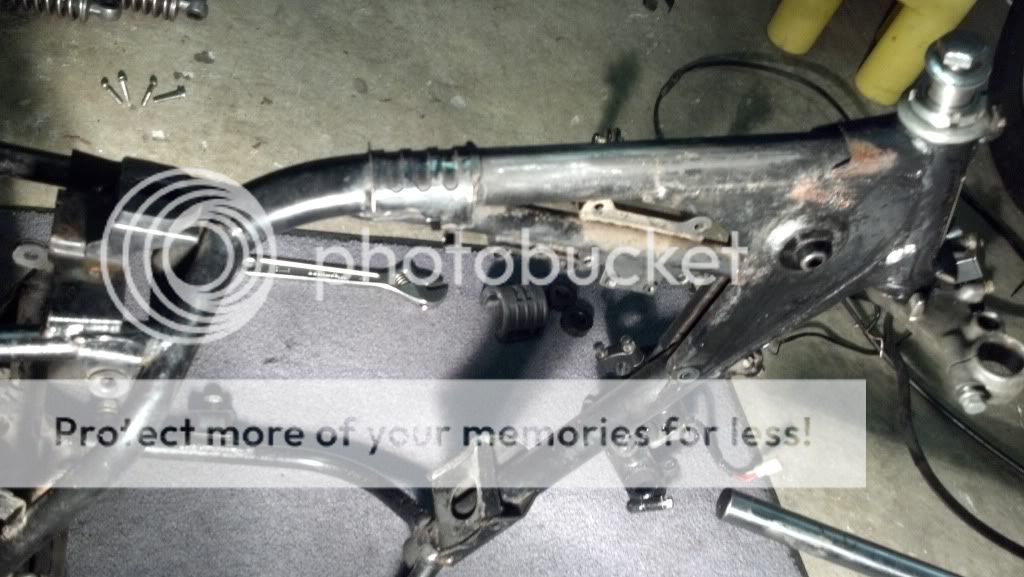
A thought i'm having now is; when I clip down the frame, should I seal it with a 'cafe' loop, or leave it open. what I don't know is if there will be sufficient strength leaving it open. There is already a brace about 6" from my desired chop point. Any errors if wisdom will be appreciated.
I'm waiting for my passport before I can take a state trip to get paint so in the mean time I'll continue prepping everything.
Def Chop it to desired length and re-weld the hoop back ....Before Welding Get a piece of steel pipe that slides into the holes snugly..... that will not only strengthen it, it will also hold the piece straight while you weld it back ..... Crazy that you need a passport to get paint, never heard that one before....
Well I don't 'need' a passport, however the Canadian market for paint is pretty slim and about two thirds more expensive. $10+ for a rattle can of anything... I'll get on finding a welder, or someone to do it for me.
EDIT:
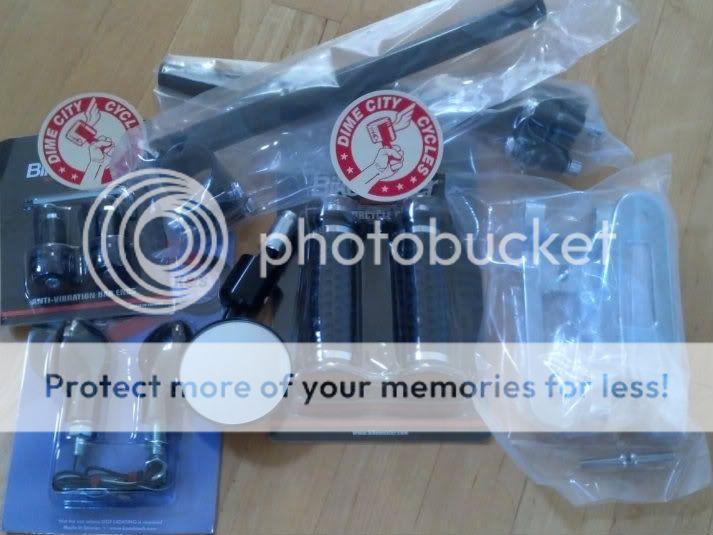
Just placed my order at DCC. Heading my way soon is: 33mm black clip ons, bar end mirrors, grips
New here, and very interested on this build! How about an update? I want to try and convert my 305 but the step up frame, and wheels are a big challenge to a first time cafe builder. would love to know how you dealt with it...
This site uses cookies to help personalise content, tailor your experience and to keep you logged in if you register.
By continuing to use this site, you are consenting to our use of cookies.