Follow along with the video below to see how to install our site as a web app on your home screen.
Note: This feature currently requires accessing the site using the built-in Safari browser.
We noticed you are blocking ads. DO THE TON only works with community supporters. Most are active members of the site with small businesses. Please consider disabling your ad blocking tool and checking out the businesses that help keep our site up and free.
Thanks for all the info on the splash/windage plates, everyone.
Beautiful flying weather out here in St Mary's. Only 20*F and pretty clear. BUT... I can't wait to get off shift and work on the bike.
Been perusing rim options. I think I'm going to go 2.15" wide on the front, 2.50" on the rear. Though I'm not a huge fan of chrome (overused, I think), I do like the look of my stock chrome rims. I'm looking at aluminum for replacements, though. Trying to decide if silver will look nice enough, or if I should just go black. Hmmm.
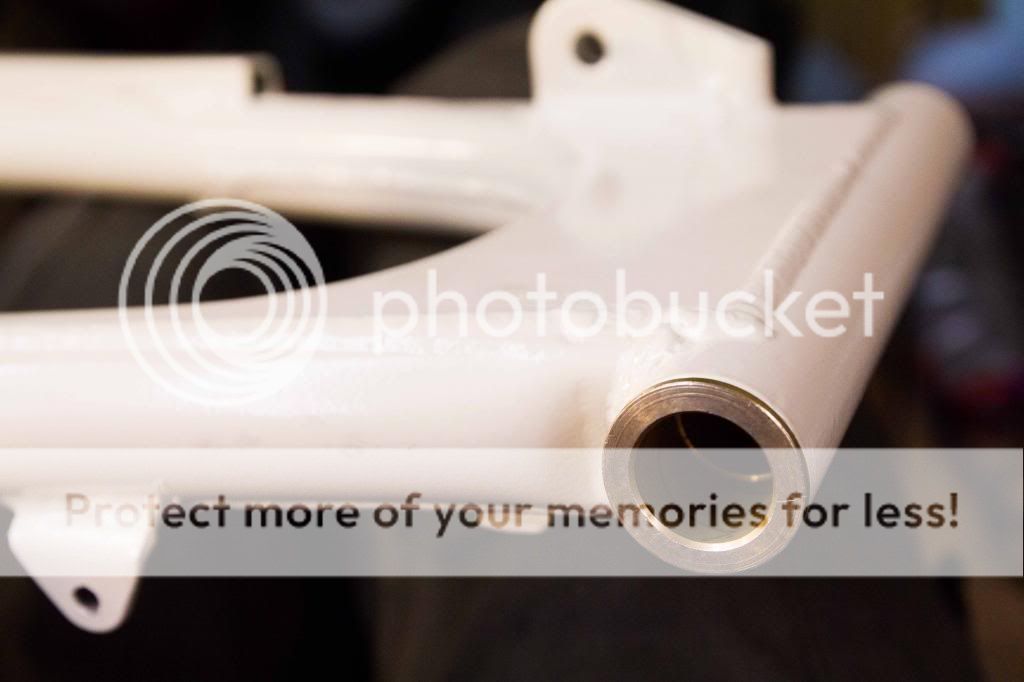
I picked up the frame and other various bits from the powder coater today. He did an alright job. I'm not blown away with it, that is for sure. Colors turned out pretty damn nice at least.
So, with the swingarm back, I put in the new bushings. I was worried this would be a royal pain in the arse but it went very smoothly. I put the bushings in the freezer for about 8 hours and heated up that part of the swingarm with a ceramic heater, then tapped them in with a rubber mallet. Cake.
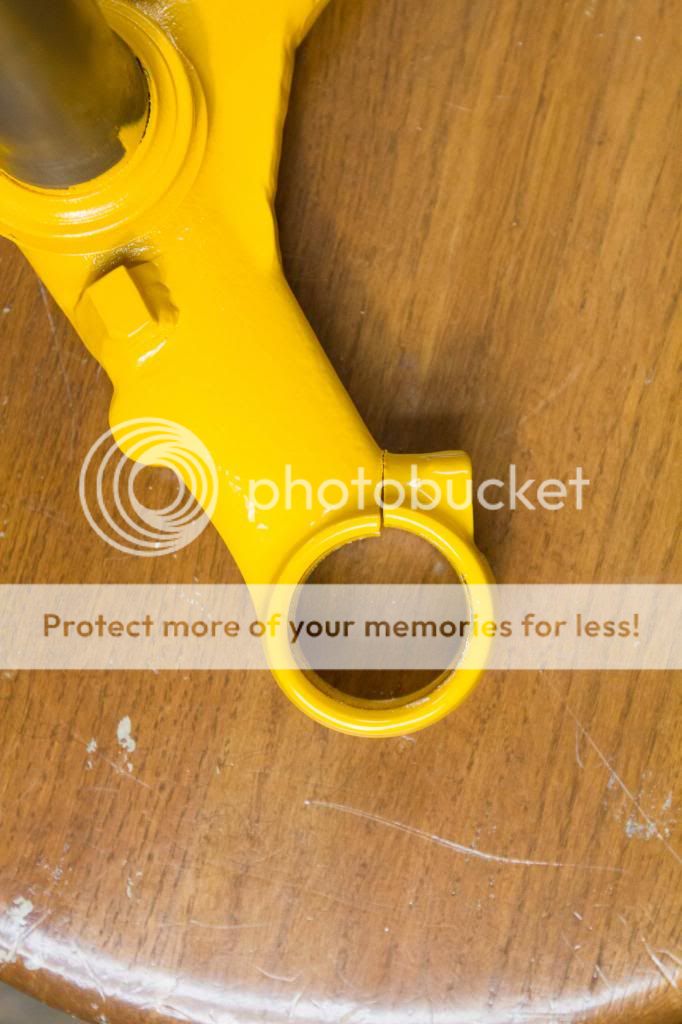
Not sure if the baking did this or if the guy somehow crushed it. Trying to think of a good way to gently bend it back.
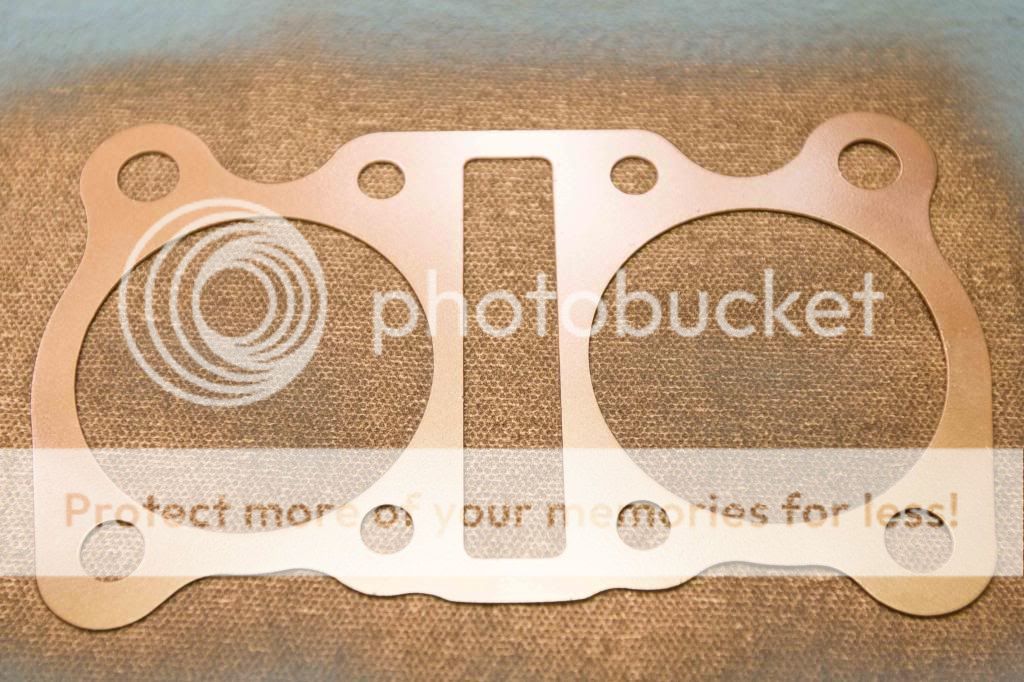
Putting copper coat on the copper base gasket (from Copper Gaskets Unlimited - Lani is awesome to work with).
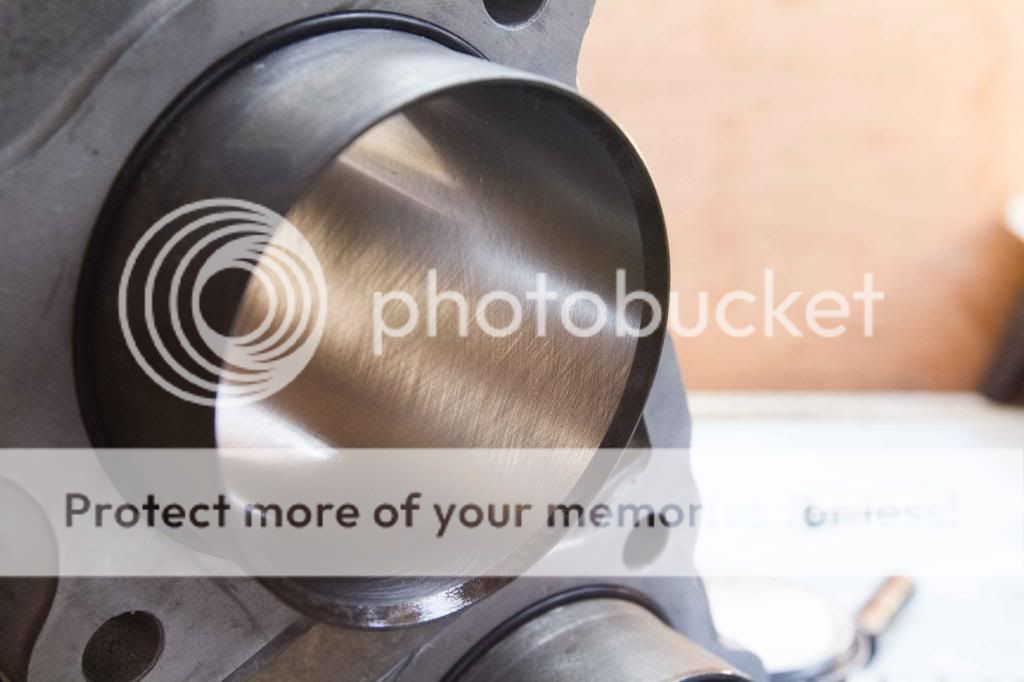
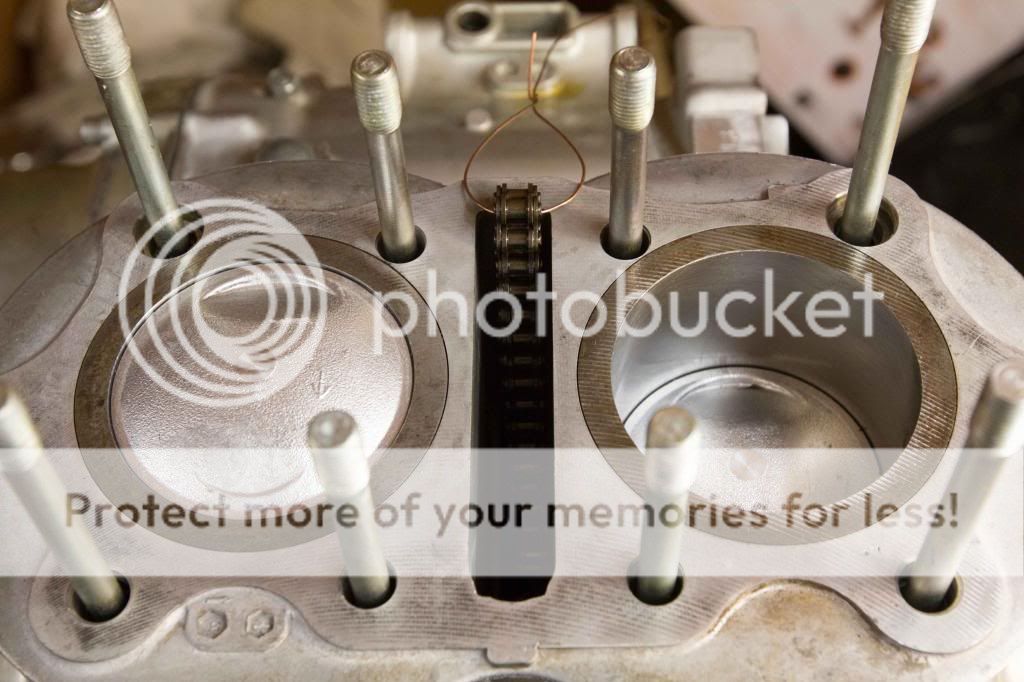
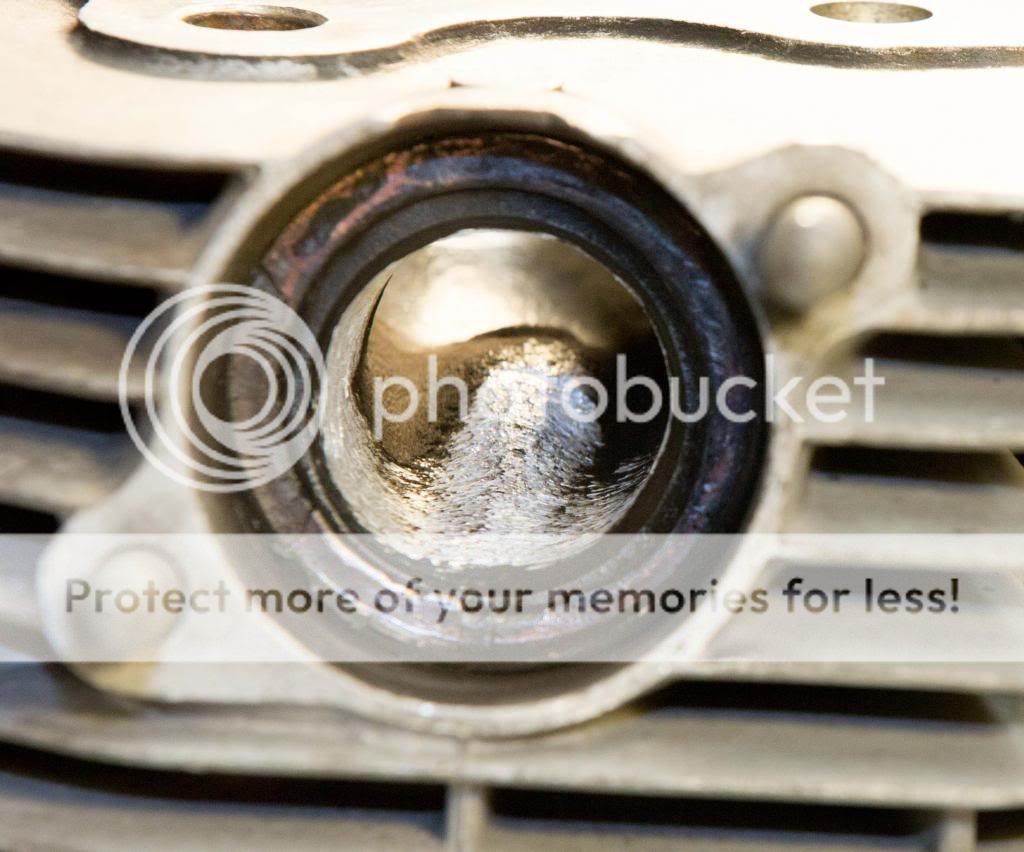
Cross-hatching in the cylinder bore. Very nice bore-job, so far as I can tell.
Installed the rings, and pistons, then put the jugs back on. I feel like I am making progress towards something that will run one day! Or maybe just explode. Hopefully run though.
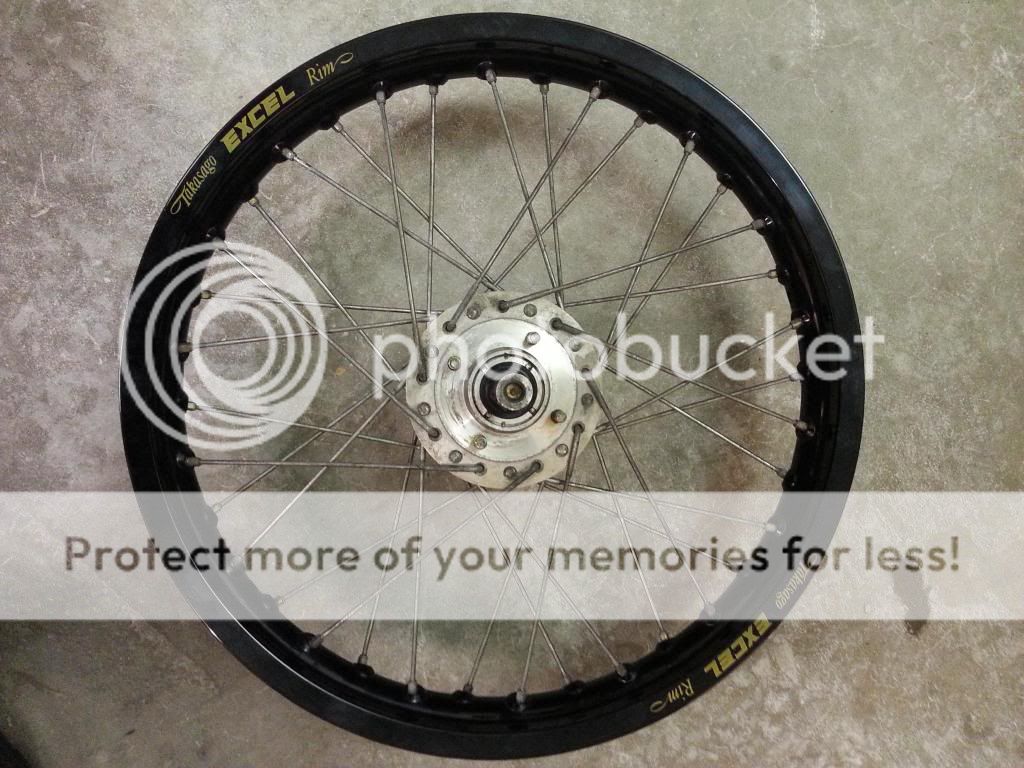
Laced up my first rim (ever) today. I only had to redo it once. First time I had the pattern correct but the angles too shallow which left me with spokes that were too long. Whoops. Anyhow, new front rim. 18x2.15
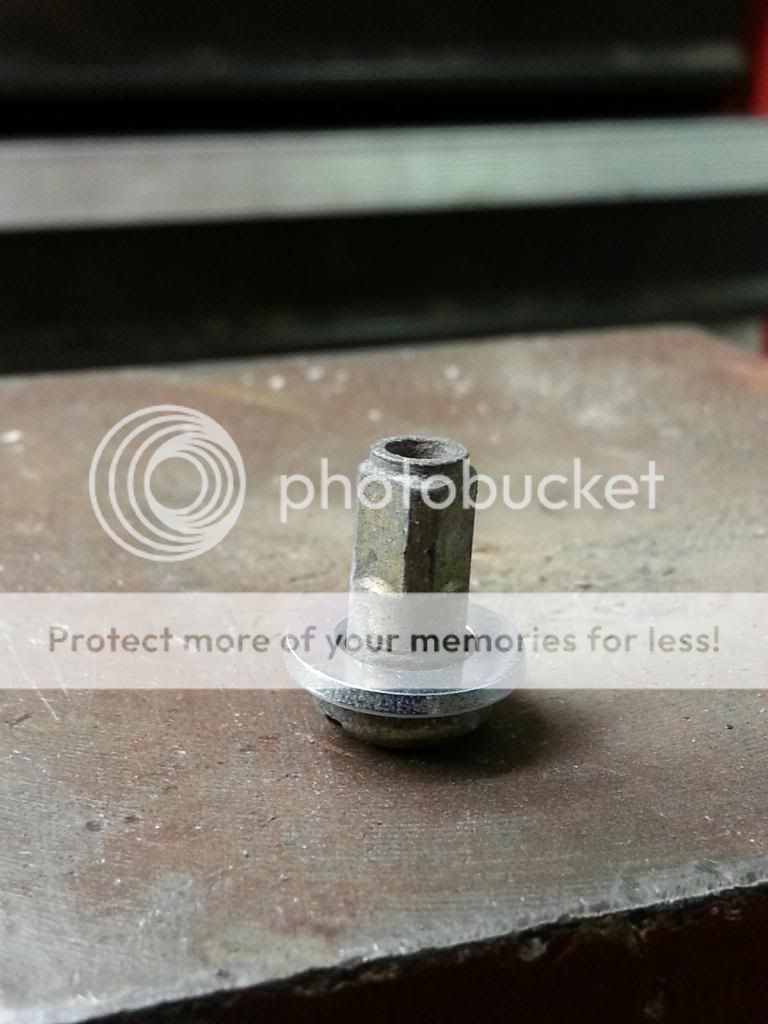
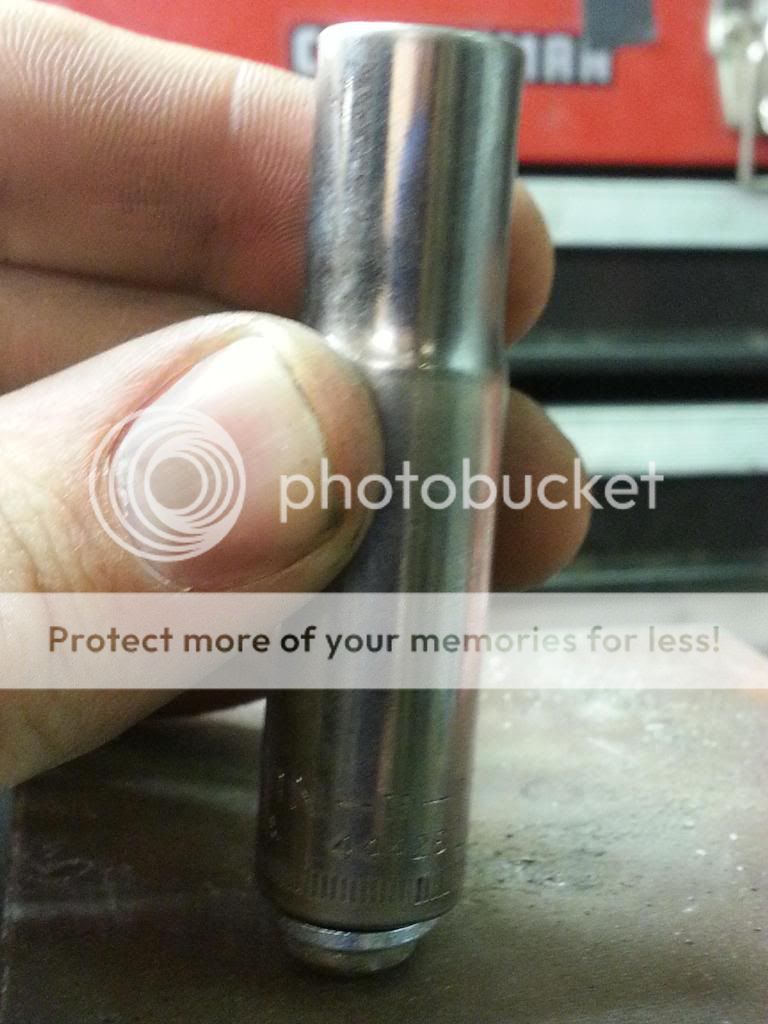
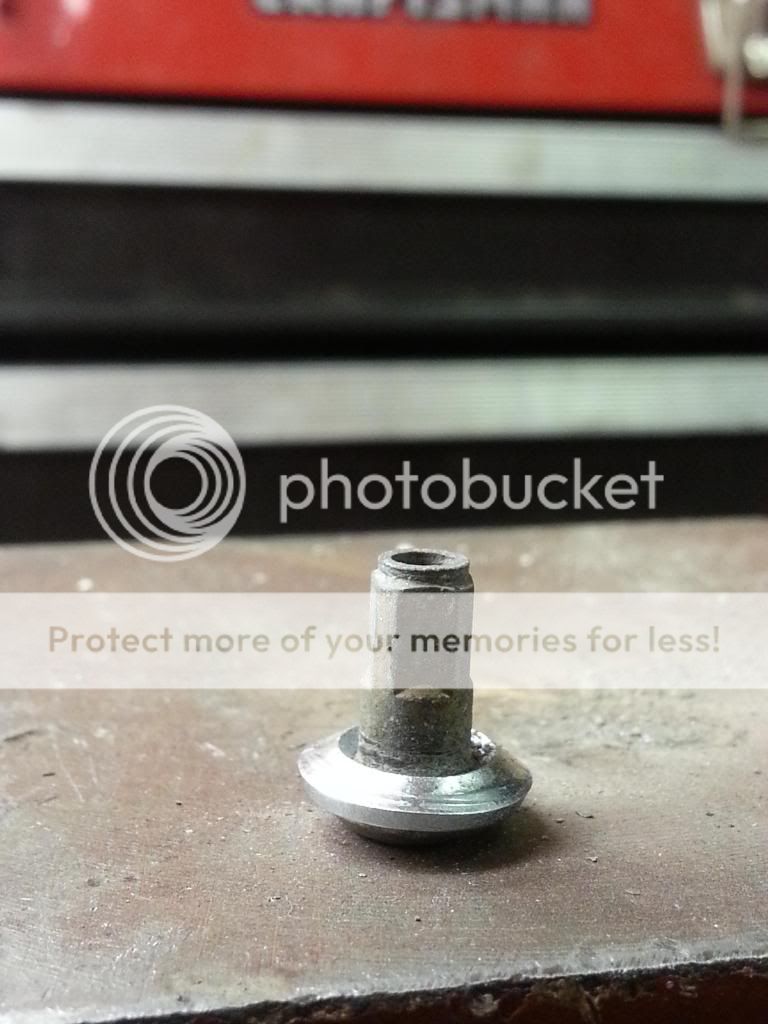
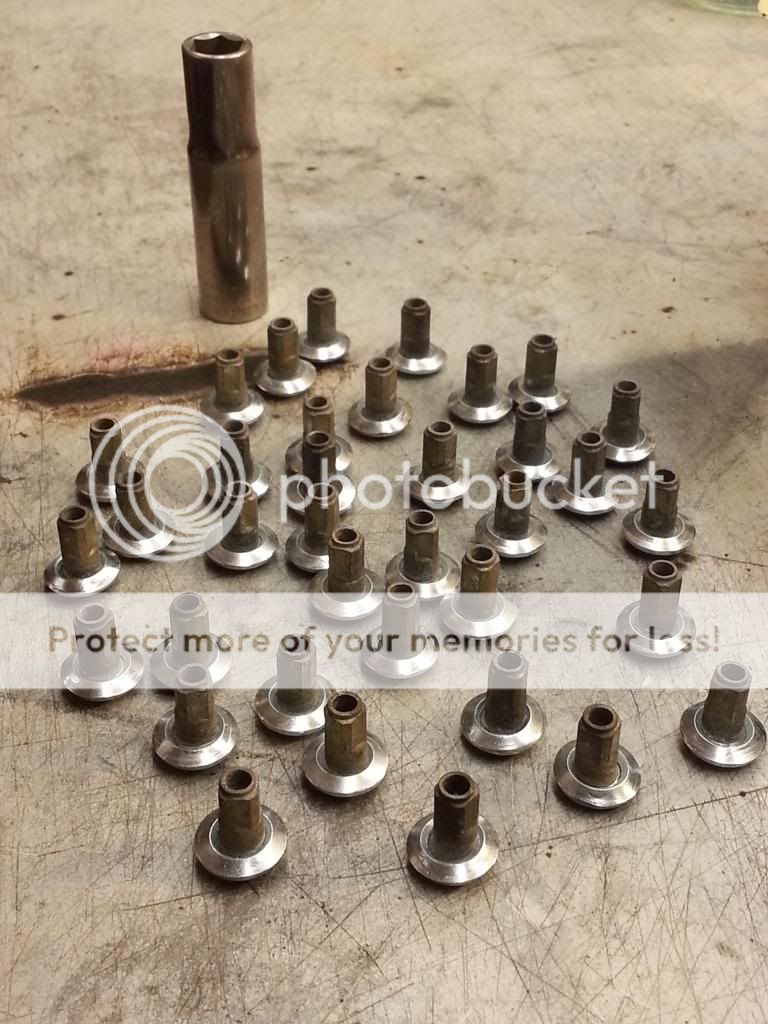
I used PJ's idea for doming some washers to make the nipples fit in the MX rim nipple holes. Worked quite well. The washers are 7mm, with the smallest OD I could find. I just placed them on the nipples, used a 12mm socket (the inside of mine has a nice curve that matches the nipple fairly well) and gave it a few whacks with the hammer until they wouldn't bend anymore.
Pretty simple.
Its not trued yet. Can you fine tune the truing after the tire is one or is it best done before and rechecked afterwords? Never dealt with it before.
Lacing up the rear rim and hub is not panning out quite as well. Despite the oversized nipple holes, the spoke angle seems to be a bit too steep which is putting a barely perceptible bend in a few of the spokes.
Also the spokes are somehow a bit too long even with the washers (I've checked the spoke pattern). This doesn't make any sense to me. Only possible cause I could think is that maybe the raised center of the rim is taller than the stock rim. Strange the front rim didn't have this problem though.
Anyhow, is it safe to just grind the sides of the hole to achieve the steeper spoke angle and stack on a second washer or would this be unstable and risk cracking the rim?
Took me a few days of cursing and running between my house and Home Depot but I finally got the rear wheel solidly put together and both of them trued. Rear wheel was having issues with spoke angle. I think the problem was a combination of the Excel rear rim being a good bit thicker than the other as well as the center being raised more than stock rim.
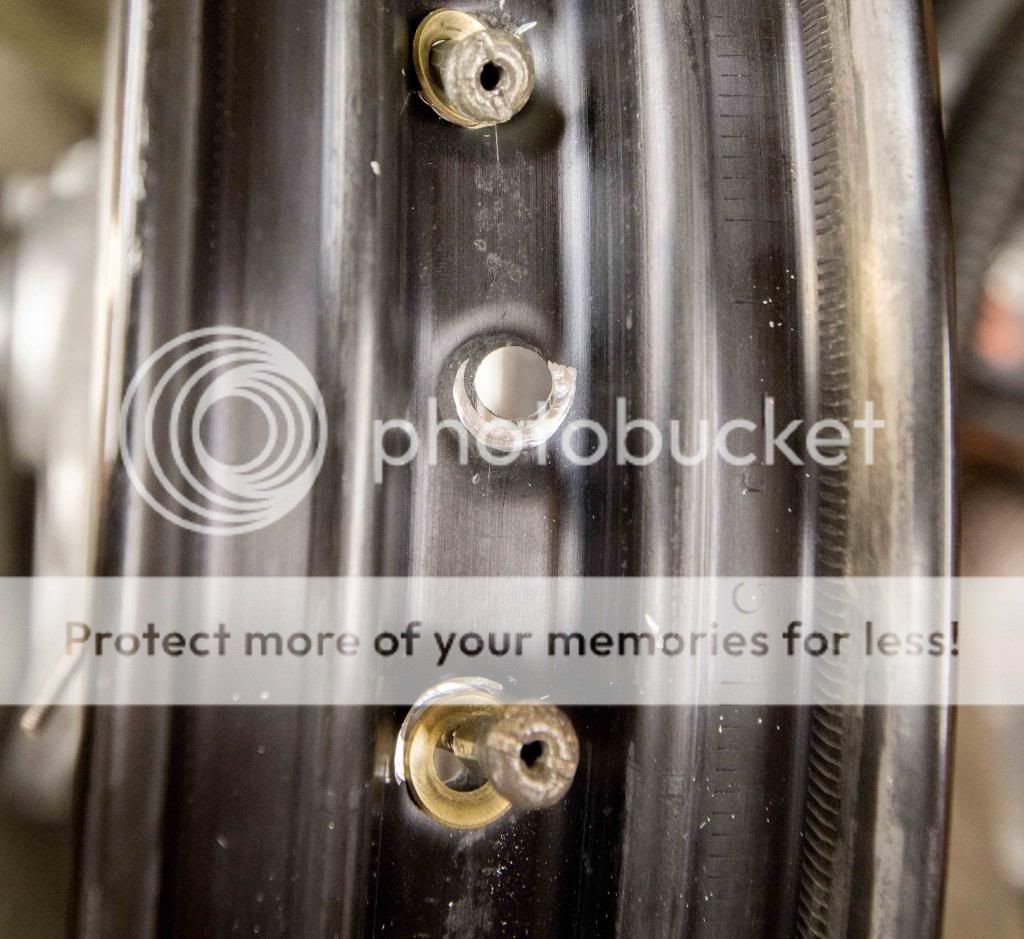
Spent a lot of time very carefully taking very small amounts of metal off in strategic locations with a router bit and a file. Then added a brass washer to each (hub is effectively closer to the rim because of the raised center and I didn't have enough spoke adjustment).
That is before both washers were in place. had the keep the wheel together for fitting and checking as I was filing.
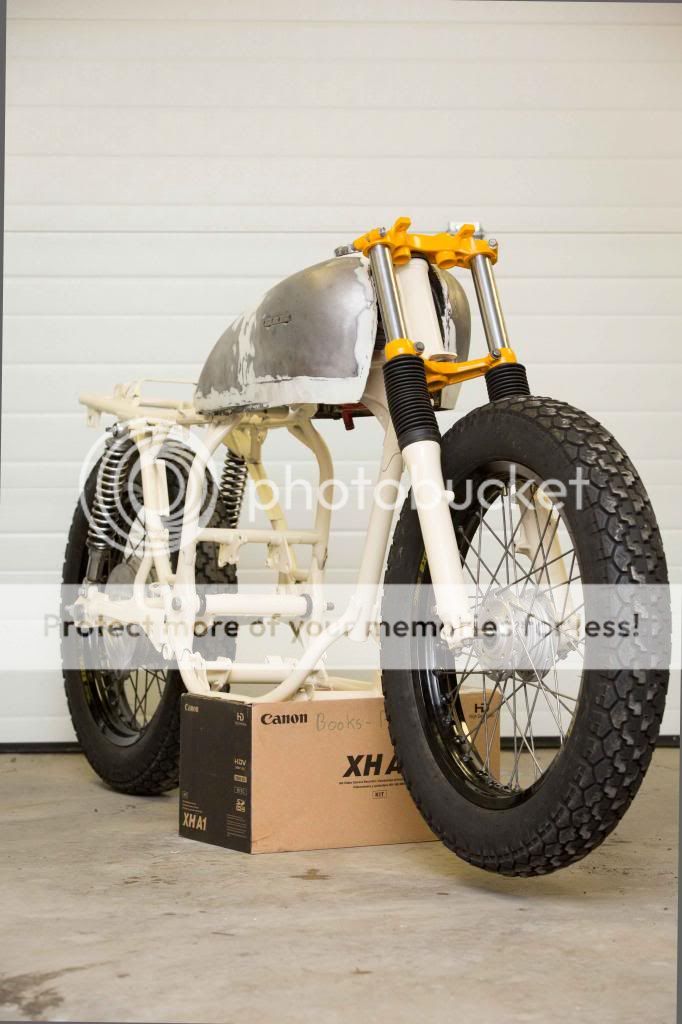
Anyhow, with the wheels assembled, I thought I'd see how the look is coming along.
I was cleaning up the head. Decided to shave a wee bit out of the exhaust ports. I remember reading somewhere (I assume PJ?) that they could stand to lose 1-2mm. I didn't take off much.
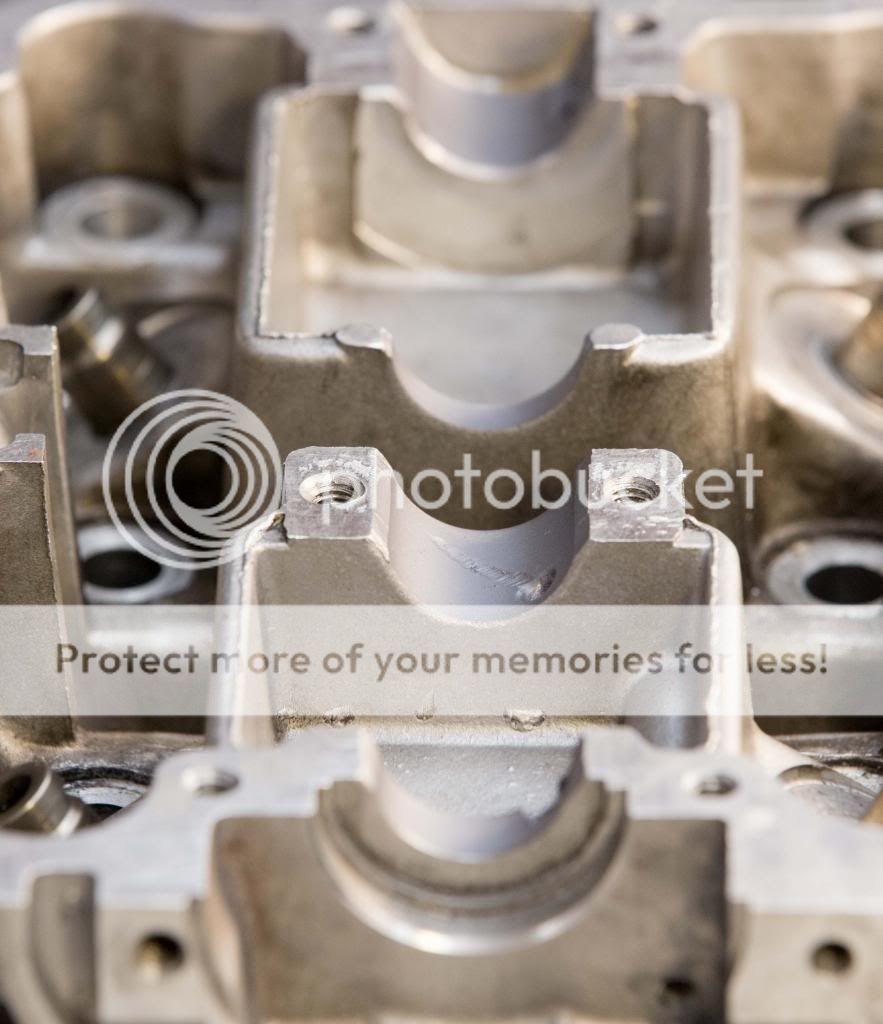
Also decided to Molykote the top and bottom Camshaft journals. Should help to fill in a few of the shallow scores and add some slipperiness. Plus I had it sitting around from the pistons.
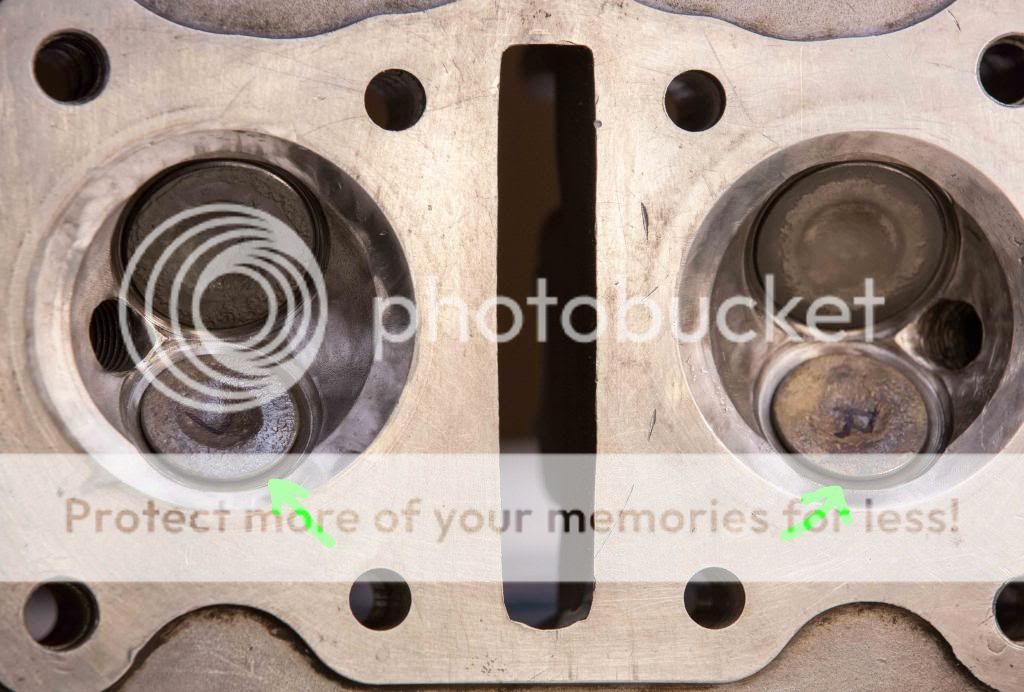
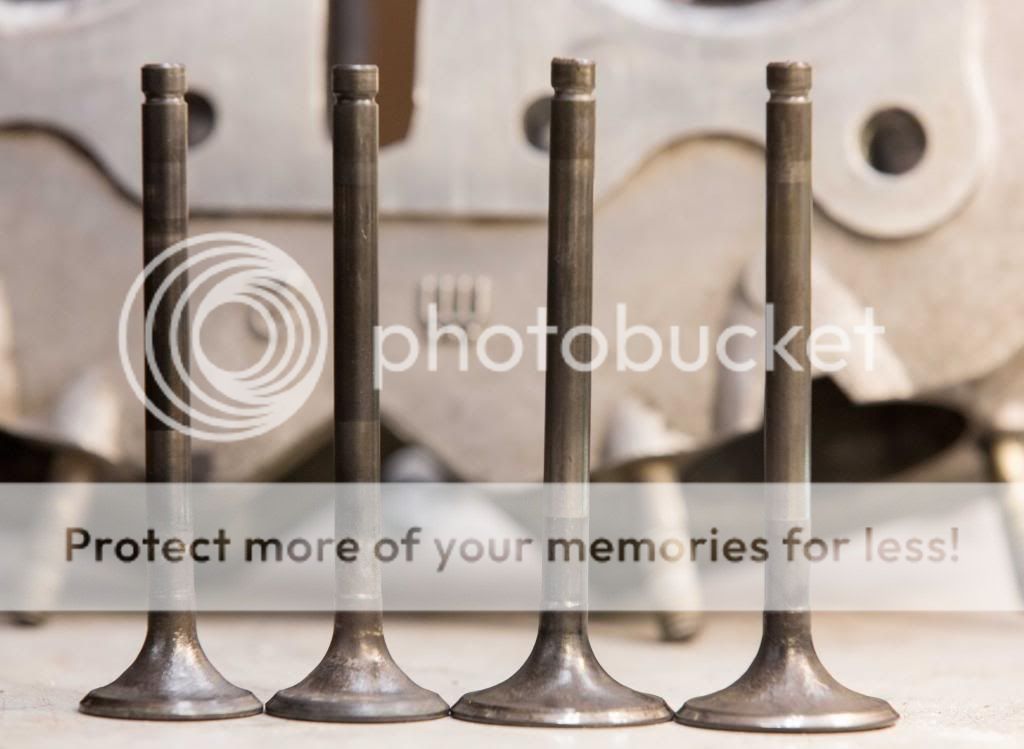
Then I was cleaning up the valves when I noticed a few things. The Exhaust valves were marked L and R. At first I figured this was part of the seating... But then I noticed the heads on both had a very slight angle to the stem? This has got me a bit stressed out. Are they supposed to be that way? Or do I need to find some new exhaust valves?
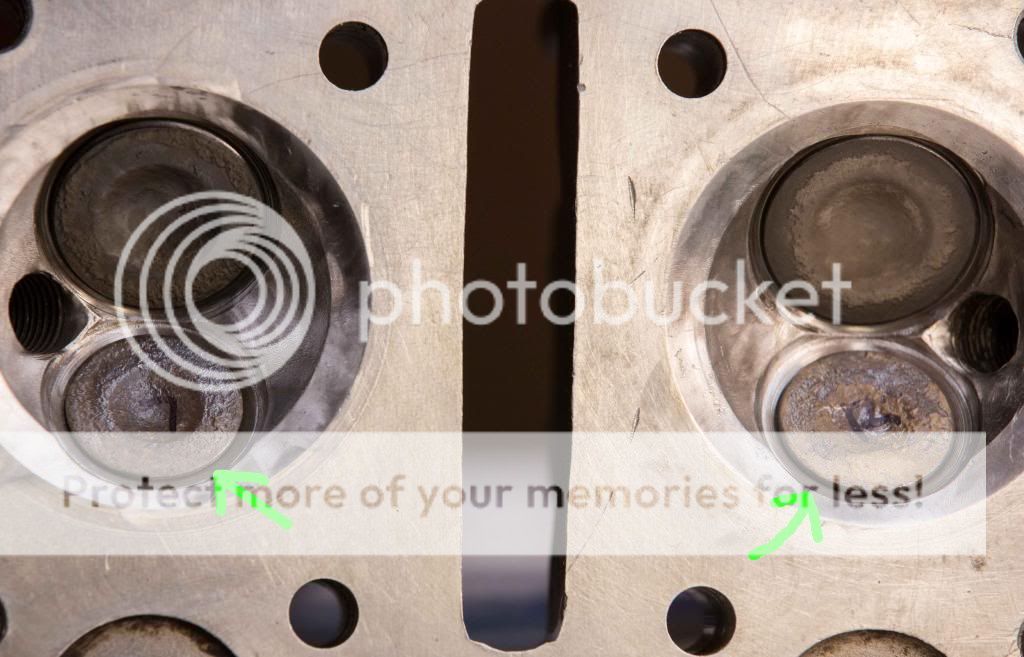
I tried fitting them. As you can see in the first photo, there is a large gap. Obviously not going to seal at all. Turned roughly 180*, the gap goes away. Seems there is just a gap on the other side, though it is harder to tell. Input?
Set up on the head you can see both exhaust valves have a slight lean, where as the intake valves stand straight up.
If you have a gap to seat when rotated, valves are bent and you need new ones.
You did clean up the steps in exhaust port 'bowl'?
you can take out some more material in the 3:00~9:00 positions (ref pic)
You also need to check guide wear/damage
Get down the sides of guide boss as well, the exhaust is the main restriction on 360 (btw, how are you getting a 383?)
Not really sure it would help but I can send you my spare set of 360 valves for you to reference. If you end up needing them you can throw me a couple bucks (they need to be cleaned off though)
Played with them a bit more this morning. Definitely have a slight bend to them. Will need to check the guides more thoroughly after my FAA medical appointment.
Damn. Can anyone recommend a source for good valves and guides?
I see a few on ebay. Looks like 350 valves will work in a 360?
Finnigan- Thanks. I will keep you in mind. Do you need them or not mind parting with them?
PJ - I will go back and take out a bit more. I cleaned up the combustion chamber side all around the valves and plugs, as well as behind the valves (bowl?) so I don't think that is an issue with the seating. 383 is from 69.5mm pistons. (+.5 GS850).
Ah-ha, thought it was a 69.5 but wanted verification ;D
I wouldn't have bought guides until you know you need them, they are quite spendy, particularly when you need driver and reamer
I would get a reamer from China, takes a couple of weeks but it's massively cheaper than Honda one from Japan
As for driver, any local machine shop could turn a pilot on a piece of bar, it doesn't need to be hardened if your only doing 4 guides
350 and 360 valves are the same, one of the few parts that swaps over
I found a pair of unused 69.5mm pistons with rings and pins as a set for a price I just couldn't pass up ;D Also, I was (at the time) having a hard time finding rings for the 69mm pistons I bought.
I was just playing with the guides in a pretty unscientific way. I don't have any means to actually measure them.
So, I just slid them in to feel for any wiggle. Intake sides don't seem to have any movement other than the proper in and out.
Exhaust valves are able to move very slightly around... enough to say to me that they do need replacement. I guess that means I might as well do all four and go bronze? (Finnigan)
Haven't purchased anything quite yet. I was originally planning on leaving all that alone for no. Projects do what they want, not what you have planned though.
Anyone used Stainless valves? Is there any advantage to carbon build up, longevity, weight or performance over stock?
This site uses cookies to help personalise content, tailor your experience and to keep you logged in if you register.
By continuing to use this site, you are consenting to our use of cookies.

")


