My 1976 Suzuki GT750 was completed and running in 2012. This is the story of my modified Buffalo smoker.
The complete Story of "Bad Buffalo" as covered by VMOL (Vintage Motorcycles On Line)
"One Bad Buffalo"
http://www.vintagemotorcyclesonline.com/features/stories/261-one-bad-buffalo
10/30/14: So I got the Bad Buffalo out for a run today. I made a short video walk around of the bike running & riding. I also Ripped through a few turns with the Jemco pipes whaling and six pot Tokicos doing their job (remaining mindful of motorists, hidden driveways and pedestrians of course).
Entitled Bad Buffalo Smoke'n The Ton!
https://www.youtube.com/watch?v=lCcJ-_-8co8
8/26/12
Video Fly-by of Jemcos screaming:
http://www.youtube.com/watch?v=FjQDDx5fm1Q
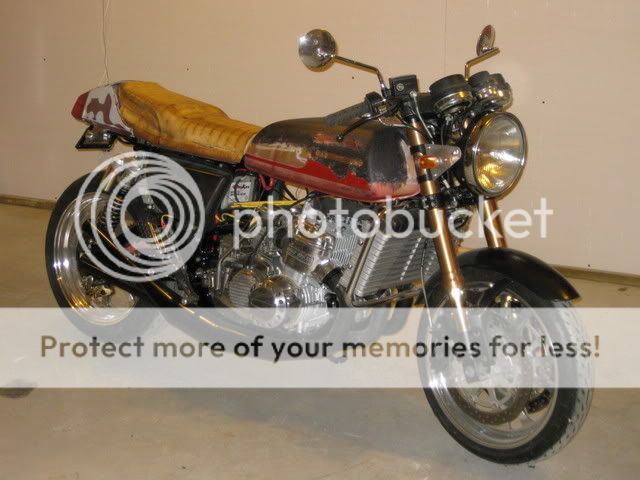
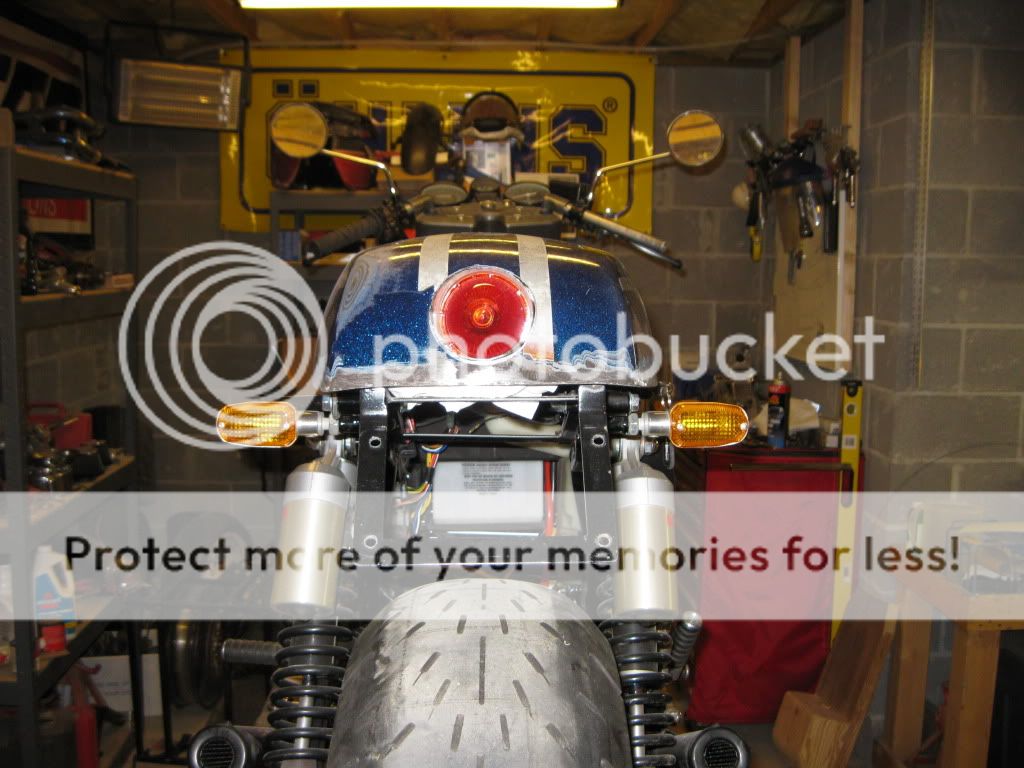
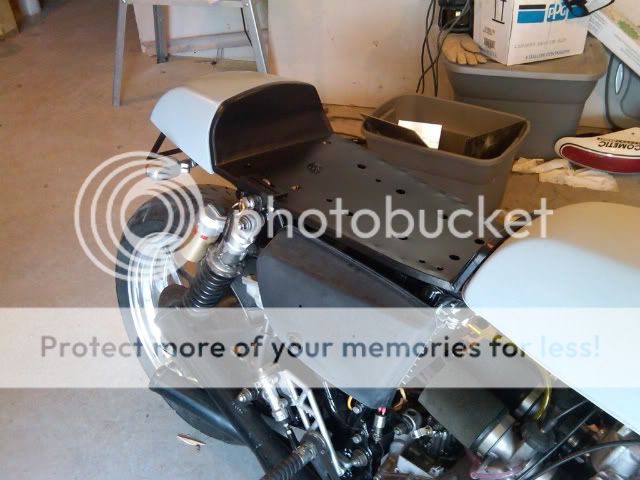
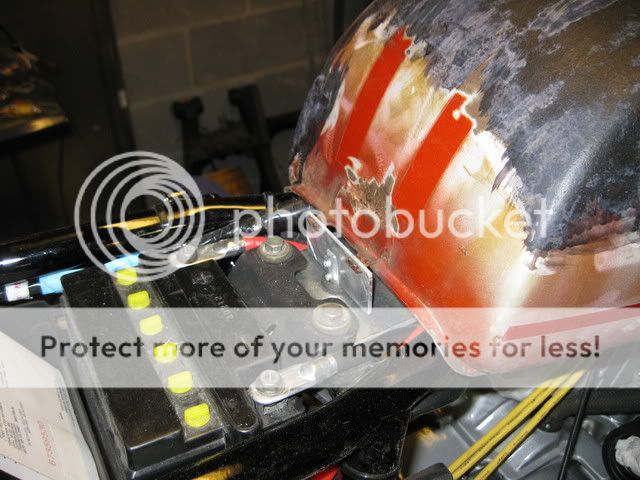
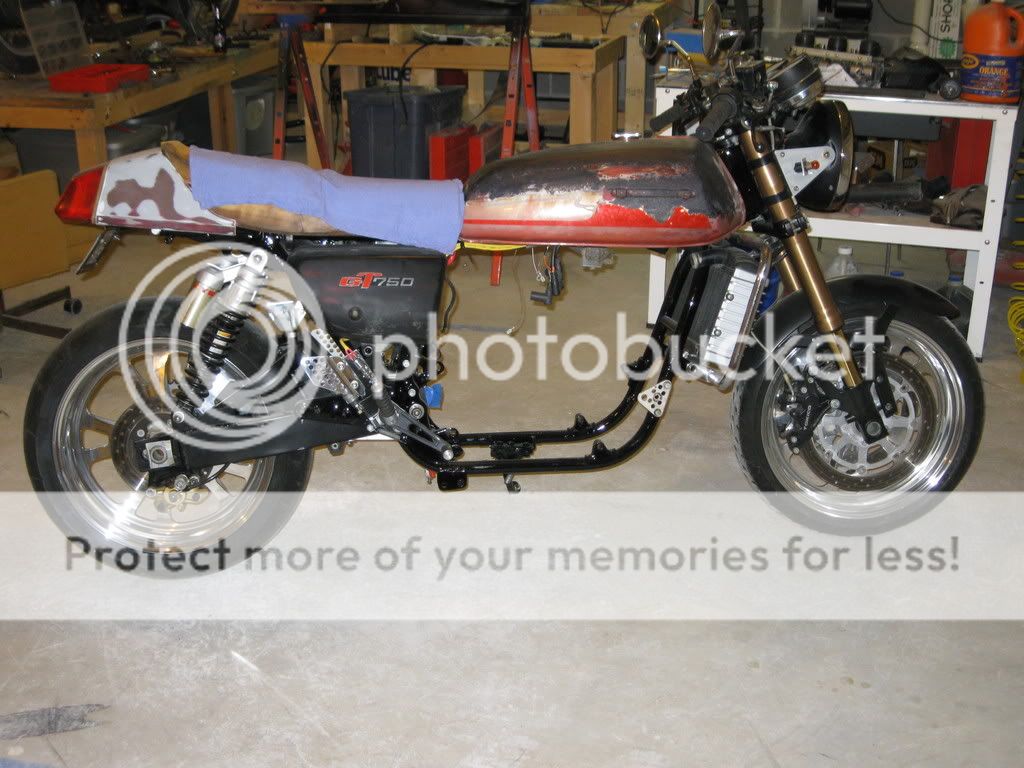
Before:
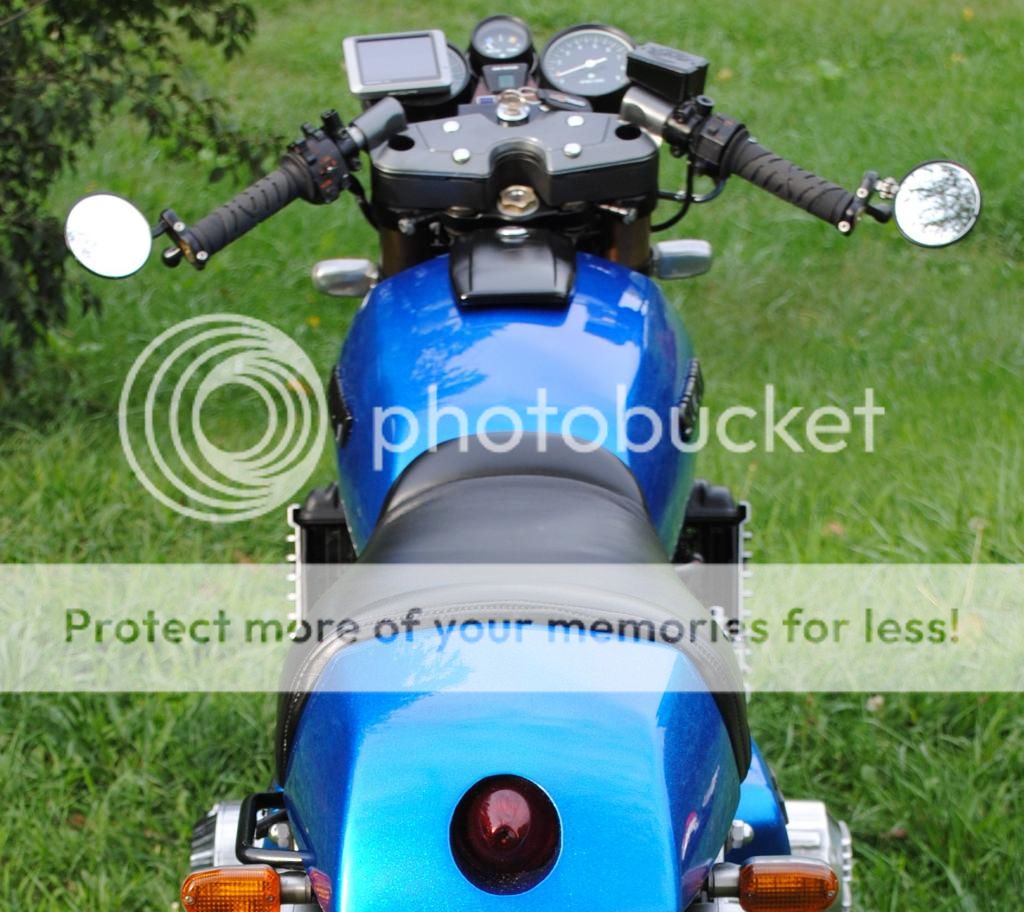
After:
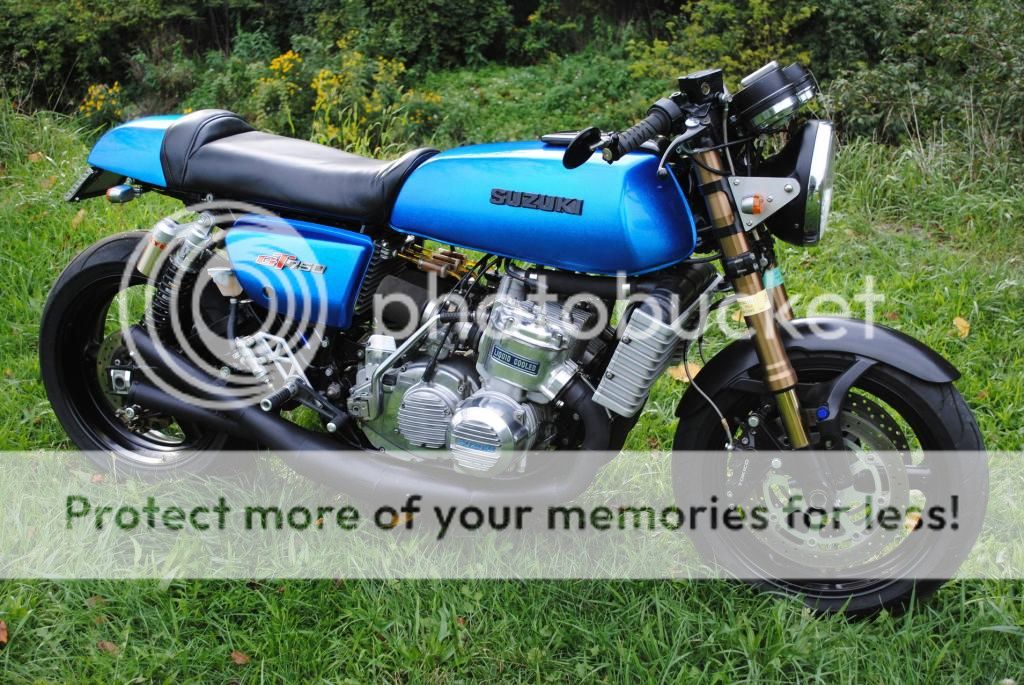
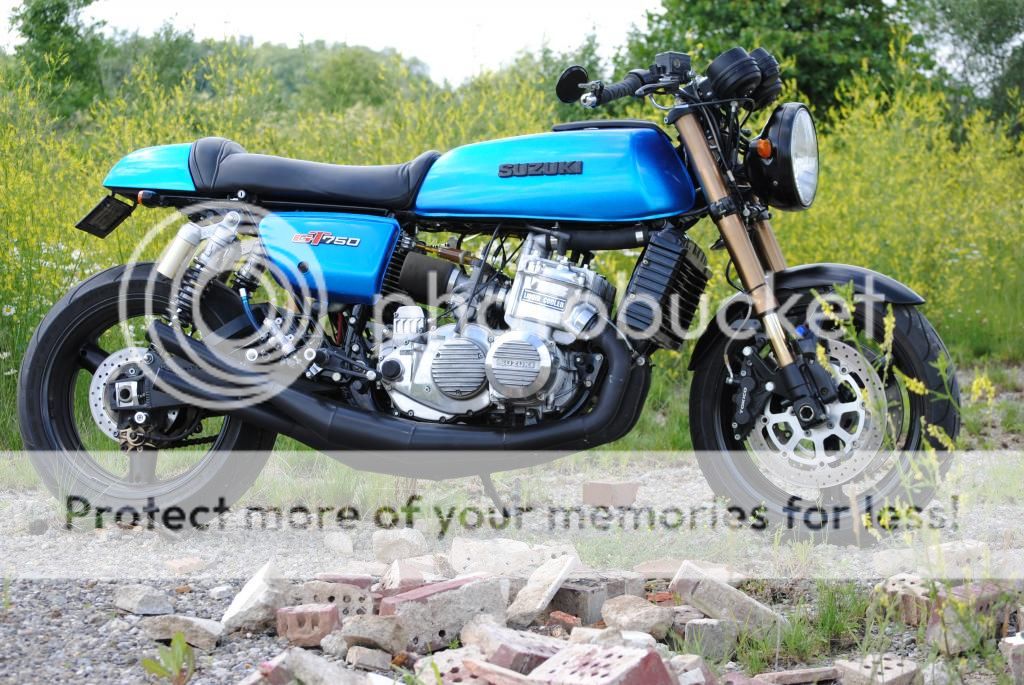
2013 after final tweaks & a few aesthetic changes
I grew up riding two strokes on a farm in Indiana. It all started with dirt bikes of course, Suzuki, Yamaha, Husky, Bultaco and many others. My first street bike a 1976 RD200 Smoker came in a box that my grandfather had gotten in a trade. My dad and I put that bike back together during the winter when I was 12 years old. By spring I dreamt of nothing more than getting on that bike and cruising the country back roads. Once the RD was sorted I did just that, often.
Fast forward, to my 19th summer in 1988 I found a 1972 GT 750 Buffalo in a barn with 60,000 miles showing and bird droppings two inches thick. Yeah, it was the rare hot pink/purple with white stripes model that sported the drum front brakes. After negotiating a $125.00 price with the farmer I hauled the bike home and hosed it off. After a good cleaning, flushing and points adjustment the old GT fired up. I continued on with painting the GT metallic mid-night blue, adding a cafe fairing, jetted carbs, filters and Strader 3 into 1 expansion chambers. I pretty much unknowingly ruined a future classic!!! But this was my first real venture into modified bikes. Little did I know the disease had settled deep into my bones.
I road that GT until I found my 82 GS1100 the next summer. Consequently, the poor GT ridden infrequently sat until I decided to sell it when I was moving out west to California. The GS1100 became my canvas and is still with me to this day. Fast forward again to 2012 my 43rd summer. My good friend Tim contacts me about selling his amazing, but unfinished project 1976 Suzuki GT 750. Tim and I came to an agreement and I hauled the non-runner home 18 hours round trip to Indiana from Georgia.
After roughly 120 hours of finish assembly, rewiring, adding electronic ignition, countless hours of carb testing, tuning, painting, polishing, buffing and general bonding I have a fantastic running and thoroughly beta tested GT750. NOT STOCK! The GT became my ride of choice among the Ducatis, Triumphs, Suzukis, and Hondas in my garage. This bike just pushes all of my motorcycling hot buttons, although it is a noisy hot rod and completely impractical.
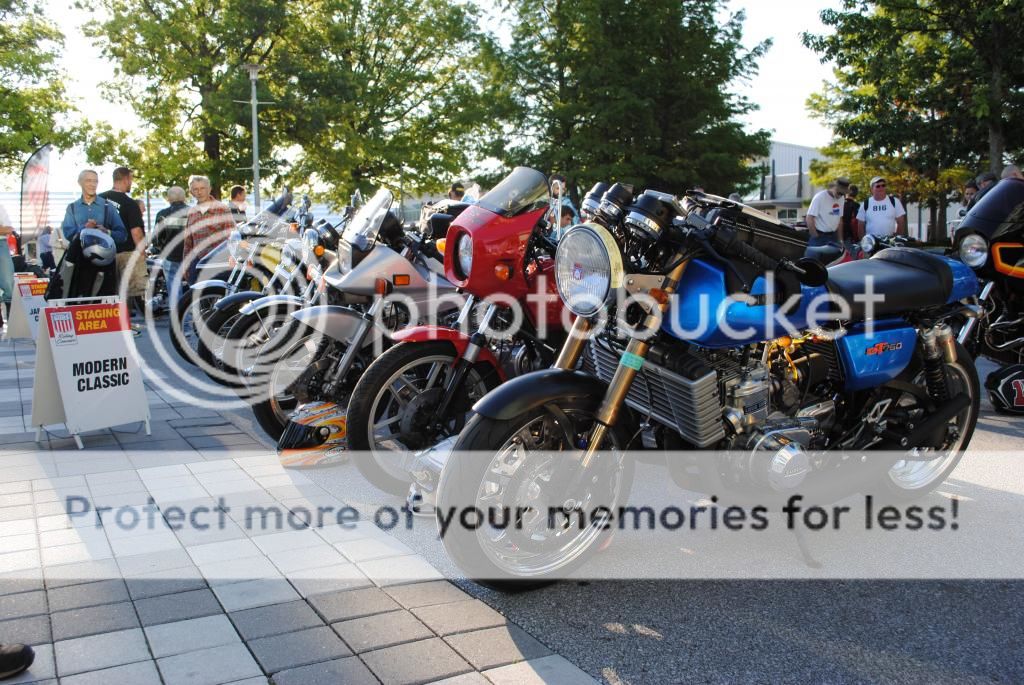
The smoker made its maiden road trip to the 2012 Indianapolis Moto GP where it lapped the track in all its smokey glory. At the Cycle World Rolling Concourse the GT750 was a hit evident by the thumbs up and crowds it drew. Editor Mark Hoyer Published a rolling photo of the Buffalo on the Cycle World Magazine Face Book page, perhaps the best compliment this Smoker could ever receive.
Not bad for another dubious project two-stroke.
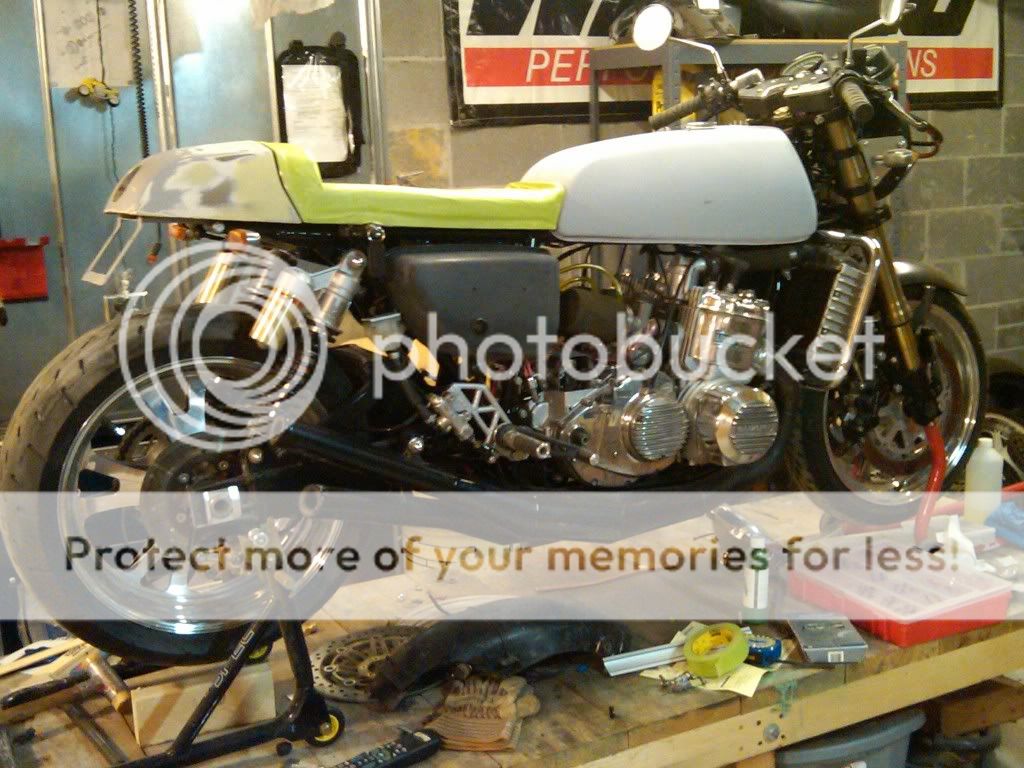
Suzuki GT 750 Cafe Build List:
Frame up Resto
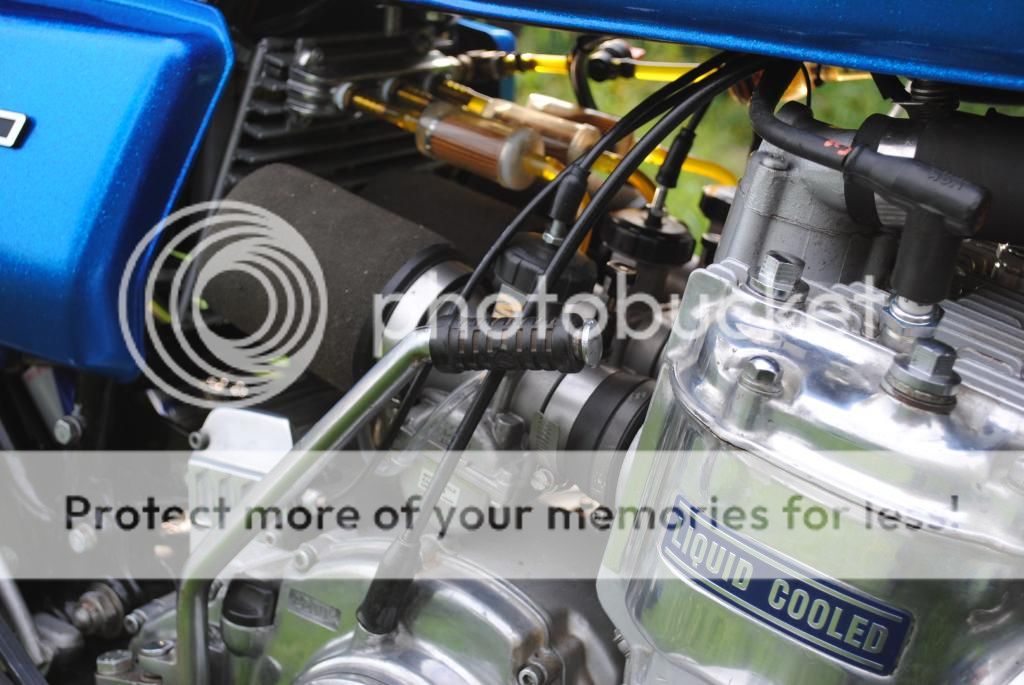
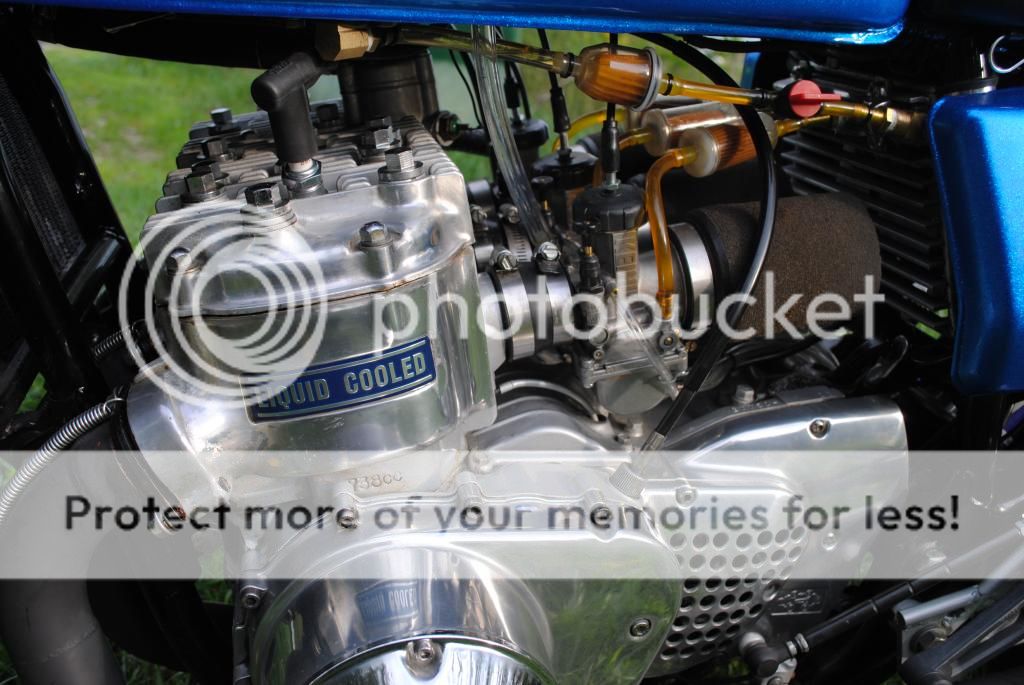
150 PSI Hi Comp fully built motor
Copper Head Gasket
Base Plate
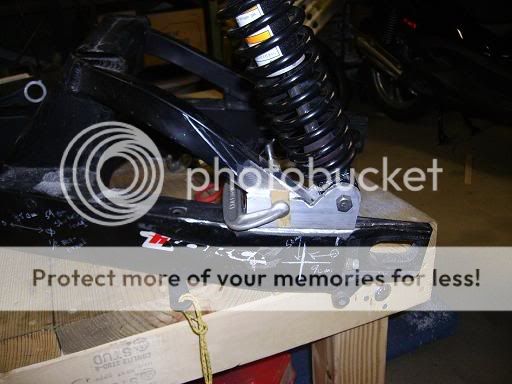
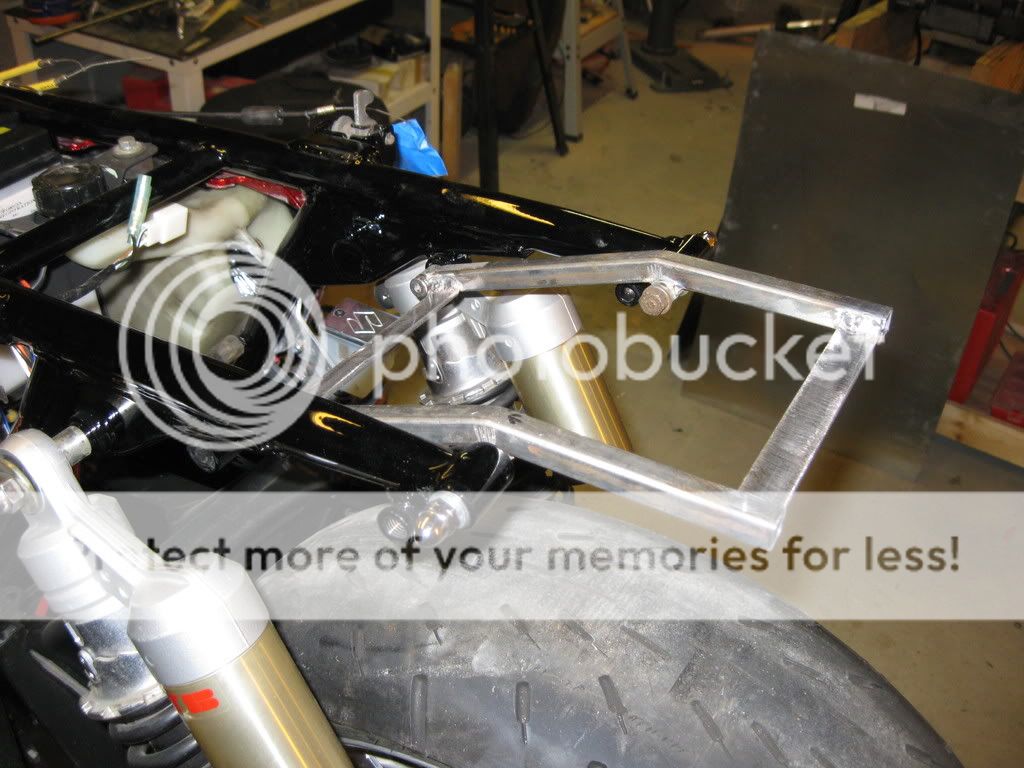
GSXR Rear swing arm
Hayabusa Front forks and triples
Busa 17” Wheels with 6” rear
Tokico 6 pot Brakes
Braided lines
KYB Shocks
New wiring harnesss
GS 1100E Head Light
Newtronic Ignition
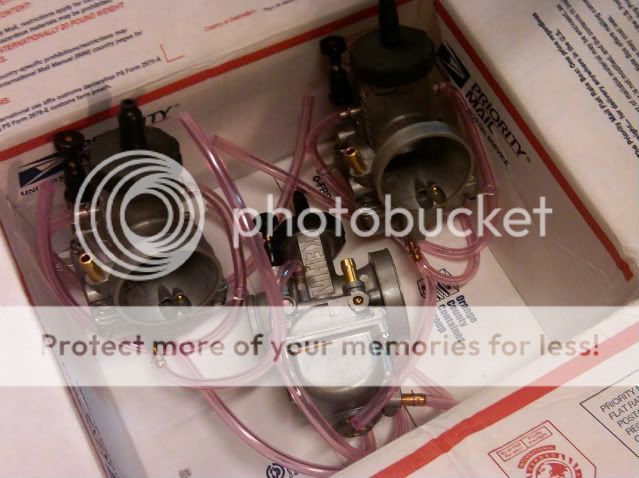
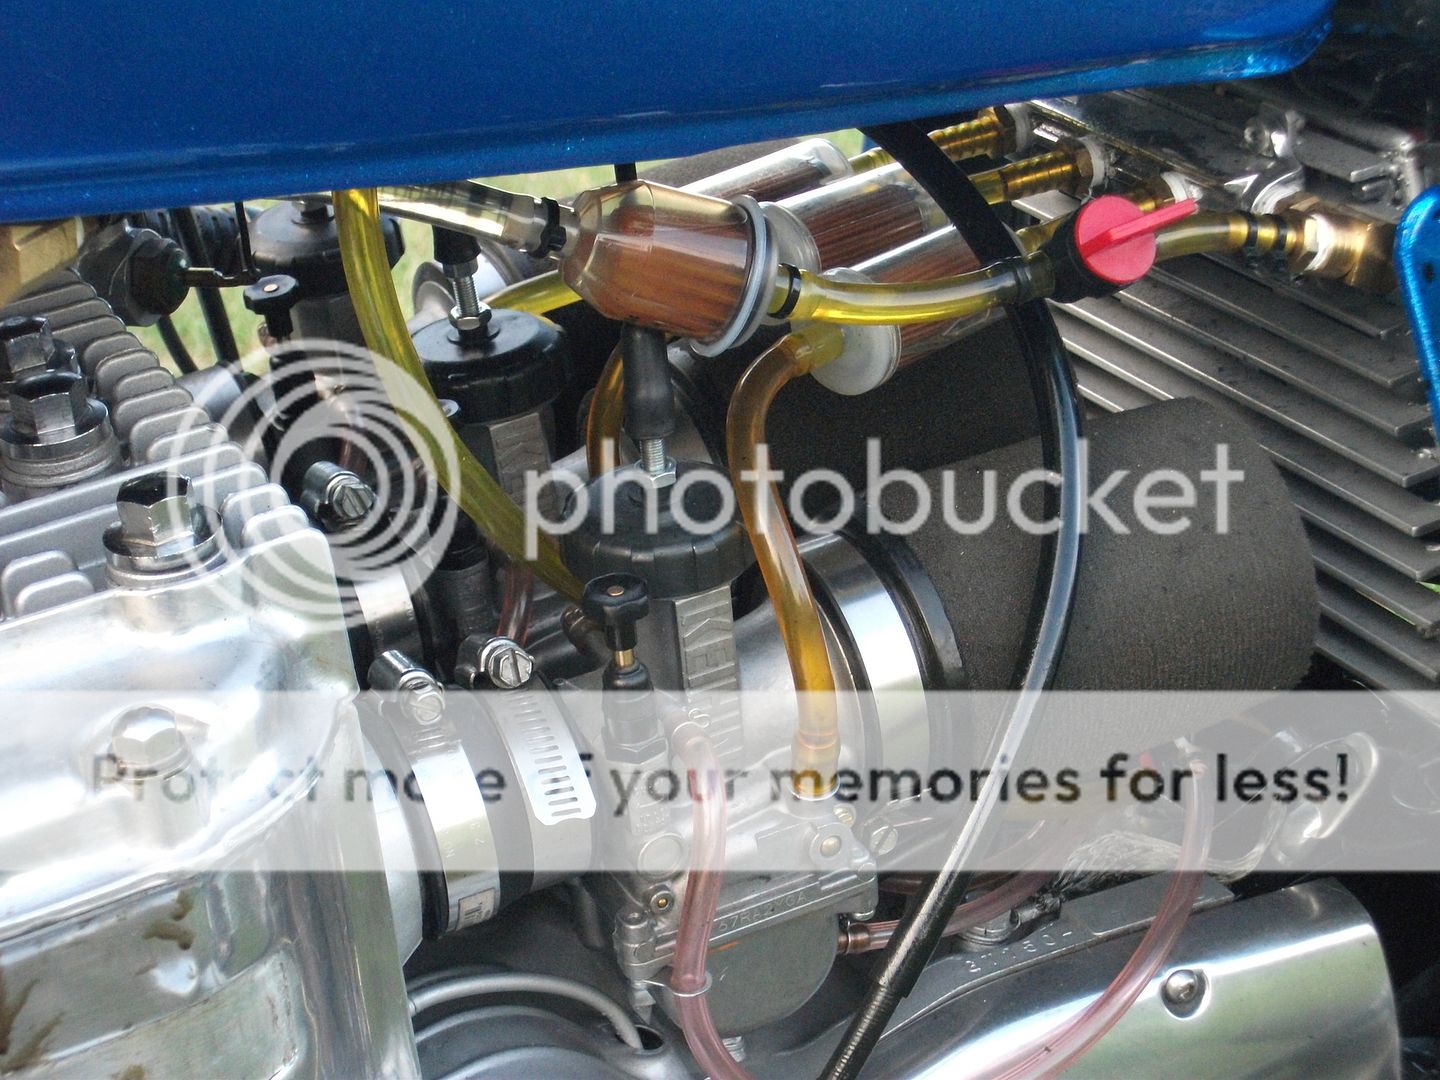
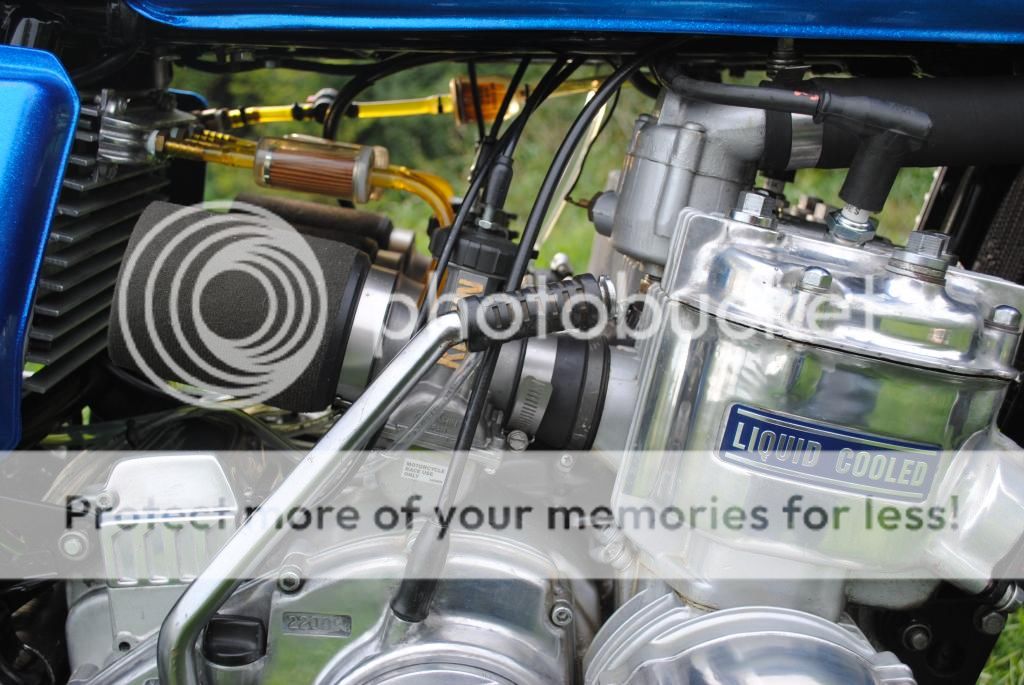
Keihin Oval Slide Carbs
Custom 3 pot fuel rail
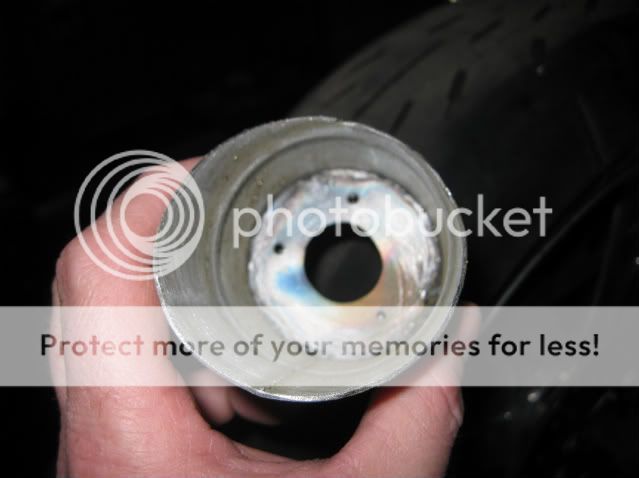
Jemco Pipes
Performance Machine Wheels (Bling)
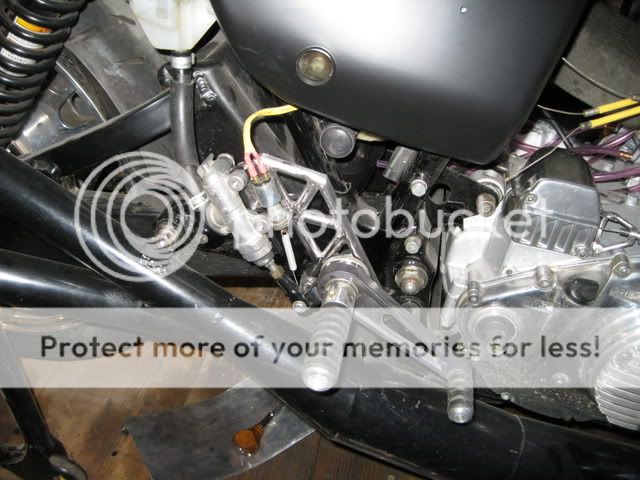
Tarozzi Custom Rear Sets
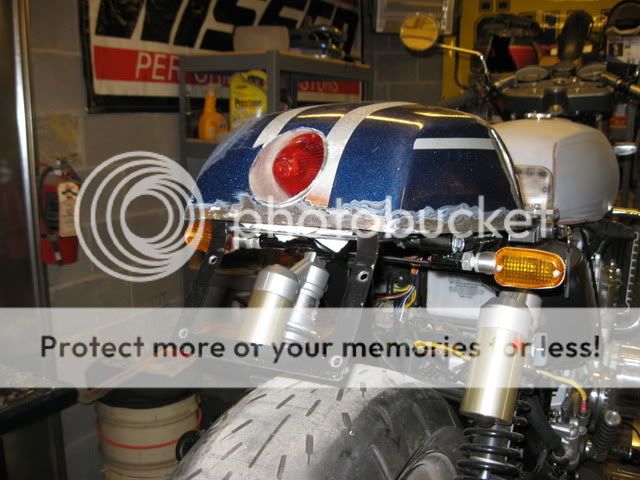
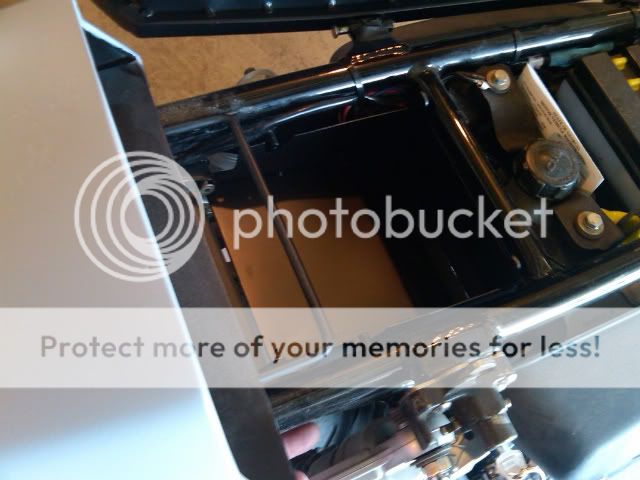
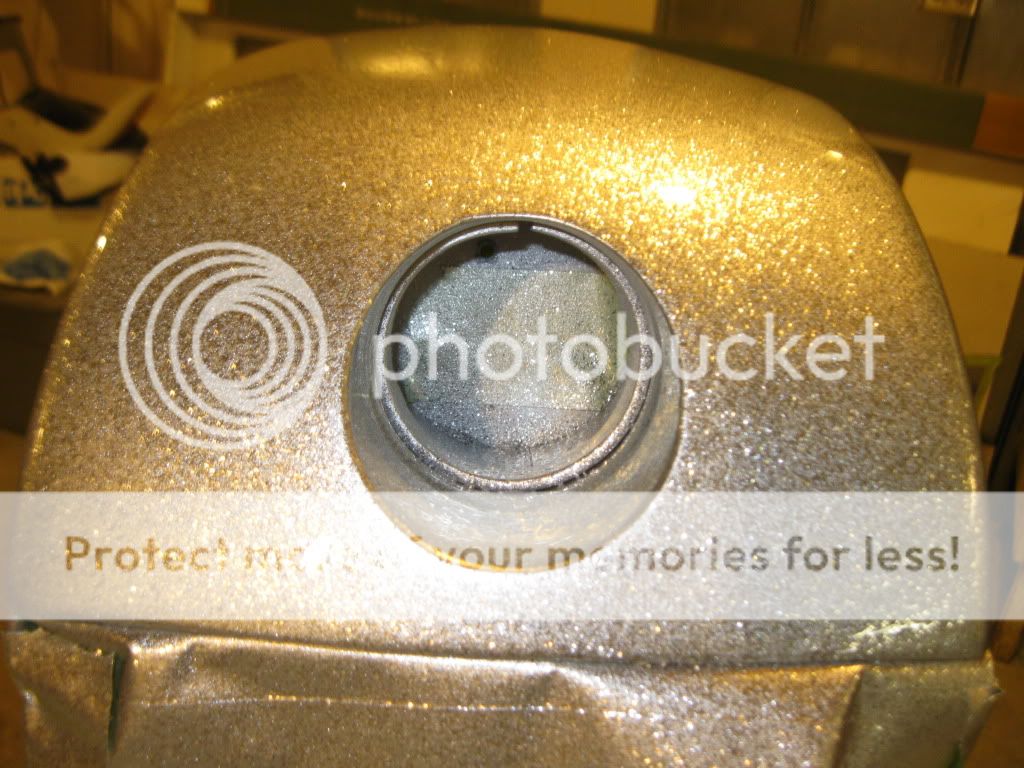
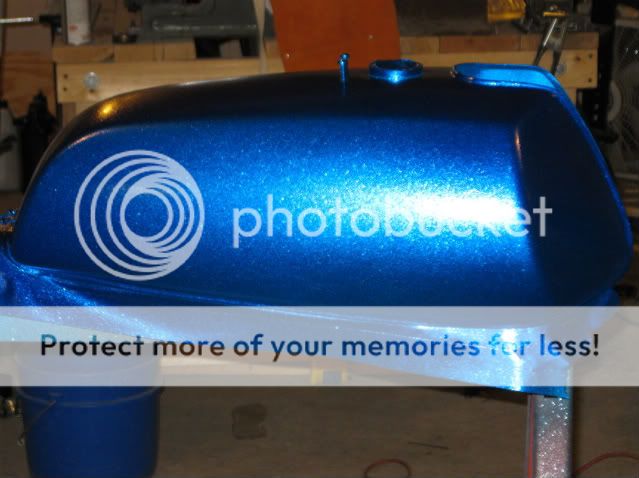
Suzuki RE5 Tank
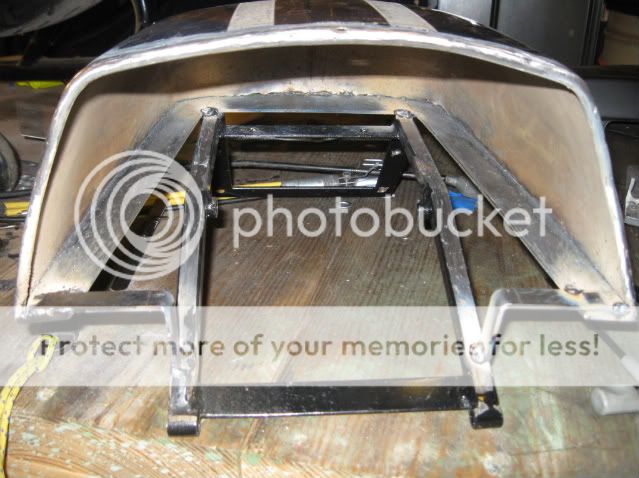
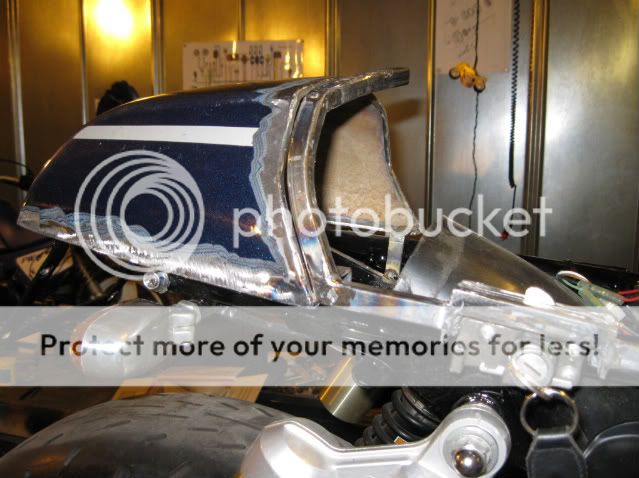
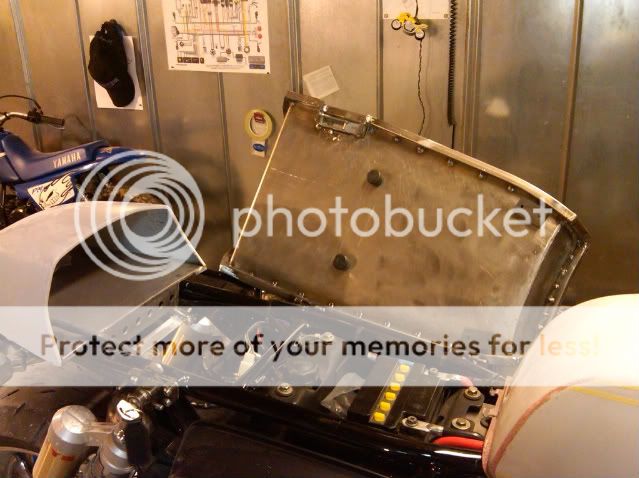
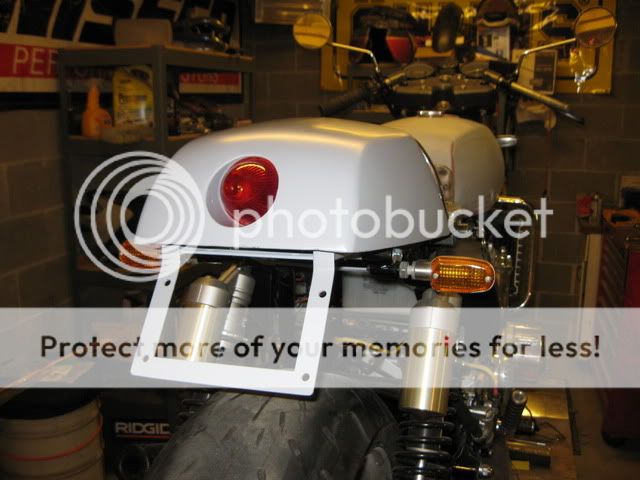
Custom RE5 tail
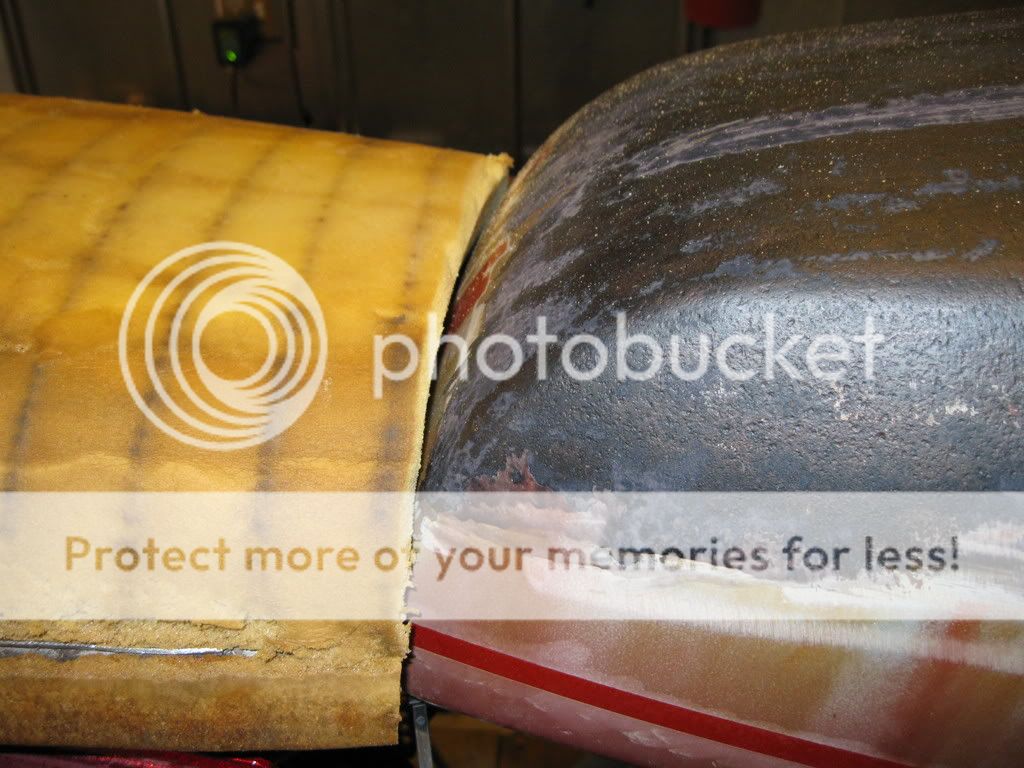
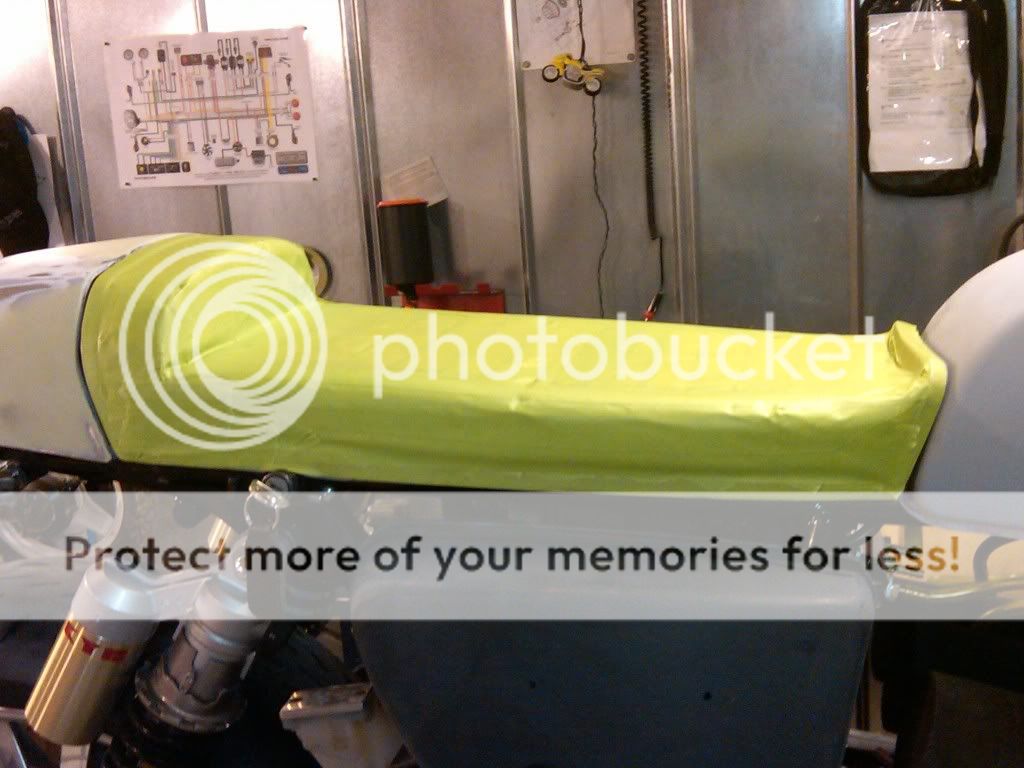
Custom seat pan & seat
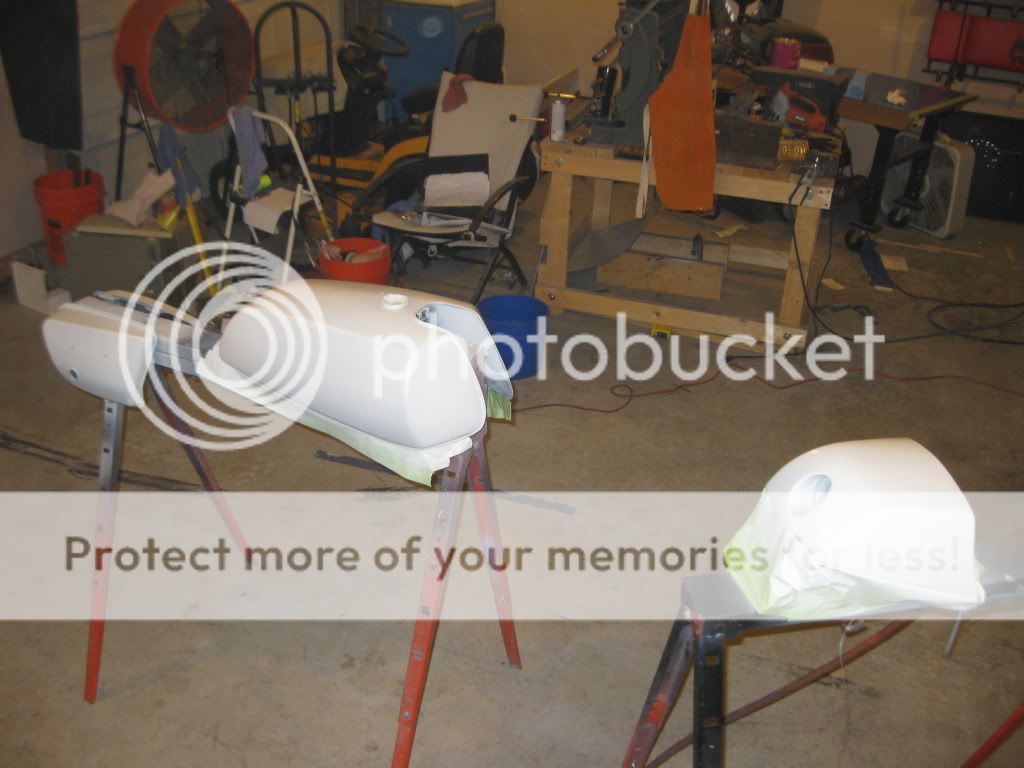
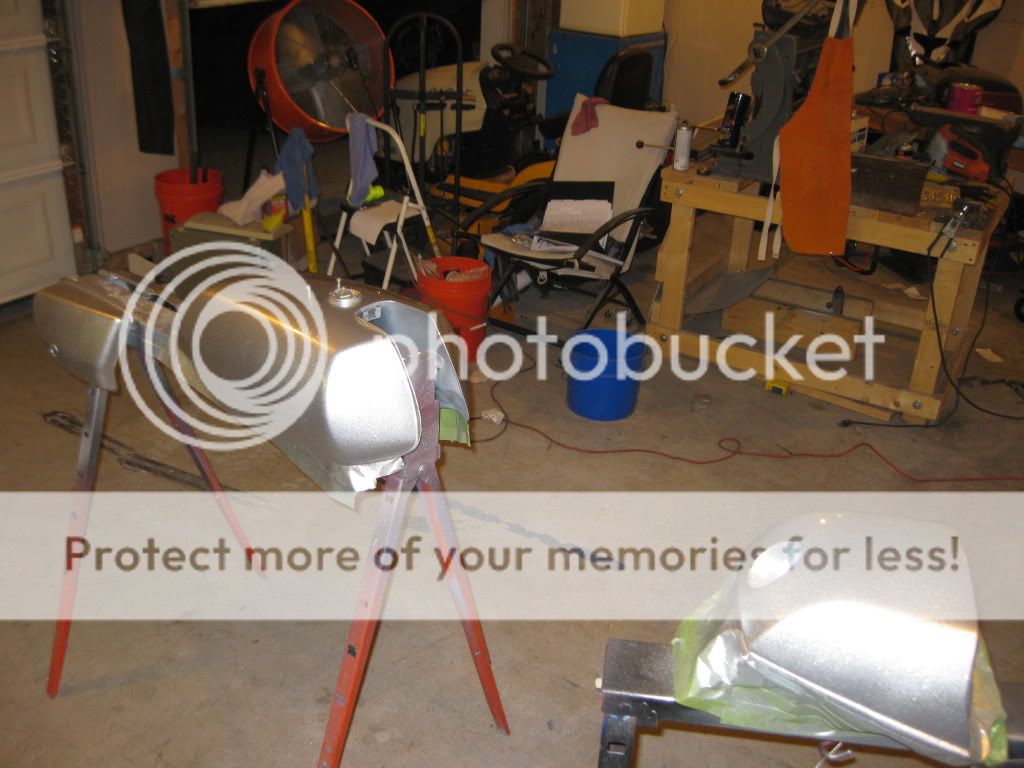
Paint: PPG Blue metal flake
Many pictures of the history of the build to follow.
The complete Story of "Bad Buffalo" as covered by VMOL (Vintage Motorcycles On Line)
"One Bad Buffalo"
http://www.vintagemotorcyclesonline.com/features/stories/261-one-bad-buffalo
10/30/14: So I got the Bad Buffalo out for a run today. I made a short video walk around of the bike running & riding. I also Ripped through a few turns with the Jemco pipes whaling and six pot Tokicos doing their job (remaining mindful of motorists, hidden driveways and pedestrians of course).
Entitled Bad Buffalo Smoke'n The Ton!
https://www.youtube.com/watch?v=lCcJ-_-8co8
8/26/12
Video Fly-by of Jemcos screaming:
http://www.youtube.com/watch?v=FjQDDx5fm1Q
Before:
After:
2013 after final tweaks & a few aesthetic changes

I grew up riding two strokes on a farm in Indiana. It all started with dirt bikes of course, Suzuki, Yamaha, Husky, Bultaco and many others. My first street bike a 1976 RD200 Smoker came in a box that my grandfather had gotten in a trade. My dad and I put that bike back together during the winter when I was 12 years old. By spring I dreamt of nothing more than getting on that bike and cruising the country back roads. Once the RD was sorted I did just that, often.
Fast forward, to my 19th summer in 1988 I found a 1972 GT 750 Buffalo in a barn with 60,000 miles showing and bird droppings two inches thick. Yeah, it was the rare hot pink/purple with white stripes model that sported the drum front brakes. After negotiating a $125.00 price with the farmer I hauled the bike home and hosed it off. After a good cleaning, flushing and points adjustment the old GT fired up. I continued on with painting the GT metallic mid-night blue, adding a cafe fairing, jetted carbs, filters and Strader 3 into 1 expansion chambers. I pretty much unknowingly ruined a future classic!!! But this was my first real venture into modified bikes. Little did I know the disease had settled deep into my bones.
I road that GT until I found my 82 GS1100 the next summer. Consequently, the poor GT ridden infrequently sat until I decided to sell it when I was moving out west to California. The GS1100 became my canvas and is still with me to this day. Fast forward again to 2012 my 43rd summer. My good friend Tim contacts me about selling his amazing, but unfinished project 1976 Suzuki GT 750. Tim and I came to an agreement and I hauled the non-runner home 18 hours round trip to Indiana from Georgia.
After roughly 120 hours of finish assembly, rewiring, adding electronic ignition, countless hours of carb testing, tuning, painting, polishing, buffing and general bonding I have a fantastic running and thoroughly beta tested GT750. NOT STOCK! The GT became my ride of choice among the Ducatis, Triumphs, Suzukis, and Hondas in my garage. This bike just pushes all of my motorcycling hot buttons, although it is a noisy hot rod and completely impractical.
The smoker made its maiden road trip to the 2012 Indianapolis Moto GP where it lapped the track in all its smokey glory. At the Cycle World Rolling Concourse the GT750 was a hit evident by the thumbs up and crowds it drew. Editor Mark Hoyer Published a rolling photo of the Buffalo on the Cycle World Magazine Face Book page, perhaps the best compliment this Smoker could ever receive.
Not bad for another dubious project two-stroke.
Suzuki GT 750 Cafe Build List:
Frame up Resto
150 PSI Hi Comp fully built motor
Copper Head Gasket
Base Plate
GSXR Rear swing arm
Hayabusa Front forks and triples
Busa 17” Wheels with 6” rear
Tokico 6 pot Brakes
Braided lines
KYB Shocks
New wiring harnesss
GS 1100E Head Light
Newtronic Ignition
Keihin Oval Slide Carbs
Custom 3 pot fuel rail
Jemco Pipes
Performance Machine Wheels (Bling)
Tarozzi Custom Rear Sets
Suzuki RE5 Tank
Custom RE5 tail
Custom seat pan & seat
Paint: PPG Blue metal flake
Many pictures of the history of the build to follow.