Follow along with the video below to see how to install our site as a web app on your home screen.
Note: This feature currently requires accessing the site using the built-in Safari browser.
We noticed you are blocking ads. DO THE TON only works with community supporters. Most are active members of the site with small businesses. Please consider disabling your ad blocking tool and checking out the businesses that help keep our site up and free.
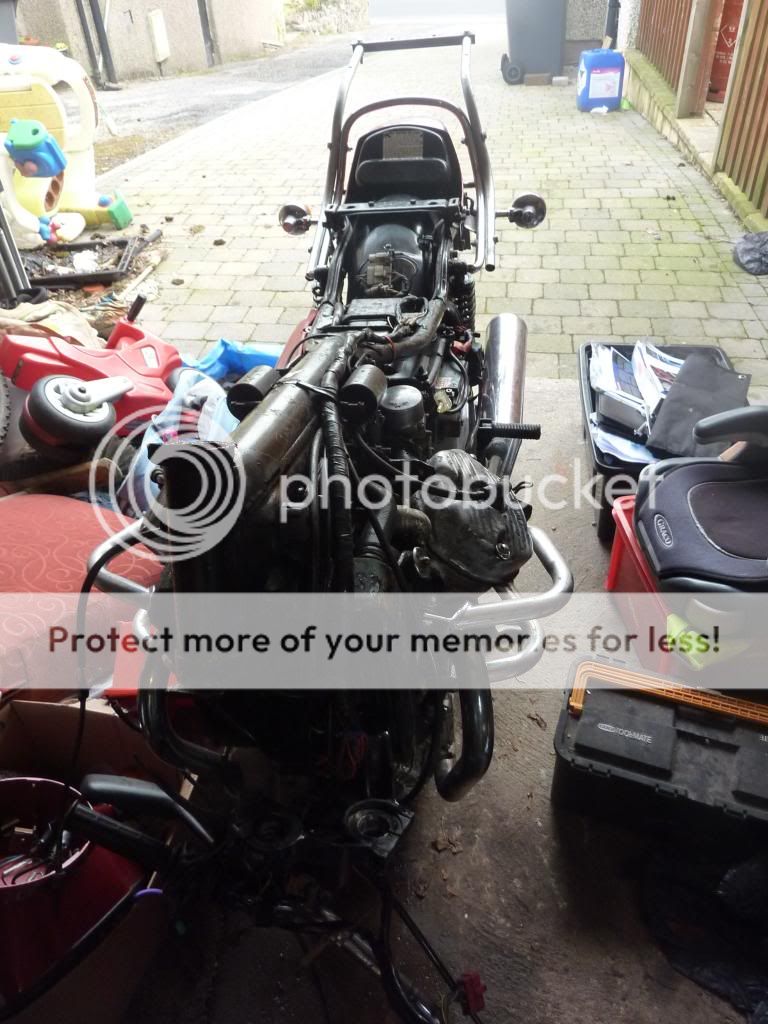
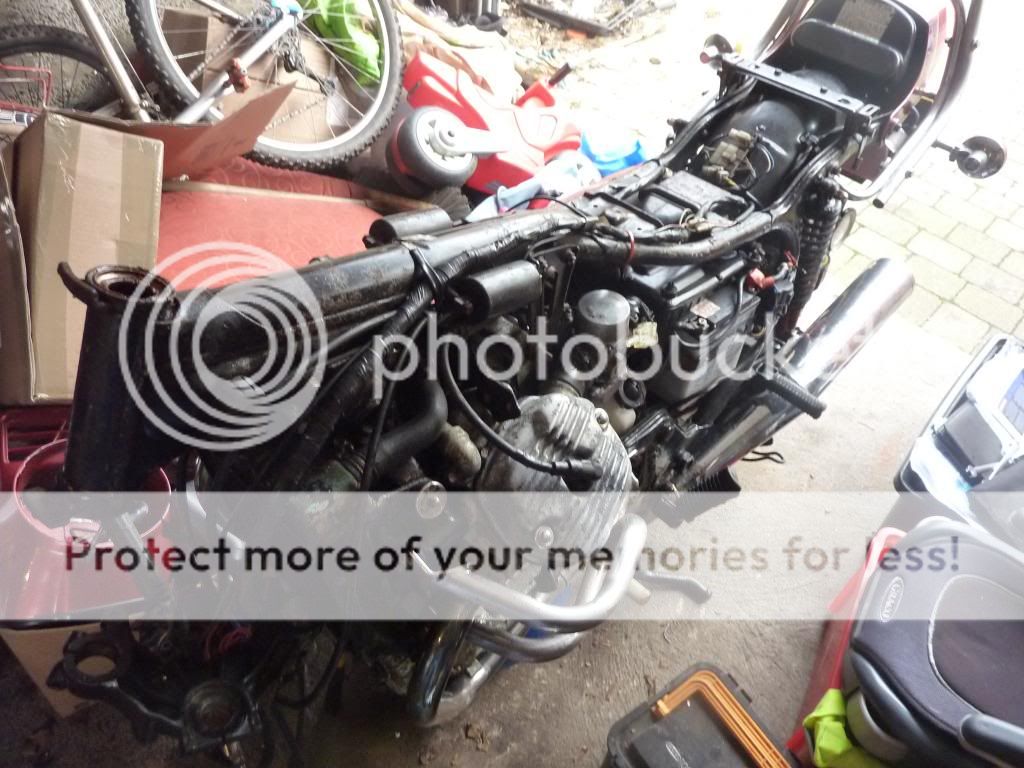
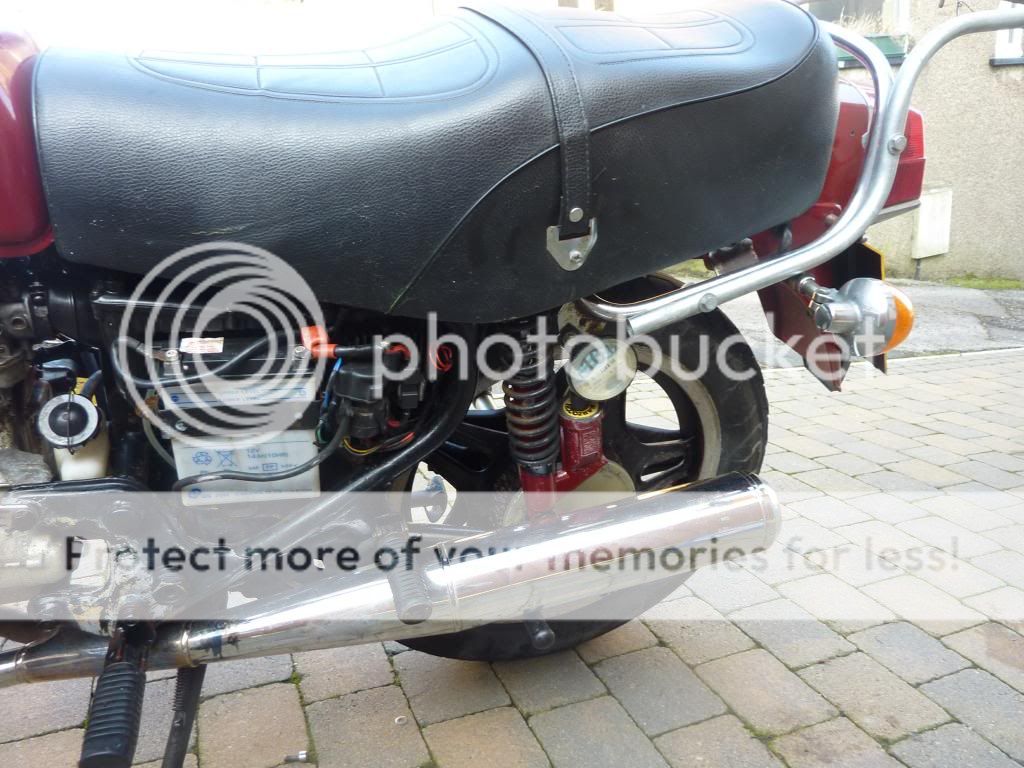
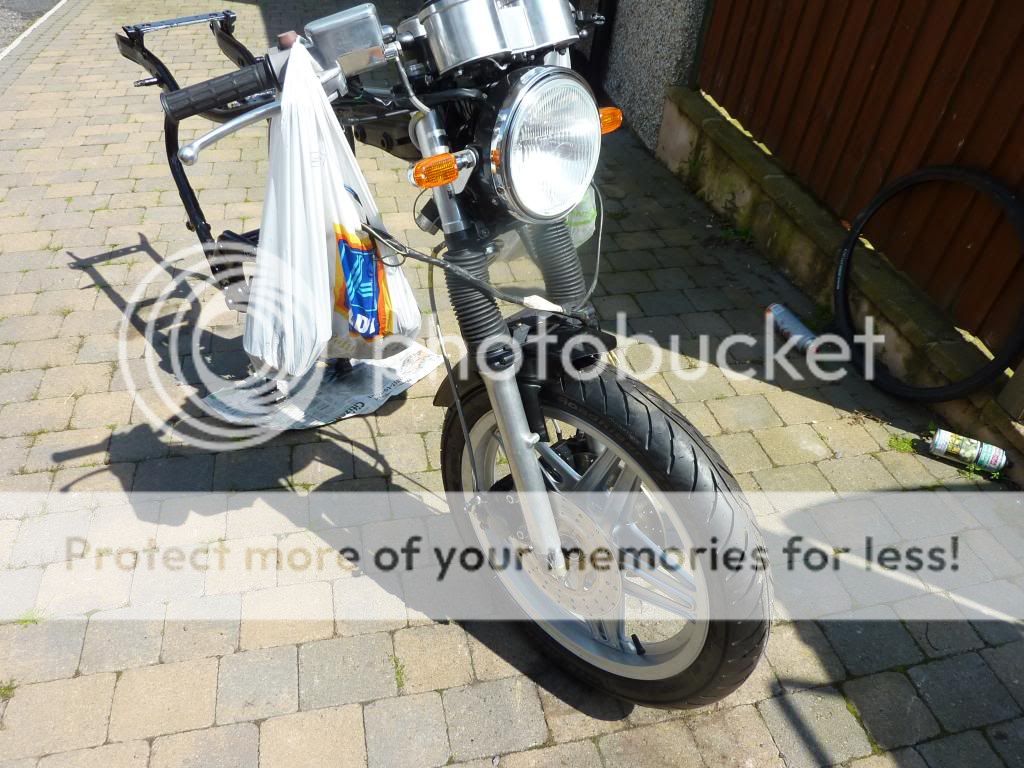
I've been wanting to do a Café project for a while and finally decided on a CX500 after discovering a barn find, a 1981 CX500B (last of the twin shock models) . She's a bit rough cosmetically but the frame is solid with no rust and the engine runs as sweet as a nut. Low mileage at 16,000 - that's an average of about 500 a year.
The plan is to build this with my son and teach him mechanics (we did a 2 stroke scooter last year but time to do a proper bike ;D ), and then ride it to the 2014 IoM TT - which means it's going to have to be a two seater Café racer (it's going to be a challenge to get the seat to look right scratch ).
I have some ideas on how the build will go, but will make a lot of it up as I go along. Whilst it's never going to be a sports bike, I'm going to try and improve the handling and make sure she can do a ton.
Here she is
I've already started ripping her down (looks like I need to clean the garage out :lol
I have already started ripping her down (by the looks of it I also need to tidy the garage ;D ).
I'm probably going to do this in an unconventional way by rebuilding the front (wheel, suspension, brakes and clocks), then the rear (wheel, suspension, swing arm etc), the engine & battery relocation, and then finally paint and seat.
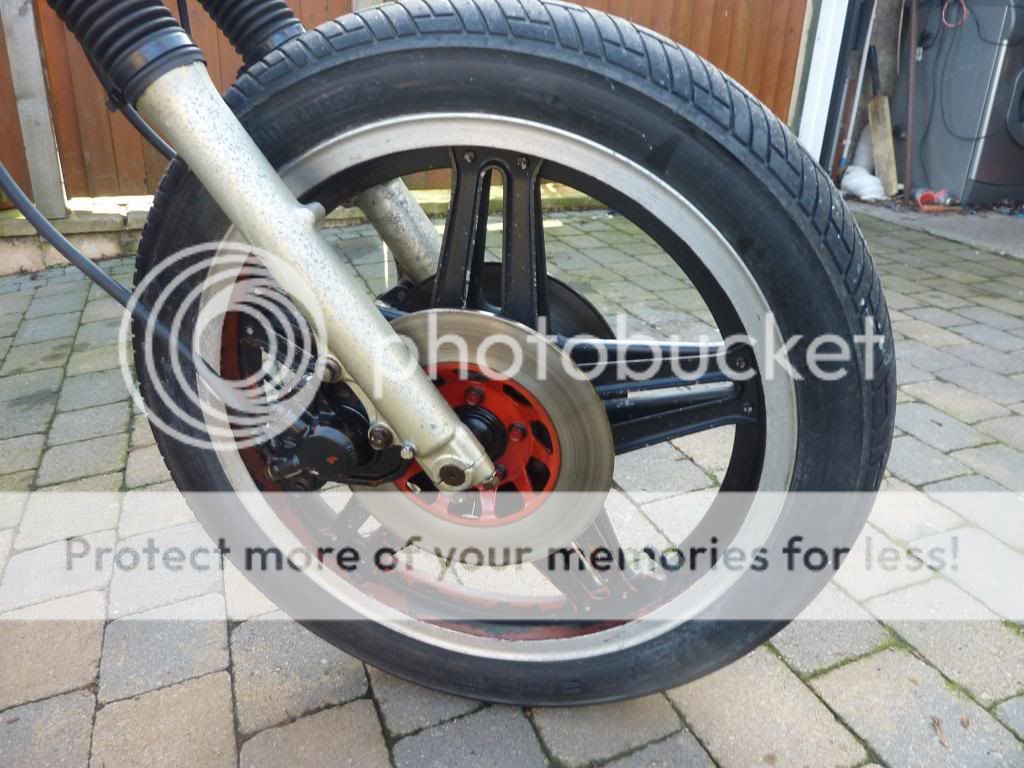
Here's a close up of the front wheel (a bit of work required)
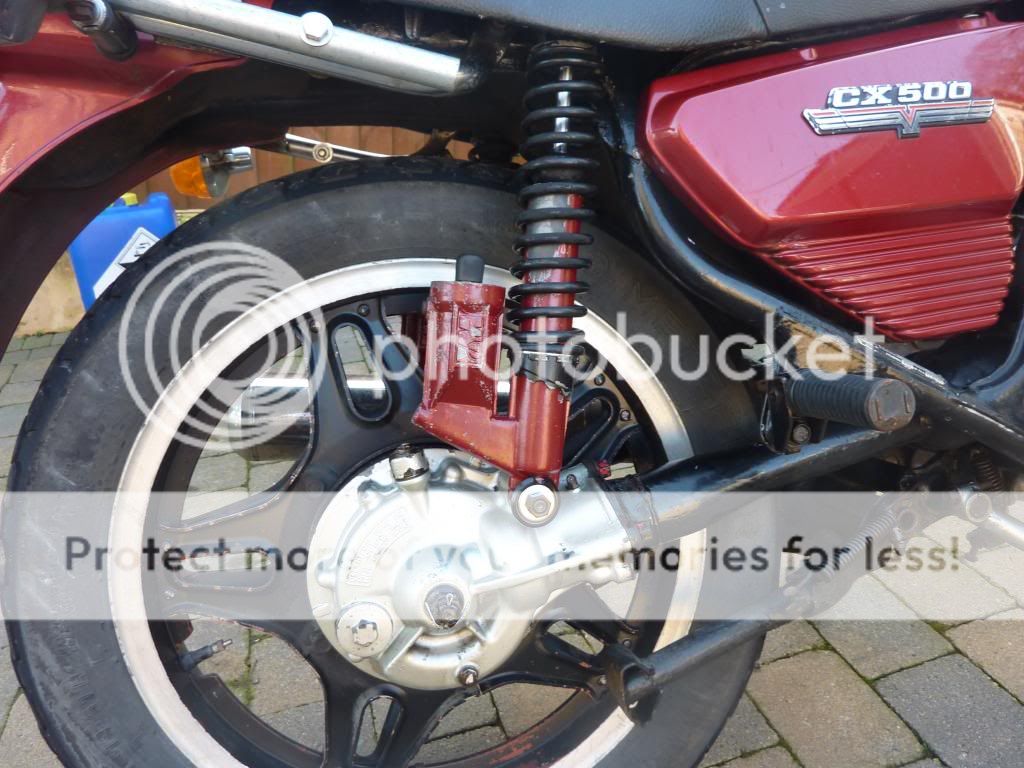
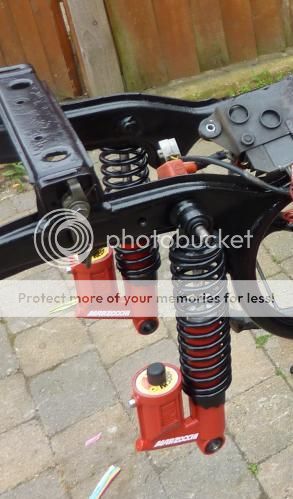
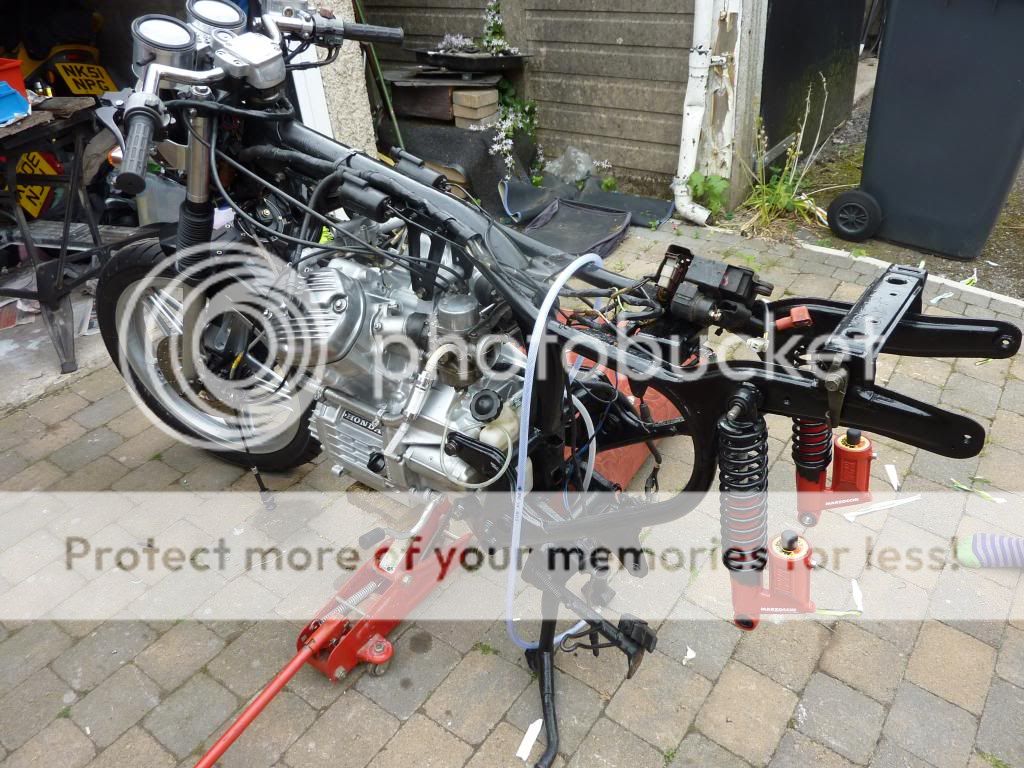
I was planning of using some Hagon shocks, but the bike came fitted with some lovely Marzocchi Strada piggy back shocks. These were standard fitment on late 70's/early 80s Ducati's, Hesketh's and even the last of the Meriden Triumph Bonneville's, so they have some pedigree.
I need to get a rebuild kit, repaint the body, and probably get the springs powder coated (unless I can source some new original springs).
It also came fitted with a Motad 2 into 1 exhaust, which is in mint condition. This is a bit quiet and I prefer the look of megaphone's, so this will get eBayed.
I will probably fit something like a pair of these
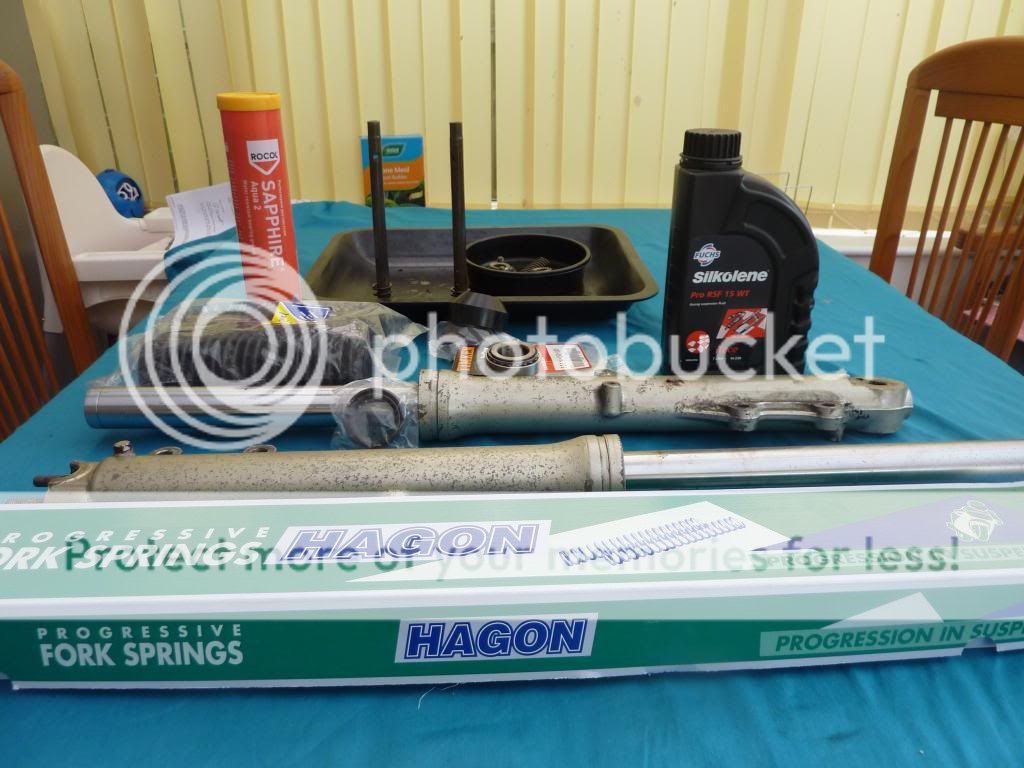
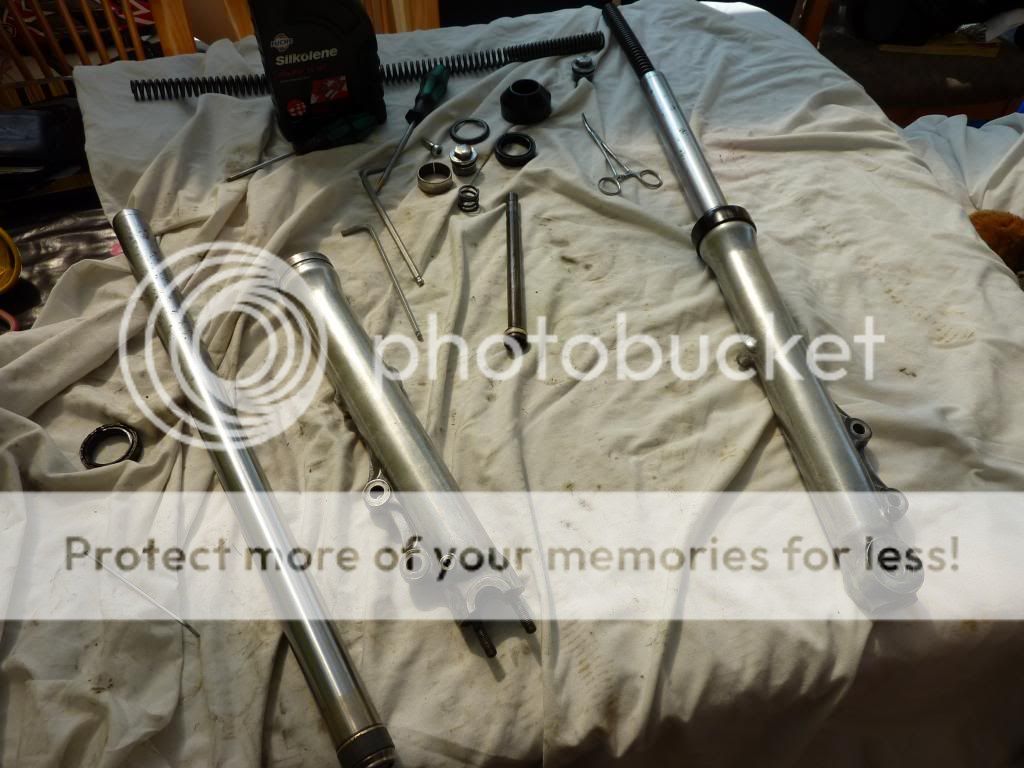
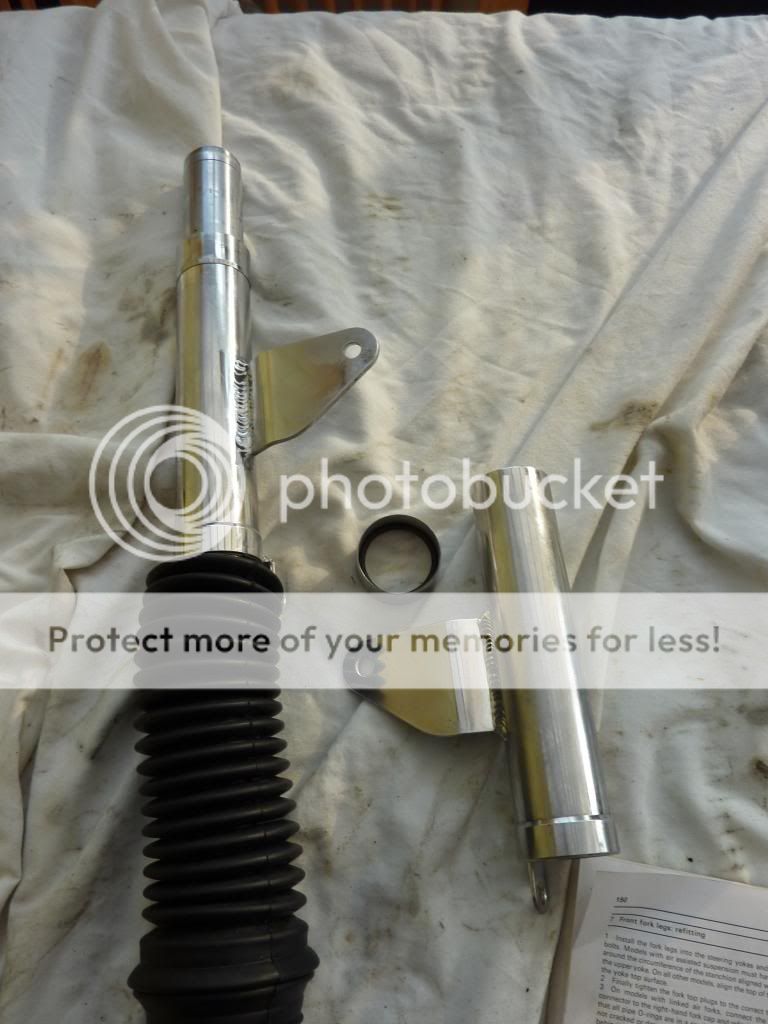
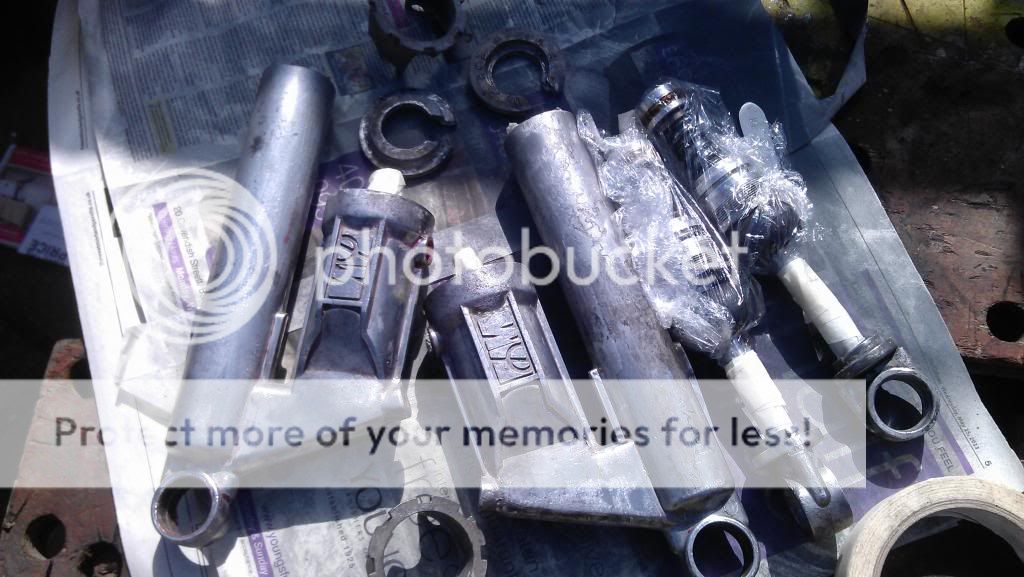
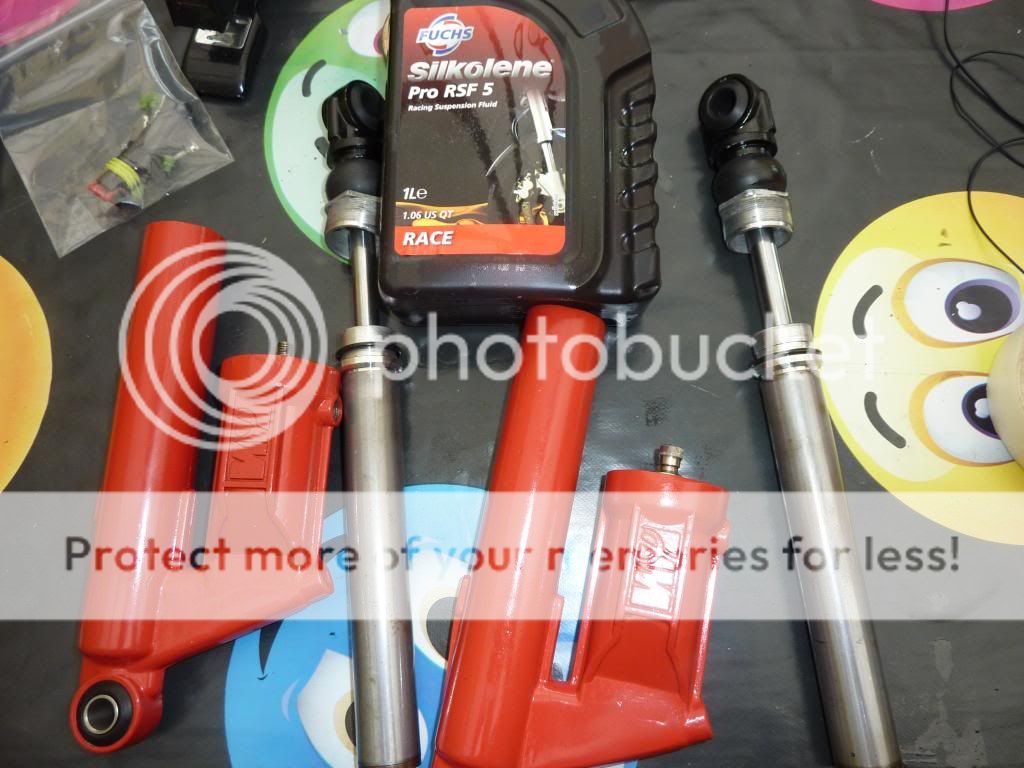
The forks were in reasonable condition, but to try and improve the handing of the bike, I have stripped them down and rebuild them. The were tested and found to be straight. Whist rebuilding them, they were fitted with some Hagon progressive springs, some 15 wt Silkolene Pro RSF 15 suspension fluid (a bit overkill but I had half a bottle lying around) and new seals.
Someone had painted the fork legs and the paint was flaking off, so they were stripped of the paint and the bare alloy polished up.
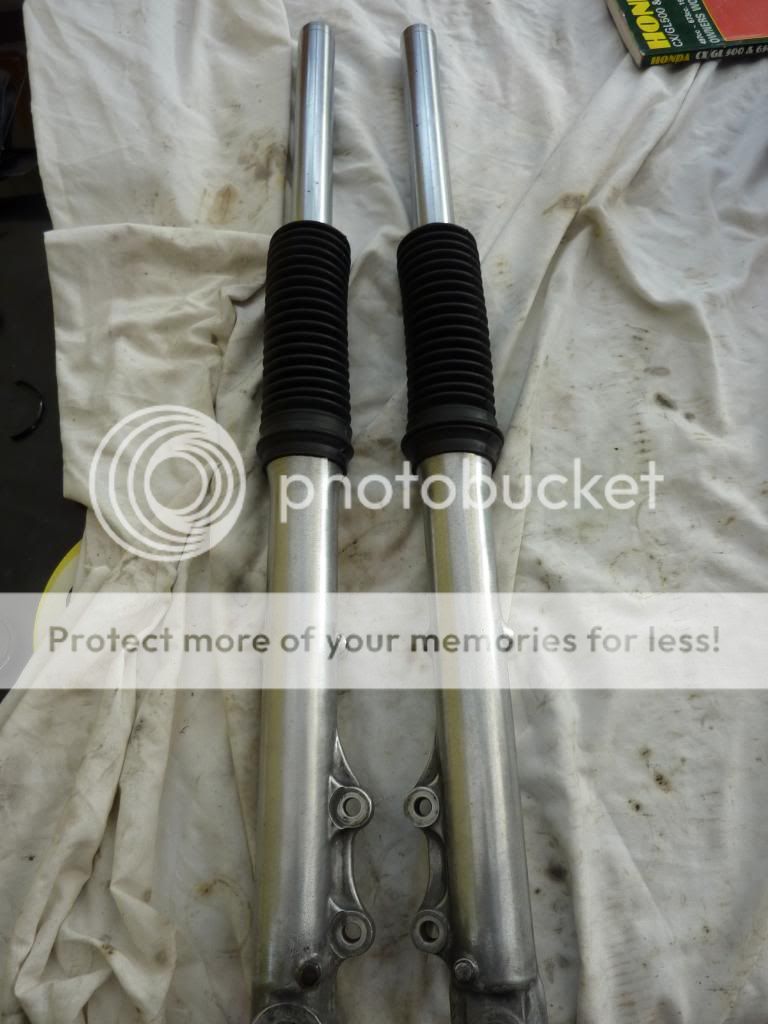
Whilst I had the forks apart, everything was soaked and thoroughly cleaned in a mix of AFT fluid and acetone. Fitted some gaiters as well.
These were then finished by adding some lovely custom made alloy headlamp brackets (quality items that are adjustable if you have replaced the head bearings with taper roller ones - and even come fitted with O rings to create a nice seal), I managed to source from caferacerkits.co.uk. These managed to cover the slight pitting that was on the top of the fork tubes.
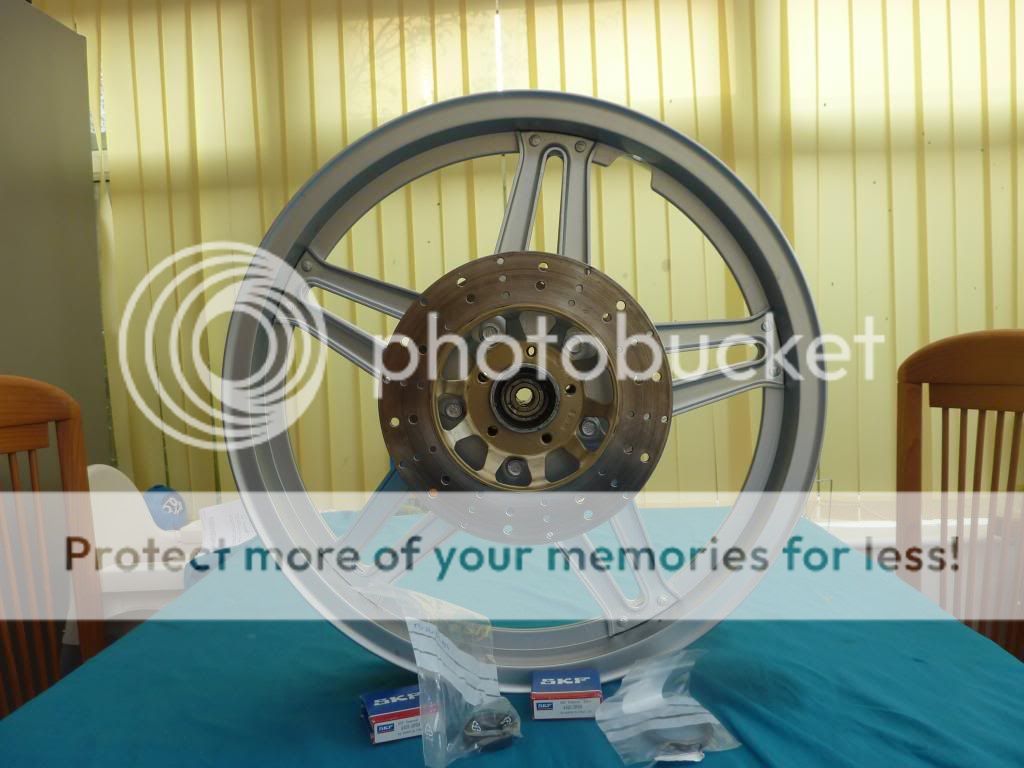
I thought about converting the wheels to spoked ones, but the standard fit Comstar's are fairly iconic (one of the 1st tubeless wheels fitted to a production bike), so these were refurbed.
It would have been too tricky to take them back to the bare allow and polish them up (plus they may look a bit too bling, so they were repainted with some alloy wheel paint).
Whilst I was at it I changed the wheel bearings and seals. They did have some fairly new (but rubbish) Koyo bearings fitted but some clown had damaged one of the dust shields hammering them in. They were fitted with some quality SKF bearings, and to prevent any damage I made my own bearing tool from some threaded bar, some suitably sizes washers and a couple of nuts.
Having measured the discs, they appeared fairly new. To improve the looks and wet weather braking, I got the disks drilled by the very helpful John @ the wingovations.com Honda Goldwing fan web site, who very kindly created a template for CX500 discs for me - so any other CX500 owner that wants their discs drilling drop John a line.
looks like you're making some good progress alaready. awesome that you're teaching the kid we got to keep this passion going. look forward to watching this build.
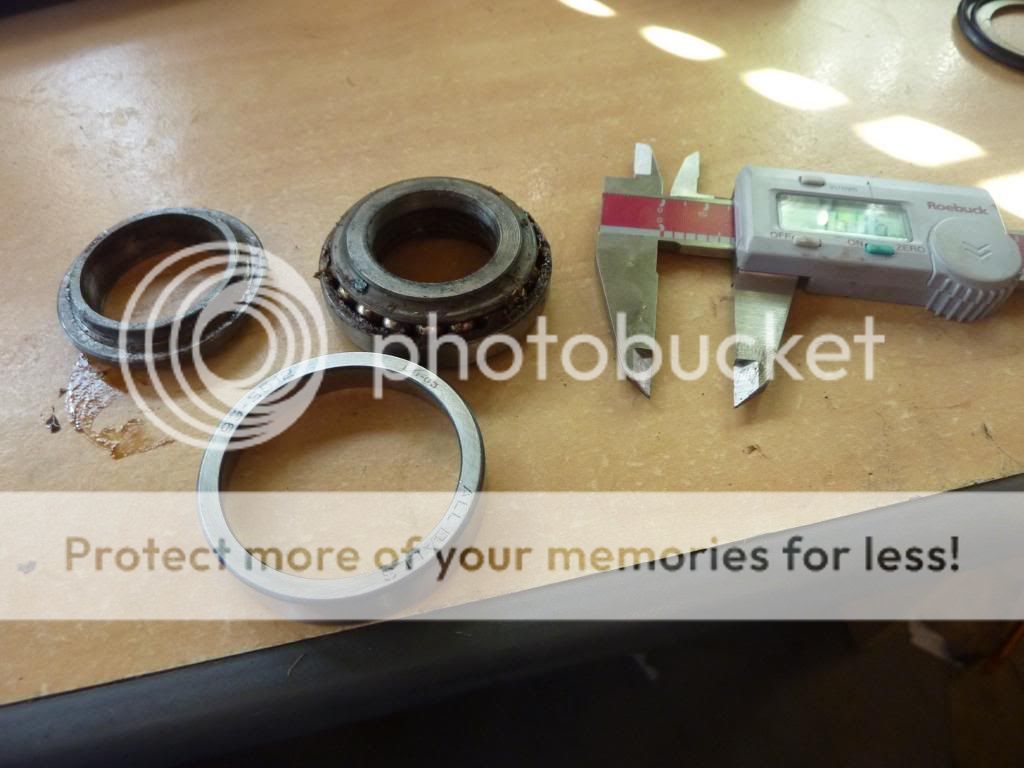
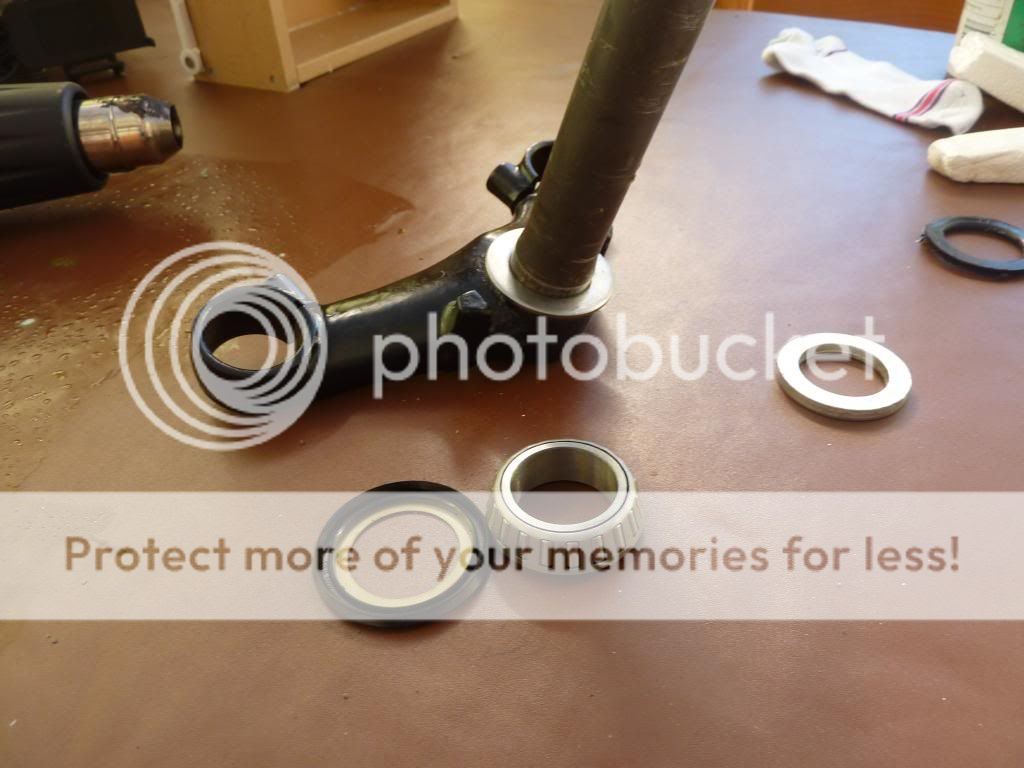
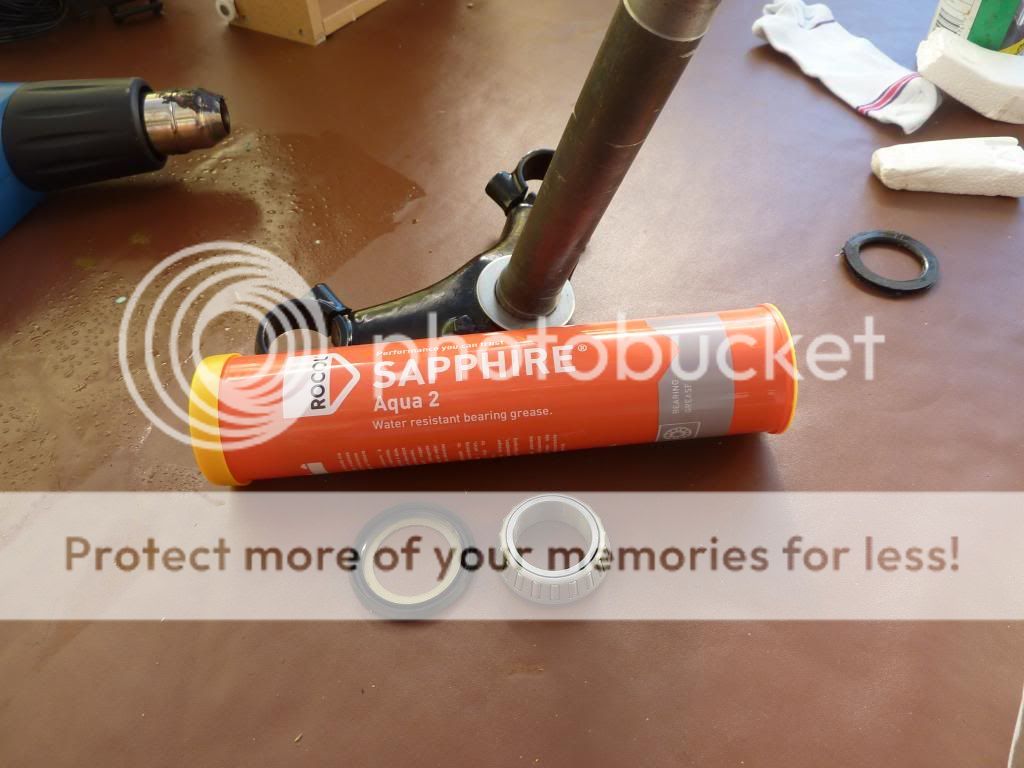
Whilst the forks were off, I decided to upgrade the headset bearings with some taper roller bearings. I prefer Timken roller bearings, but having measured the headset tube, I found that I would require non standard bearings, so I had to settle for some AllBalls racing bearings (which to be fair look half decent quality), which came with some nice dust shields (better than the stock Honda one's).
It was a nightmare getting the old lower bearing cup off the steering stem - I had to resort to sticking the stem in the freezer and then heating up the bearing cup before I could tap it off with a drift.
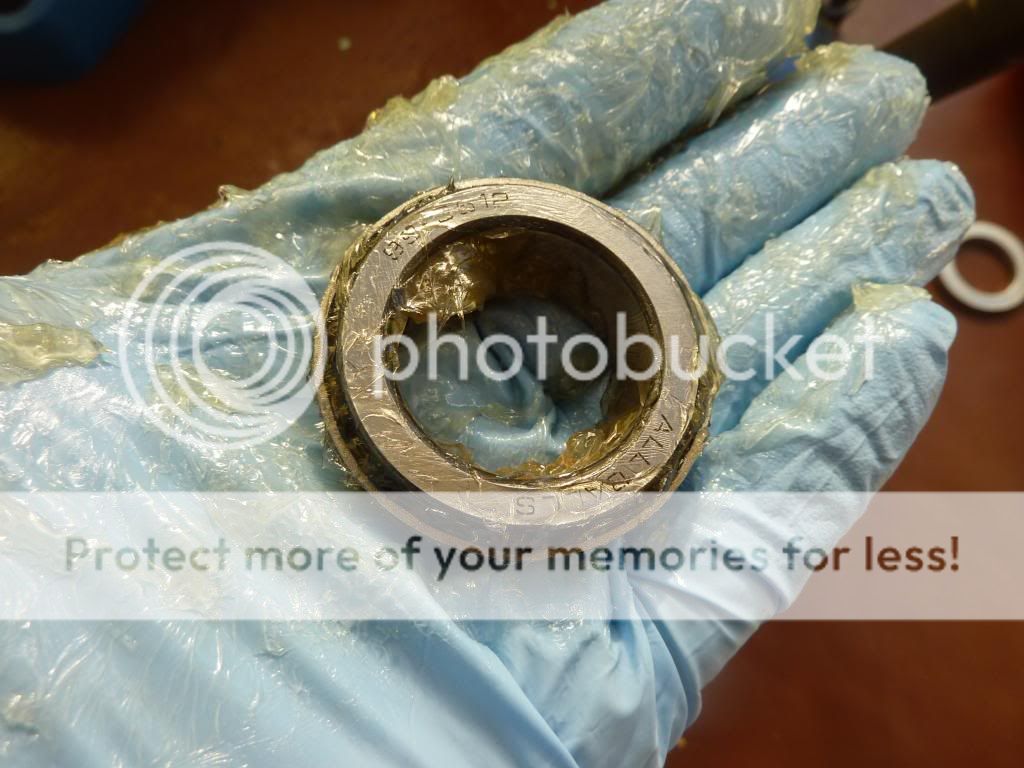
The new bearings were smothered in some quality Rocol Sapphire bearing grease (probably a bit overkill for this application, as it is usually used for bearings revolving several thousand times a minute in a hostile environment).
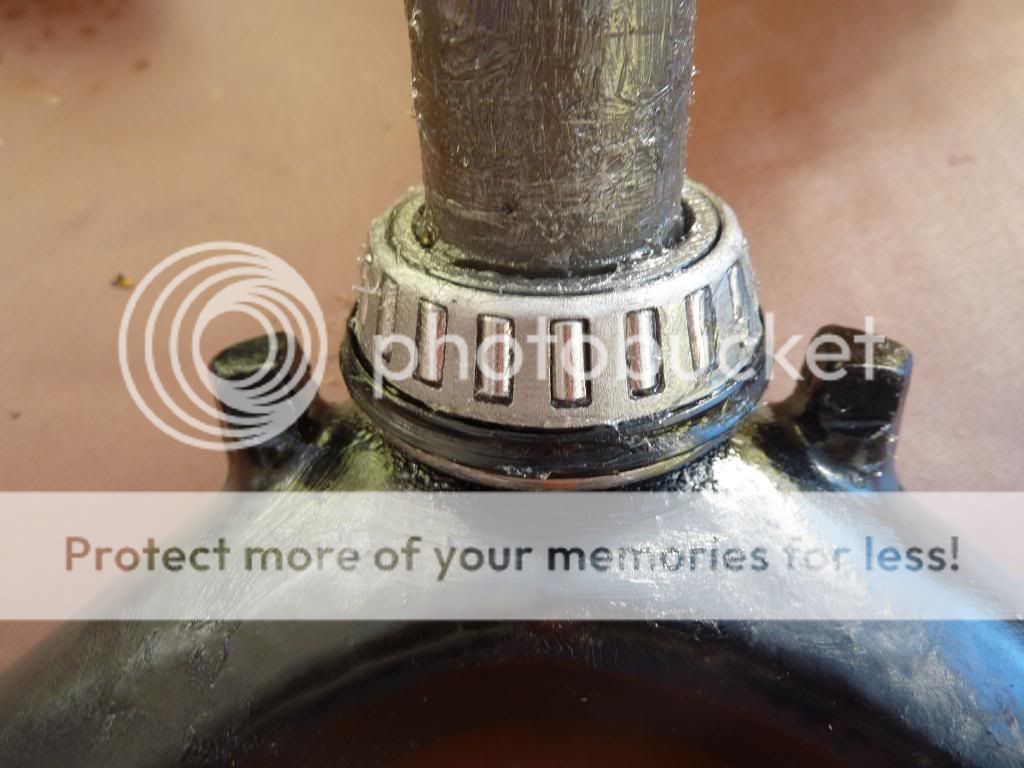
The lower bearings were tapped on using a drift (on top of the thin spacer supplied with the bearing kit.
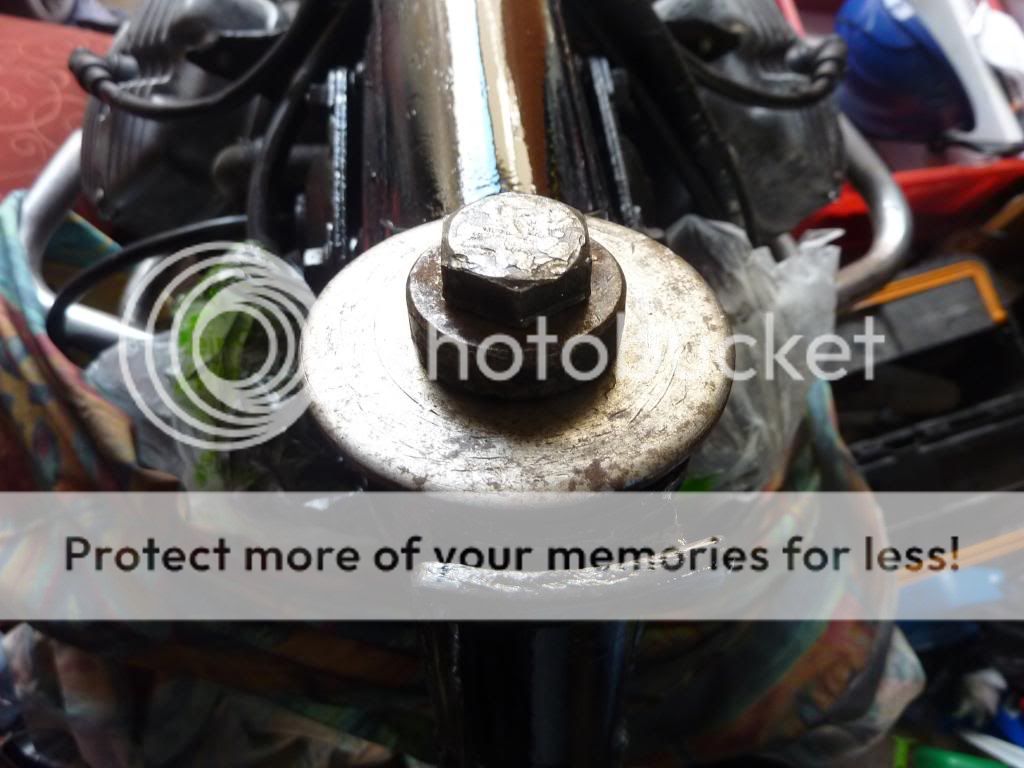
The bearing cups were pressed into the head tube with my home made bearing press (I have seen these damaged when hammered into place).
looks like you're making some good progress alaready. awesome that you're teaching the kid we got to keep this passion going. look forward to watching this build.
Cheers buddy. He really enjoys helping and it keeps him off his Xbox ;D. In fact he now wants to be a truck mechanic when he leaves school. Plus he is really looking forward to watching the TT races next year and ride the TT course on mad Sunday.
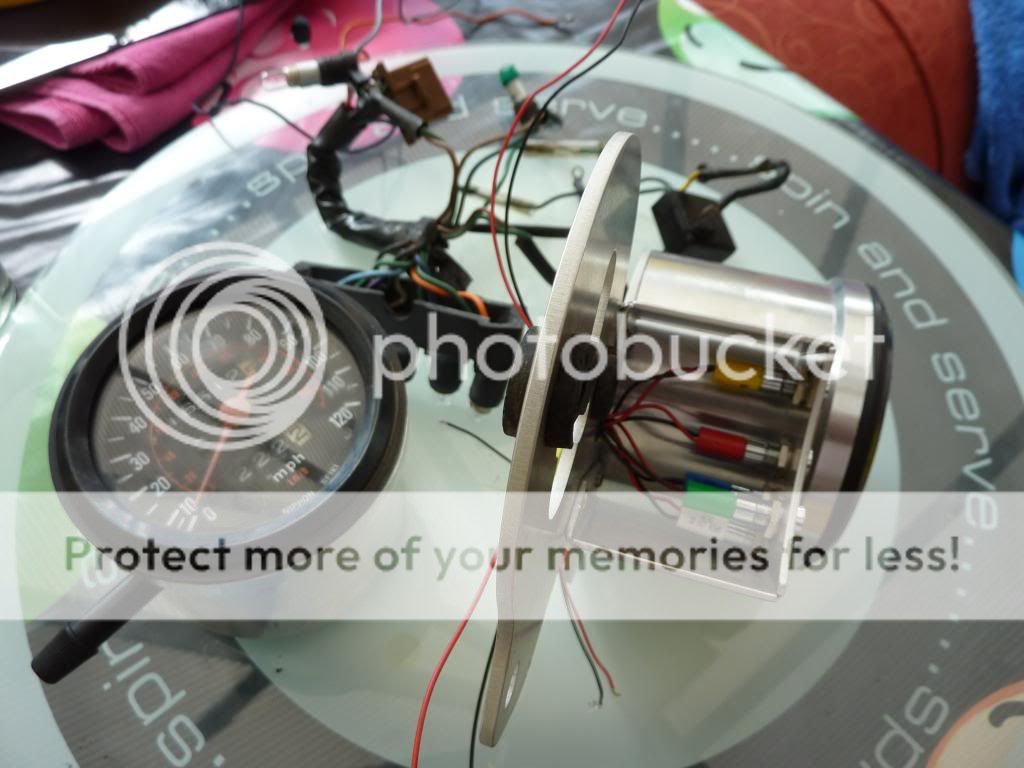
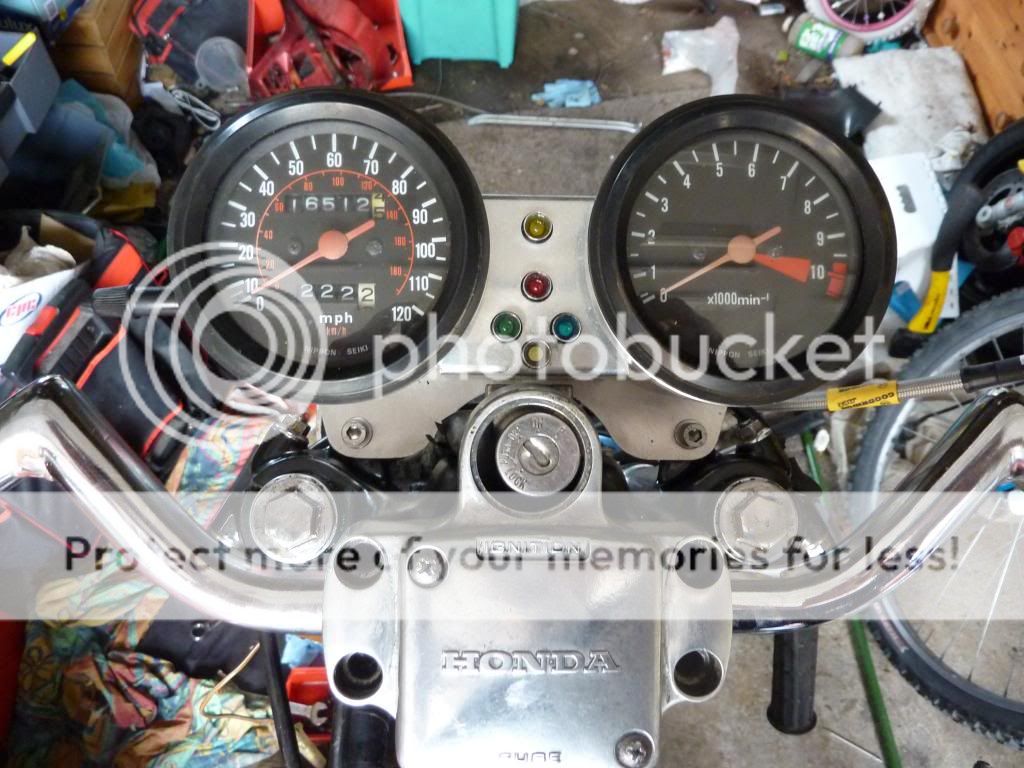
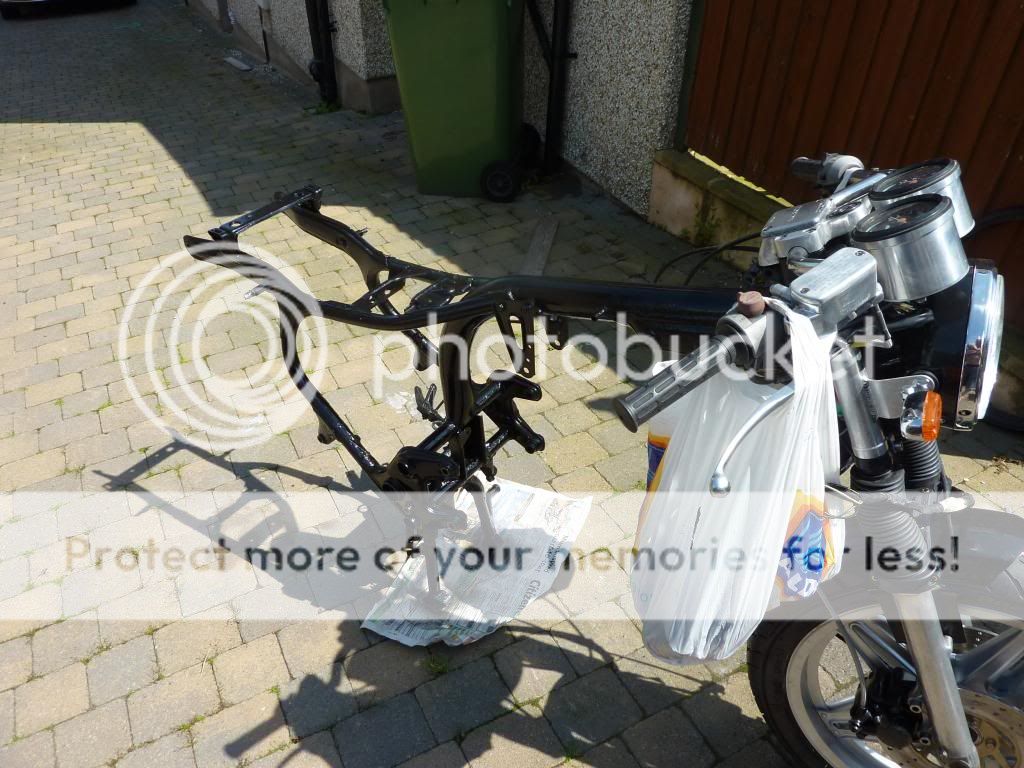
To give it a real Café racer look, the standard instrument binnacle, headlamp & nacelle/fairing have been removed. I wanted to retain the standard speedo because of the low mileage, so was thinking of getting something fabricated to hold the instruments in. I managed to find an off the shelf item at caferacerkits which is a pretty elegant solution and utilises the original wiring harness (with a few modifications), the only downside was I have lost the temperature gauge.
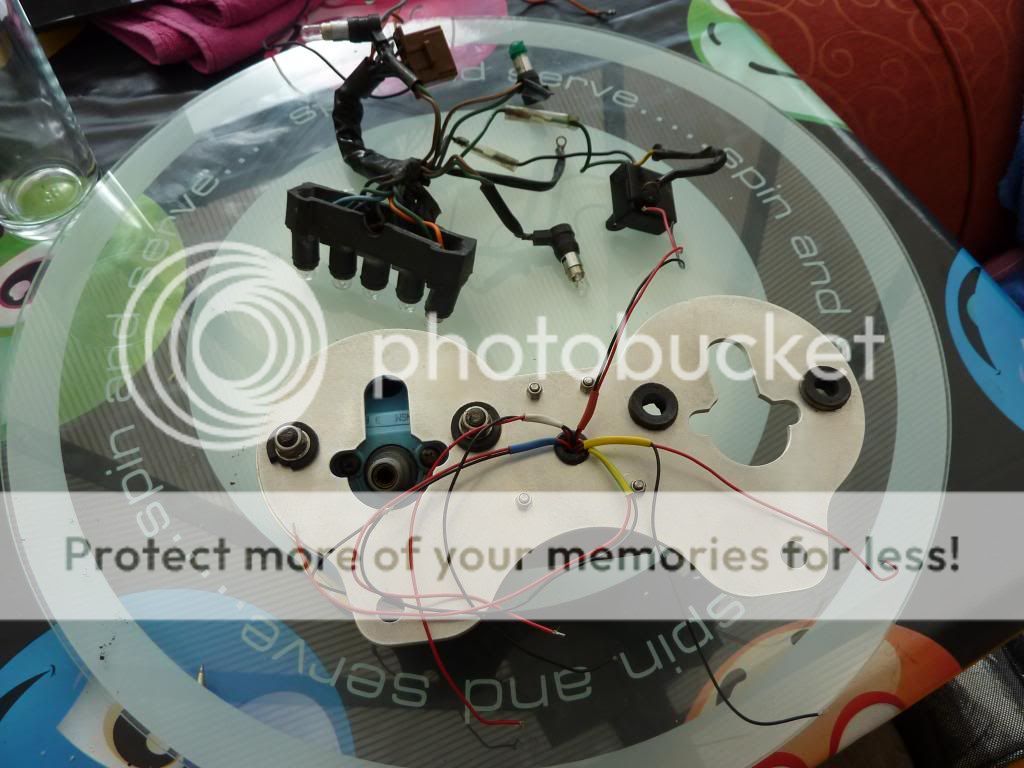
The speedo, rev counter, and lamp/harness were all removed and cleaned.
I have fitted some 12V led's and spliced them onto the original wiring. I have neutral, high beam, overheating (I had to replace the temperature sender with one from a Subaru), oil and an extra one to signal when the fan is on (as I intend fitting an electric fan).
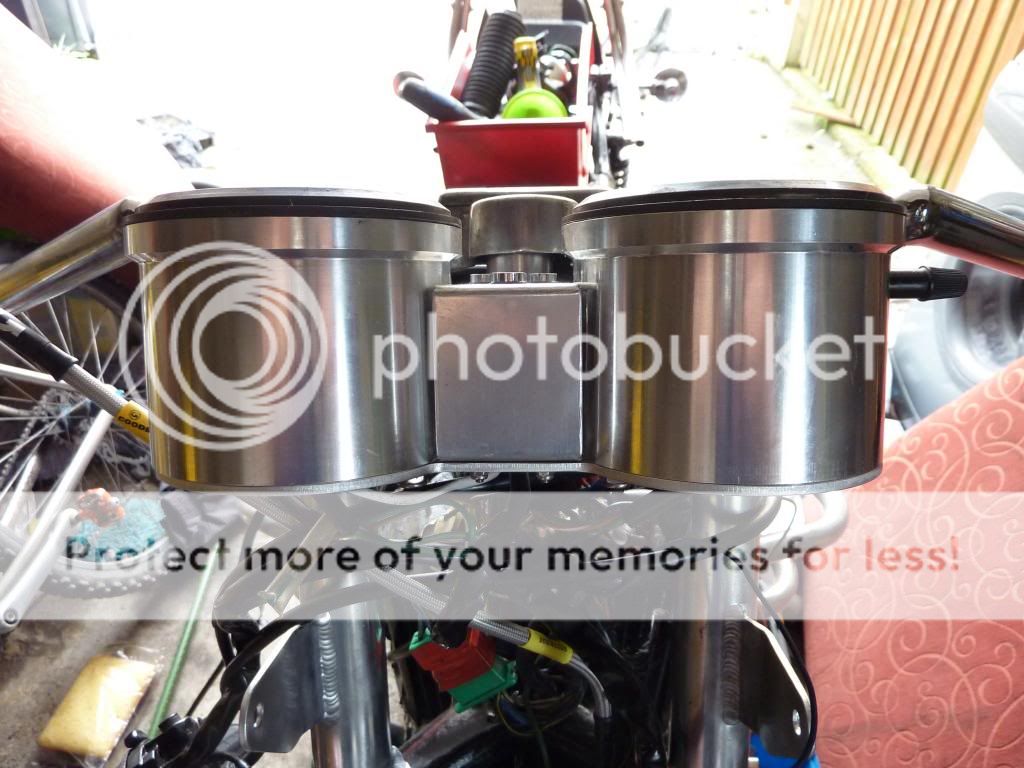
Here's the finished binnacle (I still need to tidy the garage :lol: )
The next job will be to fit a new headlight. I have one from a Yamaha RD350LC which fits, plus there's plenty of room to tuck all the loose wires in.
I've spent some time rebuilding the Marzocchi Strada shocks. All the seals have been replaced, the springs powder coated, bodies painted, new bushes and new decals applied. They have been refilled with some quality suspension fluid (Fuchs Silkolene Pro RSF 5w).
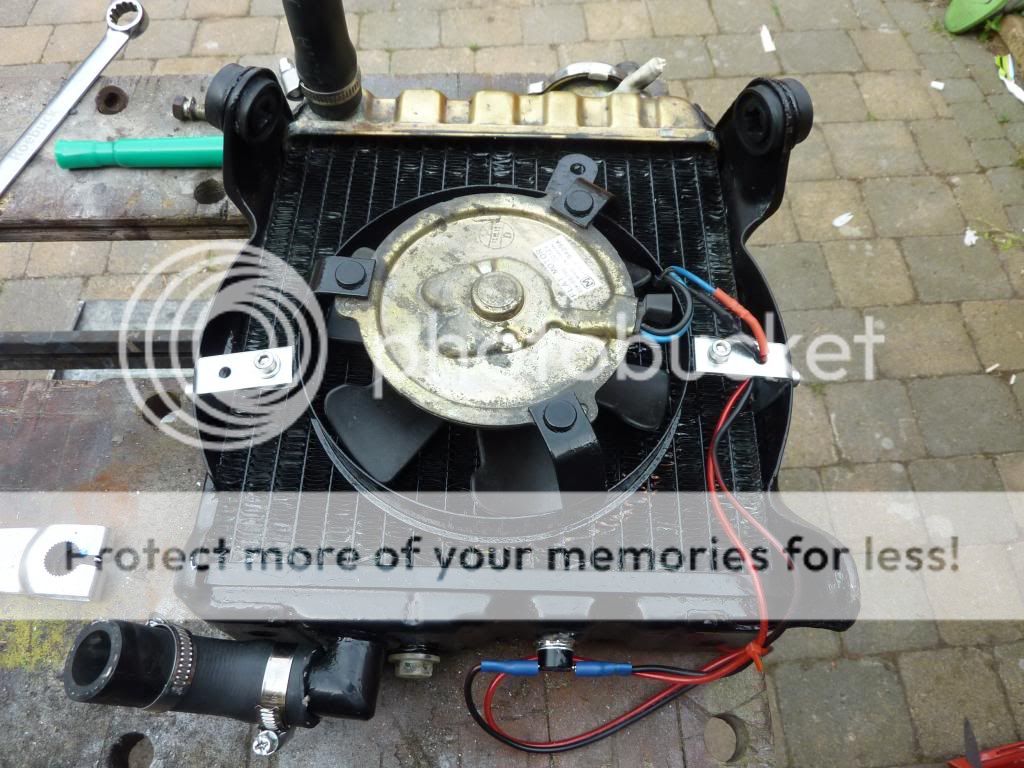
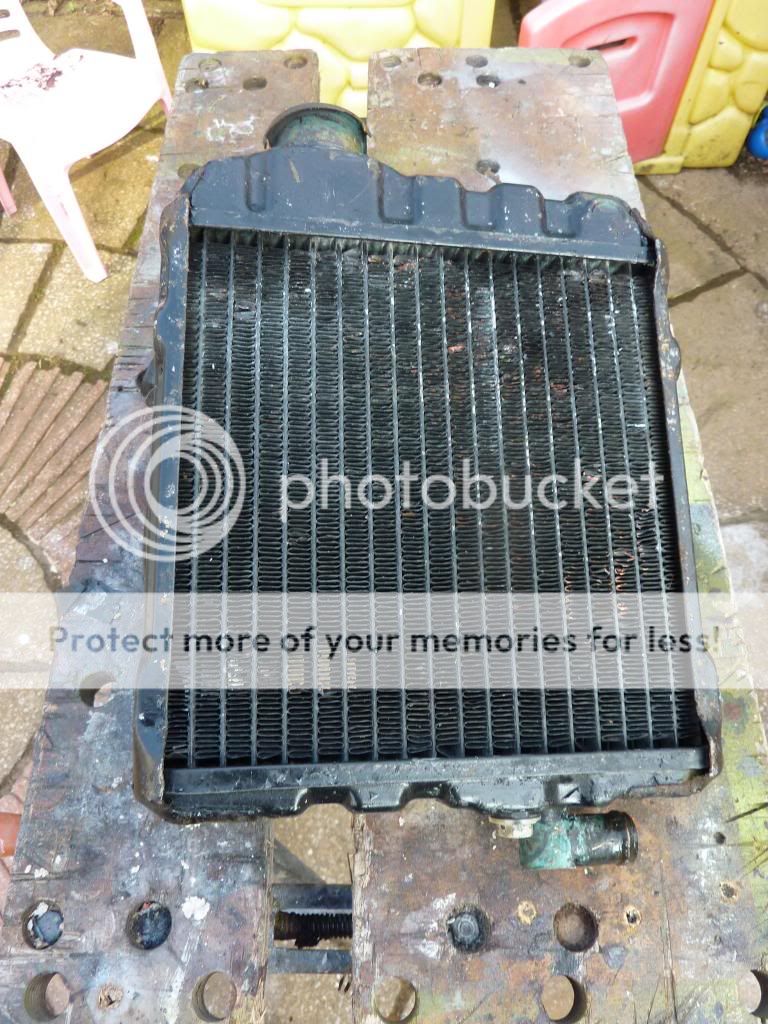
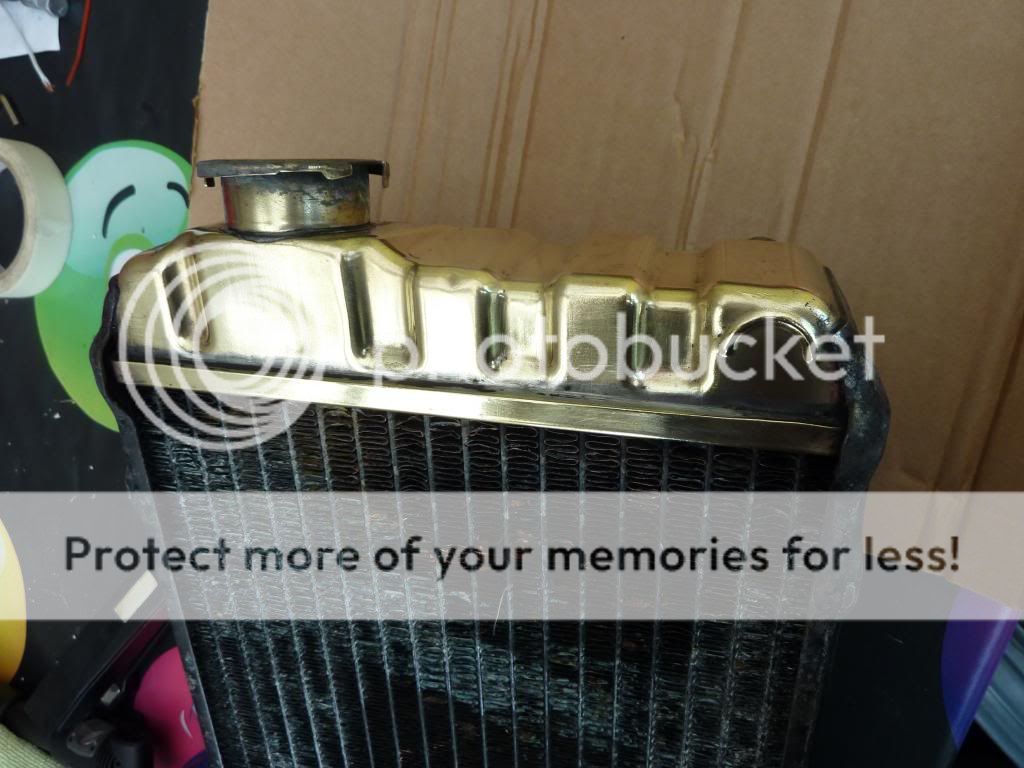
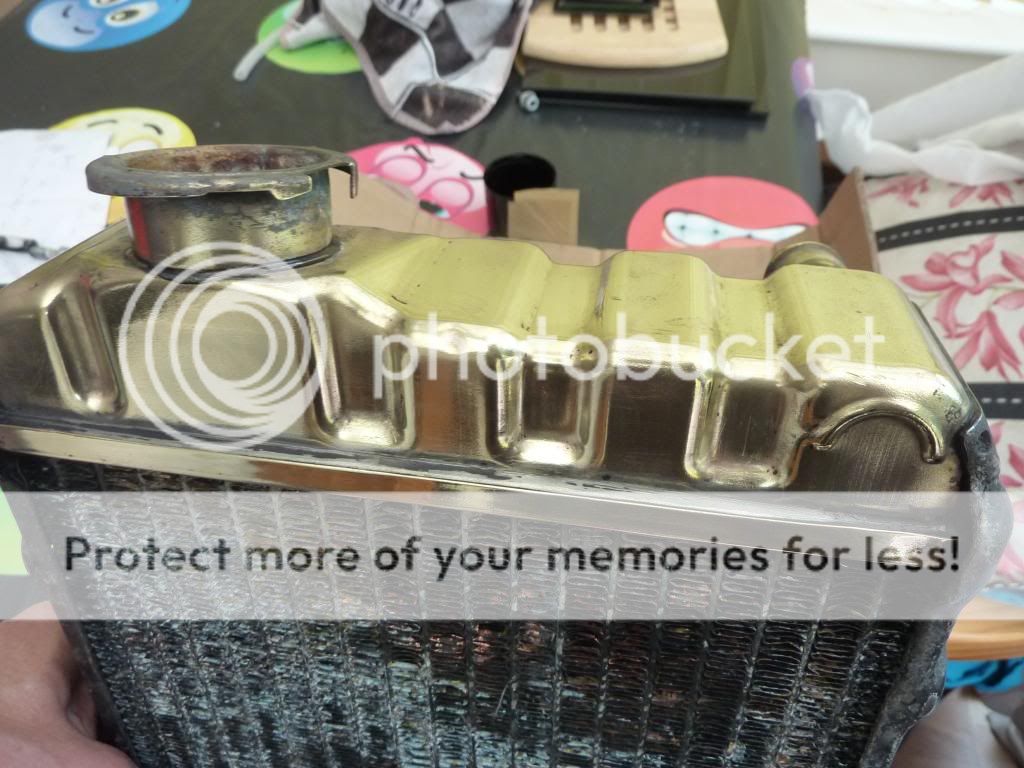
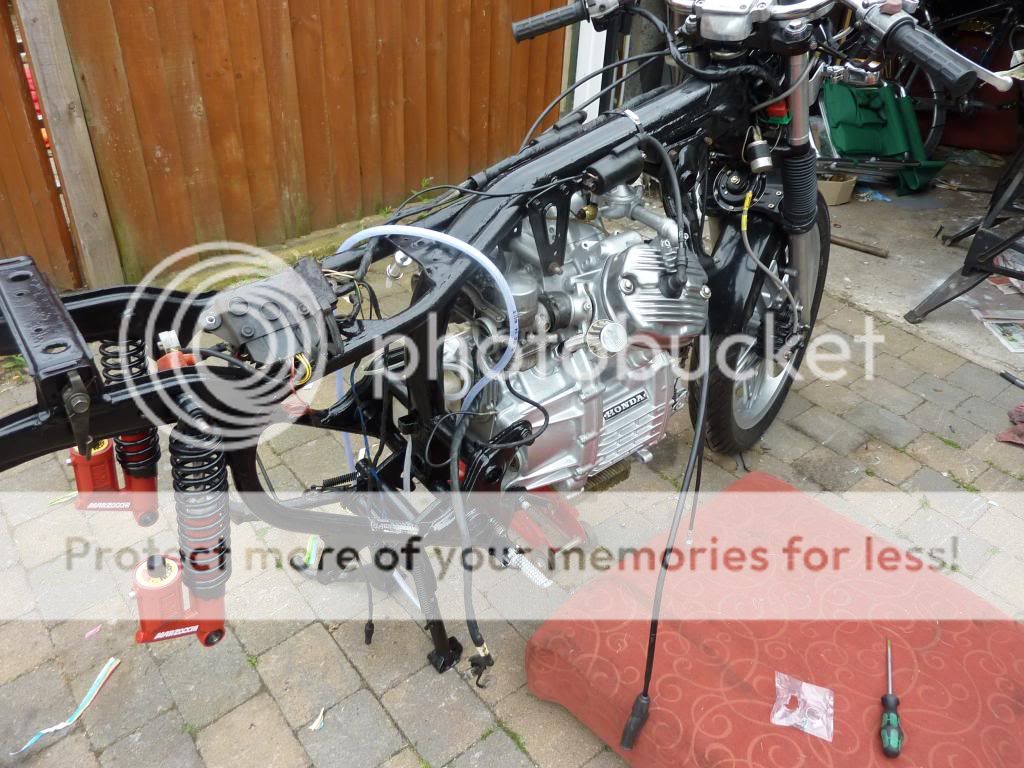
Whilst the radiator was off the bike, it has been flushed and repainted. I also decided to polish up the brass top part of the radiator rather than repaint it and it looks very smart. I also decided to do an electric fan conversion while the rad was off, fitting a Ducati 748 fan. I decided to locate it directly onto the rad so I could save a fit of weight by junking the old fan shroud. At the same time, the hoses were replaced (a cut down Gates car hose), and stainless steel hose clips were fitted.
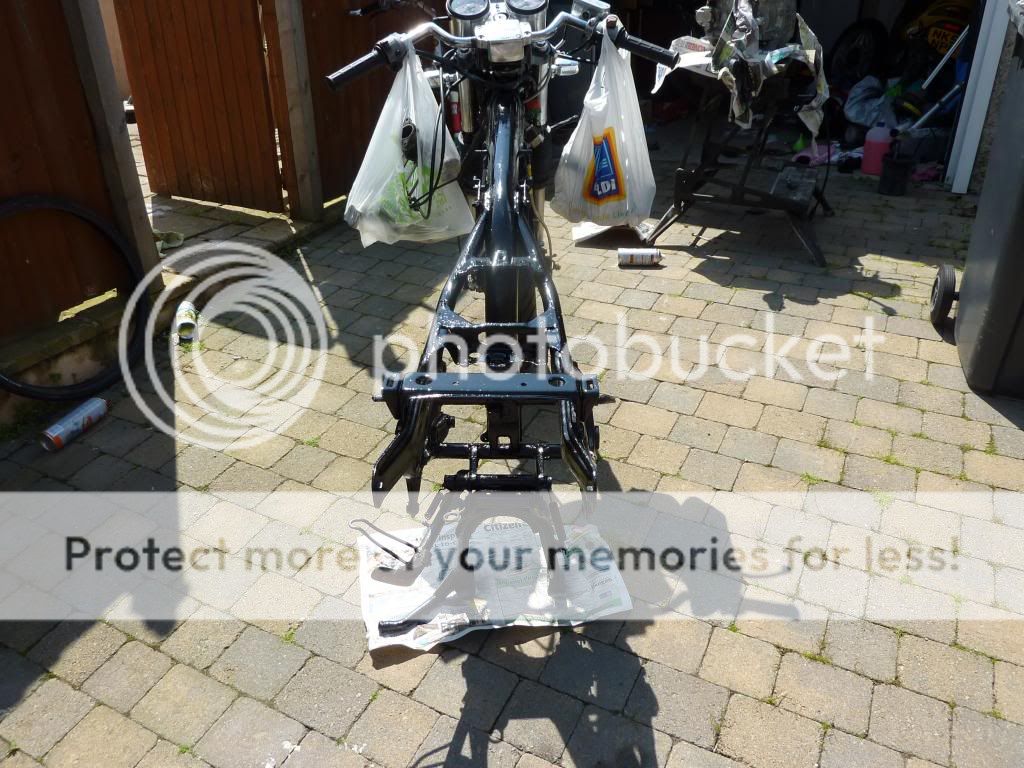
I thought about having the frame powder coated but to be honesty, all it needed was a lick of paint. I decided to paint it with Hammerite smooth anti rust paint.
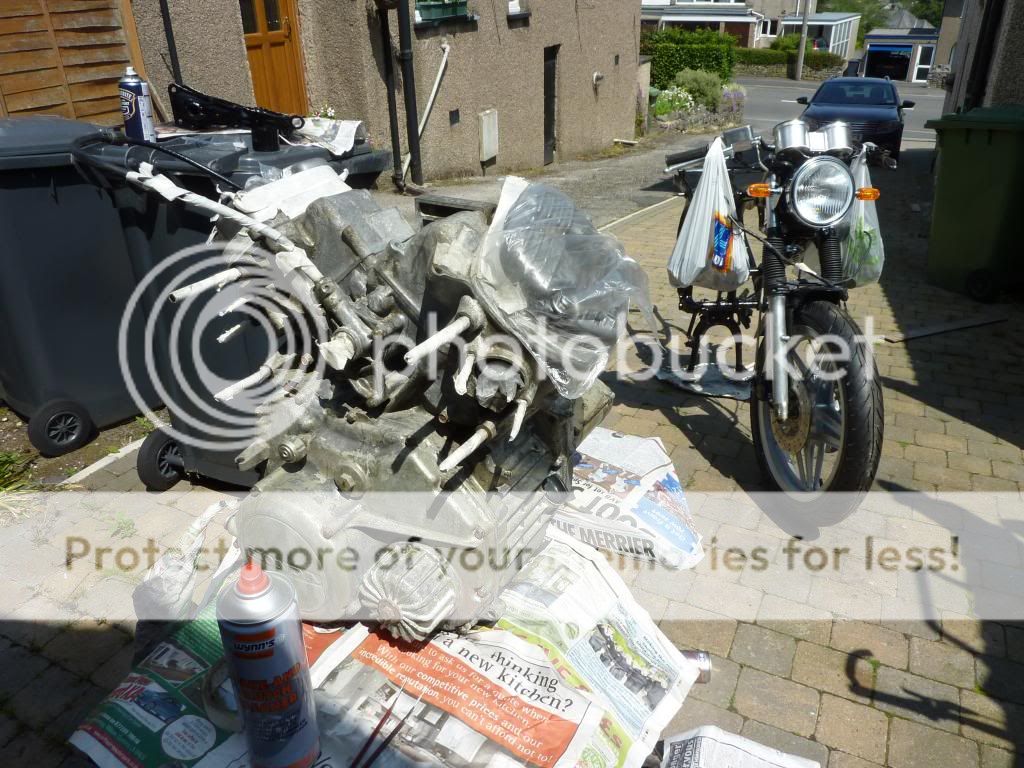
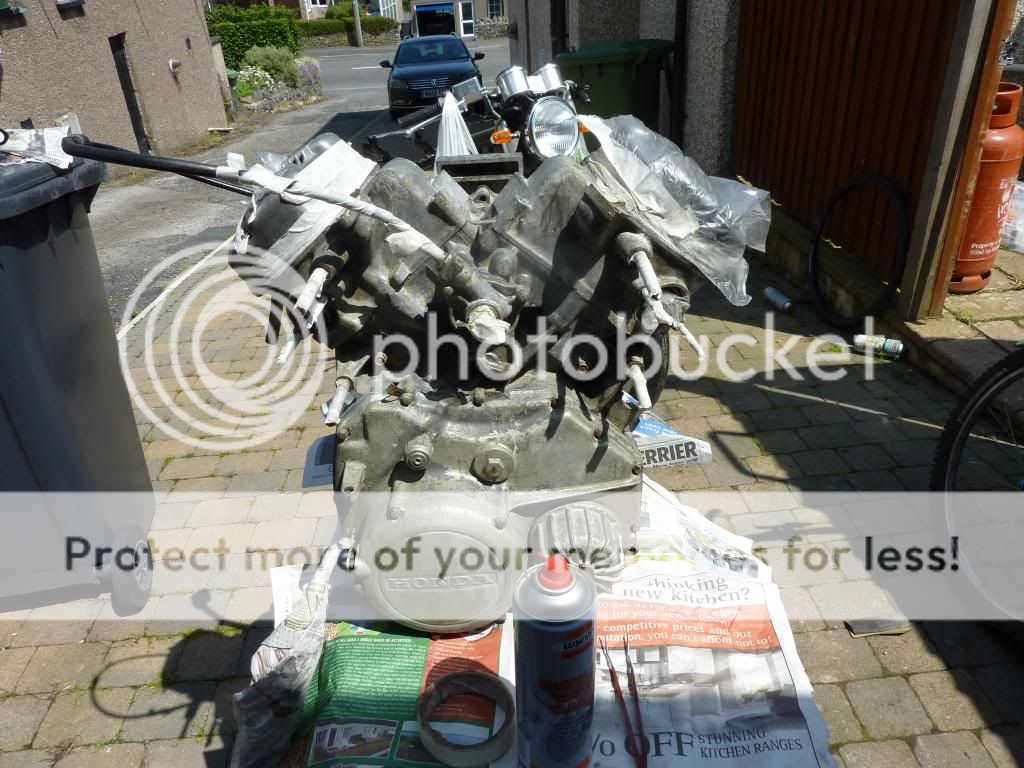
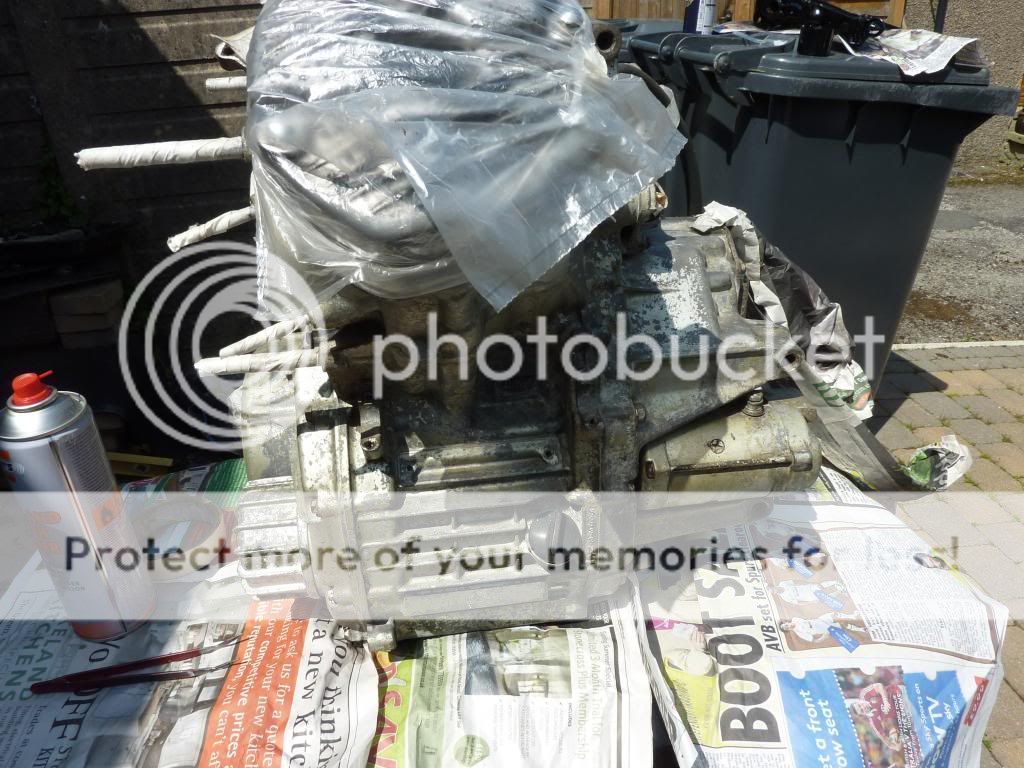
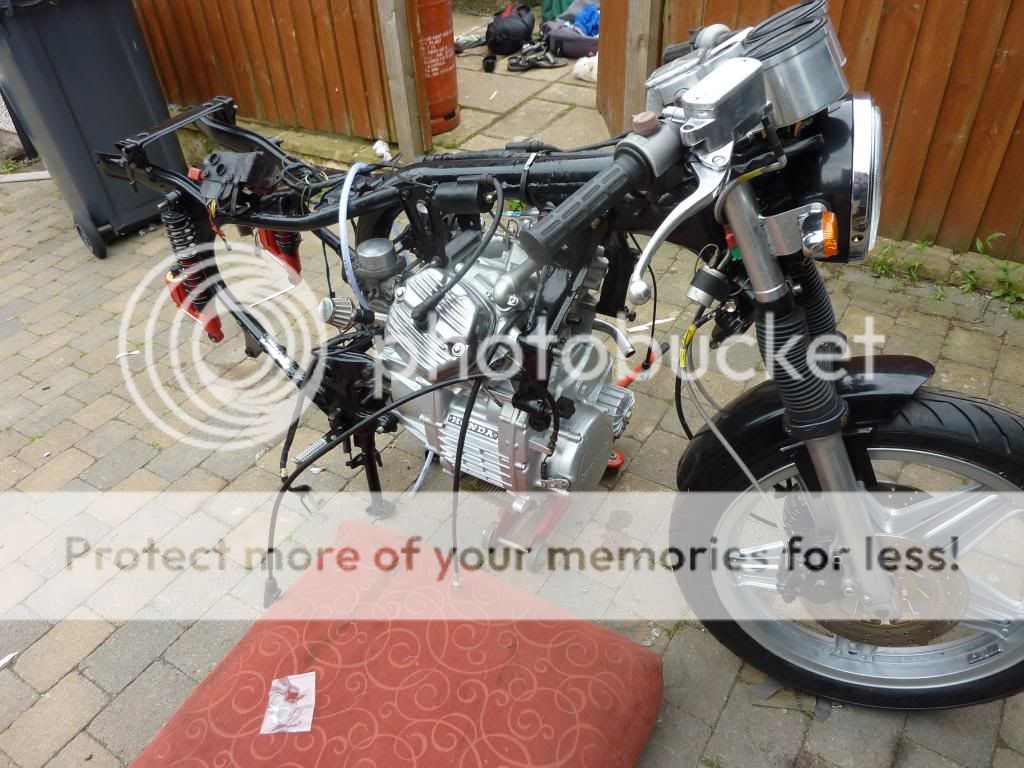
The engine was also dropped from the bike and repainted. I did want to polish it back to the bare alloy but because of all the nooks and crannies, I don't think I could have done it properly. The engine was repainted using some silver alloy wheel paint.
The valve/rocker covers were beyond help, so these were replaced with some sourced from ebay and polished up. Whilst the engine was out, the tacho cable was replaced - what a pig of a job this was, the cam cover had to be removed so I could get the screw out (replaced the screw with a stainless steel hex bolt, just in case it ever needs doing again).
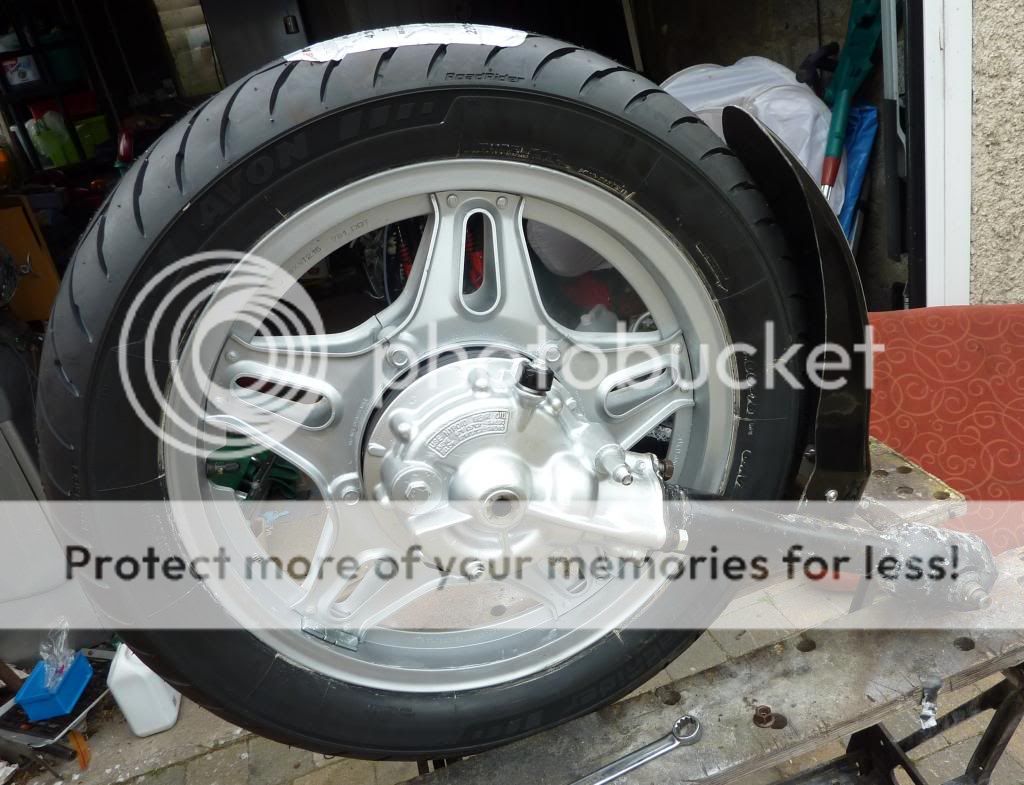
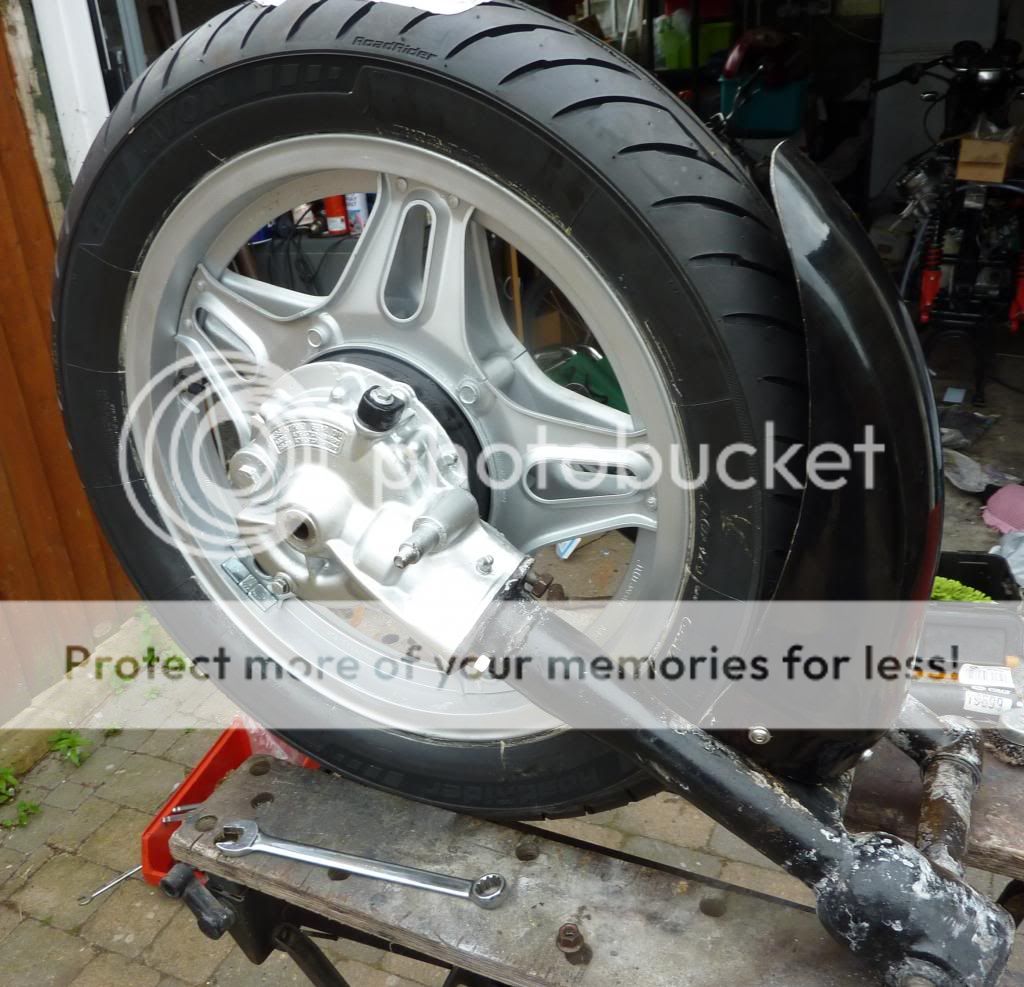
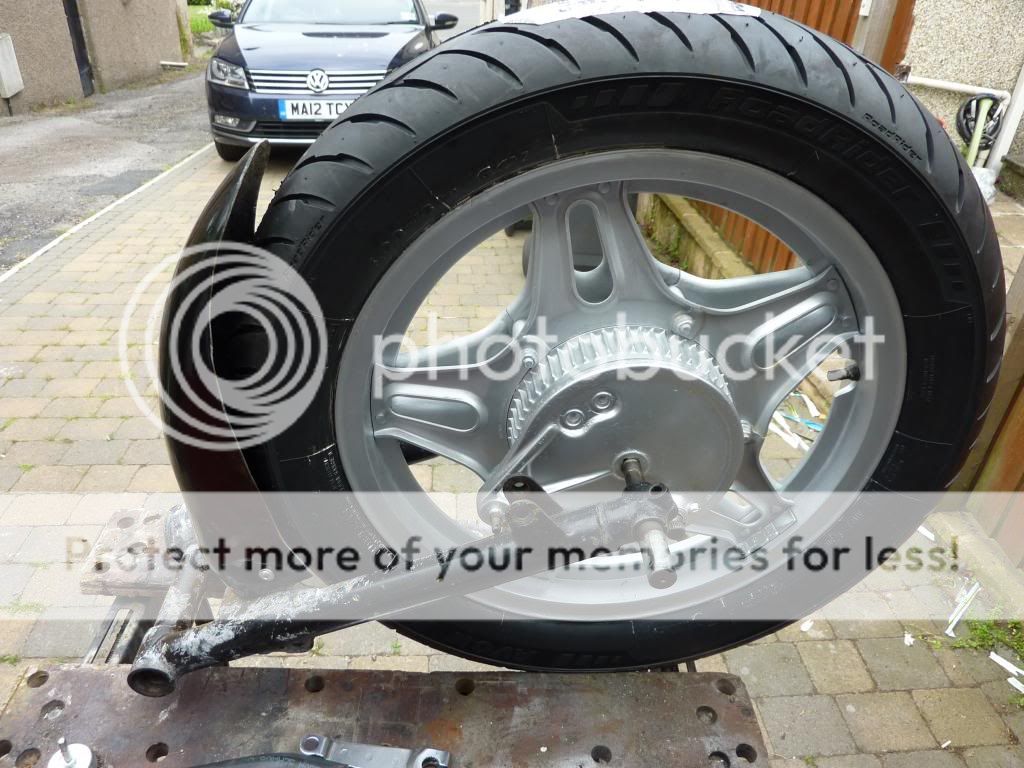
The next job is to finish off the back end. The bevel box has been repainted, re-greased and flushed/refilled with some Motul synthetic 75W90 oil.
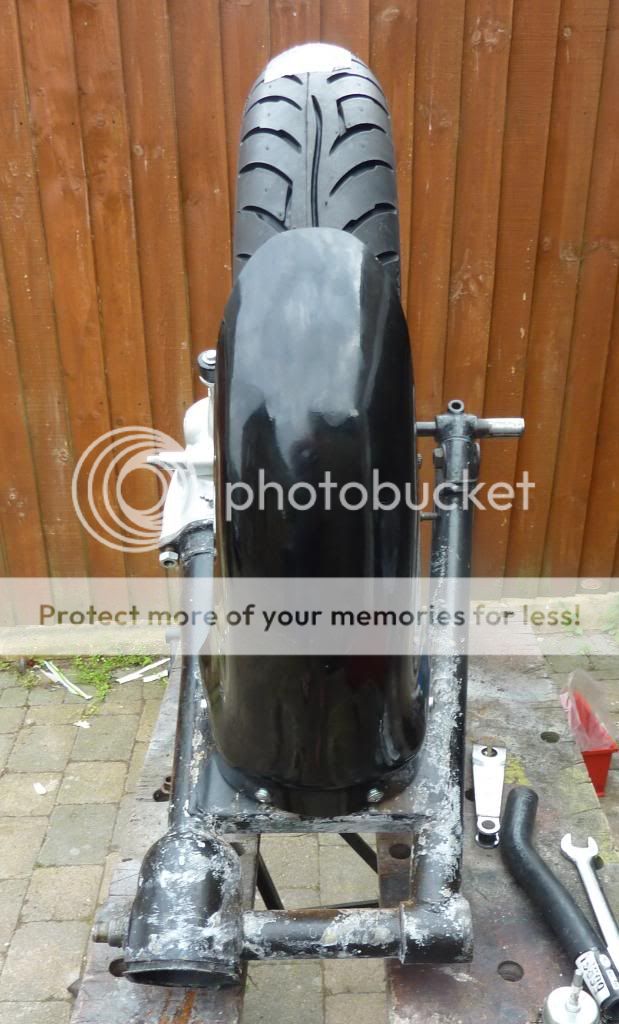
I need to get a bracket welded onto the swinging arm, then it can be repainted and refitted (the bearings will also need replacing, so I have some fresh NSK ones ready).
The wheel was repainted (thankfully the bearings look almost new - quality NSK ones), the brake shoes also looked new. To top it off a new Avon Roadrunner tyre has been fitted (this had to be done, so I could line up the rear hugger and work out where the bracket needed to be welded).
This site uses cookies to help personalise content, tailor your experience and to keep you logged in if you register.
By continuing to use this site, you are consenting to our use of cookies.