Follow along with the video below to see how to install our site as a web app on your home screen.
Note: This feature currently requires accessing the site using the built-in Safari browser.
We noticed you are blocking ads. DO THE TON only works with community supporters. Most are active members of the site with small businesses. Please consider disabling your ad blocking tool and checking out the businesses that help keep our site up and free.
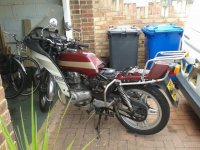
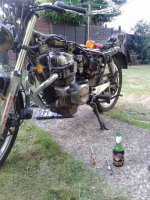
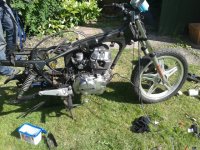
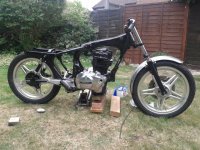
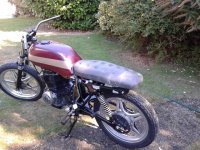
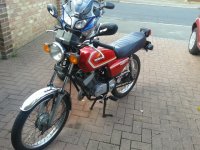
So my son and I having put a h100s back on the road get offered a 250 Superdream for free. It had been sat in a garage for 15 years, no battery but looked sound. We got it home and decided we would put our own mark on this one and found a couple of ideas online. A month into the build now but this is how it started.
The fuel in the tank had turned to slime so obviously we needed to do a bit of work before she would run. I put a battery on and she turned over a treat plus to my surprise all the lights worked. So hopefully we wont find any major issues.
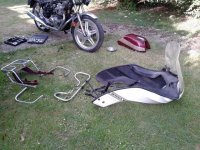
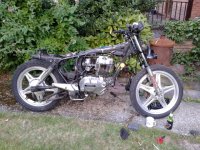
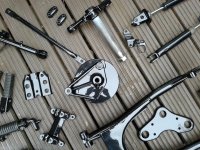
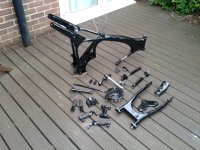
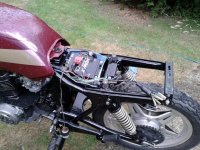
I spent the first weekend stripping off all the weight so we could see what we had to work with.
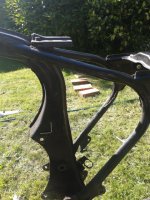
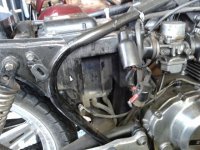
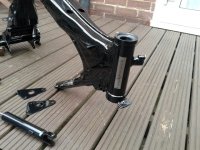
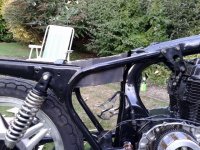
Into the second week. Decided the airbox has to go, battery and electrical components need relocating. No set plans yet, more an organic build. I was really getting into the strip down, de-cluttering the frame and getting ready for paint.
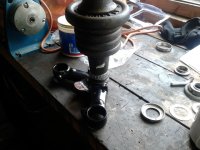
3rd week paintwork back home and ready to start the build. Still undecided what colour to do the tank. We have found a pair of pod filters that come with jets etc. to match the carbs. I found a use for the weights laying gathering dust, perfect for pressing on the new steering bearings.
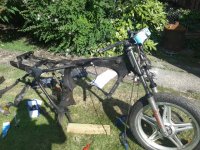
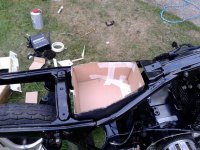
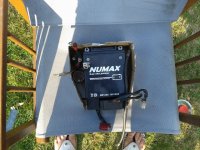
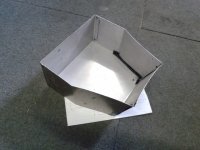
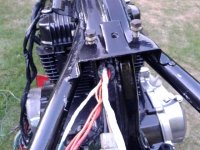
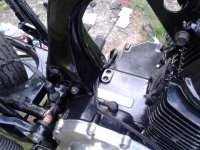
Made a box for the battery and electrics and have run the loom through the frame. with most of the electrics now in one place the loom needs shortening.
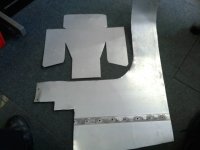
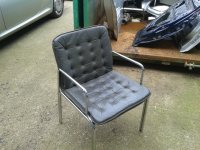
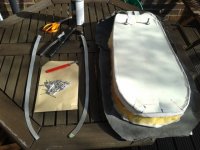
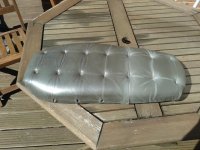
Went skip diving last week. Found some leather chairs and they go with the gunmetal/grey scheme. Made a seat base from steel sheet, added some polythene packing and glued and riveted it all together. Reasonably happy with the result and cost under £10.00 ($16). I may make a 2nd longer seat for when 2 up.
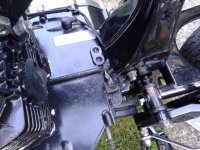
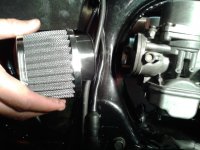
Cleaned up the loom at the weekend and rebuilt the carbs with the new jetting supplied with the filters. Today I found some silicone pipe for mounting the filters. After reading about the horrors of pod filters restricting the airflow I thought it best to mount the filters behind the frame upright with as straight a run as possible to the carbs.
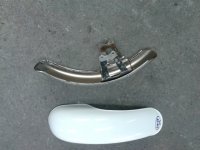
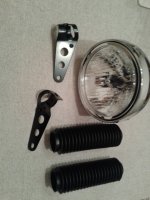
Expecting a few packages in the next few days, lights, gaiters, front calliper refurb kit, rear mudguard.
If all goes to plan I hope to have the engine running at the weekend.
I am probably being thick but looking at other threads they have text with the images. I canot work out how its done. Help please................................................ :-[
Just paste image location, hit enter then start typing
If you want text in the image you'll have to use editing program and add it before you upload (GIMP is free and in some ways better than Photoshop)
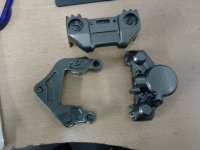
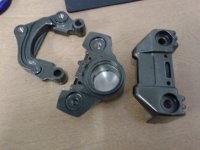
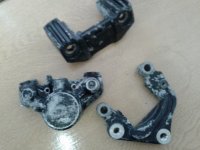
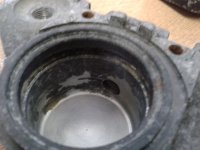
The front brake calliper was seized solid, so I have had it striped down in a bucket of thinners for a few days. Cleaned up and painted ready for reassembly at the weekend.
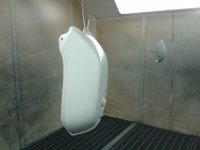
Gone with a Toyota colour, probably use the same on tank and mudguards
Thanks crazypj, as I said I must be thick as still don't get it ???
I am still thinking of a name for the bike and toying with the build date 9Teen8T
Maybe have it running along the bottom of the tank. Probably a bad idea, opinions welcome.
Your moving on a quite a pace. Anything you do will a big improvement over the original, keep the updates coming.
After you insert the photo using the (img) tags go to the end of the line of text, hit return and type what you want to say, then insert another picture and repeat.
I am trying to get the build at least roadworthy for the London Distinguished Gentlmans Ride at the end of the month. More parcels arrived today but going to be tight.
May end up with both of us on the little two stroke.
What a crap weekend, slow progress as the light in my shed gave out and the weather was appaling.
Managed to get the carbs and filters fitted, the front caliper back on and started playing around with the position for the rear mudguard. I had hoped to fire her up but although she turns nicely no joy ( I am the eternal optimist).
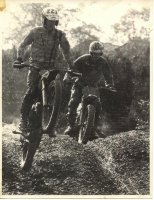
I will try and do some more tonight and get some photos loaded. but for now here's a photo of me on my KX125 taken in 1975
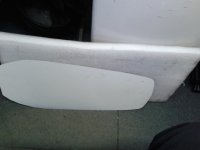
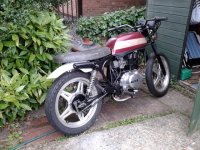
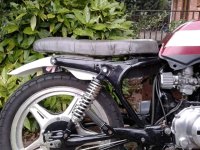
So, a few pictures from the weekend, front mudguard cut to size and cleaned up ready for paint. Still fettling the rear.
This evening we tried to start her again but no joy. Good spark, turning over nicely but not to be. I may have to get some proper help. Am wondering if I should remove the air filters and give it a blast of easy start. Still lots to do and more packages due....
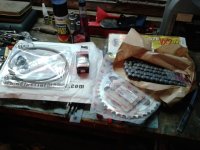
Felt like Christmas at work today, lots of parcels to open, Chain and sprockets, flasher relay, front brake hose and clutch cable. Still waiting on the tail light and flashers.
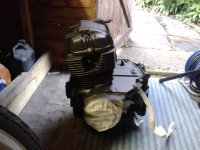
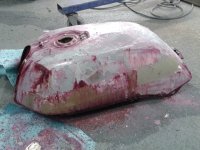
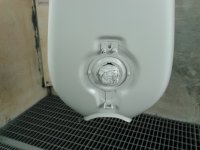
I am going to put some RedX in the bores tonight as I suspect the piston rings are gunged up and not getting enough compresion. While it does its magic the tank is comming off and getting painted. Very tight to get her ready for the DGR on the 29th but I may be lucky ???
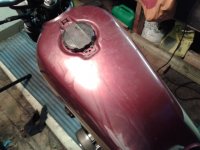
The indicators arrived today, and I have started removing the layers of paint from the tank. I love uncovering something's history. Under the maroon and gold cellulose I discovered silver with white stripes and it looks like the tank was originally gold in colour. I need to do a bit of filler work but should have the paintwork completed early next week. I had to get my wheels of my CBF tonight ready for new boots tomorrow and will also take the CB wheels to see if I can get a deal on tyres for the project while I am there.
IN FOR A BUSY WEEKEND............pictures to follow.
This site uses cookies to help personalise content, tailor your experience and to keep you logged in if you register.
By continuing to use this site, you are consenting to our use of cookies.