Follow along with the video below to see how to install our site as a web app on your home screen.
Note: This feature currently requires accessing the site using the built-in Safari browser.
We noticed you are blocking ads. DO THE TON only works with community supporters. Most are active members of the site with small businesses. Please consider disabling your ad blocking tool and checking out the businesses that help keep our site up and free.
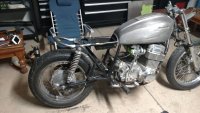
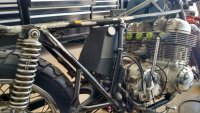
Mocked up the rear hoop today. There are sleeves added inside for strength. The suspension mounts will get re-enforced later. Also mocked up an electrics tray and side shields out of cardboard in case they need modifications as the build progresses. I am relocating the oil tank behind the air filter so that's next to come
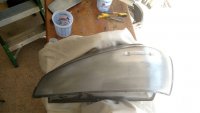
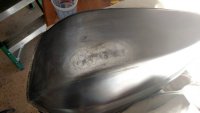
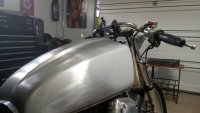
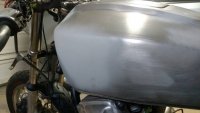
Finished product. After about an hour filing and sanding. There are a few low spots but overall not to bad for first try. I'm very happy with the end result and all that's needed is a bit of bondo and sculpting when she's ready for paint
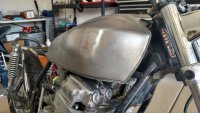
I'm digging it man, that tank filler worked great. Inspiration bike looks amazing too, looks like it even has tire clearance built into the seat. Just about perfect in my book, though I do prefer fenders to none.
Thanks coyote. Not sure if I'll run fenders, I'm leaning more towards a splash guard between the frame rails, maybe a speed hole design on bent sheet metal
Thanks coyote. Not sure if I'll run fenders, I'm leaning more towards a splash guard between the frame rails, maybe a speed hole design on bent sheet metal
So I'm a little pissed right now. Just took off my shifter cover and discovered a chunk missing from the bottom. Not sure how easy those are to locate and replace. Mad I didn't see it earlier.. Ugh
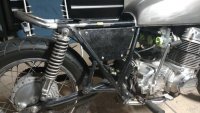
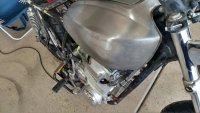
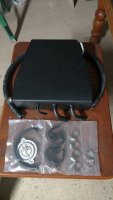
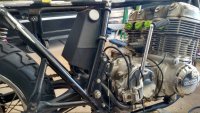
Oil tank arrived yesterday from CognitoMoto and installed it last night. This tank is awesome, very heavy duty and is well made. I did have to remove two more tabs that interfered with the top of the new tank where the old tank had its mounts. The hoses were a bit of a challenge but some heat and grease helped. I am not going to keep the rubber frame fasteners but instead weld some metal tabs for a clean flush look
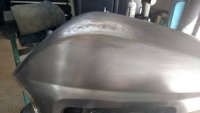
Fixed the dents and dings on both sides of the tank. Almost ready for primer and paint. The lead fill worked great and only took a little body glaze to fill some pinholes
This site uses cookies to help personalise content, tailor your experience and to keep you logged in if you register.
By continuing to use this site, you are consenting to our use of cookies.