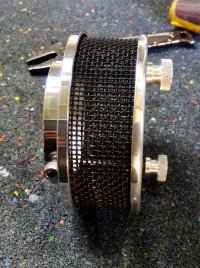
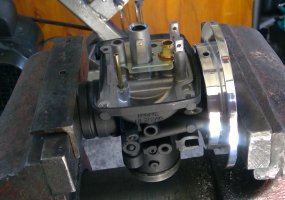
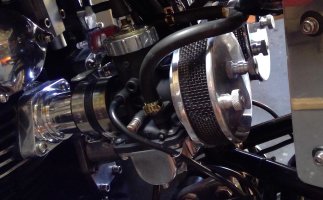
To go with the new carbs and manifolds I made these pancake filters. I did have pods on originally but I noticed the hole in the rubber mounting grommet was smaller than the bellmouth partially blocking the three holes in the bellmouths. Not ideal, so, I decided to make a couple of pancake filters.
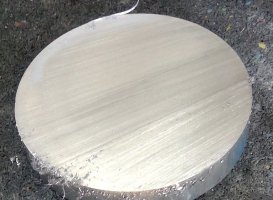
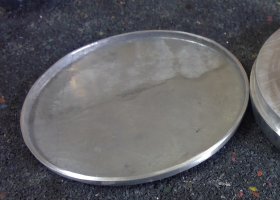
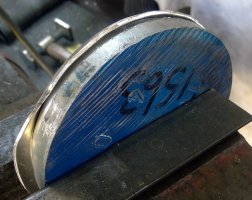
I cut a 15mm slice off the 101.6mm lump of ally and turned down one end to 97.4mm, then cut a piece of 1.7mm sheet to around 111-mm in diameter, stuck them together and bashed the overhang until there wasn’t one. I have to use my left hand now, as the right elbow complains. Sounds easy, but it’s not, out of every 10 strikes, I think I miss about nine.
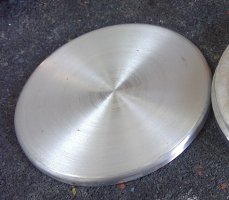
Once formed, I mounted it in the four jaw, and turned the overhang down to 3mm, then smoothed out all the scratches and what not with sand paper, finishing off with the random orbital sander with 240 grit.
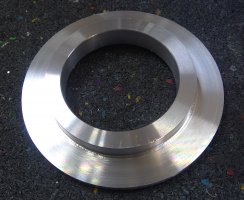
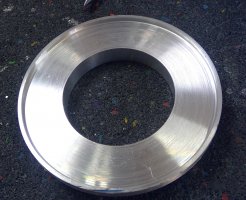
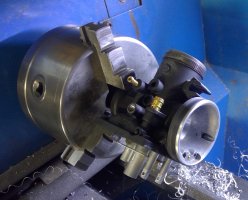
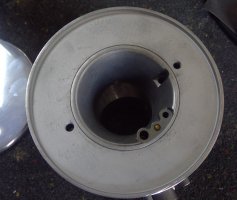
Next, I mounted the 15mm slab in the three jaw using the turned down area and drilled through with a 25mm bit, machined the outer diameter to 101.4mm, machined out the centre leaving a 2mm wide lip on the periphery, 3mm deep, then bored out the 25mm centre hole to 57.3mm to fit the 57.4 mm carb bell mouth. .10 mm proved a little tight, .07 would have been better I think.
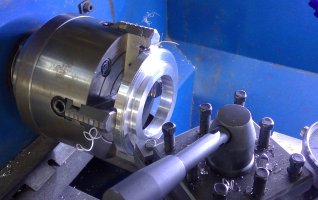
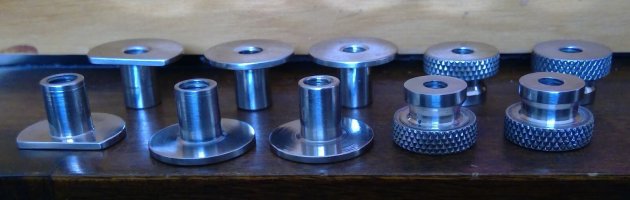
I flipped the slab over and mounted it in the four jaw, then spent a couple of hours trying to centre the **** thing, then turned down the inner mounting ring so its 8mm wide and the flat body of the filter 2mm thick. Final step, turn down the inner mounting ring so its 9.8mm deep.
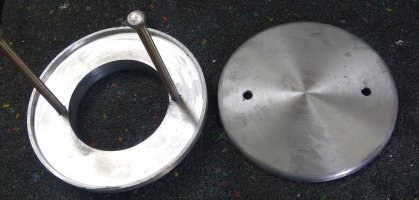
The cutting tool was then centred., spot on, and used to scribe a line across the back of the centre mounting ring. After removing from the chuck I found the centre point using a calliper, centre popped it, mounted it on the mill and drilled the centre pops with a 4mm bit, then mounted it on the pedestal drill, centred the holes and tapped the 4mm holes with a 5mm x .8 tap. The plate was then turned on its side, and drilled and tapped in the centre of the centre ring at 90degrees to the other two holes on the face. The piece was mounted in the three jaw again and using 240 grit any cutting ridges were smoothed over, then both plates were polished.
I cut a 15mm slice off the 101.6mm lump of ally and turned down one end to 97.4mm, then cut a piece of 1.7mm sheet to around 111-mm in diameter, stuck them together and bashed the overhang until there wasn’t one. I have to use my left hand now, as the right elbow complains. Sounds easy, but it’s not, out of every 10 strikes, I think I miss about nine.
Once formed, I mounted it in the four jaw, and turned the overhang down to 3mm, then smoothed out all the scratches and what not with sand paper, finishing off with the random orbital sander with 240 grit.
Next, I mounted the 15mm slab in the three jaw using the turned down area and drilled through with a 25mm bit, machined the outer diameter to 101.4mm, machined out the centre leaving a 2mm wide lip on the periphery, 3mm deep, then bored out the 25mm centre hole to 57.3mm to fit the 57.4 mm carb bell mouth. .10 mm proved a little tight, .07 would have been better I think.
I flipped the slab over and mounted it in the four jaw, then spent a couple of hours trying to centre the **** thing, then turned down the inner mounting ring so its 8mm wide and the flat body of the filter 2mm thick. Final step, turn down the inner mounting ring so its 9.8mm deep.
The cutting tool was then centred., spot on, and used to scribe a line across the back of the centre mounting ring. After removing from the chuck I found the centre point using a calliper, centre popped it, mounted it on the mill and drilled the centre pops with a 4mm bit, then mounted it on the pedestal drill, centred the holes and tapped the 4mm holes with a 5mm x .8 tap. The plate was then turned on its side, and drilled and tapped in the centre of the centre ring at 90degrees to the other two holes on the face. The piece was mounted in the three jaw again and using 240 grit any cutting ridges were smoothed over, then both plates were polished.