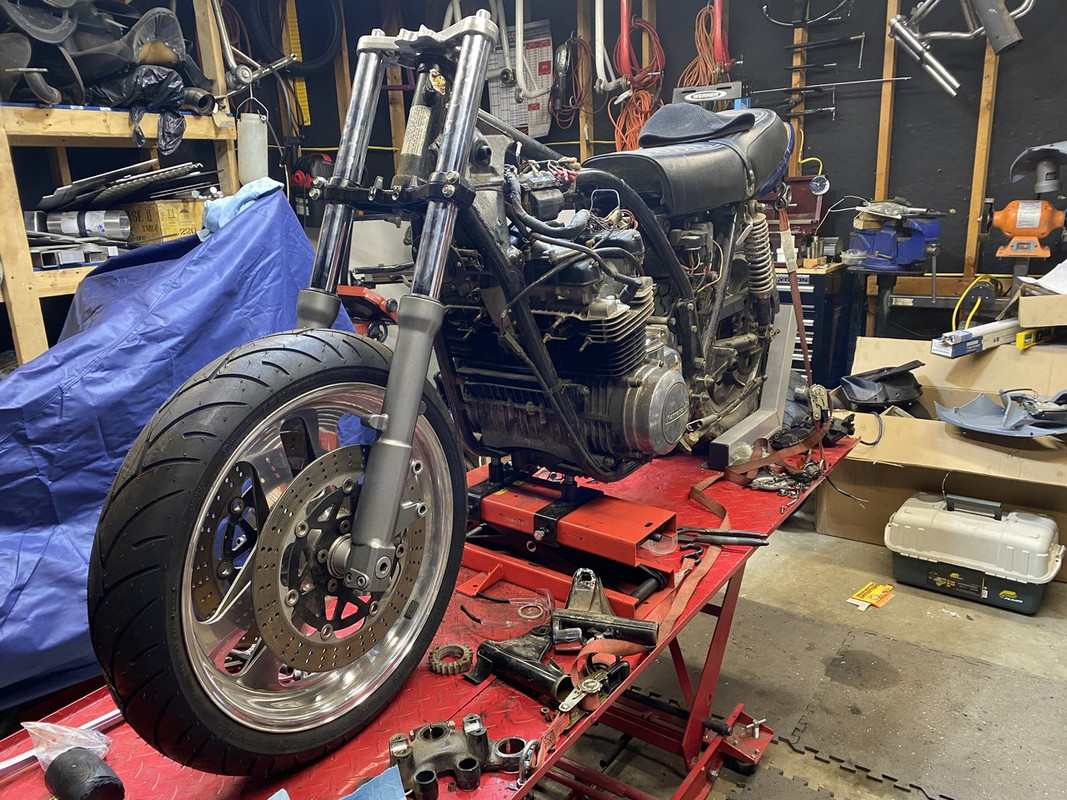
Streetfighterkz
Been Around the Block
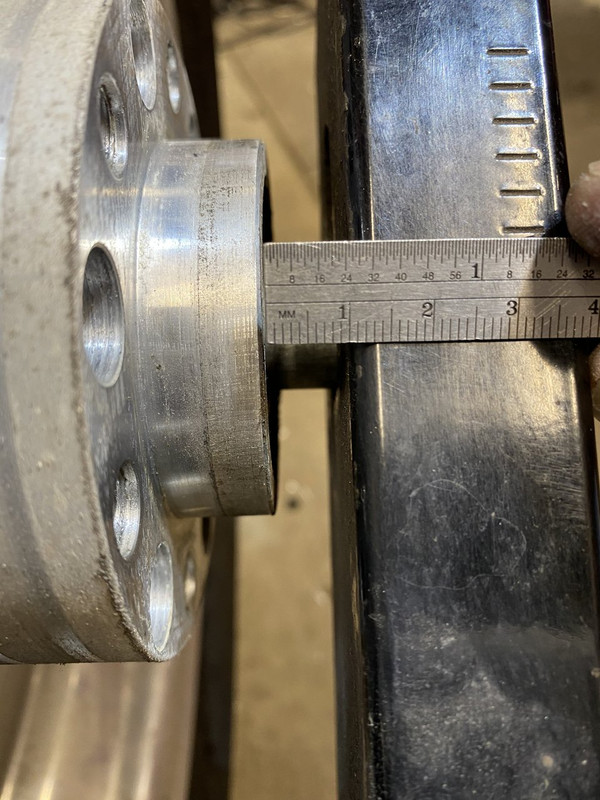
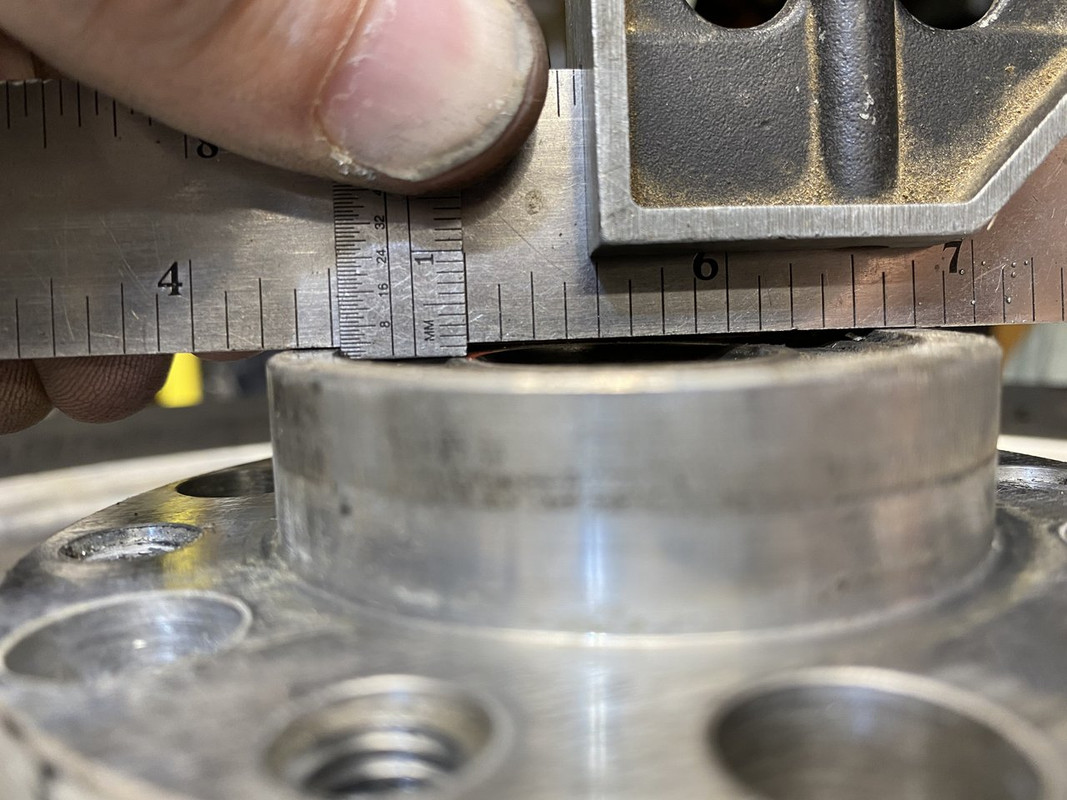
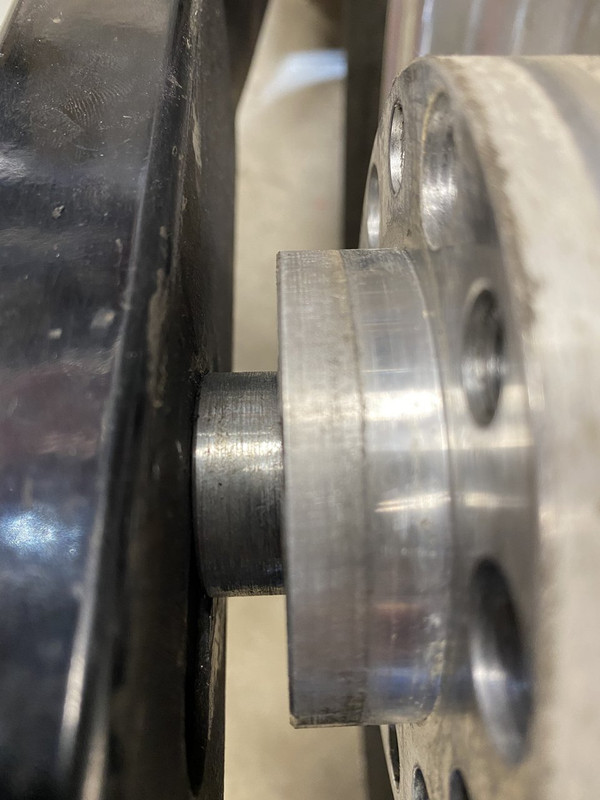
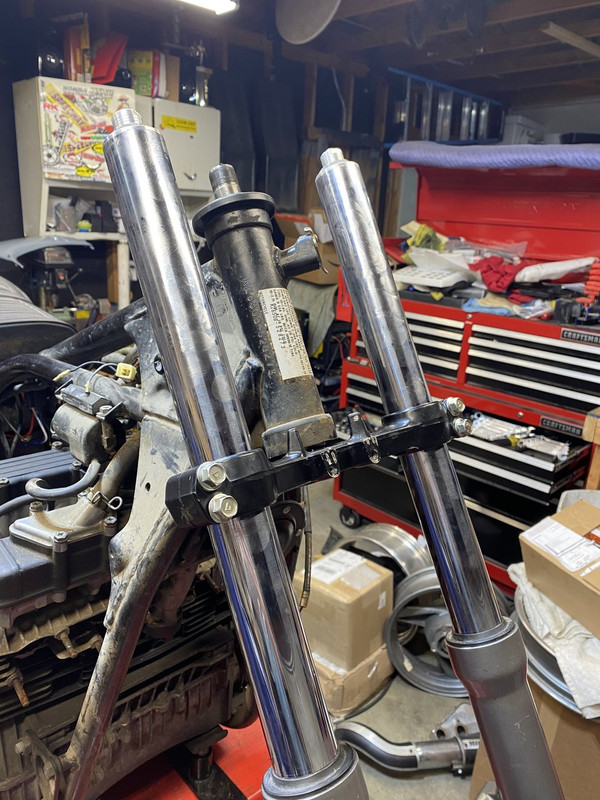
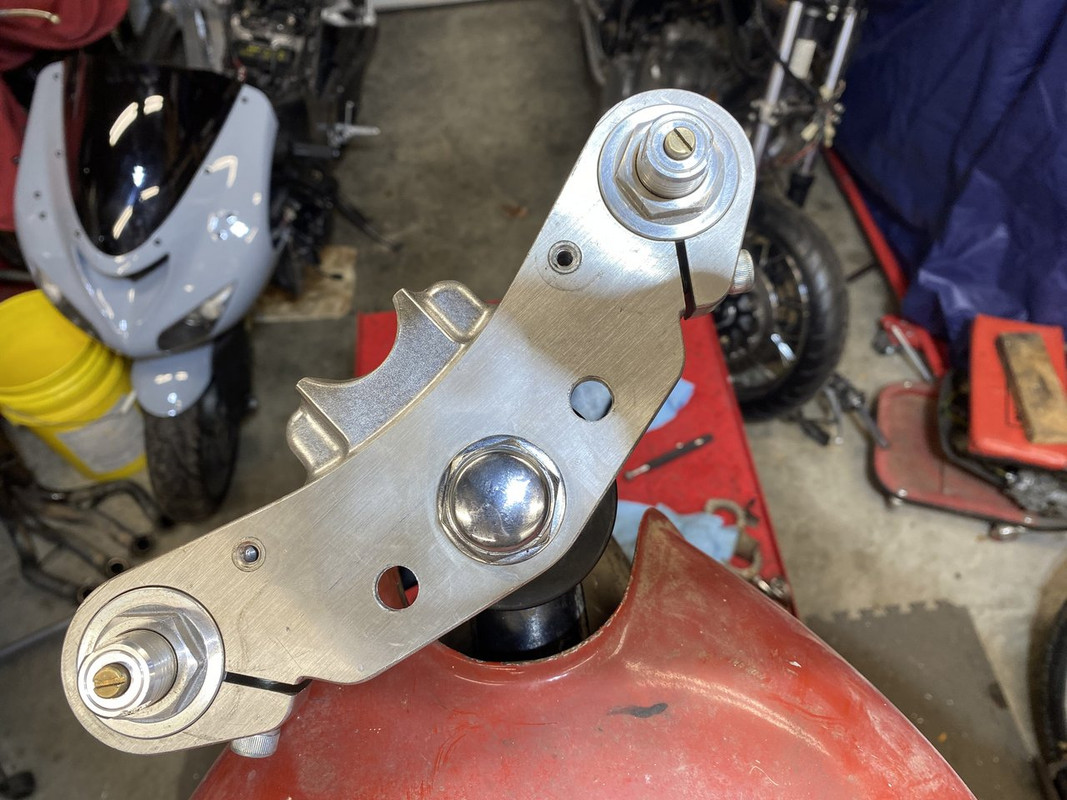
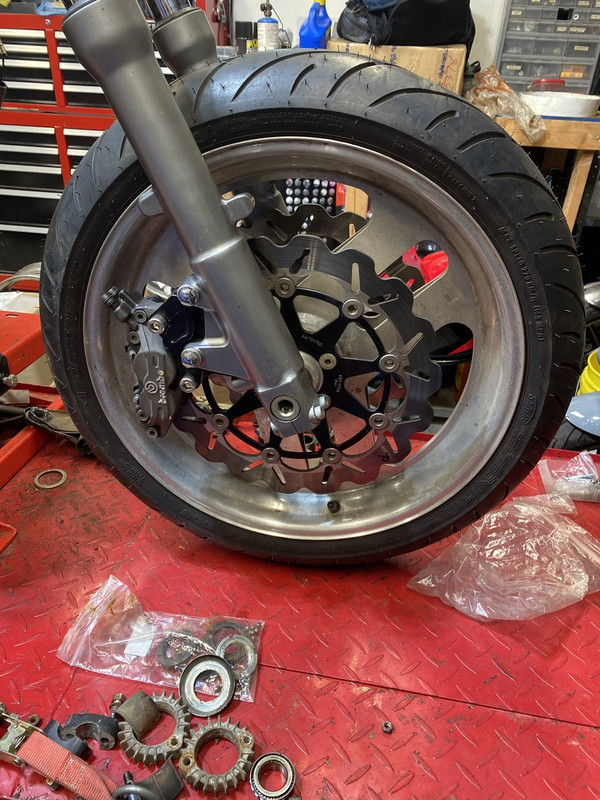
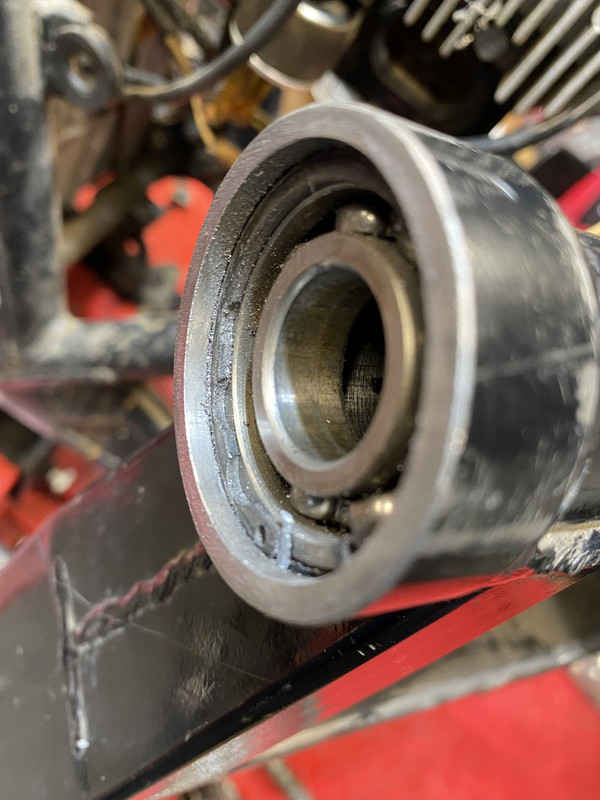
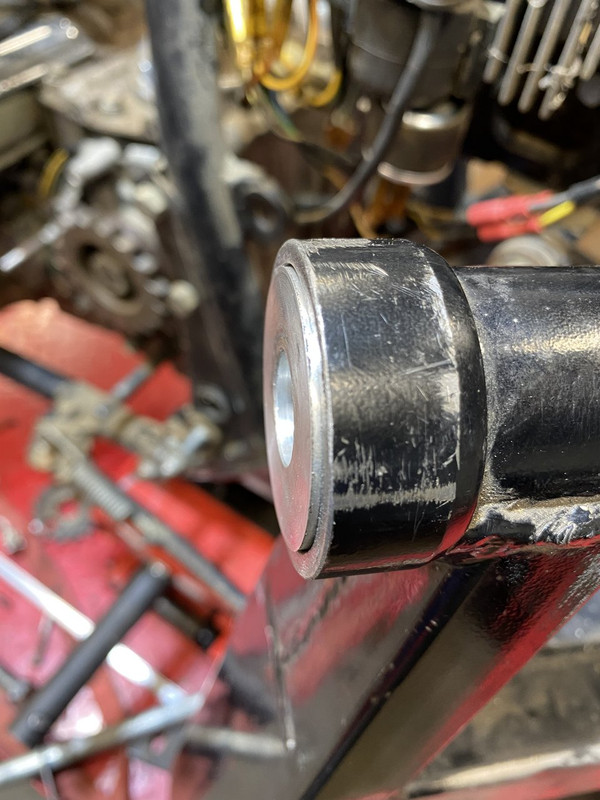
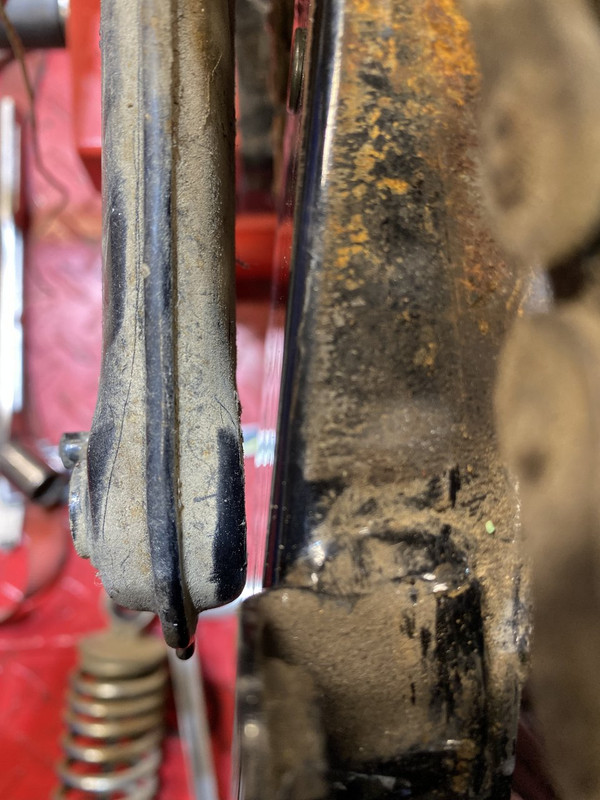
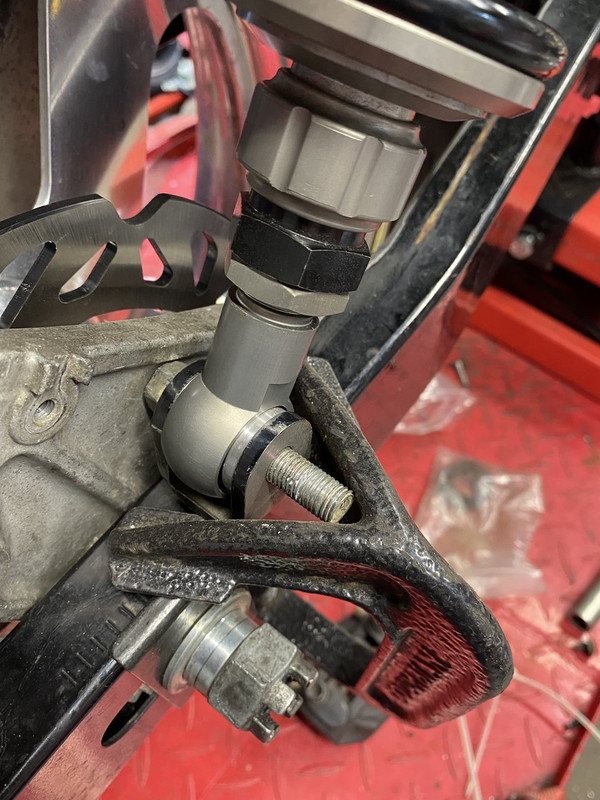
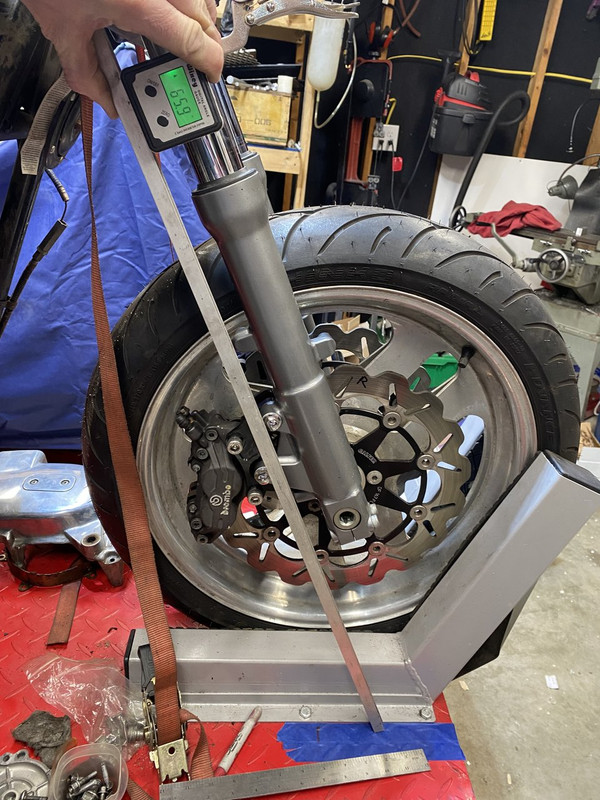
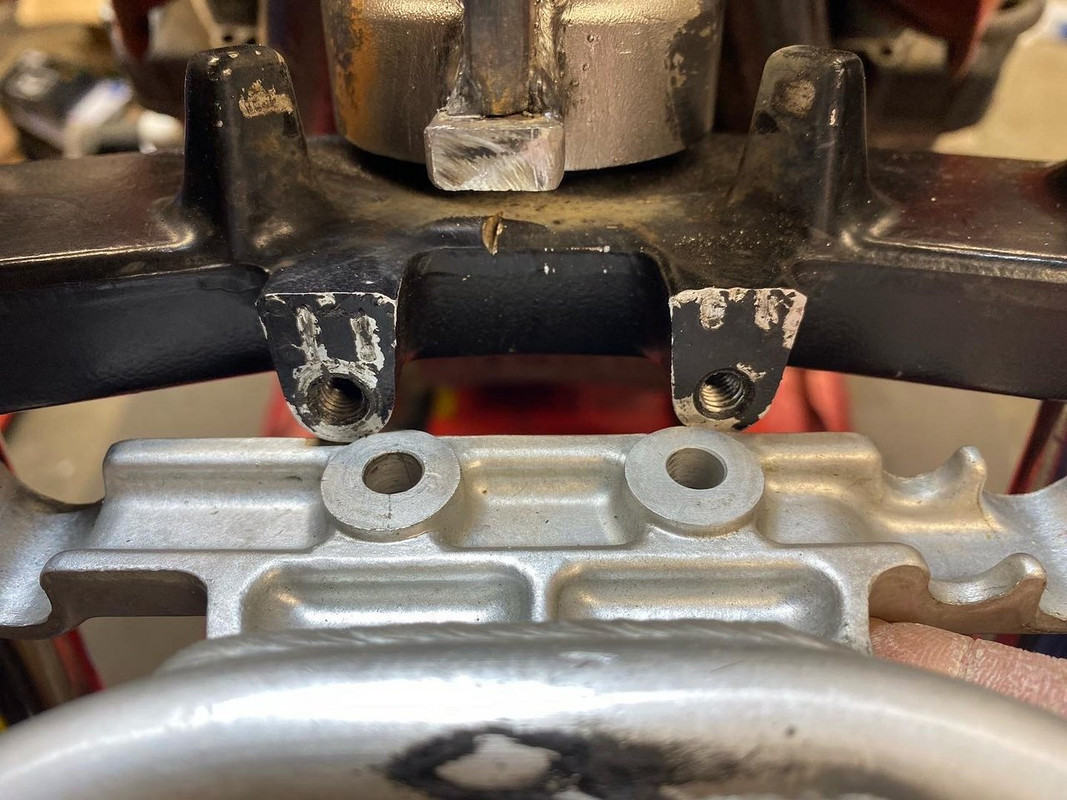
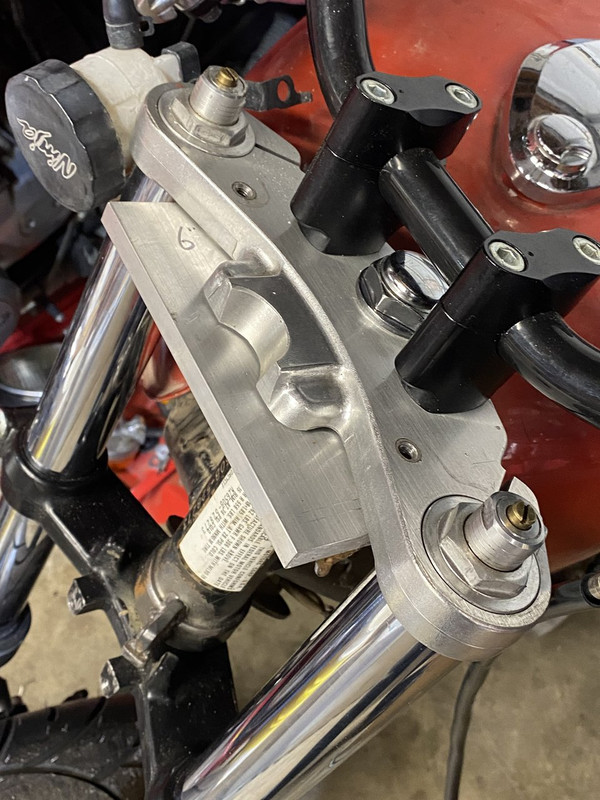
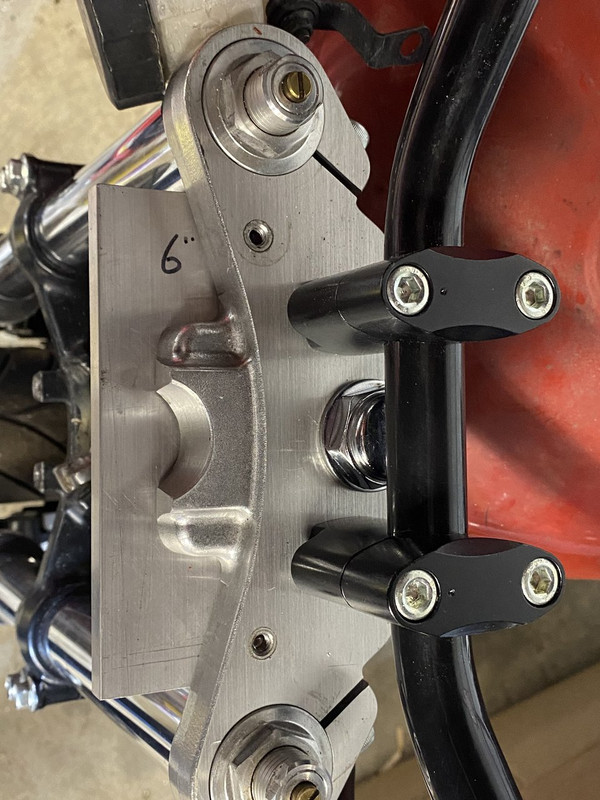
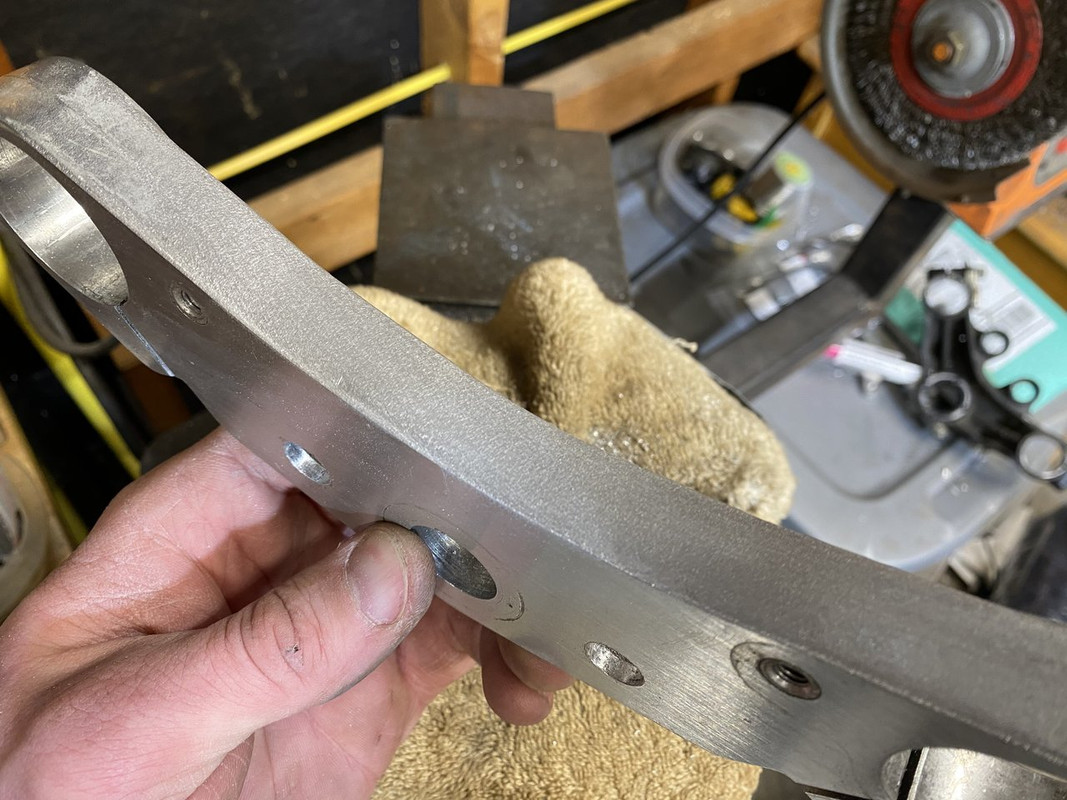
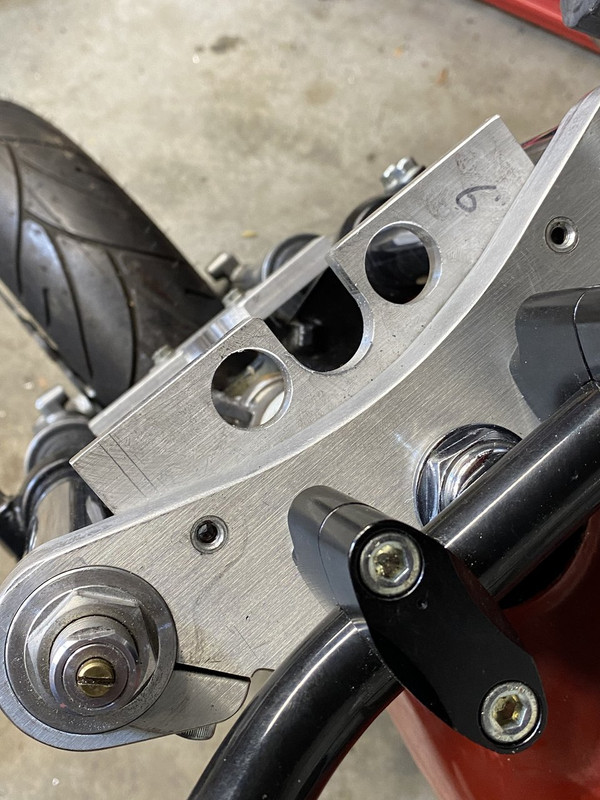
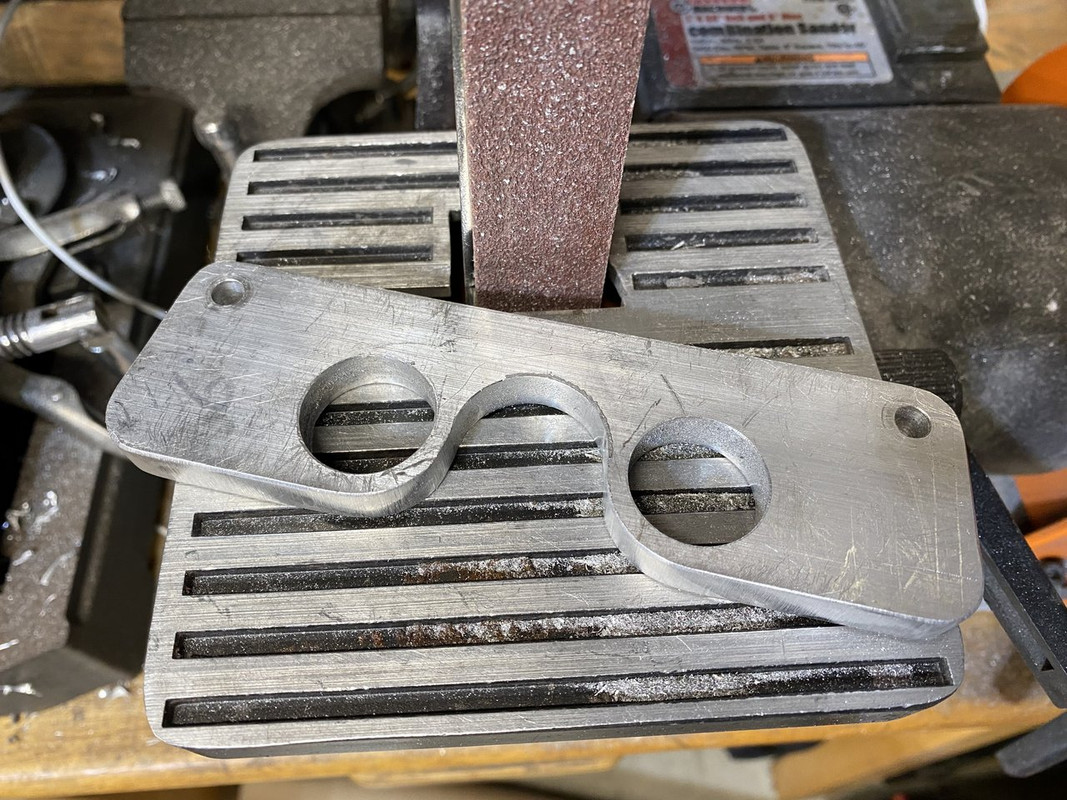
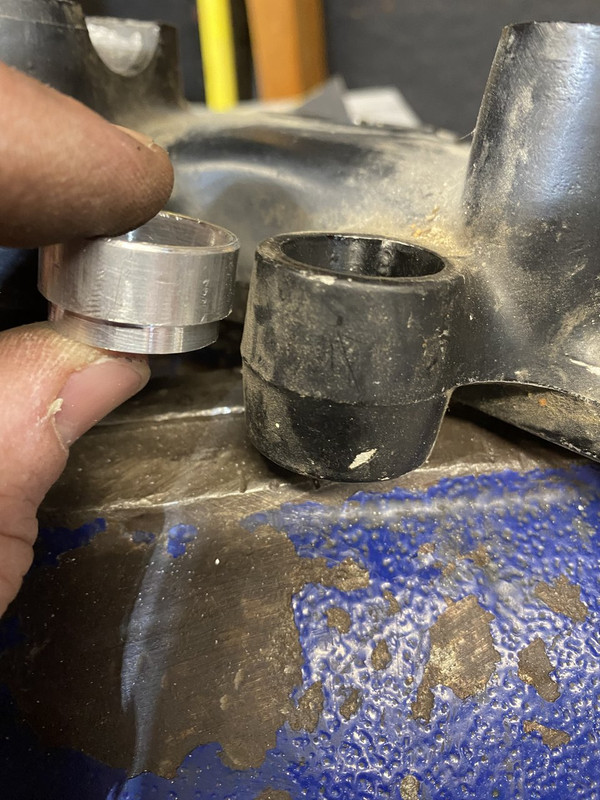
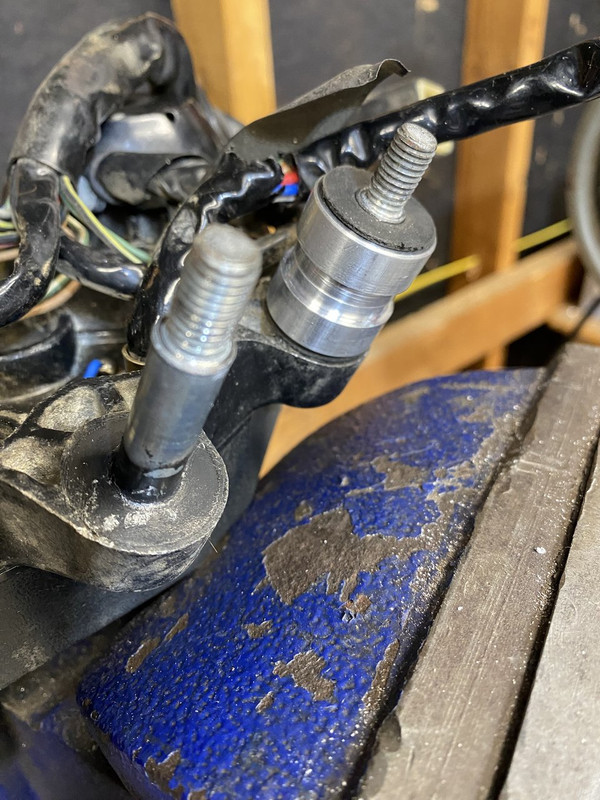
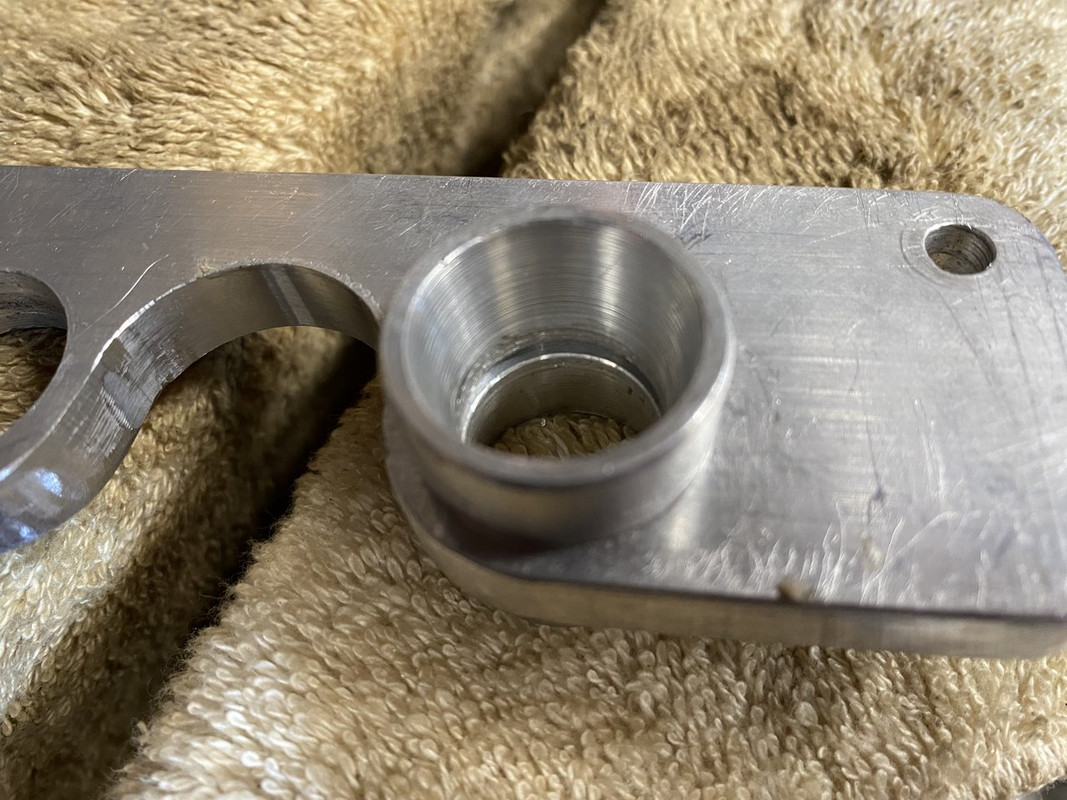
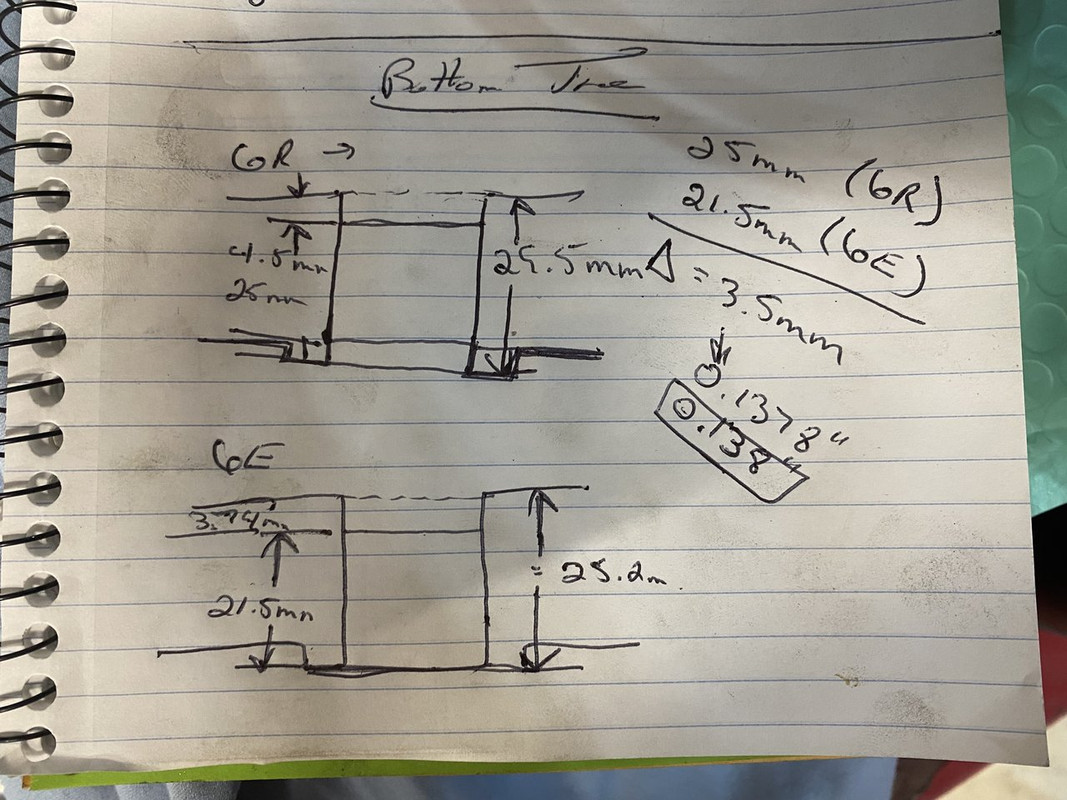
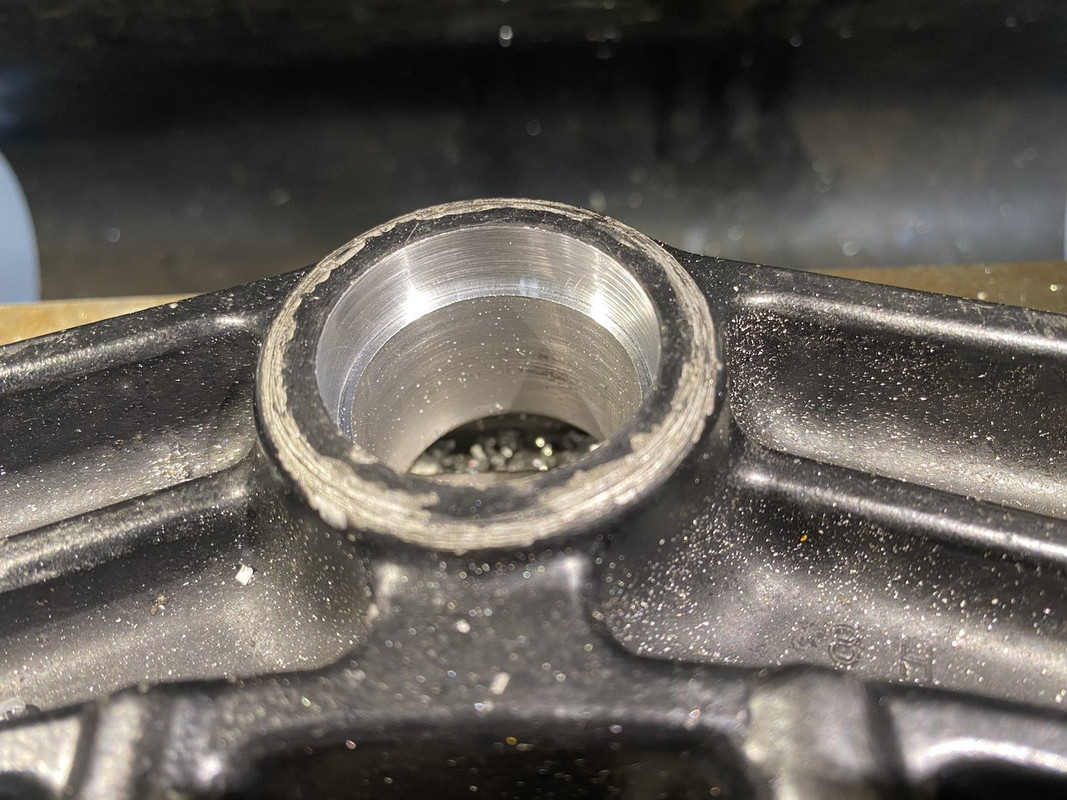
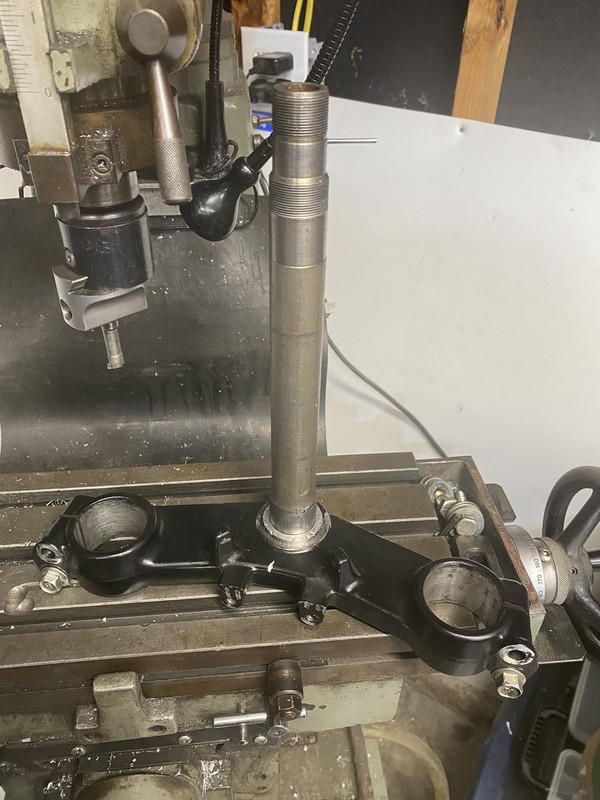
On to the lower triple. The Zx6r clamp is a bit thicker than the 6E clamp. This means that the stem needs to be pushed further through the R’s triple to have the same bearing journal exposed. In this scenario that means the R’s triple needs bored 3.5mm deeper.
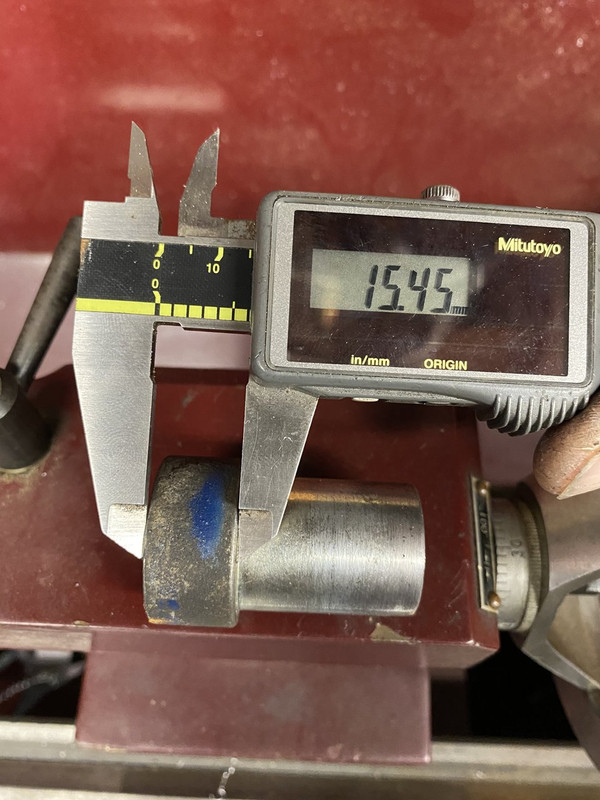
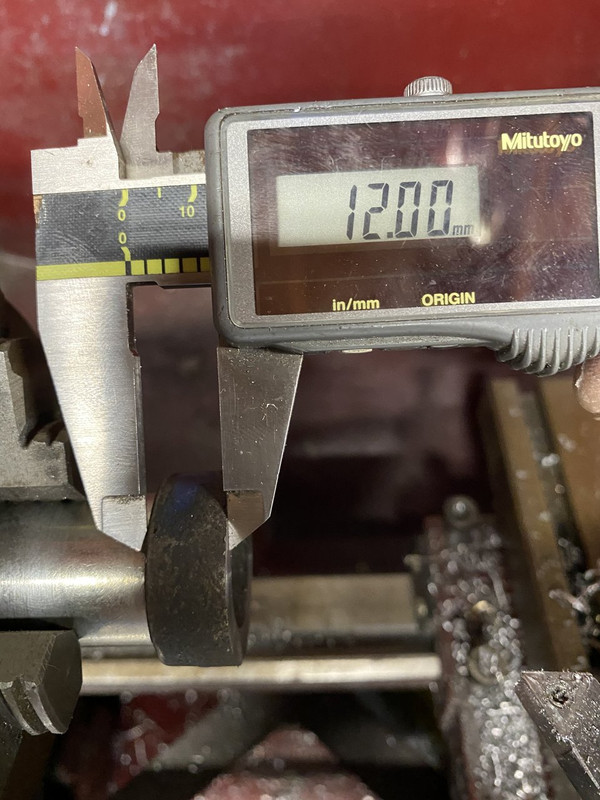
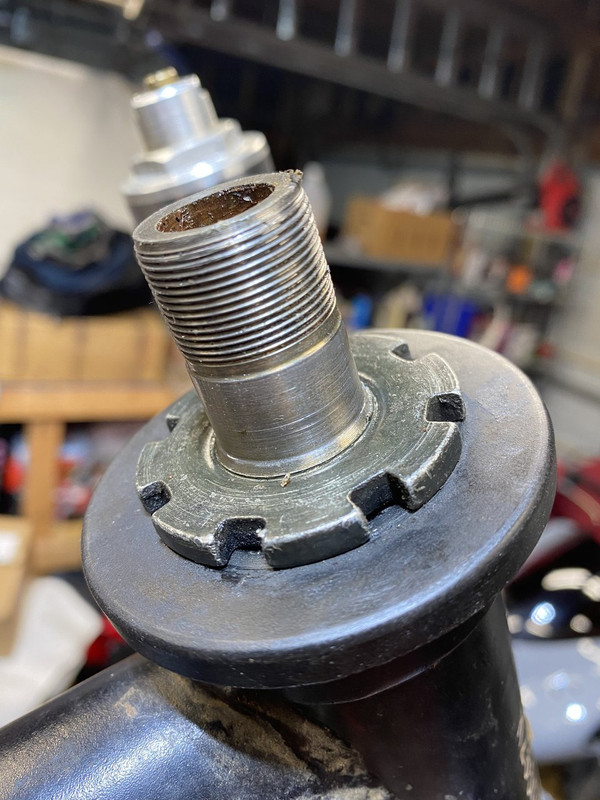
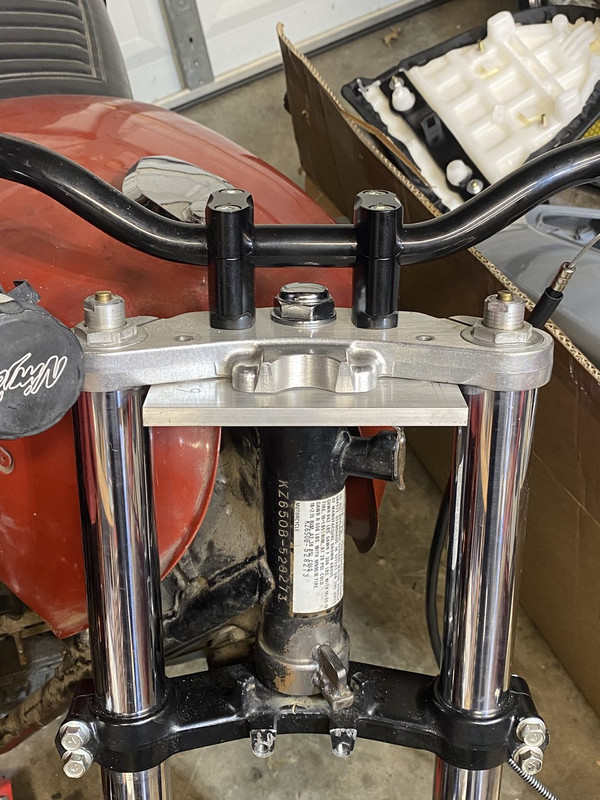
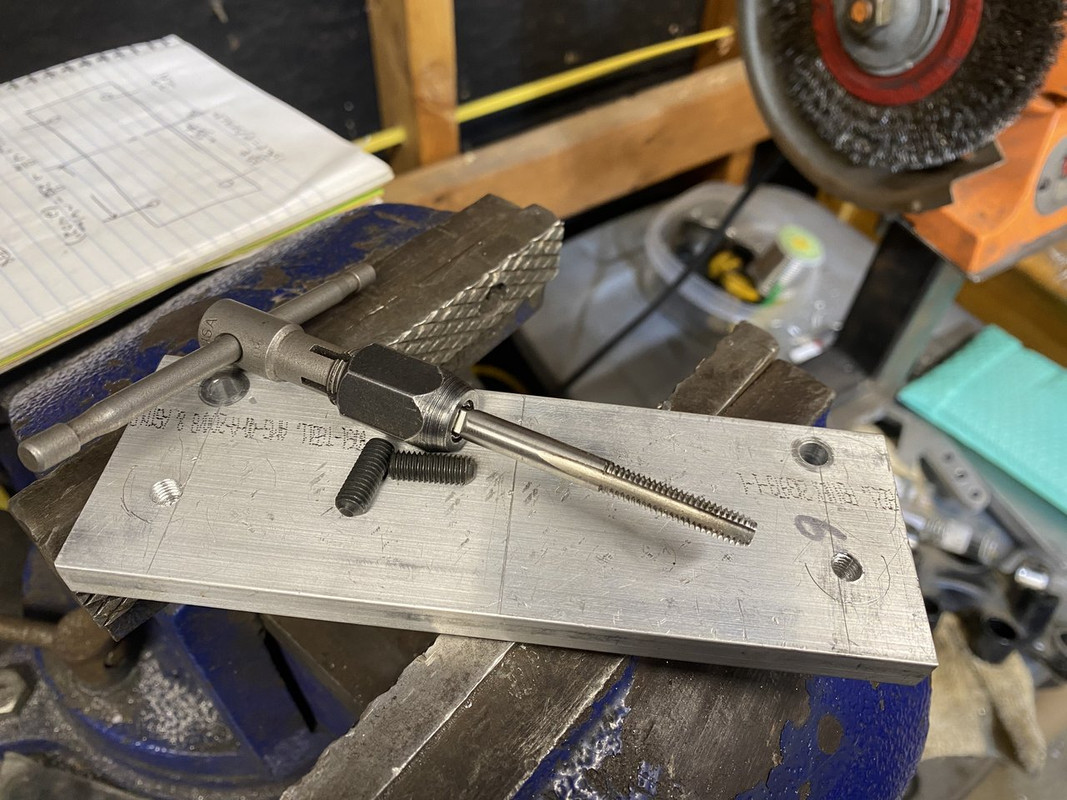
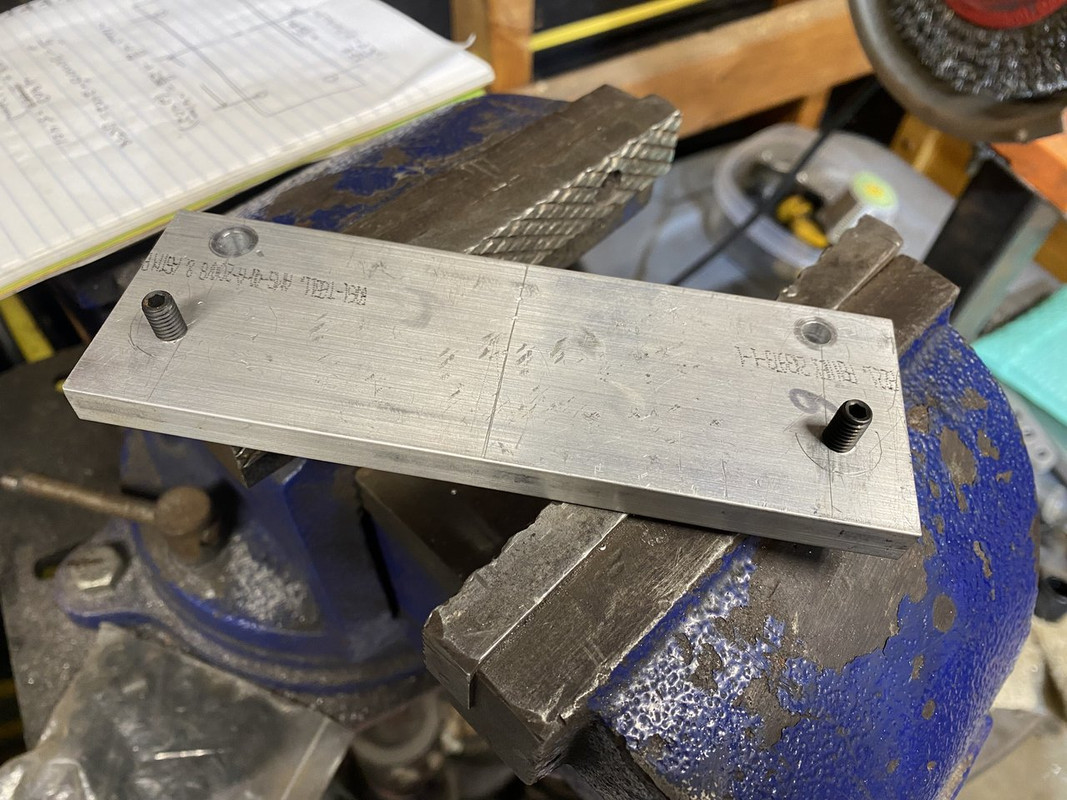
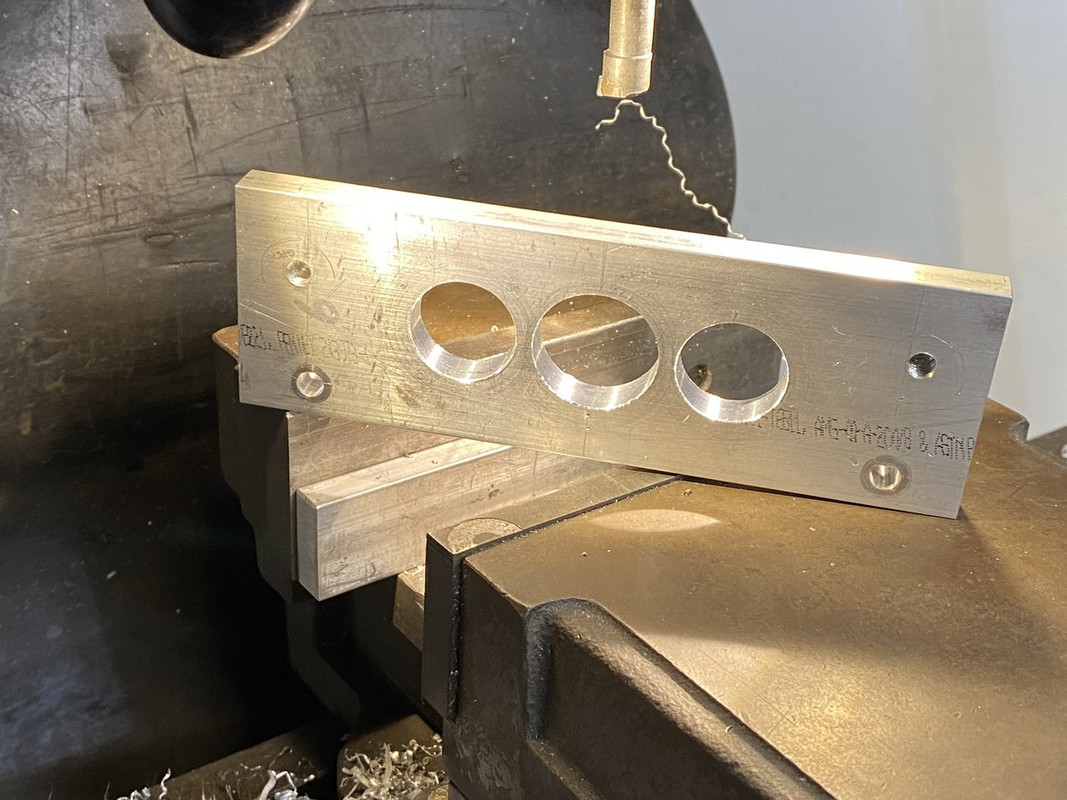
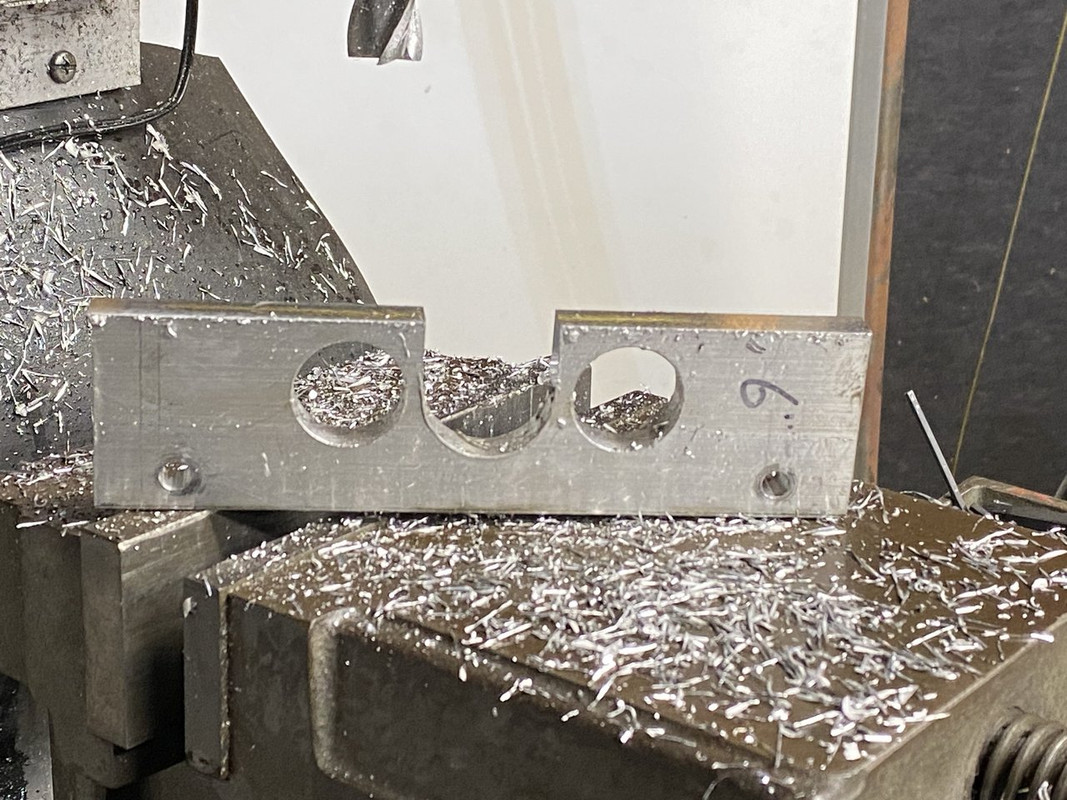
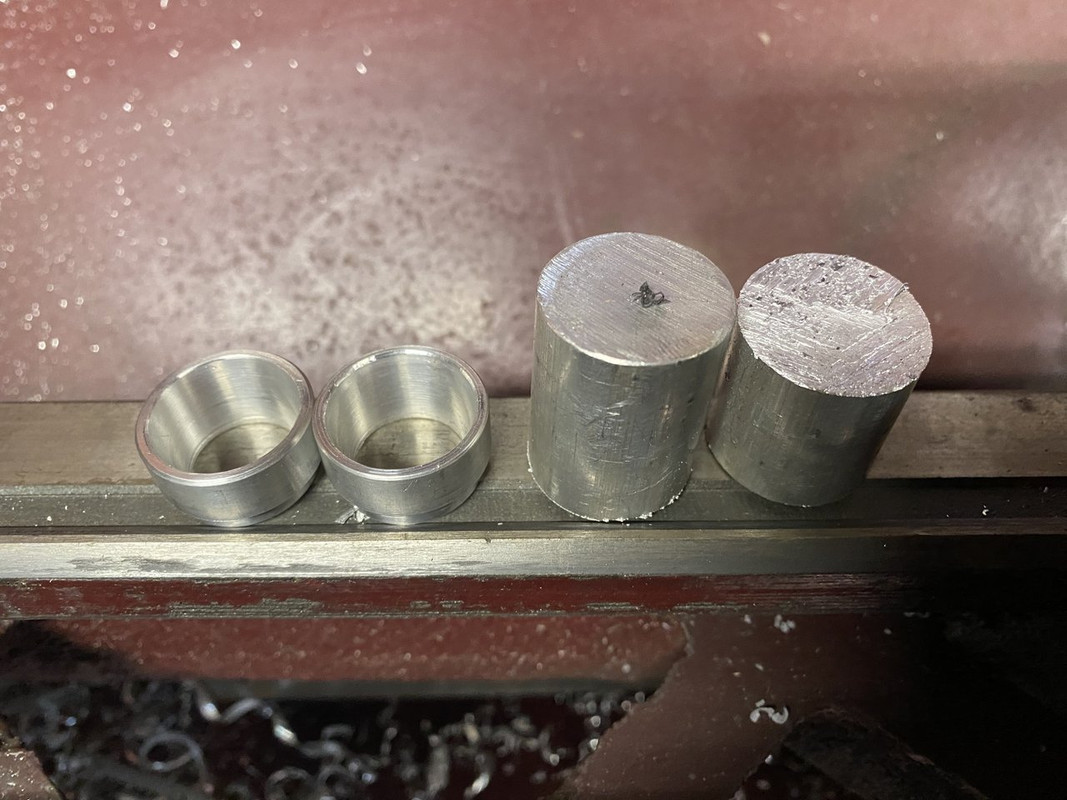
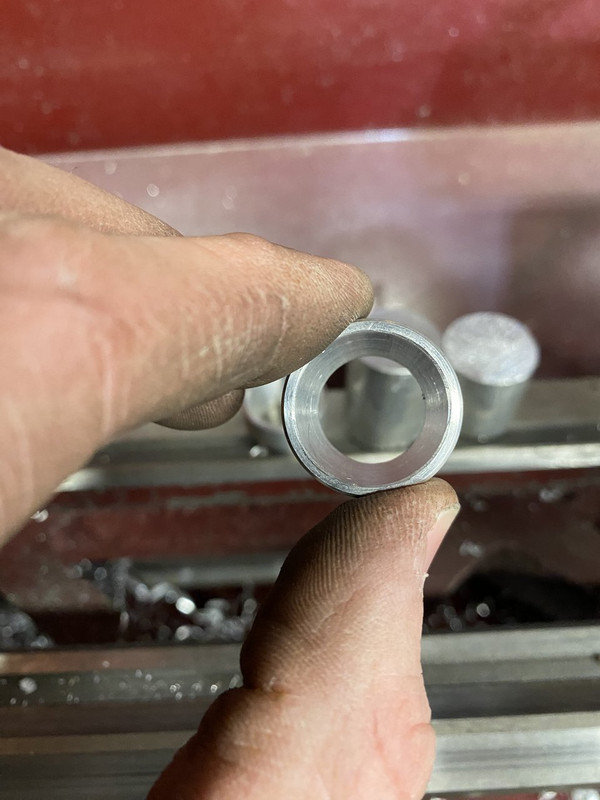
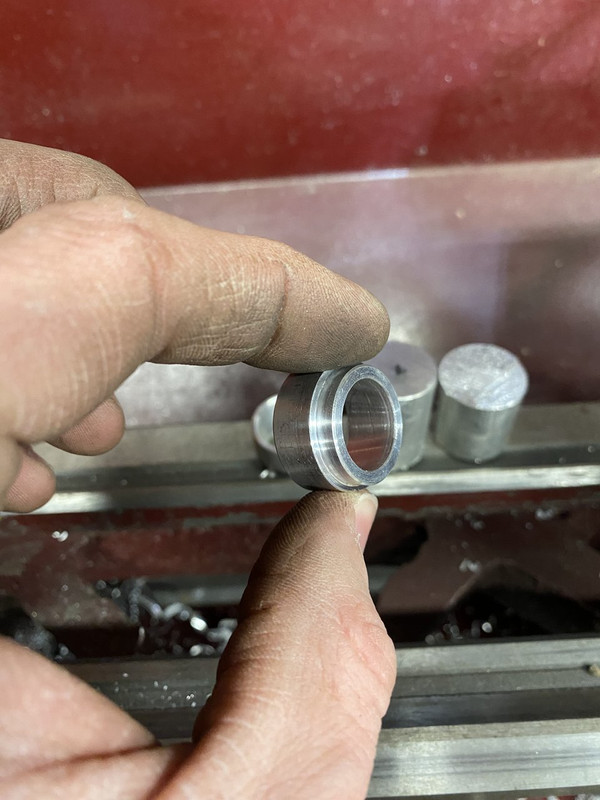
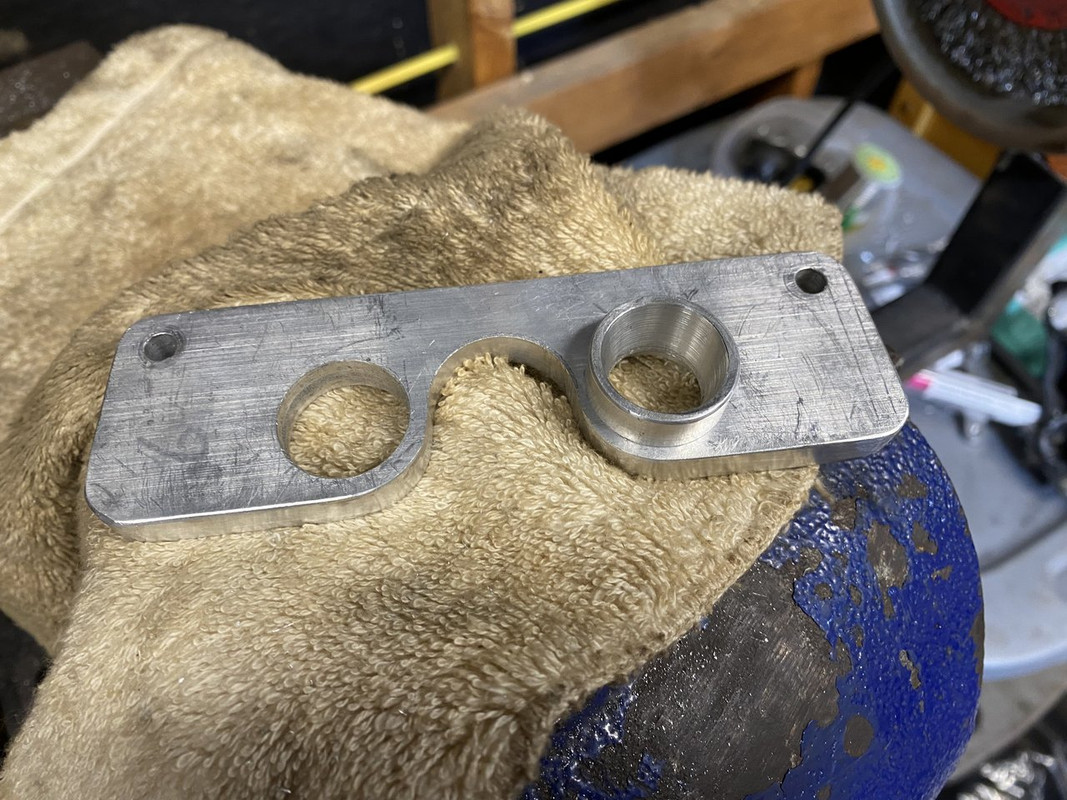
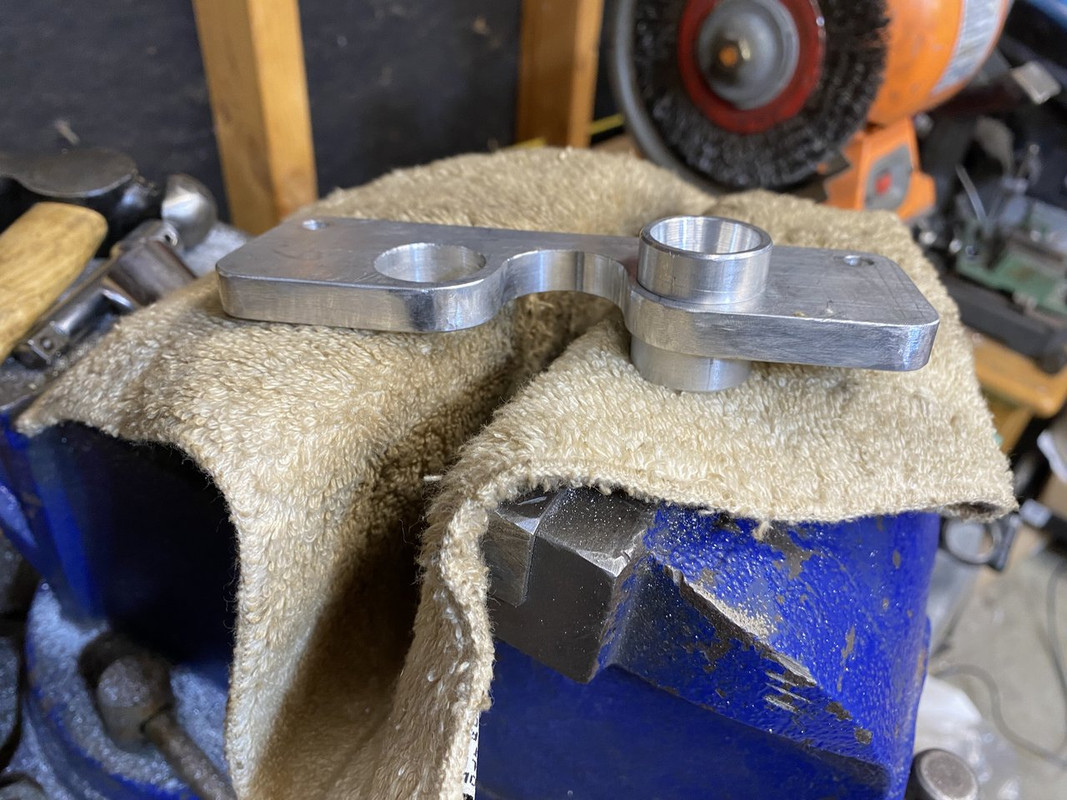
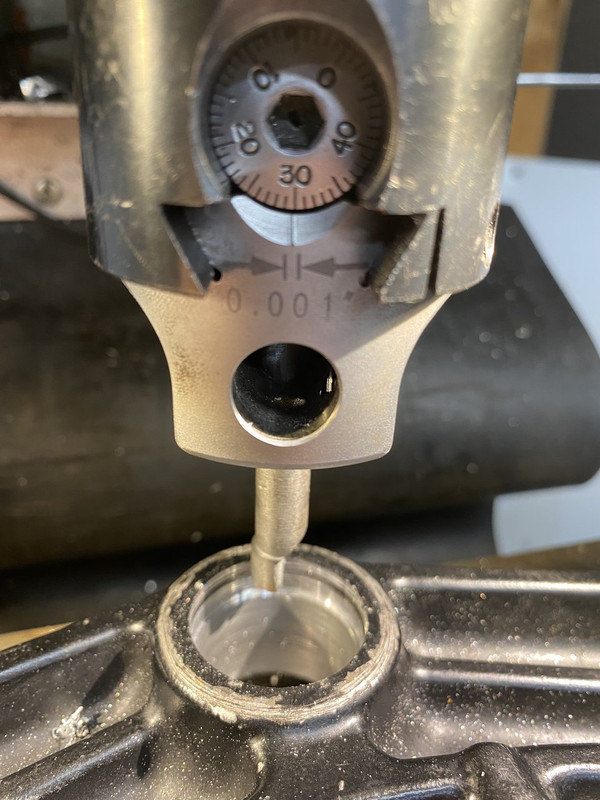
I finally ordered a boring head for my mill and couldn’t wait to use it.
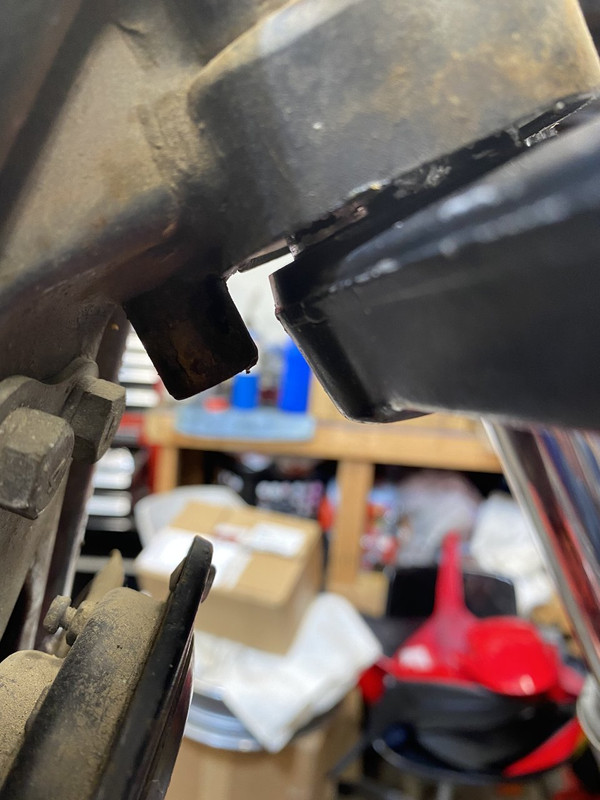
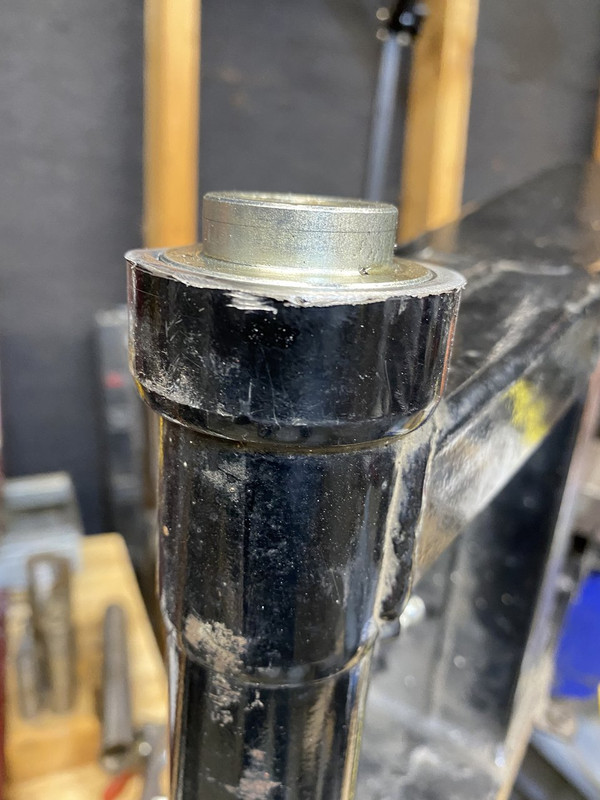
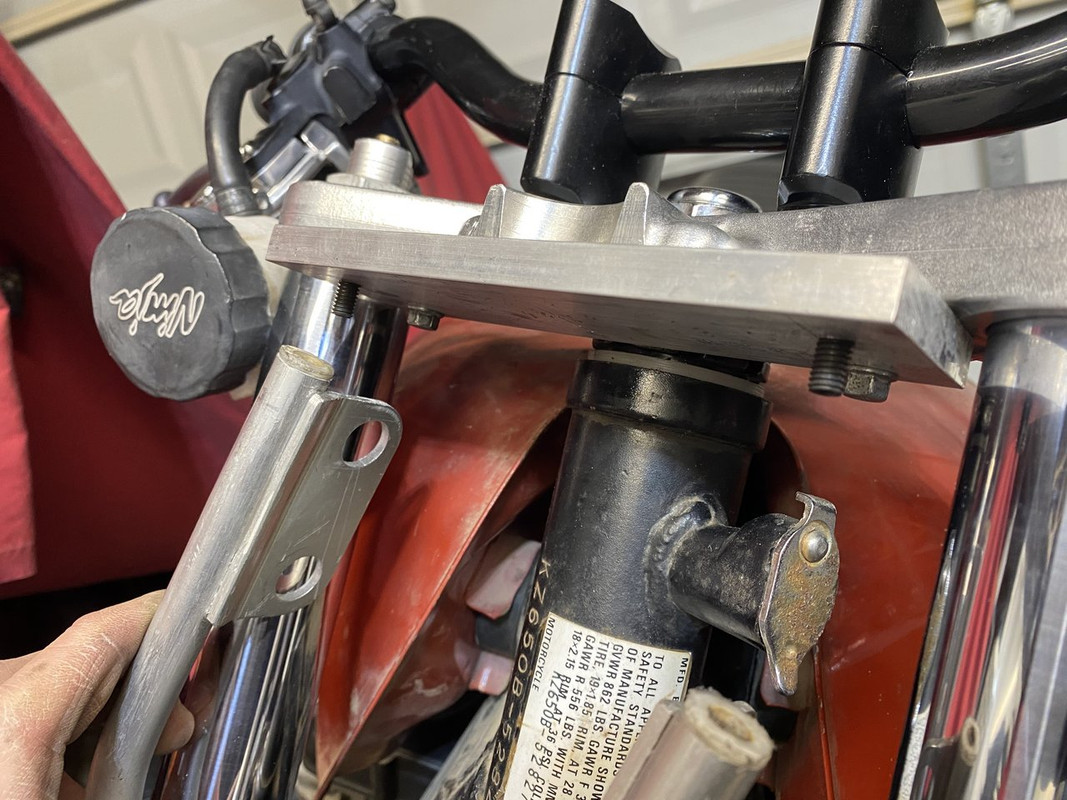
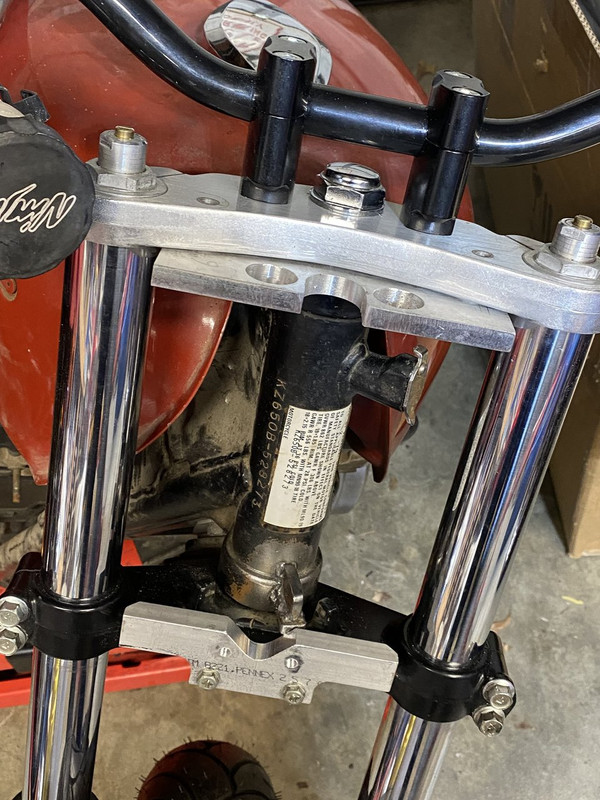
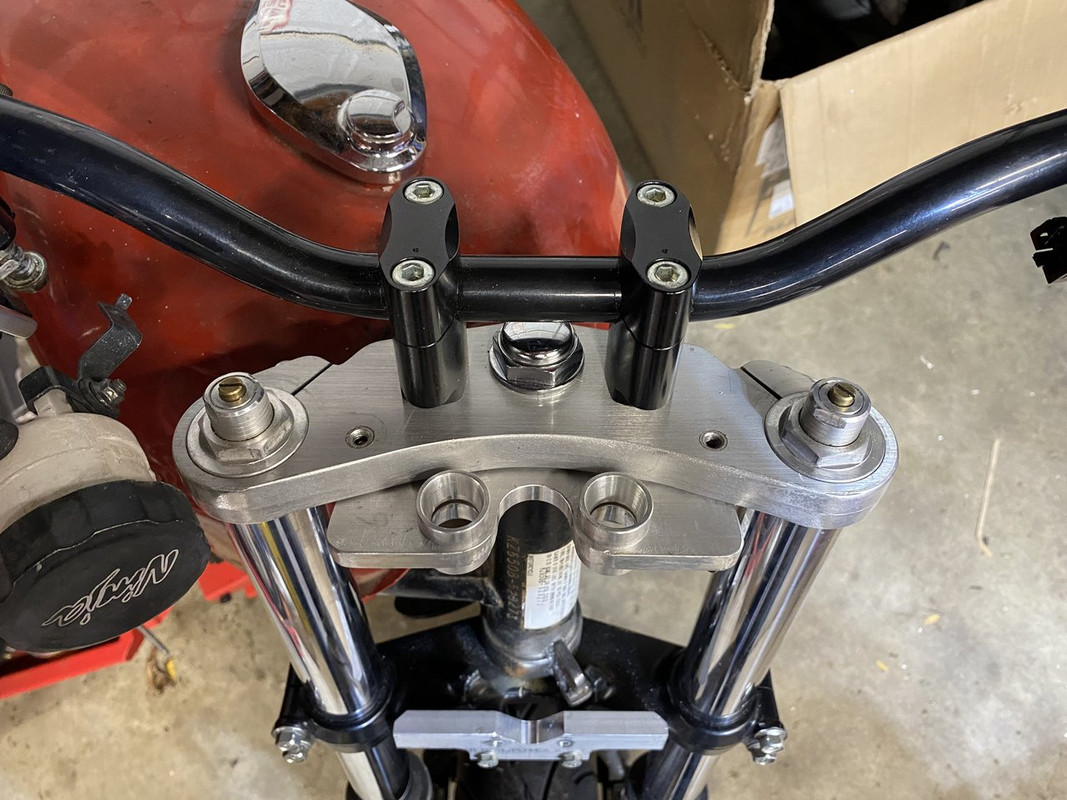
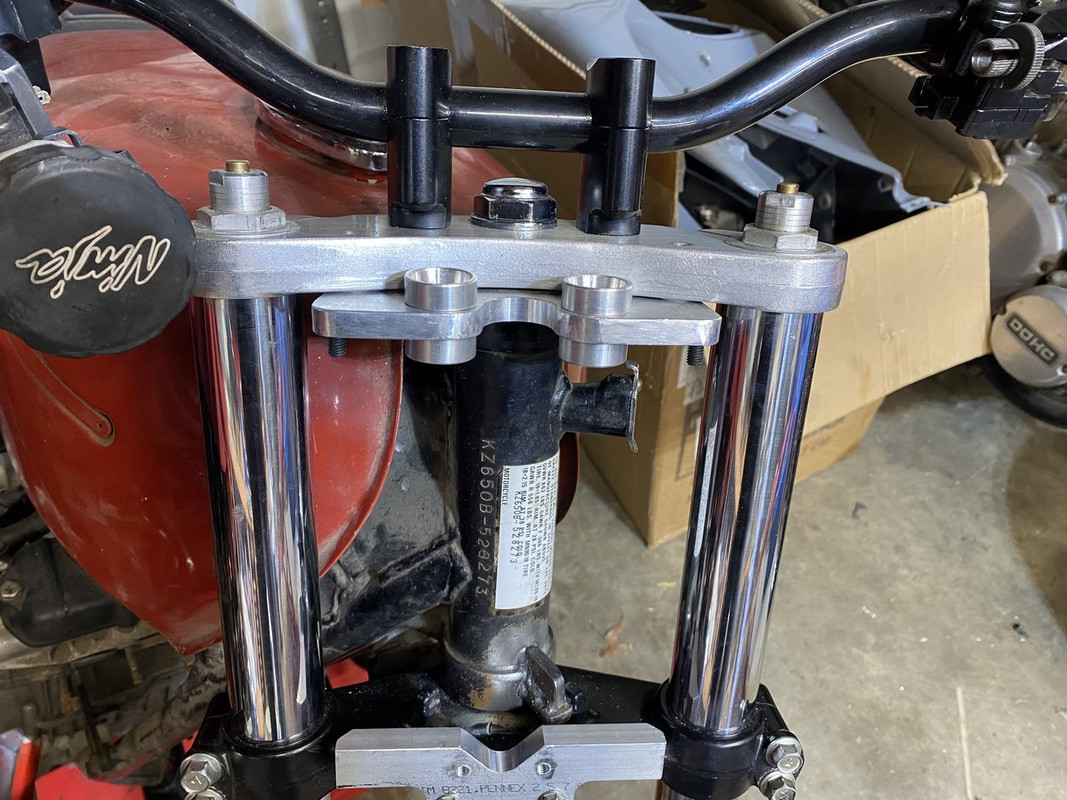
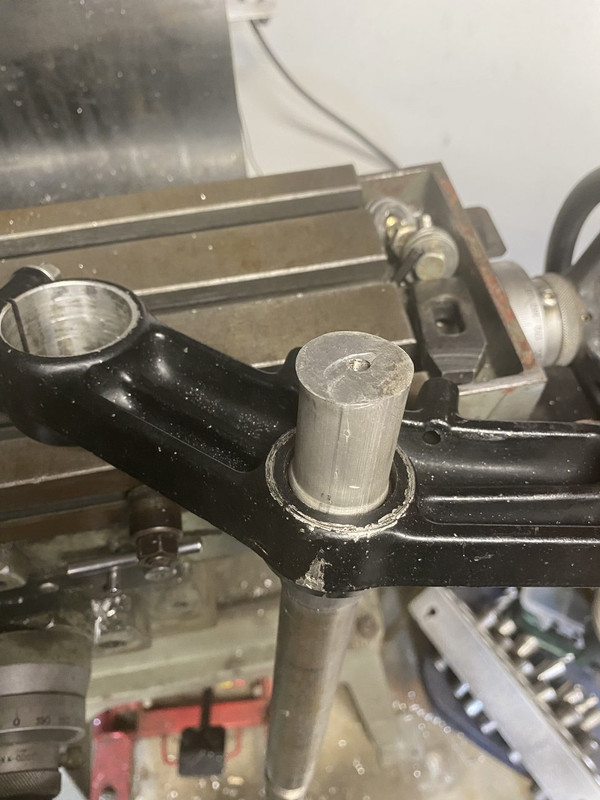
I popped the stem in the freezer overnight to chill a bit. I don’t have a press so I used a BFH and a piece of alumiyummy bar to protect the stem.
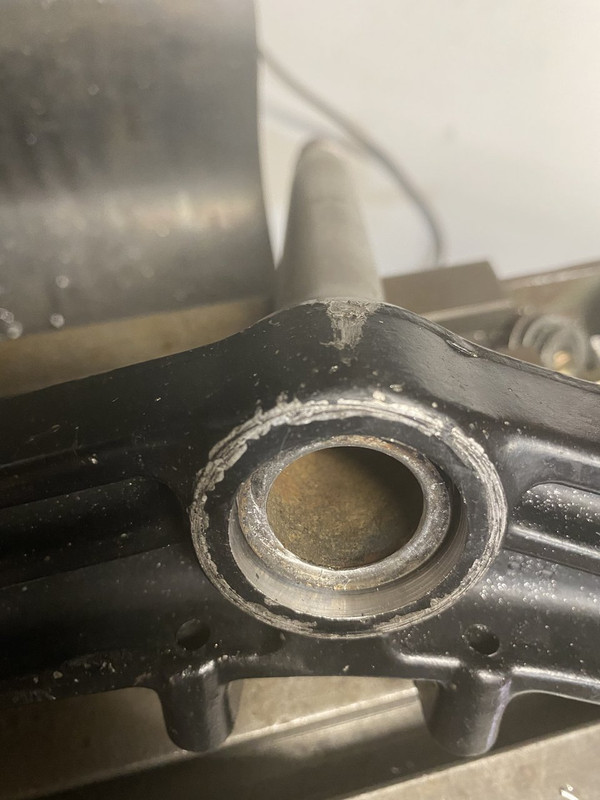
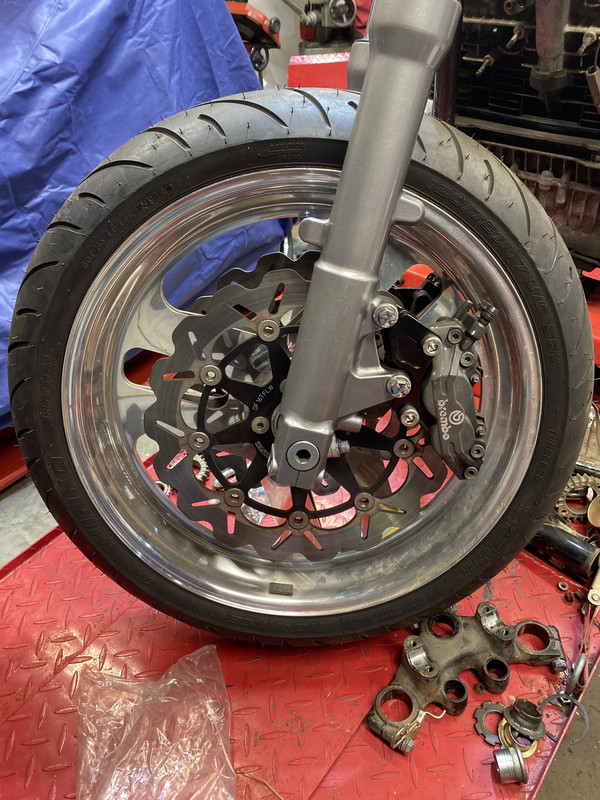
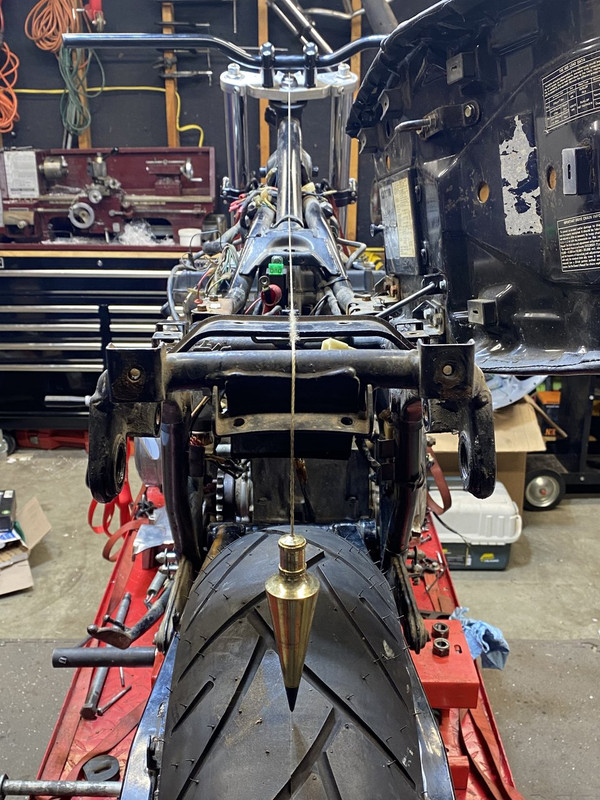
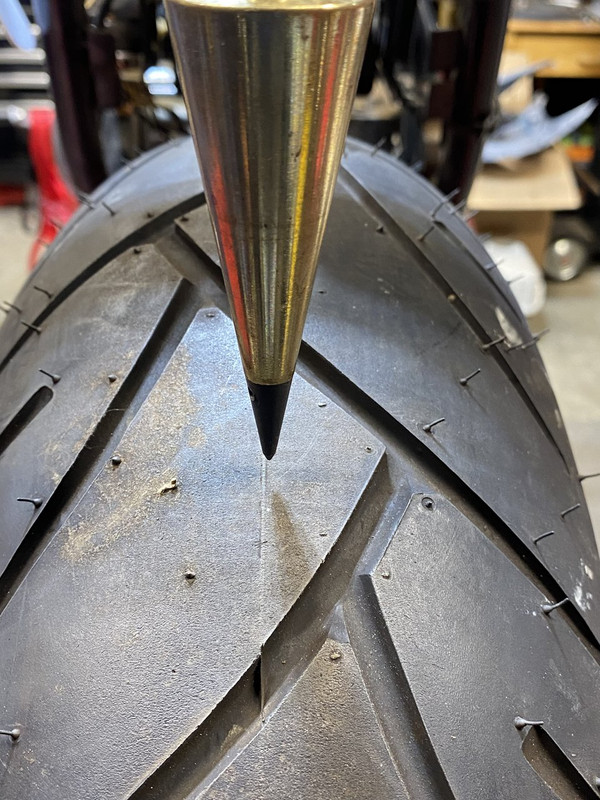
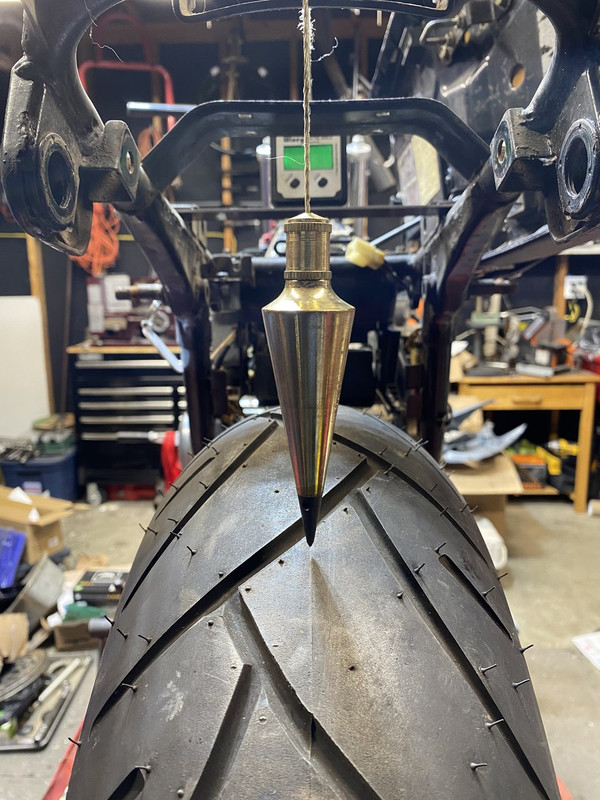
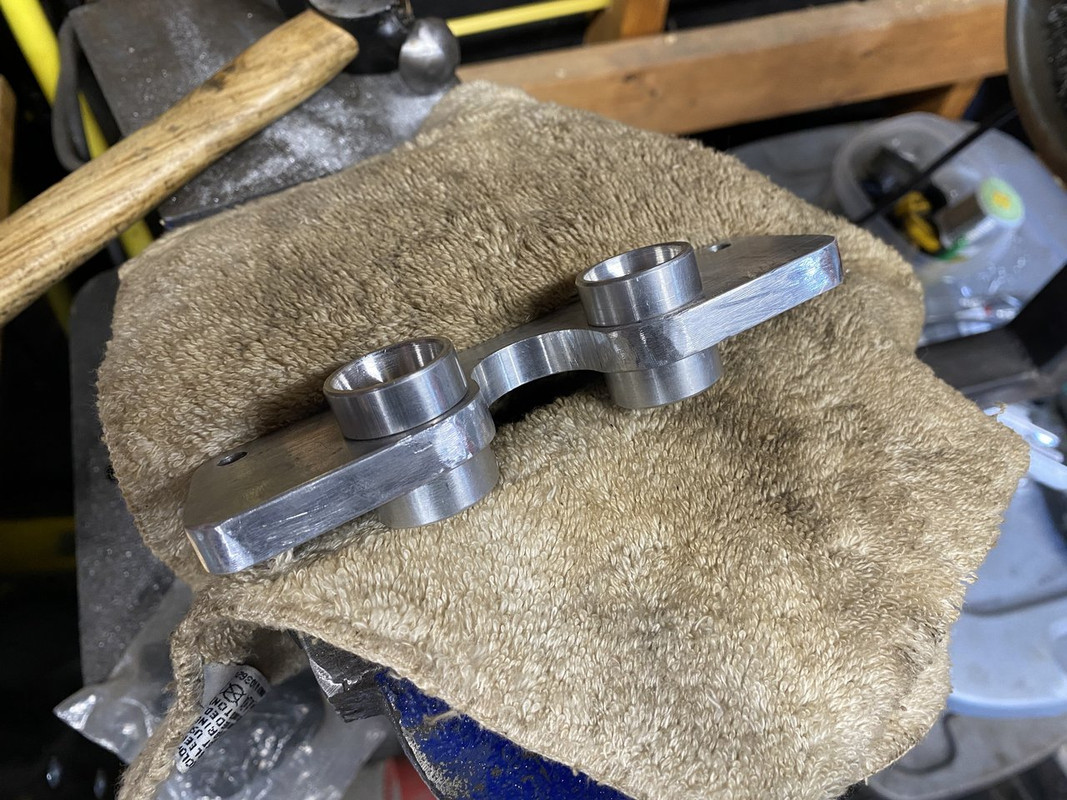
And voilà!

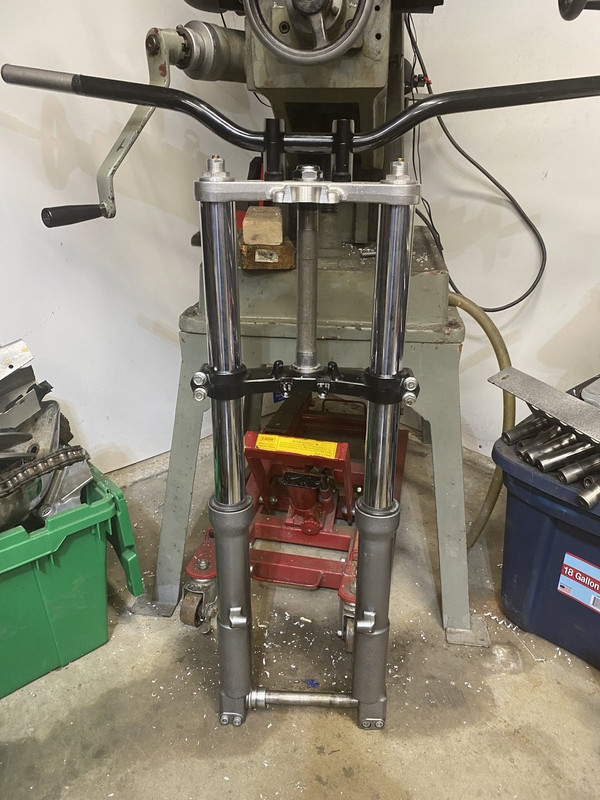
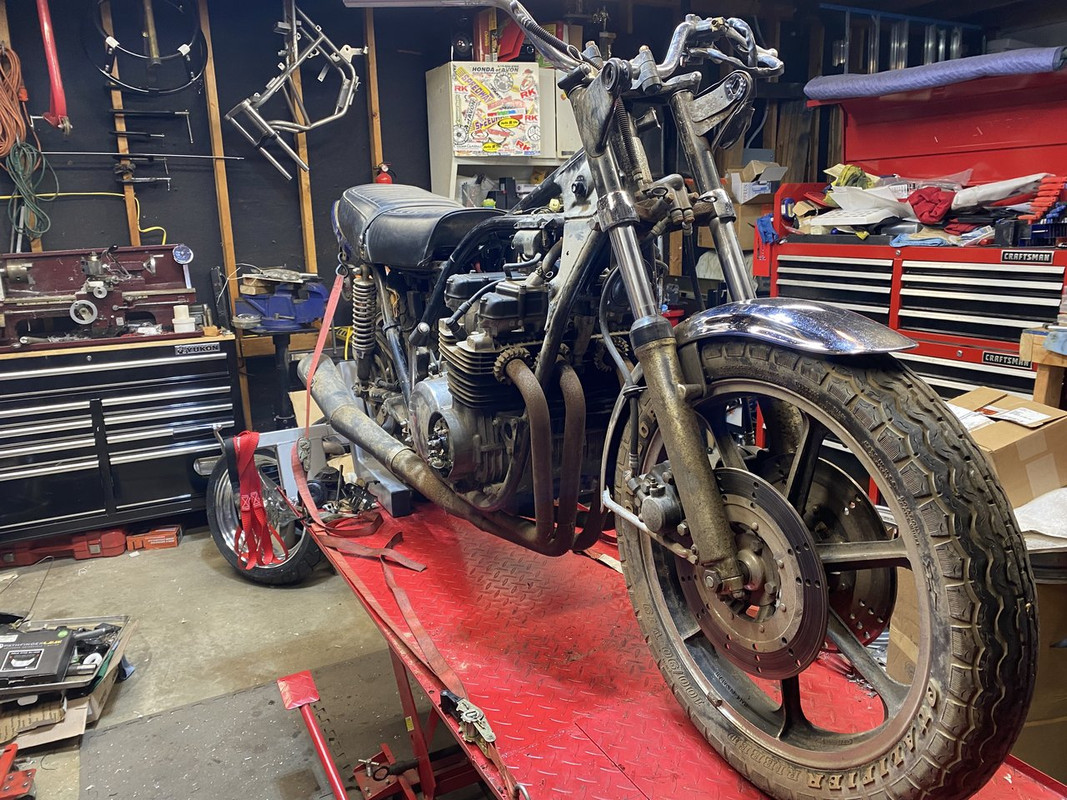
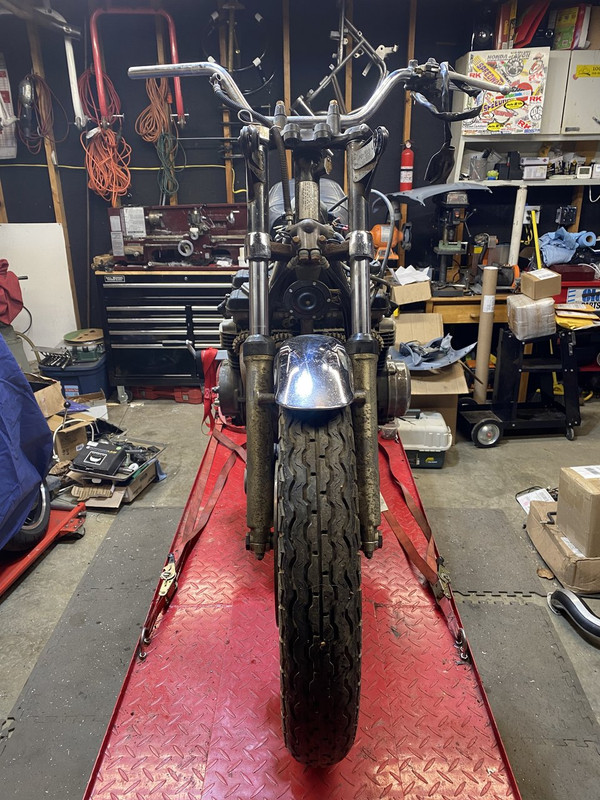
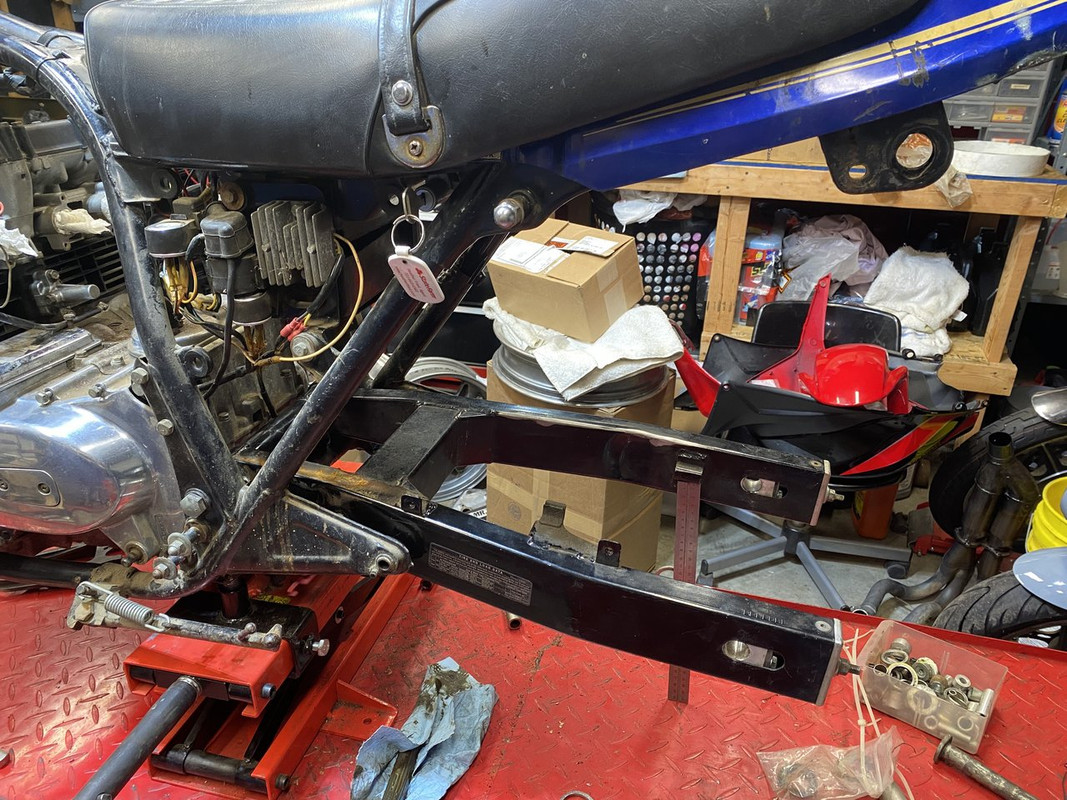
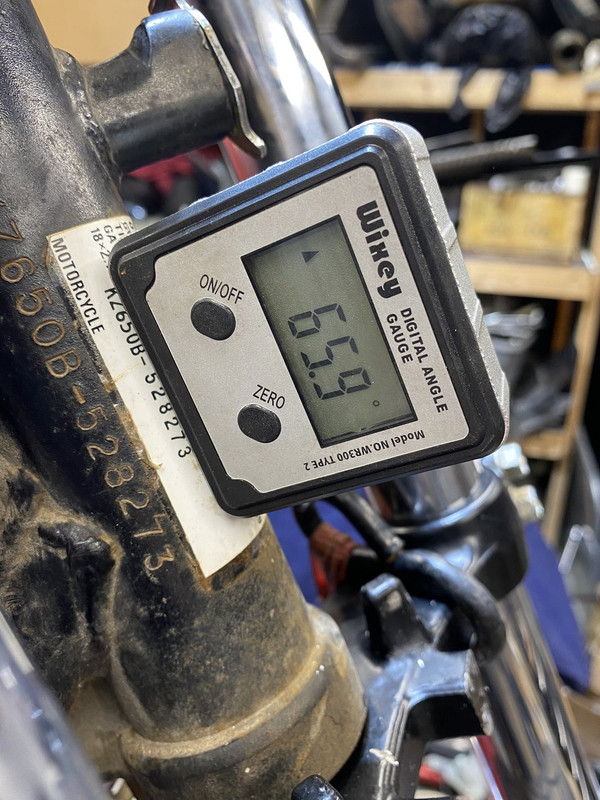
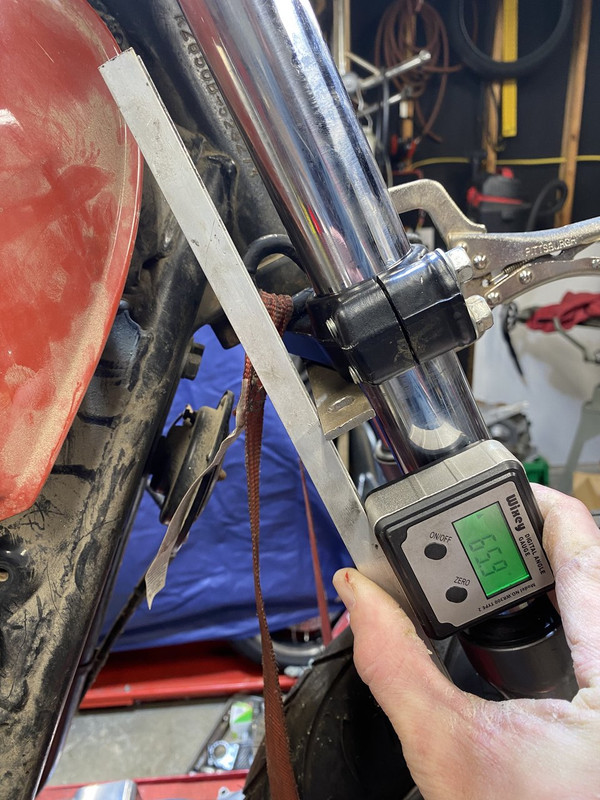
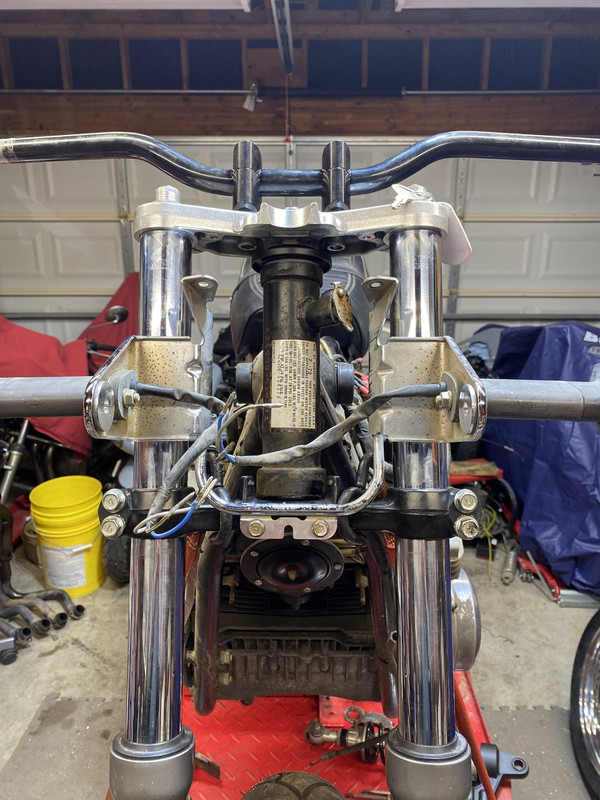
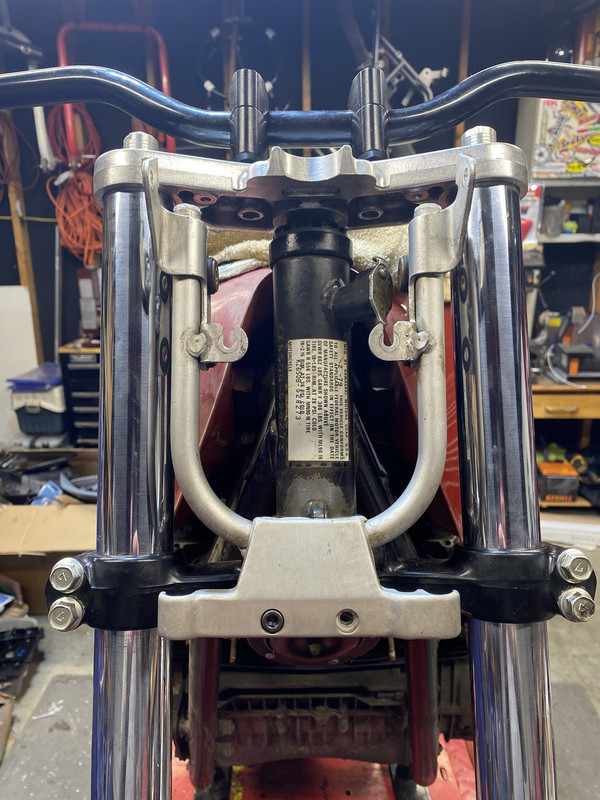
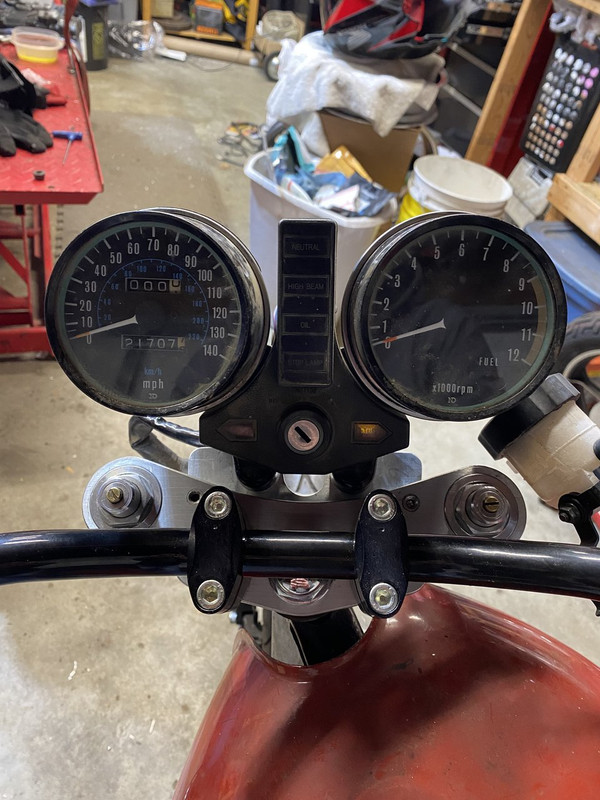
Next stop is conversion steering bearings, fork stops and gauge mounting solutions.
Later, Doug
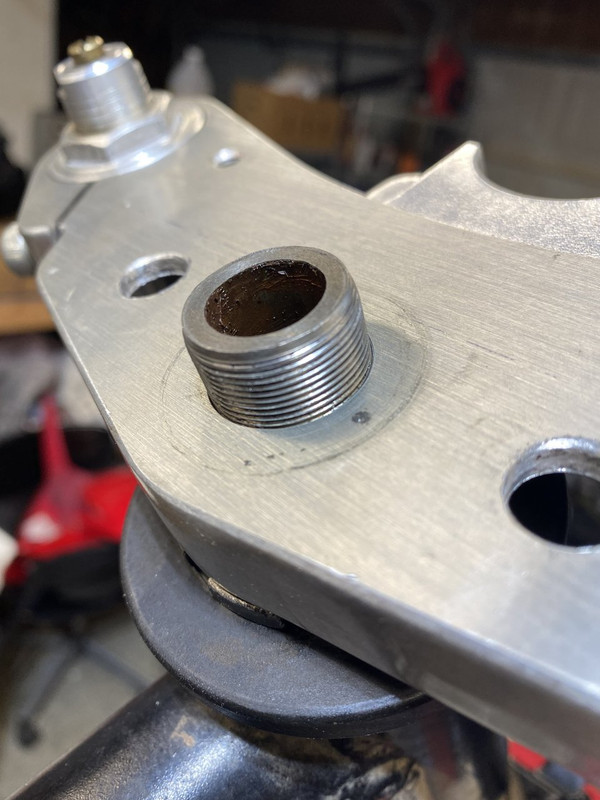
I finally ordered a boring head for my mill and couldn’t wait to use it.
I popped the stem in the freezer overnight to chill a bit. I don’t have a press so I used a BFH and a piece of alumiyummy bar to protect the stem.
And voilà!
Next stop is conversion steering bearings, fork stops and gauge mounting solutions.
Later, Doug