Follow along with the video below to see how to install our site as a web app on your home screen.
Note: This feature currently requires accessing the site using the built-in Safari browser.
We noticed you are blocking ads. DO THE TON only works with community supporters. Most are active members of the site with small businesses. Please consider disabling your ad blocking tool and checking out the businesses that help keep our site up and free.
Like Bikeboy said...if you could find one for me I would be willing to pay for it plus shipping and throw in something for your time. Let me know, thanks
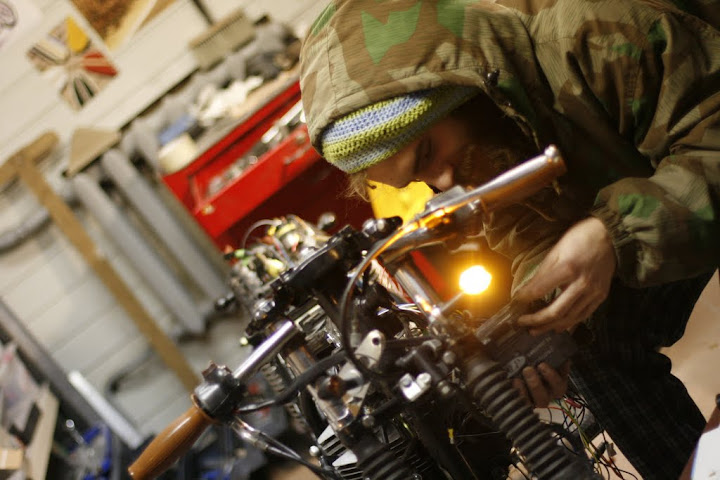
Finally got the engine sorted out. I hope it will run fine...
Started doing other stuff on a bike and here comes questions
What's the best tool for cutting seat material ? Tried metal saw with small tooth and paper knife, but nothing gives nice clean cut. Somewhere in the forum, electric bread knife was mentioned as the best a tool for this job, but need something not so fancy :]
As i have never driven a this bike before and only ridden one in a driving school for several hours I have no idea if altering the width of the seat by 1/3 from original one will not decrease comfort and stability ? Any ideas on this ?
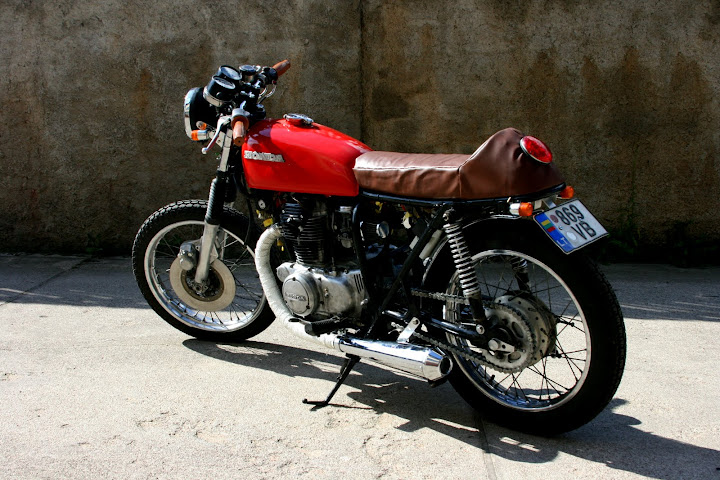
Getting in to shape...
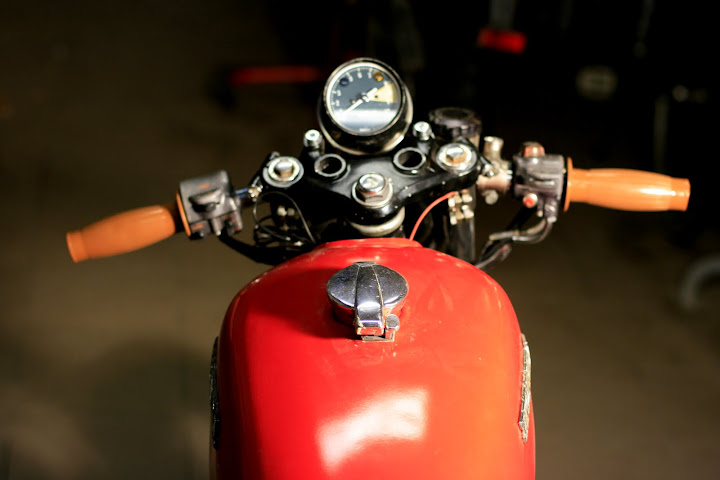
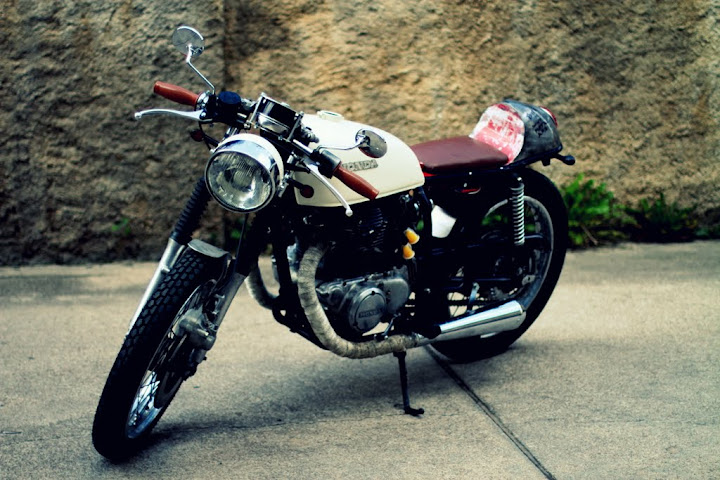
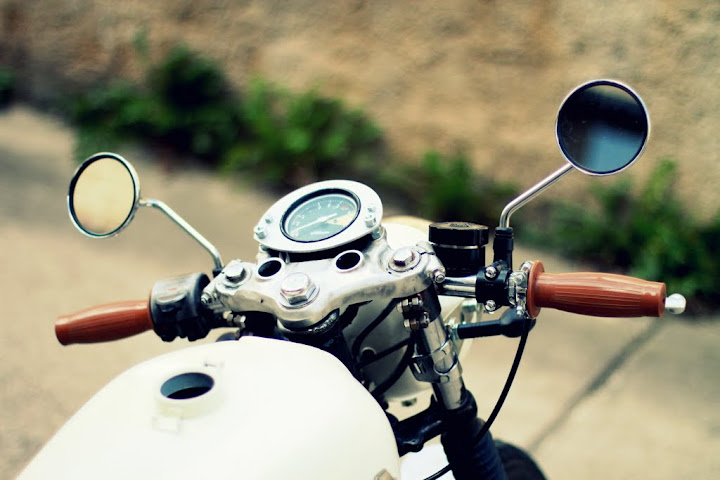
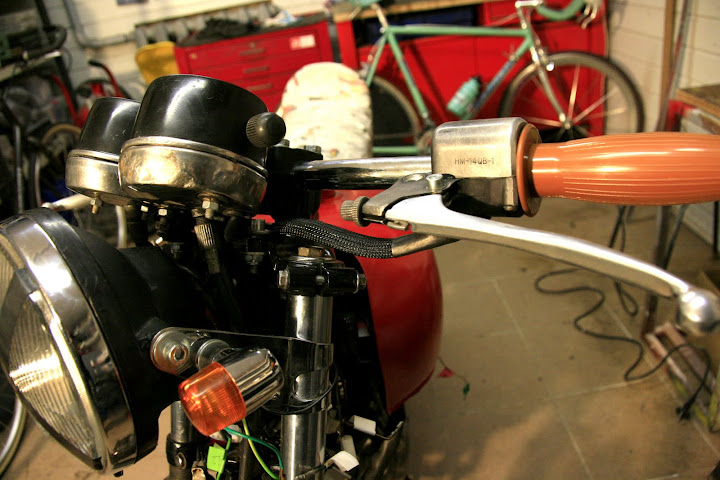
For my first bike I had to be a little bit conservative and go with drag bars. One day they will definitely changed to clubmans, but not until i learn how to ride a bike.
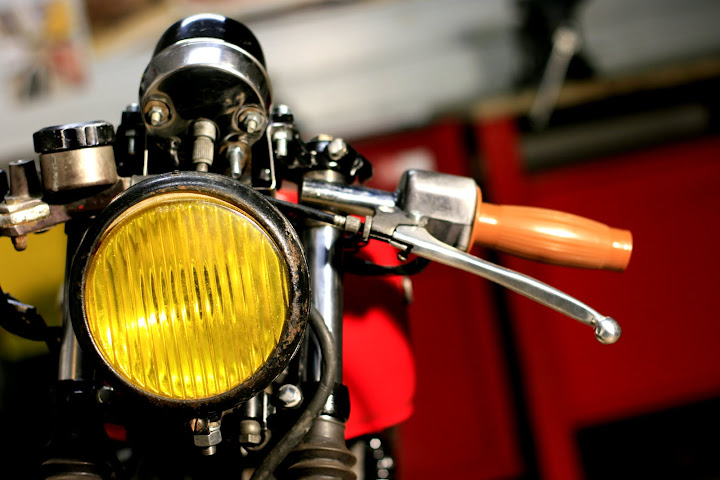
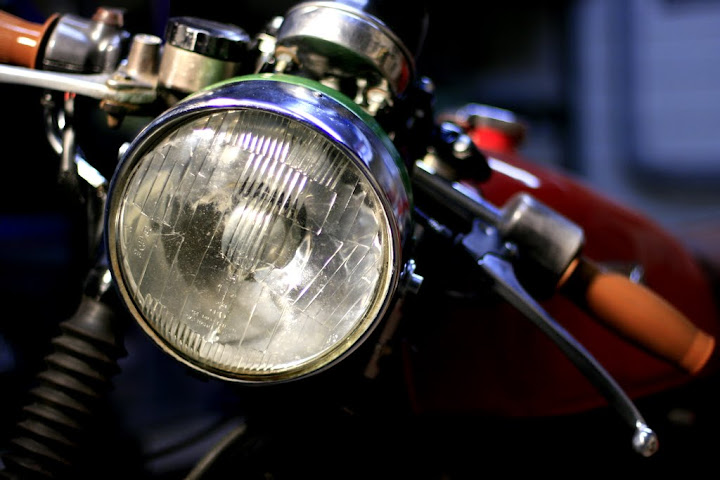
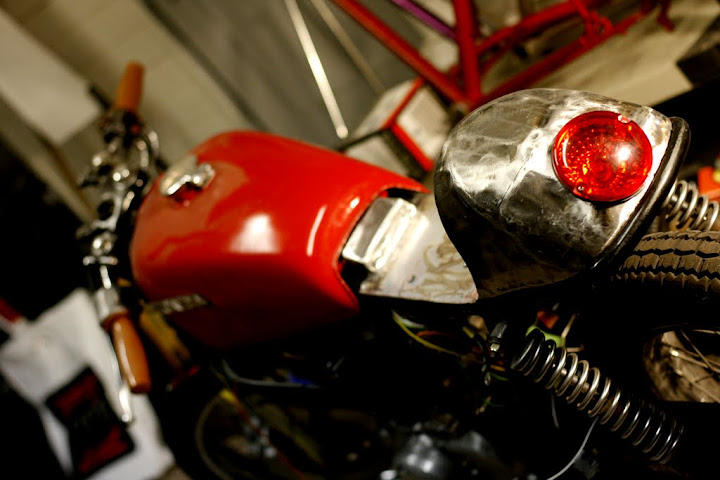
That headlamp sucks for now, but a vintage one is being modified and I hope will be ready in time.
Pretty sure you could do a good trade in those headlights.
Just get a paypal account and figure out price plus international shipping.
You'll then have enough cash to get more stuff off eBay ;D
Hell, even I would buy one if price is right.
BTW, caliper is same as almost all CB range from 1972 to 1977
CB750 has a couple of different types so don't get one of those
All you needed to do was drill a 4mm hole through bleeder until you hit cross drilling, then enlarge it to 5.5mmmm. threads usually 'peel' out
I would sell them if I only knew how much such things are worth. I'm totally new at this :/ And huge shipping costs in my opinion is just killing a good deal option...
Added one more: http://www.dotheton.com/forum/index.php?topic=23709.10
I all ready got an amazingly clean caliper from bikeboy. Will install braking system this weekend. The problem with the last one, was that two broken nut extractors broke while trying to remove that nipple. And then a drill broke, when it got stuck on one of those extractors. Just my luck... So drilling a hole wasn't an option anymore. Thank god for this forum and its members, without whom i wouldn't be able to get any parts at all.
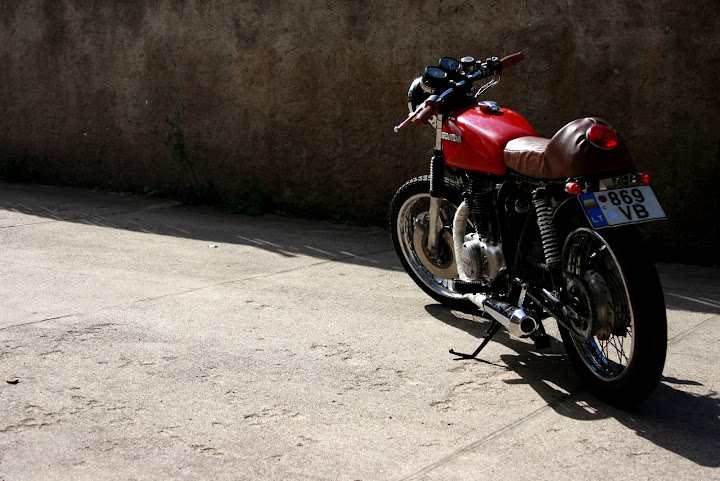
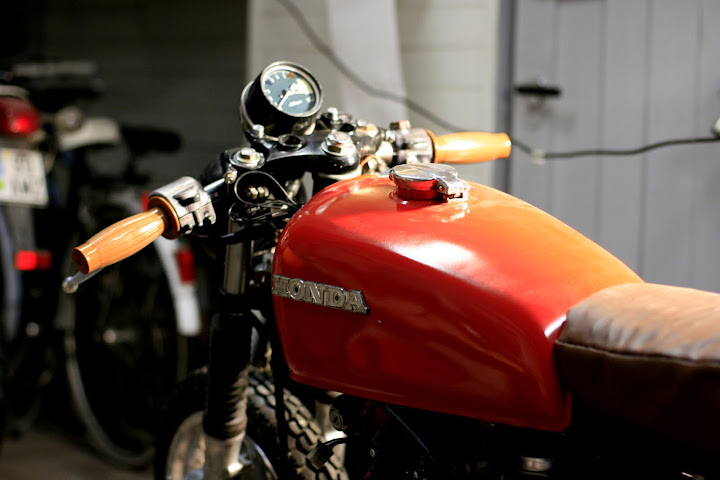
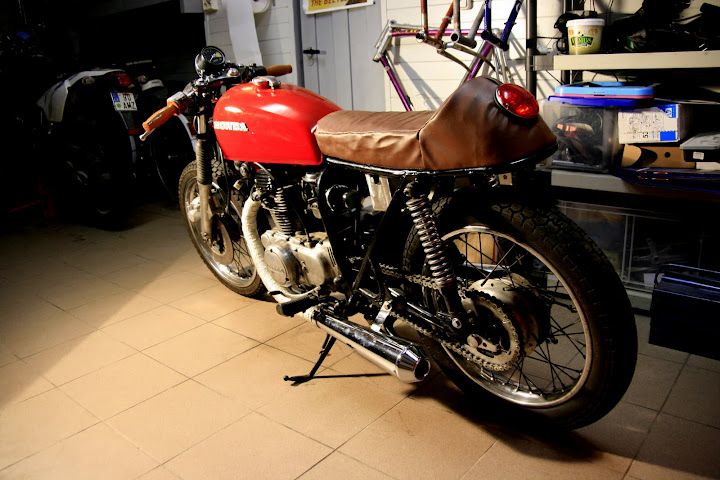
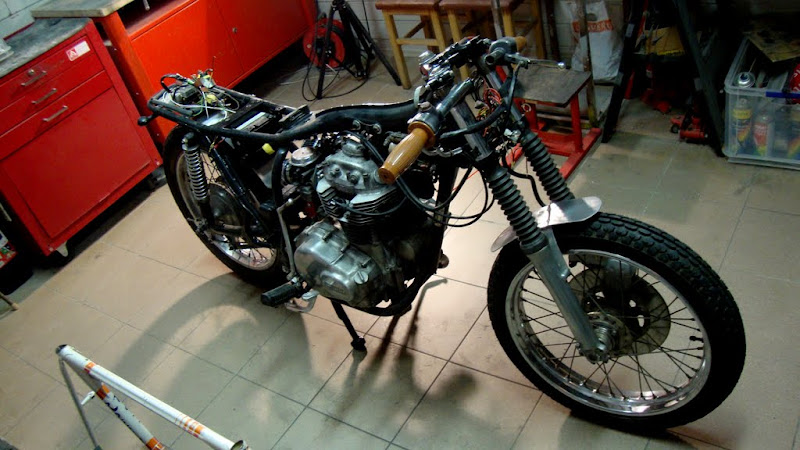
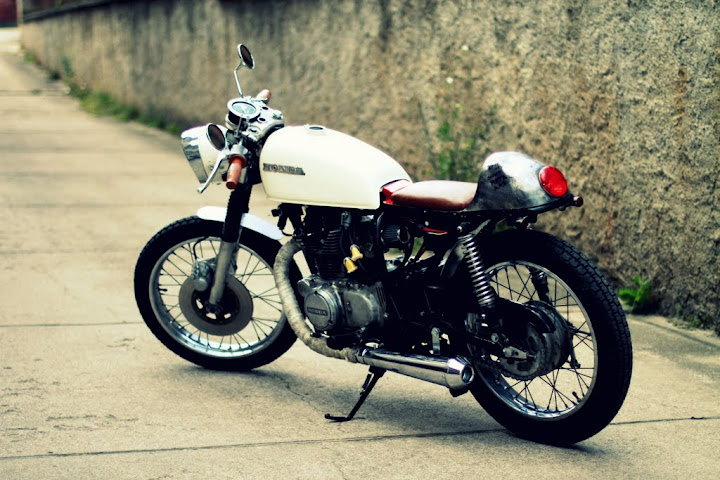
looks quite traditional now, but after couple of months learning to ride, I hope to change in to clip-on bars and a little more meaner look in front. But any suggestion on looks or anything else is very appreciated!
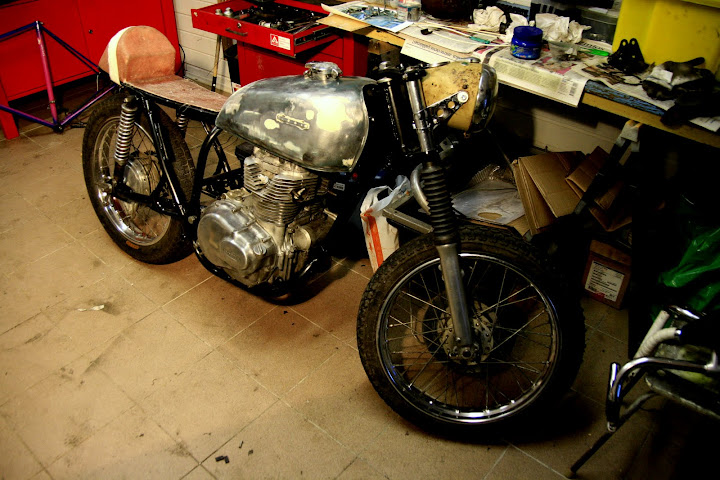
After beeing forced to make a pause in the project, I finally can come back and finish it.
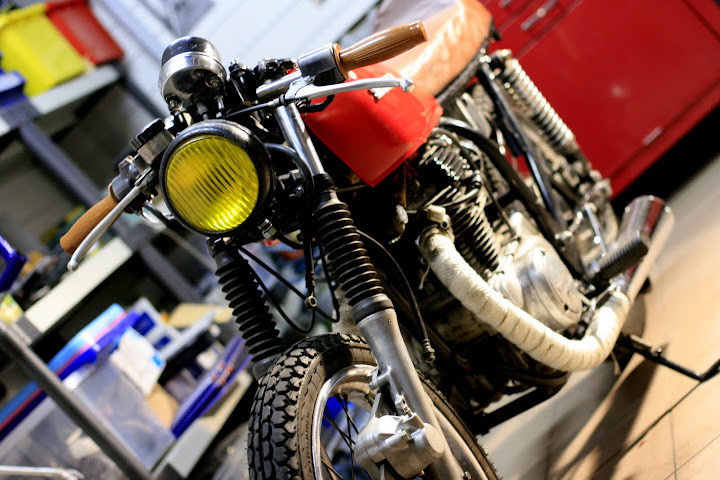
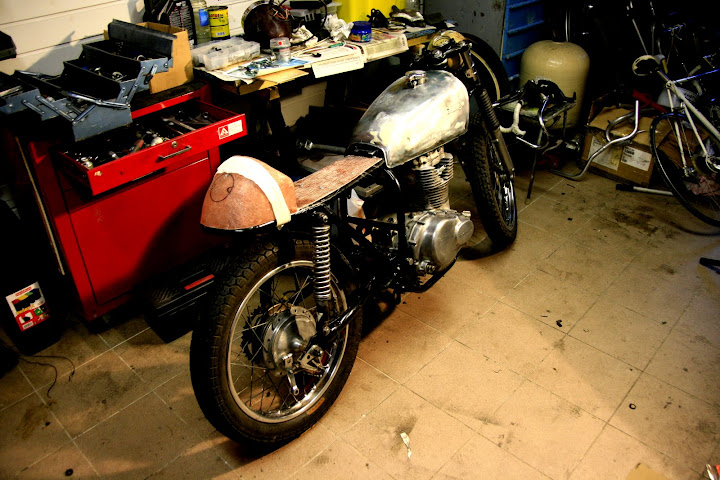
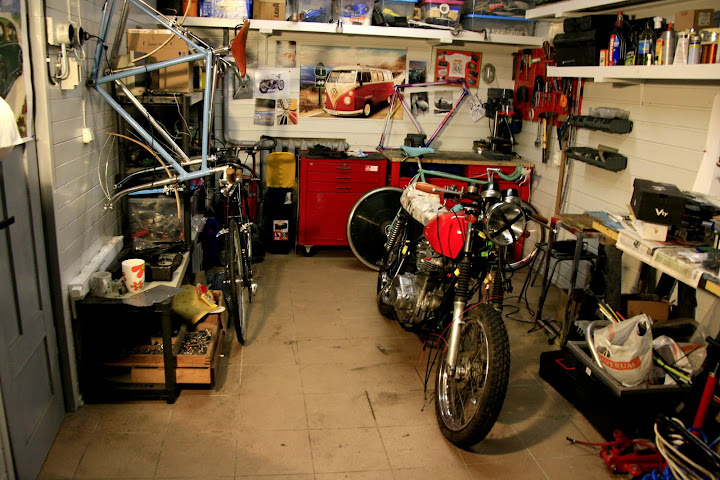
The mock up build really was disappointing. It totally lacked cafe look and at least some aggressive stance.
So, it looked like crap. Three main problems were (at least the ones that can be changed):
1. Handlebars - although very comfortable, just too high.
2. Headlight.
3. Seat.
So, let's get to fixing everything.
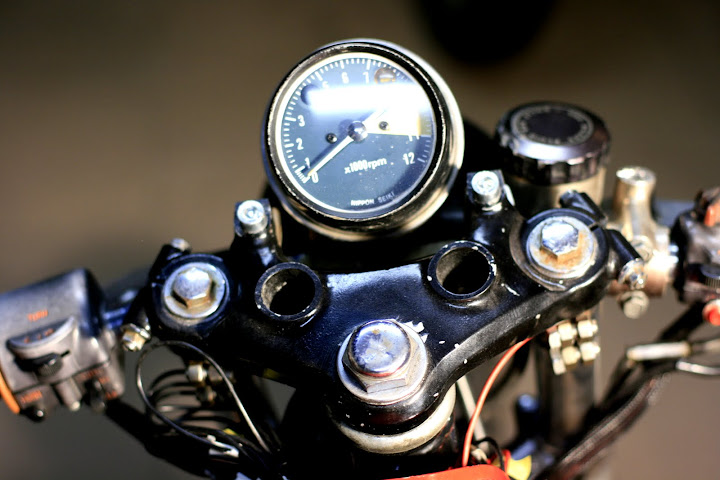
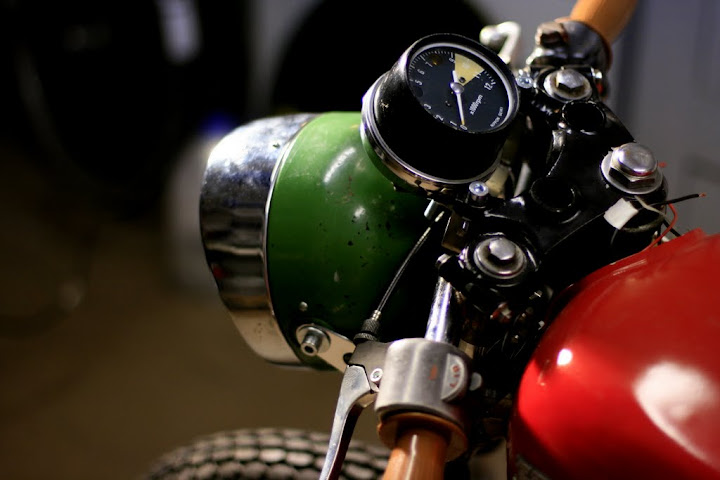
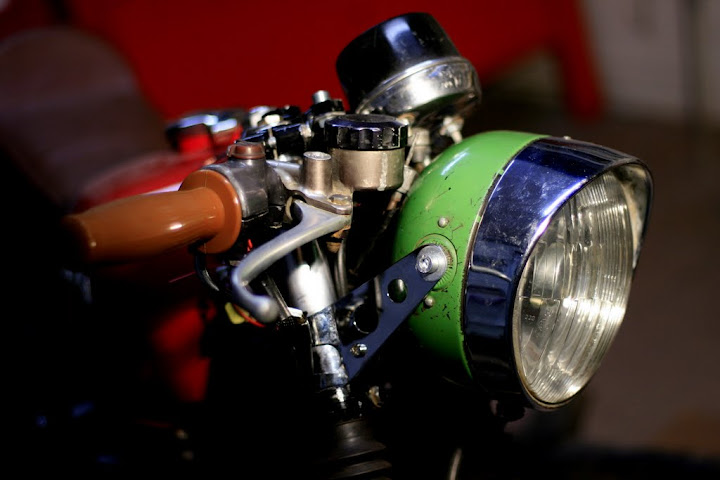
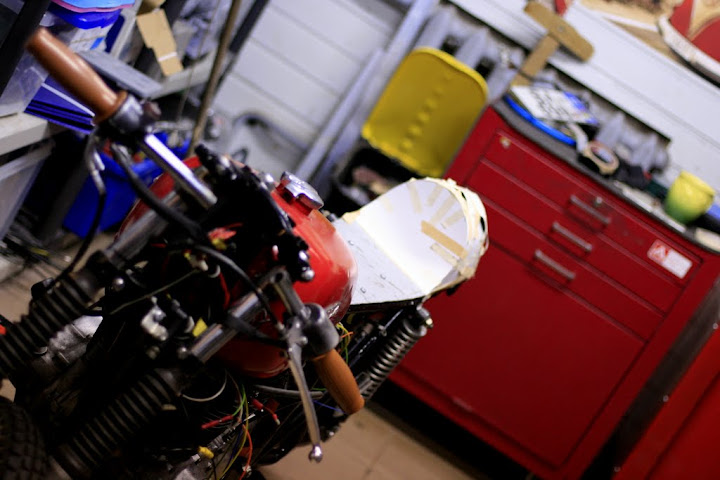
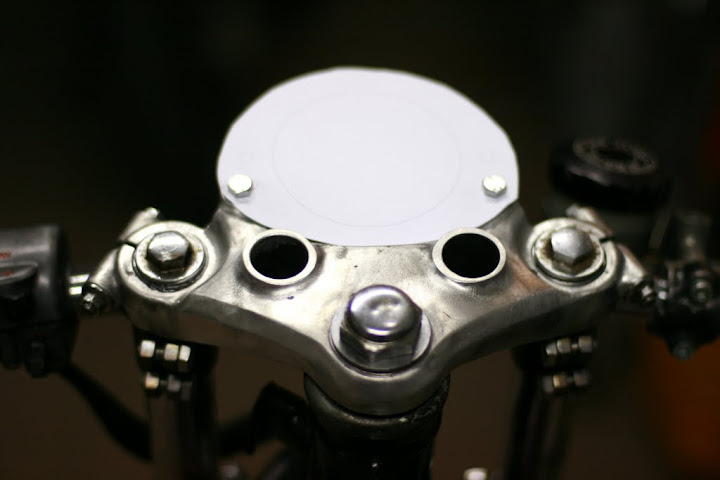
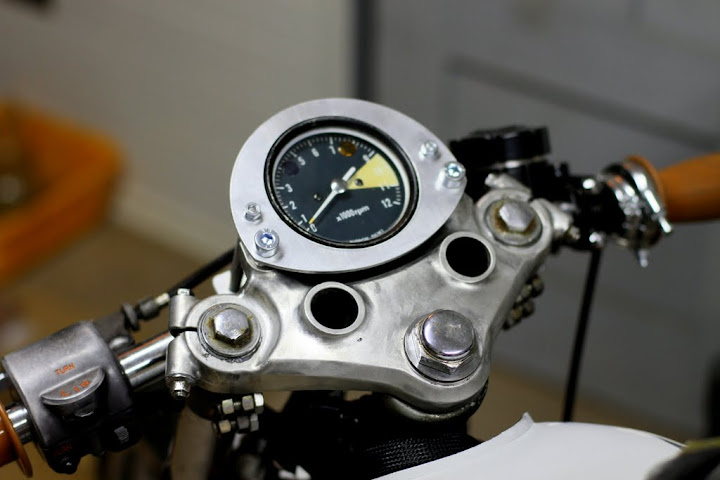
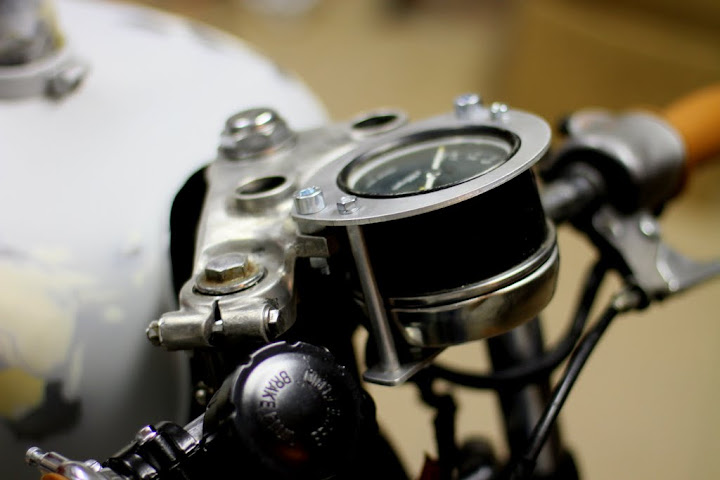
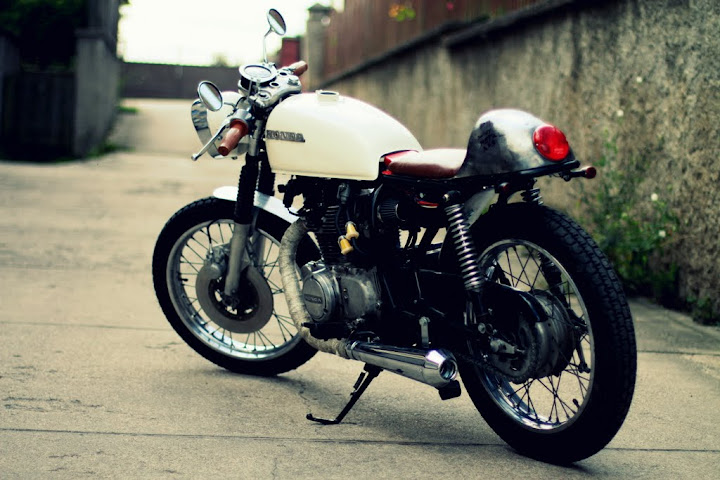
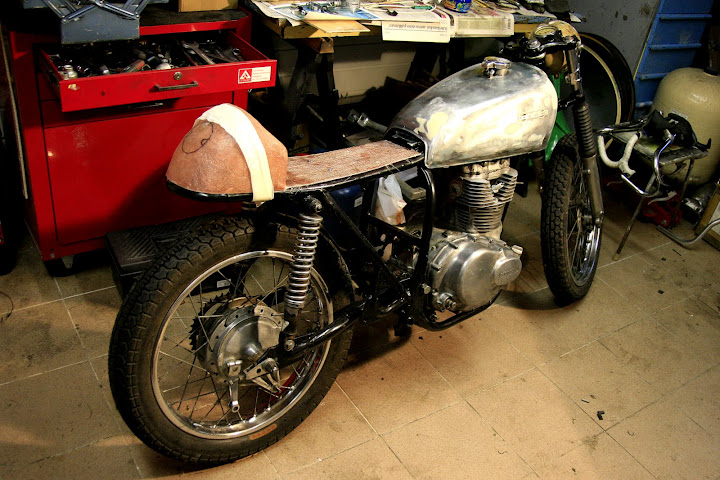
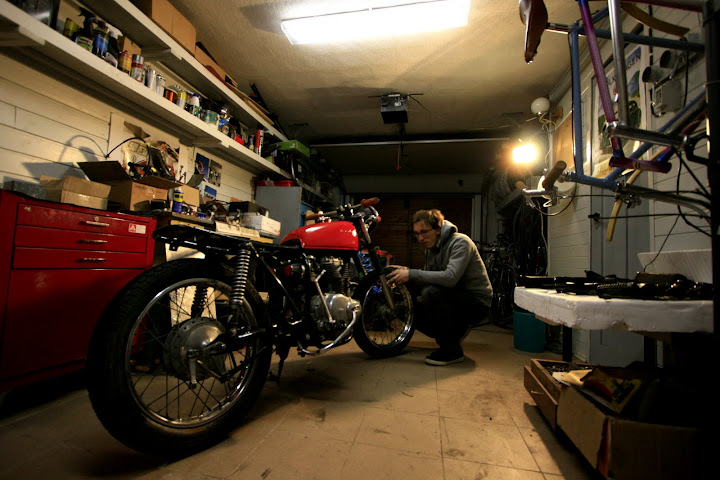
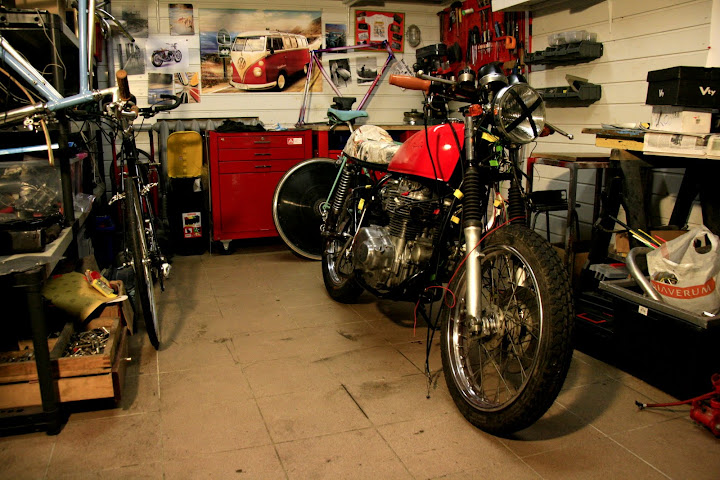
I changed handlebars to clip-ons and it instantly looked much better. Then I experimented with headlights, tacho position. I still have to figure out center console.
In the end I went with the green on, because of it's size. Proportions were just better.
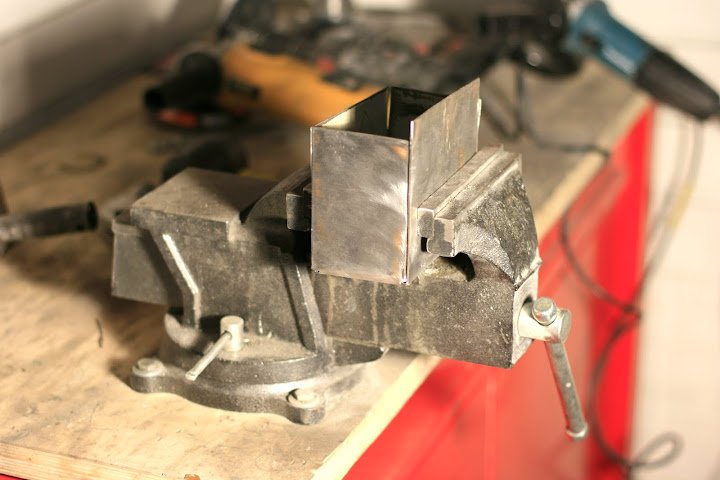
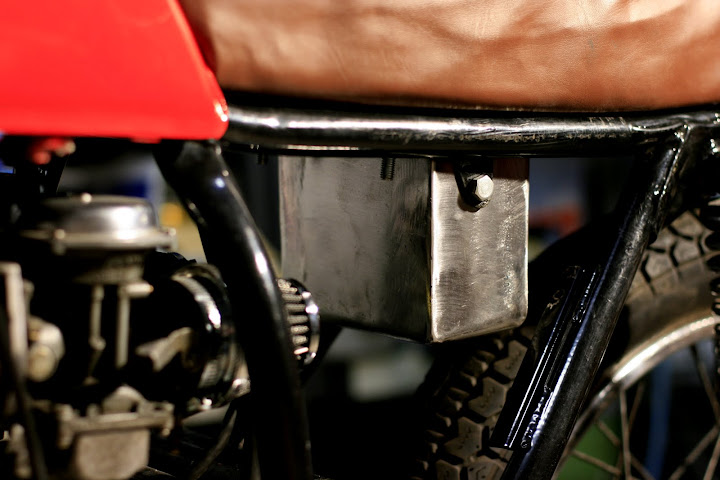
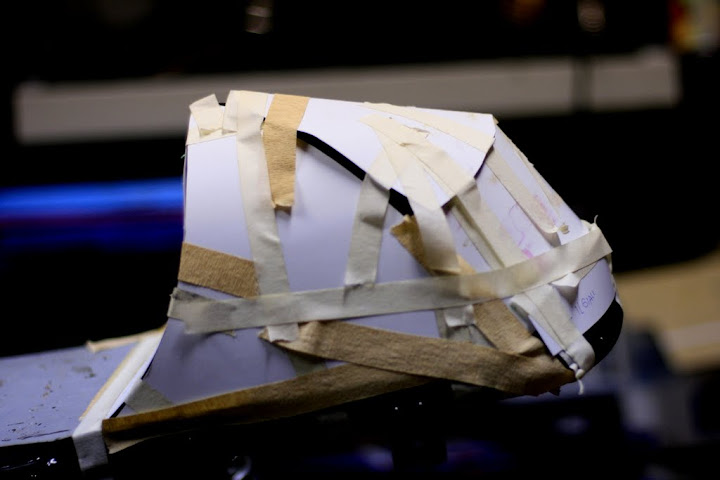
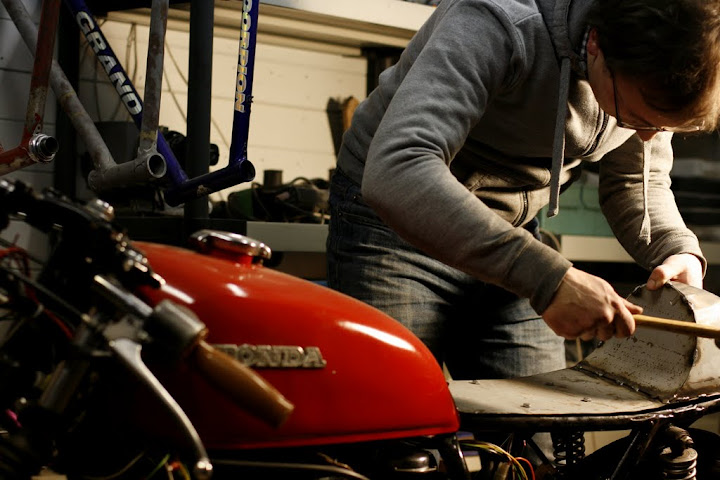
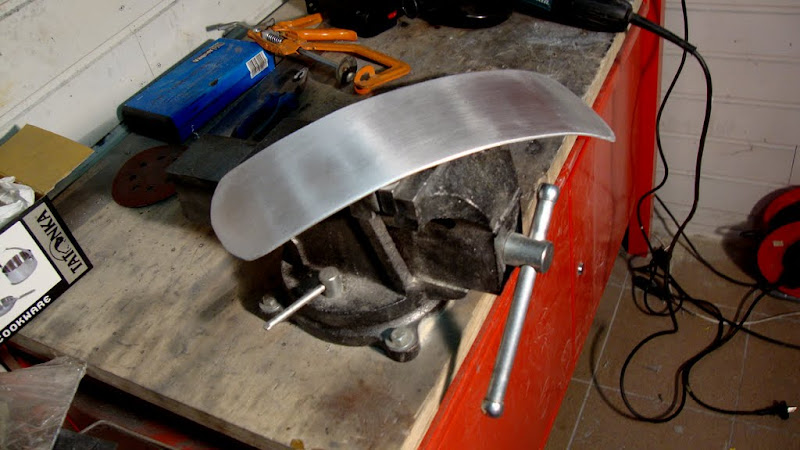
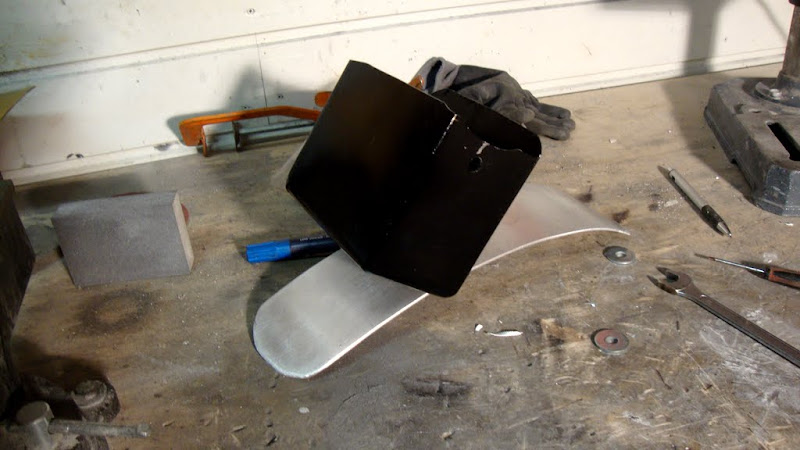
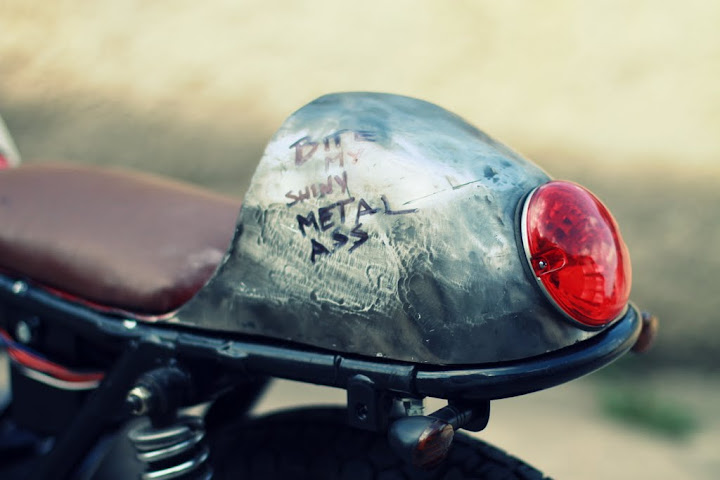
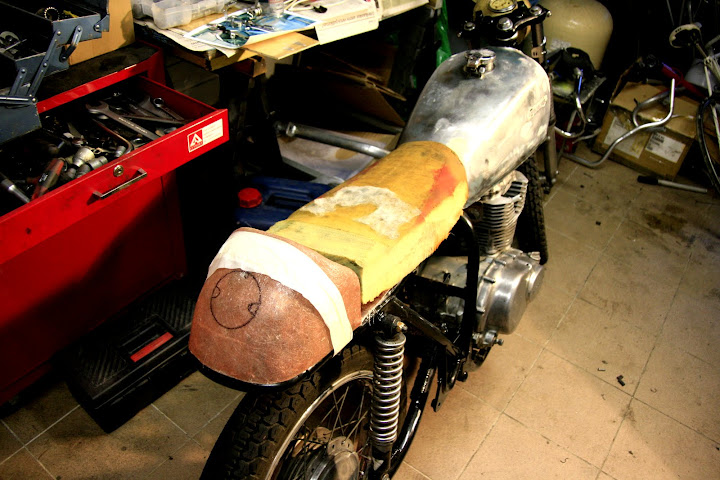
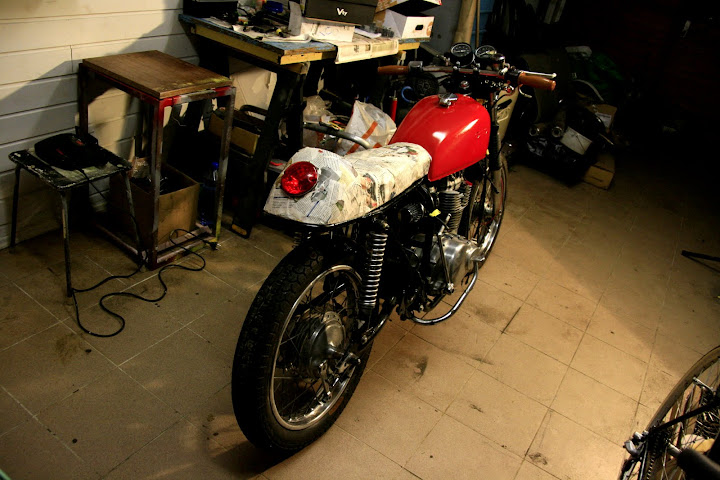
The next problem to solve was the seat. I tried thinking what the seat should look like, but the only thing decided was that I really want a genuine feel from it. No resin, no fiber, just metal. I knew that this was way beyond my welding skills and tool abilities. But in the end, it's all about learning, having fun and doing thing yourself. The result is definitely not an eye candy, quite the opposite actually. But it's just nice to know that you done it yourself. Together I made a box for battery.
(not a good example of a mock up)
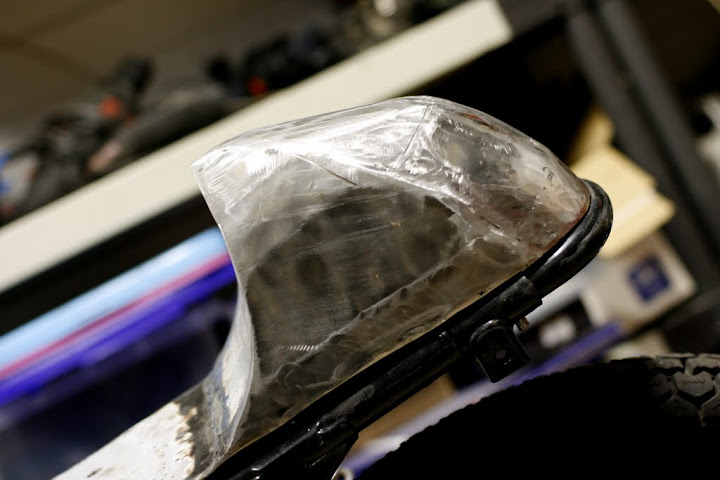
I made a mistake of painting it, because it take a ton of plaster to make it look at least a little bit better, so I think I will brush it out and leave metal showing, just protecting it by varnish.
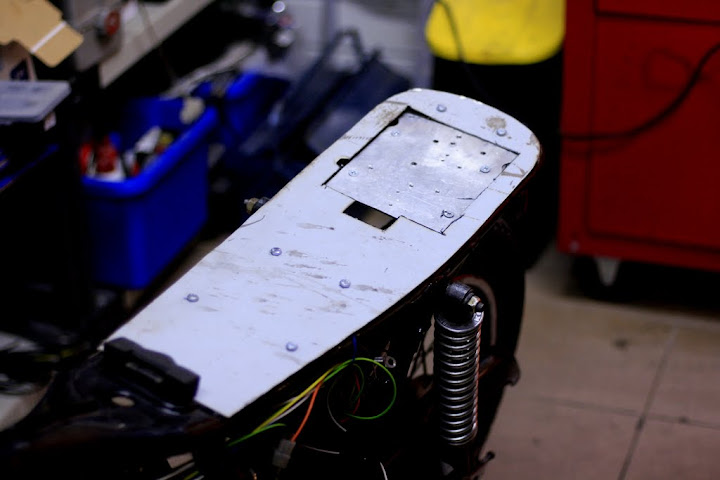
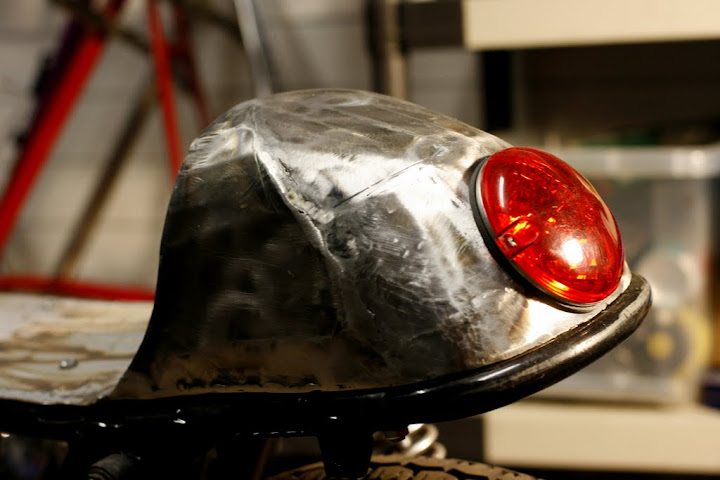
I also made a small seat pan. Most of it is made from recycled or eco friend products :] Perhaps that's why it looks so bad too. But this is just for testing, I make something better later.
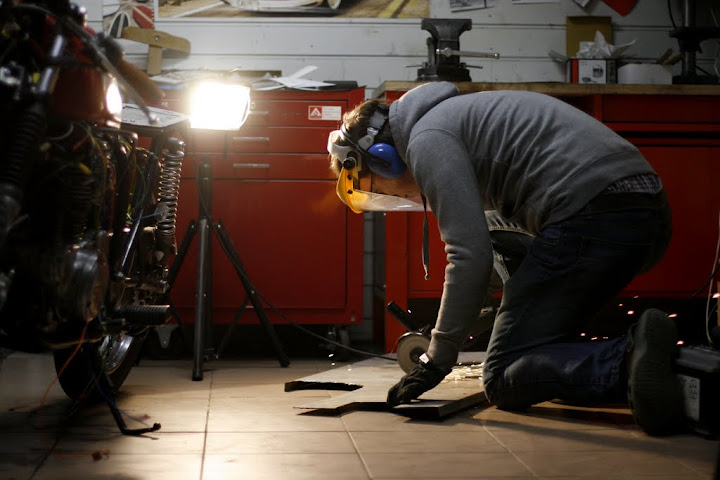
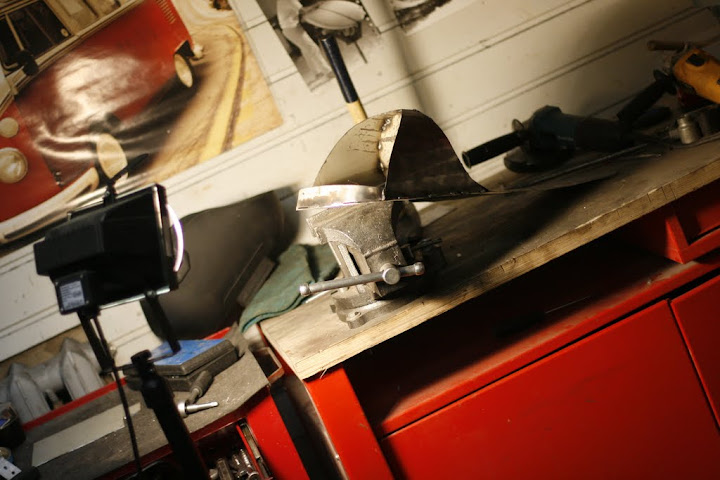
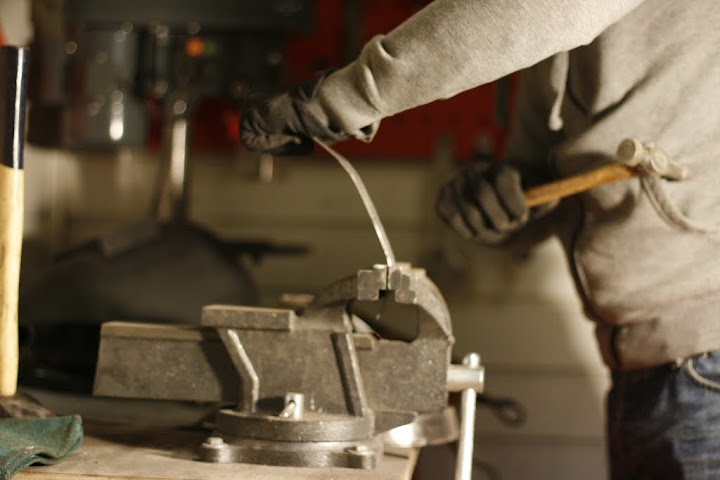
After doing this, I felt good about myself, so decided to do both mudguards myself too (or just because was out of money :]).
And now we come to a problem:
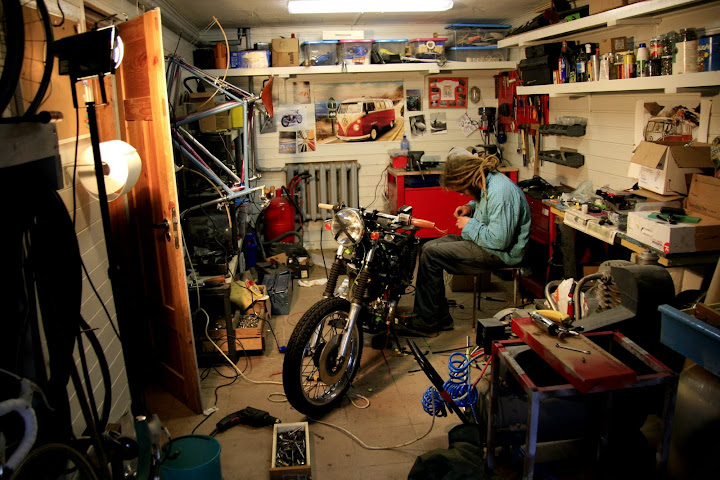
After finally figuring out the electrics, we got the spark and starter turning. But the engine just doesn't start (fuel is in, compression is there too). The first thing i though were breaker points and valves. To adjust them I needed to turn alternator rotor. here I noticed something that I didin't like - when turning, it sometimes turns well, sometimes springs back and sometimes it just gets stuck. After pushing real hard it turns over, but there is something banging hard inside the engine on that moment. The strange thing is that when starter turns it, everything seems to be normal. Anybody knows whats going on here? Engine was rebuilt a year ago. Anyone has any other suggestions for first time checks?
Would be very thankful for any advise on this problem! Any suggestions on overall looks is also welcomed.
Clear about the springs. Thank you!
I pulled the spark plugs out (yeah, they were in first time), but when turning it still have a place where it gets stuck and turns over only with a big push. But without plugs, it turning out doesn't sound like so bad anymore (no bang). Perhaps it should be like this? Or should the alternator rotor spin freely? Never done this before, so I may be making a problem from nothing.
There is a possibility the cam timing is off and valves are touching piston?
The crank will not spin free if the cam cover is fitted
I would pull cam cover and try turning it plus, re-check cam timing.
You did have the cam caps off when you fitted cover (plus held rockers up?)
Did you re-set valve clearance when motor was re-built?
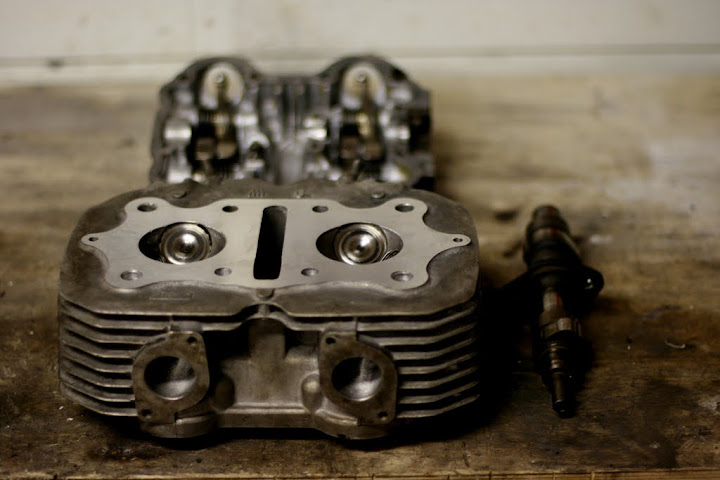
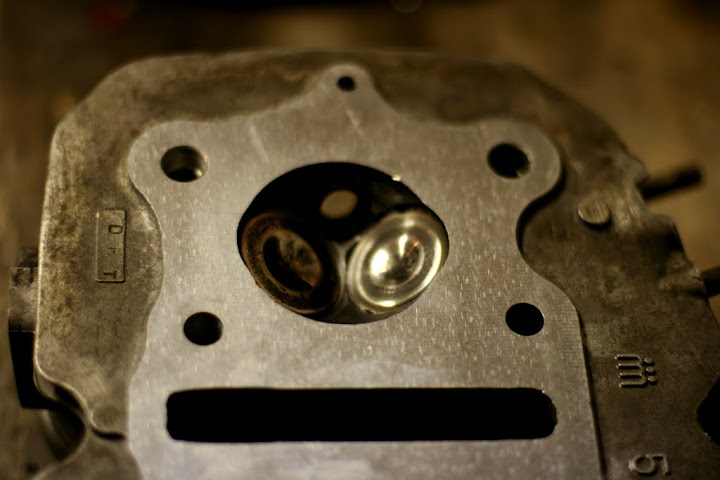
You were right crazyjp, the problem was really with valves touching the pistons. I removed camshaft cover and cam timing was ok (at least acording to Clymer manual), but valves adjustment screws were much too deep. In had to unscrew them almost all out to get at least some clearence. The thing is when I wanted to adjust the valve clearence, the manual said to turn alternator until mark (LT for left and T for right cylinder) to adjust the clearance - both valves should be fully closed, but even with rockers screws all out, they are not. I guess, back to rechecking the cam shaft timing? :/
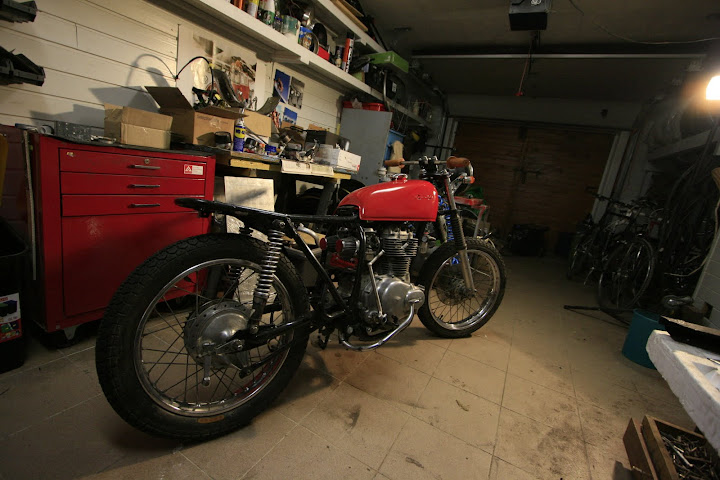
After crazypj suggestions got the head removed and refurbished and re-installed everything again. This time, with more care and deeper understanding the principle. Valves, timing and points set and we're ready to go.
And it's alive. Strangely very easy start... Don't know if the sound is correct, but at least it makes the sound :]
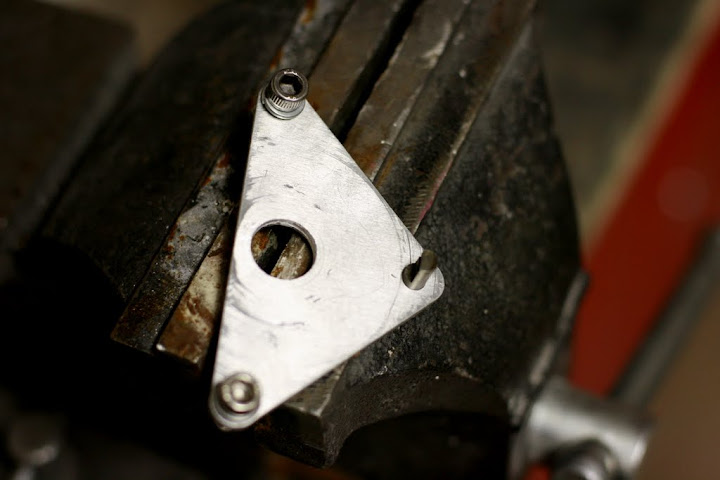
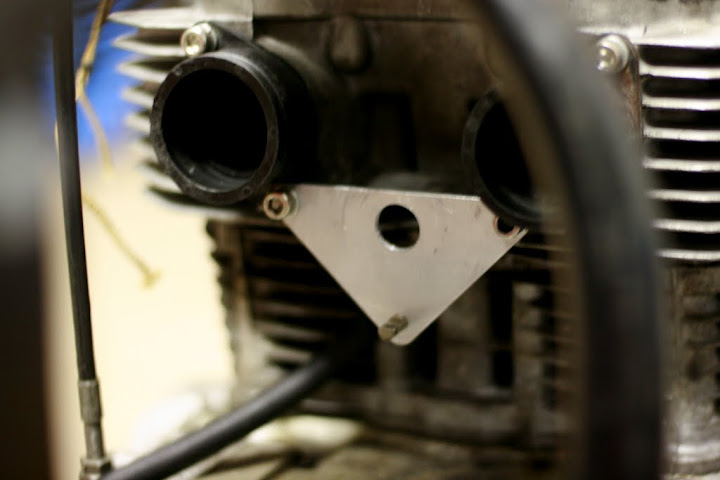
Also after a little but of mock-up, got the brackets for tacho and additional spring for carbs done.
I changed original dual throttle cable system to single cable, so wanted to make sure that the throttle would not get stuck. Now throttle response is perfect.
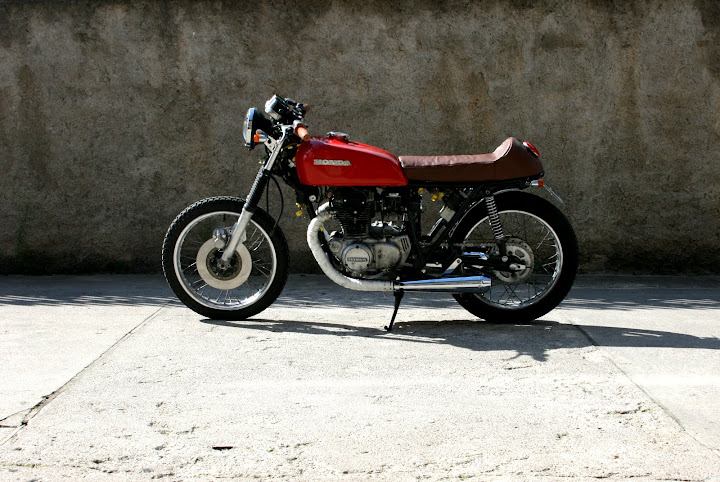
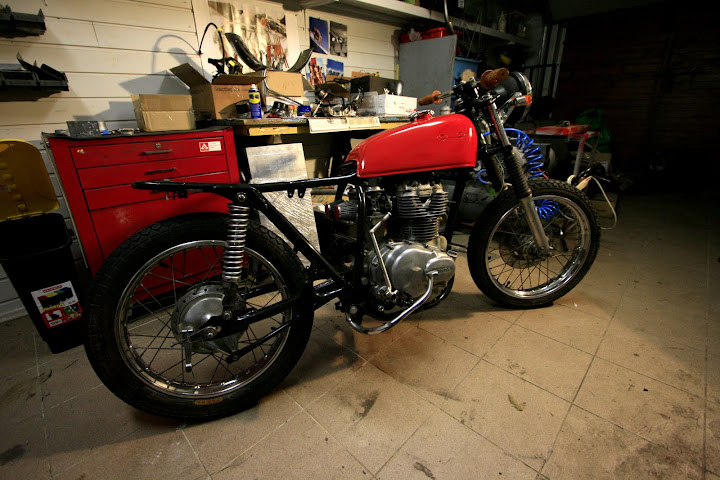
Still some work to do, but decided to assemble as much as possible to see complete view. One thing clear - color is not right. I already tried red, blue and whit, none of them seem right. But this white gave me an idea for a theme, so it should look much better later.
This site uses cookies to help personalise content, tailor your experience and to keep you logged in if you register.
By continuing to use this site, you are consenting to our use of cookies.

")