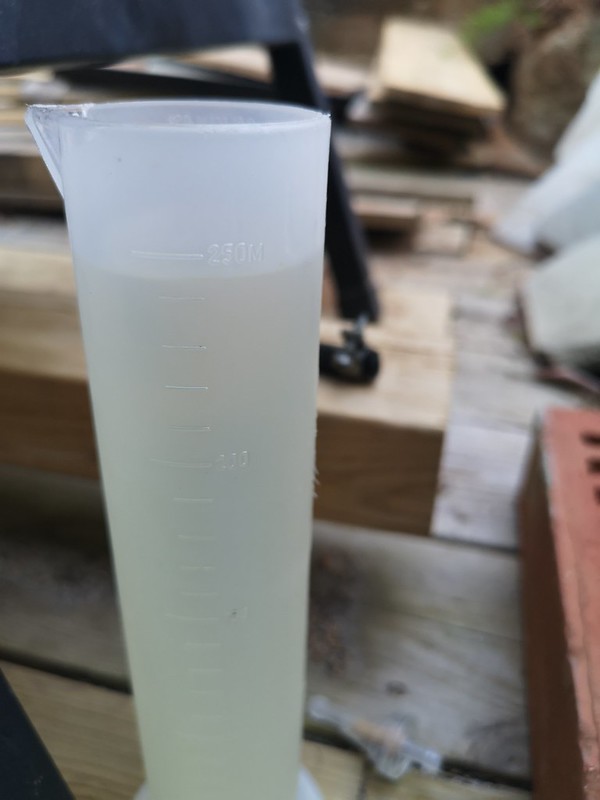
Well.. I've done a couple of comparisons with regards to flow of fuel. I'm starting with three pictures. You can see the combinations of filter+hose/hose/no hose. Time to flow is 30 seconds and measurements are in milliliter. The reason is this; when I tested the bike last fall with the little one liter fueltank (last picture) it took off like a rocket. Ever since that I've not managed to get it to run properly. I'm guessing it runs lean, but I didn't think it would need that much fuel or be that sensitive to variations in fuel hight (I'm guessing). Anyway, here are the flow tests:
Hose and filter (90ml in 30 sec):
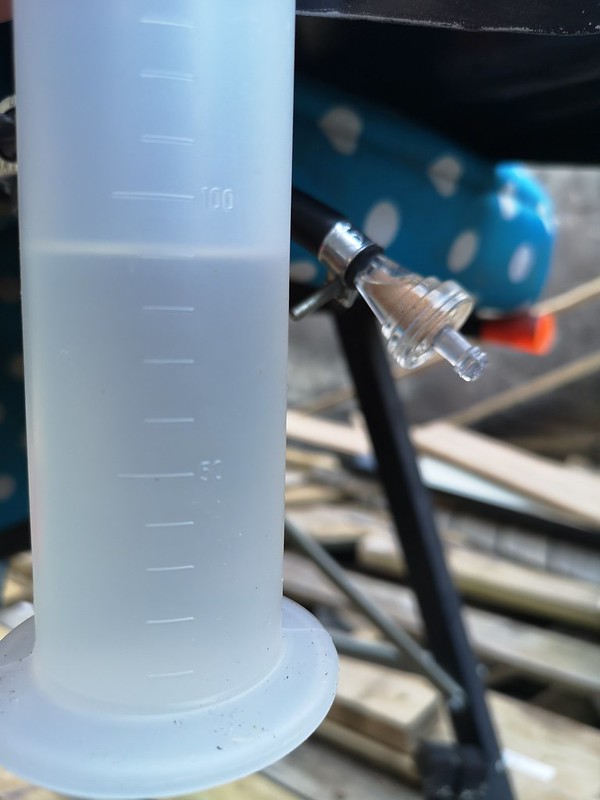 IMG_20200419_190656
 by
Lars Krogh-Stea, on Flickr
Only hose (110 ml in 30 sec):
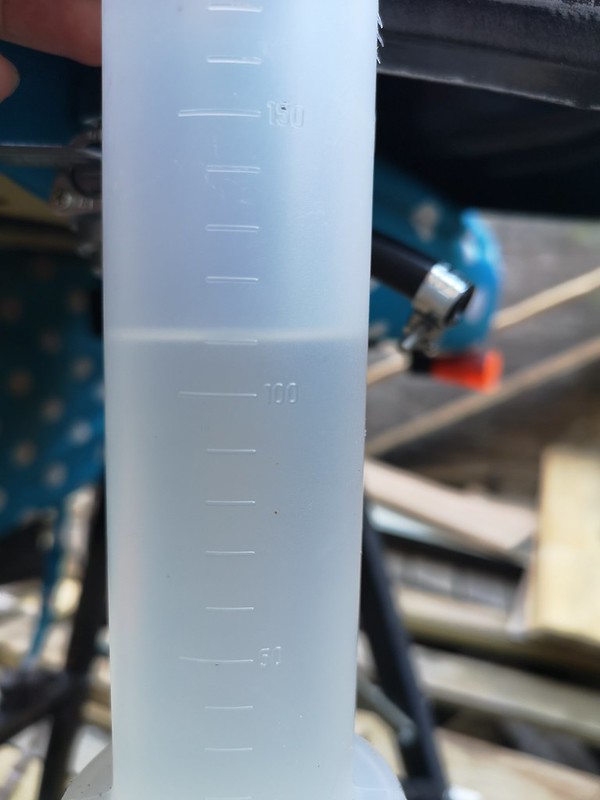 IMG_20200419_191027
 by
Lars Krogh-Stea, on Flickr
Only petcock (110 ml in 30 sec, same as with hose. I'm not holding it completely upright)
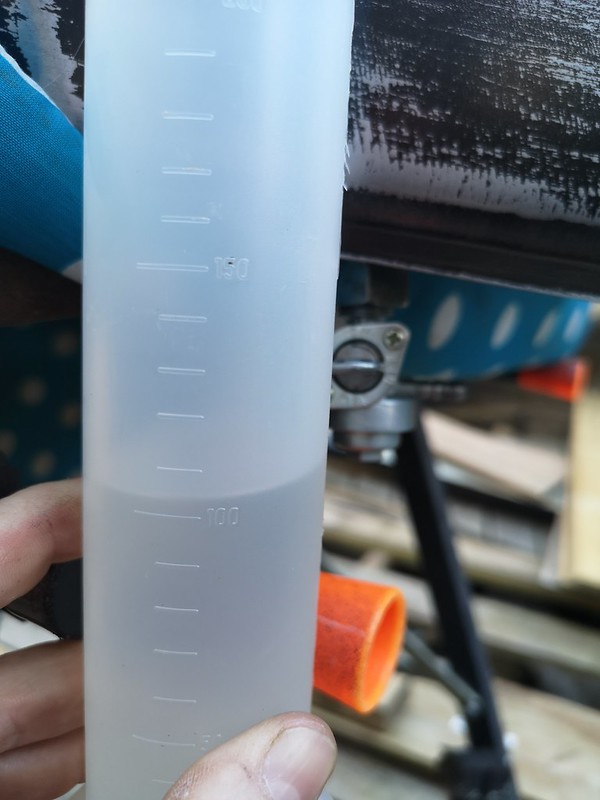 IMG_20200419_191409
 by
Lars Krogh-Stea, on Flickr
This is obviously not enough flow. I havent changed anything else since the test run, and I'm running new white paper filter and have new intake boots between plenum and carburettors. All tests are done whith tank lid off, so there's no vacuum that hinders flow. Tanklid on/off only differs 5ml or so.
This is the small test tank I used last year:
 IMG_20200420_184926
 by
Lars Krogh-Stea, on Flickr
As you can see, it flows over 2.5 times as much as with the hose and filter:
 IMG_20200420_184910
 by
Lars Krogh-Stea, on Flickr
I blame the petcock for this. It's a repro Honda cx500 petcock to fit the cx500 tank. AFAIK the xc500 has two carburettors, and maybe thats the reason it copes with lesser flow. Or maybe the repro-petcock is crap.. I have one more petcock. Also repro but different design. I've drilled out the rivets on this one, and will try to modify it for better flow.
What do you guys think? Anyone know how much the petcock wil need to flow per minute to keep up with full throttle?

") It goes around the forkleg (35mm). I'll try to place it behind the headlight, facing slightly towards the tank so the cable wont kink. If that doesn't work I'll make a new center piece with the housing at an angle.
It goes around the forkleg (35mm). I'll try to place it behind the headlight, facing slightly towards the tank so the cable wont kink. If that doesn't work I'll make a new center piece with the housing at an angle. 48737553807_0a319a6834_o
 2019-09-18_10-45-33
 IMG_20170328_111354
 IMG_20170328_111151
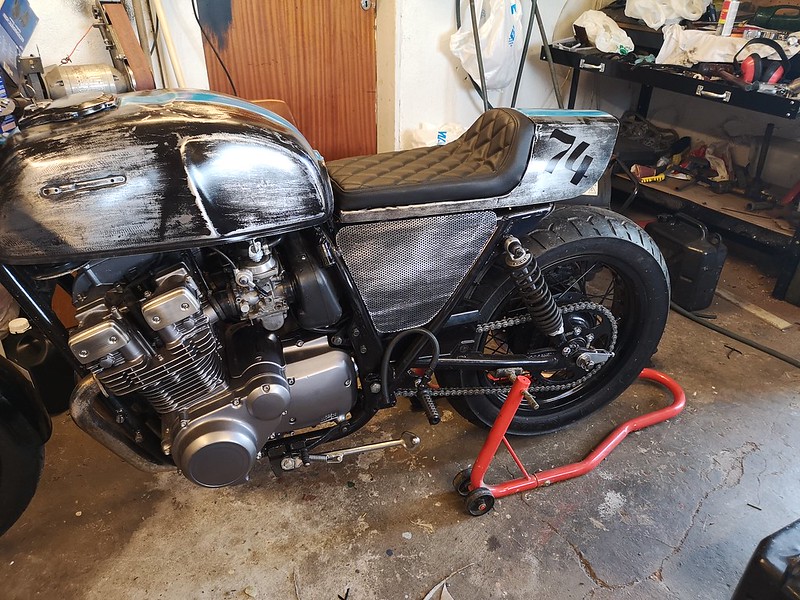 Påska
Påska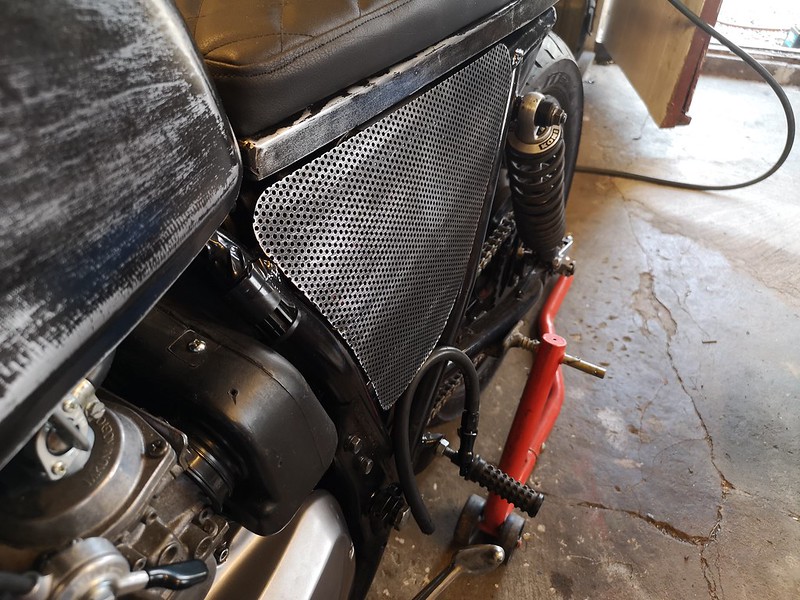 Påska
Påska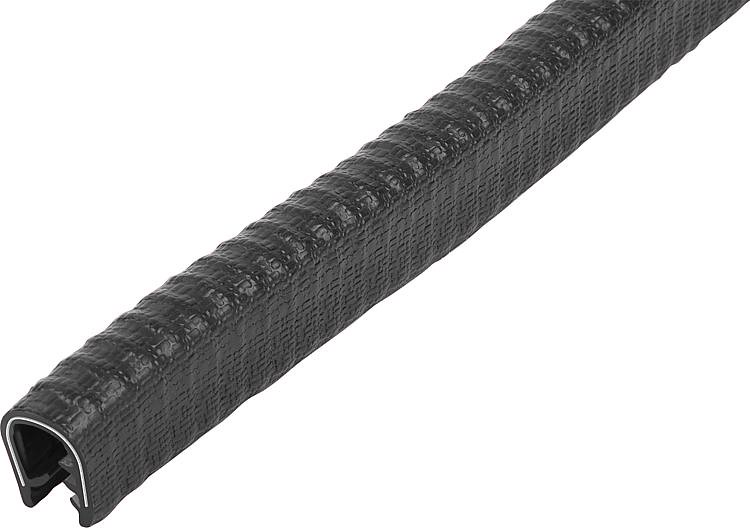 96520-K1367-Kantenschutzprofile-Edge-protection-profiles-Form-C
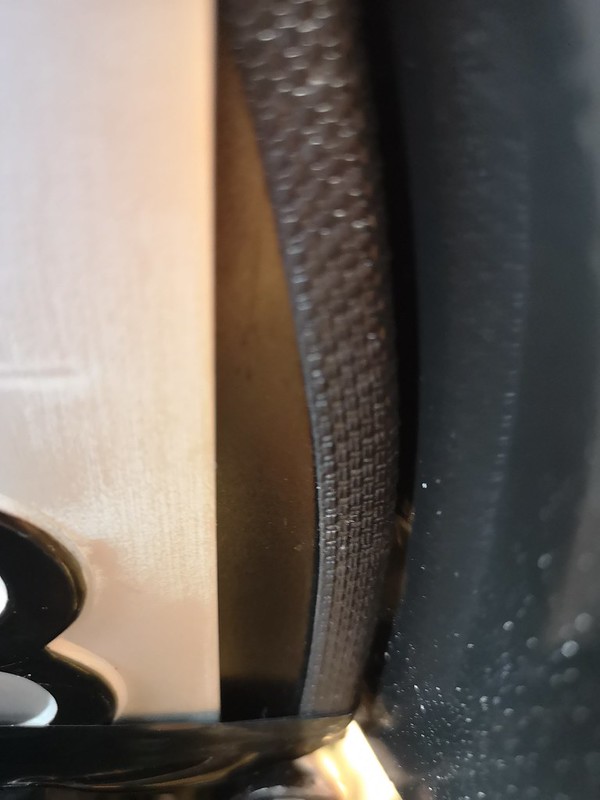 Påska
Påska Påska
Påska Påska
Påska Påska
Påska Speedogearhus_huset v3_4
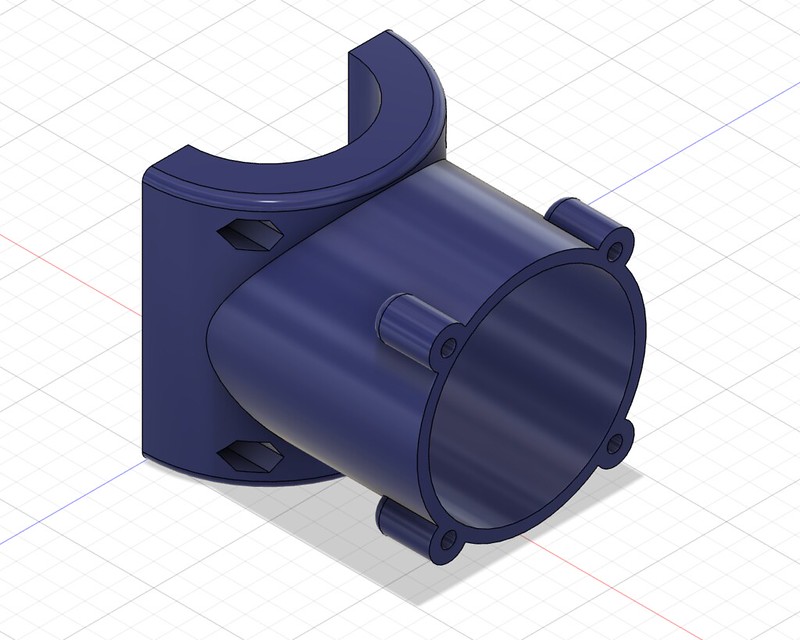 Speedogearhus_huset v3_3
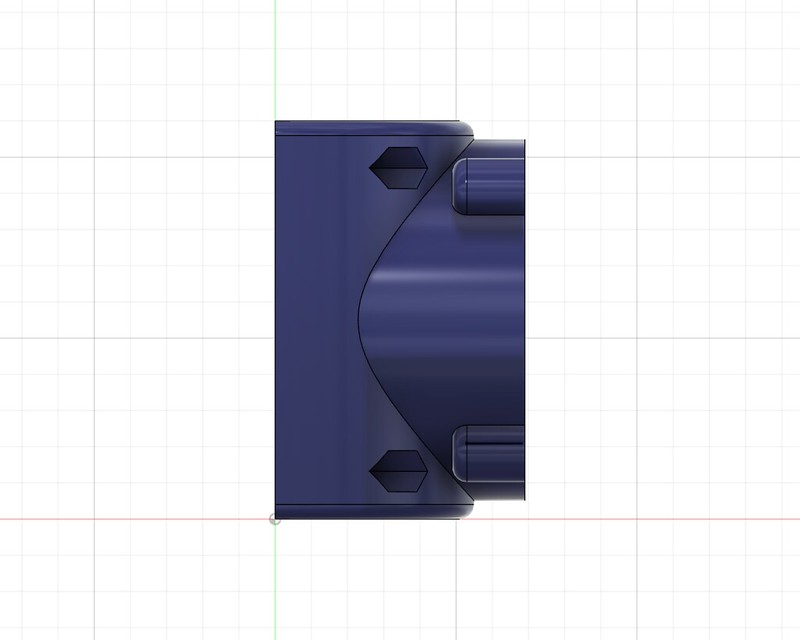 Speedogearhus_huset_kort v3_5
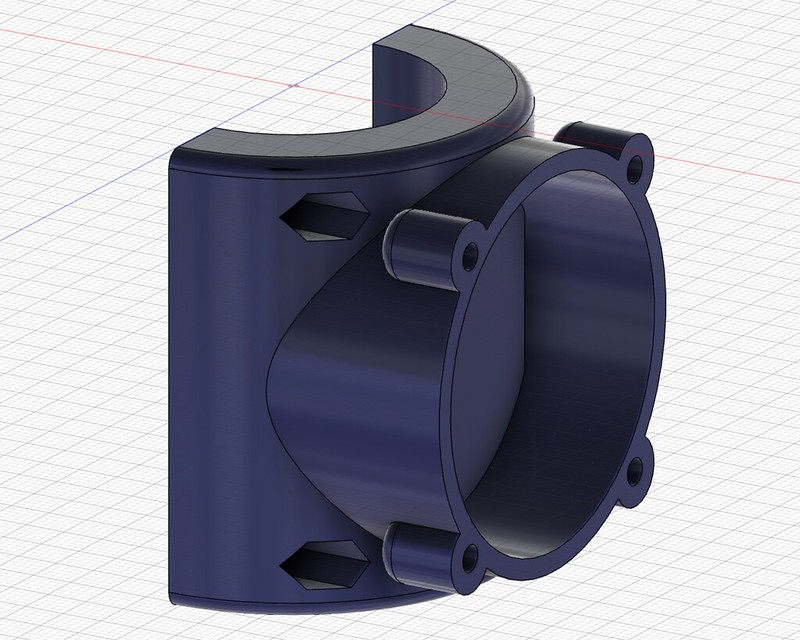 Speedogearhus_huset_kort v3_2
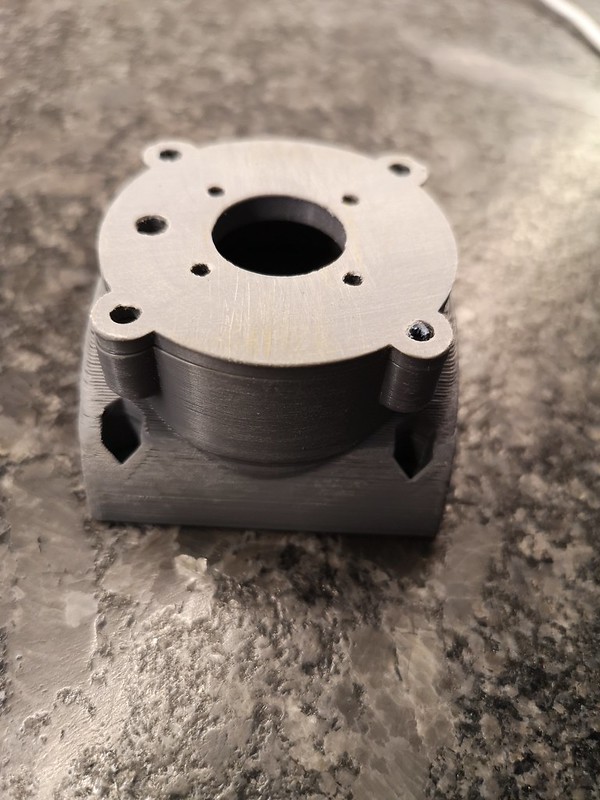 IMG_20200416_204315
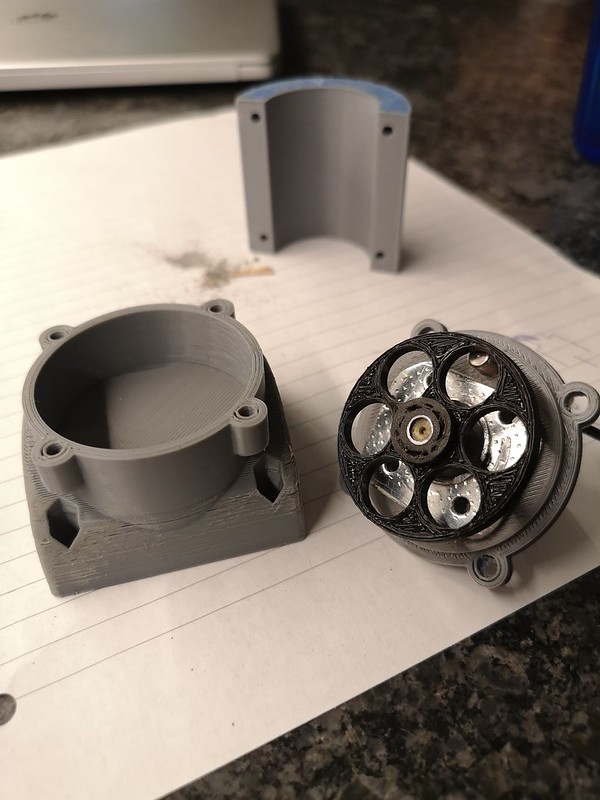 IMG_20200416_223222
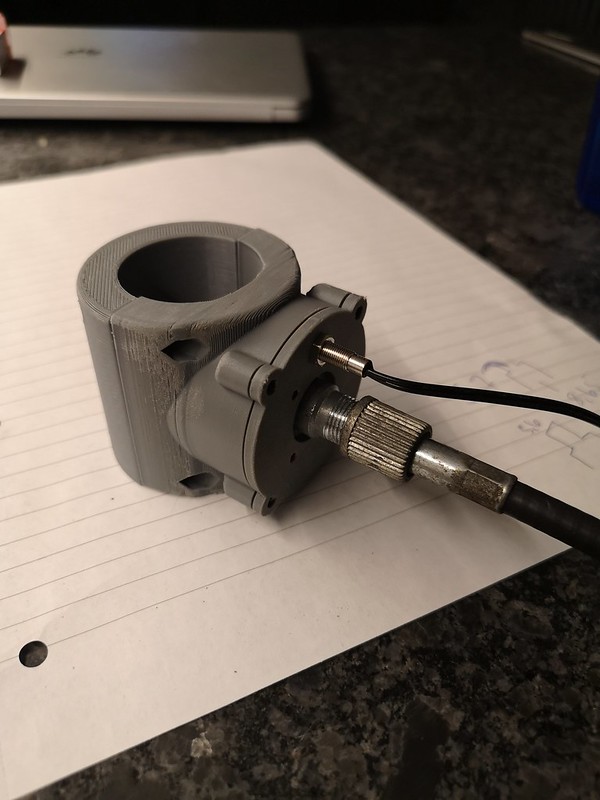 IMG_20200416_223337
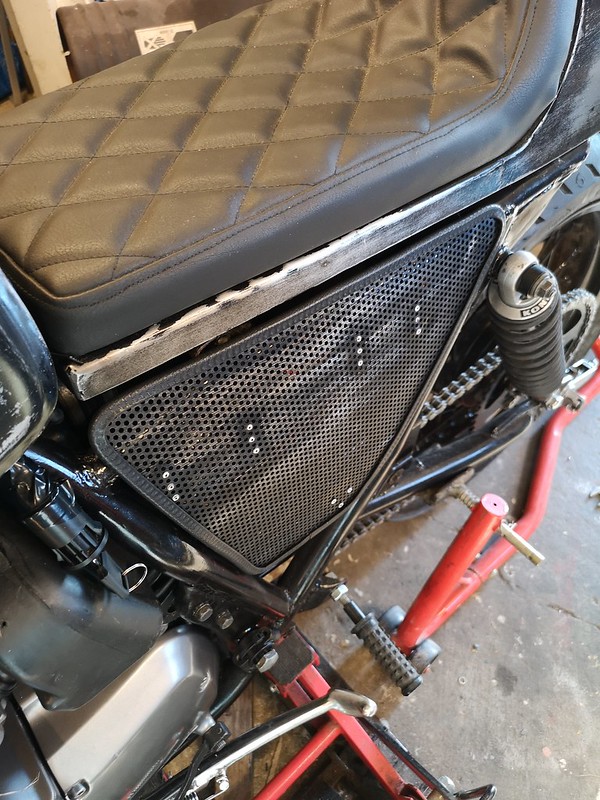 IMG_20200418_190938
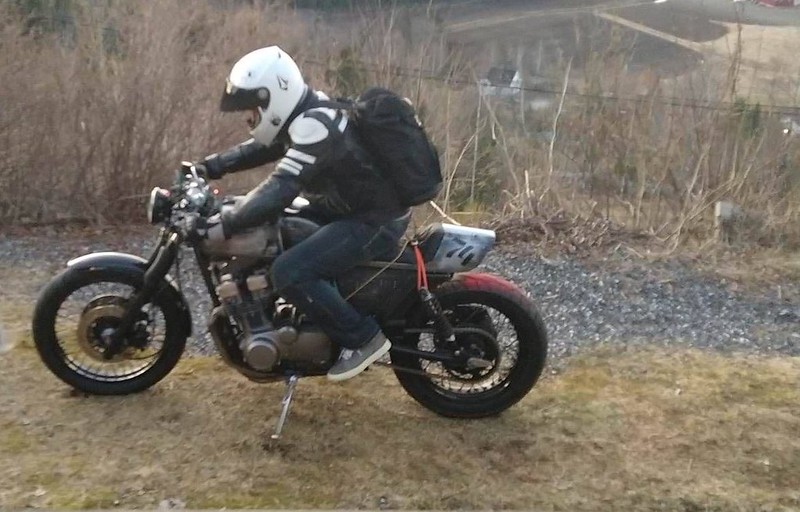 Første tur (2)
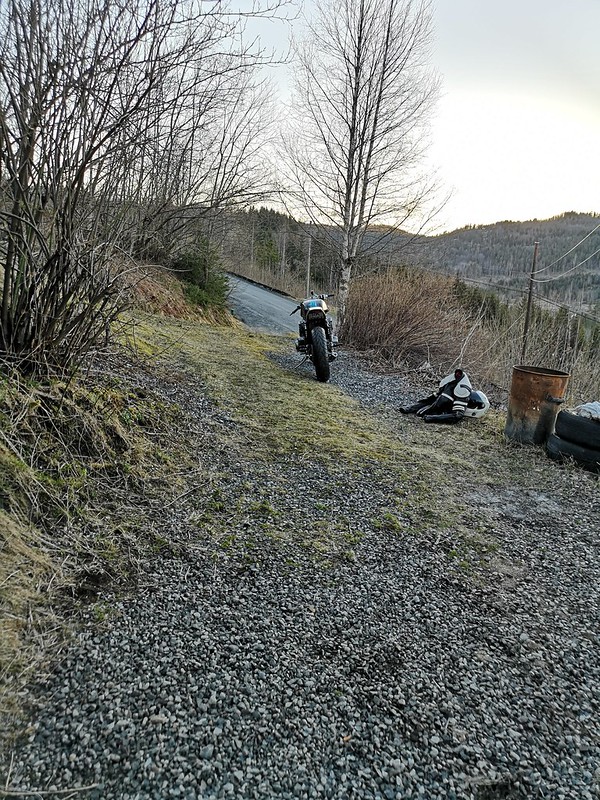 IMG_20200418_201004
 1909837_22450845914_8814_n
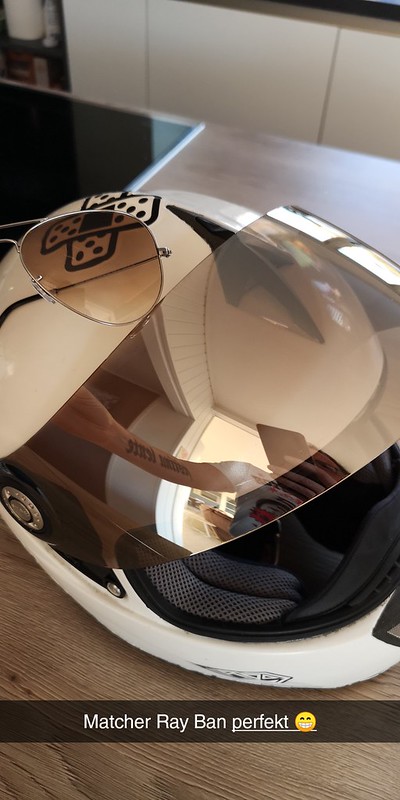 Snapchat-1984076064