
We noticed you are blocking ads. DO THE TON only works with community supporters. Most are active members of the site with small businesses. Please consider disabling your ad blocking tool and checking out the businesses that help keep our site up and free.
You are using an out of date browser. It may not display this or other websites correctly.
You should upgrade or use an alternative browser.
You should upgrade or use an alternative browser.
1981 XS650 Project Something or other (going cafe-ish)
- Thread starter billyp
- Start date
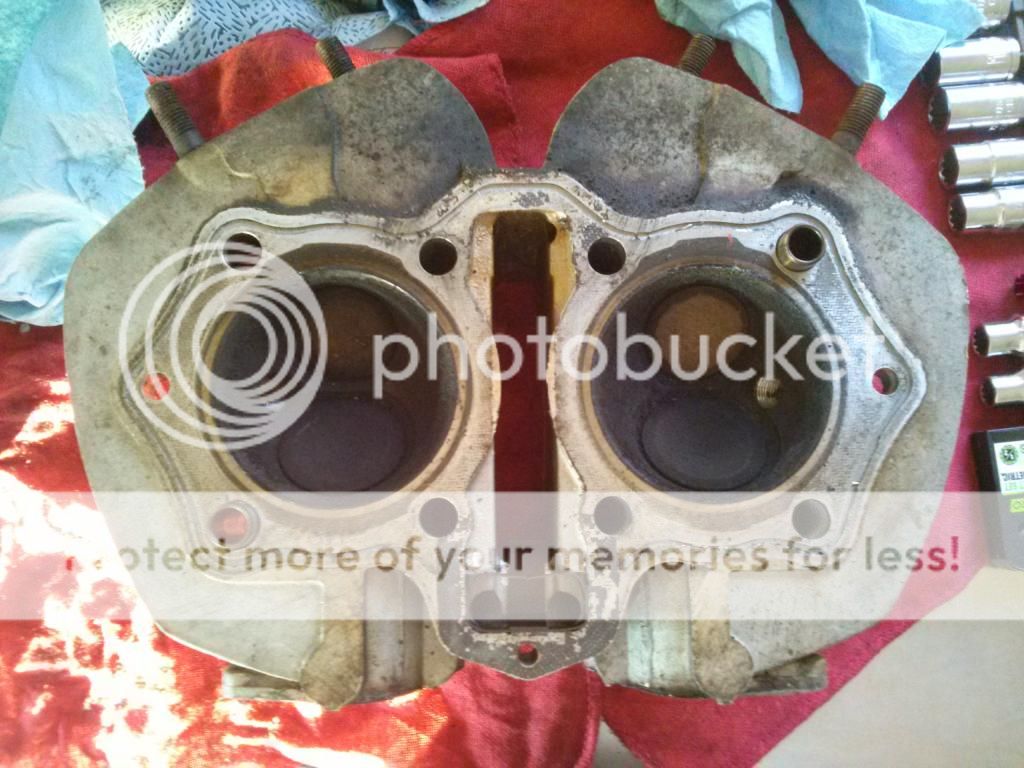
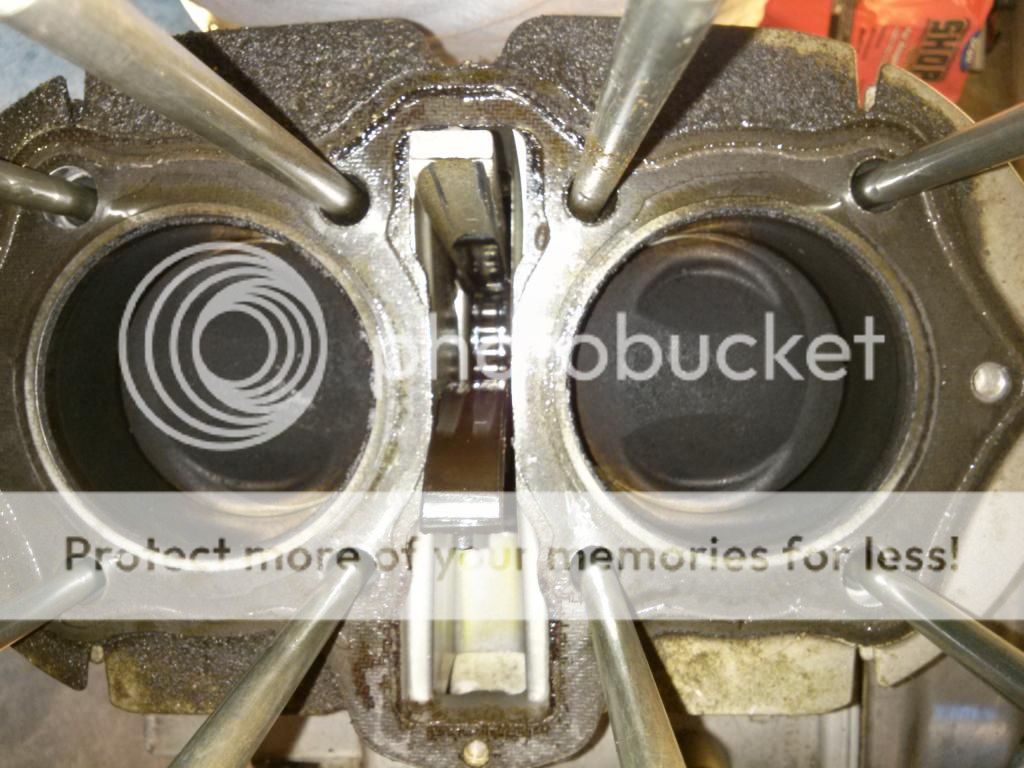
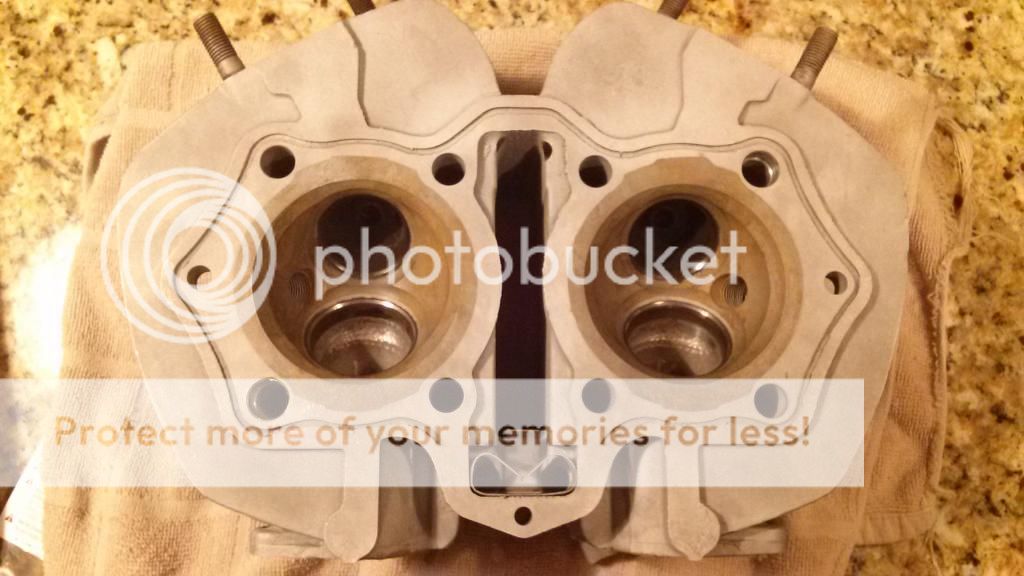
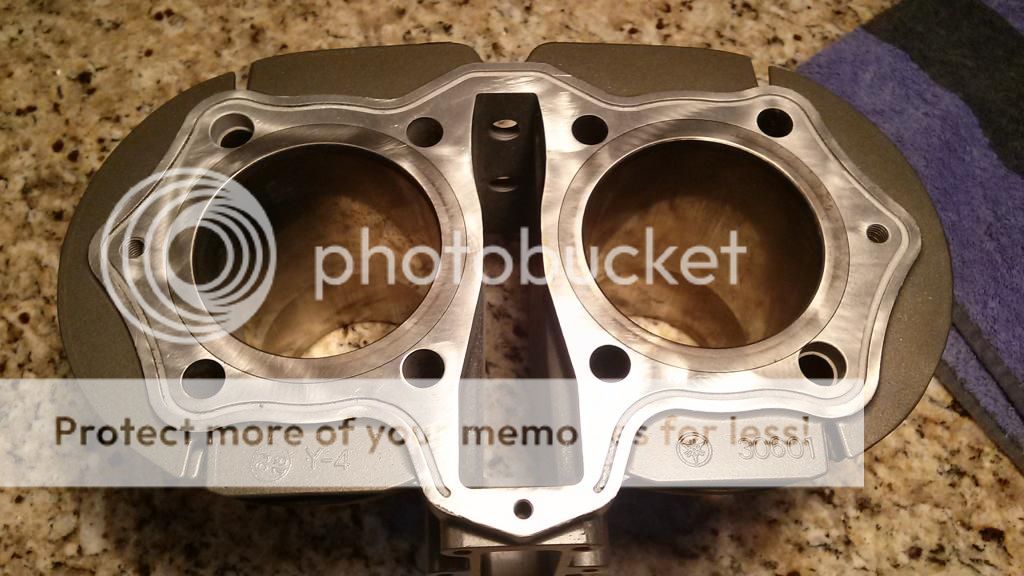
What color did you paint the carbs and engine ? They look pretty sweet!billyp said:Tore into the motor next, the innards were in excellent condition, the only hiccup was the cylinders had corrosion form water sitting in them. After weighing out the cost of boring the cylinders, having to buy oversized pistons and rings, I decided to try to find a good clean set of cylinders. Luckily I was able to do just that, for cheap! So a quick hone and a new set of rings and I was set to go.
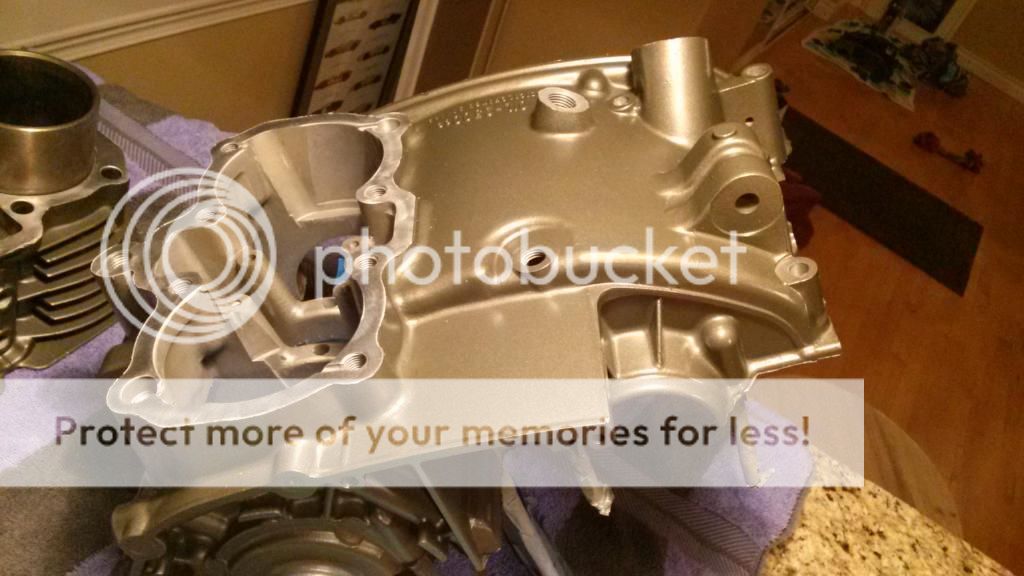
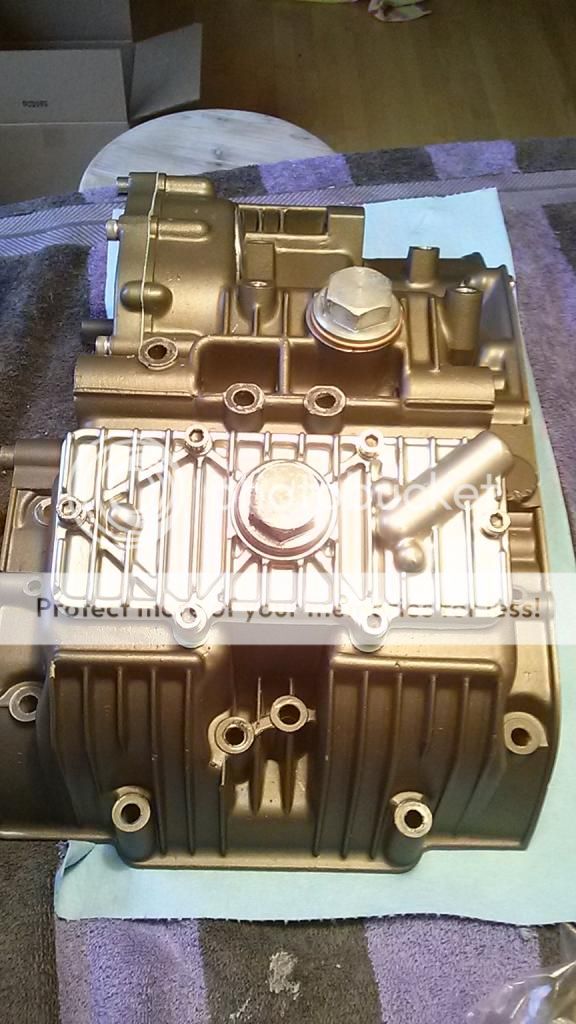
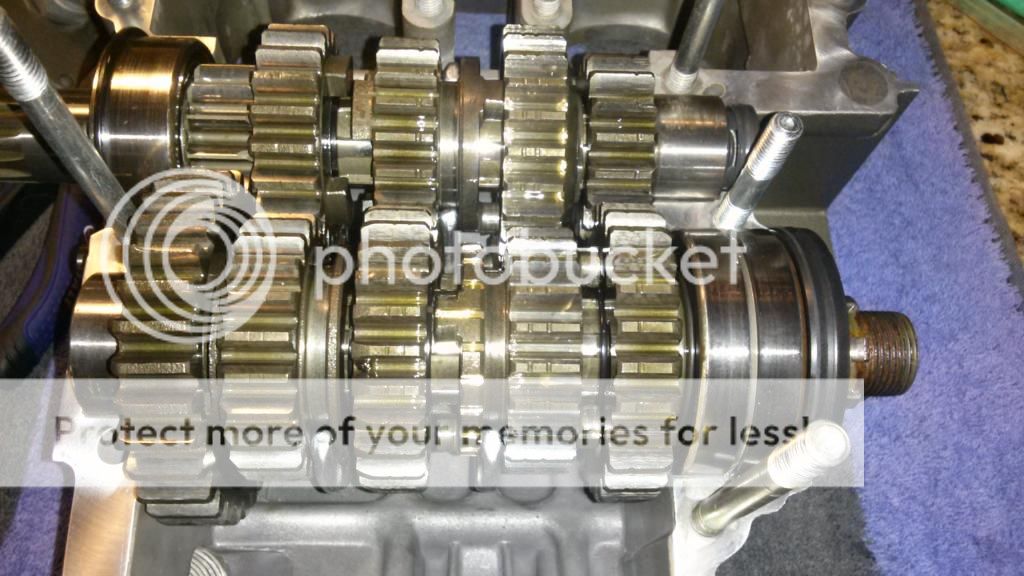
Tore the motor down completely, split the cases, glass bead and soda blasted everything, had the head rebuilt, painted the cases, jugs and heads, had the head cover, tappet covers and breather powder coated then put it all back together.
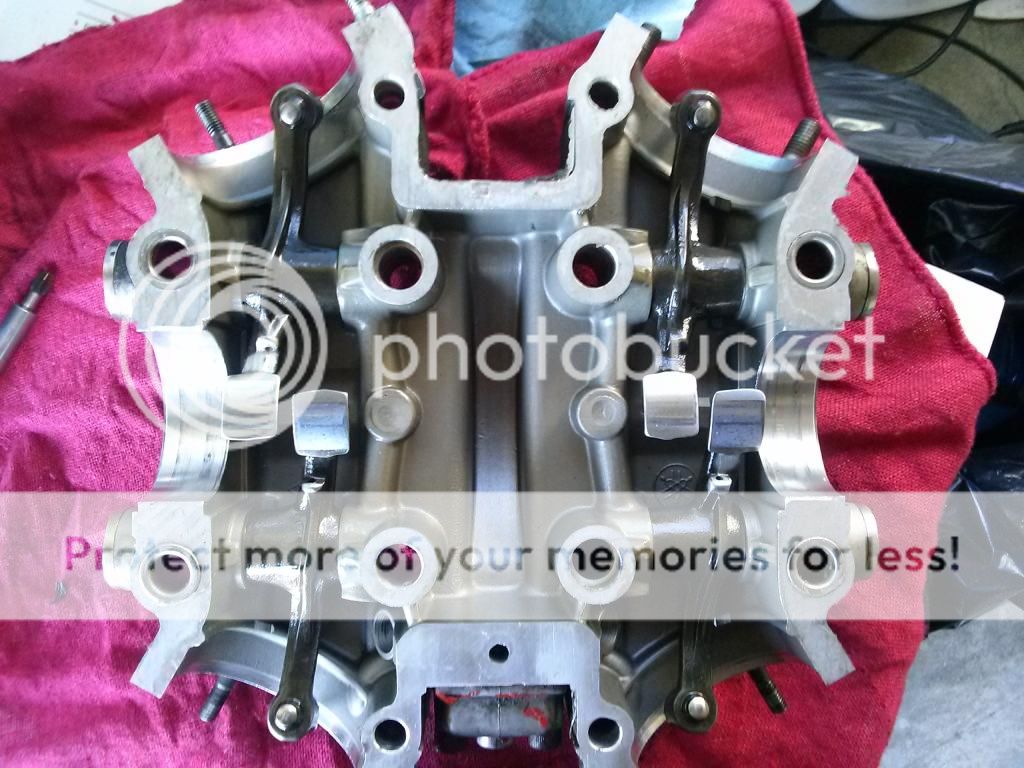
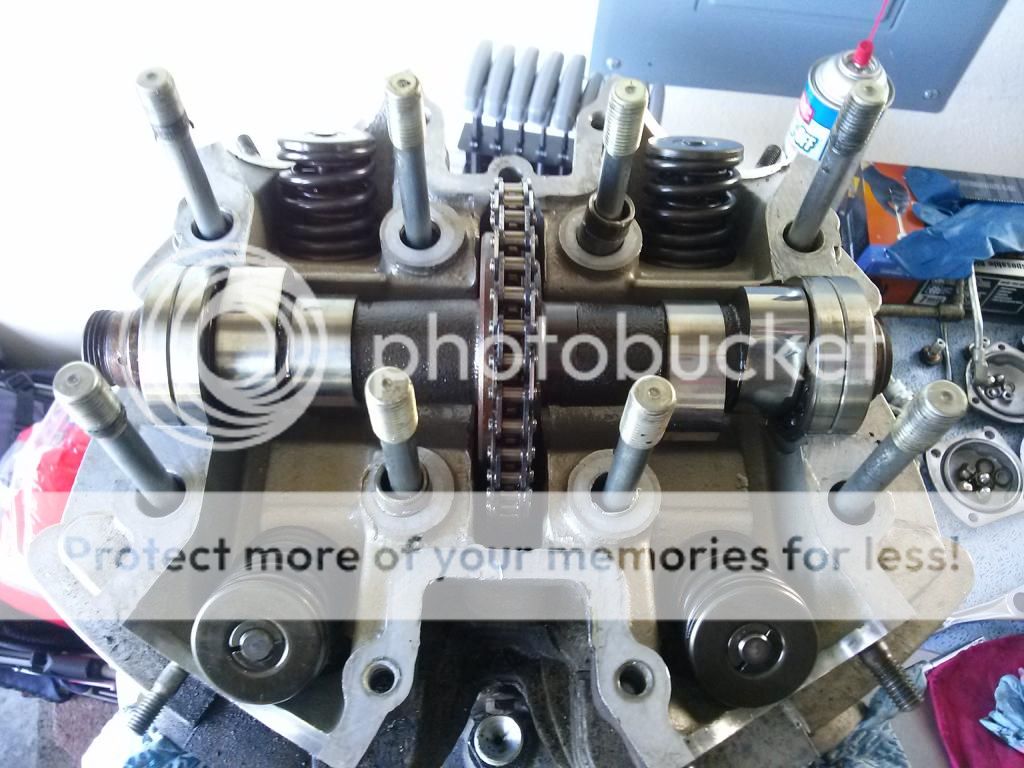
Cleaned everything and put some color on
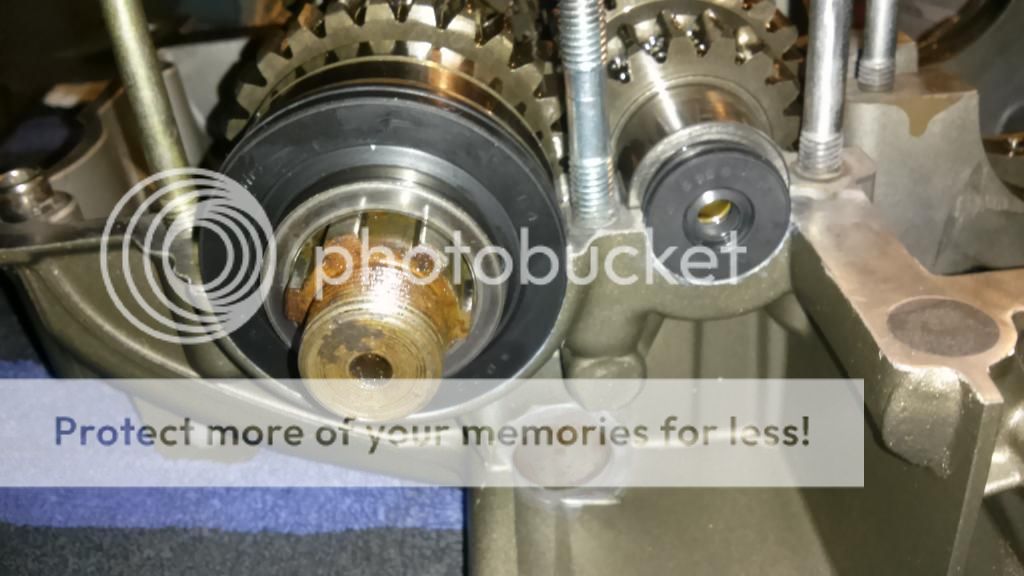
Starter delete mod (car engine freeze plug)
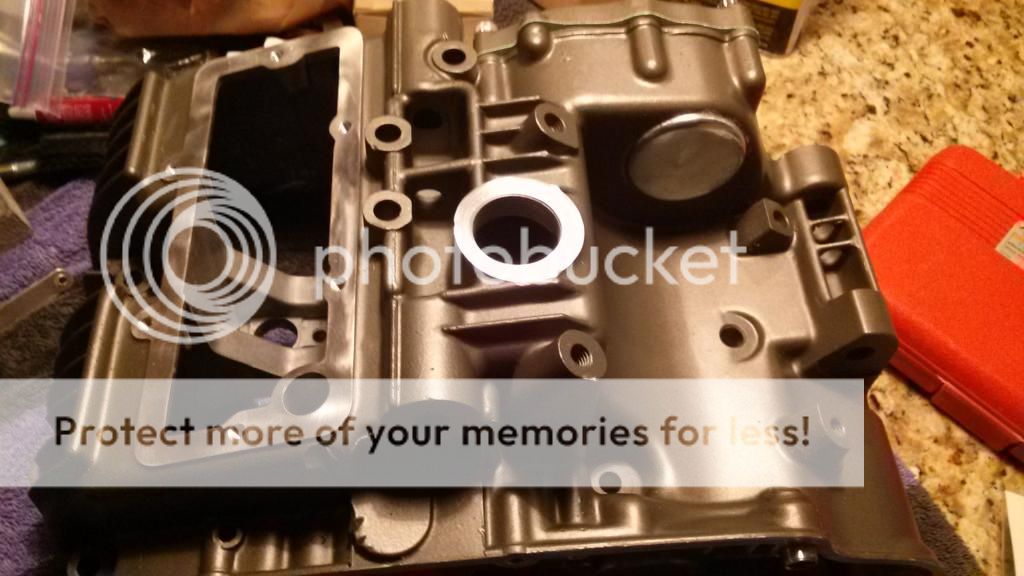
Cleaned everything again with brake cleaner, chased all holes (with a little help) and blew it all out with compressed air getting ready for assembly.

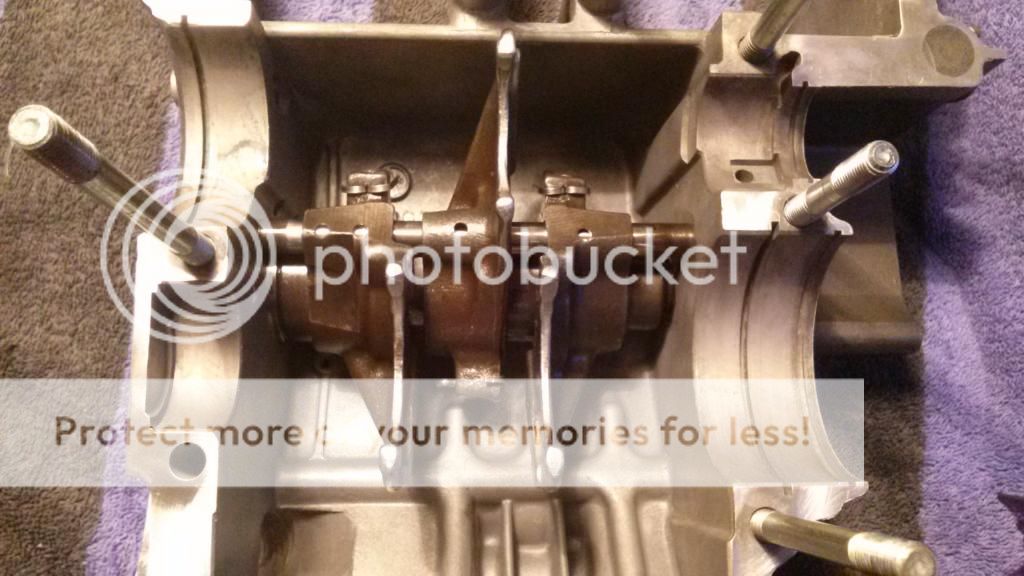
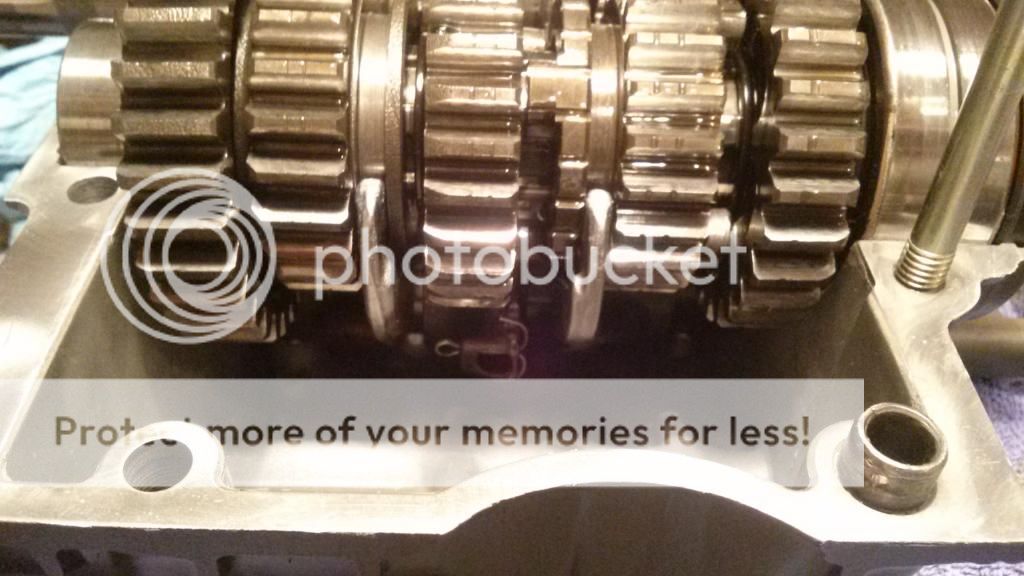
Installed the shifter forks on the selector drum and dropped the tranny back in.
Sent from my SM-N915V using Tapatalk
billyp
Been Around the Block
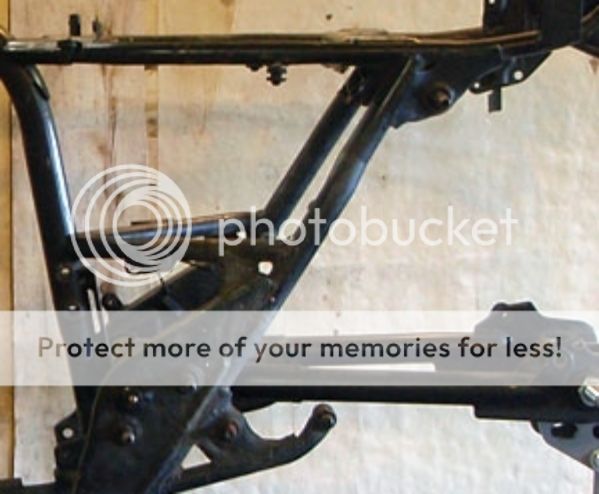
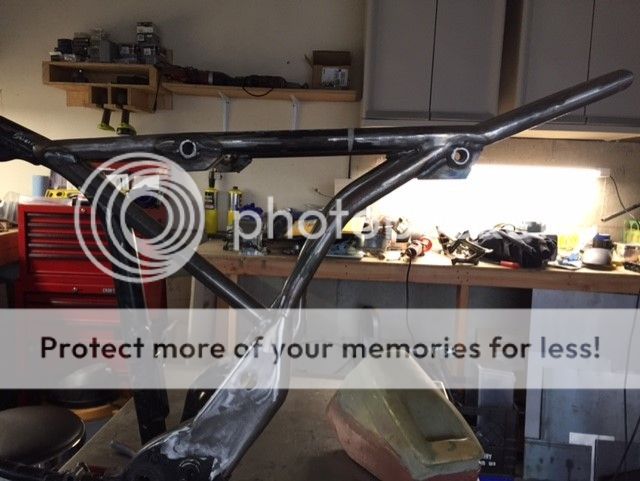
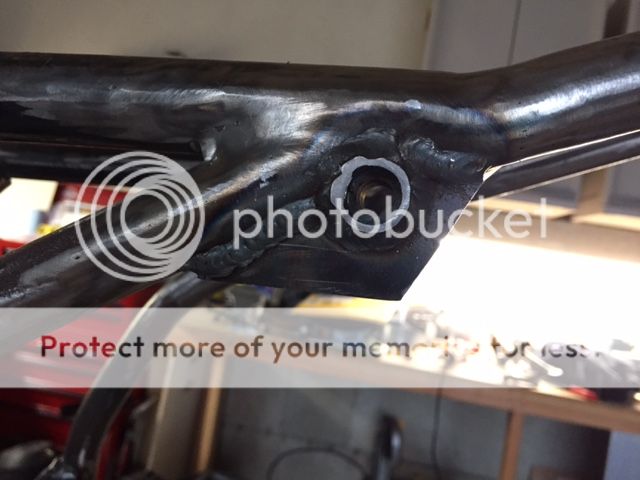
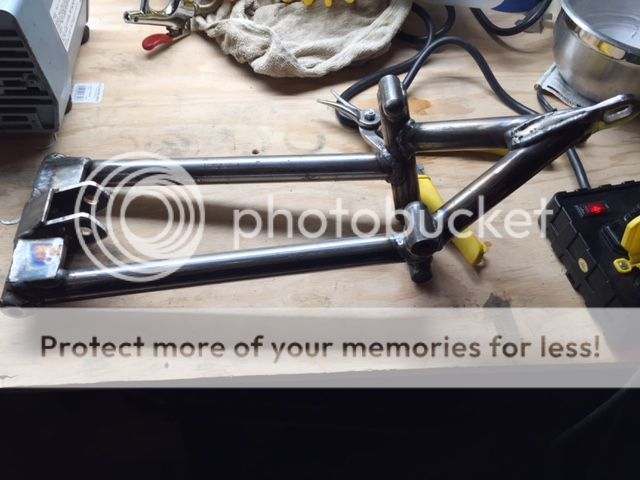
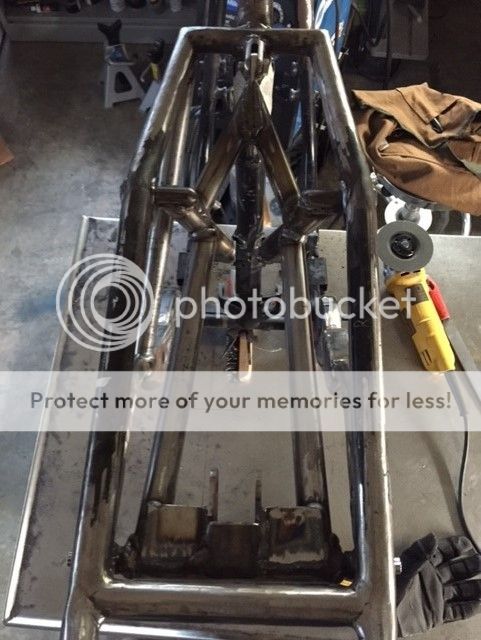
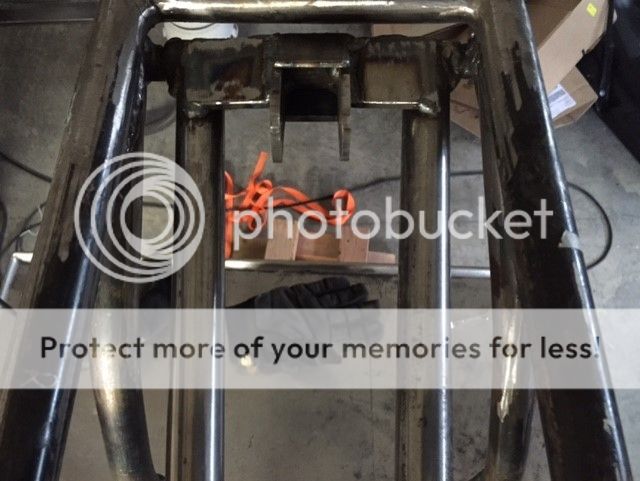
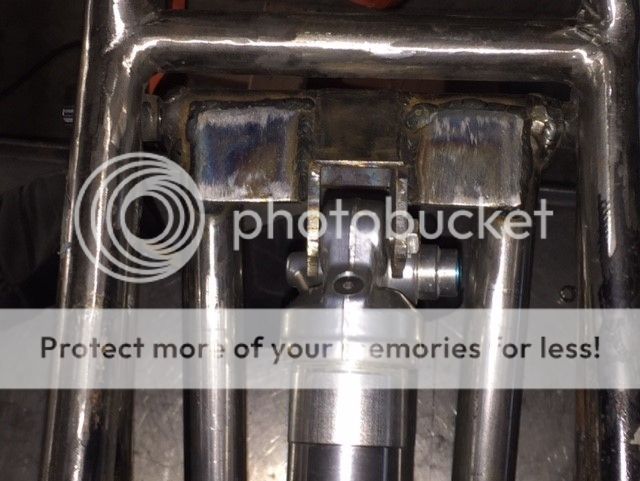
Rear shock in position, spring removed so I can figure out travel and bellcrank angle
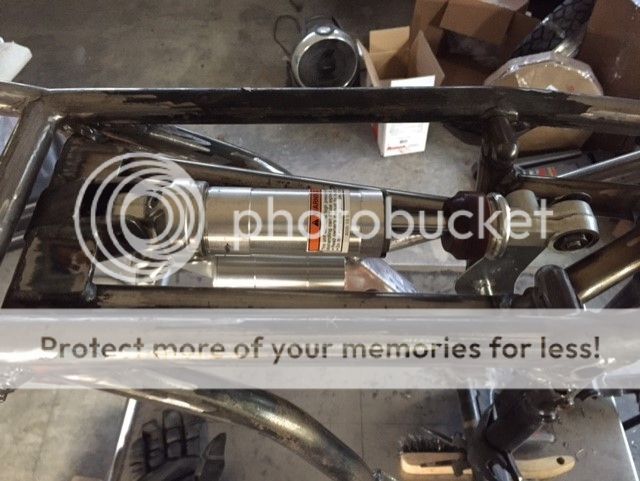
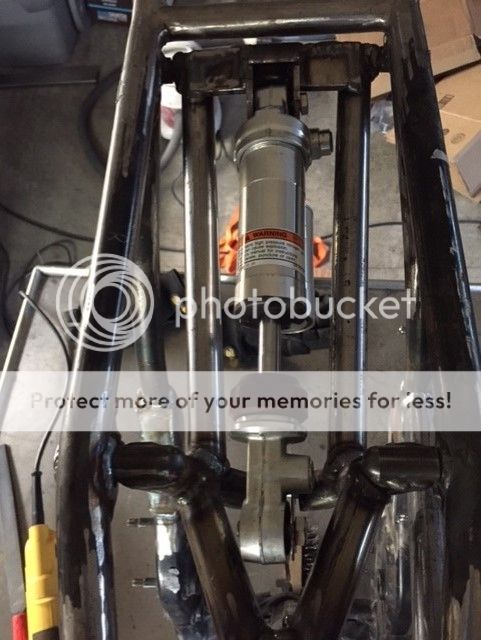
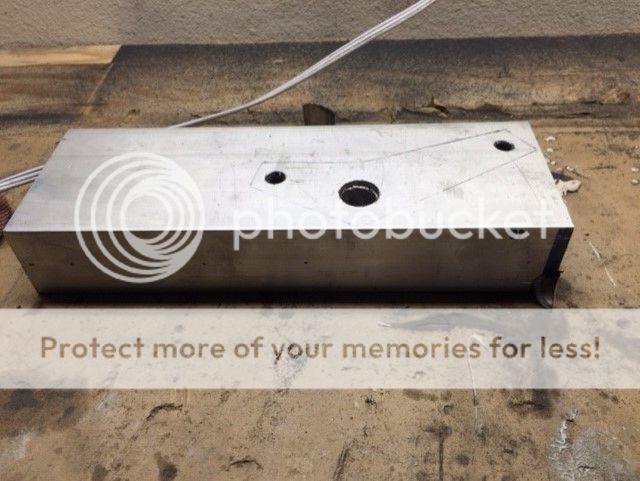
Bellcrank will be milled out of this, holes only rough sized so I can get the layout and final design figured out. All holes and final shaping will be done on a mill
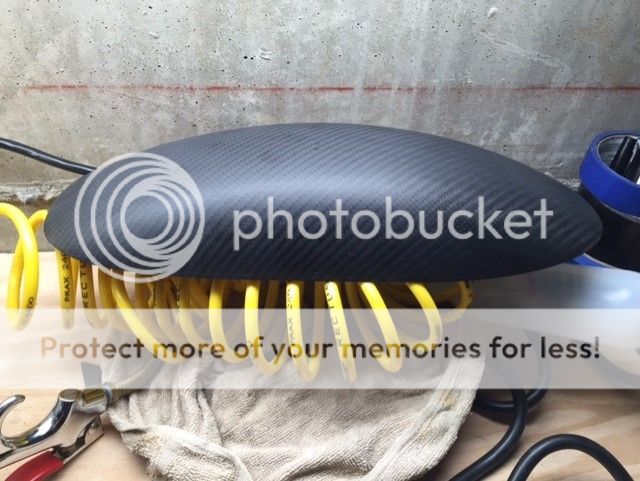
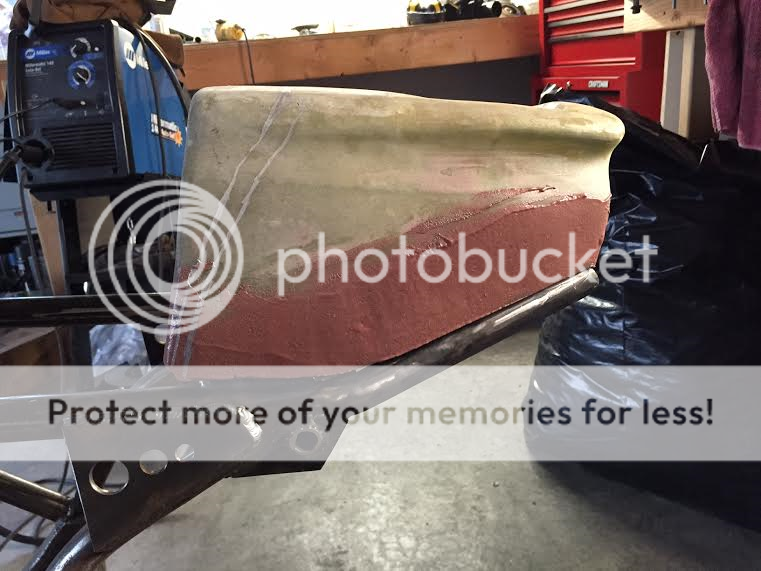
And I made a fender out of carbon fiber
Bellcrank will be milled out of this, holes only rough sized so I can get the layout and final design figured out. All holes and final shaping will be done on a mill
And I made a fender out of carbon fiber
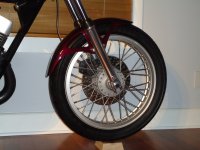
I'd be more concerned with fender deflection over harsh bumps. I have run many fenders less than 1/2" with never an issue, and I would be comfortable with sufficiently stiff fenders a lot closer though I don't think there is much of an aesthetic benefit as 1/2" looks to be hugging the tire pretty well IMHO. I did have some sort of vine or branch somehow get drug through between the fender and tire once - long ago and I can't recall exactly how this happened but it was on pavement on a street bike. It cracked the fender (fiberglass fabricated by me) but that was it. I mention it because it was hell getting the damn thing out from between the fender and tire which I had to do in order to continue driving, and I remember thinking if the fender wasn't so damn close to the tire, it might not have been a problem. Didn't cause me to either change the fender or change my perspective on fender clearance though. This is the fender (long since repaired!), it has a smaller tire under it now (different brand) - clearance is a bit over 1/2". No fork brace - you can tell when you ride it. I have made fenders by simply laying a couple of wet towels over a tire which results in a REALLY close (SCARY!) fender and never had it rub, but also on bikes that would only do about 110 mph on a good day so I figure tire expansion isn't much of a problem unless you go pretty fast. I'd guess that most bike tires are pretty light and pretty stiff (if mounting them is any indication) so they only expand very little.
Attachments
billyp
Been Around the Block
The fender i'm going to use is the one on the previous page, it's short and squat and very very stiff, I don't know how much it will deflect. I was thinking about 1/2 inch of clearance because that fits the tire really nice and looks good as well, so it was good to see you say that. Thank you jpmobius.
billyp
Been Around the Block
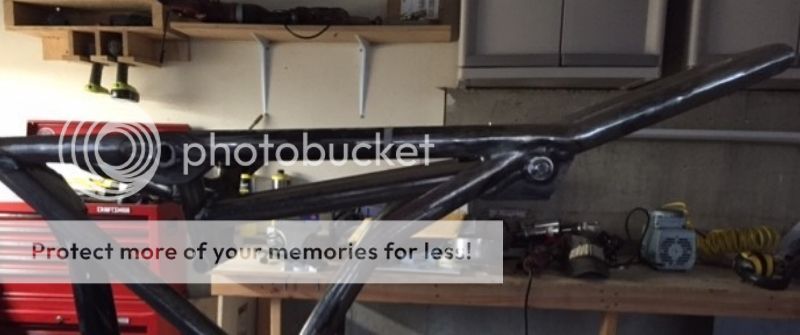
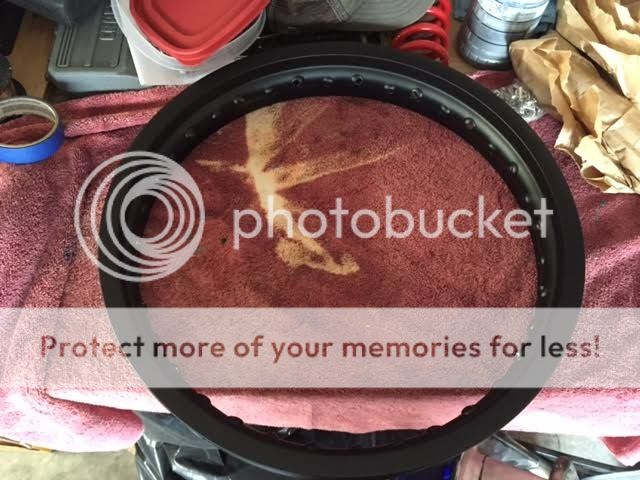
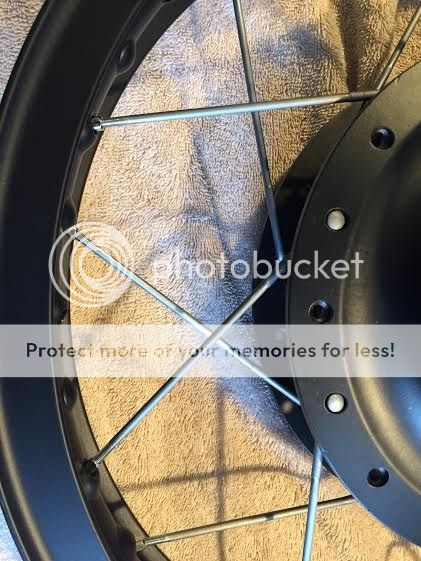
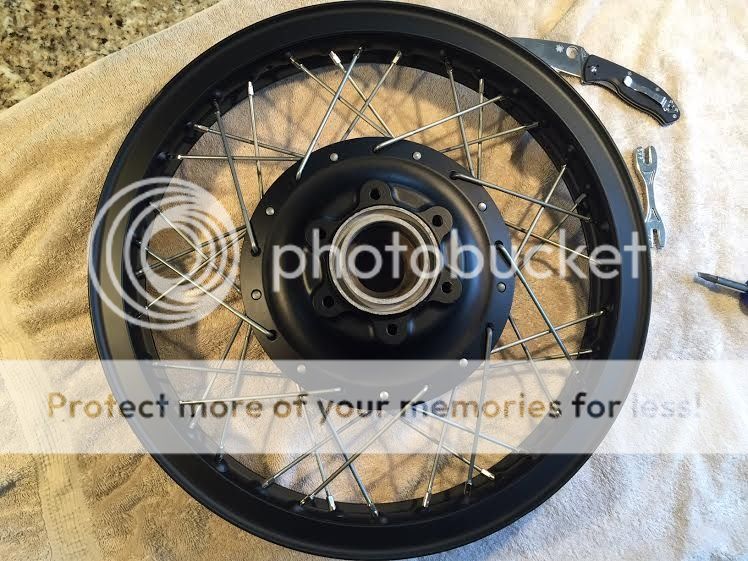
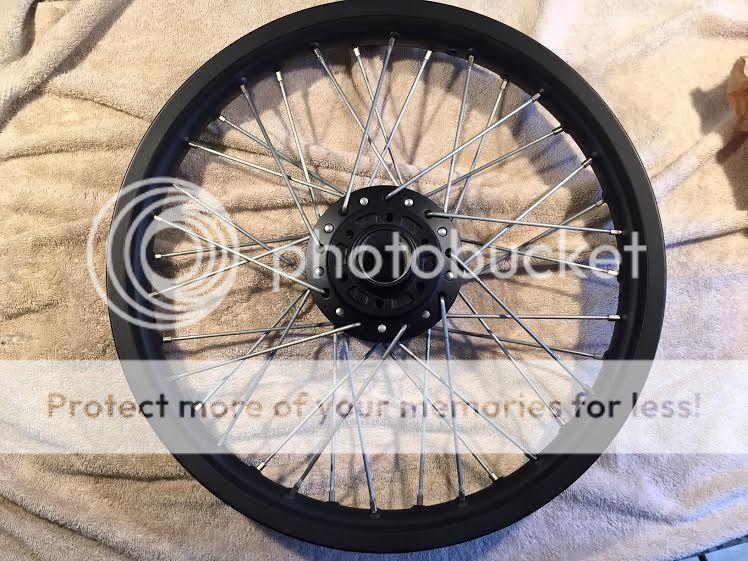
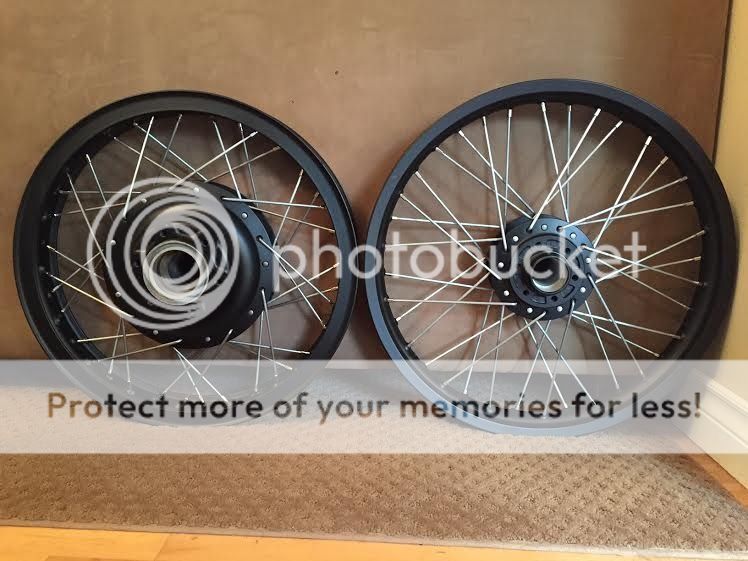
Still plugging away, working on my "floating" seat and doing some powder coating. Did a complete 360 with the color, went from off white wheels to black.
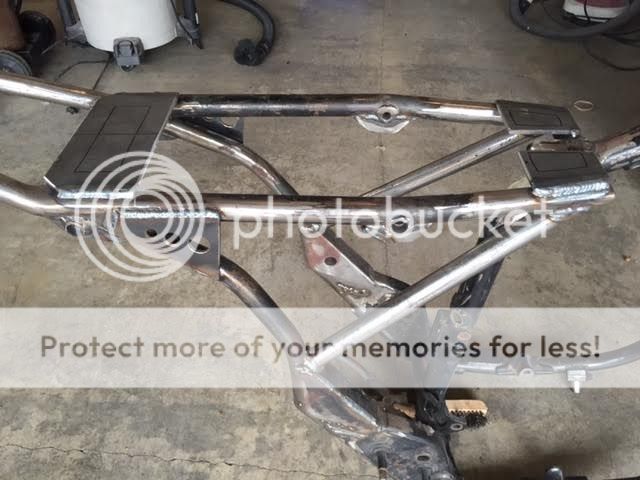
Rough trim of the floating seat support, it sits about 1/4 inch off the frame. I'm doing a complete build thread in the Tanks and Seats section...
http://www.dotheton.com/forum/index.php?topic=69783.0
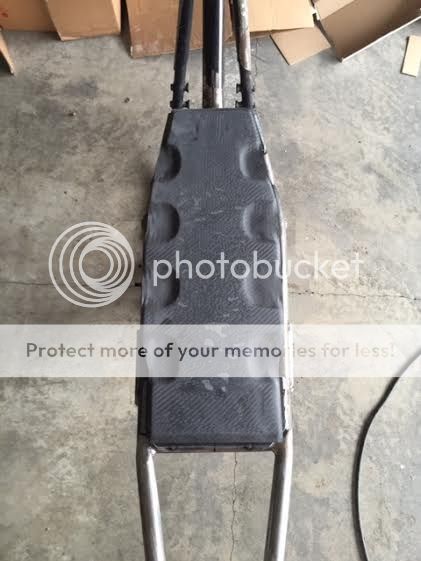
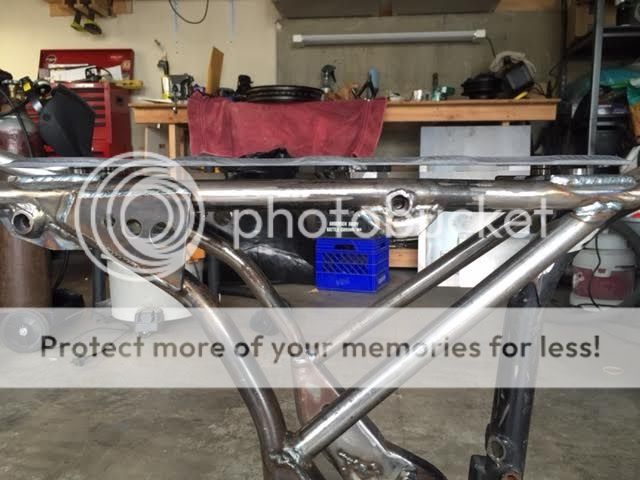
It will be mounted to these braces
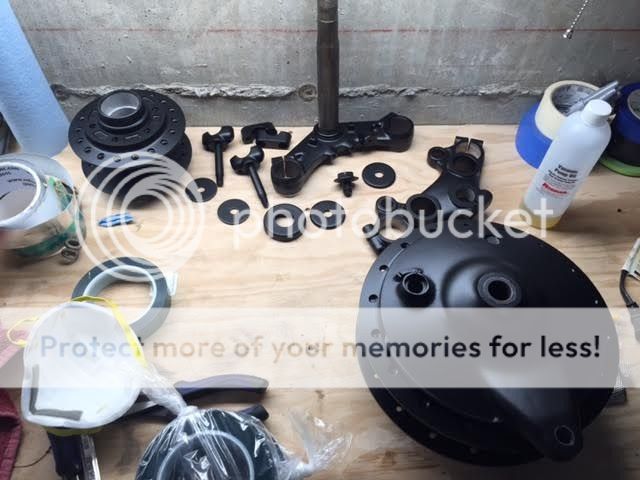
Also have been doing some powder coating, one more thing I've never done before but wanted to so, I did
And what do you do when you have an 18 inch wheel and a 17 inch oven??
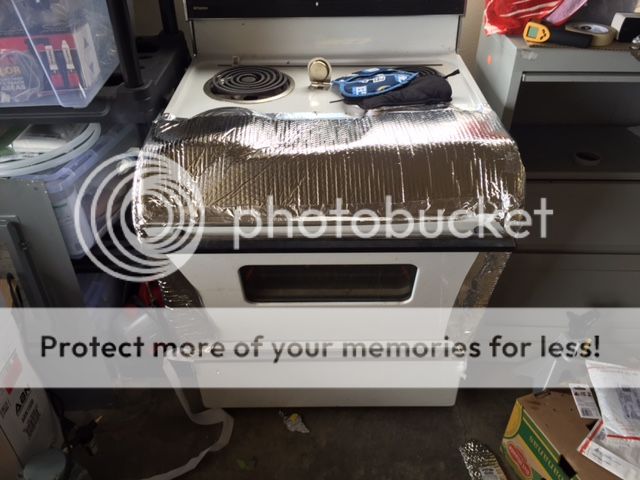
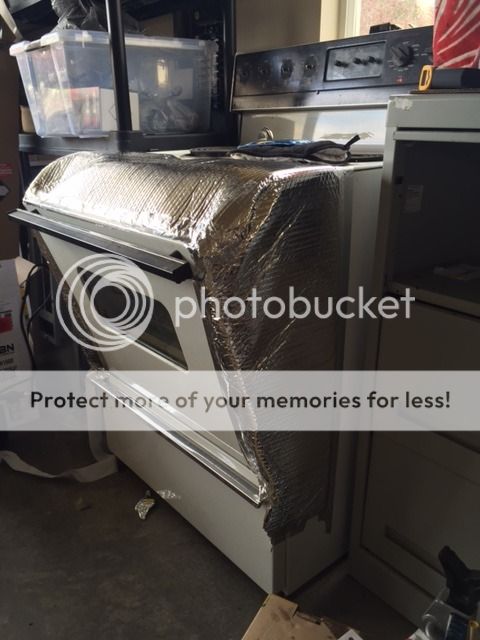
Actually worked good
Rough trim of the floating seat support, it sits about 1/4 inch off the frame. I'm doing a complete build thread in the Tanks and Seats section...
http://www.dotheton.com/forum/index.php?topic=69783.0
It will be mounted to these braces
Also have been doing some powder coating, one more thing I've never done before but wanted to so, I did
And what do you do when you have an 18 inch wheel and a 17 inch oven??
Actually worked good


billyp
Been Around the Block
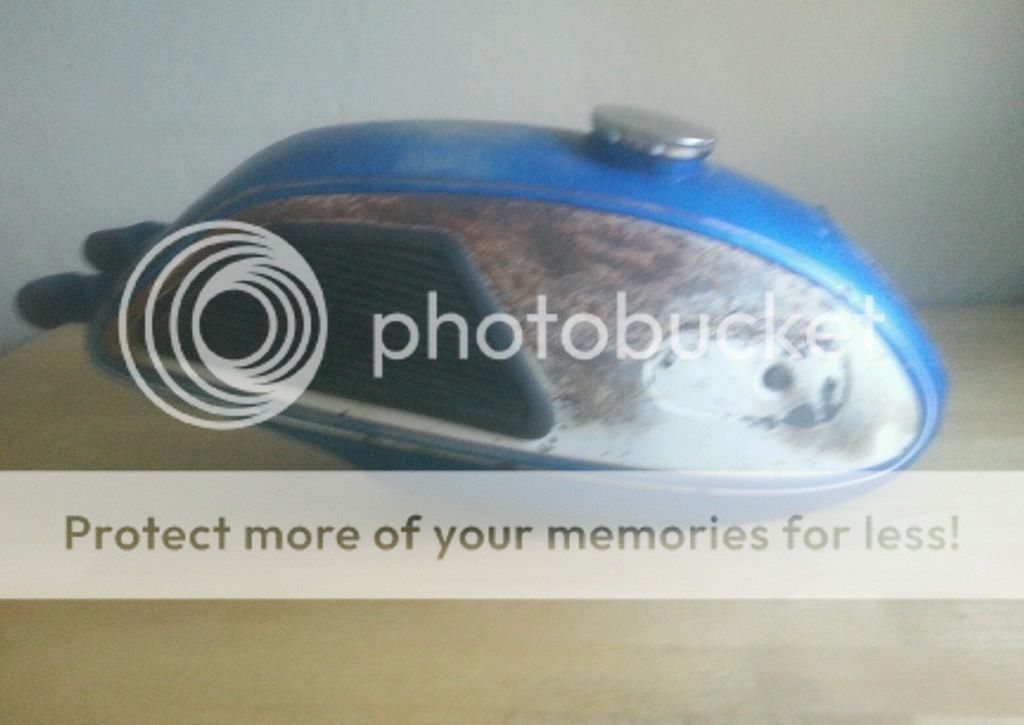
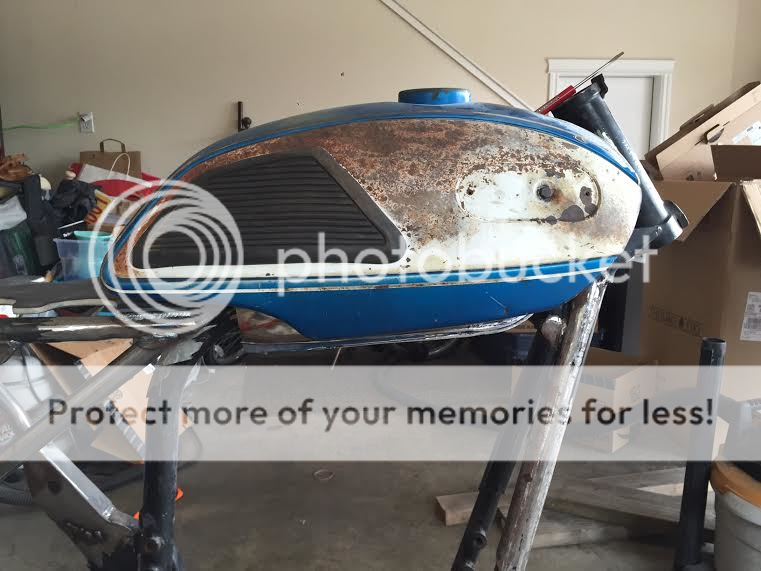
Started working on the tank, the one I'm using came off of a Yamaha YR2...I think. The way it fit on the frame I decided it would be easiest to cut the tunnel out and use the tunnel from the XS 650 tank. It's still going to be a bit of work but in the end I think this was the way to go.
YR2 tank
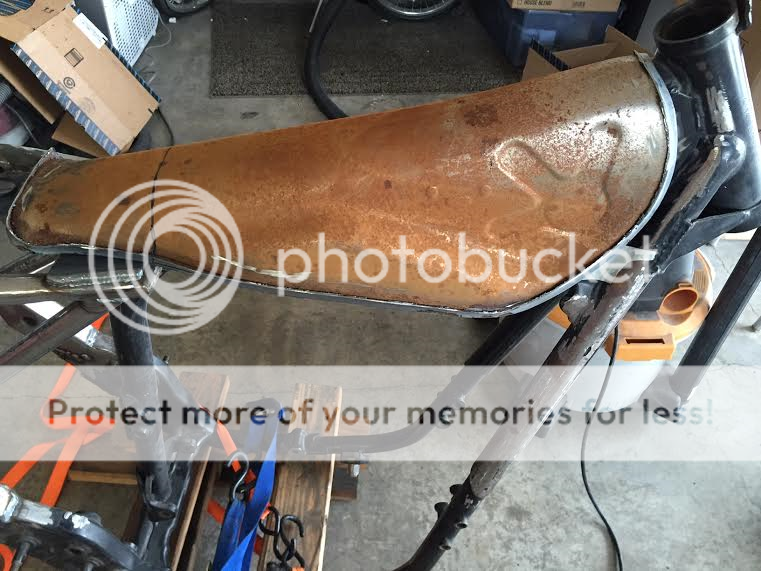
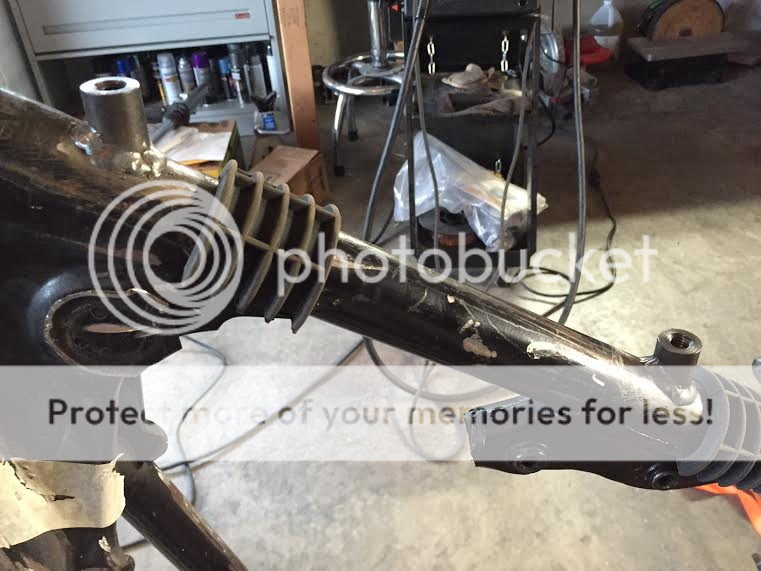
Cut the tunnel out of XS tank

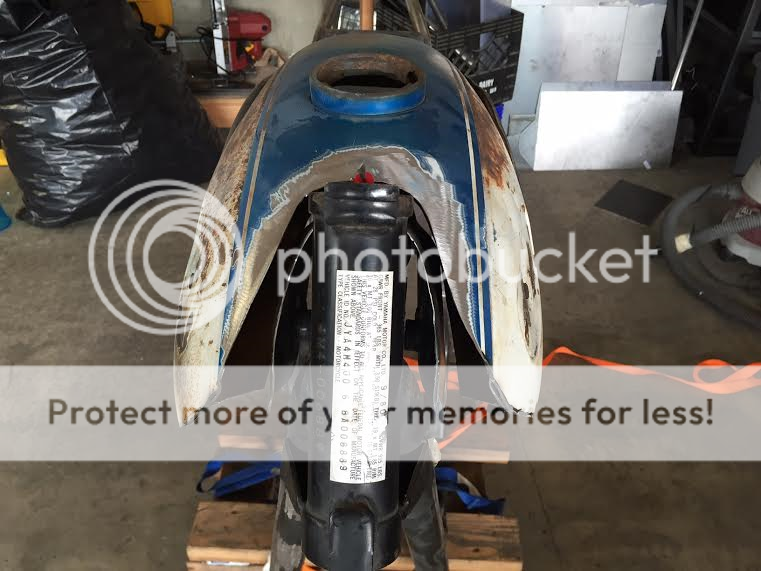
The YR2 tank is flat on the bottom at the rear of the tank so the tunnel needed to be shortened
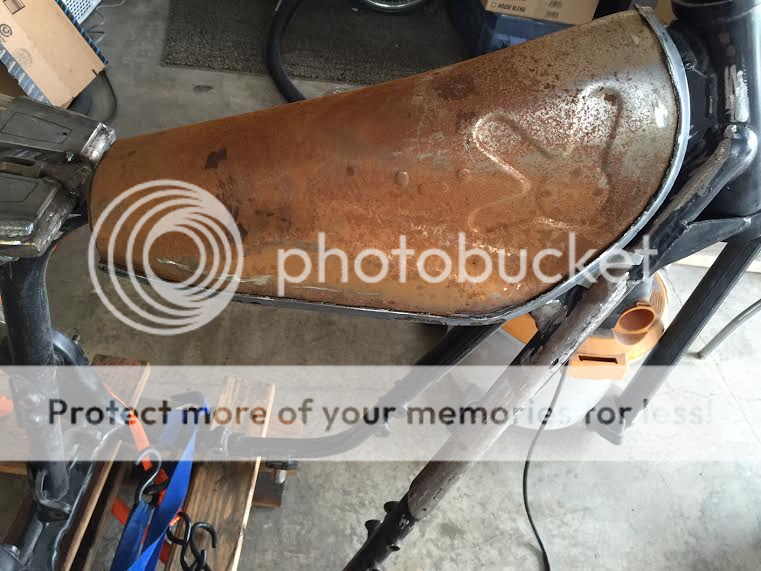
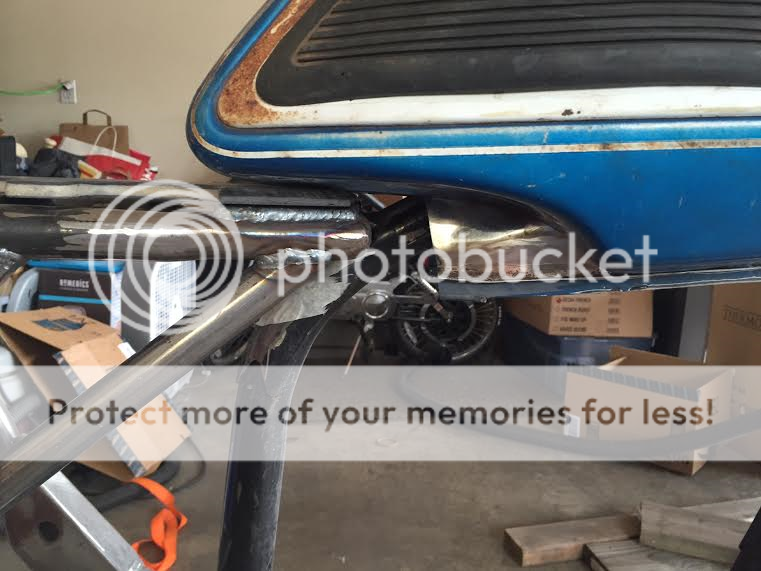
The rear sides of the tank needed to be trimmed to get the tunnel to fit better

The sides can be squeezed in enough to be welded to the tunnel. The flat bottom at the rear should be pretty easy to fill with a patch panel

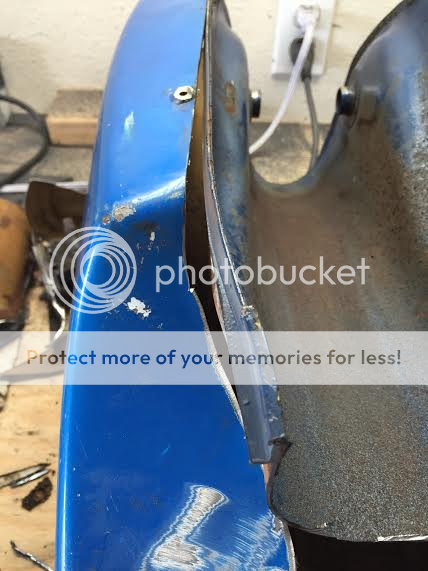
Here's how it sits on the bike, you can also see I reshaped the front, it was too long and would contact the triple tree and forks
I'll need to extend the front of the tunnel a bit and fill the rest with more patch panels
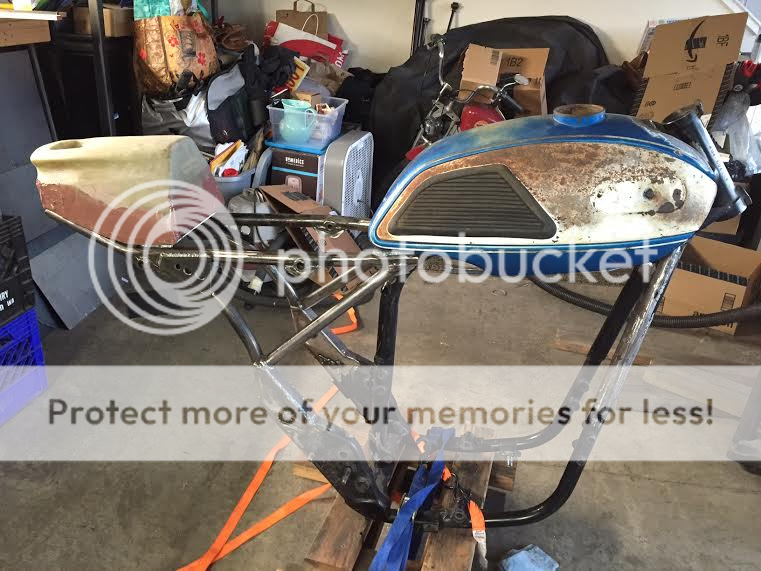

I'm thinking about reshaping the front of the tail, lean it back instead of straight up and down like it is now. Opinions please!
YR2 tank

Cut the tunnel out of XS tank

The YR2 tank is flat on the bottom at the rear of the tank so the tunnel needed to be shortened


The rear sides of the tank needed to be trimmed to get the tunnel to fit better


The sides can be squeezed in enough to be welded to the tunnel. The flat bottom at the rear should be pretty easy to fill with a patch panel

Here's how it sits on the bike, you can also see I reshaped the front, it was too long and would contact the triple tree and forks


I'll need to extend the front of the tunnel a bit and fill the rest with more patch panels


I'm thinking about reshaping the front of the tail, lean it back instead of straight up and down like it is now. Opinions please!

Man, that tank is an awesome choice for this project! Really going to set it off. I like the tail you built, but not too sure it matches the tank. I might consider building another with styling to mirror that of the tank since you still have a good ways to go to actually complete the finish work on it. Respect for your willingness to re-work things you are not happy with as you go. I think failure to do so often hurts or even kills some projects which is a shame after so much work is invested. As far as sloping the seat back of what you have, my suggestion is to determine how you are going to make the seat itself first - that is - how the shape of the seat will be. The contour of the seat has a big influence on how the bike looks, and does not necessarily follow the shape of the frame , tank or tail where it fits up to it. In other words, when it is done, your eye will see three things - the shape of the tail, the shape of the line between the tail and seat, and the shape of the seat, so you need to consider all three to get whatever final look you are after. Getting the lines right between the tank, seat, tail and frame is a very subtle thing to get right where the whole bike looks nicely integrated. There are a lot of very nicely crafted bikes that don't look nearly as good as they could because the seat, tank and tail look like they are all just separate parts bolted on to the frame.
billyp
Been Around the Block
I agree with you 100% mobius. I stared at the tank and tail for what seemed like an hour and I came to the determination that I need a new tail. It needs to follow the lines of the tank more, have more of an organic flow. That tail would look good with a more squarish tank like an RD 350, but not this one. Looks like I'll be able to practice shaping foam and laying fiberglass
7aliveatlast7
the bearded hessian
man, awesome work on that tank, and well done with the powder as well! i do a lot of powder in my basement out of a conventional oven like yours, and have run into the same problem when doing a 19" wheel, haha. that's a pretty creative solution you came up with, though, what is it that you used there?? i may have to try that in the future! just a tip, you might end up having to remove the powder from the inside of the triple trees where the fork legs slide through. i made the mistake of powdering mine without covering those up thinking "how much difference could it ACTUALLY make??" boy was i wrong, it was such a pain, the powder adds just enough thickness that i couldn't slip the fork legs through. i ended up taking some clean strip and removing the powder inside those areas and it made a world of difference.
as for the tail, it looks great, but as was said, maybe not for this bike. my initial thought was that the tank has a much lower profile where the seat is pretty tall. maybe just keep that in mind when making your next one. can't wait to see what you come up with, great work!!
as for the tail, it looks great, but as was said, maybe not for this bike. my initial thought was that the tank has a much lower profile where the seat is pretty tall. maybe just keep that in mind when making your next one. can't wait to see what you come up with, great work!!
billyp
Been Around the Block
Thanks 7, the inside of the triples have no powder on them, I taped them off. For some reason the metal is really dark so that's why it may appear to have been powdered. I used some thin reflective insulation and some foil tape on the oven. Got it from Lowe's, it's the kind sold in rolls for wrapping water heaters and putting under the water pipe for an indirect heat floor. Definitely not a way to go if you need to do it a lot, it's not very durable when you have to peel it all off to open the oven, but for 2 wheels it worked great.
I'm getting some more foam tomorrow to start on the new tail, have a plan for the new one just need to shape it up
I'm getting some more foam tomorrow to start on the new tail, have a plan for the new one just need to shape it up


