3 year Velocette rebuild

GoFarKid

New Member
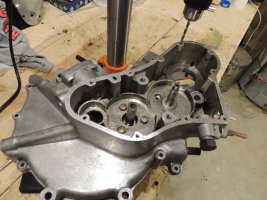
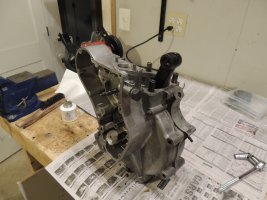
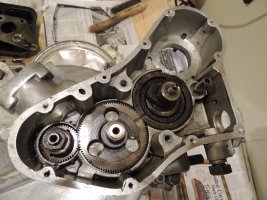
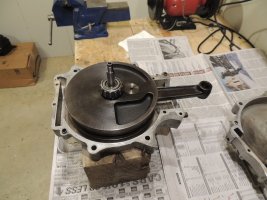
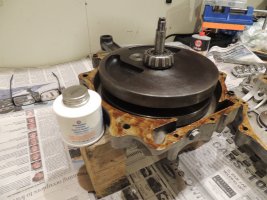
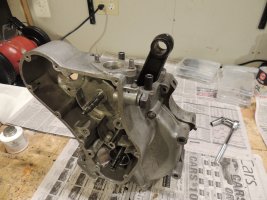
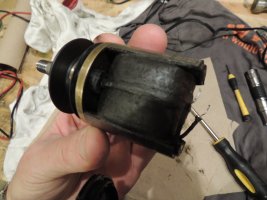
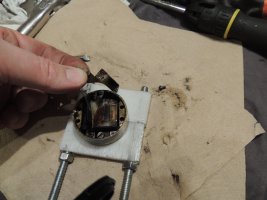
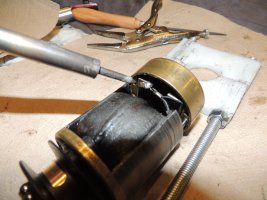
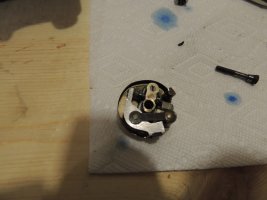
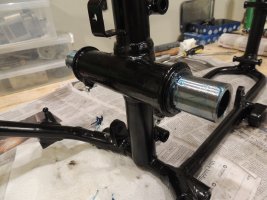
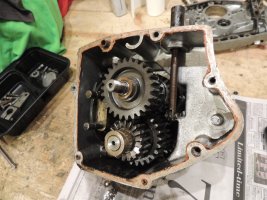
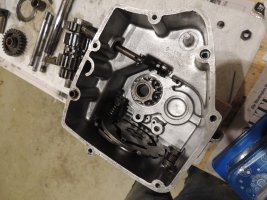
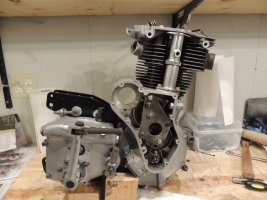
This has been a long time coming, but I am going to try and post the story of my rebuilding of an Old friend...
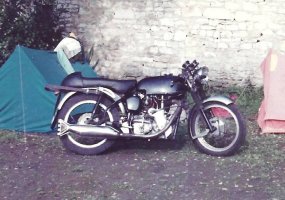
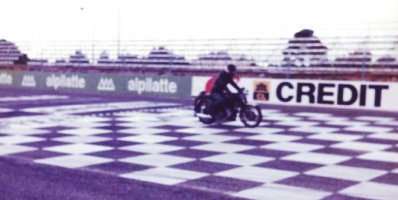
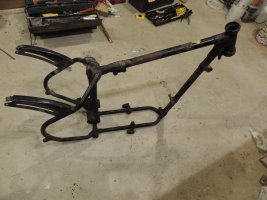
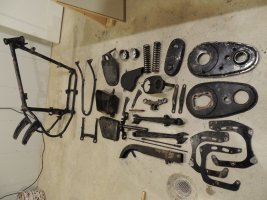
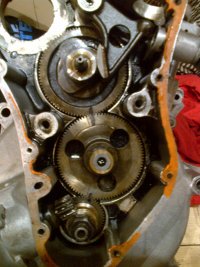
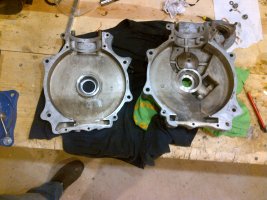
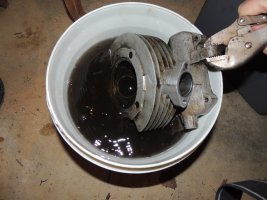
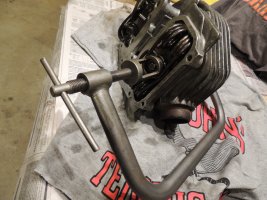
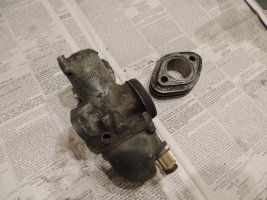
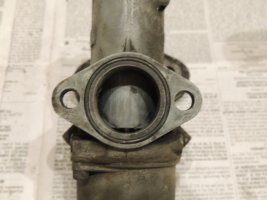
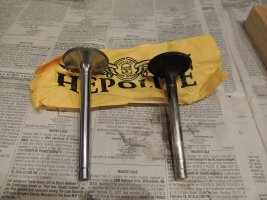
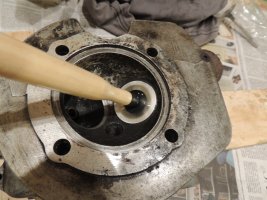
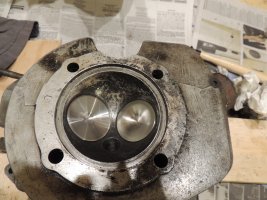
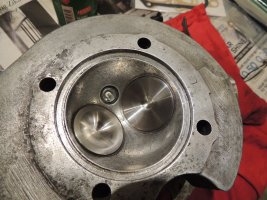
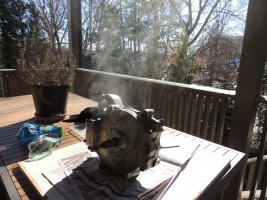
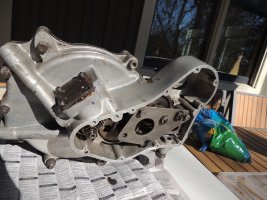
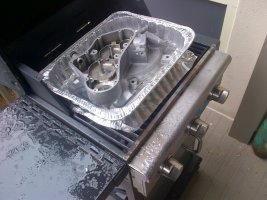
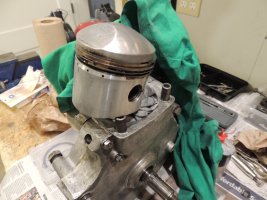
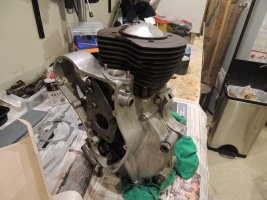
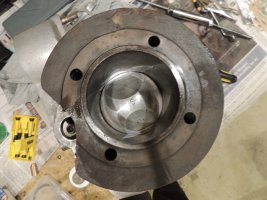
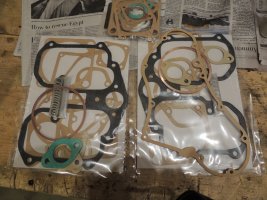
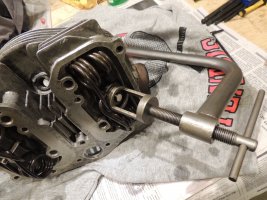
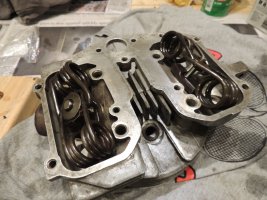
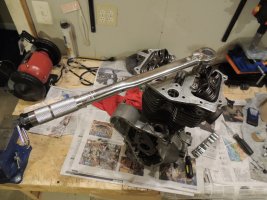
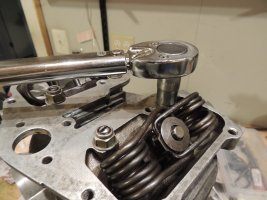
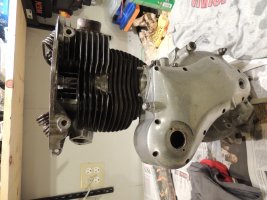
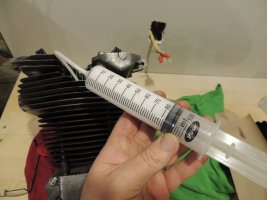
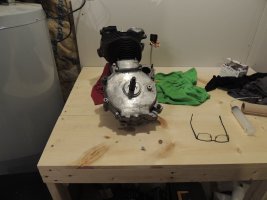
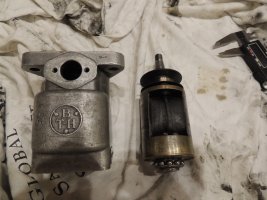
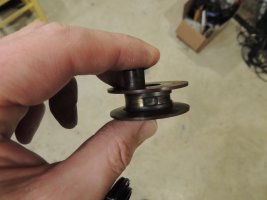
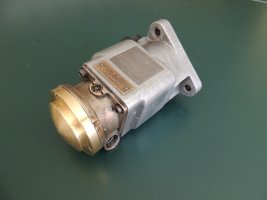
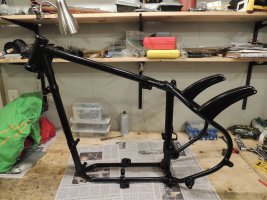
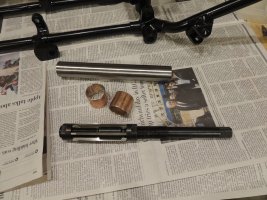
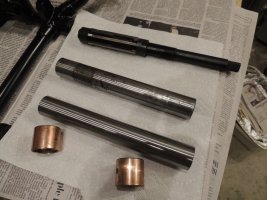
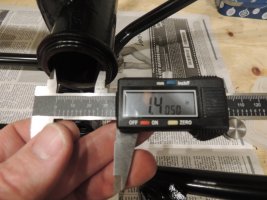
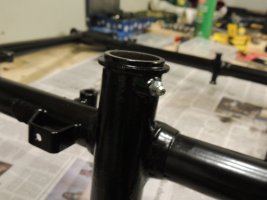
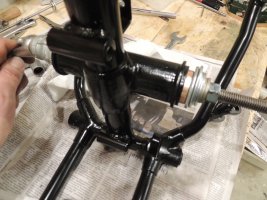
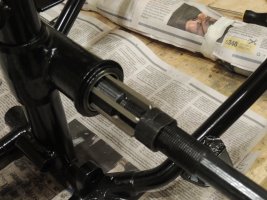
When I was about 16 I bought a 1950s Velo, that my sisters boyfriends father owned. The bike was originally from a motorcycle repair shop that he had, and the velo had been sitting a barn for perhaps 15 years at that point. I cobbled it up, got it on the road, and used it as my every day transport for about 5 years...went to school, to work, all over the UK, and even to the Bol D'or in 1984. Then I got a job, got married, had kids, and 35 years later decided it would be time to take him out of the cardboard boxes, and get him back on the road. Here is the story. I will post a bit at a time.

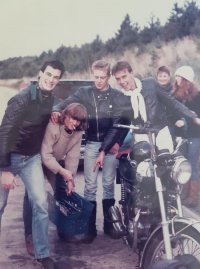
First off, this is me, with him, and a few mates, a long time ago...in Suffolk, and in France
 

Attachments

  • Rougham Trip.jpg
    Rougham Trip.jpg
    73 KB · Views: 220
  • Velo in France 1c.jpg
    Velo in France 1c.jpg
    69.3 KB · Views: 222
  • Velo in France 2c.jpg
    Velo in France 2c.jpg
    29.5 KB · Views: 213
  • Velo in France 3c.jpg
    Velo in France 3c.jpg
    38.1 KB · Views: 202
So, then I took him out of the boxes, and had a look at what I had got, and it was a bit of a rusted, incomplete heap. First off, I sent a few of the big bits of the frame and swinging arm and oil tank off for powder coating
 

Attachments

  • DSCN1397.JPG
    DSCN1397.JPG
    3 MB · Views: 219
  • DSCN1405a.JPG
    DSCN1405a.JPG
    5.5 MB · Views: 214
Next off, have a look at the end-float on the crank, split the cases, and put a few helicoils in where the PO (or perhaps me as a teenager?) had stripped the threads. I got a bit of help from my son (ish)
 

Attachments

  • IMG-20151212-00474.jpg
    IMG-20151212-00474.jpg
    1.1 MB · Views: 202
  • IMG-20151213-00479.jpg
    IMG-20151213-00479.jpg
    1.3 MB · Views: 202
  • IMG-20151213-00477.jpg
    IMG-20151213-00477.jpg
    1.3 MB · Views: 199
  • DSCN1395.JPG
    DSCN1395.JPG
    3 MB · Views: 205
  • DSCN1418.JPG
    DSCN1418.JPG
    3.1 MB · Views: 211
  • DSCN1421.JPG
    DSCN1421.JPG
    3.1 MB · Views: 203
  • DSCN1423.JPG
    DSCN1423.JPG
    3 MB · Views: 205
  • DSCN1424.JPG
    DSCN1424.JPG
    2.9 MB · Views: 197
Moving on, I took the head down, took the vales out, and let it soak in a bucket of paraffin,
 

Attachments

  • DSCN1445.JPG
    DSCN1445.JPG
    3 MB · Views: 198
  • DSCN1449.JPG
    DSCN1449.JPG
    3.1 MB · Views: 194
  • DSCN1472.JPG
    DSCN1472.JPG
    3 MB · Views: 185
Welcome to the site mate, this is gonna be fun to follow. Great that you kept this bike through the years, must be cool wrenching on it with your son (ish)
 
Next up, the Carb was a mess, so stripped it down, put some helicoils in the stripped threads, cleaned all its important little places, shined it up, and stuck it back together.
 

Attachments

  • DSCN1434.JPG
    DSCN1434.JPG
    3 MB · Views: 189
  • DSCN1436.JPG
    DSCN1436.JPG
    3.1 MB · Views: 191
  • DSCN1437.JPG
    DSCN1437.JPG
    3 MB · Views: 188
  • DSCN1439.JPG
    DSCN1439.JPG
    3 MB · Views: 190
  • DSCN1732.JPG
    DSCN1732.JPG
    3 MB · Views: 196
  • DSCN1735.JPG
    DSCN1735.JPG
    3 MB · Views: 189
The Valves were shot - the inlet was bent from some "enthusiastic" teenage riding, but you can still get the Heopolite replacements, so in they went, and got ground down to a nice mating finish. I cleaned the old carbon off the head, but didnt go nuts polishing it all - nobody is going to see it!
 

Attachments

  • DSCN1425.JPG
    DSCN1425.JPG
    3 MB · Views: 183
  • DSCN1429.JPG
    DSCN1429.JPG
    3.1 MB · Views: 184
  • DSCN1432.JPG
    DSCN1432.JPG
    3 MB · Views: 186
  • DSCN1470.JPG
    DSCN1470.JPG
    3 MB · Views: 182
Then, after cleaning up the crankcases a bit, and checking out the crankshaft / big end. I decided to put it back "As is". there was about 3 thou of play in the big end, and on reflection I should have replaced it now, but i didn't - More to come on this later in the story! With the Velo, you need to heat the crankcase up to about 150 C before taking out, or putting back the Oil Pump, so the barbecue was perfect for that, on a nice frosty day! It helps to freeze the pump too when you are putting it back in
 

Attachments

  • DSCN1418.JPG
    DSCN1418.JPG
    3.1 MB · Views: 184
  • DSCN1419.JPG
    DSCN1419.JPG
    3.1 MB · Views: 182
  • DSCN1422.JPG
    DSCN1422.JPG
    3 MB · Views: 180
  • DSCN1455.JPG
    DSCN1455.JPG
    3.1 MB · Views: 173
  • DSCN1458.JPG
    DSCN1458.JPG
    2.9 MB · Views: 180
  • DSCN1462.JPG
    DSCN1462.JPG
    3 MB · Views: 176
  • IMG-20151213-00477.jpg
    IMG-20151213-00477.jpg
    1.3 MB · Views: 170
  • IMG-20151222-00481.jpg
    IMG-20151222-00481.jpg
    1 MB · Views: 176
I didn't look too closely at the Piston and Rings - which was a mistake, but they looked OK, so I popped them back, and didn't do anything to the barrel either. All of this comes back to bite me in the ass later...
 

Attachments

  • DSCN1463.JPG
    DSCN1463.JPG
    3.1 MB · Views: 180
  • DSCN1464.JPG
    DSCN1464.JPG
    3 MB · Views: 169
  • DSCN1465.JPG
    DSCN1465.JPG
    3.1 MB · Views: 173
  • DSCN1466.JPG
    DSCN1466.JPG
    3 MB · Views: 168
Anneal a new Copper head gaskit, pop the head on, and torque it all up, and I have (sort of) got an engine back together.
 

Attachments

  • DSCN1453.JPG
    DSCN1453.JPG
    3 MB · Views: 175
  • DSCN1471.JPG
    DSCN1471.JPG
    3 MB · Views: 167
  • DSCN1474.JPG
    DSCN1474.JPG
    3 MB · Views: 163
  • DSCN1476.JPG
    DSCN1476.JPG
    3.1 MB · Views: 165
  • DSCN1477.JPG
    DSCN1477.JPG
    3 MB · Views: 168
With it in a single lump, I measured the volume of the combustion chamber, and calculate an 8.5:1 Compression ratio...which was close to where I wanted to be
 

Attachments

  • DSCN1475.JPG
    DSCN1475.JPG
    2.9 MB · Views: 158
  • DSCN1503.JPG
    DSCN1503.JPG
    3 MB · Views: 164
  • DSCN1504.JPG
    DSCN1504.JPG
    3 MB · Views: 147
So the Magneto was in a very sorry state. In 1984 it had given me a lot of issues, but i didnt realize at the time how shot it was inside. The Pickup brush had snapped off, the pickup ring was heavily pitted, the bearings and roses were buggered, and the capacitor was shot...All in all, it should never have kept going, but the little guy had plugged along faithfully. So, New Ring, Pickup and Capacitor from BrightSpark. A couple of helicoil inserts, and I turned up a brand new end-cap.
 

Attachments

  • DSCN1505.JPG
    DSCN1505.JPG
    3 MB · Views: 150
  • DSCN1508.JPG
    DSCN1508.JPG
    3.1 MB · Views: 152
  • DSCN1512.JPG
    DSCN1512.JPG
    3 MB · Views: 149
  • DSCN1520.JPG
    DSCN1520.JPG
    3 MB · Views: 162
  • DSCN1522.JPG
    DSCN1522.JPG
    3 MB · Views: 146
  • DSCN1525.JPG
    DSCN1525.JPG
    3.1 MB · Views: 143
  • DSCN1526.JPG
    DSCN1526.JPG
    3.1 MB · Views: 149
  • DSCN1537.JPG
    DSCN1537.JPG
    3.1 MB · Views: 148
  • DSCN1543.JPG
    DSCN1543.JPG
    3.1 MB · Views: 155
  • DSCN1552.JPG
    DSCN1552.JPG
    3.1 MB · Views: 152
With a frame back from the Powder shop, I had to install new bushes in the swinging arm. Once you have pressed them in, you need to use an adjustable reamer to open them out so the new trunion is a snug fit.
 

Attachments

  • DSCN1582.JPG
    DSCN1582.JPG
    3 MB · Views: 158
  • DSCN1583.JPG
    DSCN1583.JPG
    3 MB · Views: 142
  • DSCN1584.JPG
    DSCN1584.JPG
    3 MB · Views: 145
  • DSCN1585.JPG
    DSCN1585.JPG
    3.1 MB · Views: 158
  • DSCN1591.JPG
    DSCN1591.JPG
    3.1 MB · Views: 156
  • DSCN1594.JPG
    DSCN1594.JPG
    3 MB · Views: 145
  • DSCN1596.JPG
    DSCN1596.JPG
    3.2 MB · Views: 143
  • DSCN1598.JPG
    DSCN1598.JPG
    3 MB · Views: 145
  • DSCN1599.JPG
    DSCN1599.JPG
    3.2 MB · Views: 146
The gearbox was in pretty good condition, so just a case of cleaning it out, and reassembling
 

Attachments

  • DSCN1601.JPG
    DSCN1601.JPG
    3.1 MB · Views: 147
  • DSCN1602.JPG
    DSCN1602.JPG
    3.1 MB · Views: 149
  • DSCN1606.JPG
    DSCN1606.JPG
    3 MB · Views: 148
  • DSCN1607.JPG
    DSCN1607.JPG
    3 MB · Views: 148
Then the Engine and Gearbox started to come back together, A few threads needed sorting out, and it was time to sparkle things up a bit...
 

Attachments

  • DSCN1608.JPG
    DSCN1608.JPG
    3 MB · Views: 146
  • DSCN1612.JPG
    DSCN1612.JPG
    3.2 MB · Views: 143
  • DSCN1616.JPG
    DSCN1616.JPG
    3.1 MB · Views: 145
  • DSCN1617.JPG
    DSCN1617.JPG
    3 MB · Views: 143
  • DSCN1619.JPG
    DSCN1619.JPG
    3 MB · Views: 145
  • DSCN1620.JPG
    DSCN1620.JPG
    3.1 MB · Views: 147
  • DSCN1624.JPG
    DSCN1624.JPG
    3 MB · Views: 149
The Clutch is always a paiin to assemble on these bikes...but I used to do it so often that I could still do it in my sleep!
 

Attachments

  • DSCN1622.JPG
    DSCN1622.JPG
    3 MB · Views: 144
  • DSCN1635.JPG
    DSCN1635.JPG
    3 MB · Views: 144
  • DSCN1636.JPG
    DSCN1636.JPG
    3 MB · Views: 145
  • DSCN1646.JPG
    DSCN1646.JPG
    3.1 MB · Views: 146
  • DSCN1655.JPG
    DSCN1655.JPG
    3 MB · Views: 145
The fork sliders got a quick coat of paint. i bought some new stanchions.
 

Attachments

  • DSCN1658.JPG
    DSCN1658.JPG
    2.9 MB · Views: 142
  • DSCN1660.JPG
    DSCN1660.JPG
    3 MB · Views: 145
  • DSCN1661.JPG
    DSCN1661.JPG
    3.1 MB · Views: 143
  • DSCN1685.JPG
    DSCN1685.JPG
    3 MB · Views: 149
  • DSCN1703.JPG
    DSCN1703.JPG
    3 MB · Views: 148
Last edited:
Next up was a rebuild of the Speedo and Tach. I had never taken one of these apart before. Not to complicated, but working with small bits. i had to make up a TINY bronze bearing, and roll a new bezel on. All good fun
 

Attachments

  • DSCN1664.JPG
    DSCN1664.JPG
    3 MB · Views: 146
  • DSCN1665.JPG
    DSCN1665.JPG
    3.1 MB · Views: 142
  • DSCN1667.JPG
    DSCN1667.JPG
    3.1 MB · Views: 146
  • DSCN1672.JPG
    DSCN1672.JPG
    3.1 MB · Views: 153
  • DSCN1678.JPG
    DSCN1678.JPG
    3.3 MB · Views: 156
  • IMG_0333.JPG
    IMG_0333.JPG
    935 KB · Views: 151
  • DSCN1687.JPG
    DSCN1687.JPG
    3.1 MB · Views: 144
  • DSCN1695.JPG
    DSCN1695.JPG
    3 MB · Views: 147
  • IMG_0335.JPG
    IMG_0335.JPG
    2 MB · Views: 153
  • IMG_0336.JPG
    IMG_0336.JPG
    2.1 MB · Views: 183
Back
Top Bottom