I'm thinking about relocating my ignition to clean up the font end, but I hate to lose the neck lock and I don't really know where to put it.
We noticed you are blocking ads. DO THE TON only works with community supporters. Most are active members of the site with small businesses. Please consider disabling your ad blocking tool and checking out the businesses that help keep our site up and free.
You are using an out of date browser. It may not display this or other websites correctly.
You should upgrade or use an alternative browser.
You should upgrade or use an alternative browser.
78 kz400 cafe build
- Thread starter MILLENNIUM FALCON
- Start date
platkeyboy
Been Around the Block
I used to believe in neck locks, until I realized how easy they are to break. Check this out: Dude stealing my motorcycle PART 1
As far as the relocation is concerned, there are a few different options. You honestly could hide a small toggle and push button somewhere (that only you know about) and nix the stock cylinder entirely. I have had a few things stolen over the years, and I've learned that the best security is to park in highly public areas, and to always have it stored inside overnight.
If you're thinking "Well I would have to at LEAST use a KEY," I would say that if someone wants to steal your motorcycle, they'll find a way to steal it...when it is left unwatched (by you or the public). A keyed ignition and neck lock don't do a lot of good if you park it in an area where two guys can pick it up and set it in the back of a truck without anyone noticing. Sorry to be such a downer, but people are evil sometimes.
Yeah people suck! Good point though. Is there much to wiring a toggle switch in place of a key lock. This bike is will be kick only.
platkeyboy
Been Around the Block
No, it really shouldn't be complex. I don't know if there are any exceptional issues with the ignition setup on your bike, but you could basically find the wire going from the key cylinder to the ignition, put that on one side of the switch, and simply run a 12V wire straight from your fusebox (or if you're not running one, use a fuse-able link), and connect it to the other side of the switch.
If you want the lights on the same switch as the ignition, make sure to buy a switch that can handle a higher amperage,
OR you can use a tiny inconspicuous switch and use a relay instead. This would be the "better safe than sorry" route, because it relieves the switch of the duty of carrying all of the amperage that your components will be using. Just buy a standard 5-pole relay at the local parts store. In this case, you would have a thin 12V wire feeding your tiny toggle switch, and the other side of the switch would feed pole "86" of the relay whenever you flip it. Pole "85" would be grounded to the chassis or the negative battery terminal, pole "30" would be a thicker 12V supply from the battery (this one should be fused to handle both the ignition and lights), pole "87" will feed your lights AND ignition, and pole "87A" will be left unused.
I know I have the relay part right, but if anyone has any other direction they would go with the whole thing, feel free to critique my ideas.
Thanks for all the info. I think I will be going that route. It shouldn't be a big deal. It will eliminate a lot of unused wires too. I might be asking you some more questions once I start my wiring.
platkeyboy said:No, it really shouldn't be complex. I don't know if there are any exceptional issues with the ignition setup on your bike, but you could basically find the wire going from the key cylinder to the ignition, put that on one side of the switch, and simply run a 12V wire straight from your fusebox (or if you're not running one, use a fuse-able link), and connect it to the other side of the switch.
If you want the lights on the same switch as the ignition, make sure to buy a switch that can handle a higher amperage,
OR you can use a tiny inconspicuous switch and use a relay instead. This would be the "better safe than sorry" route, because it relieves the switch of the duty of carrying all of the amperage that your components will be using. Just buy a standard 5-pole relay at the local parts store. In this case, you would have a thin 12V wire feeding your tiny toggle switch, and the other side of the switch would feed pole "86" of the relay whenever you flip it. Pole "85" would be grounded to the chassis or the negative battery terminal, pole "30" would be a thicker 12V supply from the battery (this one should be fused to handle both the ignition and lights), pole "87" will feed your lights AND ignition, and pole "87A" will be left unused.
I know I have the relay part right, but if anyone has any other direction they would go with the whole thing, feel free to critique my ideas.
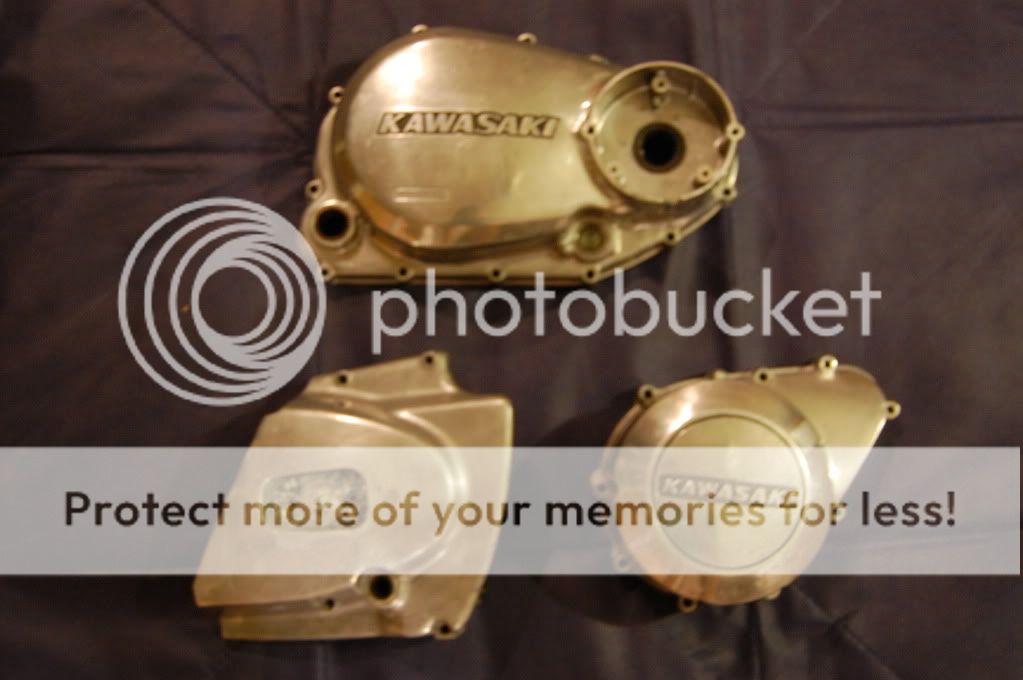
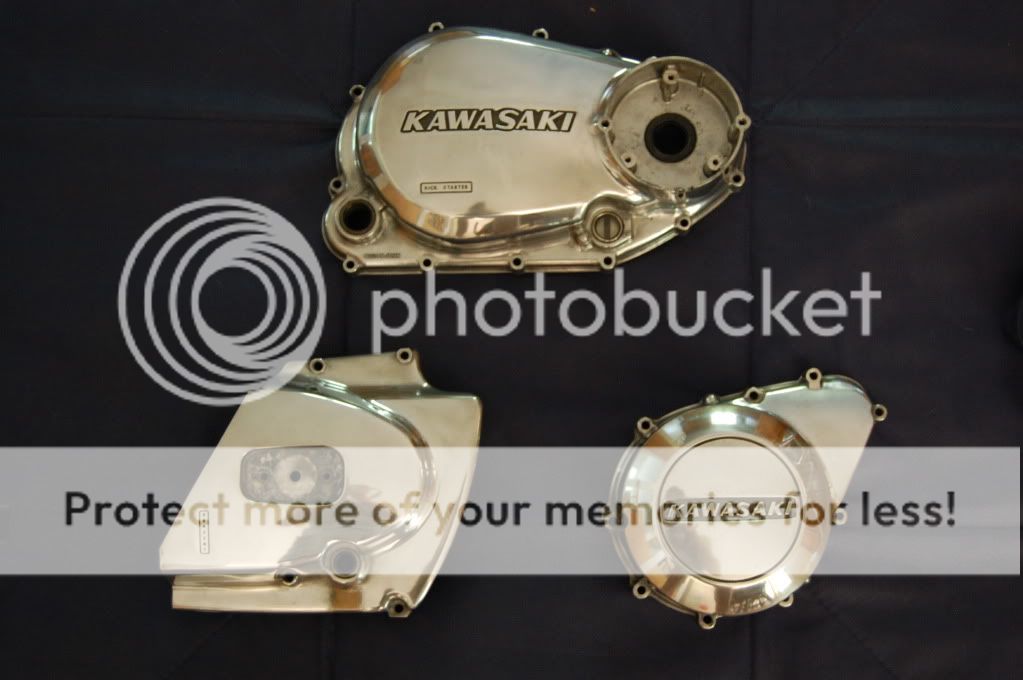
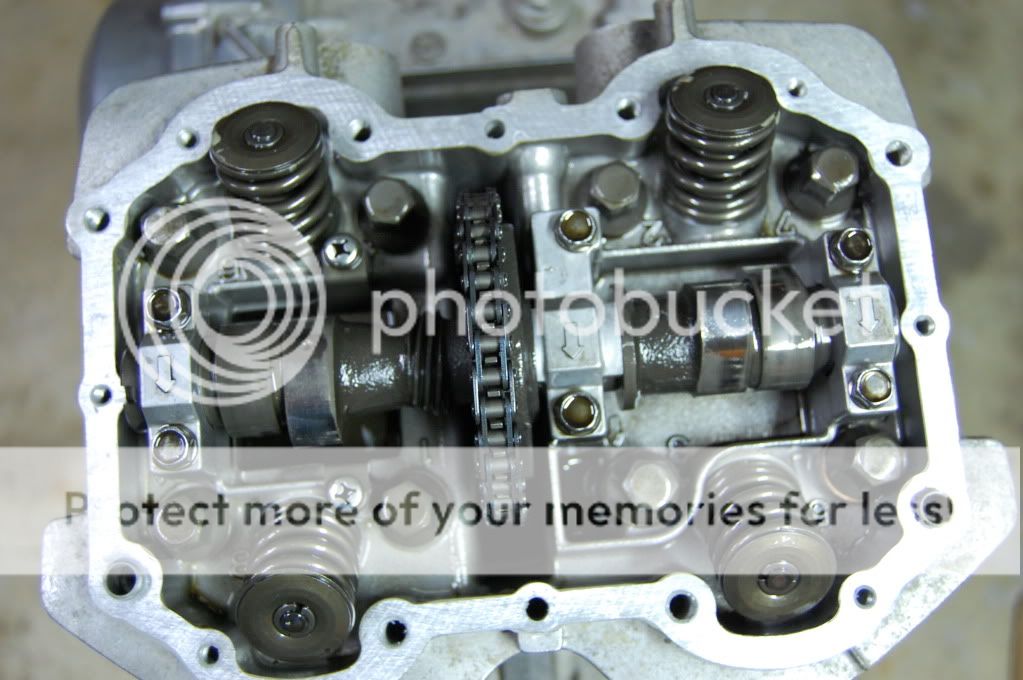
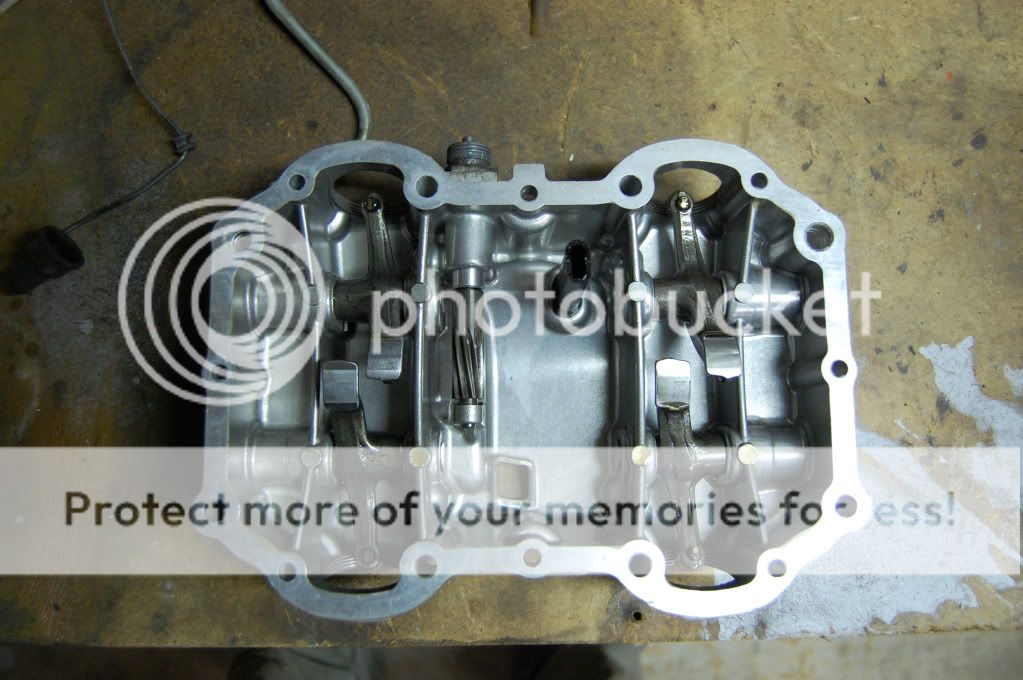
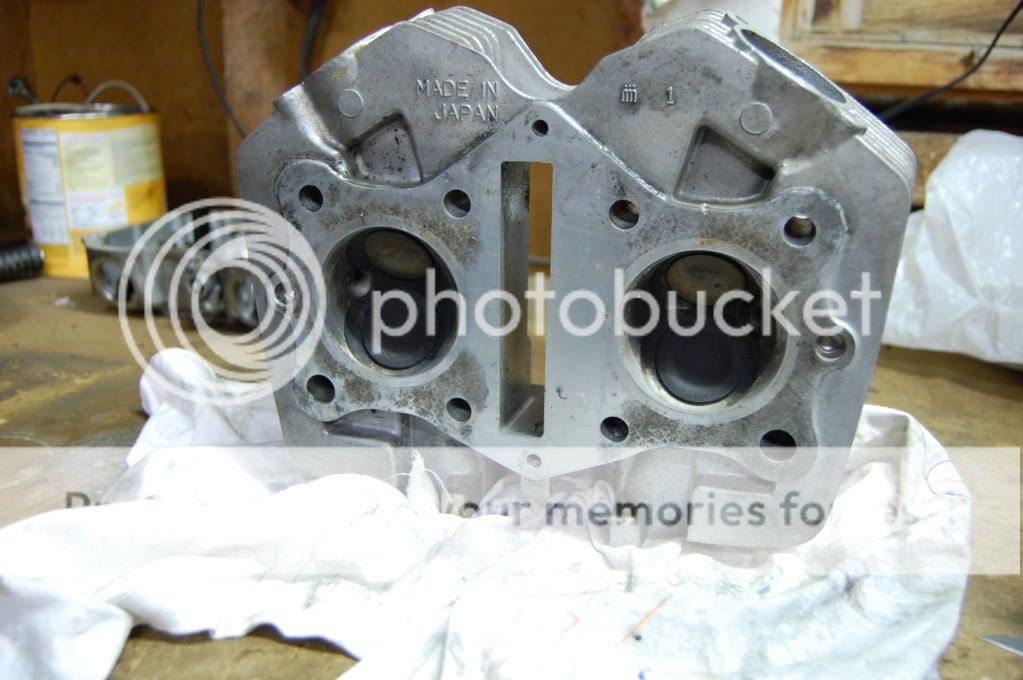
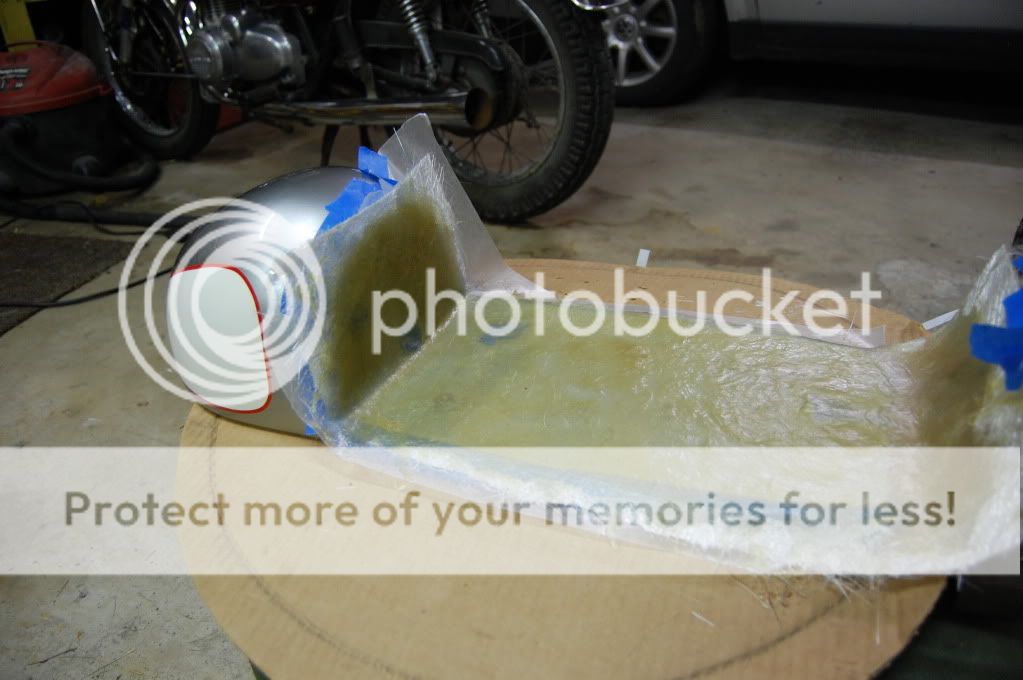
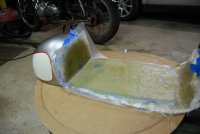
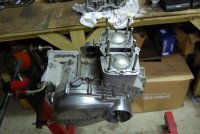
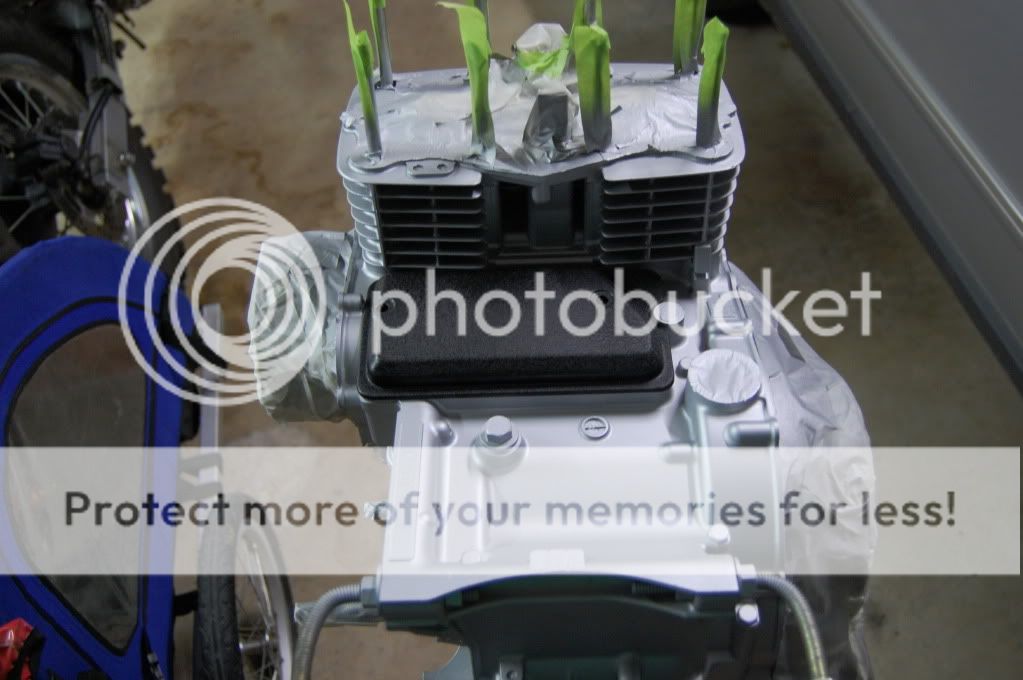
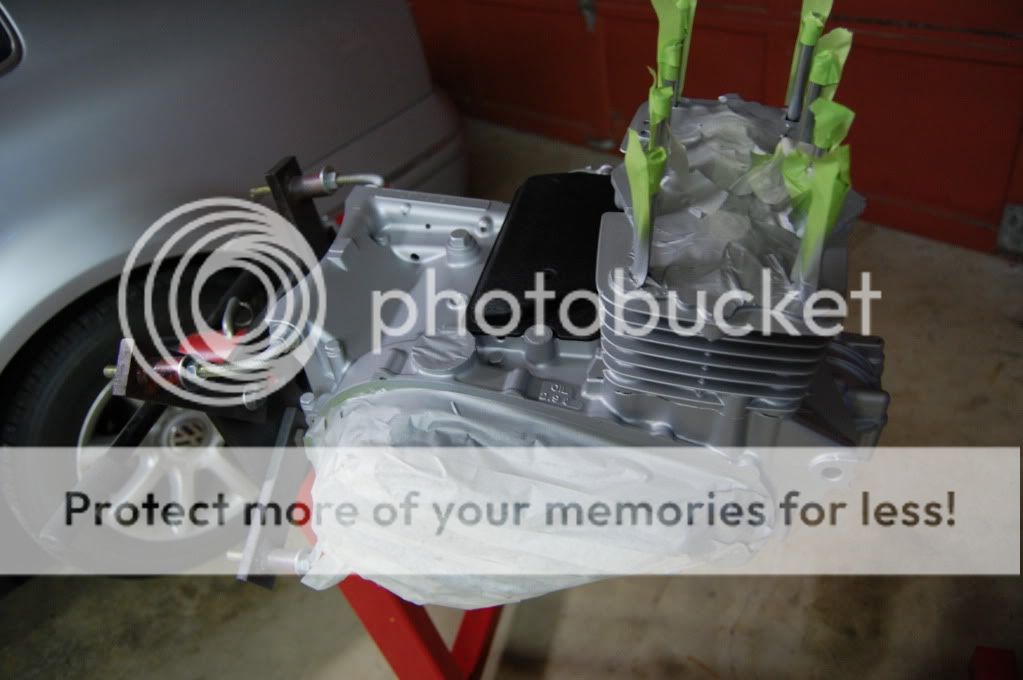
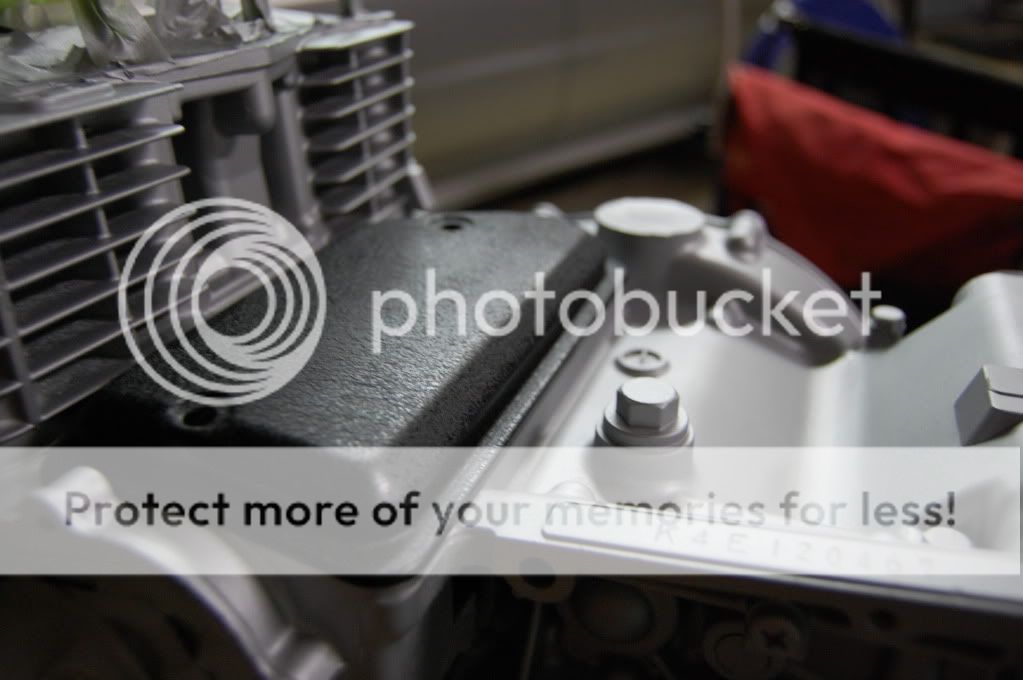
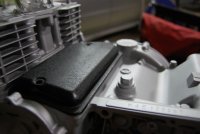
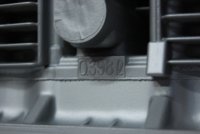
Tonight I finally started to work on my engine. I don't think it needs anything major. It just needs a few oil leaks fixed and some paint and polish. I cleaned it and started to disassemble things. So far everything looks clean and new. I hope to get her back together and in the frame asap. I also got my seat ready for leather. I had to notch out and epoxy some SS nut for the mounting bolt before the padding goes on.

Attachments
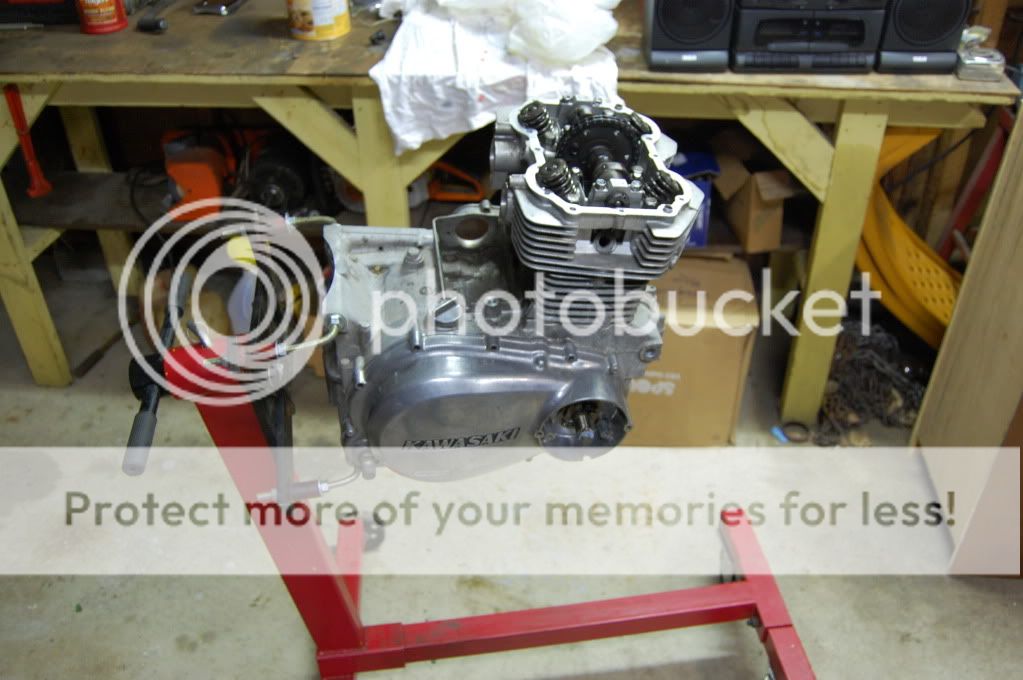
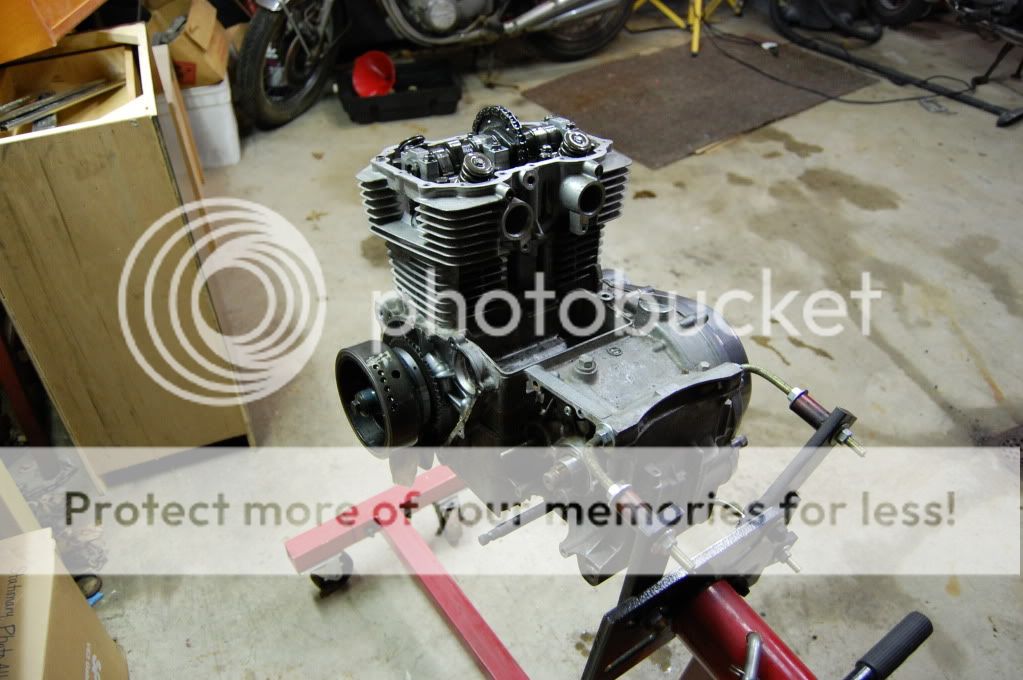
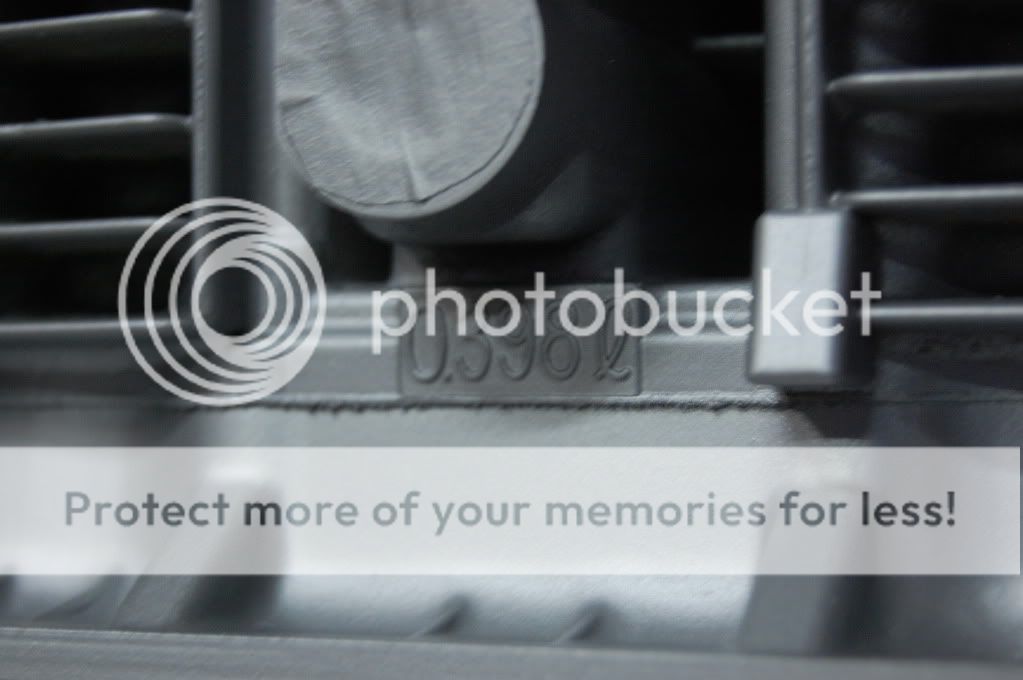
I will be pulling the head tonight (with pictures) after reasembly I plan on using vht cast aluminum paint for the block, vht wrinkle for the cylinder and polishing the valve cover and side covers. I am working on a fiberglass seat pan tonight as well.

jeffreyhardy
Jeffrey
looks great for the age! what are your plans as far as cleaning up the internals? wire brush/wheel the valves and pistons? I ask because I am pulling the head on my bike next week.
Thats my current issue. I def. wouldnt use a wire wheel on the valves are seats. It would scratch the mating surfaces. I will prob. let them soak in some cleaner than take a tooth brush to em' They really aren't bad. I will post some pics later today. I will be lapping the valves tonight.
S
sovern
Guest
Such an inspiration.
ariel.714 o/c
Monkey see monkey do is all i see now days!
Dude loving the craftmanship i own the same year bike. I like how you used a sk8 helmet as a seat bumb great idea.
just dropping a message so i can keep track of the build cheers.
just dropping a message so i can keep track of the build cheers.
valvesprung
Over 1,000 Posts
Loving it man
Thanks! I looked everywhere for somthing to give me the shape I wanted for a seat. Then I saw that helmet. $7 at target. It was a pink princess helmet. I built that seat about a year before I started my bike build so the seat sat on a shelf in my basement. Every single person that saw it had questions. "what is that?" "What is a cafe Racer?" "That hat has a big ass brim?" I finaly put it where people couldnt see it.
stript.714 o/c said:Dude loving the craftmanship i own the same year bike. I like how you used a sk8 helmet as a seat bumb great idea.
just dropping a message so i can keep track of the build cheers.
reelinfeele
Been Around the Block
Looking good bro. I saw your post on the 26mm carbs. My past experience with different carb sizes is not good. You will end up trying to jet for less air and have no power. not worth the hassle, IMO. 32 to 26 is almost 20% drop in airflow. It will run, but your buddy on the ouch will be blowing your doors off.
Thanks for the heads up. That
s why I asked. What carbs are you running? What do most people run on Kz400's for performance?
s why I asked. What carbs are you running? What do most people run on Kz400's for performance?
reelinfeele said:Looking good bro. I saw your post on the 26mm carbs. My past experience with different carb sizes is not good. You will end up trying to jet for less air and have no power. not worth the hassle, IMO. 32 to 26 is almost 20% drop in airflow. It will run, but your buddy on the ouch will be blowing your doors off.
reelinfeele
Been Around the Block
i am running the stock 32cv's. with pods. 80 primary's and 105 mains. stock exhaust, runs great. mine is a 77 with rubber dia. should be the same as yours. my kz1000 taught me the different carb size lesson. I went from 29's to 34's. took a year to get it close and it still ran better with the stock carbs.
ariel.714 o/c
Monkey see monkey do is all i see now days!
HAAAAH that Is to funny. i get that all the time what is a cafe racer . Great idea on the bump i see all types of crafty things being used for the bump butt i think this is my favorite yet! Yo your bike build should be called the pink princessMILLENNIUM FALCON said:Thanks! I looked everywhere for somthing to give me the shape I wanted for a seat. Then I saw that helmet. $7 at target. It was a pink princess helmet. I built that seat about a year before I started my bike build so the seat sat on a shelf in my basement. Every single person that saw it had questions. "what is that?" "What is a cafe Racer?" "That hat has a big ass brim?" I finaly put it where people couldnt see it.
 hah J/K.
Later Dude