
dean owens
Pittsboro, NC
wow. i have missed this build. just went through all 19 pages. great work so far. wish i had half those skills. i'll be keeping an eye on this build. thanks for sharing.
scarlson06 said:Your build is definitely a favorite of mine, makes me want to go back to school for engineering, or have access to the kind of resources you do...well, both.
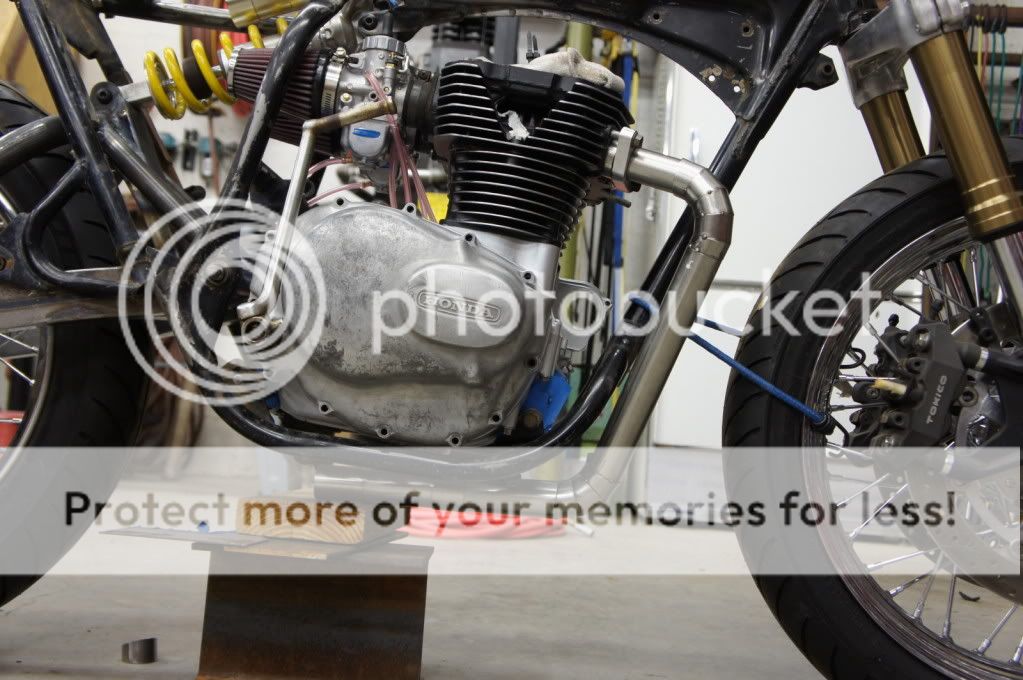
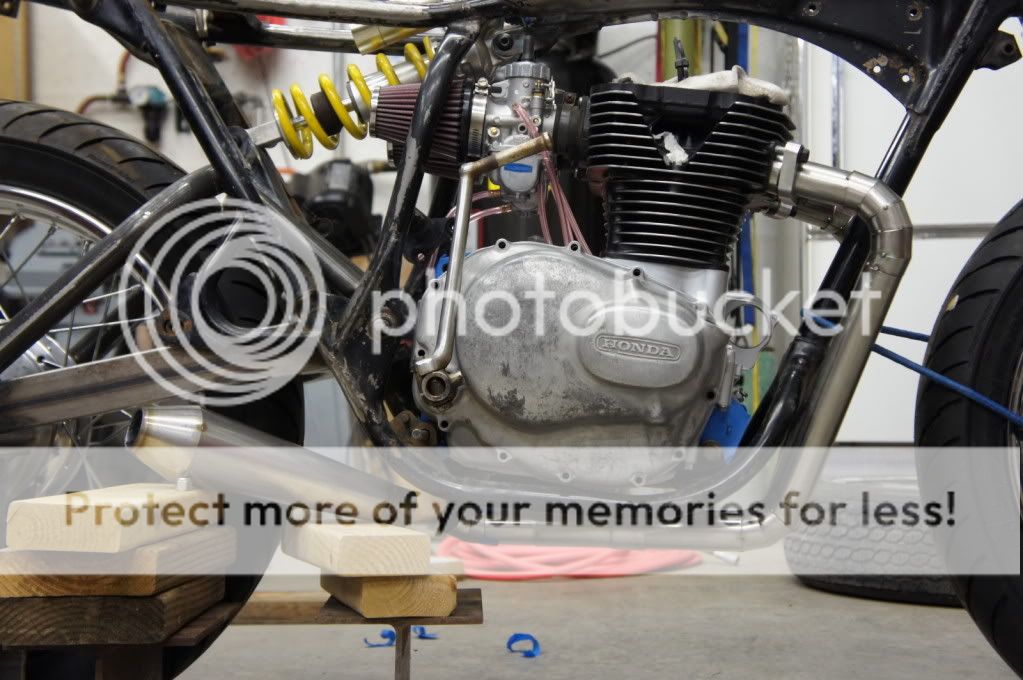
scarlson06 said:To me the proximity of the filters to the shock is a bit cluttered. Maybe use a fitting to point the pods down at the same angle as the shock? I'm not sure that that would help considering how close the pods are to the frame on either side / the size of the pods.
cleoncleon said:Haha, man this Scoot looks good.
dean owens said:wow. i have missed this build. just went through all 19 pages. great work so far. wish i had half those skills. i'll be keeping an eye on this build. thanks for sharing.
")
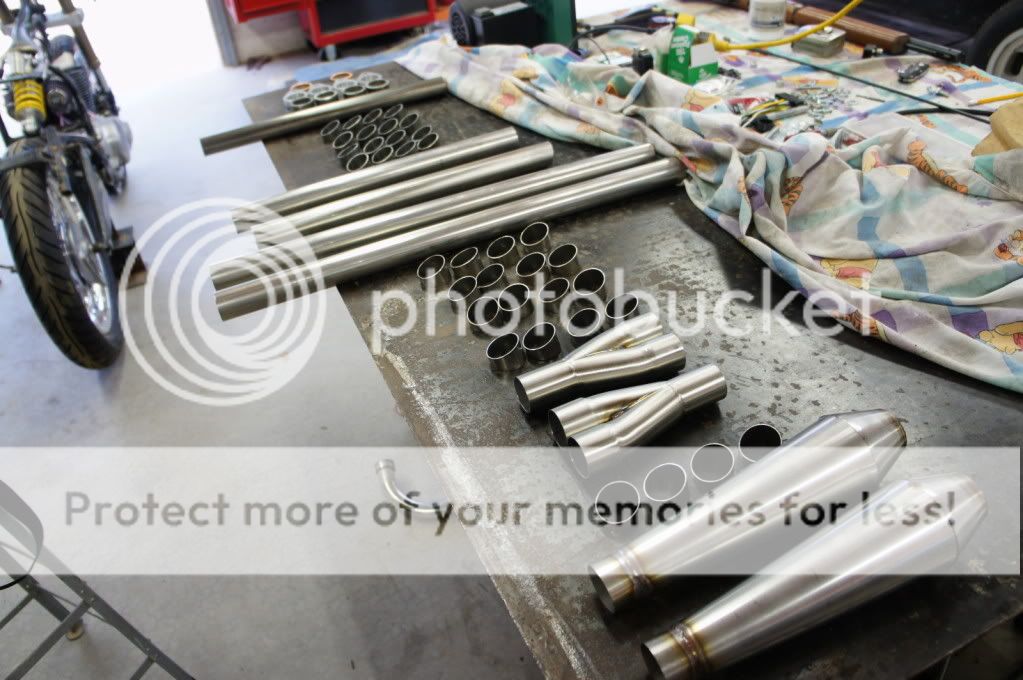

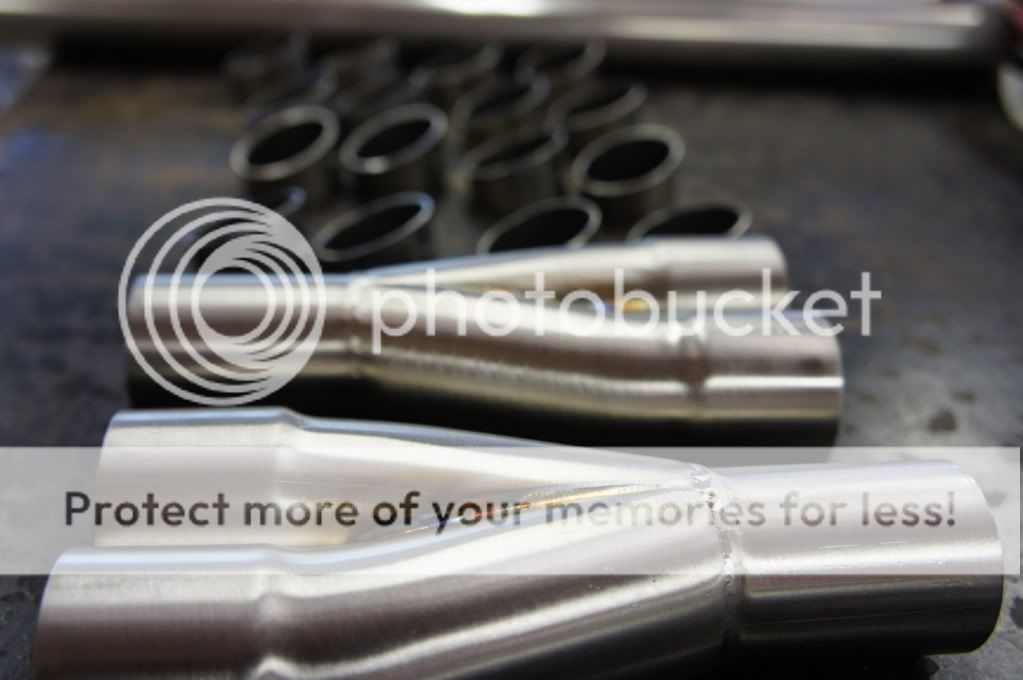

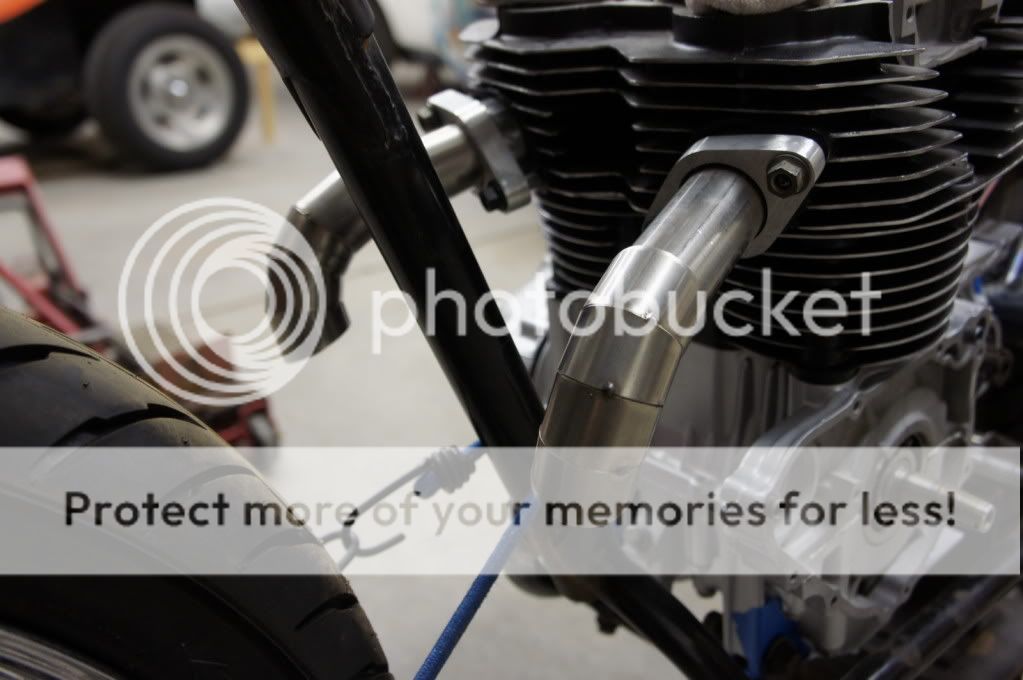
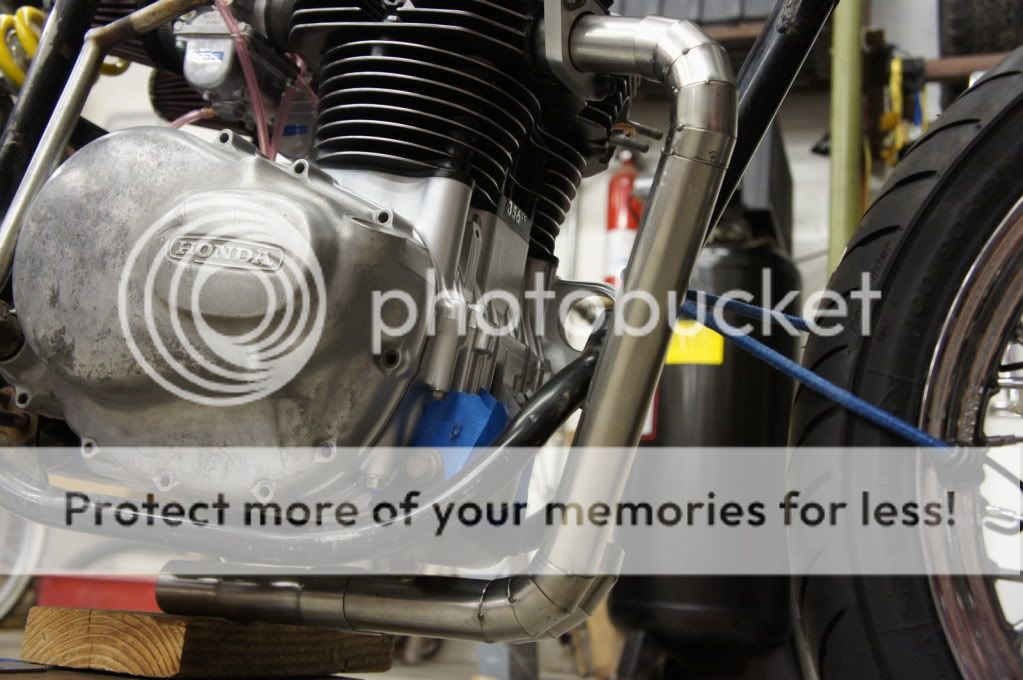
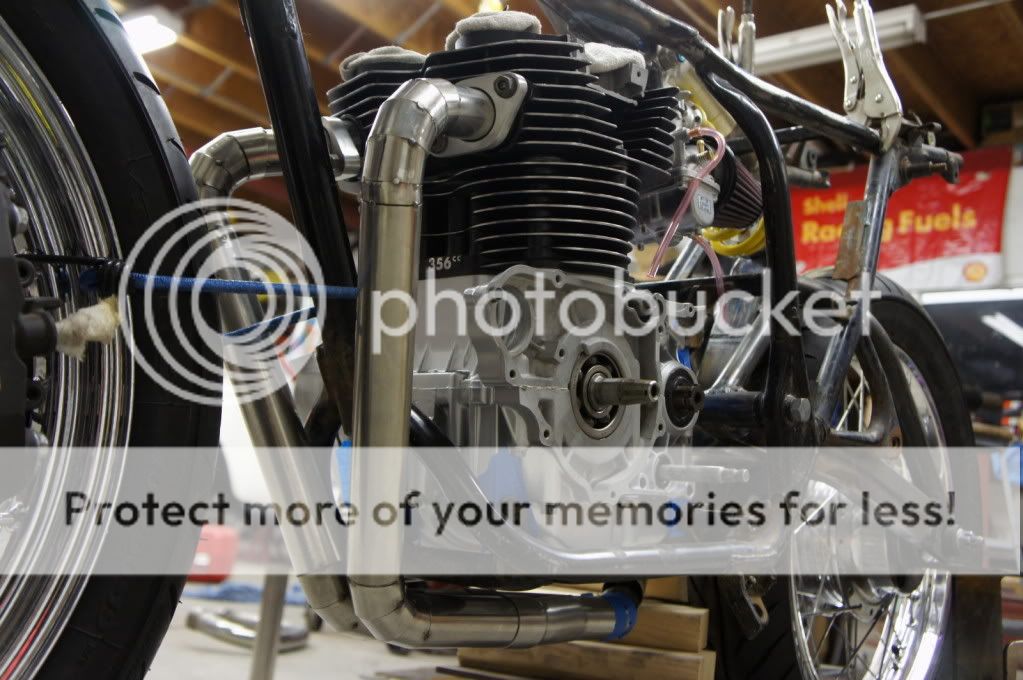
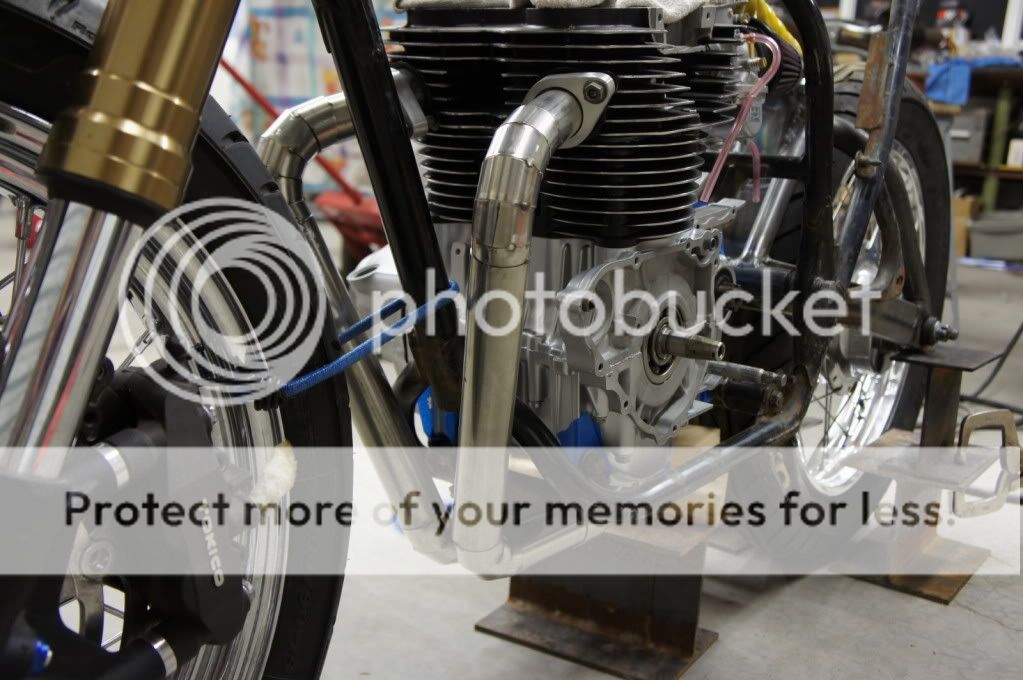
neeko1979 said:Did you make the 2-1 connectors yourself?
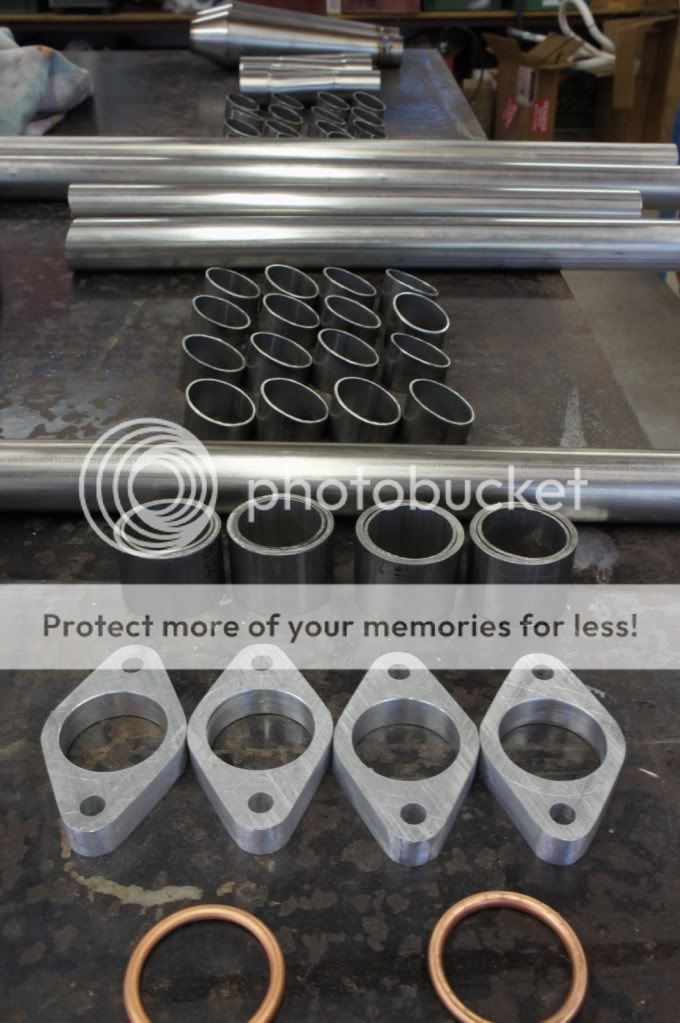
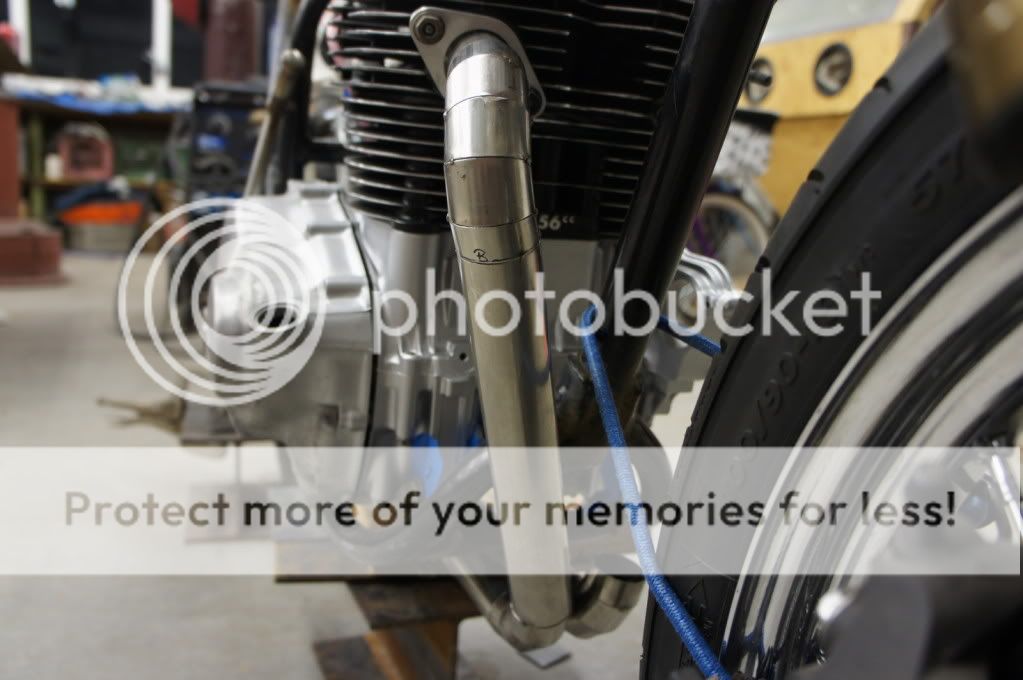
ffjmoore said:What are you using to calculate and cut all your pieces?
 What do you think? I figured that would be a good spot to mount it from, unless you are planning to chop that off of your frame as well. Since this will be yours, please give me your opinions!
The Red Wonder said:No, I am not. I was putting it on there so that yours would have a place to mount


