Follow along with the video below to see how to install our site as a web app on your home screen.
Note: This feature currently requires accessing the site using the built-in Safari browser.
We noticed you are blocking ads. DO THE TON only works with community supporters. Most are active members of the site with small businesses. Please consider disabling your ad blocking tool and checking out the businesses that help keep our site up and free.
You might be surprised. The seals that often cause problems are the two in the middle of the crank. The crank has to be split and rebuilt to replace those. Bill Bune in MN is a good place to send it for that work. Depending on budget, you could either send the crank out, or replace the two outer seals, build the motor and test for leaks using the old 6psi for 6 minutes approach.
Teazer: yes I have thought about them seals, but I was really hoping not to break the crank apart.
I ran this bike all last summer without any problems so i'm gonna give it a shot, without changing the crank seals.
all the others are being changed tho.
i've done crank jobs on two strokes a couple of times before and it sucks, (used to work at a motorcycle garage and had all the tools in the world at hand) and to send this job away here in Norway is not affordable.
Actually i was not planning to take engine apart at all since it worked so great, but then i got this stupid idea of painting it And if the seals sucks after putting it back together it will at least look great
Crossing fingers and dreaming of summer. its -13 ºF here now :'( (my garage is so freakin cold)
If it ran in the summer before it was stripped, it will probably be OK (fingers crossed).
http://www.youtube.com/watch?v=zdq7NRcUIp8 is a good one. I have a Motion Pro leak down tester which is really good, but a touch expensive. In the video, they use hardware store items plus a radiator tester. Don't add too much pressure - 6psi is fine.
Thanks Teazer, I just spoke to my old boss and they have a leaktester that i can barrow. alltough i have to put it back together anyway now so i doesn't reallt matter
BTW: i started polishing fins yeasterday, still waiting on that gasket set before i can start the assembly of the engine. I will post pics when i get a little ahead. IT TAKES TIME!!! :'(
Next up is painting carbs before theyr'e rebuilt. And i will try to get the engine covers polished also during this week.
The cheapest leak tester is a hose from a compression tester. One end screws in to the spark plug hole and the other end connects to an air supply source. Just keep pressure low. Put a plug in the intake port and one in the exhaust and listen for leaks. If air passes straight out of the adjacent cylinder, it's crank seals.
That's a 2 stroke leak tester you are borrowing yes? 4 strokes are tested at 100psi, two strokes at 6psi or whatever that works out to in Bar or metric units.
I'd think twice about painting carbs. Fuels with ethanol tend to strip paint. Not sure if that's a problem in your part of the world but in the US, fuel is closer to chemical soup that gasoline.
I'll have to check again if its a two stroke tester... it would be devastating to hook on the wrong one. ???
About the carbs, we got some paint at work that is made for brake calipers. it's supposed to withstand brake fluid and gasoline. i did my engine with this as well. Hopefully it lives up to what the label says.
Back to polishing fins... more pics of the disaster to come
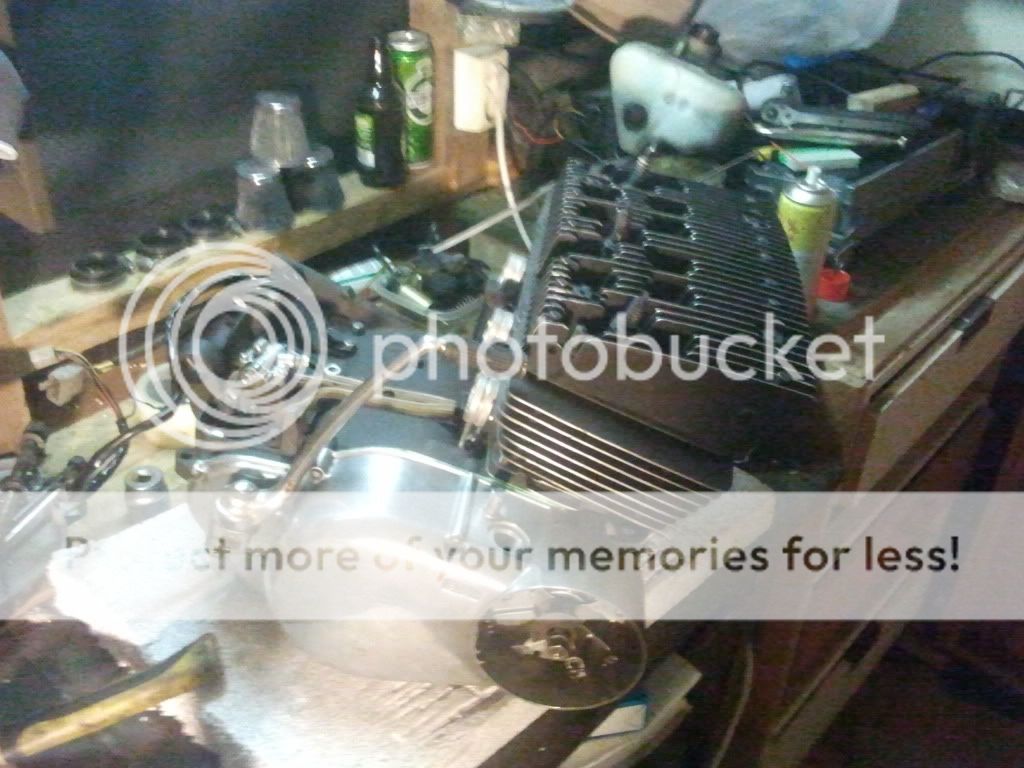
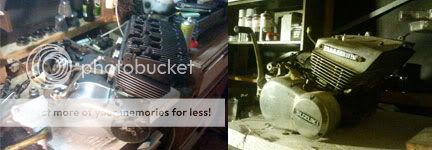
I've done some more work to the engine and started reassembly..
BUT by Murphy's law i put the crankcase halves together missing one guide pin.. This i discovered when i found one pin lying on the floor. must have fallen out at one point.
anyone knows if there would be trouble without this pin? There should be two guide pins on the crank halves but now there is only one and the engine block is all bolted back together. every moving part is running free... If anyone here could tell me i don't have to worry i would appreciate it I DON'T want to take this thing apart again.
New pics of the assembly will come shortly.
UPDATE: Just got confermed from an expert that the guide pin does NOT do anything else than what i says in the name "guide" you to get the crankhalves straight. PHEW.
Ever heard of myrphys law? guess what happened last night,... i was out there and thought i'd check over my engine after i put it back together and would you know the fu.... would not shift gears. i had to take the whole reassembled engine back down to pieces. found NOTHING wrong. and now it shifts gears. guess something had to much tension or something. . i think i cried in my sleep.
Just read through the whole thread. Some great work in here. Those rear-sets look good, but nothing compared to that engine! So clean! Glad I finally found your build thread. I'll be watching.
been a while since any update, but it's only been boring work with the bike lately so i haven't bothered to tell anyone
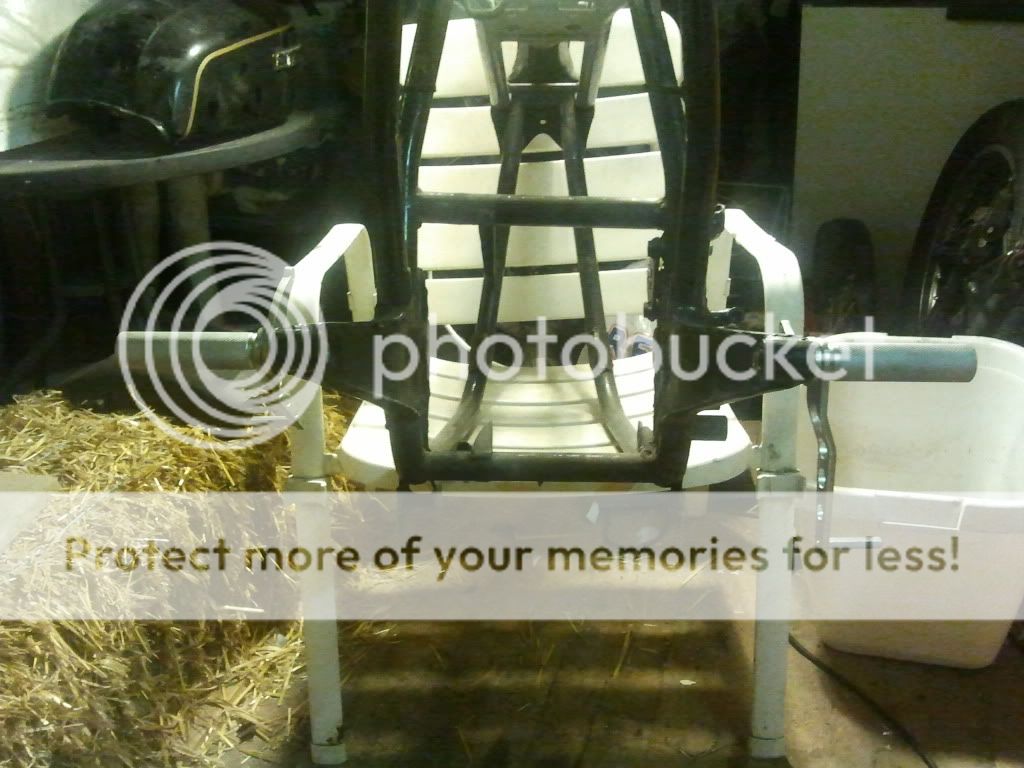
but some of the work the last days are: mediablasting gastank and carbs(with all mounting parts etc) and painting the carbs black.. pulling the front end apart.. frame has been blasted and primed (gonna pick it up by the end of the week) i'll post some pics.. they say more than i capable of writing right now
oh, and i have started to prime and sand the seat.. but had to order more filler...
This site uses cookies to help personalise content, tailor your experience and to keep you logged in if you register.
By continuing to use this site, you are consenting to our use of cookies.

I would never bother to put it back together with old seals.