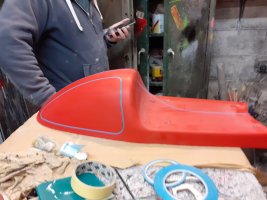
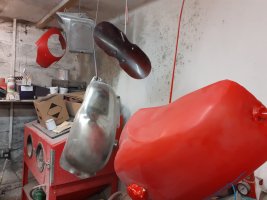
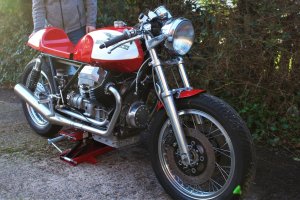
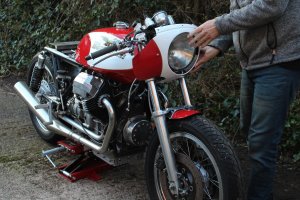
CarbsAndCylinders
Careful With That Axe Eugene
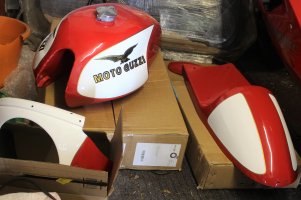
Thanks, I bookmarked the site, pricey but worth it.You can get one just like it, from here... http://tabclassics.com/product-category/tanks/moto-guzzi/
Thanks, I bookmarked the site, pricey but worth it.You can get one just like it, from here... http://tabclassics.com/product-category/tanks/moto-guzzi/
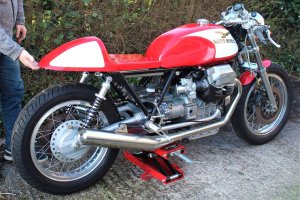
Took me a while, but I just realized what you have here. A couple brothers local to me both have Guzzi Cali's and bring them by my shop now and again to work on stuff. Their Guzzis are some special edition Californias, but light and day different than what you have here- total bagged cruiser bikes. I'm going to have to read through this thread to even understand what is going on. LOL