Follow along with the video below to see how to install our site as a web app on your home screen.
Note: This feature currently requires accessing the site using the built-in Safari browser.
We noticed you are blocking ads. DO THE TON only works with community supporters. Most are active members of the site with small businesses. Please consider disabling your ad blocking tool and checking out the businesses that help keep our site up and free.
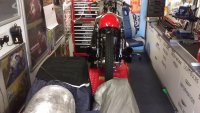
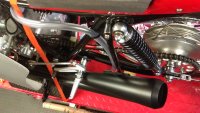
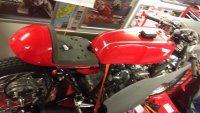
started making up the brackets and fairing fixings so I can get to finish the paintwork on the fairing and get her running good then fit the tub on haha using sprung cotter pins to hold the bracket stays on for quick release once the fairing is sandwiched between an outer and inner plate that will be riveted thru. tried to get me head round the wiring tonight but it ant sinking in ime fraggled ha ??? heres a few more updated pics for ya'll while I gets me a cold beer and colder shower cos its hot damn hot
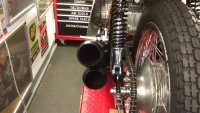
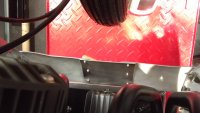
more pics of me slow progress everythings kinda tight bottom end of fairing with exhausts n covers might need to wrap part of exhaust gonna see when its all together
I tell you what mate I don't normally like 4 cylinder bikes but this one is wicked. Everything is just spot on You better get a trip to next years IOM booked up and take that beast over there, it would be in it's element!
loving the attention to detail on this project.
Sorry to hear about the powder coating but as you say, most of it will be hidden by the other bike parts.
was at the manx last year and it is just as good as the TT although a bit more relaxed due to the higher average age of the participants.
Cheers pod mate hoping for this years manx don't mind having a few beers and if I had hair ide let it down ;D but I needs me sleep these days hahaha :-[ might have to warn the neighbours when it comes to fettling engine : Johno if I don't make the manx ile be over next year for certain " ya can't beat two wheeled nostalgia" I miss the sweet smell of two-stroke tho
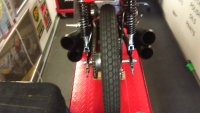
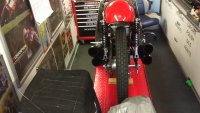
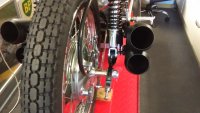
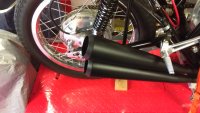
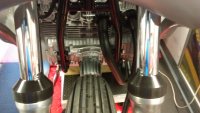
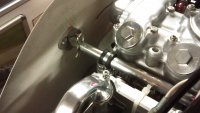
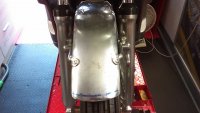
heres a couple more pics of my header pipes don't look too bad to say there made from a 4into 1 set also looks like ime gonna make up a new wiring loom :-\ think it will be easier than choppin up the old one : I aint runnin much electrical stuff ??? also gotta make my gauge holder and top fairing bracket guess the welding gear comin out again
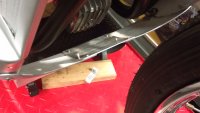
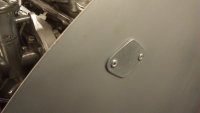
Hi all what a mad couple of weeks since my last update been busy with my daughters graduation from Newcastle University ( 1st class Honours ) she got the brains haha then moving her into her new place in Middlesboro and the missus retired this week from 38years teaching in high school never mind a gold watch she should have got a medal for that Heres a few pics of what little progress ive made got the front fairing panel extended and riveted got it dry fit to check, looks ok will be better once painted with rest of fairing, made up front stays for fairing out of aluminium bar just need to weld em up that's gonna be a first welding that stuff but it will be painted up black along with inside of fairing
ey up mate cant believe where the times gone sure is ticking got to sew the seat cover, finish painting fairing complete electrics so its gonna be a close call fingers crossed might even get a bit of help in to cross the finish line haha still waiting for rev counter to come in too : hopefully completing front fender tonight :-[
Bloody lovely. The 4/4 exhaust rocks, looking forward to hearing it.
Shame those Cowboys messed up the powder coating, at least it's eclipsed by all the rest of the top work.
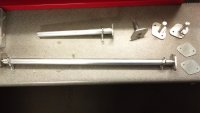
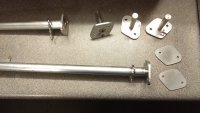
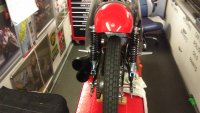
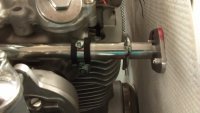
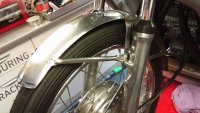
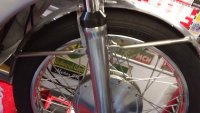
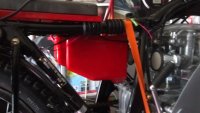
Cheers guys sorry its goin so slow like lots of others lifes been getting in the way :-[ progress slowed so I missed the classic TT at least for the bike, managed to take the wife instead but it aint the same on four wheels rather than two so onto what progress ive made :-\ fitted the electrics got a small tail/brake light & number plate for a daytime MOT fit a horn and electric start, oil n neutral light too they all up n running ;D but I ain't getting spark to my plugs from me coils :-\ wiring isn't my best point haha sure it will be something simple tho? started stitching seat pics to follow made my front fender goin to re-rivet the arms inside the main bracket as ive had to make some plates to attach it to the forks as the fitting holes don't line up soon as its ready gonna spray it up same finish as the fairing heres a couple of pics not much to show
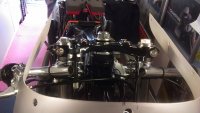
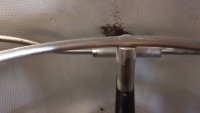
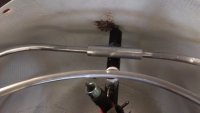
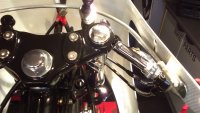
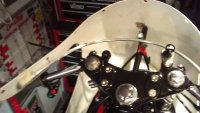
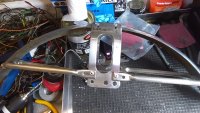
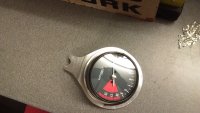
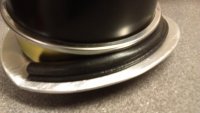
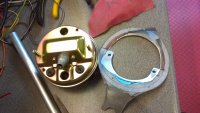
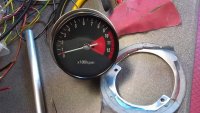
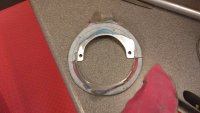
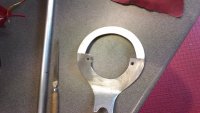
Got my rev counter so made up a gauge mount out of Aluminium used some VW door trim to help dampen any vibrations also waiting for a set of velocity stacks to come in from speedMoto.com found them on here bought a set for my cb350f well worth it 8) 8)
had to buy a new oil pressure switch so I got my oil light working ok
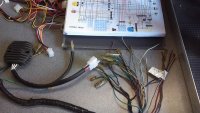
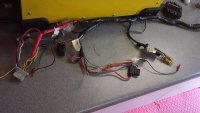
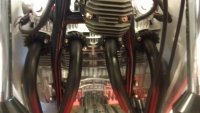
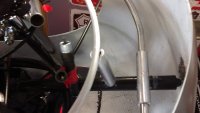
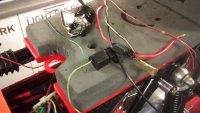
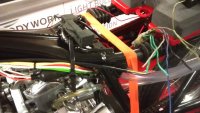
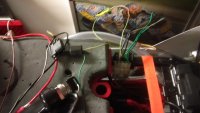
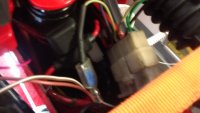
The rev counter bracket will actually weld to front fairing mount when I jump onto welding the aluminium up, ??? heres a couple of pics of my spaghetti of wiring it all fits into the modified airbox envy you guys that get neat electrics at least I can get to fuses haha
This site uses cookies to help personalise content, tailor your experience and to keep you logged in if you register.
By continuing to use this site, you are consenting to our use of cookies.