
I always figure that anything I can make into a how-to/DIY post, I will. Hope this helps someone else out! This same post will be included within my build thread but I felt it worthy to duplicate in this forum as well.
This update walks through the Old School Speed CB360 Rear Set install. What works for me may or may not work for others.
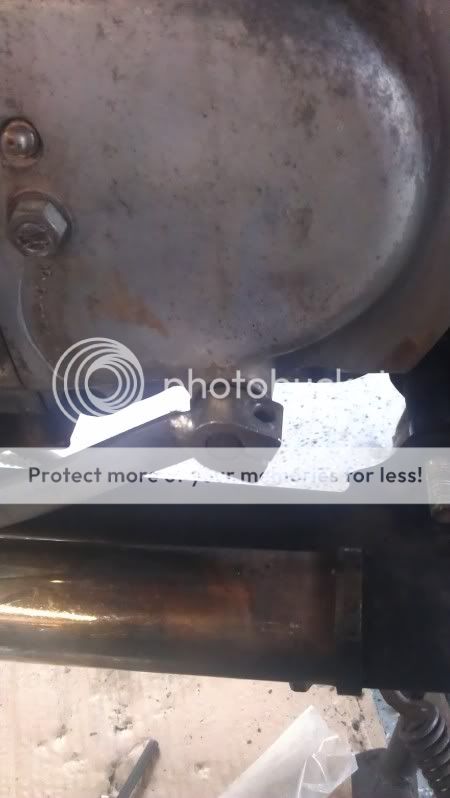
First off, remove the pass footrest from it's mounting point. If you have a '75 or '76 model CB360, there is likely a welded nut on the backside. This needs to be cut off.

Next up, remove the brake light cable, and remove its mounting bracket.
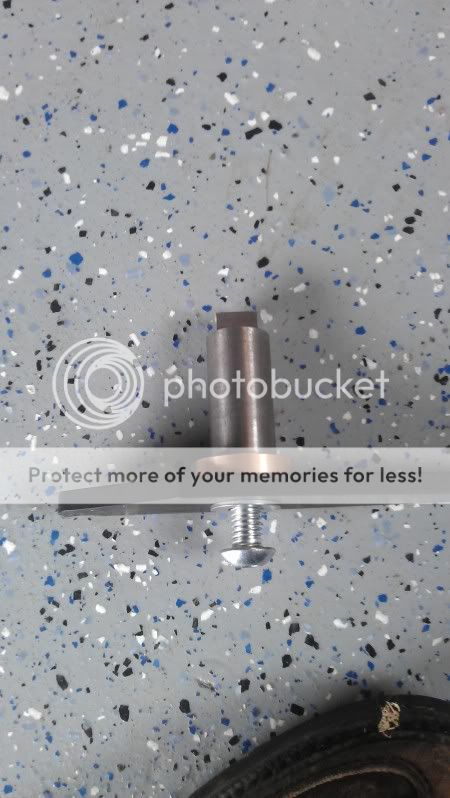
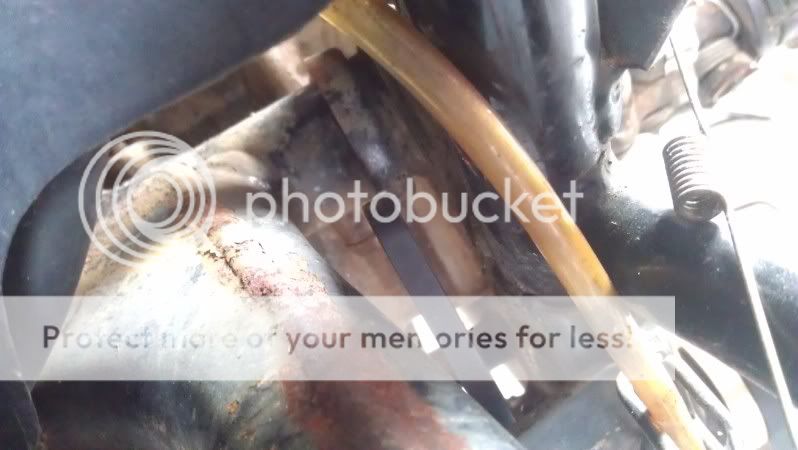
Remove the stock brake pivot tube which runs through the frame. Disengage the brake actuating cable from it's mounting point by removing the small pin that holds it in there. DO NOT LOSE THIS PIN.
Here is the Brake side Rear Set put together:
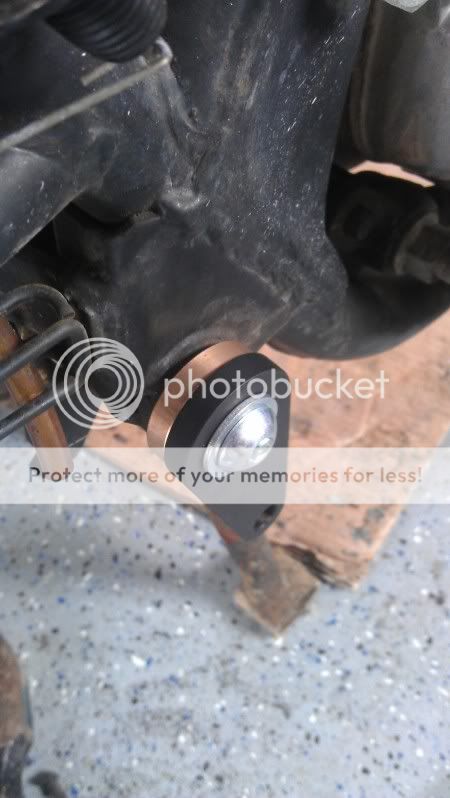
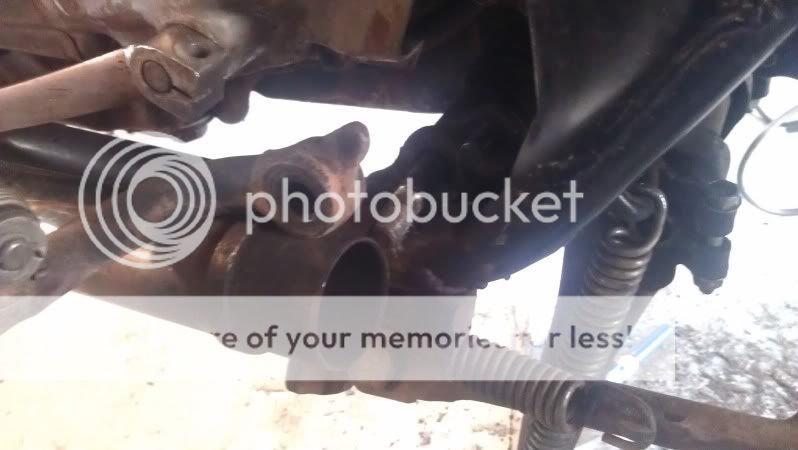
Slide the pivot assembly through hole in the frame like so:
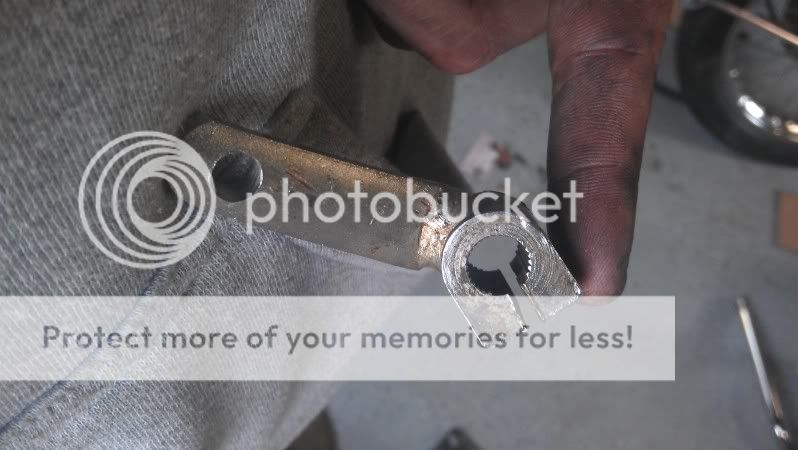
Attach the brake pedal arm:
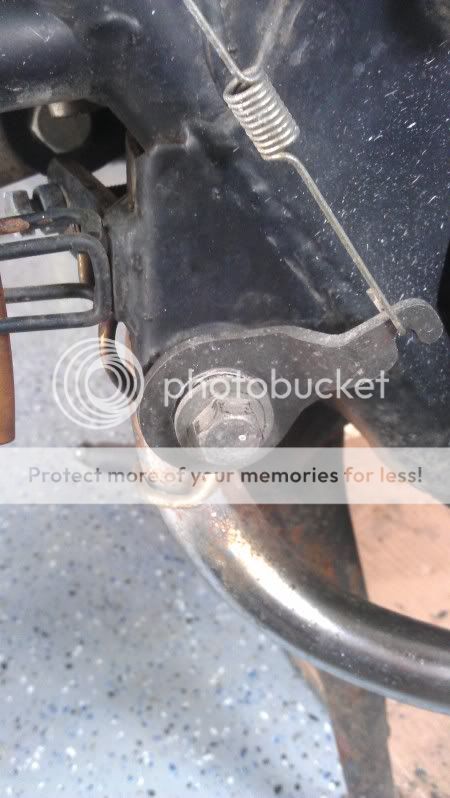
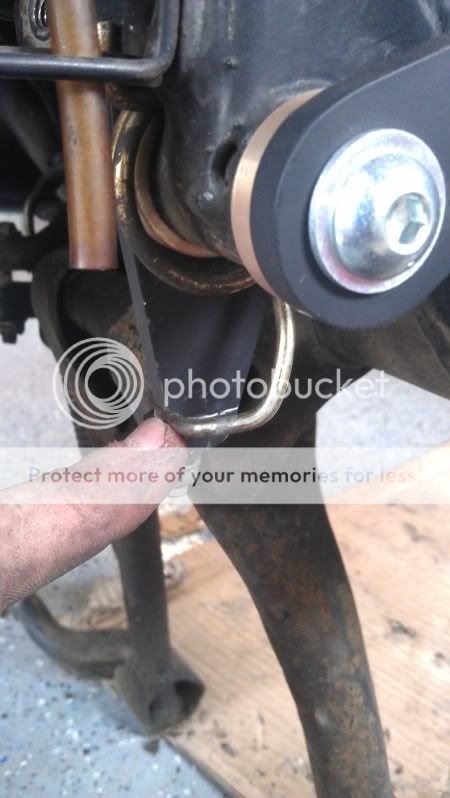
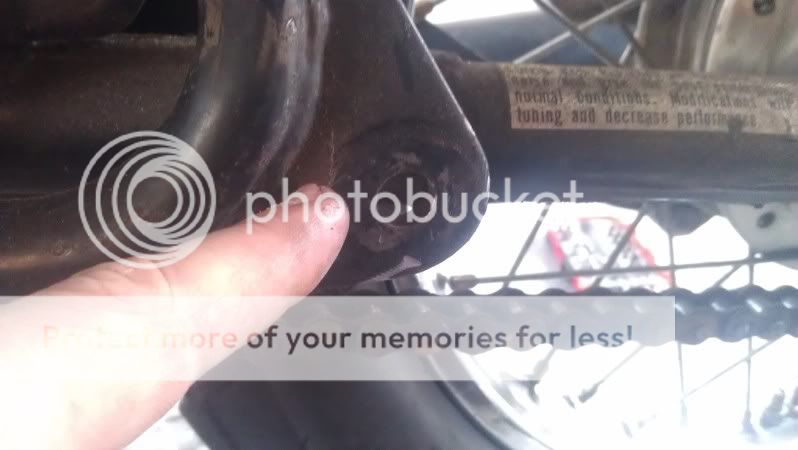
Now, this is the part that got really frustrating. On the CB360 the pivot assembly (on the inside) needs to be in a near vertical position. Because of this it is IMPOSSIBLE to insert that pin that I said not to lose back through the brake actuating cable.
Here is the black pivot arm mounted. You can see the 1/2" clearance on either side simply is not enough room to attach the actuating cable.
You have two ways around this:
1.) Drop the swingarm from the get-go. I didn't want to bother with this but it would give you a lot more access for the install.
2.) Remove the inner black arm on the brake pivot assembly and drop it down. Attach the brake actuating cable and pin to the pivot arm this way. Once that's installed, slide the arm back up to its mounting point and mount it. Insert screw and tighten everything up.
I chose option 2. I really do not know of ANY other alternatives to do this on a complete bike.
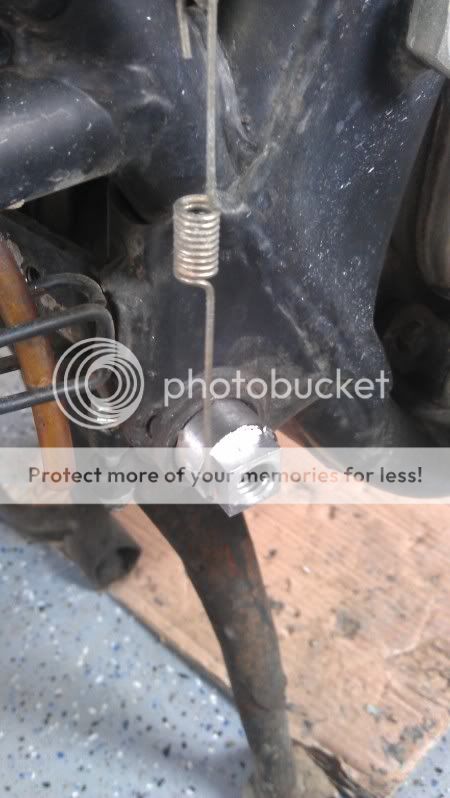
Once the pivot arm and actuating cable are assembled, re-attach the spring like so:
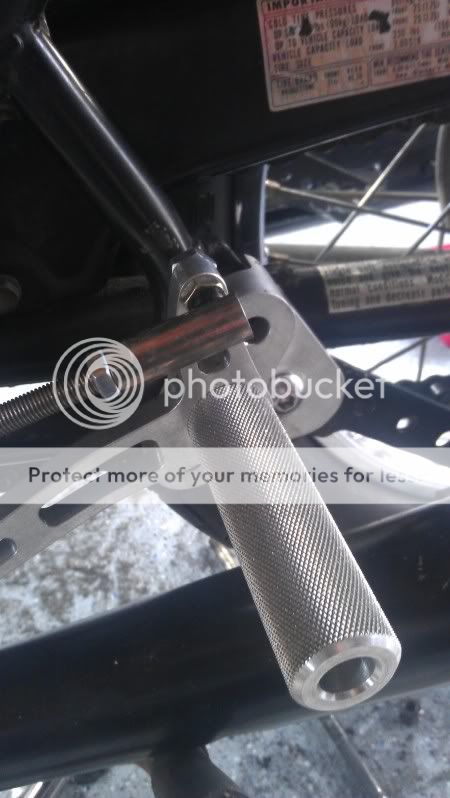
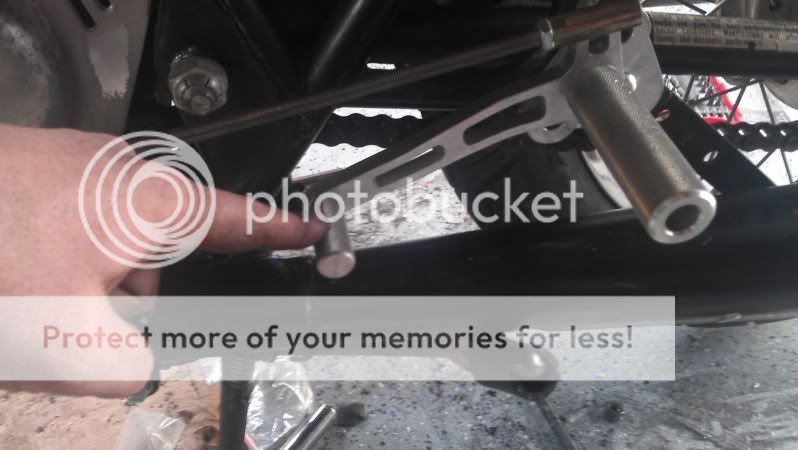
Assemble the brake side foot rest assembly:
Check the distance of your all-thread and cut down as necessary depending on your mounting location. Once that's done, just connect the endlinks, re-attach the brake light spring, and you're done (with one side)!
SHIFTING SIDE
Start by removing the stock shifter and set aside for re-use.
Remove passenger footpeg assembly. This also has the welded nut on the rear. You will once again need to remove this nut.
When both mufflers are removed, take off the stock foot rest. There is a pin that slides through to support both foot rests. This will now slide out.
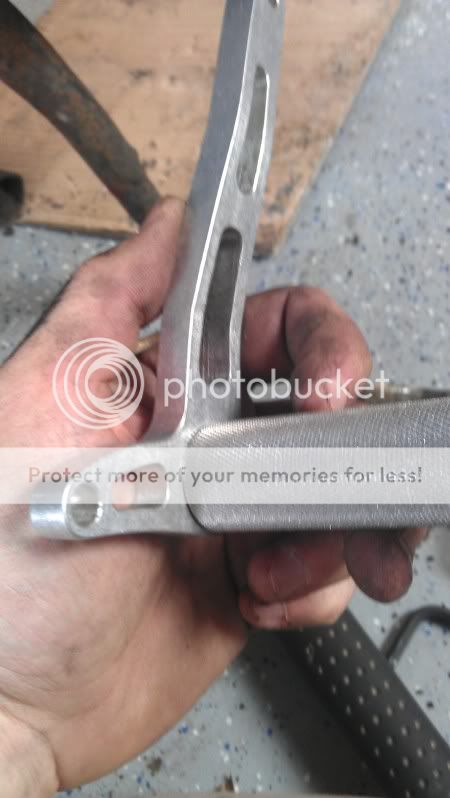
At first I thought my kit was missing a part. Turns out OSS does NOT supply the modified shifter arm. At first I was bummed, then I realized it was a VERY simple fix. You know how I said to set aside the stock shifter? Well now you're going to use it. Mock up your rear sets as needed for your setup and mark on the stock shift lever where the endlink naturally falls. Be cognizant of the movement in both directions to make sure you have clearance on the frame. Once you have your measurements, cut the stock shifter down, drill a hole, and round off the edges to make it as nice of a finish as possible:
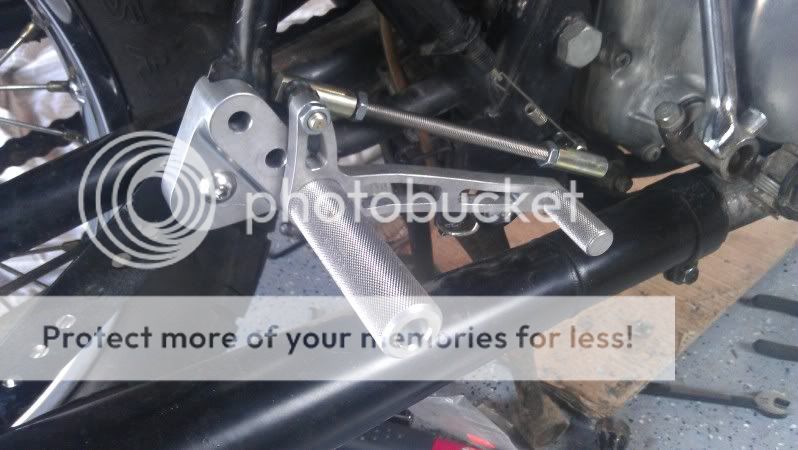
Attach the endlinks on both ends and you're almost home!
Now, on the brake side, I was able to run the rear endlink on the INSIDE and the front endlink on the OUTSIDE. This leaves a little bit more room for your foot. However, on the shift side, the lever was either going to gouge my exhaust OR my frame. I also could not use the lowest mount on the shifter side. That said, I did end up running BOTH endlink ends on the OUTSIDE. This offered the most clearance and ease of assembly.
All done!
All in all, Im extremely impressed with the rear sets. For the price, I feel that the shifting arm should be included, but it really is a simple home remedy to sort that out. Mad props to Kris for making a nice product and helping the community.
-Matt
This update walks through the Old School Speed CB360 Rear Set install. What works for me may or may not work for others.
First off, remove the pass footrest from it's mounting point. If you have a '75 or '76 model CB360, there is likely a welded nut on the backside. This needs to be cut off.
Next up, remove the brake light cable, and remove its mounting bracket.
Remove the stock brake pivot tube which runs through the frame. Disengage the brake actuating cable from it's mounting point by removing the small pin that holds it in there. DO NOT LOSE THIS PIN.
Here is the Brake side Rear Set put together:
Slide the pivot assembly through hole in the frame like so:
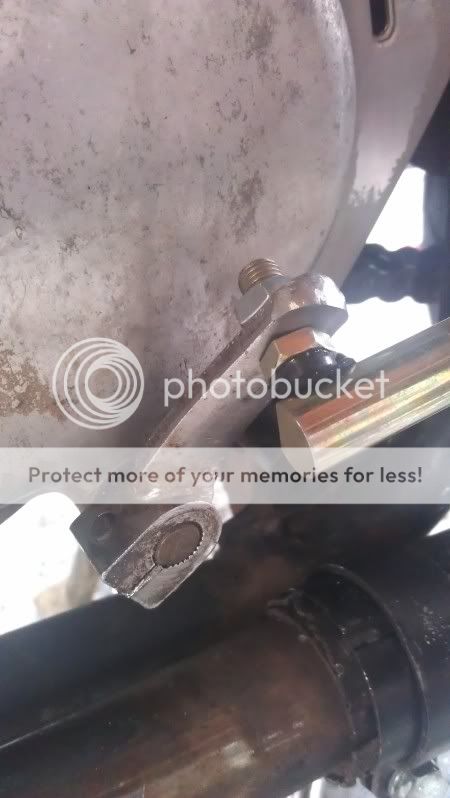
Attach the brake pedal arm:
Now, this is the part that got really frustrating. On the CB360 the pivot assembly (on the inside) needs to be in a near vertical position. Because of this it is IMPOSSIBLE to insert that pin that I said not to lose back through the brake actuating cable.
Here is the black pivot arm mounted. You can see the 1/2" clearance on either side simply is not enough room to attach the actuating cable.
You have two ways around this:
1.) Drop the swingarm from the get-go. I didn't want to bother with this but it would give you a lot more access for the install.
2.) Remove the inner black arm on the brake pivot assembly and drop it down. Attach the brake actuating cable and pin to the pivot arm this way. Once that's installed, slide the arm back up to its mounting point and mount it. Insert screw and tighten everything up.
I chose option 2. I really do not know of ANY other alternatives to do this on a complete bike.
Once the pivot arm and actuating cable are assembled, re-attach the spring like so:
Assemble the brake side foot rest assembly:
Check the distance of your all-thread and cut down as necessary depending on your mounting location. Once that's done, just connect the endlinks, re-attach the brake light spring, and you're done (with one side)!
SHIFTING SIDE
Start by removing the stock shifter and set aside for re-use.
Remove passenger footpeg assembly. This also has the welded nut on the rear. You will once again need to remove this nut.
When both mufflers are removed, take off the stock foot rest. There is a pin that slides through to support both foot rests. This will now slide out.
At first I thought my kit was missing a part. Turns out OSS does NOT supply the modified shifter arm. At first I was bummed, then I realized it was a VERY simple fix. You know how I said to set aside the stock shifter? Well now you're going to use it. Mock up your rear sets as needed for your setup and mark on the stock shift lever where the endlink naturally falls. Be cognizant of the movement in both directions to make sure you have clearance on the frame. Once you have your measurements, cut the stock shifter down, drill a hole, and round off the edges to make it as nice of a finish as possible:
Attach the endlinks on both ends and you're almost home!
Now, on the brake side, I was able to run the rear endlink on the INSIDE and the front endlink on the OUTSIDE. This leaves a little bit more room for your foot. However, on the shift side, the lever was either going to gouge my exhaust OR my frame. I also could not use the lowest mount on the shifter side. That said, I did end up running BOTH endlink ends on the OUTSIDE. This offered the most clearance and ease of assembly.
All done!
All in all, Im extremely impressed with the rear sets. For the price, I feel that the shifting arm should be included, but it really is a simple home remedy to sort that out. Mad props to Kris for making a nice product and helping the community.
-Matt


