Mike Lawless
2006 HD Softail Deluxe - 2014 Triumph Bonneville
It's been a long long time since I owned a bike. Being widowed a little while back, I'm pretty much free to do what I want. I also needed something to keep occupied. So, I picked up a very low mileage 1983 GS300. A very nice, low mileage and good running cruiser with a big squishy seat, a windshield and quiet exhaust. Not to mention a shiny chrome sissy bar! Almost a shame to cut it up. I've been drag racing (4 wheel variety) for quite some time. About 15 years with my current ride, a '65 VW Karmann Ghia. I've taken that about as a far as I can, as it runs well into the 9 second zone at over 140mph in full street legal trim. In order to keep busy, here we go with this.
The way I see it, it's simply a hunk of metal. The worst that can happen it what ever I do it, will have to be redone. No big deal. I got time and a bitchin' set of tools! I looked not at what it was, but what it could be. Something loud and obnoxious to piss off the neighbors!
Initially, I was going to make it into a cafe racer inspired street bike. I pretty much got hammered on a cafe racer forum about it being the wrong bike, and that it was a waste of time, and how I would be labeled as a poser for doing so. The purists were unrelenting. With that, I not only decided to not post my build there, but to shift directions a bit. I had a vision, and it wasn't totally "cafe" yet it wasn't totally "bobber" either. I'm gonna stick to my guns and do it my way, haters be damned!
The plan is for a strip down of all that is unnecessary. Flat drag bar, overall lowering, little or no mufflers, lose the fenders...bare bones. Then paint it black. I don't hate the fuel tank, but it is pretty big. I'll live it for a while.
At first, I was gonna go with a solo seat, but I only like the way those look on hard tails, and I'm too old and rickety to ride a hard tail. So, I built an abbreviated cafe style seat. Short with a small cowl.
First order of business was to do a deconstruct of the rear section and remove anything else I wasn't gonna use. Rear "sissy bar", turn signals, fenders, side covers, mufflers, etc. Once I had a plan for the seat, I chopped off the tail section and fabbed up a new one. I also cut off any tabs and mounts that will no longer be used. Rather than a simple "U" bend, I made one up from sections of a "U" bent piece of tube to give a more pointed shape for the seat cowl to follow. The tail light tucks underneath.
I have a 7" headlight assembly on the way from DCC, and I'll use the new front turn signals thru the headlight mount holes.
I then got to the task of bending up sheet metal for the seat pan and cowl. I used 16ga sheet steel. A little light on the thickness, but I made a center stiffening channel that not only stiffens the structure, but provides a channel for wiring for rear lighting will run inside of. The seat cover will use snaps. That's at the upholstery shop now getting the cover made.
I made side covers from .050" thick aluminum sheet leftover from the Ghia project. They attach with quarter turn Dzus fasteners (more leftovers)
On the front, for the time being, I've simply slid the fork tubes up in the trees. I only got 3/4" and then they contact the bottom of the handle bars. I reckon I could slide 'em up more and use clip-ons. I've ordered a set to see. Over the winter, I'll disassemble the forks and alter the spacers inside to drop it about 2".
The wheels are kinda fugly. I'll just paint 'em black for now. Once I get the whole thing where I want it, I'll knock it back down for finish work. If I haven't found a set of wire spoke wheels by then, I'll get these powder coated and call it good.
I also found out that turn signals are required on post 1973 bikes. So I bought the most minimal indicators I find. I got 'em locally at a place that caters to the Harley crowd.
Just this week, I've filled the indents in the side of the tank, and painted that. Came out pretty dang good considering I used urethane that I've had on the shelf since 2002. Seems we can't get good paint in California anymore. Rather than bondo, I used metal filled epoxy to fill the indent. It has a strip spot welded in that the name badge attached to. I cut out all the paint, used the Devcon epoxy, and I had to shape it with a metal file. After several rounds of high build primer and block sanding, I squirted the black on yesterday using my touch-up gun. I put enough paint on to color sand and buff. I really don't like the way the tank raises up at the front. I'd like to bring that down to close the gap to the top of the motor. I'll address that another day
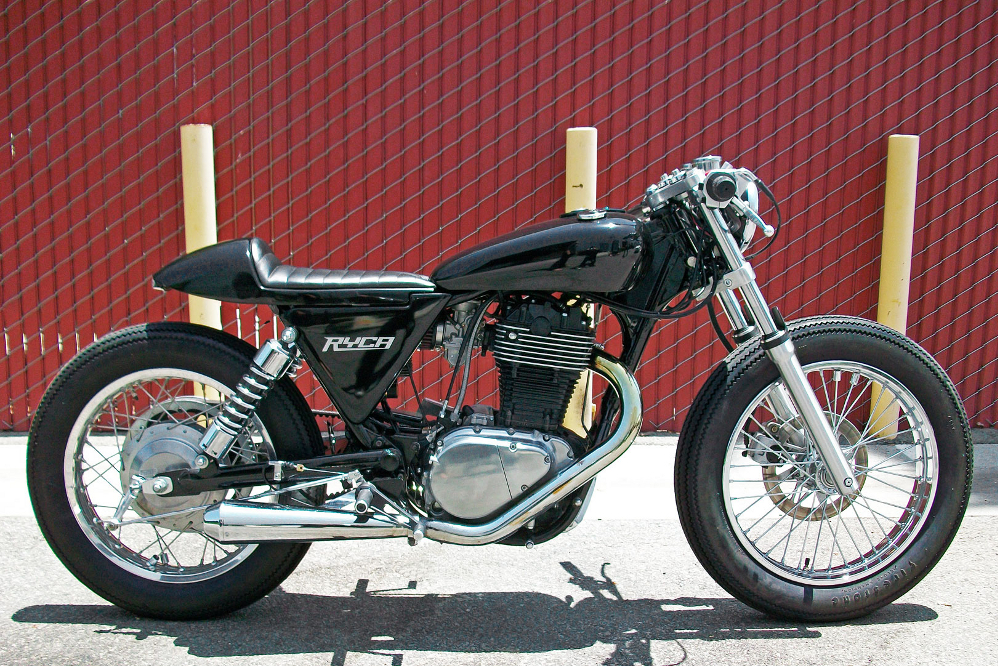
Meanwhile some "In Progress" pics....
As purchased...

And then....


The way I see it, it's simply a hunk of metal. The worst that can happen it what ever I do it, will have to be redone. No big deal. I got time and a bitchin' set of tools! I looked not at what it was, but what it could be. Something loud and obnoxious to piss off the neighbors!
Initially, I was going to make it into a cafe racer inspired street bike. I pretty much got hammered on a cafe racer forum about it being the wrong bike, and that it was a waste of time, and how I would be labeled as a poser for doing so. The purists were unrelenting. With that, I not only decided to not post my build there, but to shift directions a bit. I had a vision, and it wasn't totally "cafe" yet it wasn't totally "bobber" either. I'm gonna stick to my guns and do it my way, haters be damned!
The plan is for a strip down of all that is unnecessary. Flat drag bar, overall lowering, little or no mufflers, lose the fenders...bare bones. Then paint it black. I don't hate the fuel tank, but it is pretty big. I'll live it for a while.
At first, I was gonna go with a solo seat, but I only like the way those look on hard tails, and I'm too old and rickety to ride a hard tail. So, I built an abbreviated cafe style seat. Short with a small cowl.
First order of business was to do a deconstruct of the rear section and remove anything else I wasn't gonna use. Rear "sissy bar", turn signals, fenders, side covers, mufflers, etc. Once I had a plan for the seat, I chopped off the tail section and fabbed up a new one. I also cut off any tabs and mounts that will no longer be used. Rather than a simple "U" bend, I made one up from sections of a "U" bent piece of tube to give a more pointed shape for the seat cowl to follow. The tail light tucks underneath.
I have a 7" headlight assembly on the way from DCC, and I'll use the new front turn signals thru the headlight mount holes.
I then got to the task of bending up sheet metal for the seat pan and cowl. I used 16ga sheet steel. A little light on the thickness, but I made a center stiffening channel that not only stiffens the structure, but provides a channel for wiring for rear lighting will run inside of. The seat cover will use snaps. That's at the upholstery shop now getting the cover made.
I made side covers from .050" thick aluminum sheet leftover from the Ghia project. They attach with quarter turn Dzus fasteners (more leftovers)
On the front, for the time being, I've simply slid the fork tubes up in the trees. I only got 3/4" and then they contact the bottom of the handle bars. I reckon I could slide 'em up more and use clip-ons. I've ordered a set to see. Over the winter, I'll disassemble the forks and alter the spacers inside to drop it about 2".
The wheels are kinda fugly. I'll just paint 'em black for now. Once I get the whole thing where I want it, I'll knock it back down for finish work. If I haven't found a set of wire spoke wheels by then, I'll get these powder coated and call it good.
I also found out that turn signals are required on post 1973 bikes. So I bought the most minimal indicators I find. I got 'em locally at a place that caters to the Harley crowd.
Just this week, I've filled the indents in the side of the tank, and painted that. Came out pretty dang good considering I used urethane that I've had on the shelf since 2002. Seems we can't get good paint in California anymore. Rather than bondo, I used metal filled epoxy to fill the indent. It has a strip spot welded in that the name badge attached to. I cut out all the paint, used the Devcon epoxy, and I had to shape it with a metal file. After several rounds of high build primer and block sanding, I squirted the black on yesterday using my touch-up gun. I put enough paint on to color sand and buff. I really don't like the way the tank raises up at the front. I'd like to bring that down to close the gap to the top of the motor. I'll address that another day
Meanwhile some "In Progress" pics....
As purchased...
And then....
")