Follow along with the video below to see how to install our site as a web app on your home screen.
Note: This feature currently requires accessing the site using the built-in Safari browser.
We noticed you are blocking ads. DO THE TON only works with community supporters. Most are active members of the site with small businesses. Please consider disabling your ad blocking tool and checking out the businesses that help keep our site up and free.
One thing that really made my day was coming home and seeing this….
A big box of parts from Dime City Cycles
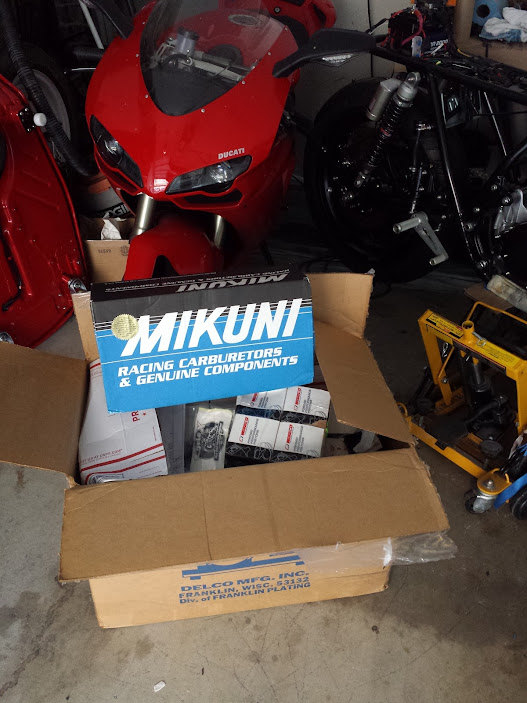
And this…
A box full of my new parts and the rest of my engine from Cycle X. After six months of waiting, I can finally get started on putting this bike back together.
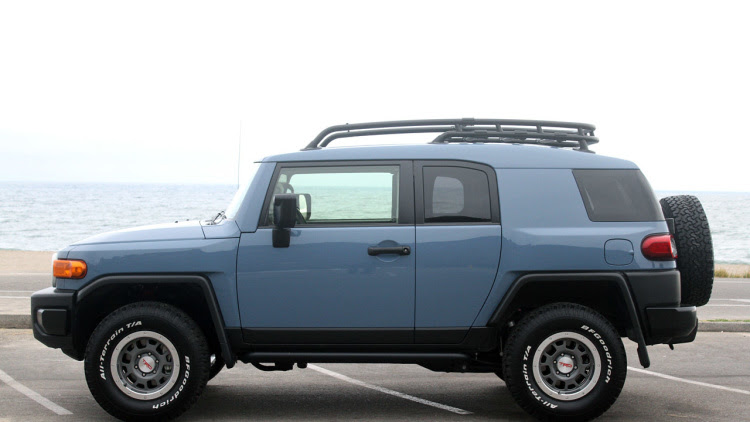
Yesterday I dropped my tank and seat off at a local motorcycle paint shop. Here is the color scheme that I am going with. It’s off of a 2014 Toyota FJ Cruiser. The color is called Heritage Blue. It is going to also have two black racing stripes and a custom Honda logo on it. The shop owner said that he should have it finished in 2 to 3 weeks. The rest of my bike should be ready to go by then.
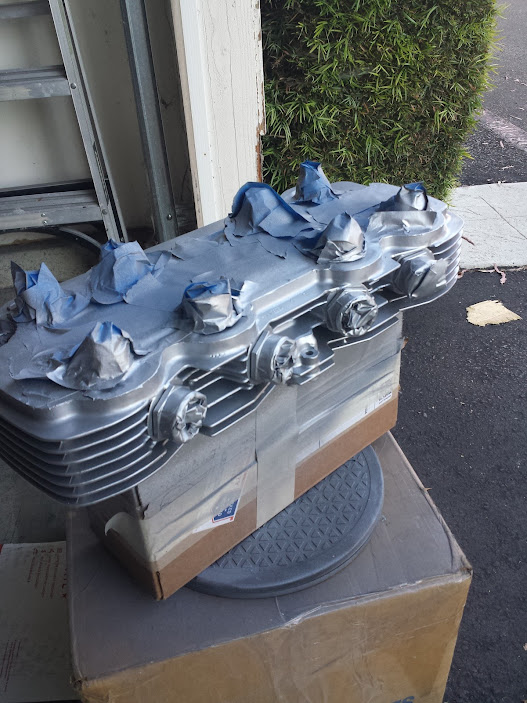
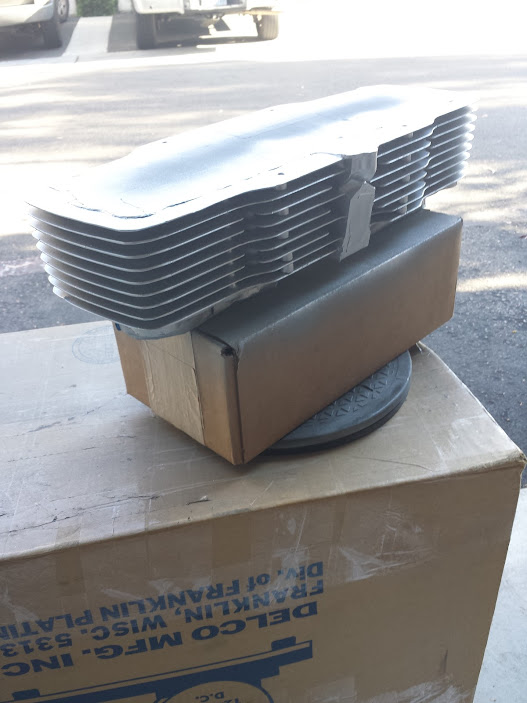
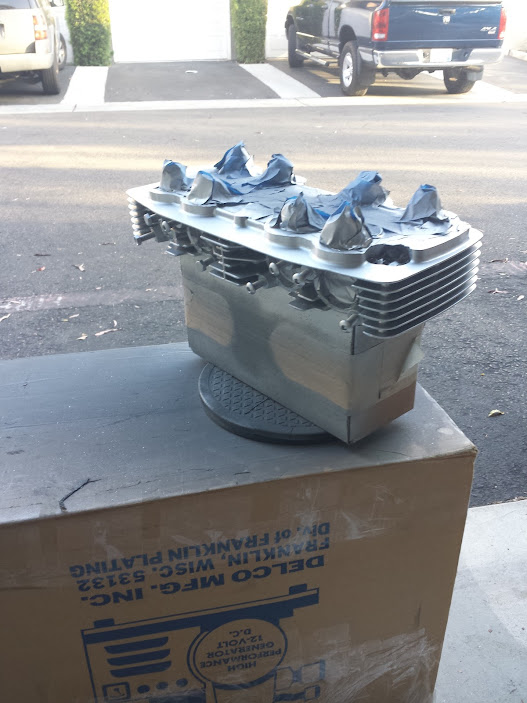
I cleaned, taped off, and painted the cylinder block and head. I should be able to be able to bake them in the oven tomorrow after the wife leaves the house.
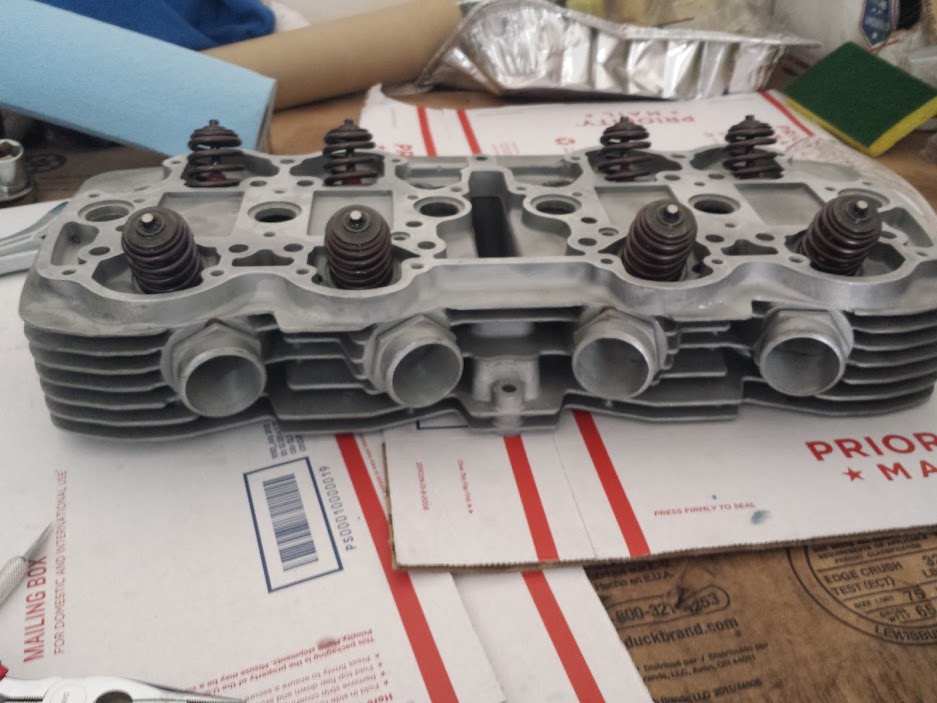
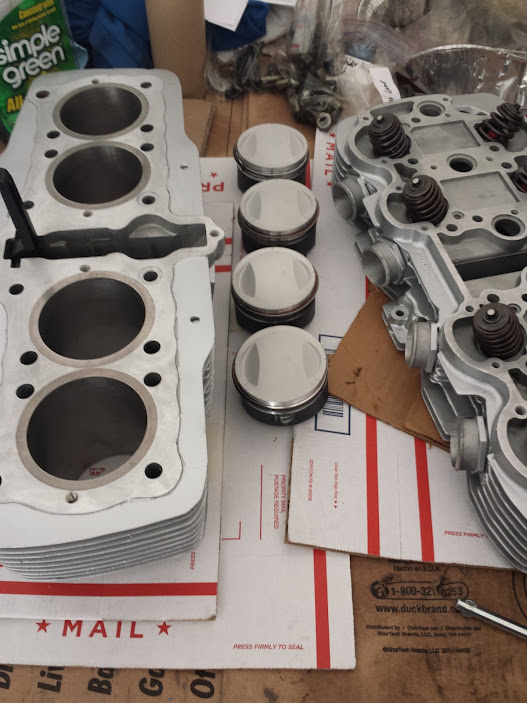
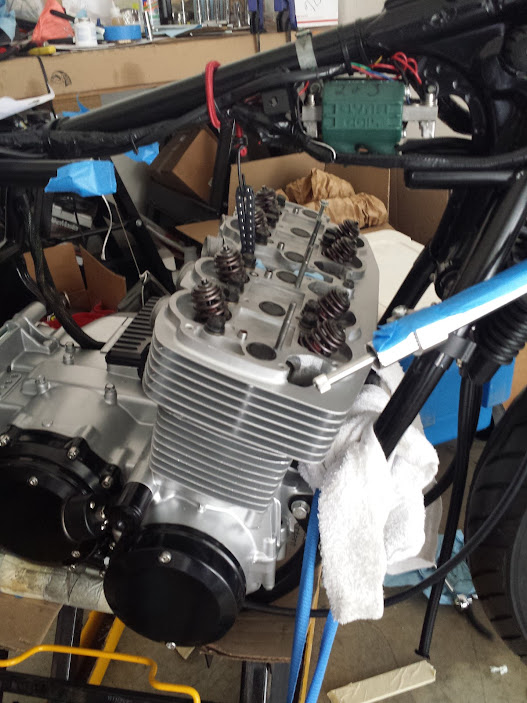
I can’t wait to run this cylinder head. It has:
-Cycle X #4 Race Port
-Kibblewhite 5mm Bee-Hive Spring Conversion Kit
-Oversized intake valves
-Light weight intake valves
-Light weight exhaust valves
-Intake guides and seals
-Exhaust guides and seals
- Keepers and lash caps
-Titanium retainers
-Chrome silicon springs
= BEAUTIFUL!
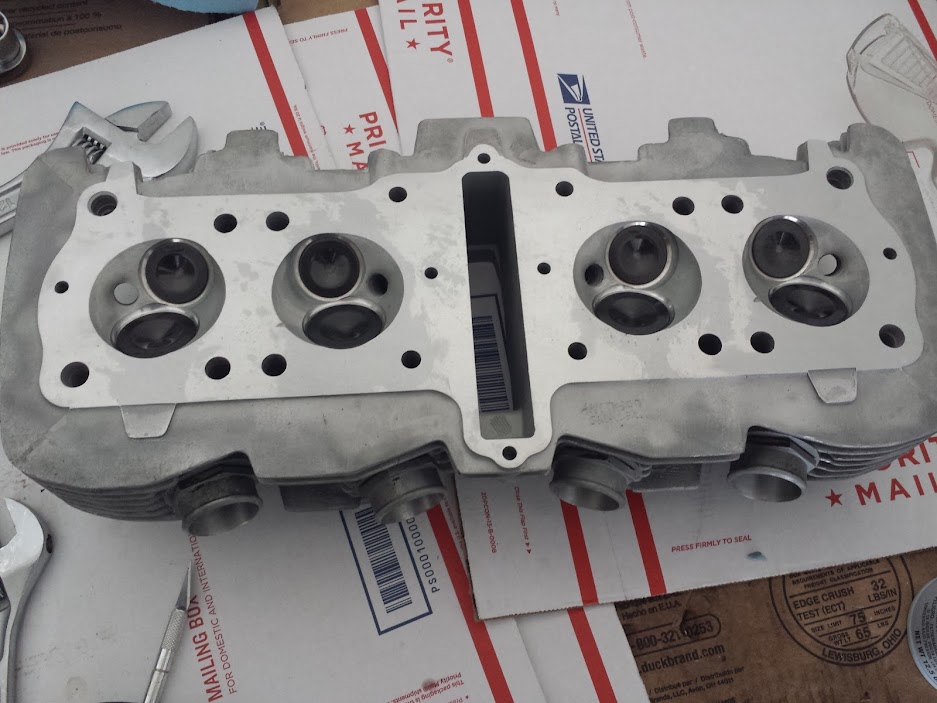
You can’t see it in the picture, but it is cool that Ken at Cycle X engraved my name in the bottom of the cylinder head.
That's all for tonight. Stay tuned, more to follow!
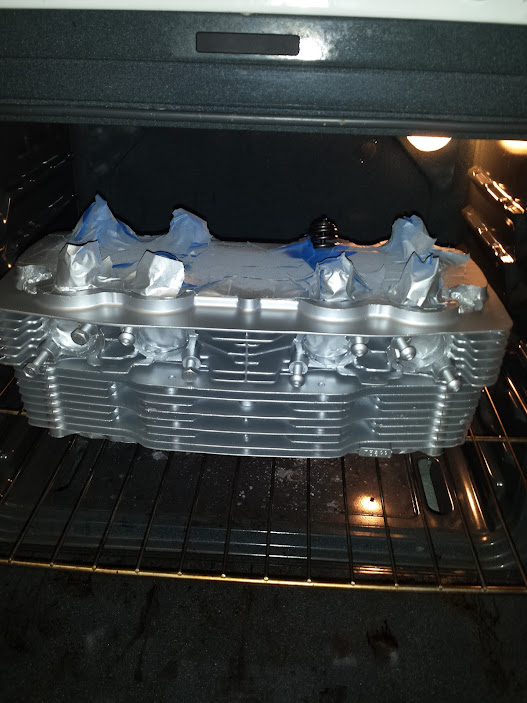
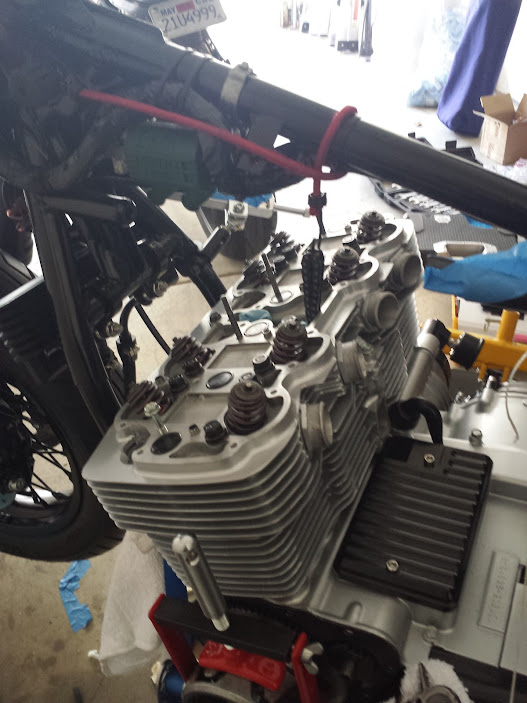
Today I made some pretty good progress. Yesterday there was a huge heat wave in SOCAL and I didn’t spend much time outside working on my bike. I did end up baking my heads and they came out nicely. One thing that I wish that I would have done was file down some of the imperfections in the casting and smoothed the fines out. It looks great, but I think it would have looked even better.
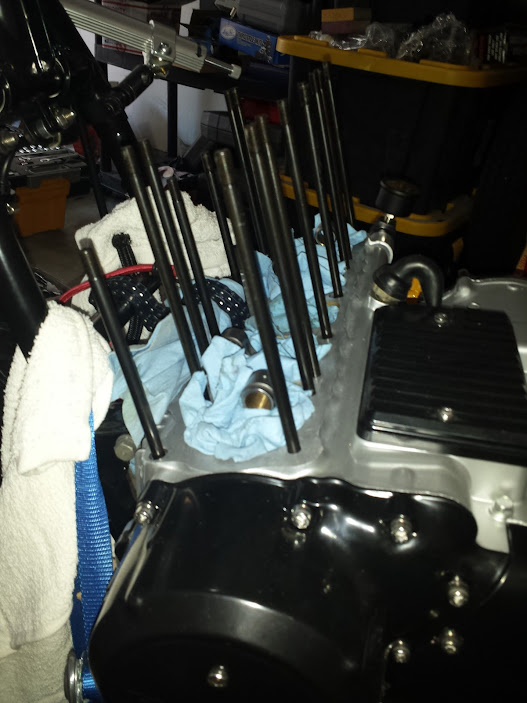
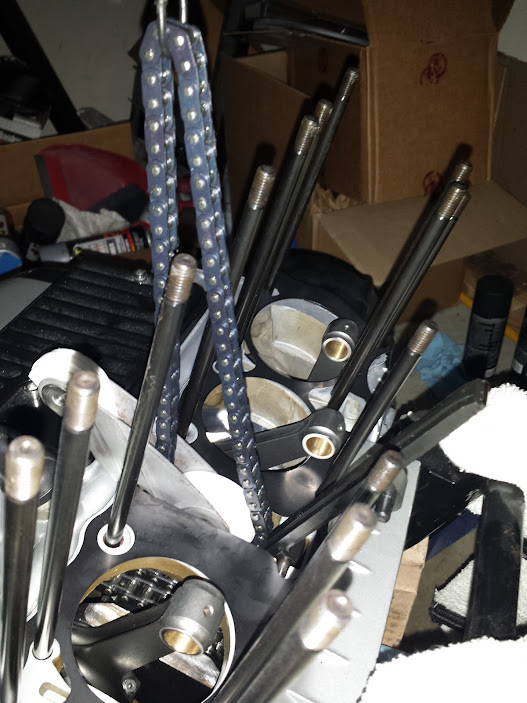
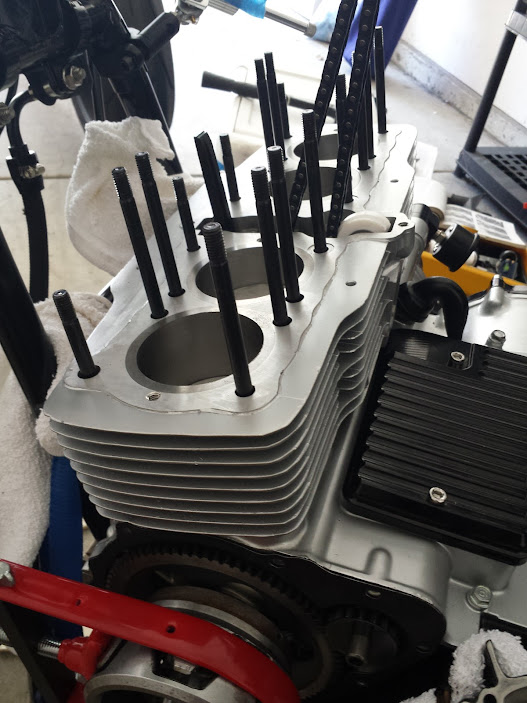
I installed the base gasket, Cycle X Cam Chain Tensioner, and the cam chain slider. Even though you can’t see it in the picture, I did install the dowels and the rubber gaskets at the base of the head studs.
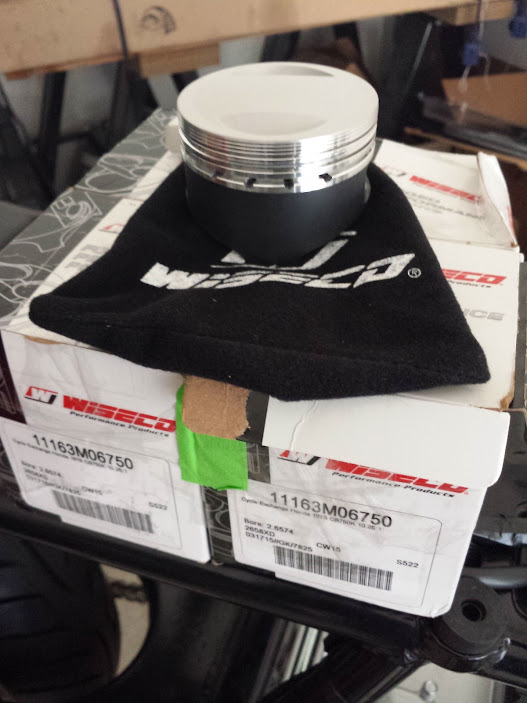
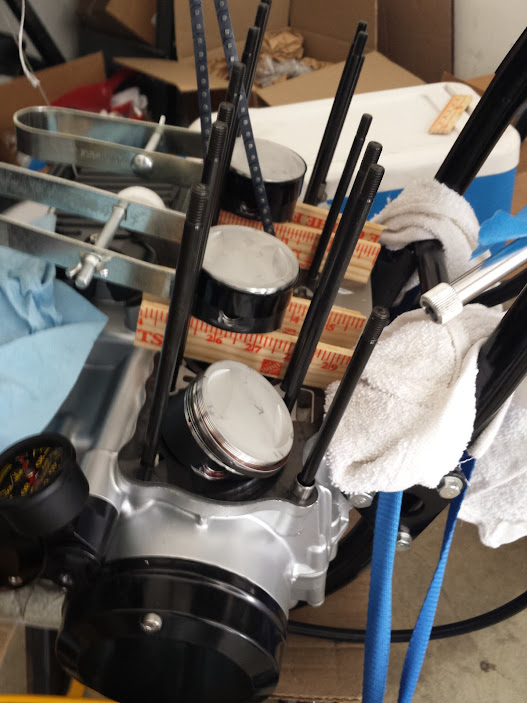
I took out my 915cc Pistons and they look gorgeous. It’s a shame that they are going to be hidden in my engine. I also had the pistons coated. That’s why the skirts are black.
After a lot of careful reading (and re-reading), I checked all of my piston ring gaps and everything looked fine. I installed the piston rings and got started assembling the rest of my engine.
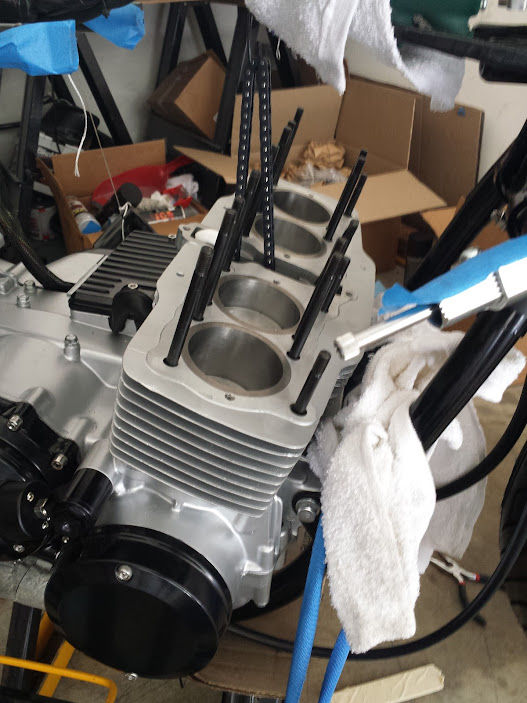
I managed to get the cylinder block on. This was a pain in the butt! Pistons 2 & 3 went in very easily, but 1 & 4 worked every bit of my patience. I had to step away for a few minutes and try again. Finally, I got the block installed.
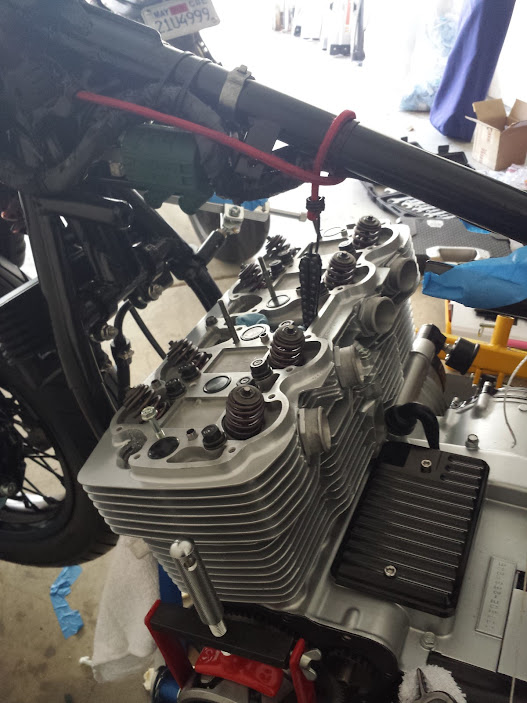
Next the cylinder head went on without a problem. I had to remove my steering damper to get it on, but I was able to put it back in its original location without an issue. I really like the way the mount turned out.
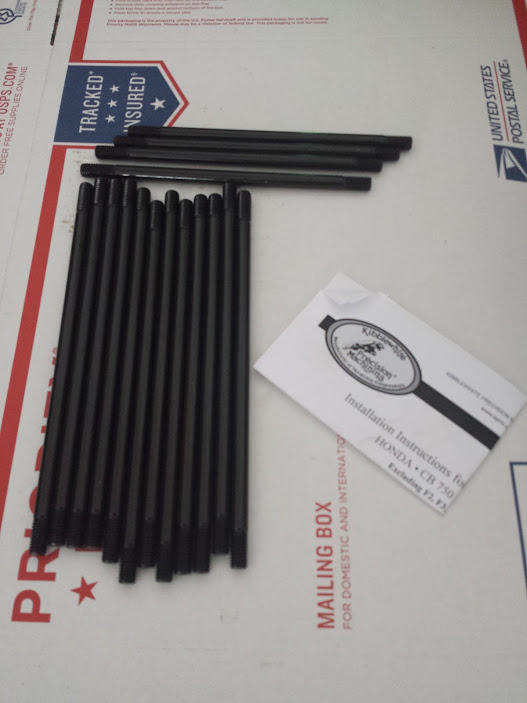
I did run into one very big snag. One of my cam shaft tower bolts was bent and stripped. Luckily, it wasn’t in my cylinder head at the time. I was trying to put a double nut on it so I could screw it into the head. That’s when I noticed that it was in really bad shape. So I had to stop there for the day. I was able to find another one on ebay and I should have it by the end of next week.
Holy shit brother. Watching your progress makes me feel like such a hack...which I guess is true. amazing work. What is the reason for coating the Pistons? Keep it up, going to be one amazing ride.
Holy shit brother. Watching your progress makes me feel like such a hack...which I guess is true. amazing work. What is the reason for coating the Pistons? Keep it up, going to be one amazing ride.
Thanks I appreciate it. I do have to admit it, but I may have gone a little overboard in my mods. Wait until you see my carbs, lightened rocker arms, cam, titanium rocker nuts, et. It's all to help squeeze as much performance out of this old engine as possible. The piston coating is supposed to reduce friction and lower the temperature inside the block.
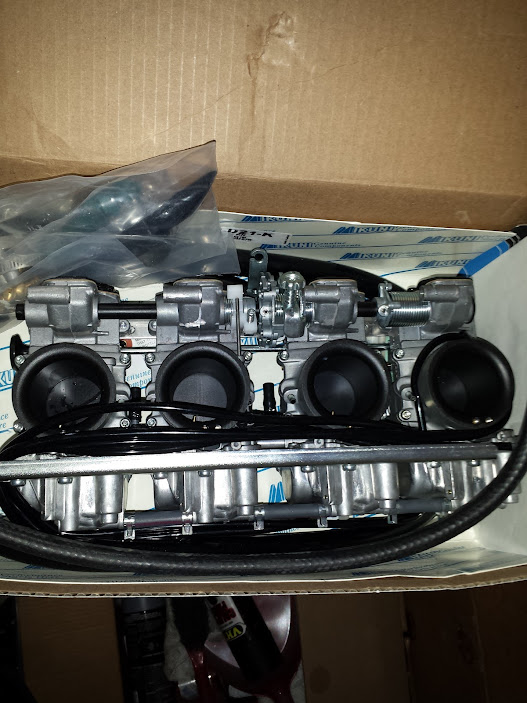
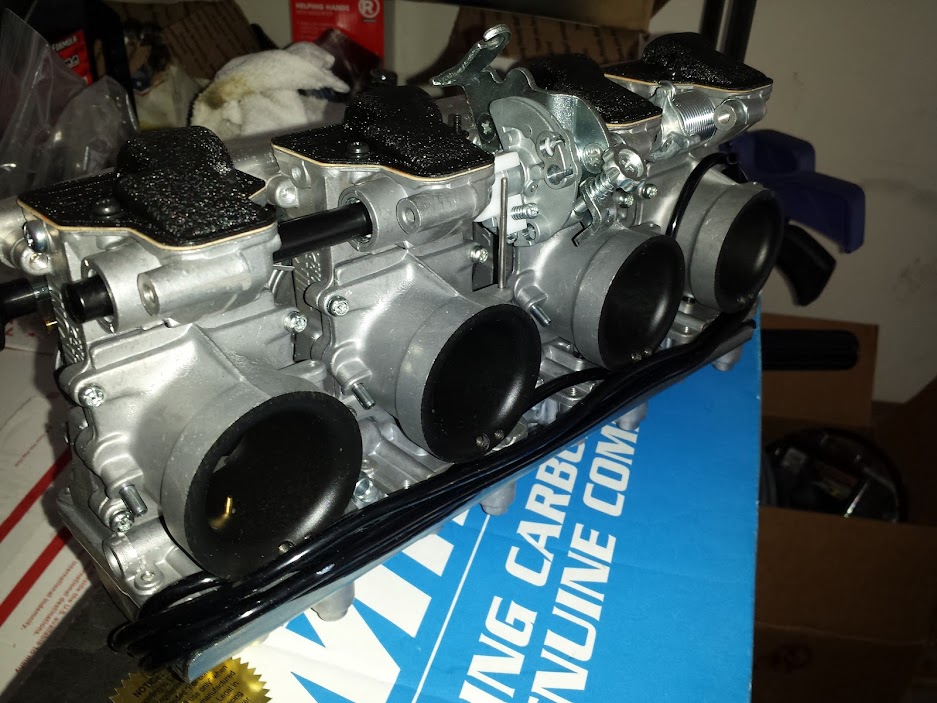
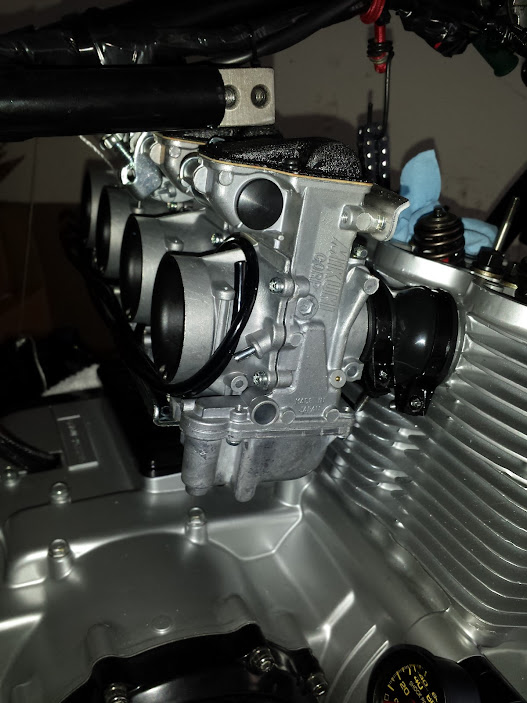
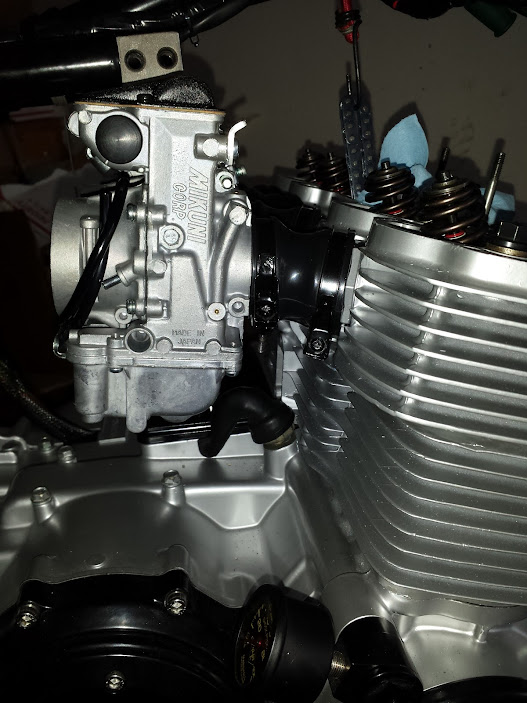
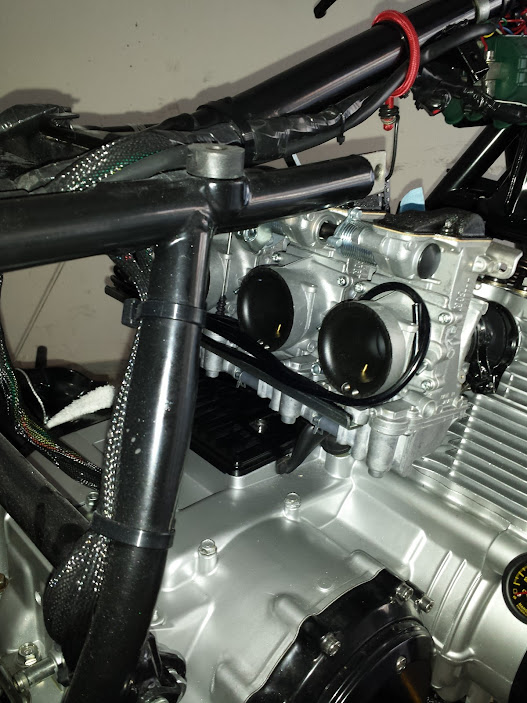
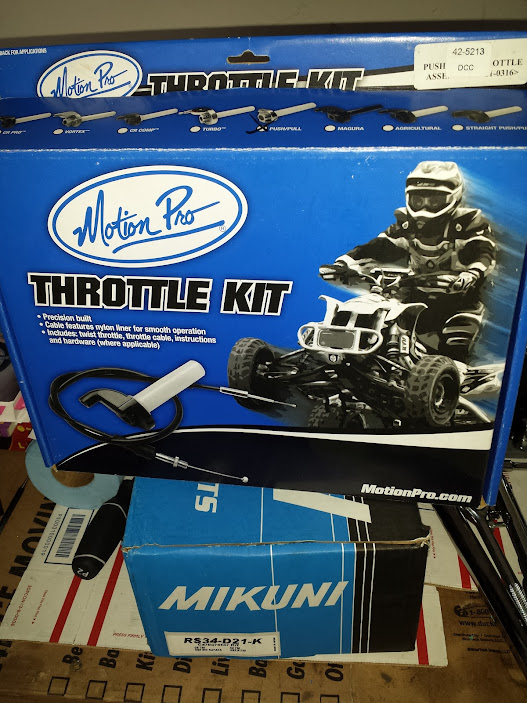
I got my Mikuni RS34 carburetors mounted last night and they are beautiful! I was really worried about having to struggle to install them, but it actually went pretty smooth. I spoke with Ken at Cycle X and he suggested using K8 boots on my bike. So I contacted Vintage750 in Canada and purchased a set of their reproduced K8 boots. Good luck trying to find them anywhere else. The only thing that I ended up doing was spraying a little WD40 in the boots and the carbs popped on without any drama, no heat, and no soaking.
I used Motion Pro’s throttle cable assemble for Mikuni carbs. I greased the lines and they work flawlessly.
This site uses cookies to help personalise content, tailor your experience and to keep you logged in if you register.
By continuing to use this site, you are consenting to our use of cookies.