
mydlyfkryzis
当有疑问时踢你的敌人在生殖器上,你可以道歉后
I needed to rebuild my petcock reserve inlet screen. I bought some 80 mesh brass screen from an E-Bay hobby shop.
Here's what I did to "fix" it.
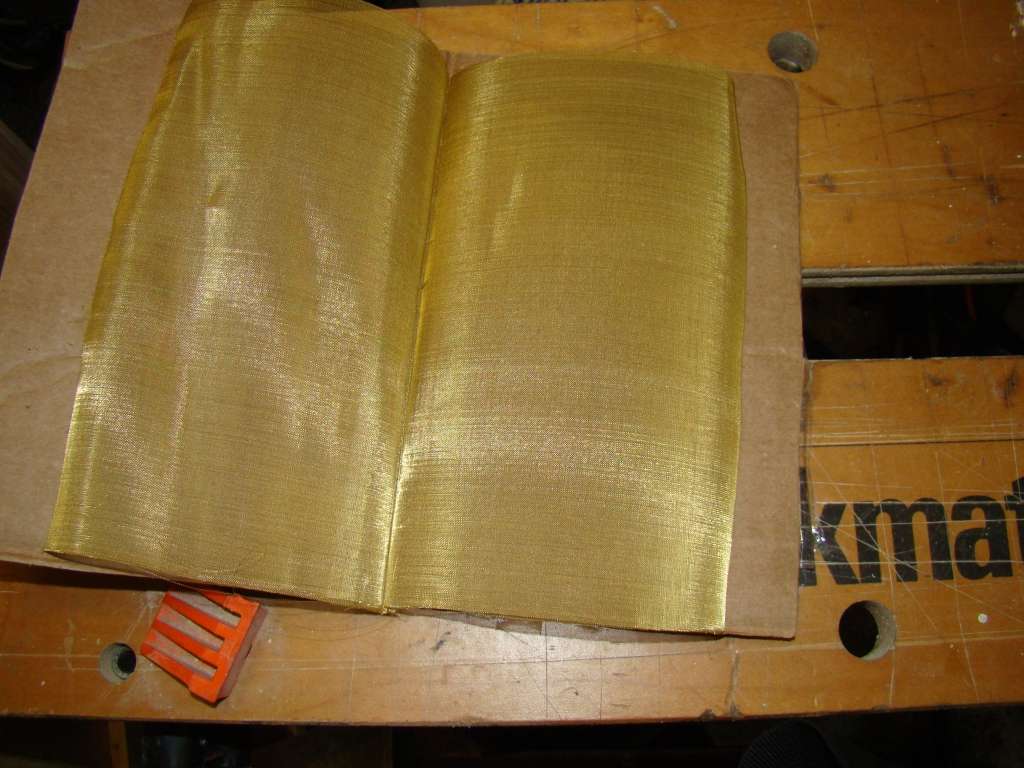
80 Mesh brass screen.
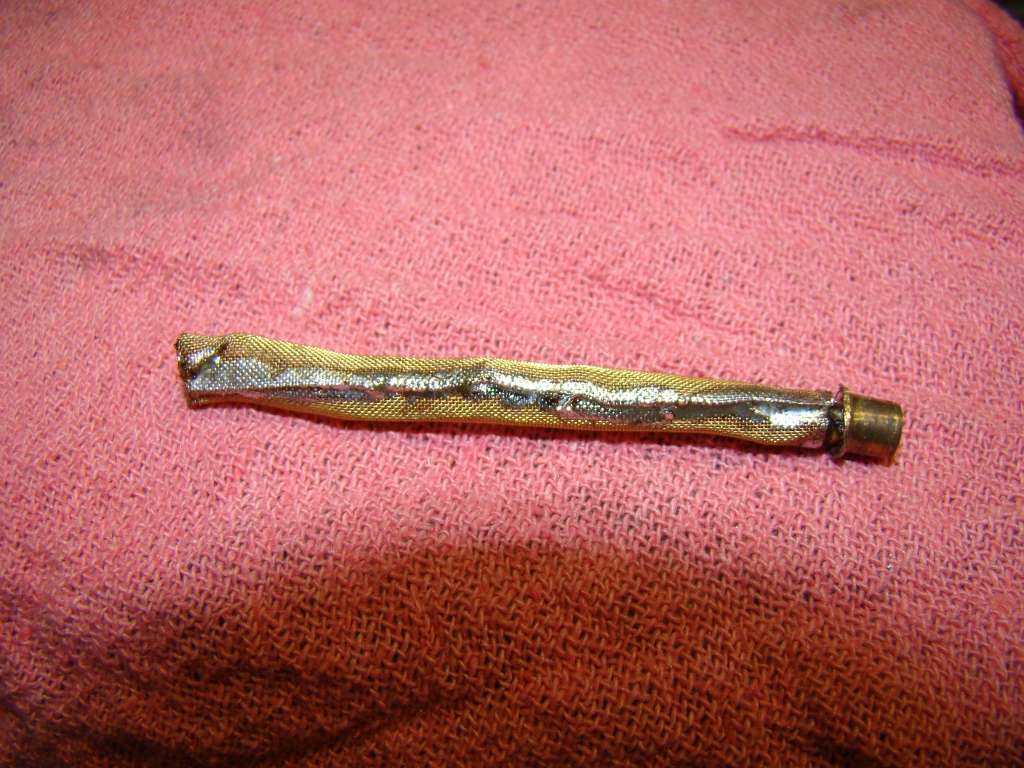
So I take a small strip, and use some small aluminum tube to shape it and hold the shape. I used aluminum because the solder won't stick to it.

I solder it up the seam, and add a small piece of brass tubing at the bottom that will fit inside the existing brass flange that was in the petcok holding the original screen.
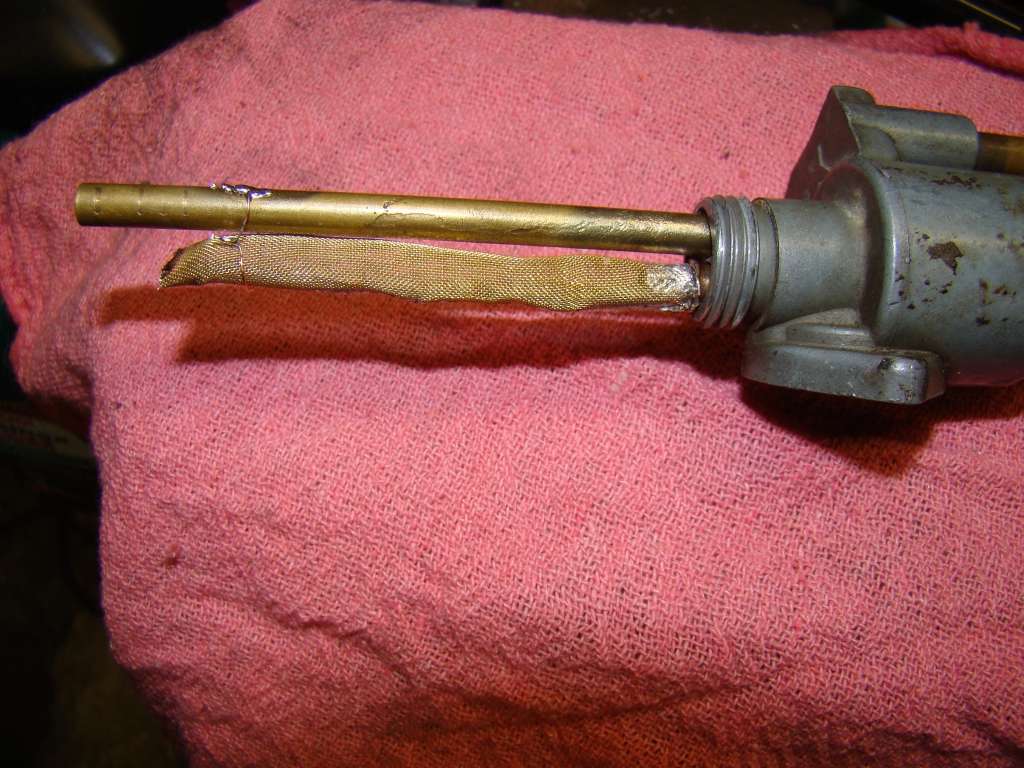
The I solder the small tubing into the stock fitting.
Seam side:
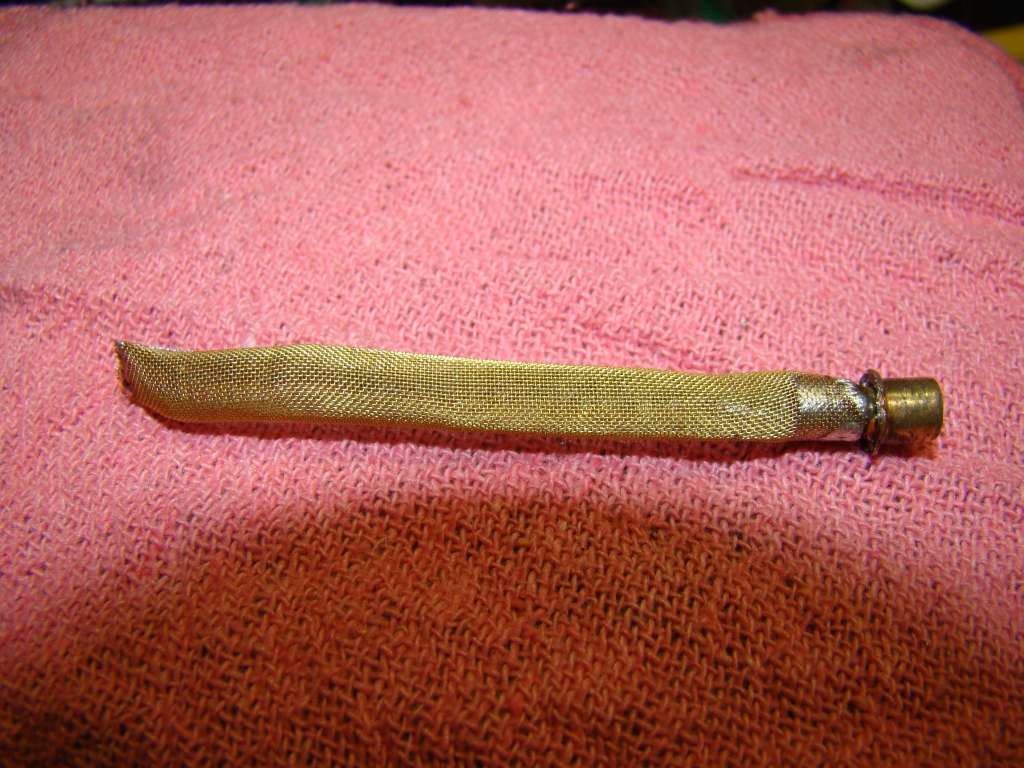
Opposite side:
Then I took a strand of copper wire and tied the top of the screen to the standard dip tube for a little extra support:
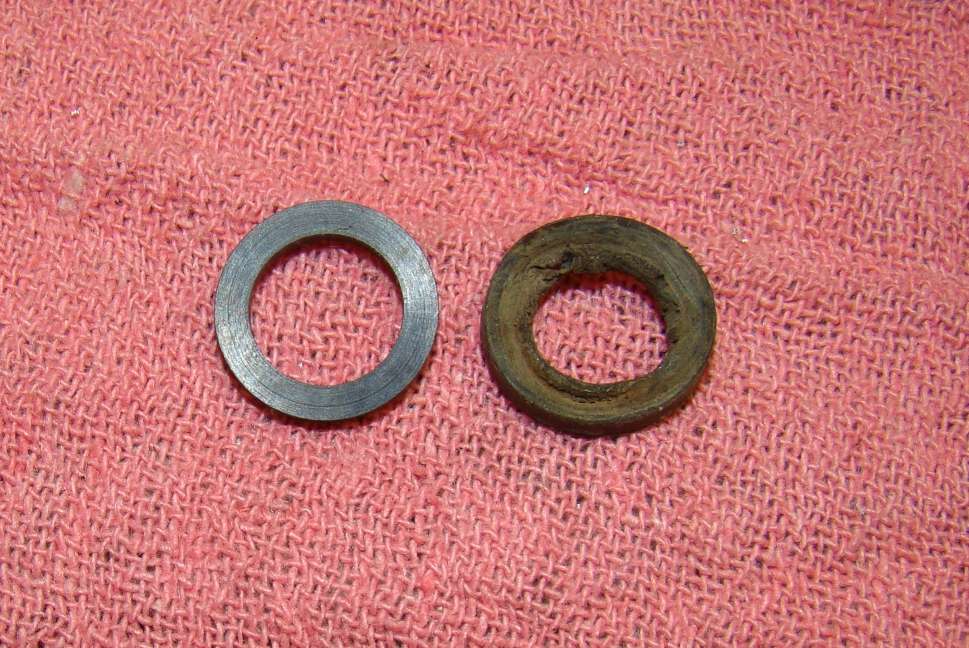
I added new washers to the petcock, but it was amazing how bad the original washer was compared to the new one (on the mounting nut)
Here's what I did to "fix" it.
80 Mesh brass screen.
So I take a small strip, and use some small aluminum tube to shape it and hold the shape. I used aluminum because the solder won't stick to it.
I solder it up the seam, and add a small piece of brass tubing at the bottom that will fit inside the existing brass flange that was in the petcok holding the original screen.
The I solder the small tubing into the stock fitting.
Seam side:
Opposite side:
Then I took a strand of copper wire and tied the top of the screen to the standard dip tube for a little extra support:
I added new washers to the petcock, but it was amazing how bad the original washer was compared to the new one (on the mounting nut)


