We noticed you are blocking ads. DO THE TON only works with community supporters. Most are active members of the site with small businesses. Please consider disabling your ad blocking tool and checking out the businesses that help keep our site up and free.
You are using an out of date browser. It may not display this or other websites correctly.
You should upgrade or use an alternative browser.
You should upgrade or use an alternative browser.
Step aside Moto Guzzi...........Yamaha SR250 coming through :-)
- Thread starter lchris21
- Start date
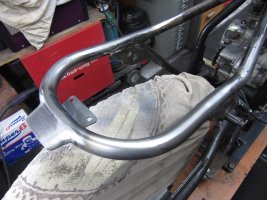
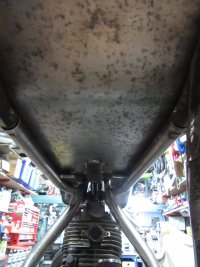
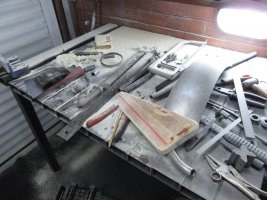
ha...its a dirty job.............but someone has to do it!!Gotta love 40 years of built up gunk. Cleaning the same crap out of the sprocket cover and chain guard of the little CB we are working on.
thanksComing along great.
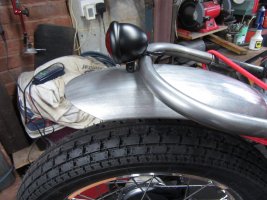
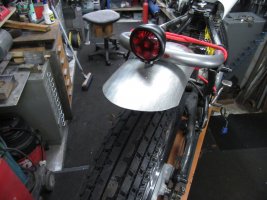
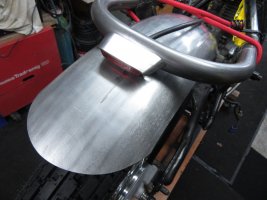
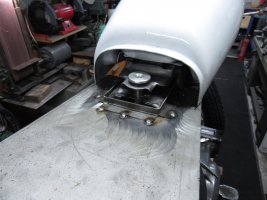
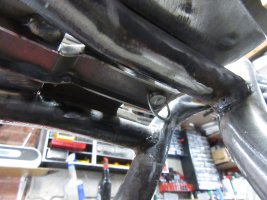
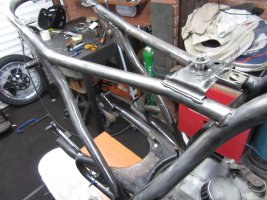
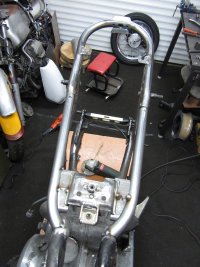
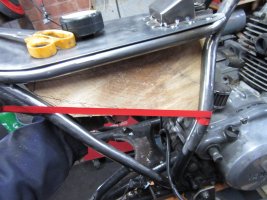
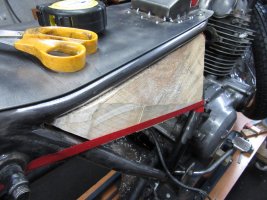
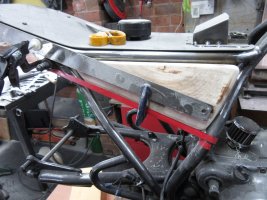
Then spent another few hours scratching my head with the rear light...............trying this trying that, different postions.......no wonder these projects take so much time. Decided to ditch the round one in favour of the small square one I picked up. The round one was a bit too chopper/bobber looking for me.......just need to work out where the number plate will live now 
Attachments
-
 20210105175515.jpg232.2 KB · Views: 185
 -
 20210105_180905.jpg1.1 MB · Views: 191
 -
 20210103174325.jpg318.5 KB · Views: 190
 -
 20210103174331.jpg258.7 KB · Views: 187
 -
 20210103174351.jpg599.8 KB · Views: 181
 -
 20210103182250.jpg362.4 KB · Views: 177
 -
 20210105161846.jpg204.6 KB · Views: 174
 -
 20210103182402.jpg267.4 KB · Views: 184
 -
 20210105175424.jpg182.1 KB · Views: 179
 -
 20210105175450.jpg267.2 KB · Views: 178
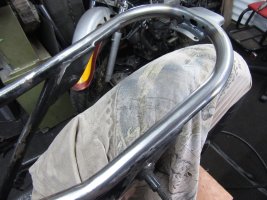
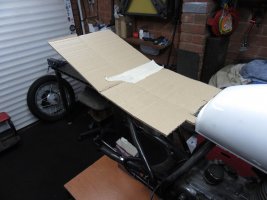
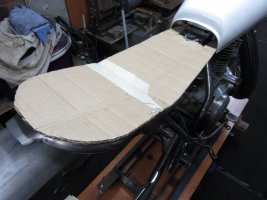
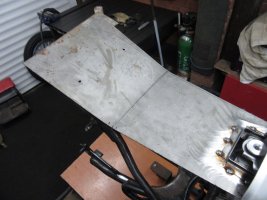
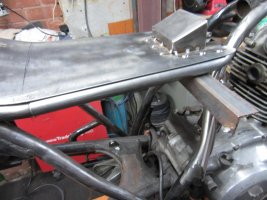
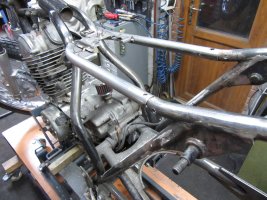
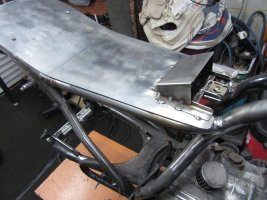
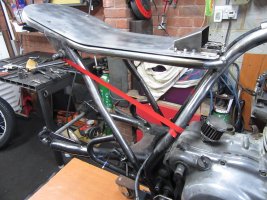
Ive been mostly working on the seat and pan trying to get it to fit nicely in with the CG125 tank. Ive managed to get the hoop welded in, and blended along with the rear tail lamp eyelid.
Attachments
-
 20210110160730.jpg491.5 KB · Views: 165
 -
 20210109151158.jpg152.6 KB · Views: 168
 -
 20210109165210.jpg362.1 KB · Views: 163
 -
 20210109175257.jpg403.9 KB · Views: 163
 -
 20210109182938.jpg391.3 KB · Views: 169
 -
 20210109183006.jpg179.7 KB · Views: 172
 -
 20210110160708.jpg556.2 KB · Views: 175
 -
 20210110160714.jpg539 KB · Views: 161
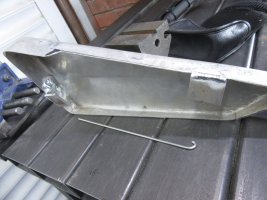
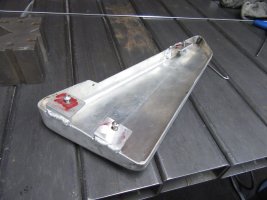
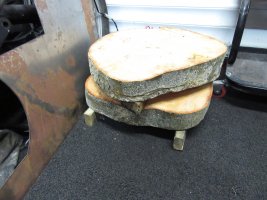
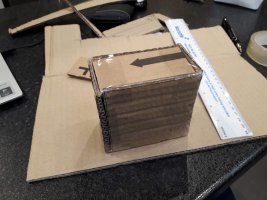
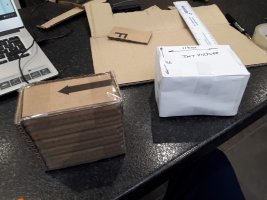
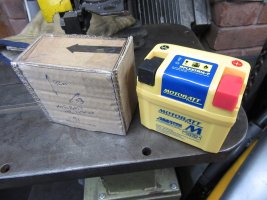
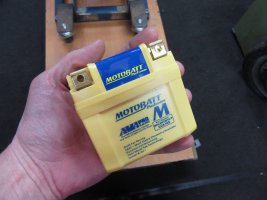
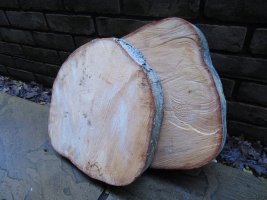
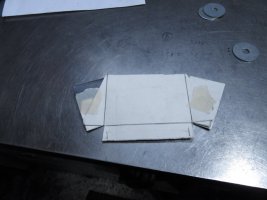
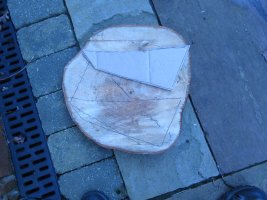
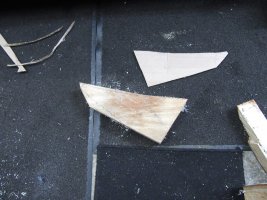
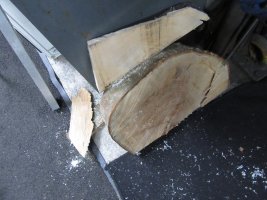
Fired up my CAD (cardboard aided design ) system to make up a mockup battery to get an idea of the compartment where its going to live. This will influence the seat design, and shape of the pan. Ive gone all organic in this upload, and also acquired some nice slabs of Ash from the local tree surgeon..........Im going to attempt to make some forms and try my hand at making some side panels........that's going to be a first for me. Not going for the open triangle look on this one, so need to fill the hole with something....................suppose I could just fill it with wood for the classic Riva Aquarama look:laughing:
) system to make up a mockup battery to get an idea of the compartment where its going to live. This will influence the seat design, and shape of the pan. Ive gone all organic in this upload, and also acquired some nice slabs of Ash from the local tree surgeon..........Im going to attempt to make some forms and try my hand at making some side panels........that's going to be a first for me. Not going for the open triangle look on this one, so need to fill the hole with something....................suppose I could just fill it with wood for the classic Riva Aquarama look:laughing:Attachments
-
 20210114145621.jpg505.8 KB · Views: 166
 -
 20210111_103146.jpg444.1 KB · Views: 162
 -
 20210111_103206.jpg470.3 KB · Views: 172
 -
 20210112181401.jpg166.5 KB · Views: 159
 -
 20210112182101.jpg154.7 KB · Views: 167
 -
 20210113173548.jpg349.7 KB · Views: 160
 -
 20210113173726.jpg156.9 KB · Views: 154
 -
 20210114145256.jpg457.2 KB · Views: 157
 -
 20210114145351.jpg196 KB · Views: 161
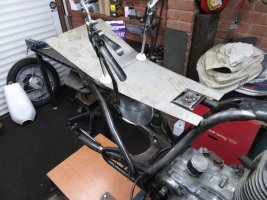
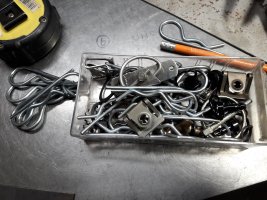
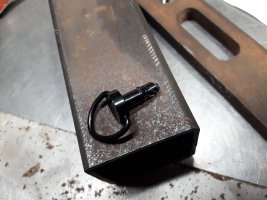
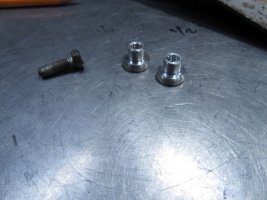
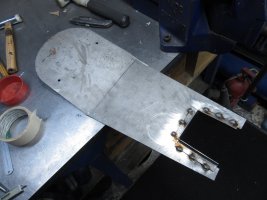
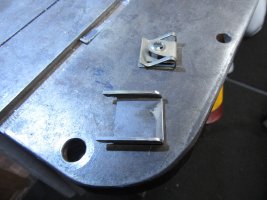
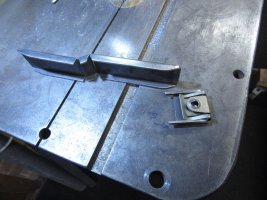
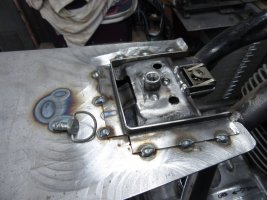
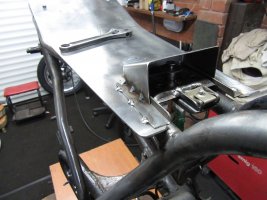
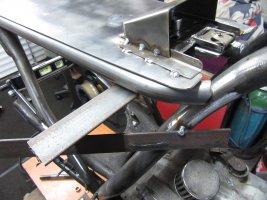
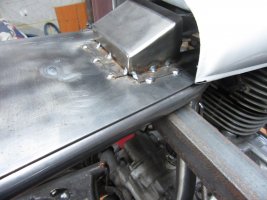
Checked the shop stock on widgets and clips and opted for a DZUS fastener and some home made channel for a bit of strength. Made up some location brackets and turned up a couple of pegs to slot into the seat rear end. when the seat is slid into place the Dzus clip stops it all flying off!
Attachments
-
 20210114155011.jpg505.9 KB · Views: 155
 -
 20210114155017.jpg239.4 KB · Views: 156
 -
 20210114173036.jpg323.7 KB · Views: 167
 -
 20210114174411.jpg273.6 KB · Views: 161
 -
 20210114_181401.jpg965.8 KB · Views: 158
 -
 20210114_181420.jpg455.7 KB · Views: 156
 -
 20210115144119.jpg381.1 KB · Views: 160
 -
 20210115144841.jpg313 KB · Views: 156
 -
 20210115145517.jpg205.1 KB · Views: 162
 -
 20210115145525.jpg307.7 KB · Views: 157
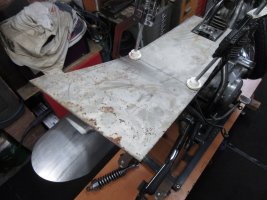
some more seat pan action!
Attachments
-
 20210115152929.jpg264 KB · Views: 165
 -
 20210115161925_1.jpg366.5 KB · Views: 156
 -
 20210115155514_1.jpg540.4 KB · Views: 165
 -
 20210115161954_1.jpg207 KB · Views: 157
 -
 20210115161959_1.jpg263 KB · Views: 164
 -
 20210115170601.jpg281.8 KB · Views: 157
 -
 20210115172038.jpg483.7 KB · Views: 156
 -
 20210115172629.jpg552.3 KB · Views: 143
 -
 20210115180615.jpg406.1 KB · Views: 147
 -
 20210115180701.jpg604.6 KB · Views: 142
So......back to the seat...
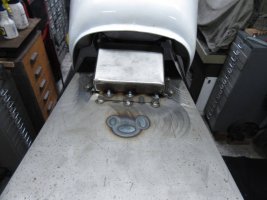
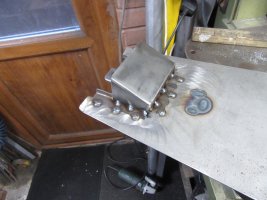
Got out the cardboard aided design package again and made a little tunnel for the seat catch. Dusted off my home made folder for the task.
Got out the cardboard aided design package again and made a little tunnel for the seat catch. Dusted off my home made folder for the task.
Attachments

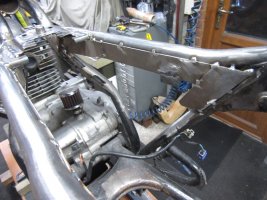
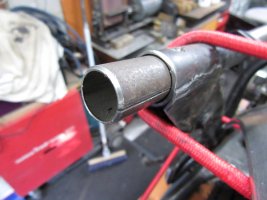
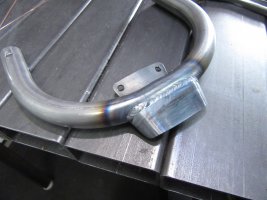
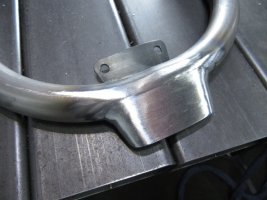
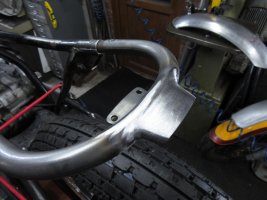
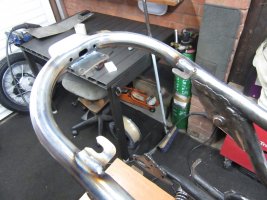
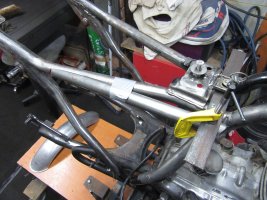
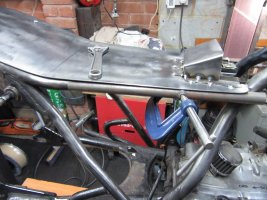
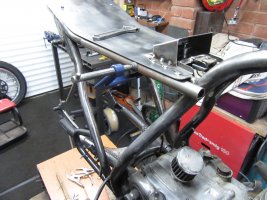
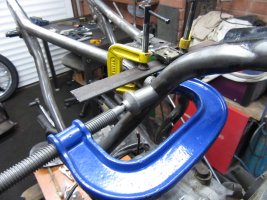
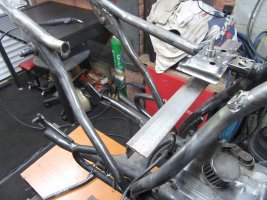
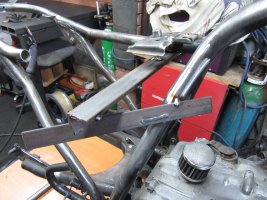
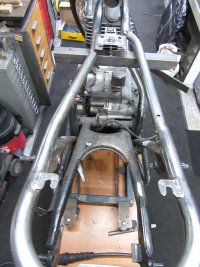
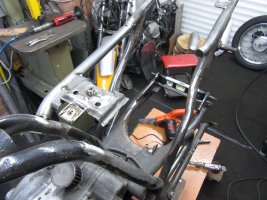
So there I was..........sitting there trying to warm up in minus 2 deg drinking a cup of tea when I decided I didn't like the way the top rails of the subframe narrowed and joined the main down tube. The rails sort of disappeared under the seat and it wouldn't look quite right when it was done? Bearing in mind this was supposed to be a quick turnaround project and I didn't want to cut too much stuff off............
So I thought about welding in some dummy sections as a quick fix, but trying the get the front edge to meet up back with the frame again didn't look right, even though its hidden under the tank?.............I know it there
So I thought about welding in some dummy sections as a quick fix, but trying the get the front edge to meet up back with the frame again didn't look right, even though its hidden under the tank?.............I know it there
Attachments
-
 20210119153854.jpg421.6 KB · Views: 146
 -
 20210117154059.jpg329.9 KB · Views: 146
 -
 20210117154353.jpg246 KB · Views: 140
 -
 20210117154409.jpg281 KB · Views: 148
 -
 20210117160044.jpg322.2 KB · Views: 142
 -
 20210117160050.jpg305.7 KB · Views: 141
 -
 20210117170331.jpg324.2 KB · Views: 134
 -
 20210117174205.jpg398 KB · Views: 150
 -
 20210117181544.jpg447.5 KB · Views: 147
didn't want to cut too much off................
Attachments
-
 20210119155913.jpg467.9 KB · Views: 139
 -
 20210119155917.jpg229.8 KB · Views: 137
 -
 20210119162620.jpg326.8 KB · Views: 135
 -
 20210119155927.jpg355.1 KB · Views: 139
 -
 20210119170008.jpg384.4 KB · Views: 133
 -
 20210119173249.jpg204.3 KB · Views: 136
 -
 20210119173252.jpg315 KB · Views: 138
 -
 20210119180501.jpg418.6 KB · Views: 136
 -
 20210119174045.jpg513.4 KB · Views: 136
 -
 20210119181718.jpg249.3 KB · Views: 139
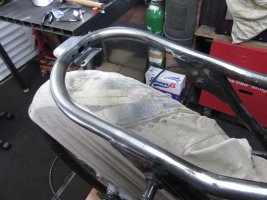
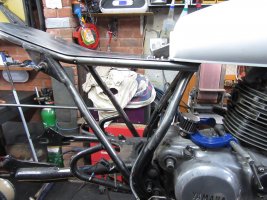
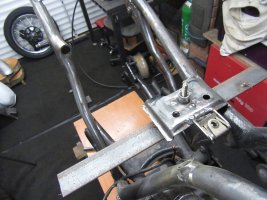
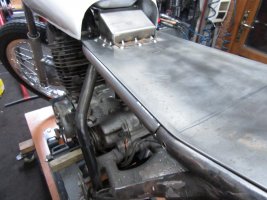
that's better........................can now drink my tea in peace
Attachments
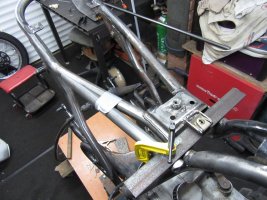
those lumps of wood I pictured a few postings back.................................................
Time for them to join the party....................the clean up is going to be epic
Time for them to join the party....................the clean up is going to be epic
Attachments
-
 20210123181756.jpg508.6 KB · Views: 134
 -
 20210123154307.jpg456.1 KB · Views: 134
 -
 20210123155804.jpg561.2 KB · Views: 139
 -
 20210123161738.jpg590.8 KB · Views: 145
 -
 20210123161756.jpg306.7 KB · Views: 139
 -
 20210123162853.jpg439.9 KB · Views: 139
 -
 20210123162901.jpg380.3 KB · Views: 141
 -
 20210123163742.jpg397.4 KB · Views: 136
 -
 20210123181707.jpg488 KB · Views: 146
remotorcycled
New Member
Many progress, enjoyed catching up on that. The subframe adjustment was a good shout man, looks better for sure!
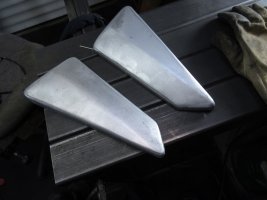
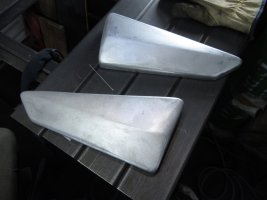
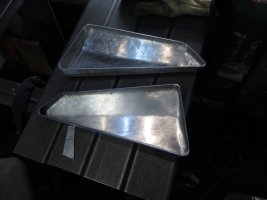
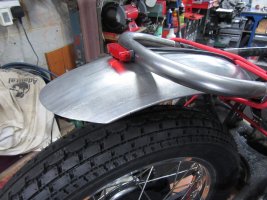
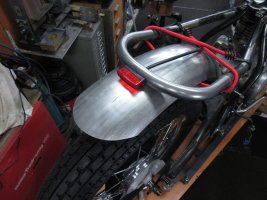
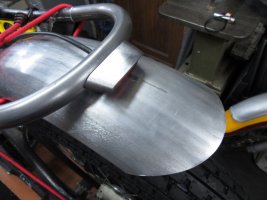
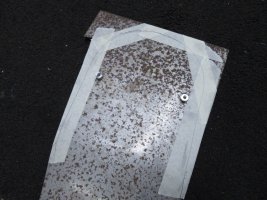
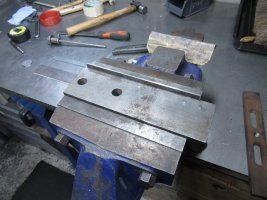
Making one was hard...................making an identical one was even harder!!.........Hats off to those metalworkers who make all them fancy compound curvy things !!
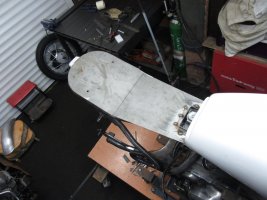
Everyday's a school day, quite satisfying turning a flat sheet of aluminium into something 3 dimensional with some hammers and some wood!
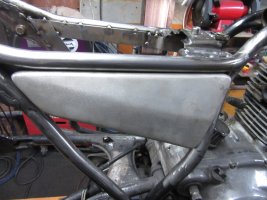
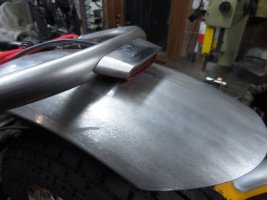
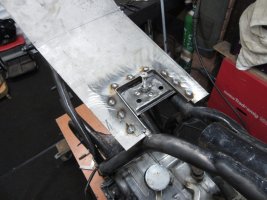
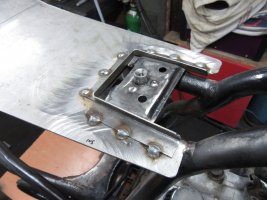
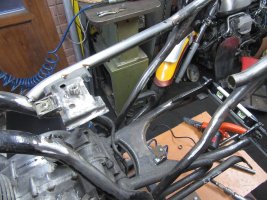
Had to get creative with some brackets to hide the fixings. That's where all the time goes in these builds, hours and hours of head scratching, measuring, cutting welding, grinding off re-welding then more grinding then getting it to look decent !
Everyday's a school day, quite satisfying turning a flat sheet of aluminium into something 3 dimensional with some hammers and some wood!
Had to get creative with some brackets to hide the fixings. That's where all the time goes in these builds, hours and hours of head scratching, measuring, cutting welding, grinding off re-welding then more grinding then getting it to look decent !