The Thunder Toad Cometh

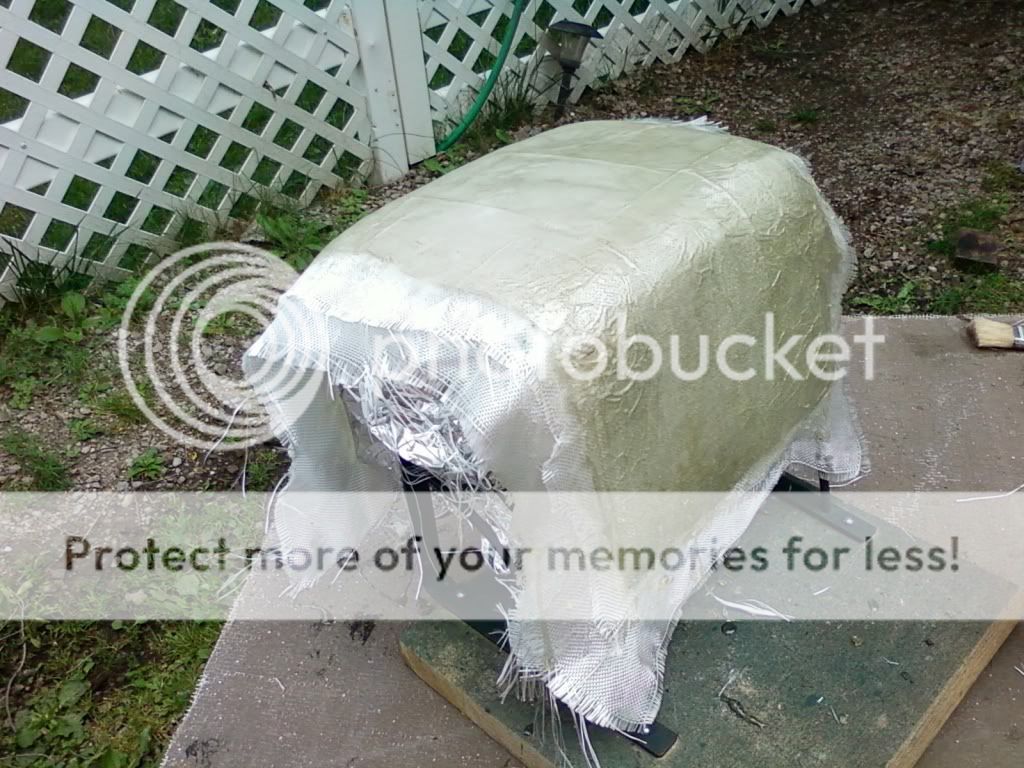
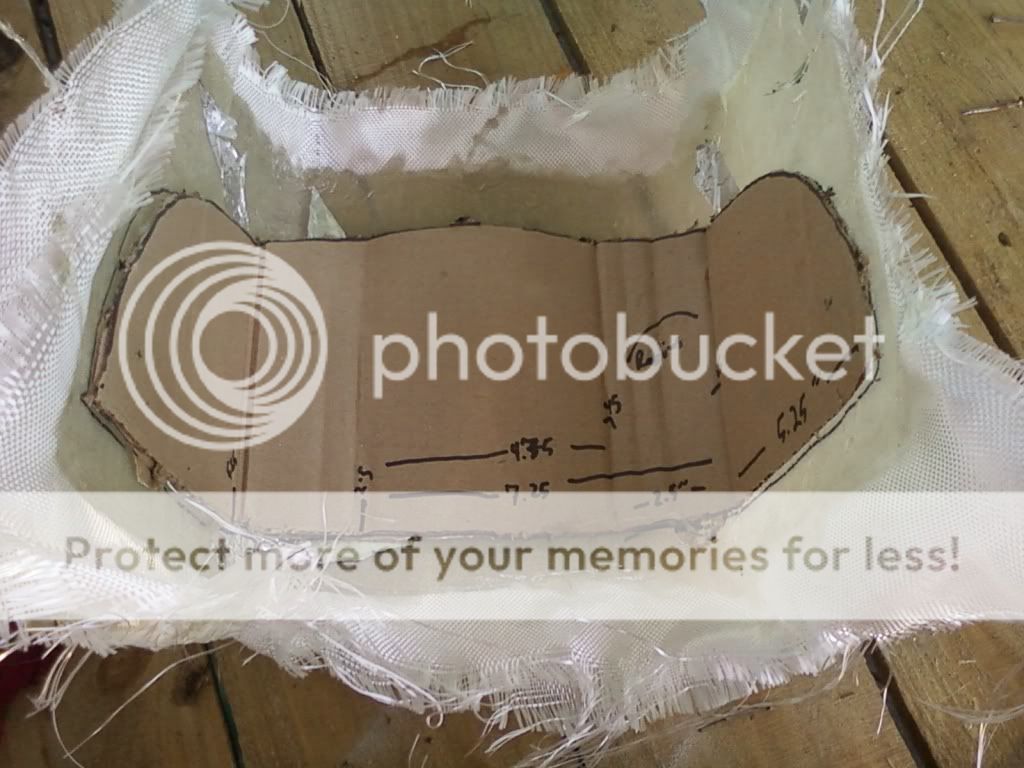
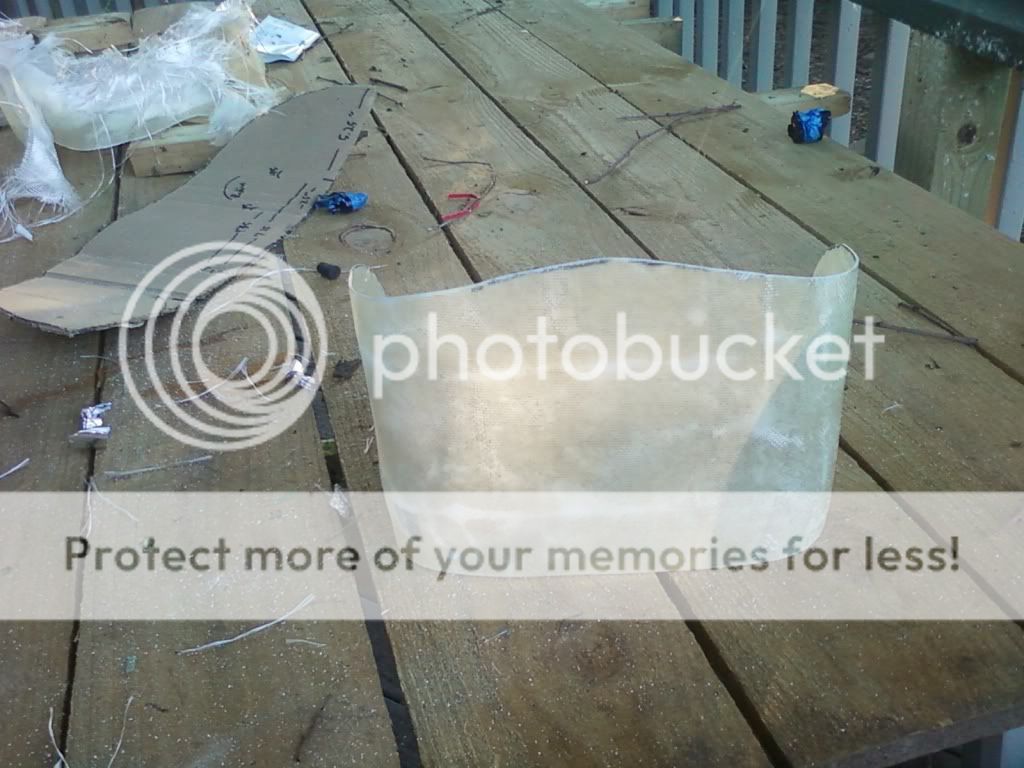
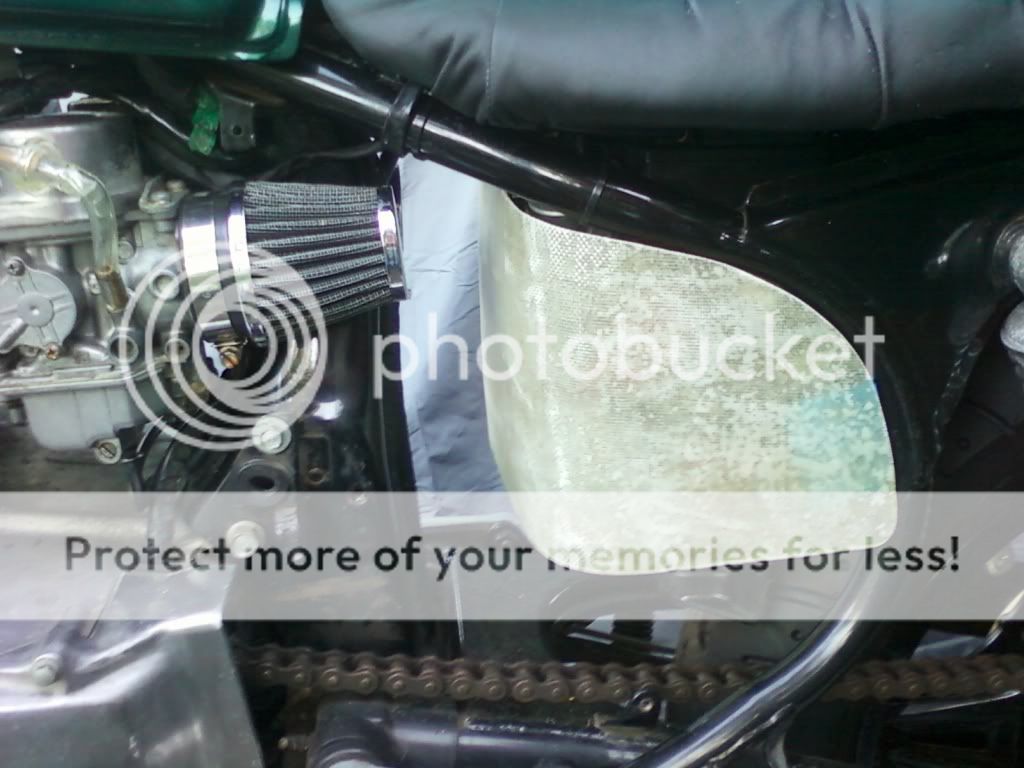
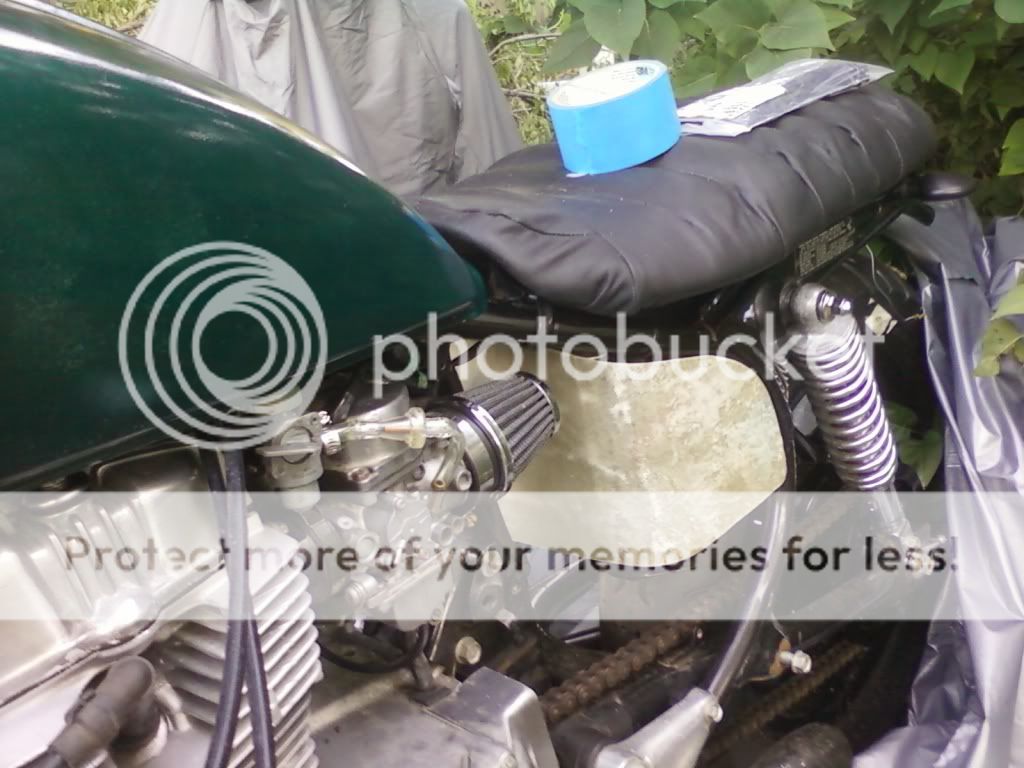
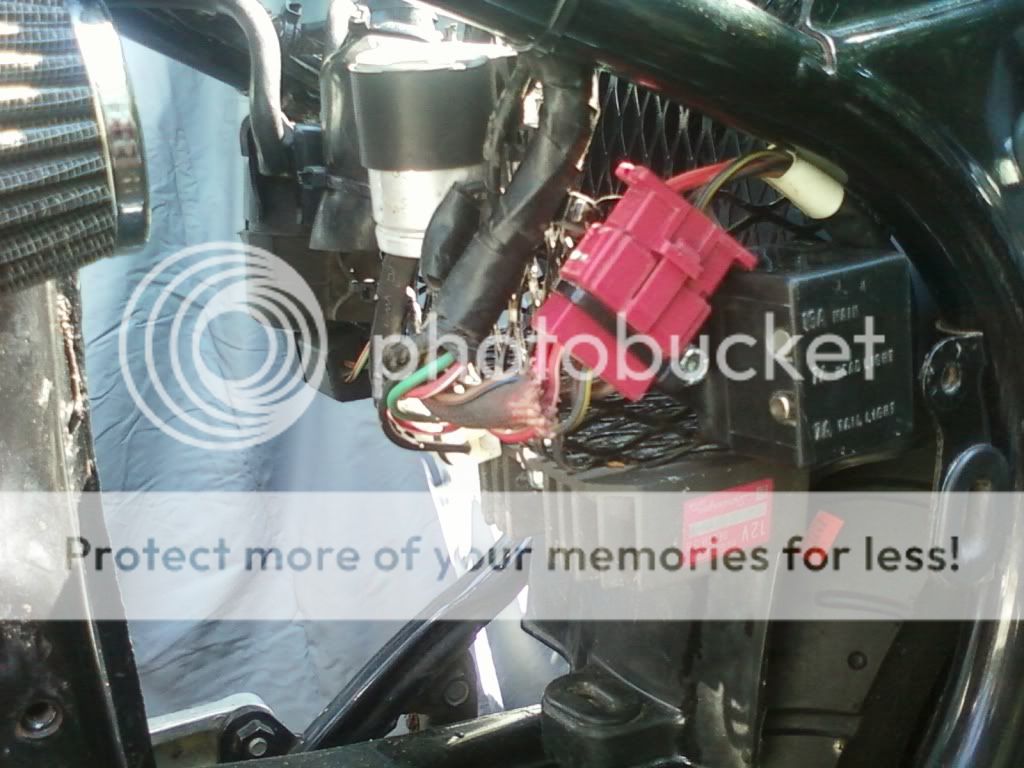
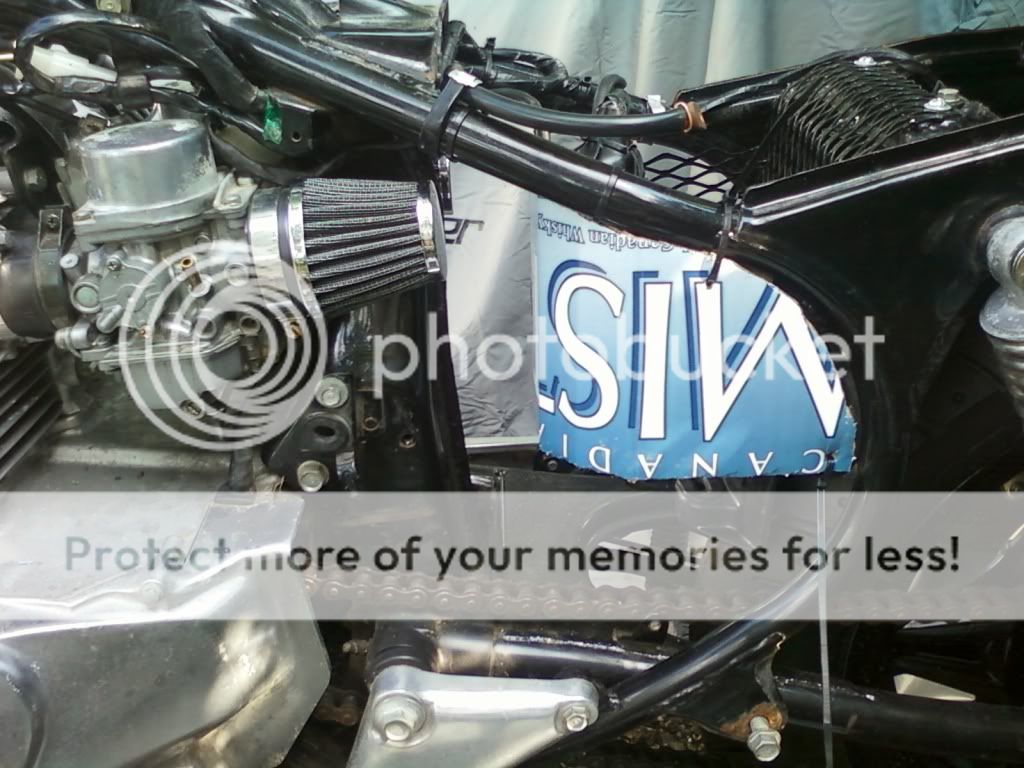
BMC - I've got most of the electronics hanging from the battery cage. I'll have to figure out later the best way to run wires, hang connectors, etc, but I think most of it will be attached to the battery cage and hidden by a fiberglass cover eventually.

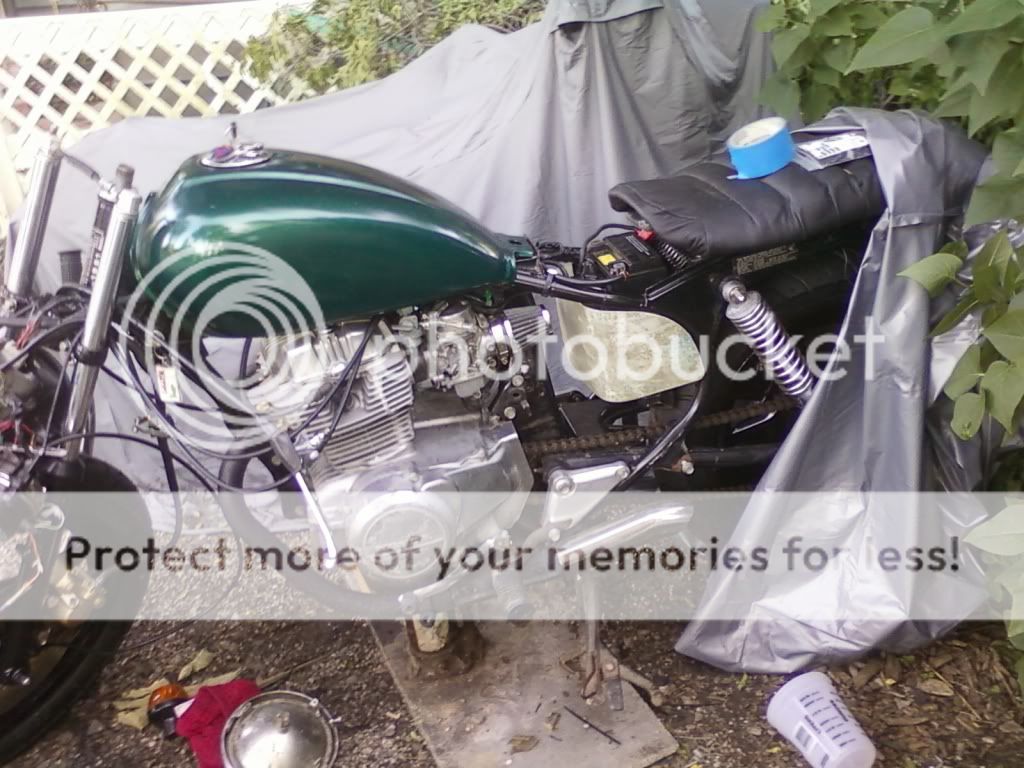
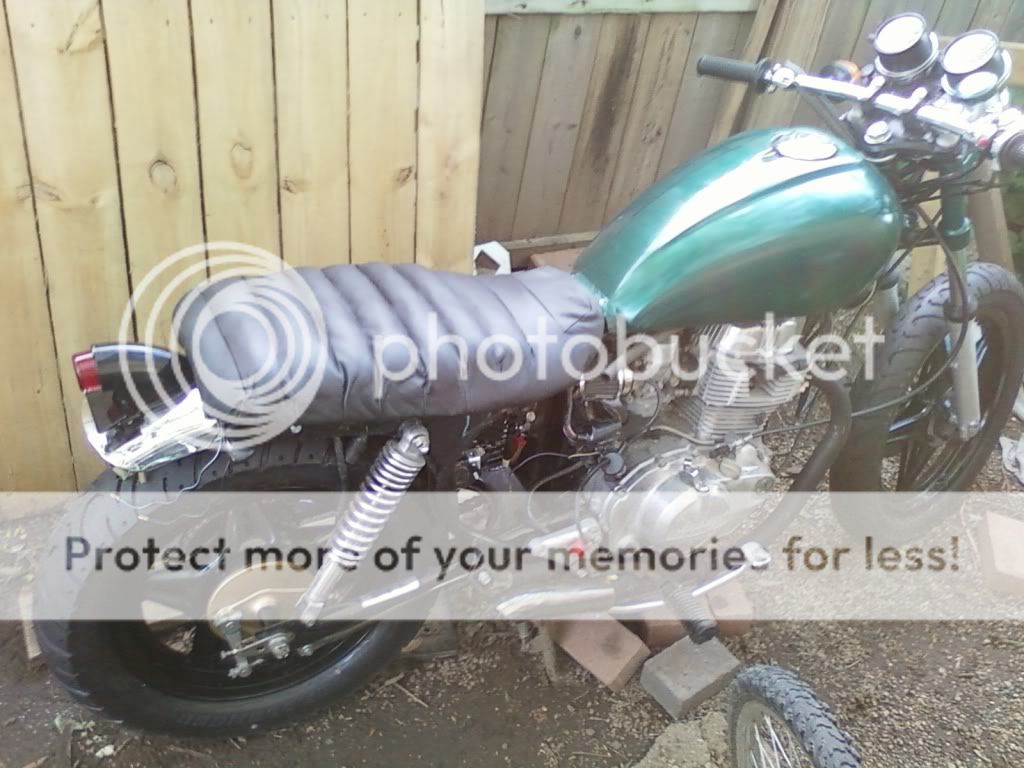
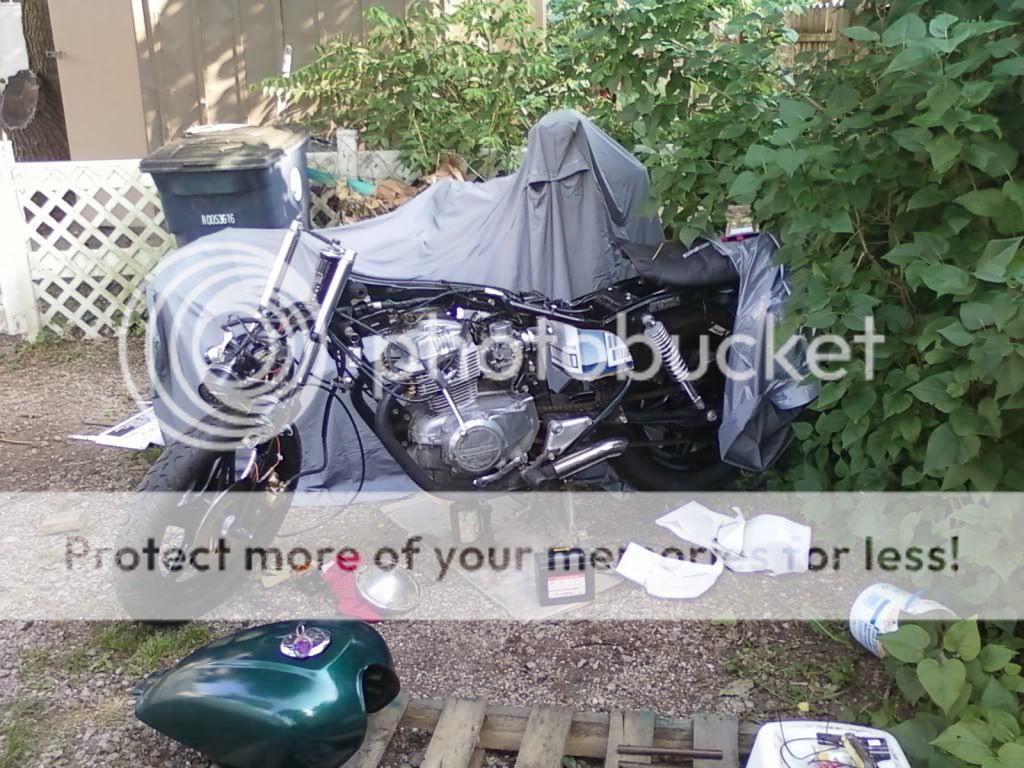
Today I managed to pull out of my hangover just enough to get some very satisfying work done. I got the wheels and brakes back together and on the bike.

Photo0224.jpg


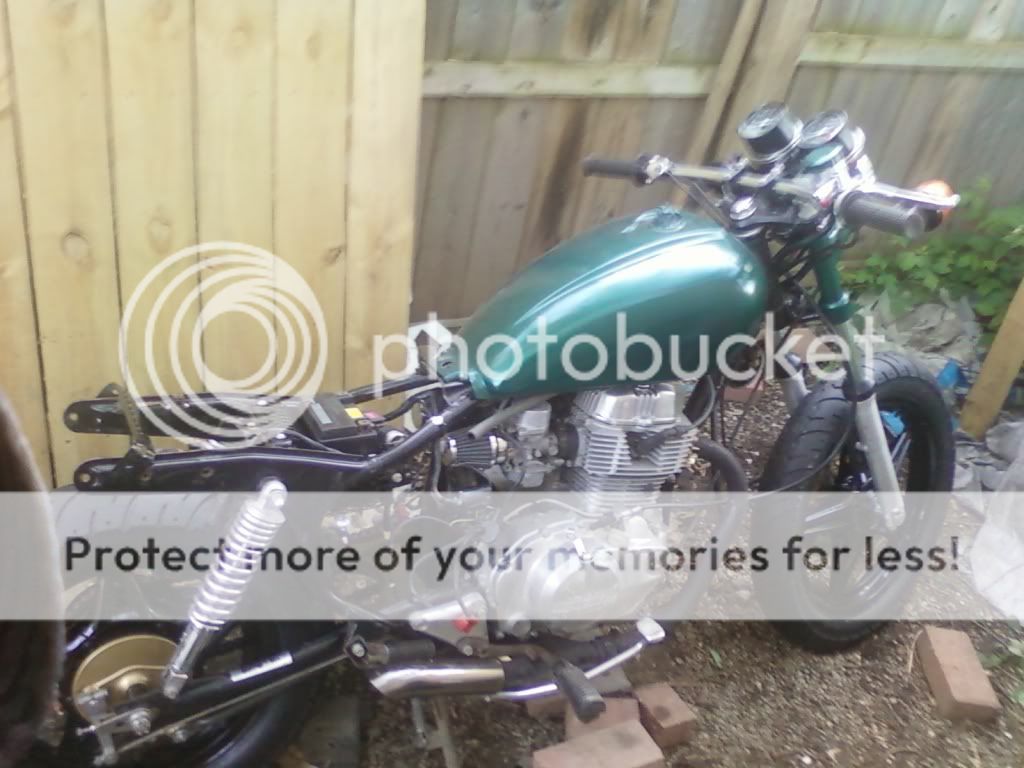
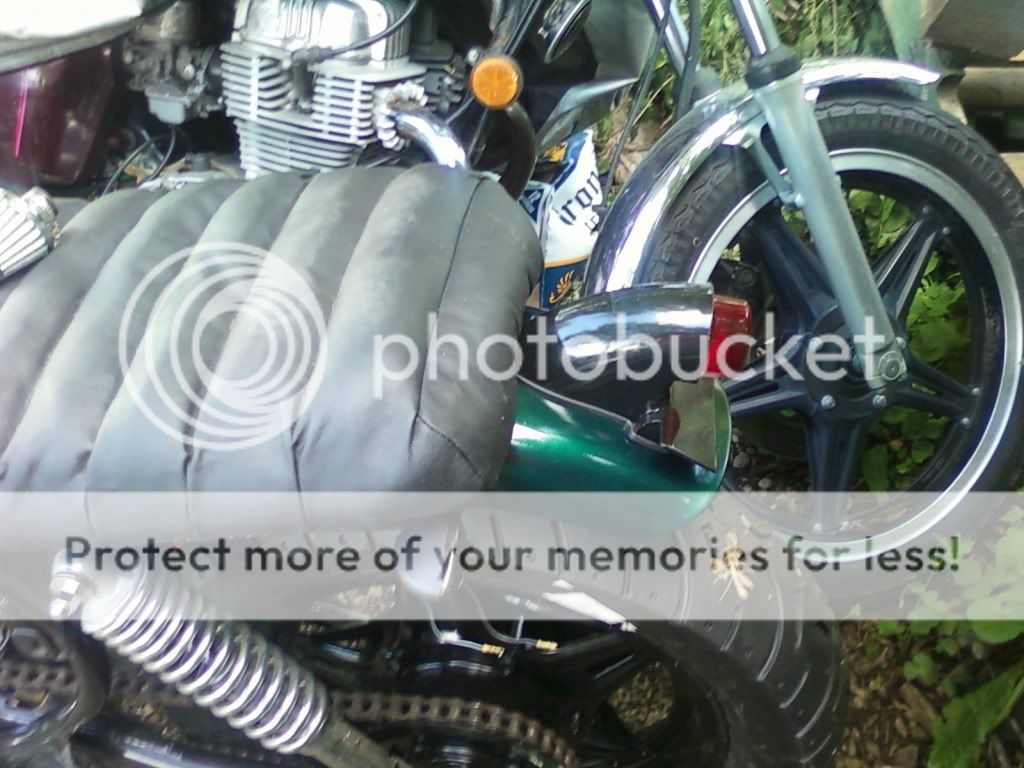
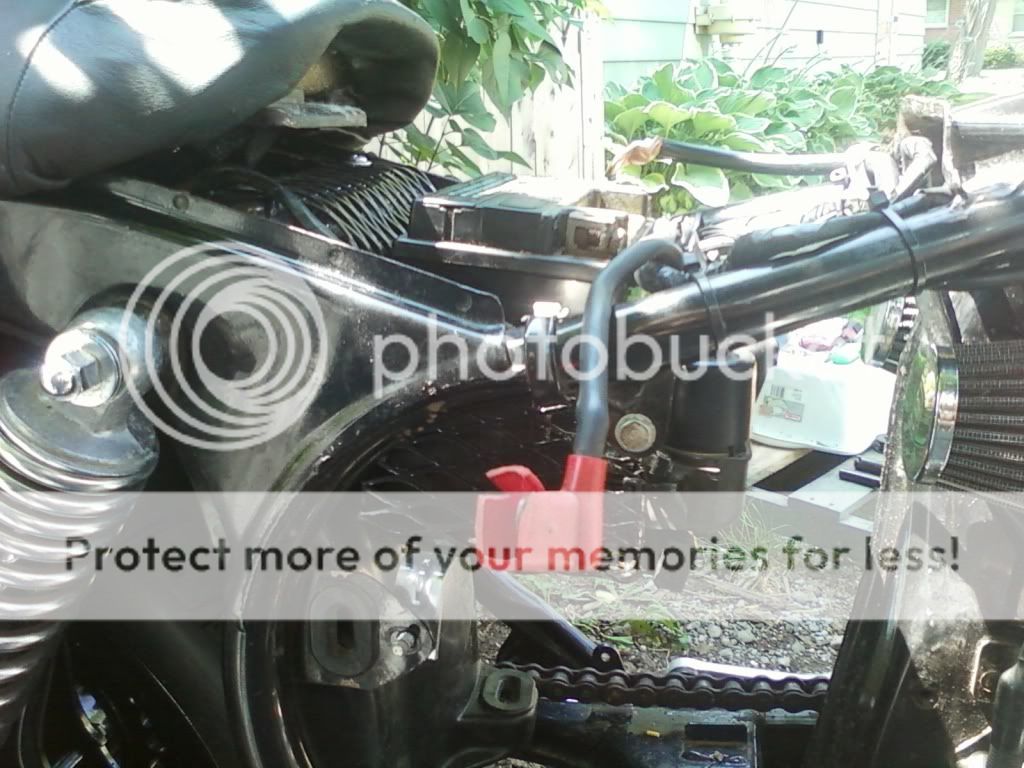
I'm thrilled with how the wheels and brakes turned out. These new tires look good with the bike too.

I'm not sure about the caliper. I painted it gold last summer to go with the color scheme since I wanted a colorful bike, but now I'm starting to be called by the siren song of all black.

Photo0225.jpg


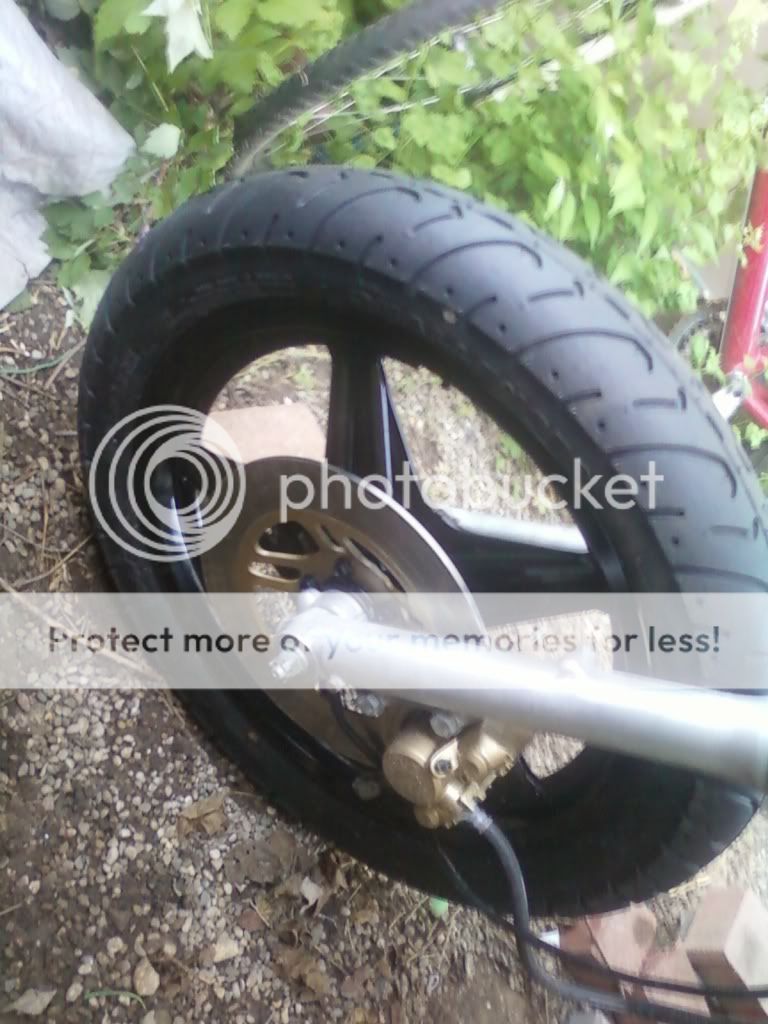
It's hard to see right now though. If the weather is good tomorrow I'm going to bleed the front brake in and wheel the Toad out into the driveway where I have more room to see and work on it.

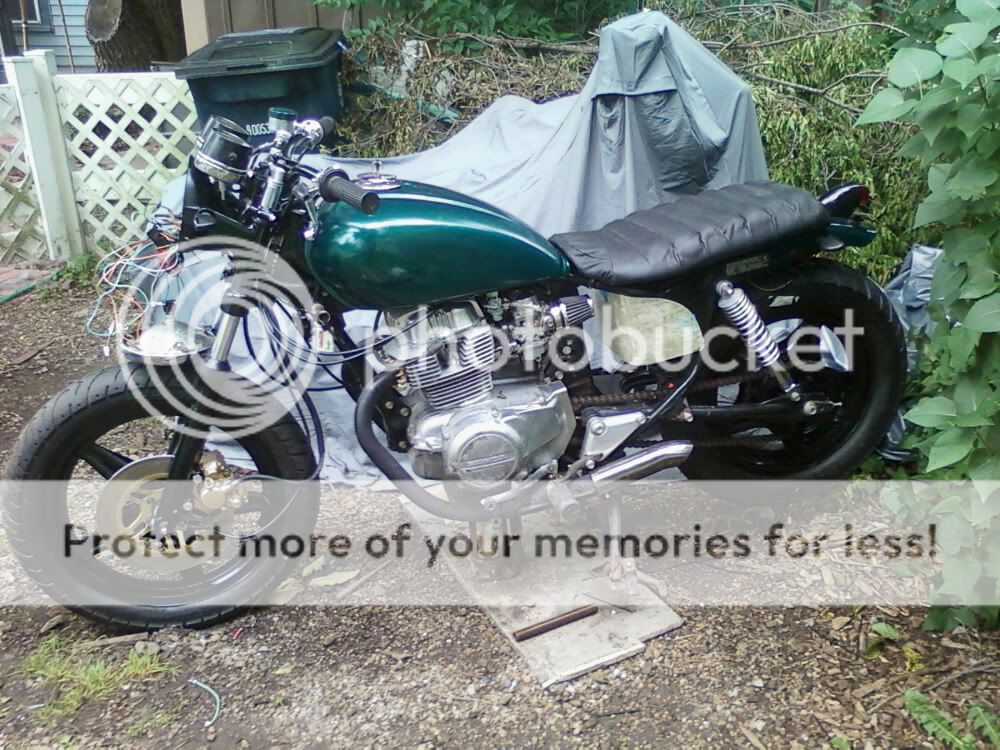
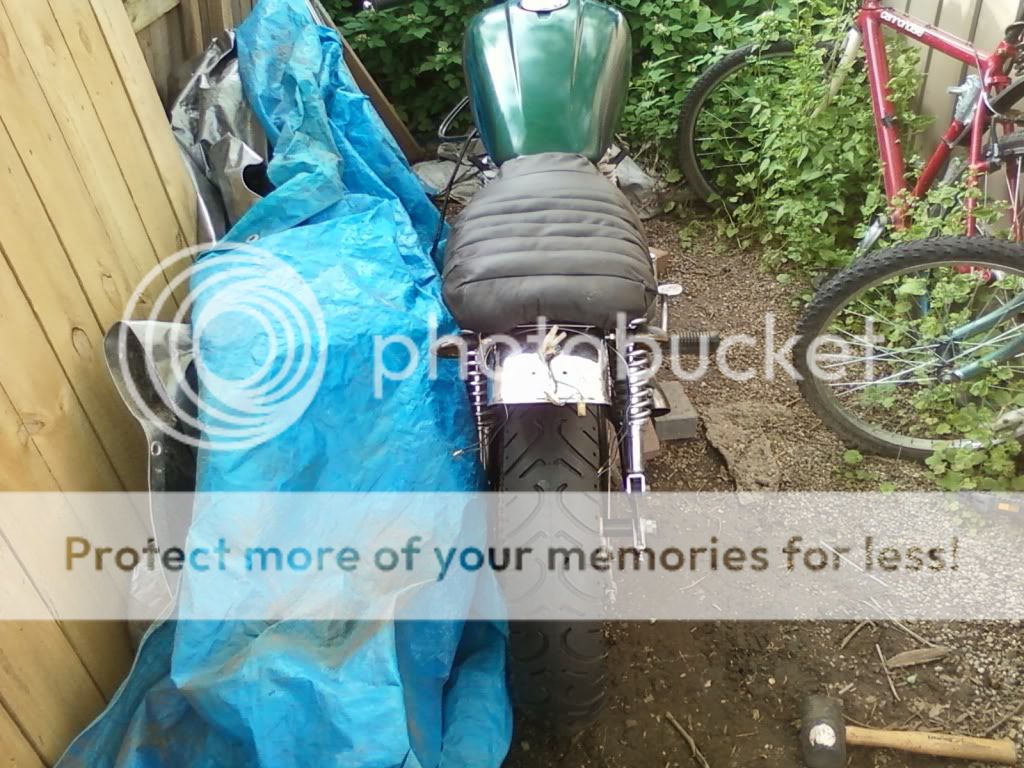
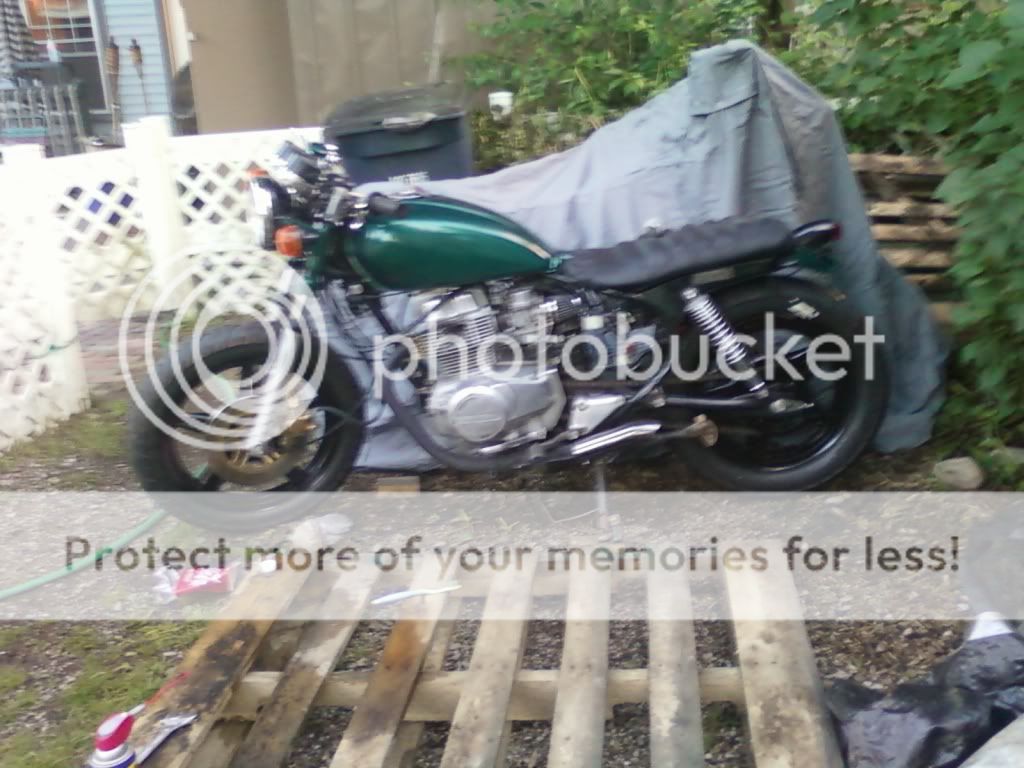
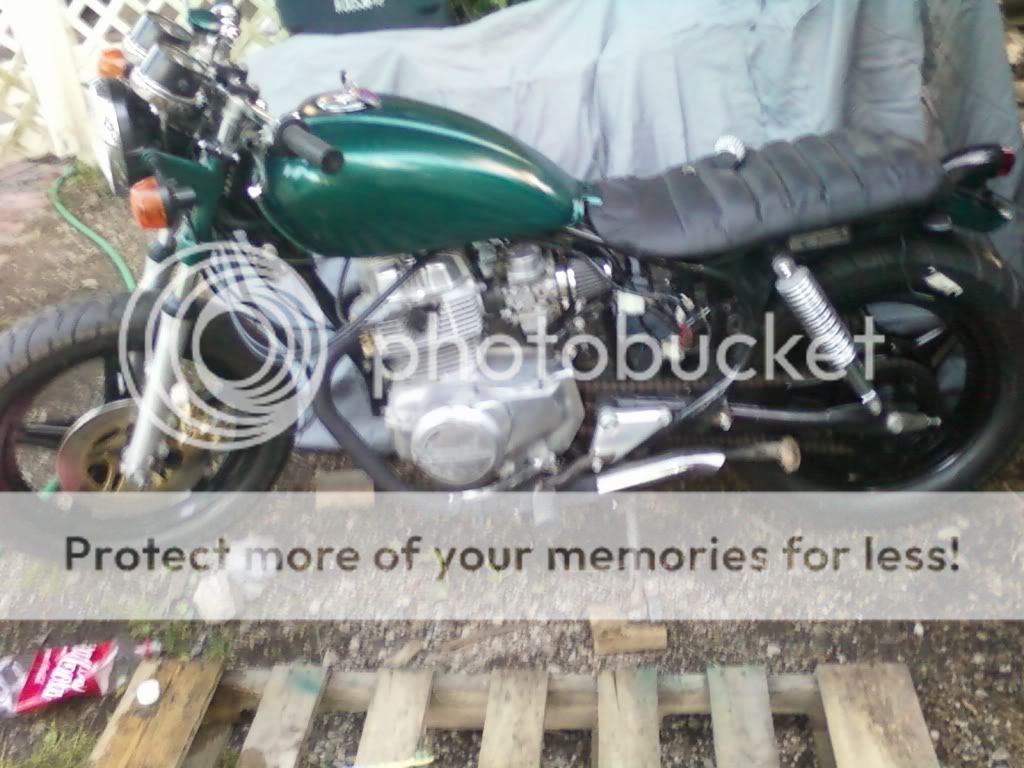
Here's a quick shot with the seat on the bike too. I'm pretty pleased with how it came out, but not 100%. May still monkey with it later, but overall I'll take it for a first shot.

Photo0230.jpg


Photo0229.jpg


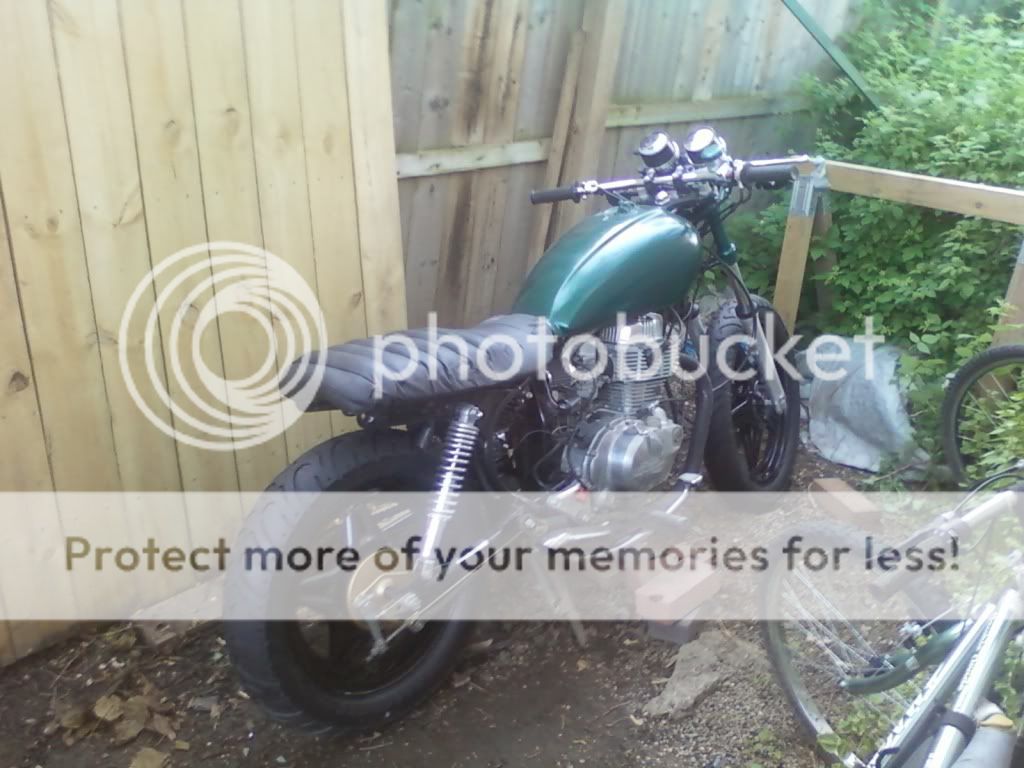
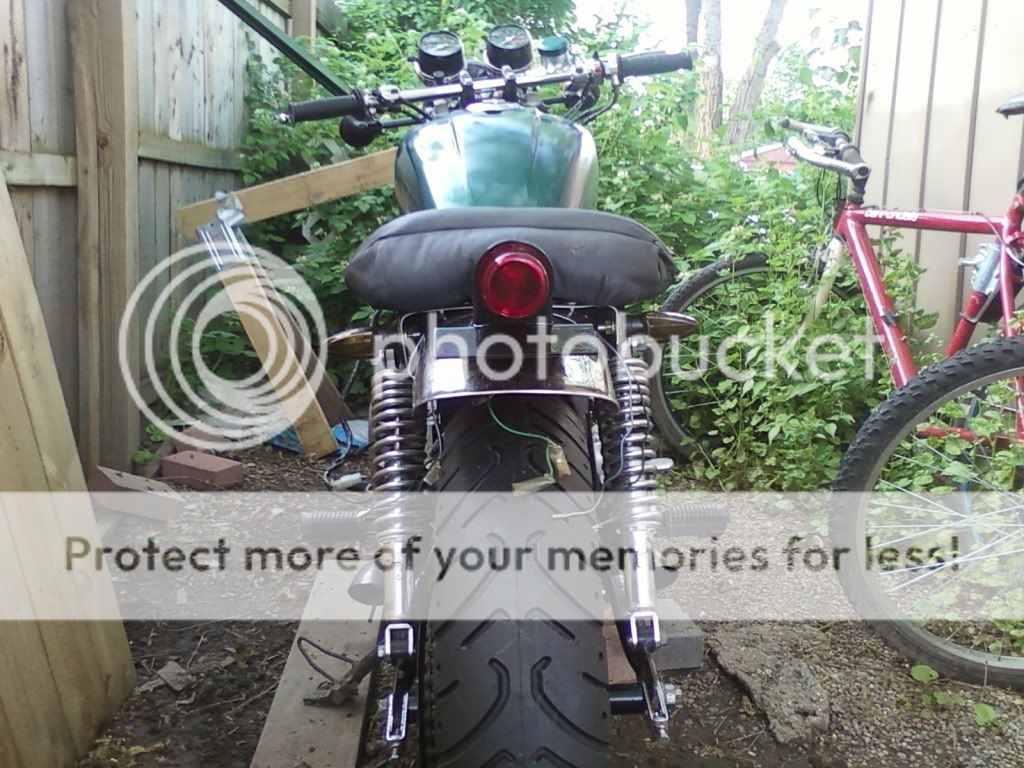
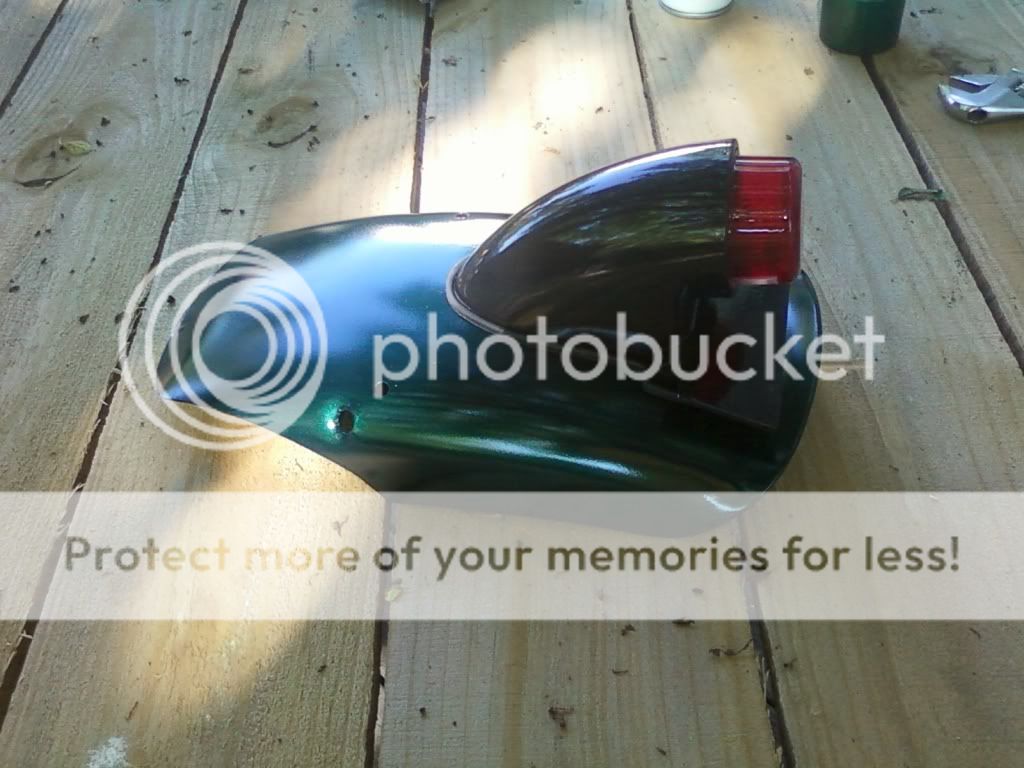
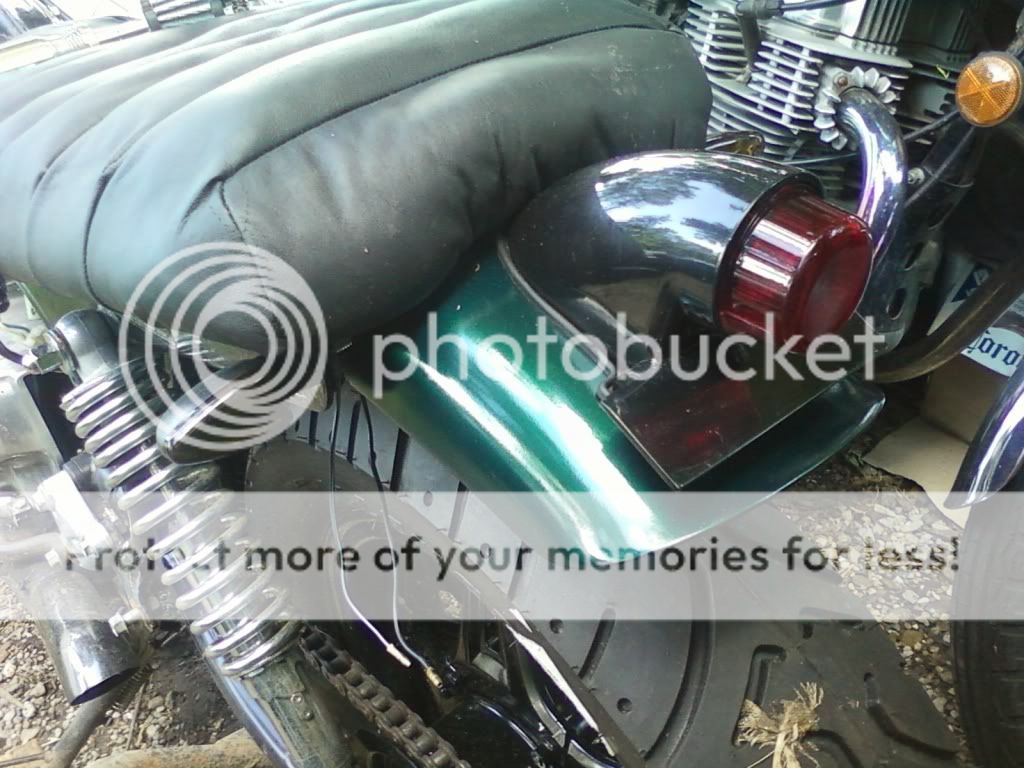
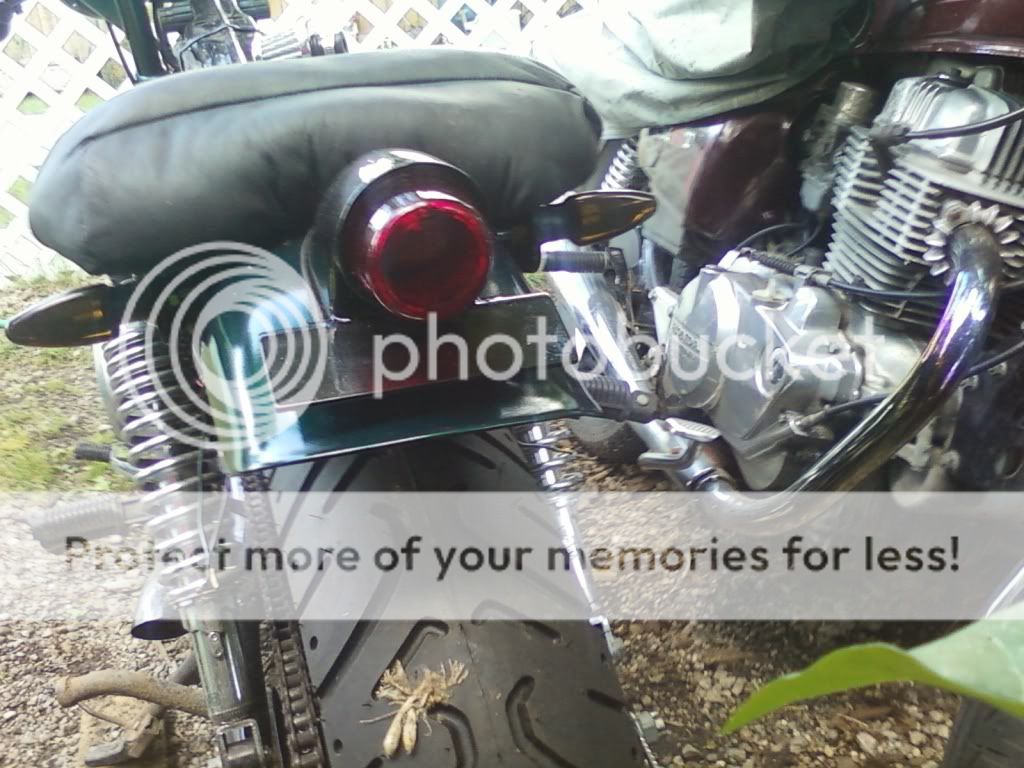
Once I get it into the driveway, I've got to figure out the rear fender/tail light situation. Still pretty unsure where to go with that...

Dan
 
Got the front brake bled in today. Managed to drip a little brake fluid and got a bad paint spot on the top triple, but otherwise no problems.

Discovered my petcock doesn't fit the tank. I thought they were a standard size, but the one off the stock tank is definitely too small. That'll be something to pick up from DCC.

Right now the big problem is the rear fender/tail light situation.

I've got this

62-30393-vintage-cafe-racer-caferacer-bobber-brat-chopper-streetfighter-motorcycle-parts-classic-black-sparto-taillight-top-left-profile.jpg


and these

61-83742-vintage-cafe-racer-caferacer-bobber-brat-chopper-streetfighter-motorcycle-parts-mini-arrow-turn-signals-blinkers-base.jpg


from DCC.

The signals are easy enough. I had planned on mounting the light on the fender, which I had hanging loosely since the original mounts are gone. That wasn't a good solution and I was considering going without one and just using a sidemount light, but I think it needs something. Right now I'm considering affixing a small piece of the original fender to the seat somehow so that it just sticks out far enough to give a finished look and hold the tail light.

Any thoughts on the fender situation would much appreciated. Tomorrow I may start tinkering if I get some time.

Dan
 
The tires look great against those Comstars you painted. Diggin 'em. I also like the tail light. Good choice.

Is that front tire the biggest it can go? I'm starting on my brother's CM400 soon and he wants the max on both tires front and rear. Think I may go with a set of Challengers like my pops has on his Kawi.

It's so strange -- I have a CB400A and I thought the CM would be pretty much the exact same bike. They both have the funky frame. The thing is, the CM is more tough, IMO, to work with. The side covers suck, the tank isn't as cool as the CB Hawk's, they changed the wheel sizes, etc. Ugh! I'm so thankful to see a thread like this before I tear into the bike. I definitely want him to ditch the airbox. You're making this work so far. Props, man!
 
Thanks for the kind words.

These tires are the same as stock size. I decided not to mess with other sizes so that they don't affect performance. I can tell you that the stock wheel size on this bike made finding any matching tires a pain in the butt. Not so many choices unless you're willing to go with slightly different sizes so if you're looking for bigger you may be in luck. If I ever get a bug to really change the tires, I may also switch wheels to give myself more options.

Also, these tires were pretty darned cheap. I got the set for less than what a single tire costs in lots of places, that made the decision much easier.

Yeah the CM frame has been a little bit of a PITA, but it isn't too bad as long as you aren't set on a traditional cafe look with the flat seat bottom following the flat tank bottom and the frame rails matching perfectly. The engine and mechanicals are very simple though. These CMs (the Toad started as a parts bike for my daily rider) are my first bikes and I've had very little trouble learning about bikes by tearing into them. If you already know about bikes, working on your brother's will be simple.

Dan
 
Alright, I didn't find the hardware I was looking for to do the fender, but I figured out a much better (and shoulda been more obvious) solution.

I just bent some galvanized strap, connected it to the frame with the turn signals, and attached my cut-down fender with short bolts to the strap.

Mockup:
Photo0234.jpg


Then mounted the tail light to the fender.

Again, mocked up, nothing has been tightened into place:
Photo0238.jpg


I sort of wish I'd left another inch or two of length on the fender, but I'm pretty happy for now.
Photo0237.jpg


With this setup I'm going to eliminate the other strap that was holding the seat in place. I'll also eliminate the bolts on the seat that go through the strap since I was worried that they may puncture a tire if I bottomed out.

I also need to paint the strap and set up some velcro on it to hold down the back part of the seat.
Photo0240.jpg


Now the question I have to deal with is color. I kind of like the chrome, but it has lots of scratches and the cuts (under the seat) neet to be finished since some of them are already starting to rust.

I'm trying to decide between black (classic, but might get lost with the seat and light), green (continues from tank, but might be too much), gold (goes with brake color, but might be odd for the fender), something else (chrome spray?).

Any thoughts on color?

Dan
 
Nice bike so far. If I may recommend Some things. I would narrow your seat and shorten it. shorten it to the end of the frame not much but just a little. then shorten the fender as much as possible and still be able to mount the taillight. and paint the fender green to match the tank.Something like the photo I have posted. Just my two cents. I know you already have the seat covered and all but I think a little modding of the seat will yeild a better looking bike. Keep it up.
 
Ooooh, that's a pretty bike. Gravel Crew has been a big inspiration for me in thinking about how I want things set up.

Once I get things tightened up I'm going to see how the seat feels. The trophy wife wants to be able to ride on back so I can't go too short, but might be able to lose an inch or two. I was already thinking of narrowing the front a little bit. Right now the cover is held on with Super 77 so it will be fairly easy to take off and redo.

Thanks for the input, I'd about written off green but that pic has me thinking again. The higher bars might also convince me that flat trackers could be cool....

I have a feeling this project will never end but keep evolving slowly.

Dan
 
Alright, I've been tinkering here and there and got a few things done.

I was really into that GC bike and wanted to do a gold trim on the back of the fender and part of the tank, but kind of fucked up the tank trying to get a hand-painted pin-stripe down. Covered it with green and figure I'll stick with all green for now, maybe more detail down the road.

Anyhow, did get the fender painted up. I'm pretty pleased, my painting skills are definitely getting better.

Photo0273.jpg


Photo0280.jpg


Mounted up just right, but I may still narrow the seat a touch more.

Photo0281.jpg


Photo0278.jpg


Tried to get some good profile shots, but it was getting dark and the cameraphone needs light.

Photo0284.jpg


Photo0285.jpg


In other news, got the tank cleaned, picked up a 17mm petcock for it, moved neg bat cable to a better location, some other stuff.

One big problem I need to face soon is the handlebars. I love the drag bar look, but the tank is just too wide. I've rotated the bars all the way up so they barely clear and now it looks kind of dorky. Soon I'll need to make a decision. Risers, trackers, low apes, z-bars, something else... Leaning toward something low for now, but the tracker suggestion earlier may have been prescient.

Dan
 
Years lying Dormant
Highway calls, beckoning home
Thundertoad rumbles

Click pic for vid

Click pic for vid

Spitting sputtering
Slowly coming back to life
Adjust the air screws
 
Super cool. Really enjoying this build. I think you should paint the front shocks black. That would really make this bike look mean.
 
Thanks man! It's funny you say that because just yesterday my wife was looking at the bike and said maybe I should paint them black. I guess when you get similar advice from lots of angles, maybe you should listen...

All I've really got today is the Youtube version of the vid from my last post so people don't have to click through to another site:

ThunderToad Rumble

The more pressing issue right now is the bars. I have been going back and forth on them and they definitely have to change. I personally dig the drag bar, so I thought seriously about going with some sort of risers. I was thinking of 3" dog bones, but they might be sort of out of place on this bike. Now I'm thinking I'll just take MideAdamsTattoo's advice from upthread and grab a black tracker bar then run my wires through it before mounting. That will also allow me to lower the front a bit more if I want to and have more room for stuff in general.

Anyway, it's Sunday so I figure I have until tomorrow morning to make a final decision. I'll think a little more.
 
Thanks for the input. Steering stops are a good idea, but I like having the full steering range available, if for nothing else for maneuvering in and out of my tight parking situation.

I ended up committing to a set of black superbike bars from BikeMaster. They're like the DCC tracker bars, but with less pullback. The geometry is basically identical to the drag bar, but with a three inch rise near the center. I should get them at the end of the week so we'll see how they look on the bike then.

I also listened to all the advice and painted my fork lowers with black appliance enamel. Going to enamel the top tree again (damaged with brake fluid), and run my wires internally before mounting the new bars.

I really want to run microswitches on the handlebars to clean them up even more, but I've been experimenting on my stock bar (rusty, going to get rid of anyway) and most of the switches I've found simply won't fit into a 7/8" bar. I ordered one though that is a little smaller and will screw into the bar if it's tapped.

Like this:
part_213966.jpg
I'm going to try tapping my stock bars to see if there is enough metal there and if it doesn't work, I'll just use the switches I have but drill for running internally.

Hopefully I can get all that together this weekend. Until then, just waiting on the postman...

Dan
 
A few quick updates.

Postman finally came. That switch is going to work great, but I broke it testing so I need to resolder or get another one. You can see my status update on that here:

http://www.dotheton.com/forum/index.php?topic=16438.msg170213#msg170213

Got the top triple, headlight ears, and handlebar mounts repainted (black appliance), but they're taking forever to cure up. It's been super humid here so I'm sure that's why.

Also got my black superbike bar in the mail, but can't mount it until the triples etc are dry.

The one big accomplishment this week was getting the electronics more or less squared away. I moved them around to get everything as compact as possible and hide all the connectors.

Photo0297.jpg


Photo0302.jpg


Only had to splice and extend one set of wires, otherwise I was able to use the stock wiring entirely. Oh yeah, and a longer neg battery cable.

Now that those things are in place it's time to start working on a cover. I've decided to go very simple, just a curved sheet of fiberglass with no bottom or lips or anything. So I started by making carboard patterns and a full mockup.

Photo0304.jpg


Photo0306.jpg


Photo0308.jpg


Used the shape and measurements from that to make a form out of florist foam

Photo0315.jpg


Since I'm not putting a lip on the edge or a bottom, I didn't cut the full shape into the form, just the curve. Once it is set in glass, I'll use the cardboard pattern to trace the shape and trim it out.

I had this all ready to go Friday afternoon when I got smacked with a cold or something. :mad: 
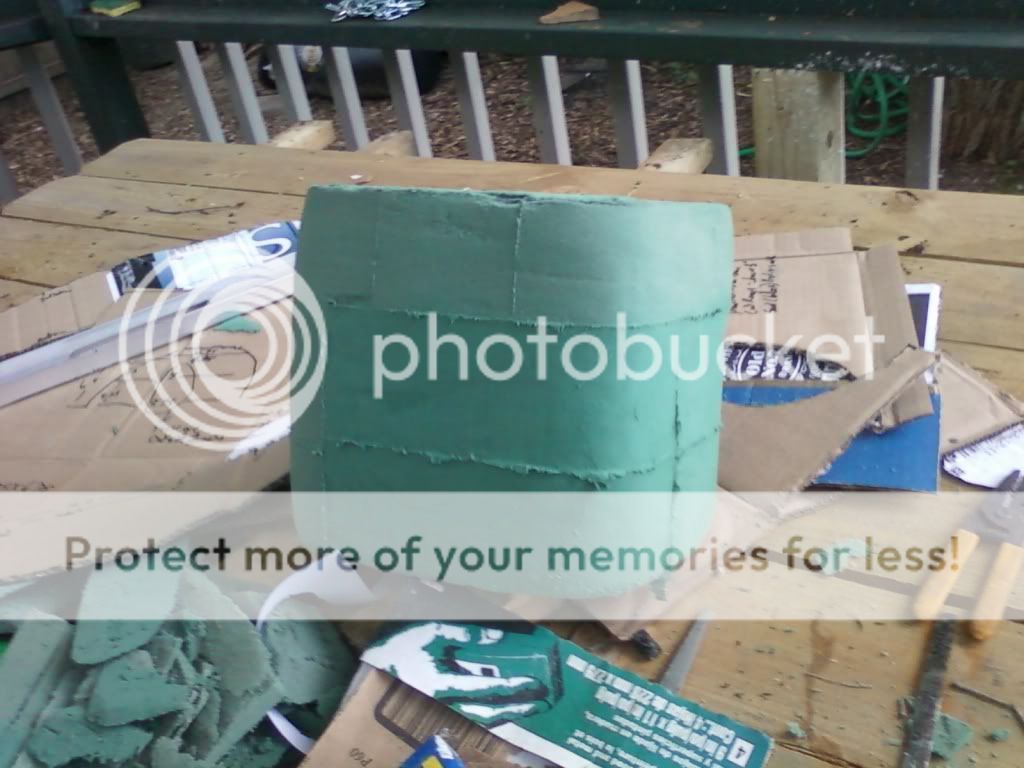
Didn't really feel up to playing with chemicals the past couple of days, but this afternoon I was feeling well enough. Actually I couldn't take sitting on my butt any longer and just went outside to do it regardless.

Anyhow, I got the glass down about an hour ago.

Photo0328.jpg


This time I used only three layers of woven cloth. Normally I would use some chopped mat and maybe a fourth layer, but this piece won't take much stress and won't bear any weight. In fact a little flex might be good for getting the perfect fit and the woven will give a smoother finished surface, which will hopefully mean less sanding and bondo. I'll know how it turned out in a couple of hours.

I'll report back once I start getting things cut to shape.

Dan
 
Alright, I got motivated a little earlier than I thought I would.

Popped the glass off the mold with no problem. This stuff is super flexy. I think that's good, but wow it's really bendable.

Anyhow, popped it off and transferred the shape from my cardboard template.

Photo0333.jpg


Some cutting and sanding...

Photo0339.jpg


... reminds me of WonderWoman's belt.
wonderwoman.jpg


Here it is held in place with masking tape. Eventually I'll probably use DualLock or velcro.

Photo0341.jpg


Photo0342.jpg


Photo0340.jpg


I think it's going to work.

A little more shaping tomorrow, then some sanding and the dreaded Bondo smoothing layer. I'm not looking forward to that, but hopefully it won't be too bad since the piece is already fairly smooth.

Can't wait to get some color on this thing!

Dan
 
Gold is a good idea. When I started this project I wanted to do a bike with some color instead of just another blacked out bike with lower bars. But obviously I've started to appreciate the blacked out bits. Maybe the battery cover is the perfect place to splash a little more gold.

I've been thinking of doing a two-tone thing with gold and green, maybe I'll start with the gold to see what it looks like and go from there.

Anyhow, while the site was down I got title, tags, and insurance, so the Toad is all legal now. Also got my front end mostly back together and I'm all but finished with the re-re-wiring. One or two minor kinks to work out there and I'll be ready to go. I was going to take today and get things done, but it looks like T-Storms all day. Quelle dommage!

I'll update with pics as soon as the weather clears.

Dan
 
Since I don't feel like working and it's too rainy to go out and play, I did some photochopping.

Here's the most recent mockup of the wonderwoman belt:
Photo0347.jpg


Here it is in gold(ish):
gold.jpg

I couldn't get the color quite right, prob look better IRL

In green:
green.jpg


And my personal fav, two-tone:
twotone.jpg


I'll probably end going for something like the last one eventually. Still have a ton of sanding and smoothing before I can even start paint though.

dp
 
whats up,

looking good, i like the green but same color as the tank.
would look good with out the gauges though, took them off my cb500 and just have the bars and light, killer. just need a digital gauge set up, a gps will work. i right now don't use any thing.
any way, looking good.

are you thinking on getting rear short springs???
later.
 
Back
Top Bottom