Tune-A-Fish
BOTM LOSER Proudly Deplorable
Nj732port said:these and the yoke?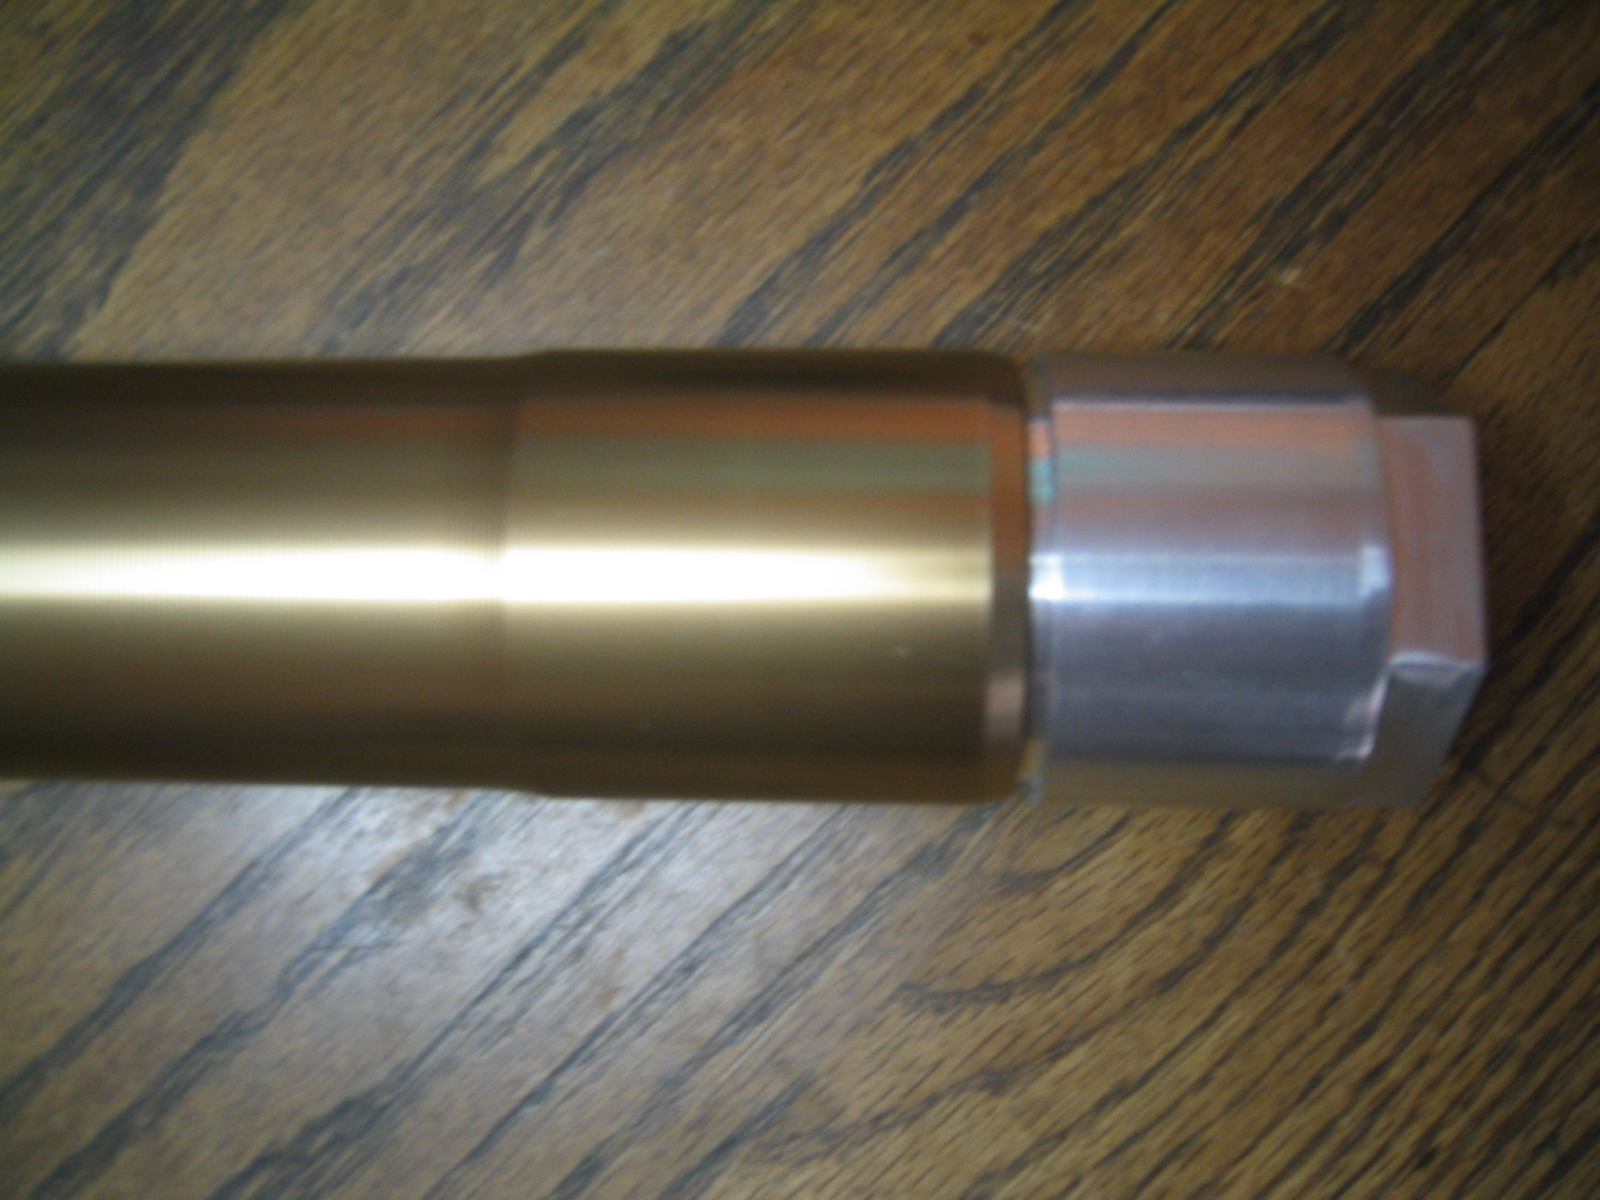
Never seen that before on 50's
 might be the cheap way out.
Nj732port said:these and the yoke?
might be the cheap way out.Bevelheadmhr said:I'd go for a stepped top yoke... something like this.. or extend the fork legs maybe
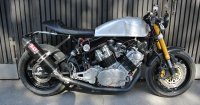
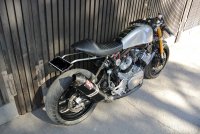
No thats not true, the lift occurs further back than zero in the wheelbase, at the neck, and for this reason if he gets the front up 2 inches it will almost raise the front of the motor 2 inches as well. If you will notice, the case is lower at the front.farmer92 said:his engine is in the middle of the bike, so for every inch he raises the front he will only gain 1/2 of that in the middle...
Good point, But the neck is still further out front than the engine, looks to be inline with the back of the front tire, so he'll gain probably 90-95% of the liift from that, but the cosine of his rake angle (i used 25* for this) means he only gets 90 of the added for length upwards.DohcBikes said:No thats not true, the lift occurs further back than zero in the wheelbase, at the neck, and for this reason if he gets the front up 2 inches it will almost raise the front of the motor 2 inches as well. If you will notice, the case is lower at the front.
That's why i said almost, while correcting you. But, you're welcome for the education. Next time you'll know.farmer92 said:Good point, But the neck is still further out front than the engine, looks to be inline with the back of the front tire, so he'll gain probably 90-95% of the liift from that, but the cosine of his rake angle (i used 25* for this) means he only gets 90 of the added for length upwards.
Like you said though, raise it the 2 and go from there.
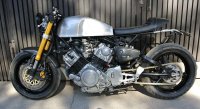
Hooray! I'm glad I could help. I love the bike and I'm glad you're enjoying it.LazyOx said:Took her out for a spin, pretty sweet 8)
The torque is strong and available instantly,SUCCESS, thanks again XVracer for the jetting tips, it's almost flawless, lets see if I need to make changes as the stock airbox and filter are gone.
Feels a lot like the Ducati 900ss my friend used to have, just looks cooler ;D (sounds are a draw)
Might need to get stiffer clutch springs as it felt like it might have slipped, or then it was wheel spin, it's only 8 degrees outside.
Still need to get rear lights and brakes working, gauges and misc electrical stuff.
Tune-A-Fish said:If you find that bearing let me know the source. I have an FZ6 wheel with the same issue and no common bearing makes the 22mm axle work. The next step is to cut the wheel to accept the R6 bearings, then still need another 1.5mm added to each spacer.

datadavid said:That old hedlund design sure is beautiful!
Brw i thought all finnish guys and their grandmothers were expert welders?