V Star 650

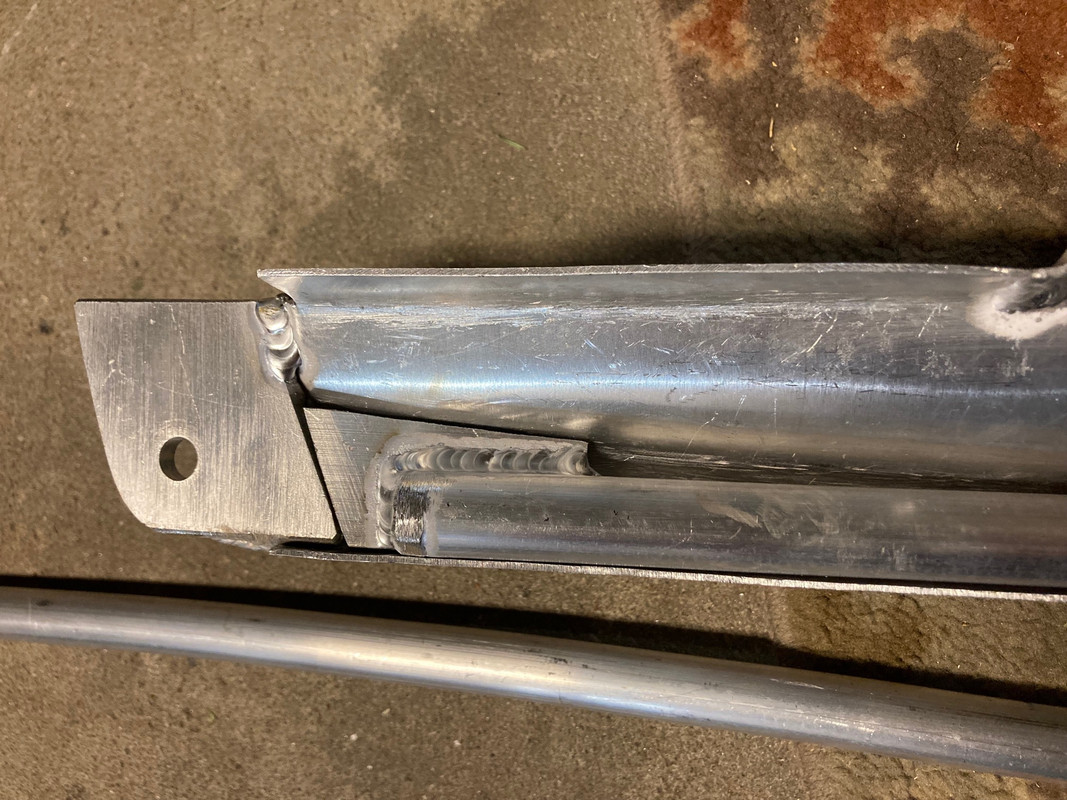
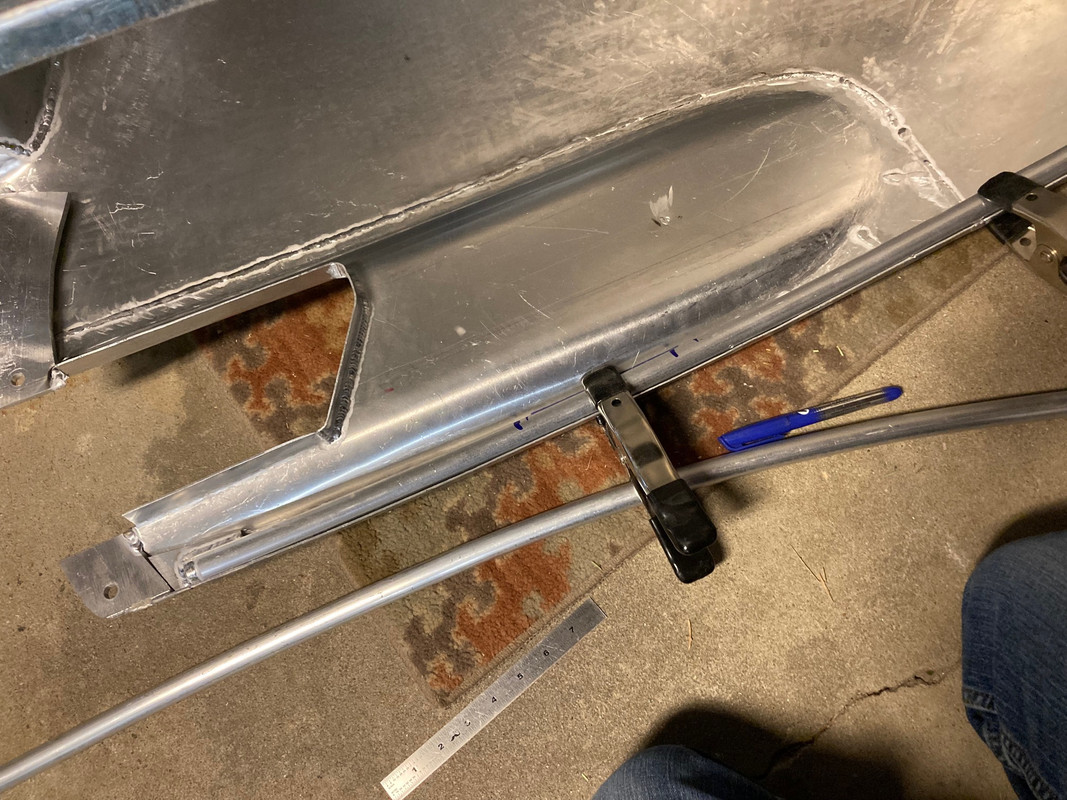
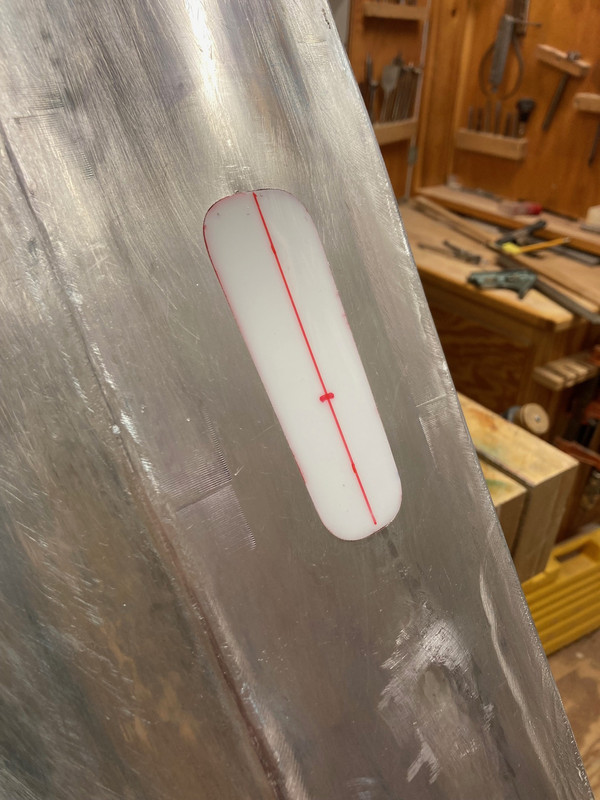
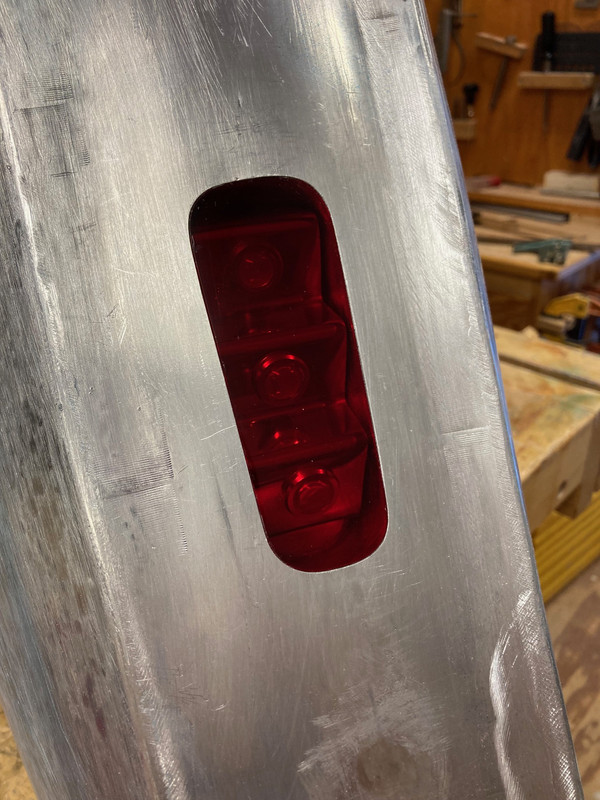
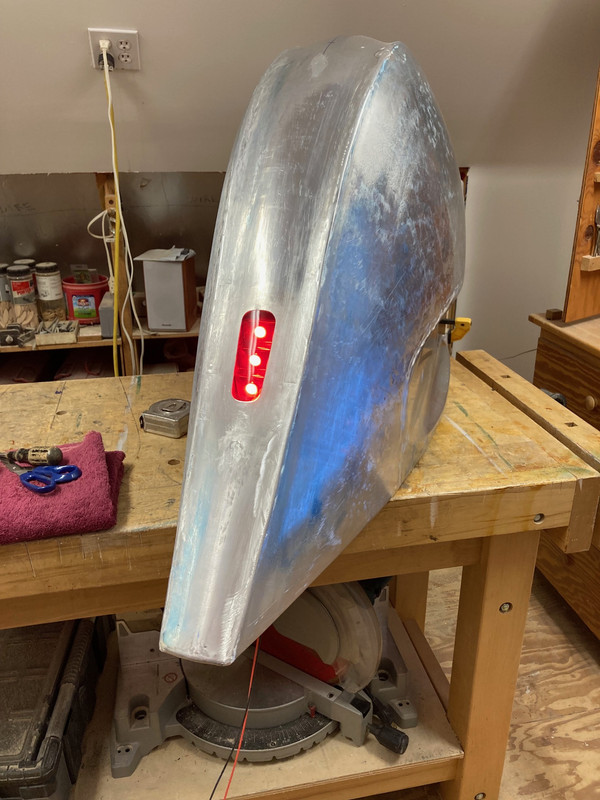
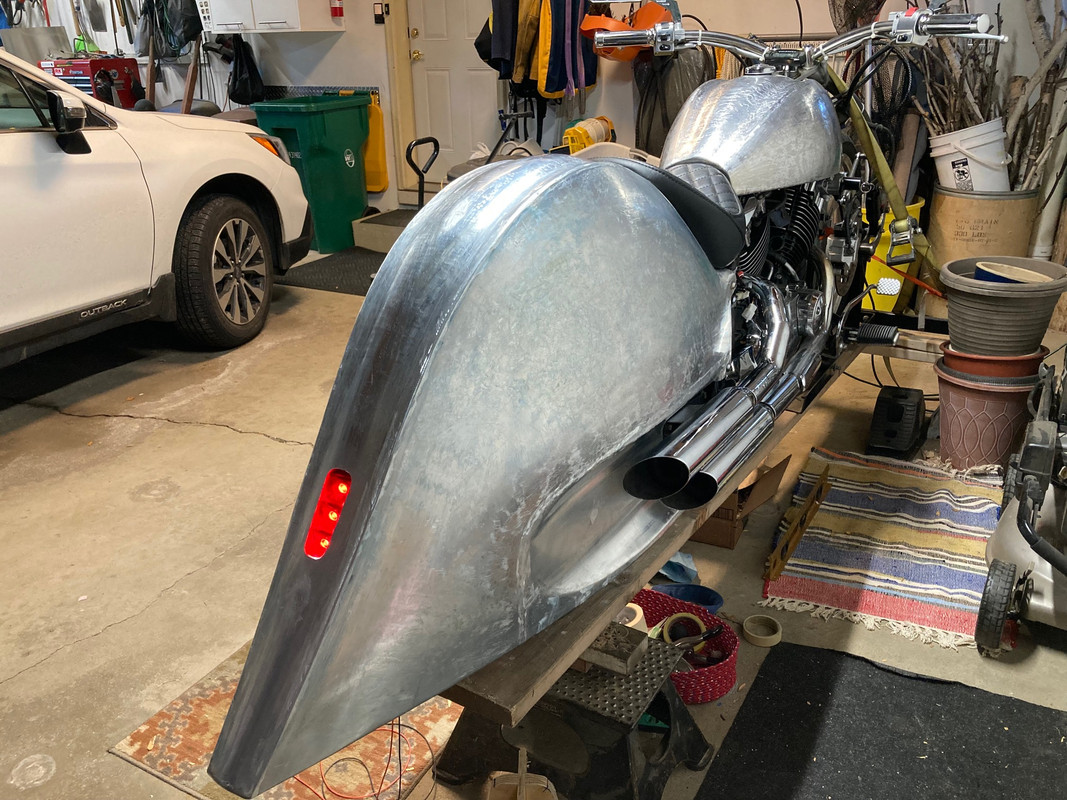
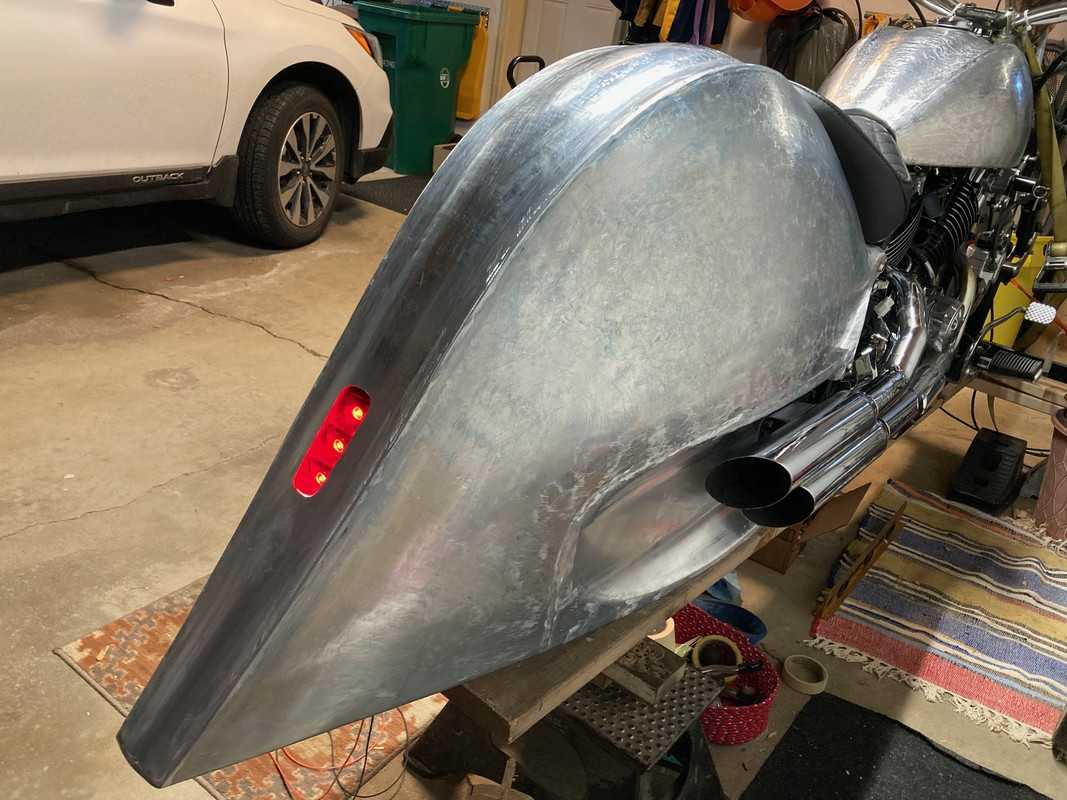
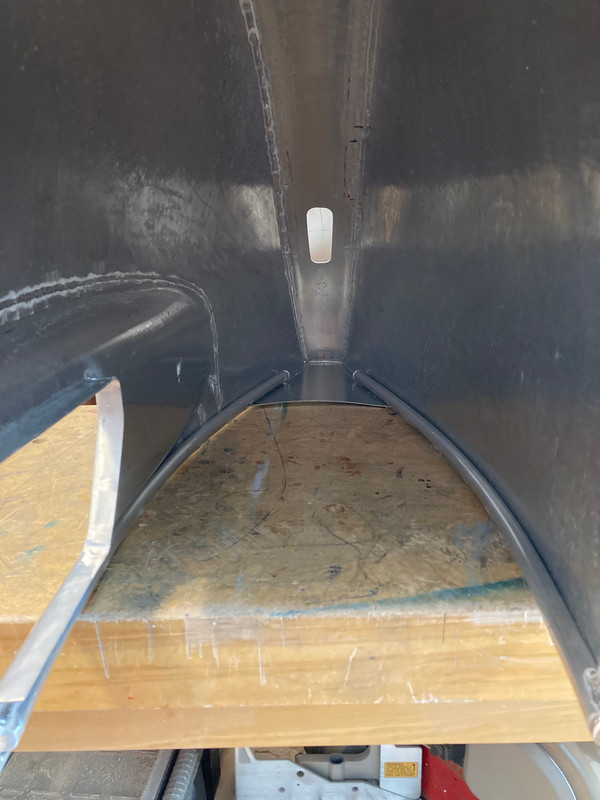
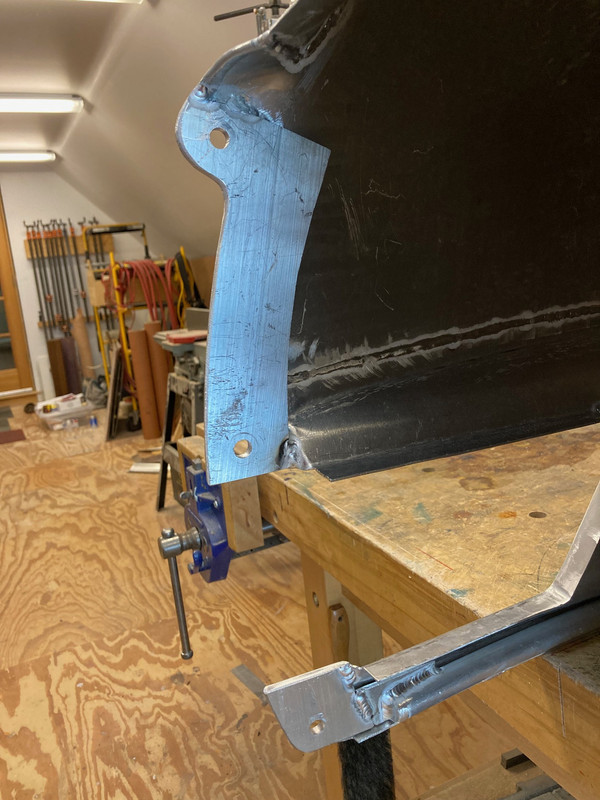
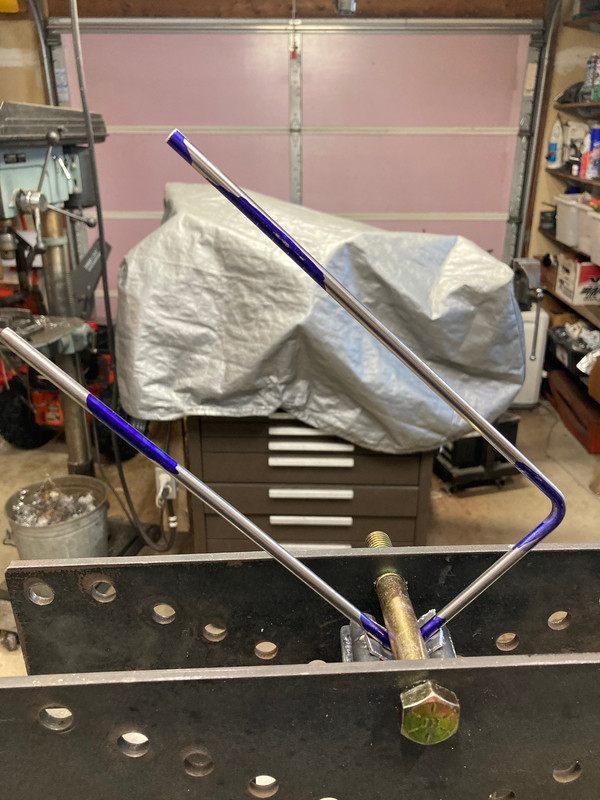
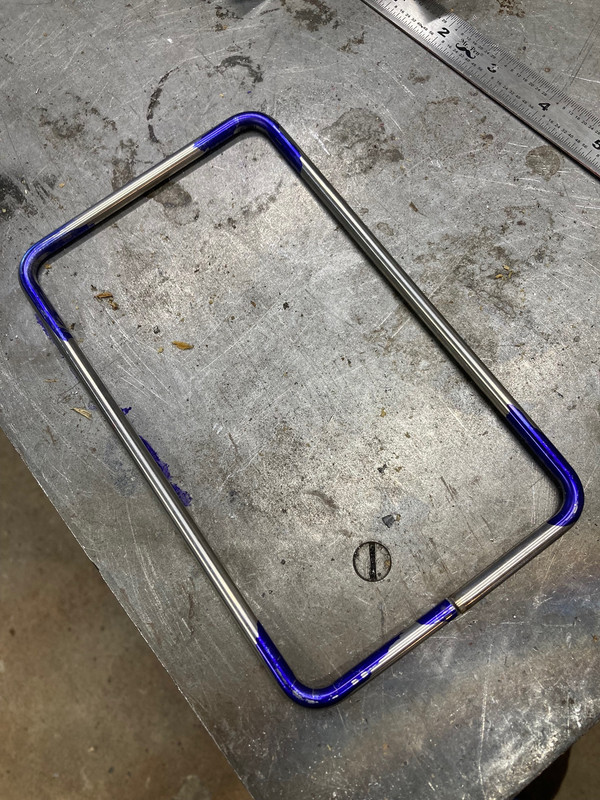
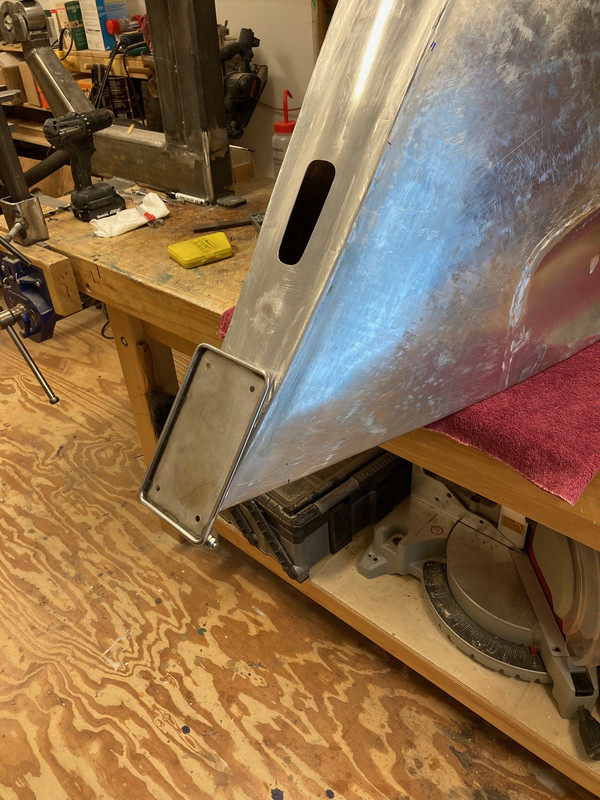
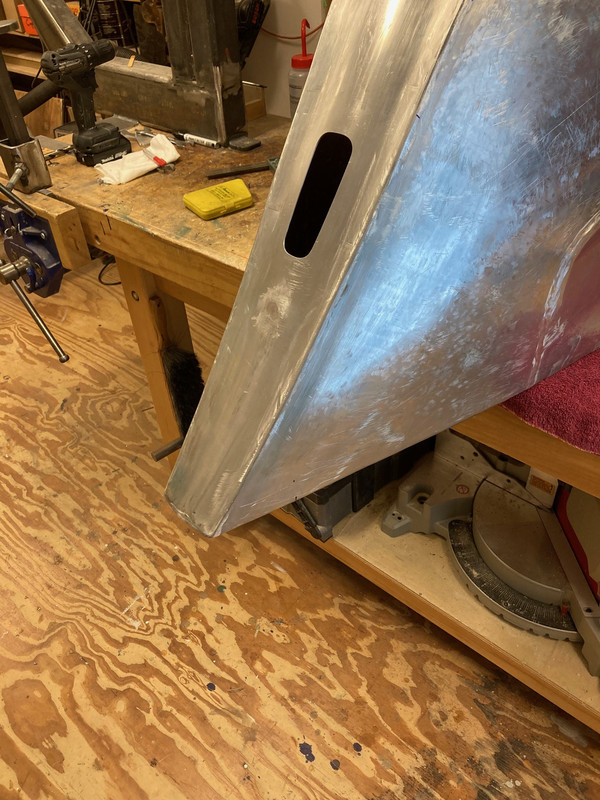
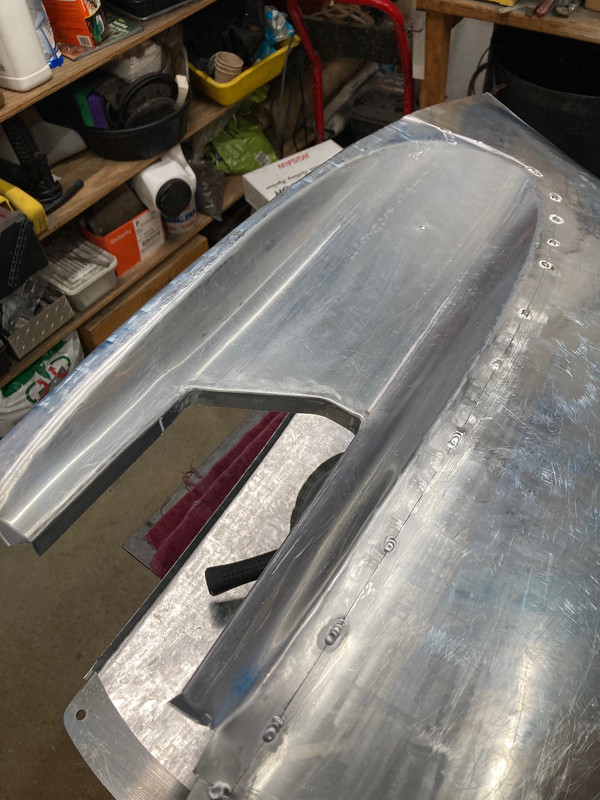
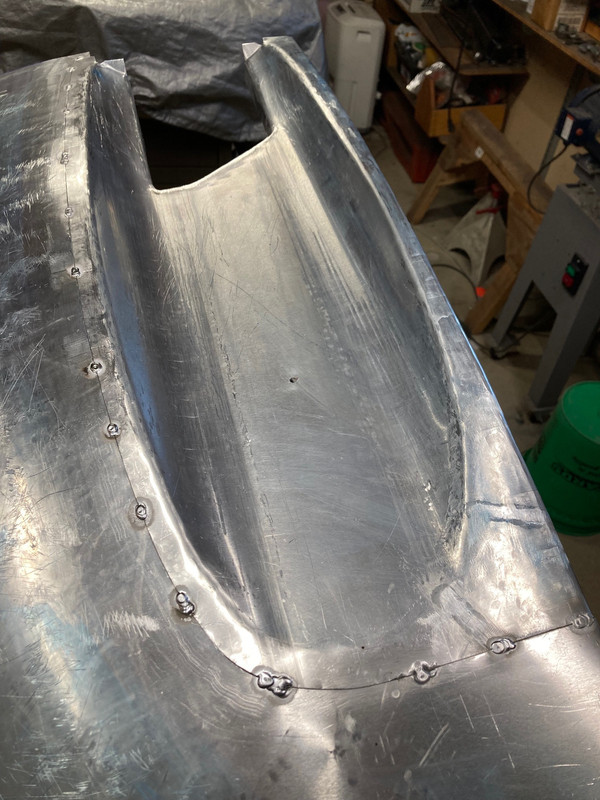
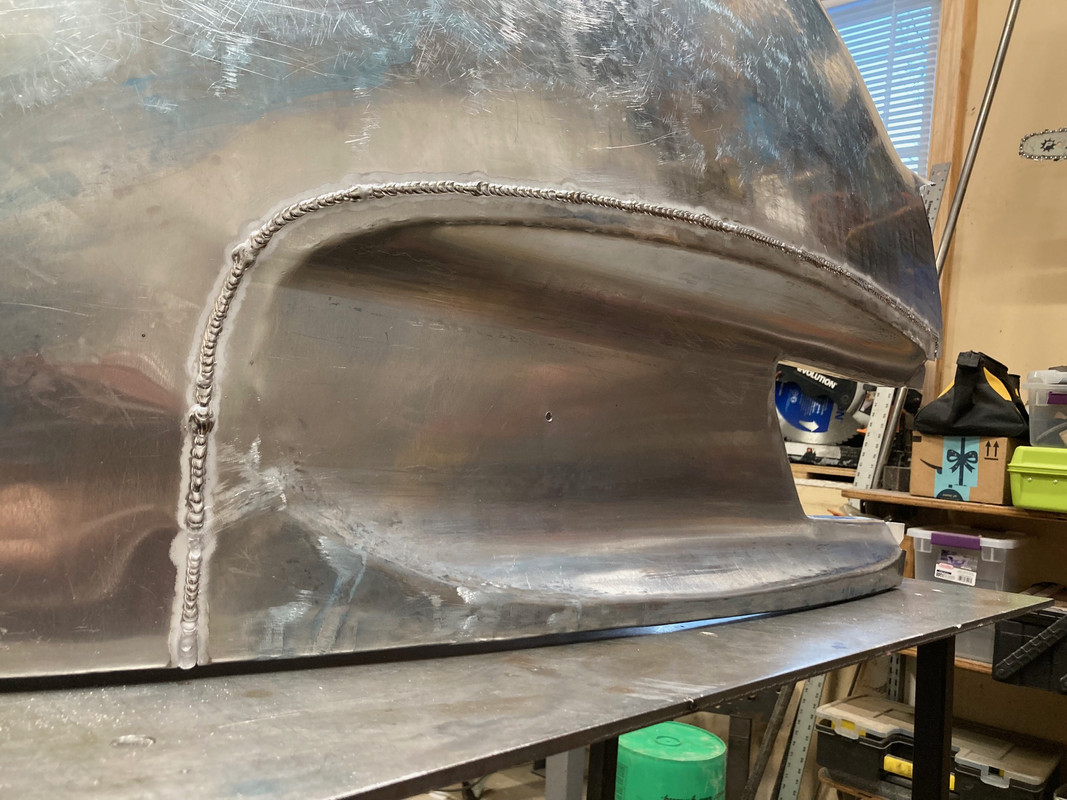
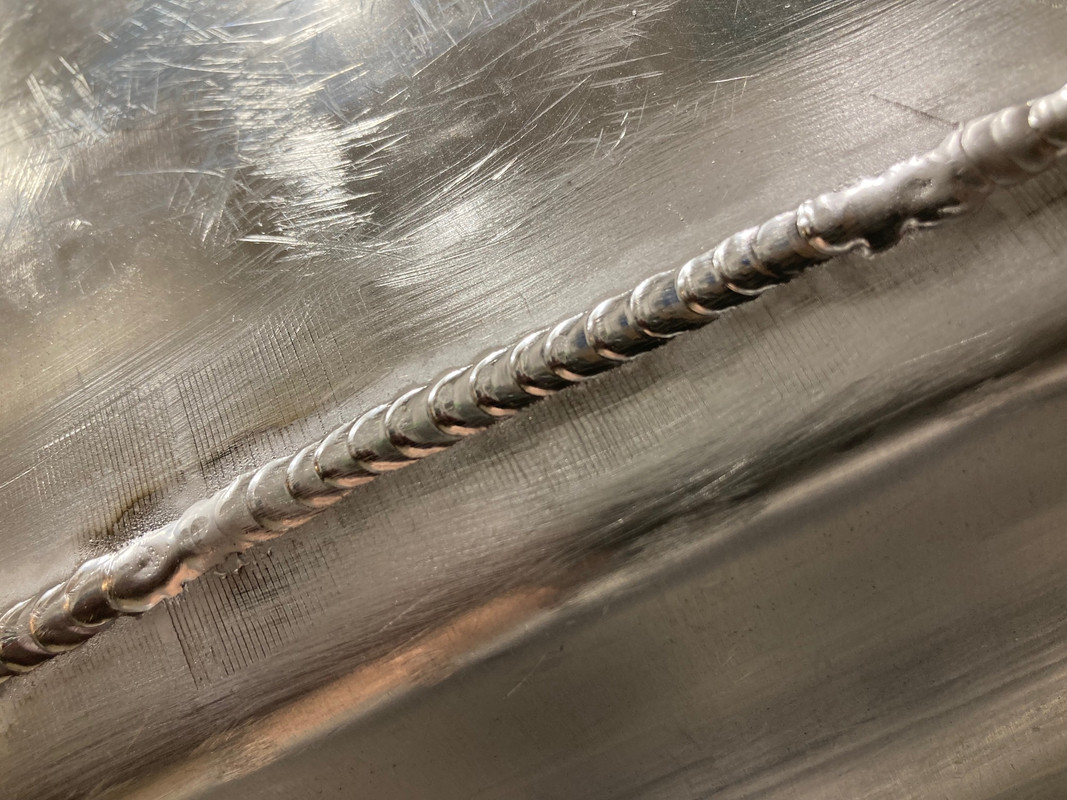
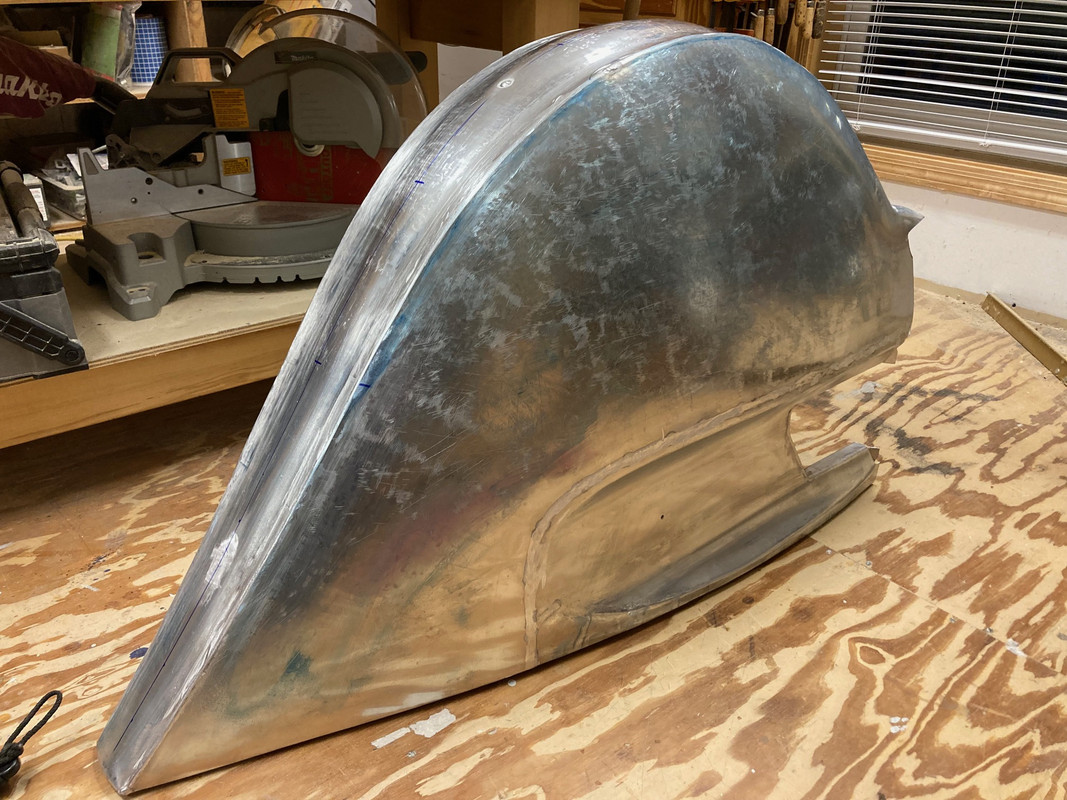
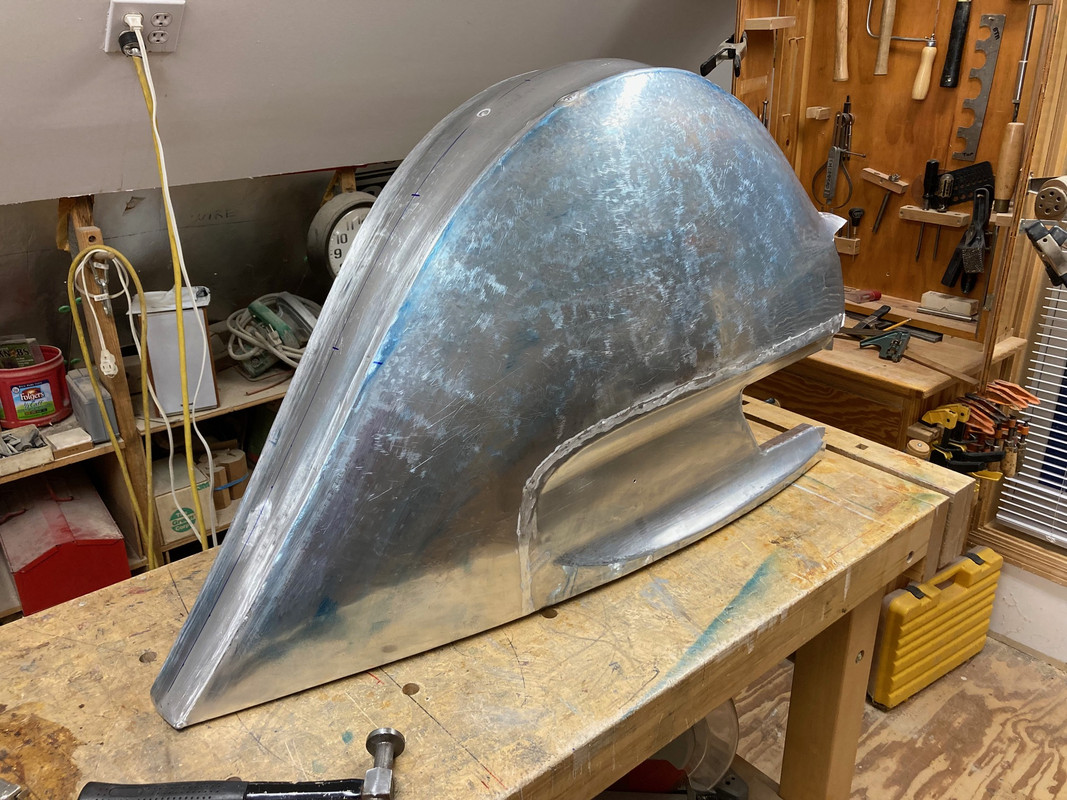
Another long weld coming. It looks like I have a half a chance of being able to reach it for a pass on the inside too but looks can be deceiving.

 
Far out !!

That thing is so cool

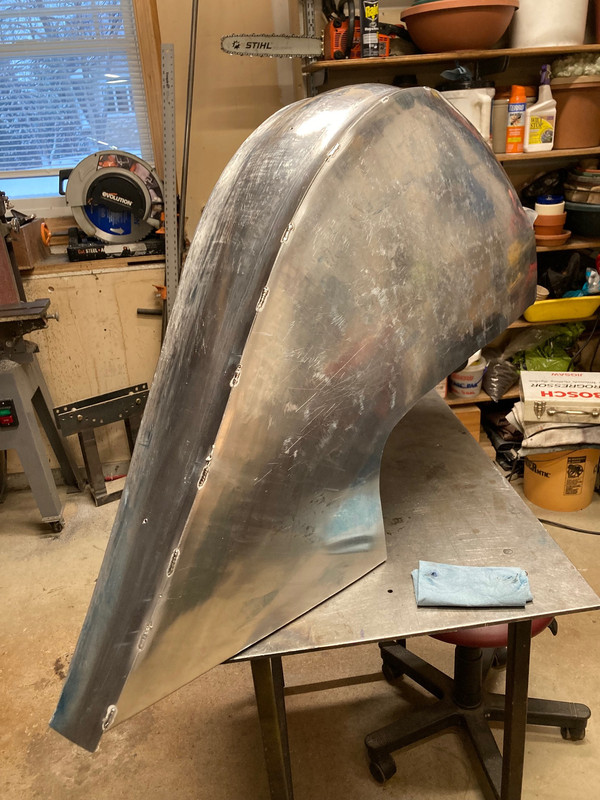
Looks like something out of a batman movie

Good on yuh

Sent from my SM-T510 using Tapatalk
 
There will be a rib to reinforce the bottom edge that gets epoxied into place. This is the exhaust side, the other side will get the same.


The tail light will be set in the rear of the fender. The first picture is casting the area the tail light will go to provide a form for thermoforming acrylic sheet using a plate of aluminum and a gob of bondo. The rest of the them are locating and cutting the hole. The white acrylic will be replace by red with a clear layer bonded to it to provide mounting of the lens and the light box assembly.


Red lens shaped and cut to fit body. Now on to the lamp mounting plate that goes in the light box. These all get bonded together eventually.

 
Wow, that's some next level material usage. Usually metal guys don't get so crafty with other materials. Nice work.
 
Thanks for the comments!

Here's an update on the tail light. Laminating the red and clear layers was giving me trouble until I got the right glue. I ended up using a syrup like one that's meant to have some gap filling capability. SciFix 16. The other trick is to lay down a single heavy bead and squish it out to the perimeter. If you try to spread it before assembly it's easy to trap bubbles. I finally got a good lamination on the 3rd try.


I assembled the rear fender with the exhaust in place for the first time. It just fits over the wheel and around the exhaust bracket. Plan B was to cut it into 2 pieces just at the lower corner of the exhaust cut out. I may still trim a bit under the seat to more easily clear the tire but it does go on and off without taking the exhaust off. The run light is just connected to a loose battery for testing.


Here's what I ended up doing to mount this bodywork. The holes in the plates align with threaded lugs welded into the frame. The ribs along the bottom are 3/4 OD 6061 with 1/8 inch walls. They are skip welded along the bottom edge and will be caulked on the top with a urethane panel adhesive.


There are few, if any, threads on here that I've enjoyed more than this one. Impressive work.
 
Wow, thanks for the comments!

Here's a bit more on the license plate holder. It will stow, hopefully without tools. The rim is 1/4 inch stainless rod, it came into a rectangle without too much trouble but everything else has been a trial.


Here's the plate holder in place. It can be stowed out of sight by pushing it flat and the rotate 180 degrees under the fender. You have to pull the spring loaded pin to release it from either the display or stow position, there will be a short chord tied to lever to pull the pin. If you step back about 10 feet you can begin the see it when it's stowed so it's not invisible when stowed but almost. The pivot is drilled for wires to go to license plate lights.


Back
Top Bottom