
We noticed you are blocking ads. DO THE TON only works with community supporters. Most are active members of the site with small businesses. Please consider disabling your ad blocking tool and checking out the businesses that help keep our site up and free.
You are using an out of date browser. It may not display this or other websites correctly.
You should upgrade or use an alternative browser.
You should upgrade or use an alternative browser.
What did you build this week?
- Thread starter SONICJK
- Start date
XS750AU
Coast to Coast
What did you use for refractory and your crucible?
Have not got there yet, although I have read that cement and scoria rock can work? Might give it a go and if that fails then get proper foundry bricks.
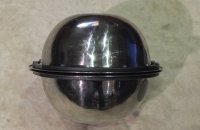
Crucible will be fabricated from stainless pipe to start with and see how it goes.
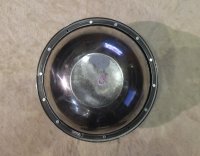
Air supply. That was the second light up in the video. I was using a small inflatable bed 12VDC blower with a variable power supply. Even flat out it did not have enough output to get it really hot. The first time I used an old Electrolux vacuum cleaner, and that pumped out enough air to have the entire vessel glowing bright red very, very quickly. The router speed controller has now arrived, so I will be going back to the vacuum cleaner as my blower.
The intention is to put a vaporising coil into the burner, but I am using metal brake line an it will most likely melt if in the chamber. So I will put it wedged between the clamp ring and bowl and see how that goes.
All in all its just a bit of fun experimenting.
Cheers
Tim
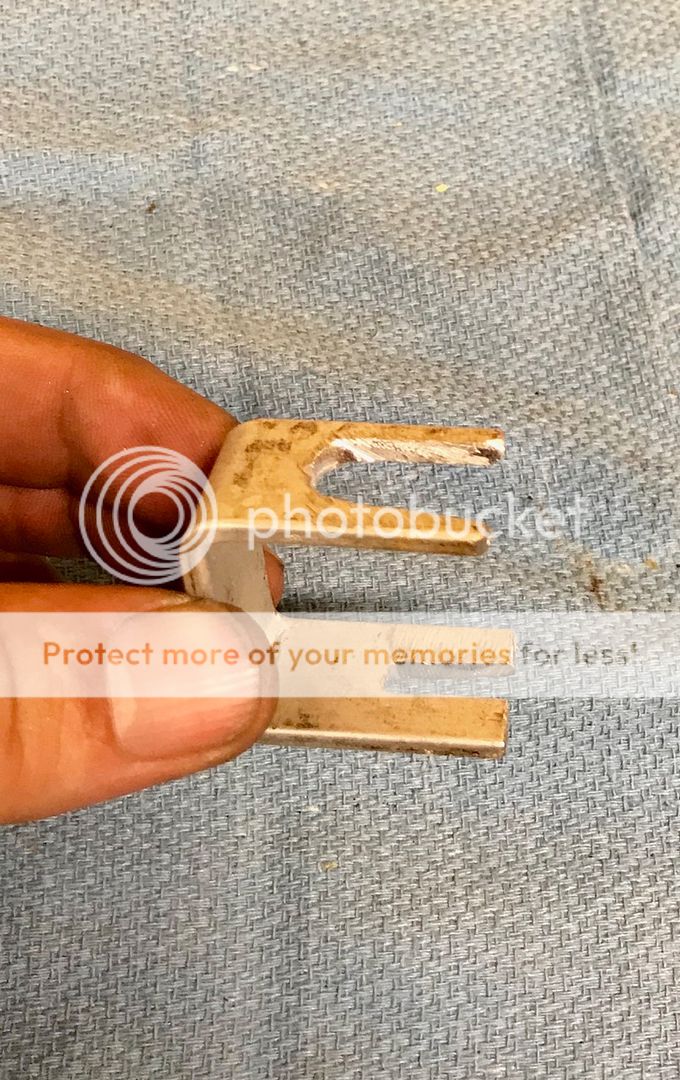
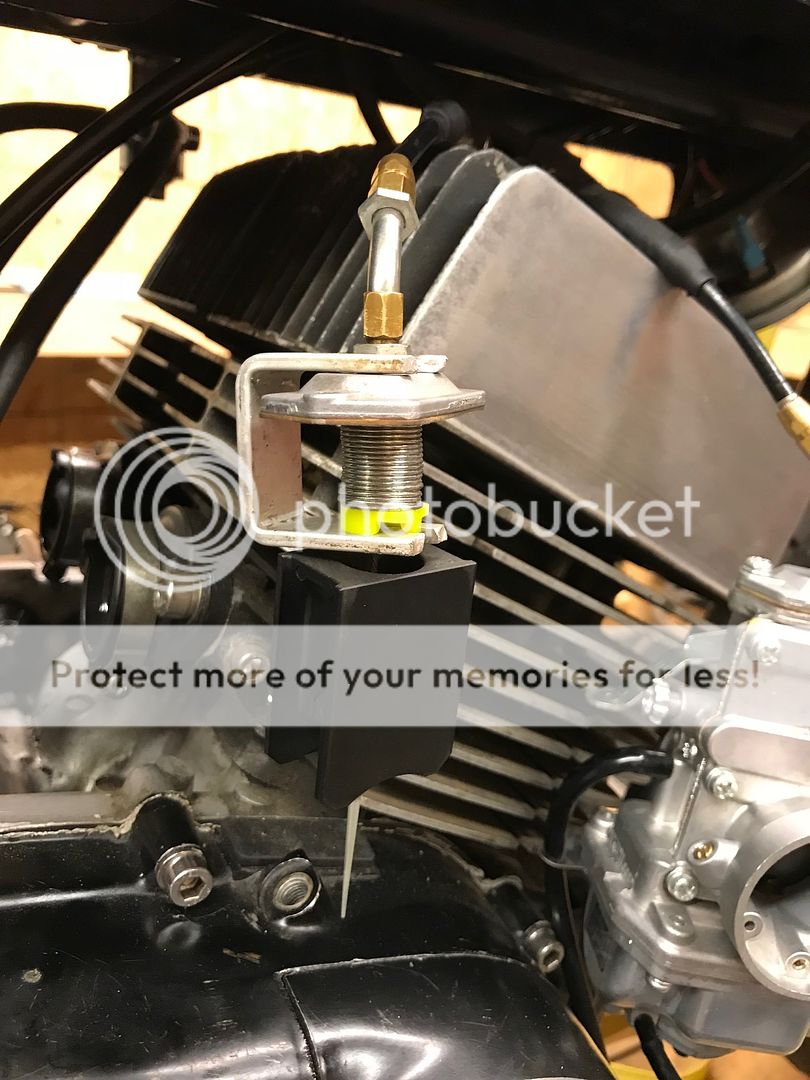
After spending 30min trying to compress/manually hold the spring/insert the retainer/hook the cable into the slide...
I fab'ed up a clip to hold the cap/spring/retainer in the compressed position. Thus freeing the other hand to hook the slide onto the cable, and pull the tool out... releasing it all at once.
Easy, Peasy, Japanesey.

I fab'ed up a clip to hold the cap/spring/retainer in the compressed position. Thus freeing the other hand to hook the slide onto the cable, and pull the tool out... releasing it all at once.
Easy, Peasy, Japanesey.
XS750AU
Coast to Coast
Stainless isn't a good idea, molten aluminium dissolves it. Ordinary steel may be better?
Thanks for the heads up. I am making the burner out of stainless and the furnace is a mild steel 9Kg gas bottle, so all good. The combustion chamber is now bolted together.
Attachments
JustinLonghorn
No Purple Hearts, No Blue Ribbons
Workbench:

farmer92
Coast to Coast
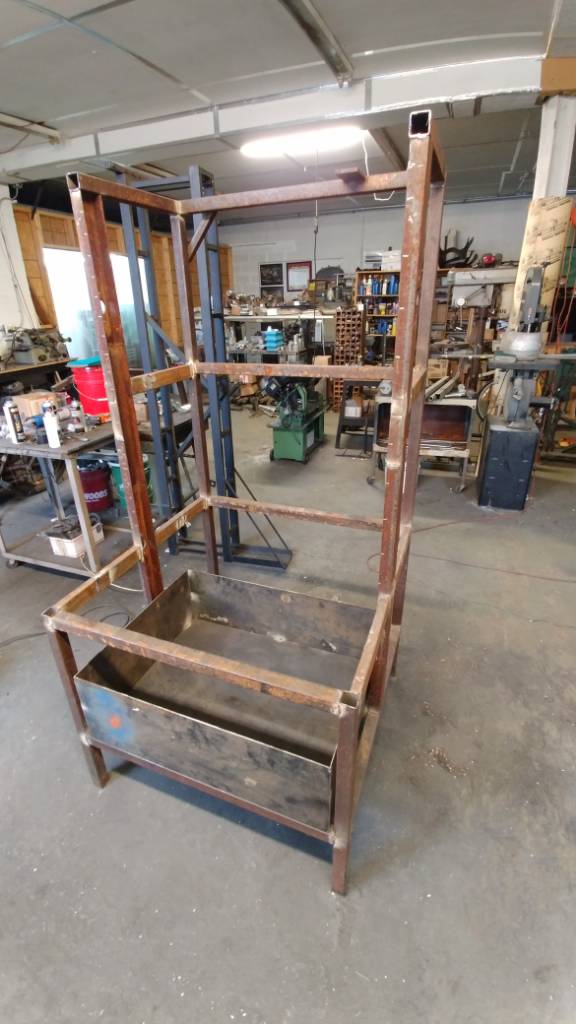
J-Rod10 said:Started on a smoker. Got sheet metal ordered to skin it with. A slide out firebox on the bottom. Ten racks in the cabinet. Going to hold right about 250lbs of meat.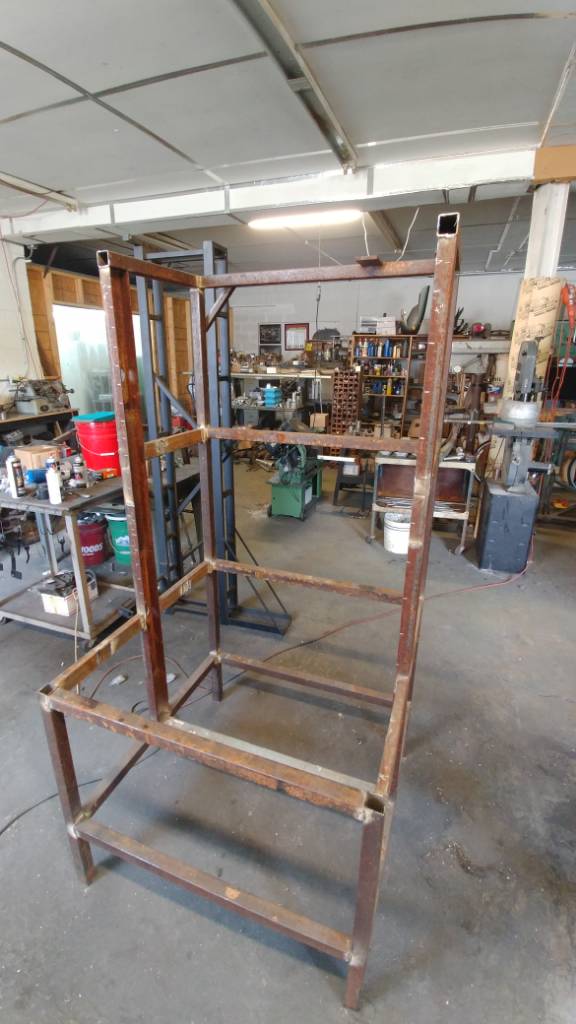
Sent from my VS988 using Tapatalk
Wow
Talk about go big or go home!
Maritime
Over 10,000 Posts
JustinLonghorn said:Workbench:
Nice, soon to be able to work on some bikes in there.
crazypj
Split personality, I fake being smart
Are you going to insulate combustion chamber? I would imagine your going to have a hell of a heat loss with that much surface areaXS750AU said:Thanks for the heads up. I am making the burner out of stainless and the furnace is a mild steel 9Kg gas bottle, so all good. The combustion chamber is now bolted together.
sav0r
Coast to Coast
Redbird said:After spending 30min trying to compress/manually hold the spring/insert the retainer/hook the cable into the slide...
I fab'ed up a clip to hold the cap/spring/retainer in the compressed position. Thus freeing the other hand to hook the slide onto the cable, and pull the tool out... releasing it all at once.
Easy, Peasy, Japanesey.
That slick as shit and I'll be making one, but I always just put the cable through the top of carb, squeezed the and retainer down, then grabbed the cable with needle nose pliers. At point it's just a matter of getting the cable into the slide. It took me many angry words to get to that point though.
All you have to do is make a peace sign with your first two fingers, so that the cable is going through your pointer and middle finger and the spring is in the palm of your hand, slide the yellow retainer over the cable, then thread the end of the cable into the hole. It takes like 5 seconds.Redbird said:After spending 30min trying to compress/manually hold the spring/insert the retainer/hook the cable into the slide...
I fab'ed up a clip to hold the cap/spring/retainer in the compressed position. Thus freeing the other hand to hook the slide onto the cable, and pull the tool out... releasing it all at once.
Easy, Peasy, Japanesey.
CarbsAndCylinders
Careful With That Axe Eugene
irk miller said:All you have to do is make a peace sign with your first two fingers, so that the cable is going through your pointer and middle finger and the spring is in the palm of your hand, slide the yellow retainer over the cable, then thread the end of the cable into the hole. It takes like 5 seconds.
You may have to explain the peace sign to some of the younger followers
")
Yup. Used to hold the carb top between my thumb and palm, while compressing/holding the spring with my fingers. All that worked great when I had the OEM cable on it with the VM's. Then I went to an aftermarket cable and the taller adjusters on the VM's. Which shortened the available cable sticking through my fingers to about an inch. Kind of a fight, but still enough room to work with. After going to the TM's, in conjunction with the aftermarket cable, the smaller diameter/stiffer spring and the narrower/deeper recess in the slide, my fat fingers were too much in the way to "Zen" the cable into slides notch.irk miller said:All you have to do is make a peace sign with your first two fingers, so that the cable is going through your pointer and middle finger and the spring is in the palm of your hand, slide the yellow retainer over the cable, then thread the end of the cable into the hole. It takes like 5 seconds.
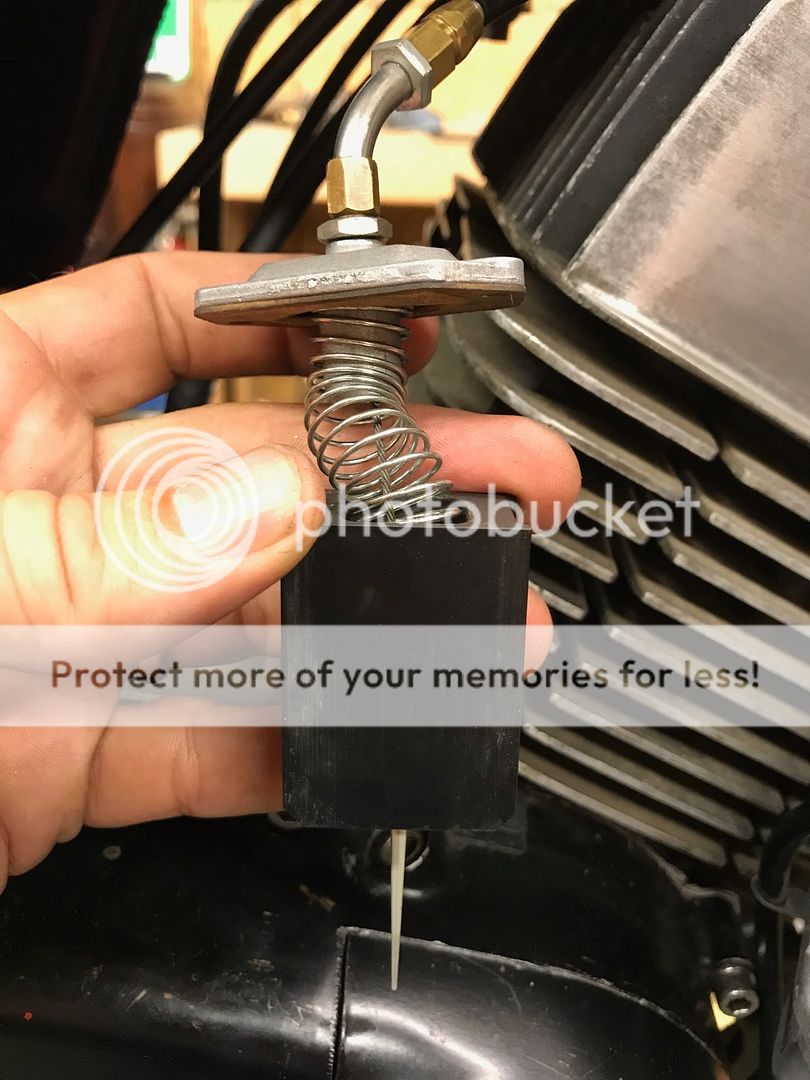
It's cool though... now I can remove the slide by reversing the procedure and everything stays contained/ready for reinstall... and it only takes 2 seconds.
J-Rod10 said:Thinking about sticking a piece of 1" plate on top of it.
oopfh. Thatll be plenty heavy lol any reason even 1/4" thick wont do the trick?
It doesn't heat as evenly. Hot spots, and cold spots.Hurco550 said:oopfh. Thatll be plenty heavy lol any reason even 1/4" thick wont do the trick?
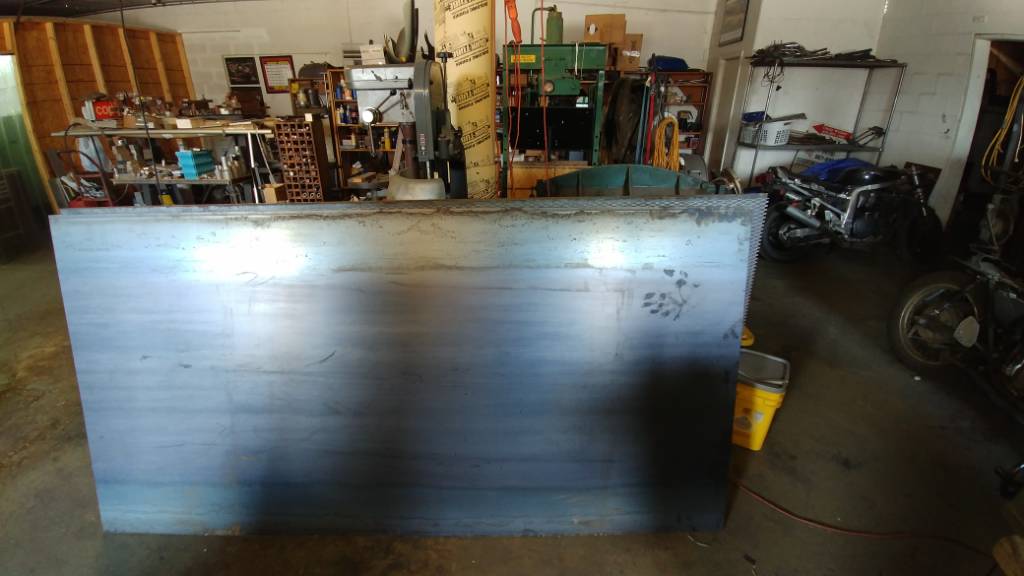
Last two sheets of metal for closing it up, and a sheet of expanded to build the grates out of. Should have it at least tacked up by tomorrow. Finish welding it solid, and get the sausage hangars welded in at the top, and I'm going to fire her up and stick a couple hundred pounds of homemade sausage in there and see how she goes.
Sent from my VS988 using Tapatalk
Sent from my VS988 using Tapatalk
Finished up some cardinal skull lockets. Cast in bronze from life-size skulls, used JB Weld to secure the magnets. Turns out Health Canada has banned sales of small rare earth magnets since I designed these things, so sourcing magnets now from the US...


