Hello all,
Here is my first ever motorcycle/mechanical project. It started off as a bike that I purchased from a friend. It ran but had some issues, and I knew I wanted to modify it but I did not know how, or where to start. When I got it in August I simply wanted a "cool looking" bike to ride and I thought that the bobber/cafe look was something I was interested in.
I started spending some time on XJBikes.com and realized that my bike wasn't exactly conducive to that "style" I was going for. The shaft drive, the odd frame proportions, the mag wheels, etc. At that time I figured I would focus on safety and getting the bike to run perfectly, then see what I learned along the way. I figured looks could come later.
XJBikes has a wealth of knowledge for these things and it's a great community. I learned a ton from them over there and still post frequently.
I think that the biggest cosmetic hurdles these bikes have are the inherently "cruiser" looking gas tank, the triple tube frame, and also the frame bend near the tail. Whenever I notice the few and far-between excellent looking XJ's, a lot of that stuff had been changed, so that's where I started.
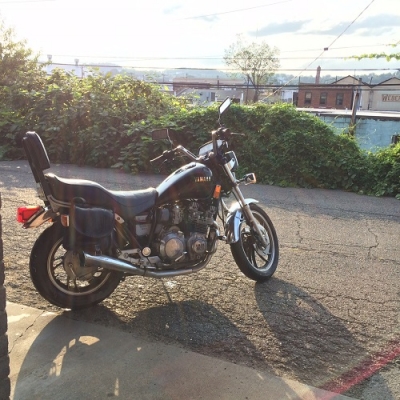
The day I brought her home:
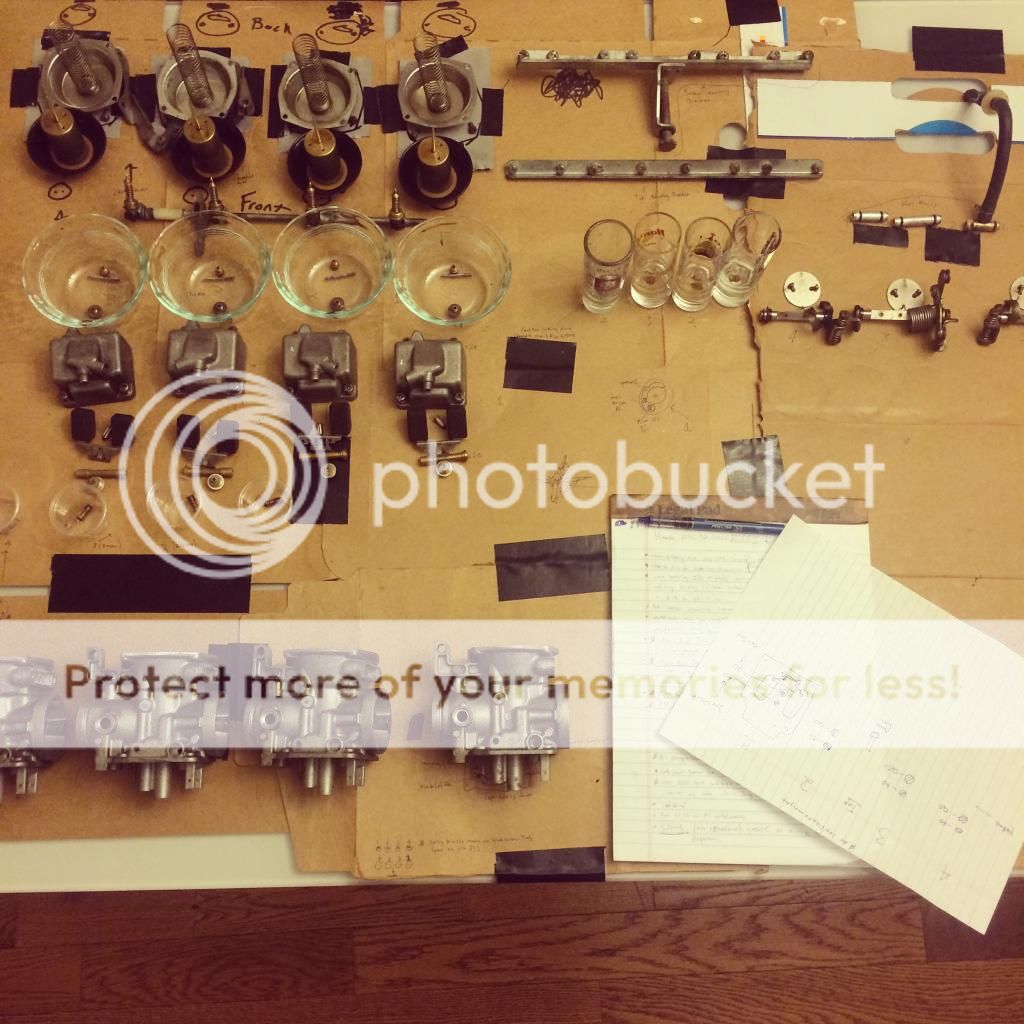
Carbs completely disassembled and cleaned. Having never worked on carbs before (or anything, really) I figured being organized would be important. It was, and it went without a hitch:
I forgot to take more pictures, but I also checked compression, which was in spec, and also changed the out of spec valve shims.
Then I added pod filters and synced the carbs. I want to note that these CV carbs are a real pain and pods probably wont help with that. I did, however, opt to keep the stock carb to airbox boots and so I used those instead of the stock small boots that came with the pods:

I am told that this should help prevent the turbulent airflow many experience when installing pods into CV carbs. We shall see, but I do know that syncing, idling, and revving with the stock exhaust seemed to go very well. Mind you I'm doing all of this out of my basement so I wont really know how it responds until I can ride it in the spring.
If it needs re-jetted, so be it. Now that the airbox is gone I can get the carbs on and off in a matter of a few minutes. The other beautiful thing is that the entire motor is in spec and the carbs are zestfully clean, so diagnosing problems shouldn't be too big of an issue.
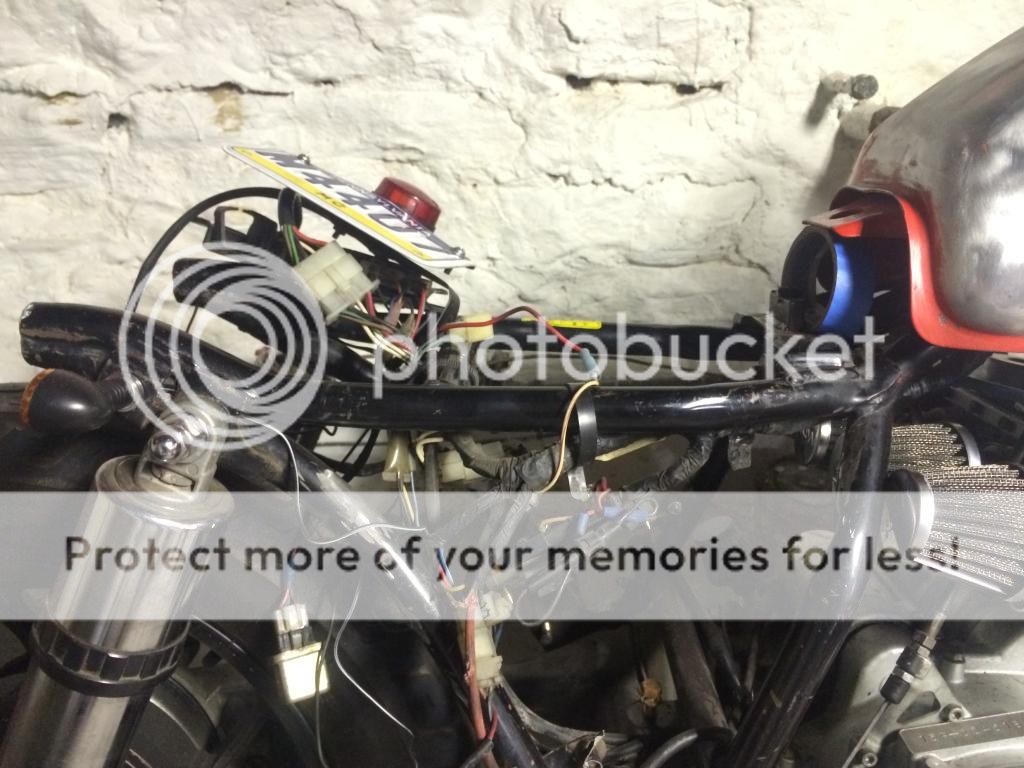
Now I am ready to tackle the welding of a tail hoop, cosmetics, and wiring. I'm scared of wiring, so I may very well contact the gentleman (men?) at SparckMoto to handle that. I really wanted to try and tackle it myself but there's just too much else to do before spring, and I have another bike I'd like to get working on.
So here's where the bike stands now:

I replaced the stock gas tank with a tank from what I believe to be a late 70's CB400 Hawk Tank, as well as a round headlight (for those of you that don't know, the '82 Maxims came stock with a horrific Rectanglular headlight and large "Atari" speedometer. At the time, I'm sure it was the pinnacle of technology but...it had to go. I won't paint the tins for a while but I wanted to strip the paint off with a wire wheel.
I learned afterwards that I probably could have just used aircraft stripper and my life would have been much easier. Oh well, I'm learning. I have no idea what color scheme I will be going with, and I still haven't decided what combination of black, silver, and polished I'm going to use on the engine.
So, the gas tank fit the frame fairly well with a little interior pounding of the tank mounts. Obviously the back will need fitted but I will weld something there soon.
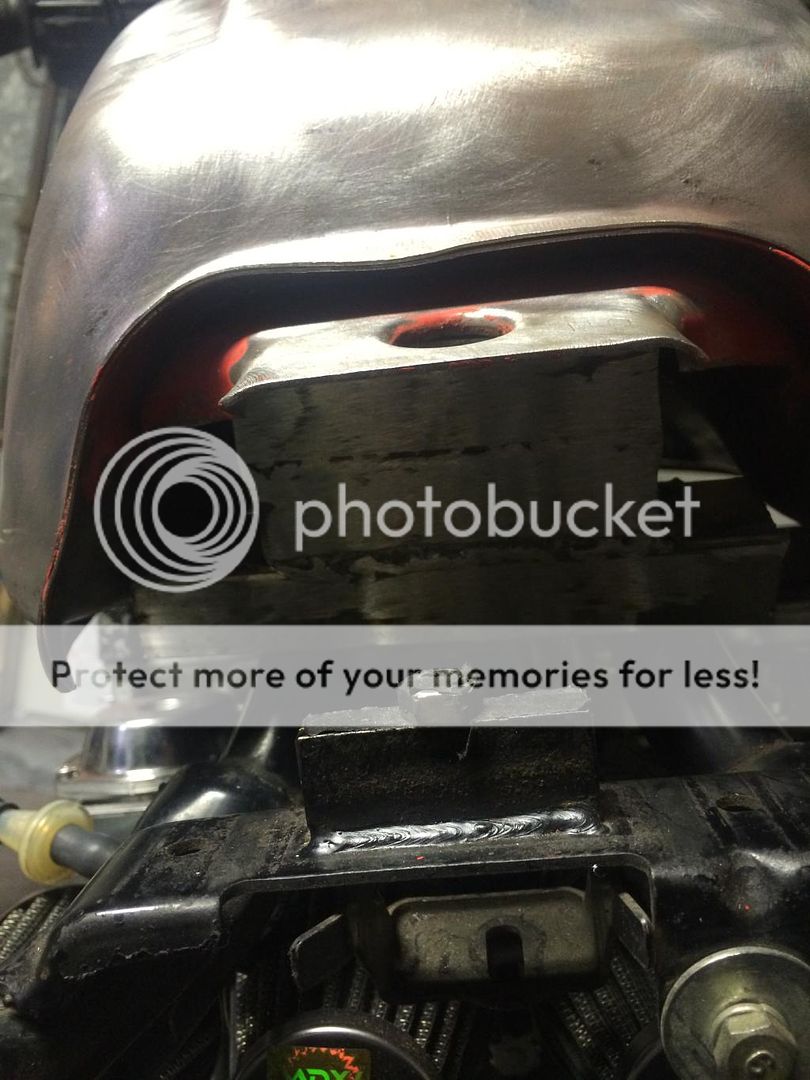
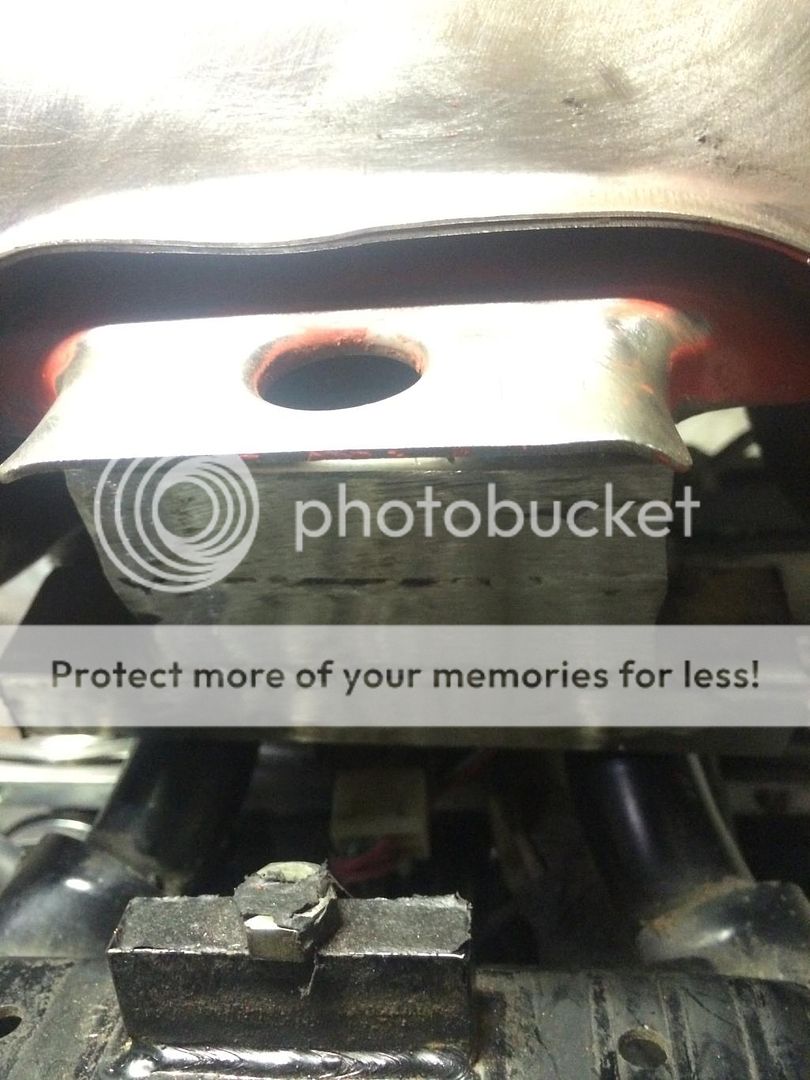
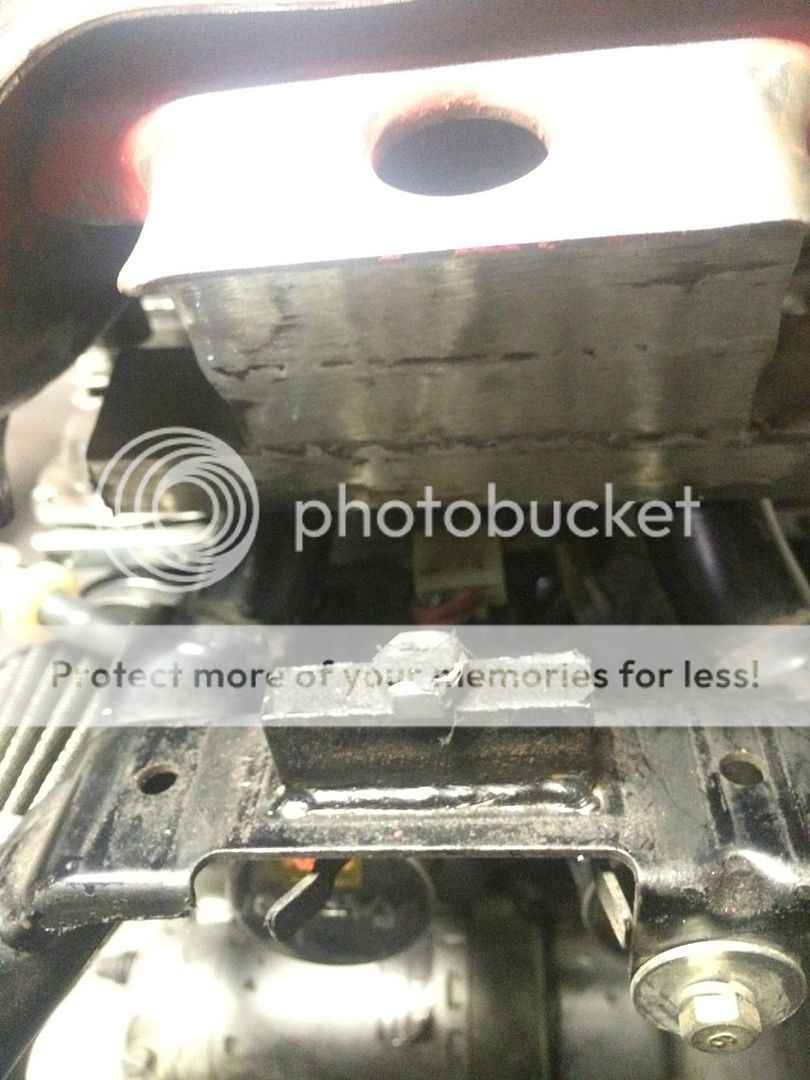
I am having a bit of a fitment issue, as the Petcock is resting on the carbs, and if I lift it enough to give it clearance, then there's no way I'll be able to have a smooth flow from the tank to the seat. (Pic below is with the tank lifted way up)

My thoughts are that I'm just going to lose the petcock, attach a hose from the stock tank bung, to an inline shutoff valve, to an inline fuel filter. Does anyone here seem to think that will give me any issues? I really don't want to move the Bung completely, as the tank is structurally sound and I'm not a good welder
Next comes the seat. Take a look here to see what I mean about the odd frame dip in the center area, and note that this is where I want the tank mounted.
I want to keep this bike 2up so I am going to go with a brat style seat. Unfortunately, that darn frame dip would hinder anything off the shelf so I have formulated a plan. I believe that with the right fiberglass work, I can make a seat pan that just covers the rails and the tail hoop (essentially the bottom lip of the pan would be flush with the bottom of the frame rail. I can also use this fiberglass to make a smooth transition from the front of the seat to the tank, leaving no "afterthought" gap as I like to call it.
See the pic below. I used a piece of tape to make a line that I like.
So my plan is to use the Dime City Cycles universal mounting plate in the middle of the frame dip to compensate for the dip, then I will simply tape everything off and fiberglass around it to hopefully have a flat seat mount. I know that the brat style traditionally has the seat mounted on the frame, but that just won't work, so I figure that having about an inch of color matched fiberglass around the bottom of the seat will be nice, and maybe a little different than the normal styles.
More to come folks, suggestions and criticism are ALWAYS welcome in this thread. I'm here to learn.
Take care everyone.
Here is my first ever motorcycle/mechanical project. It started off as a bike that I purchased from a friend. It ran but had some issues, and I knew I wanted to modify it but I did not know how, or where to start. When I got it in August I simply wanted a "cool looking" bike to ride and I thought that the bobber/cafe look was something I was interested in.
I started spending some time on XJBikes.com and realized that my bike wasn't exactly conducive to that "style" I was going for. The shaft drive, the odd frame proportions, the mag wheels, etc. At that time I figured I would focus on safety and getting the bike to run perfectly, then see what I learned along the way. I figured looks could come later.
XJBikes has a wealth of knowledge for these things and it's a great community. I learned a ton from them over there and still post frequently.
I think that the biggest cosmetic hurdles these bikes have are the inherently "cruiser" looking gas tank, the triple tube frame, and also the frame bend near the tail. Whenever I notice the few and far-between excellent looking XJ's, a lot of that stuff had been changed, so that's where I started.
The day I brought her home:
Carbs completely disassembled and cleaned. Having never worked on carbs before (or anything, really) I figured being organized would be important. It was, and it went without a hitch:
I forgot to take more pictures, but I also checked compression, which was in spec, and also changed the out of spec valve shims.
Then I added pod filters and synced the carbs. I want to note that these CV carbs are a real pain and pods probably wont help with that. I did, however, opt to keep the stock carb to airbox boots and so I used those instead of the stock small boots that came with the pods:
I am told that this should help prevent the turbulent airflow many experience when installing pods into CV carbs. We shall see, but I do know that syncing, idling, and revving with the stock exhaust seemed to go very well. Mind you I'm doing all of this out of my basement so I wont really know how it responds until I can ride it in the spring.
If it needs re-jetted, so be it. Now that the airbox is gone I can get the carbs on and off in a matter of a few minutes. The other beautiful thing is that the entire motor is in spec and the carbs are zestfully clean, so diagnosing problems shouldn't be too big of an issue.
Now I am ready to tackle the welding of a tail hoop, cosmetics, and wiring. I'm scared of wiring, so I may very well contact the gentleman (men?) at SparckMoto to handle that. I really wanted to try and tackle it myself but there's just too much else to do before spring, and I have another bike I'd like to get working on.
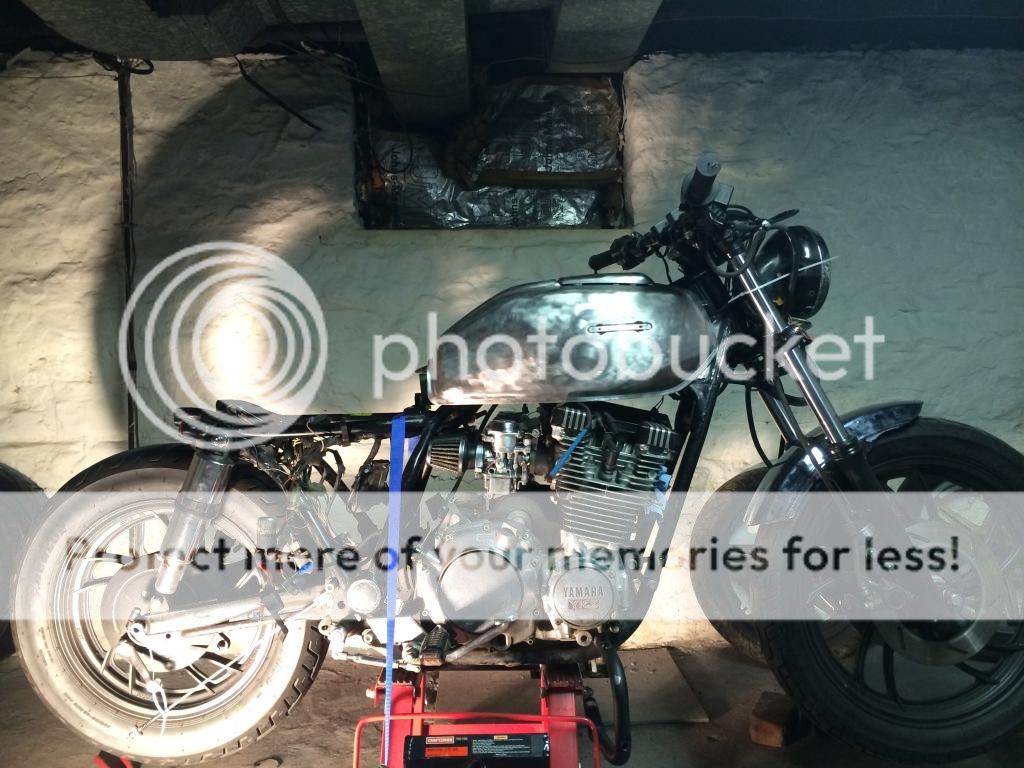
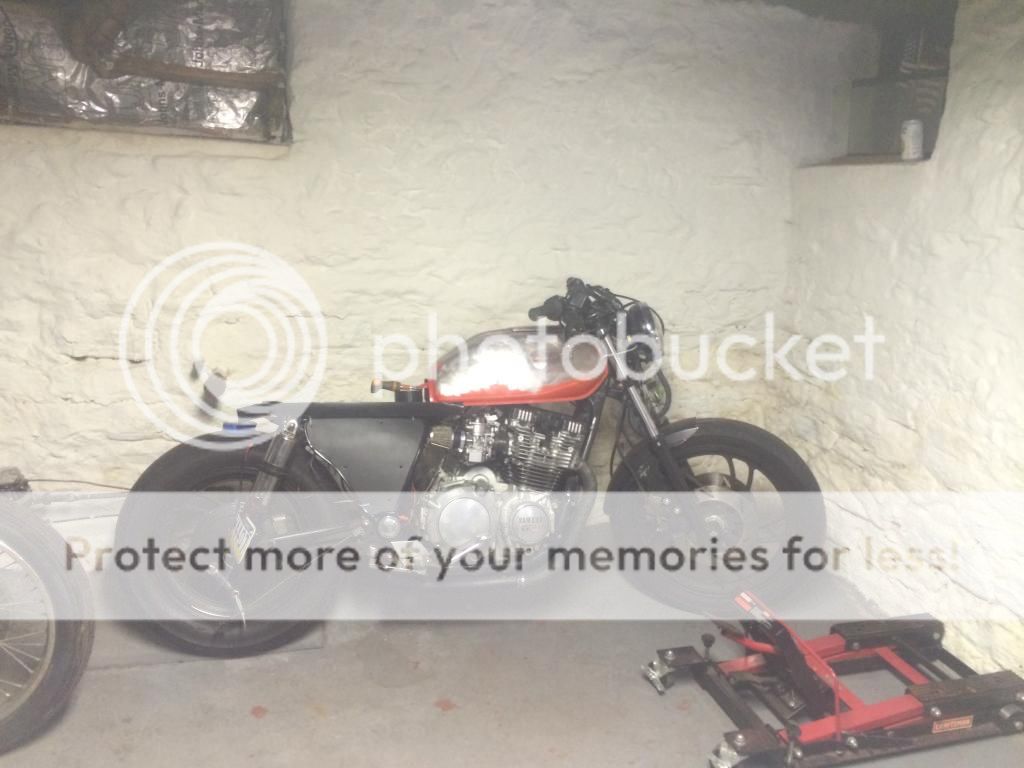
So here's where the bike stands now:
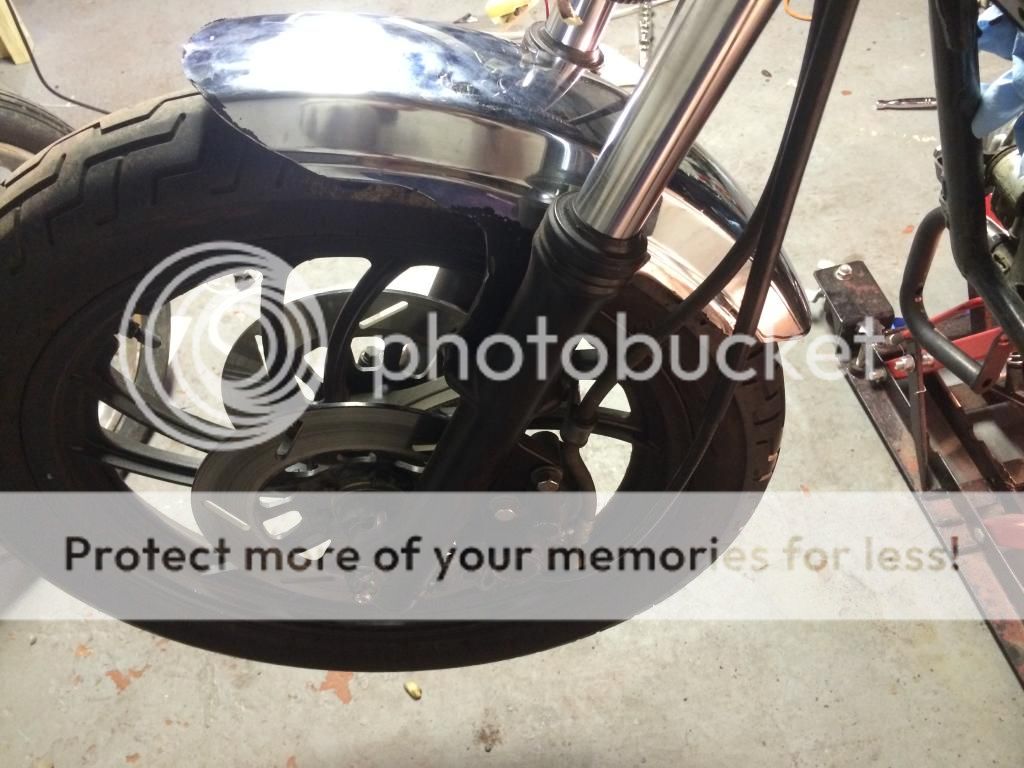
I replaced the stock gas tank with a tank from what I believe to be a late 70's CB400 Hawk Tank, as well as a round headlight (for those of you that don't know, the '82 Maxims came stock with a horrific Rectanglular headlight and large "Atari" speedometer. At the time, I'm sure it was the pinnacle of technology but...it had to go. I won't paint the tins for a while but I wanted to strip the paint off with a wire wheel.
I learned afterwards that I probably could have just used aircraft stripper and my life would have been much easier. Oh well, I'm learning. I have no idea what color scheme I will be going with, and I still haven't decided what combination of black, silver, and polished I'm going to use on the engine.
So, the gas tank fit the frame fairly well with a little interior pounding of the tank mounts. Obviously the back will need fitted but I will weld something there soon.
I am having a bit of a fitment issue, as the Petcock is resting on the carbs, and if I lift it enough to give it clearance, then there's no way I'll be able to have a smooth flow from the tank to the seat. (Pic below is with the tank lifted way up)
My thoughts are that I'm just going to lose the petcock, attach a hose from the stock tank bung, to an inline shutoff valve, to an inline fuel filter. Does anyone here seem to think that will give me any issues? I really don't want to move the Bung completely, as the tank is structurally sound and I'm not a good welder
Next comes the seat. Take a look here to see what I mean about the odd frame dip in the center area, and note that this is where I want the tank mounted.
I want to keep this bike 2up so I am going to go with a brat style seat. Unfortunately, that darn frame dip would hinder anything off the shelf so I have formulated a plan. I believe that with the right fiberglass work, I can make a seat pan that just covers the rails and the tail hoop (essentially the bottom lip of the pan would be flush with the bottom of the frame rail. I can also use this fiberglass to make a smooth transition from the front of the seat to the tank, leaving no "afterthought" gap as I like to call it.
See the pic below. I used a piece of tape to make a line that I like.
So my plan is to use the Dime City Cycles universal mounting plate in the middle of the frame dip to compensate for the dip, then I will simply tape everything off and fiberglass around it to hopefully have a flat seat mount. I know that the brat style traditionally has the seat mounted on the frame, but that just won't work, so I figure that having about an inch of color matched fiberglass around the bottom of the seat will be nice, and maybe a little different than the normal styles.
More to come folks, suggestions and criticism are ALWAYS welcome in this thread. I'm here to learn.
Take care everyone.