Follow along with the video below to see how to install our site as a web app on your home screen.
Note: This feature currently requires accessing the site using the built-in Safari browser.
We noticed you are blocking ads. DO THE TON only works with community supporters. Most are active members of the site with small businesses. Please consider disabling your ad blocking tool and checking out the businesses that help keep our site up and free.
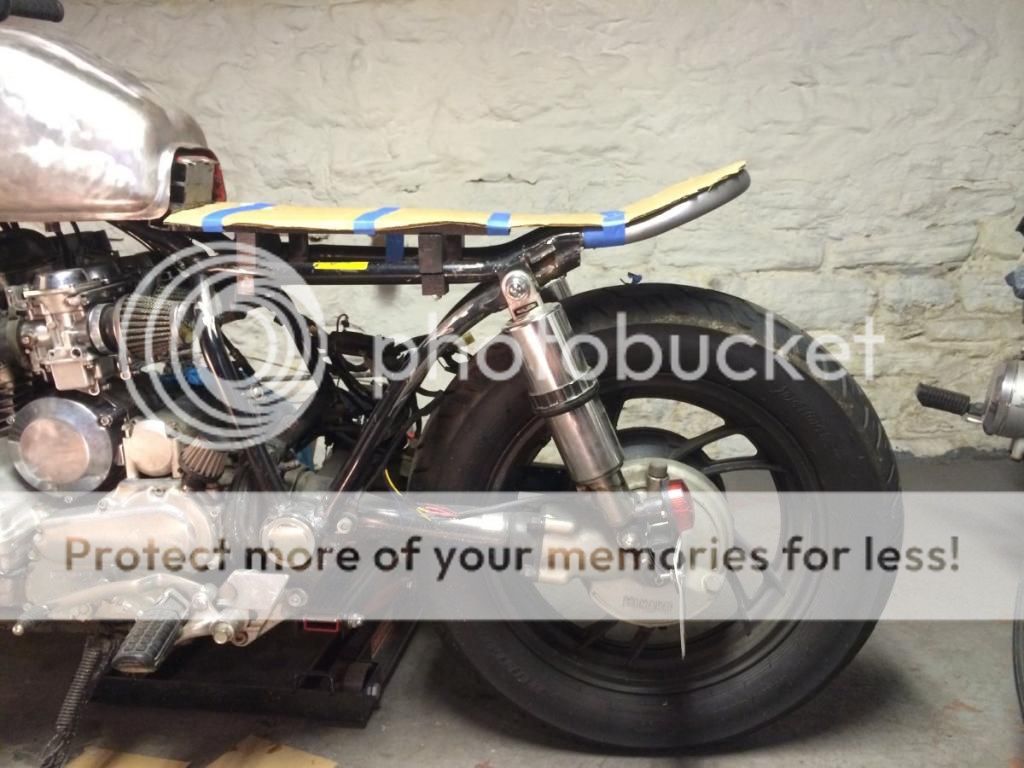
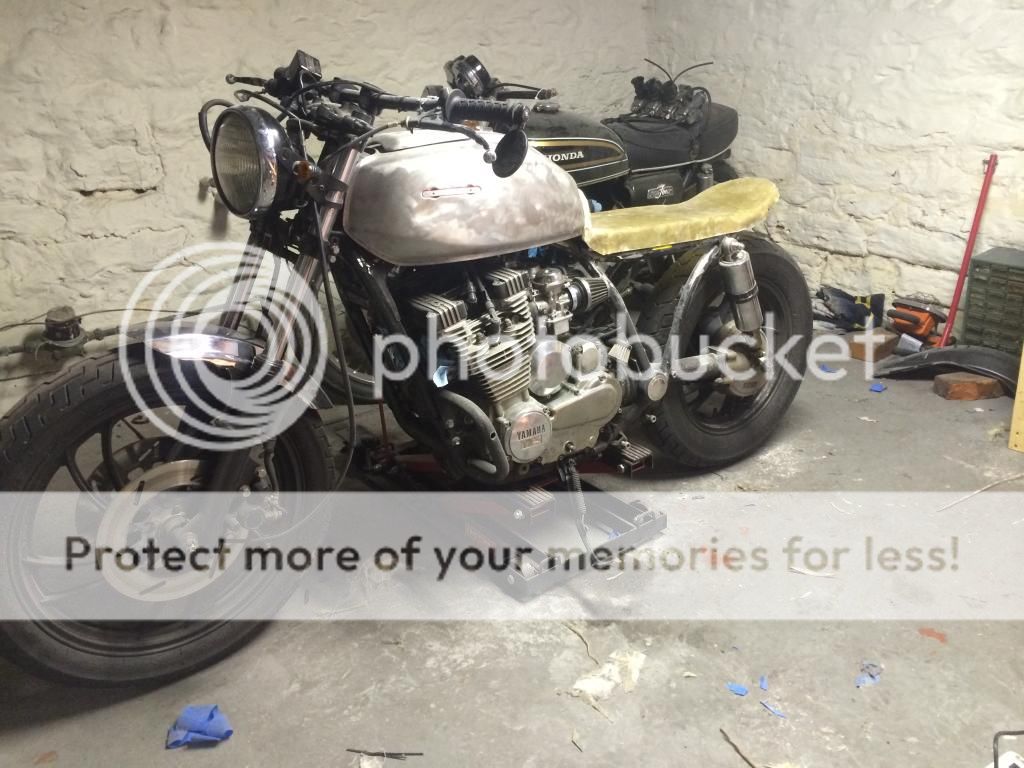
Started mocking up the tail hoop for welding this weekend. It's a little long as is in this picture. Being that I'd like to be able to have a passenger, I'm not going to cut it TOO short. I think id like the end to be about two inches past the axle.
A little CAD work for the seat. I think I'm going to bring it in an inch and a half and call it done.
I hope this makes my previous seat posts a little easier to understand. I could a.) make a flat fiberglass seat pan that mimics the current lines of the cardboard (with padding and leather on top), but leaves a large gap between the seat and the recessed part of the frame
Or b.) drape the fiberglass cloth over the sides in a way that it covers the gap (and somehow maintains a good line as it curves up with the rear).
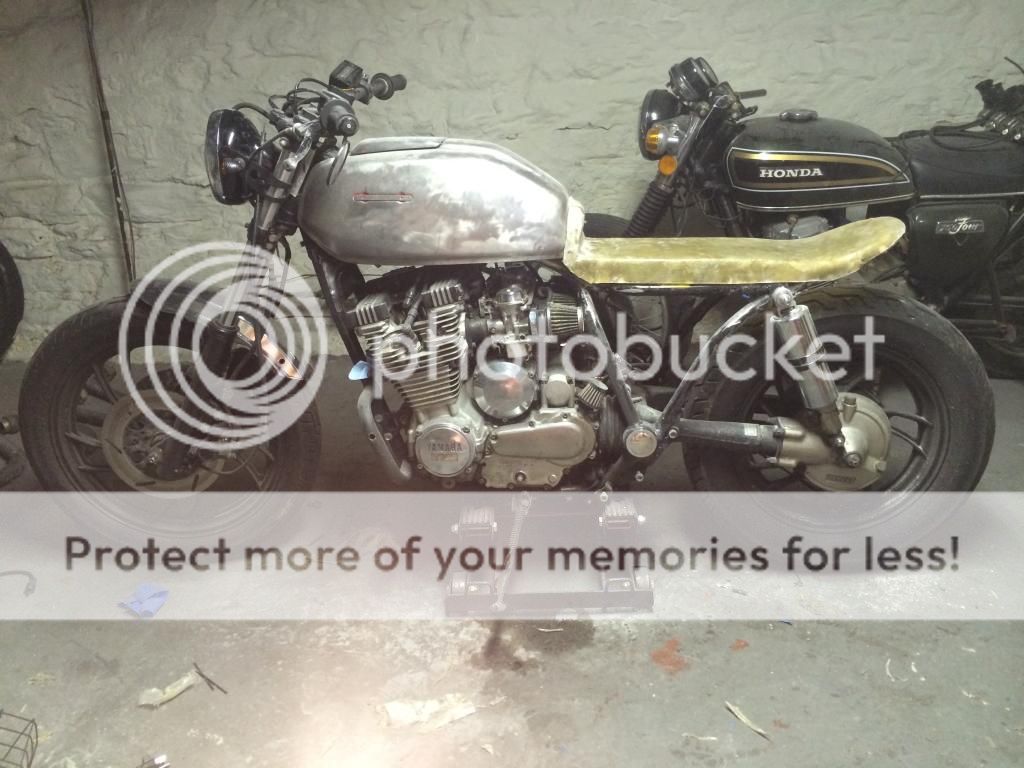
I've also got to make a decision about the headlight. The diameter is great and it looks awesome from the front, but I'm not sure if I like the side profile, looks like it's sticking out forward too much.
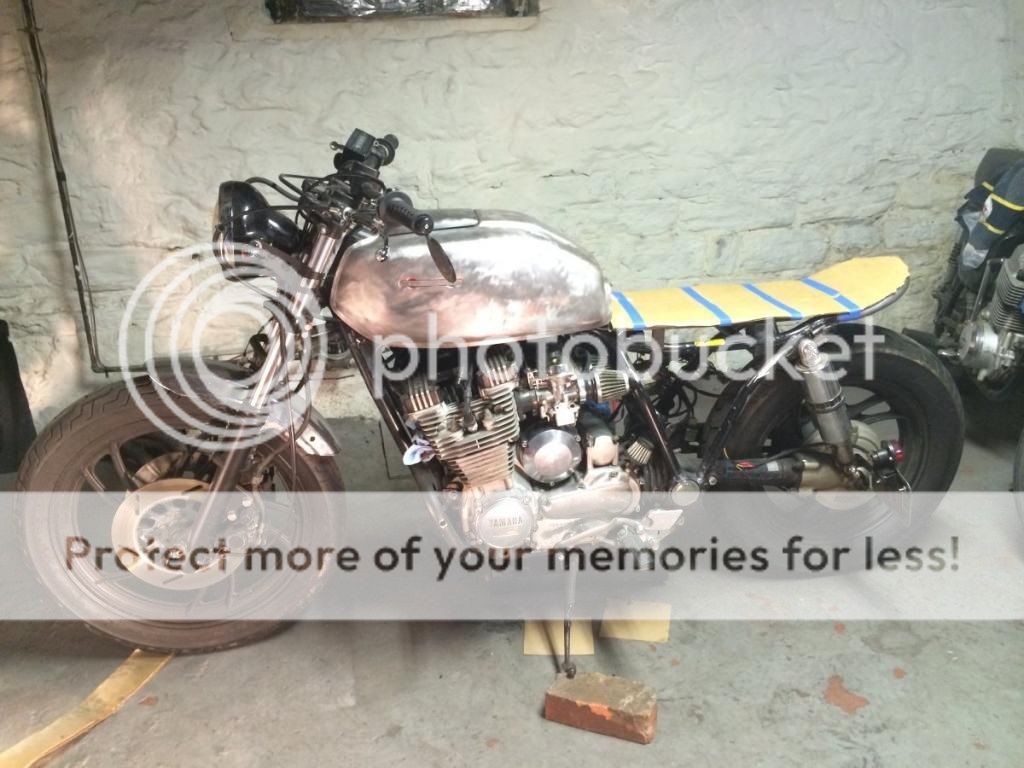
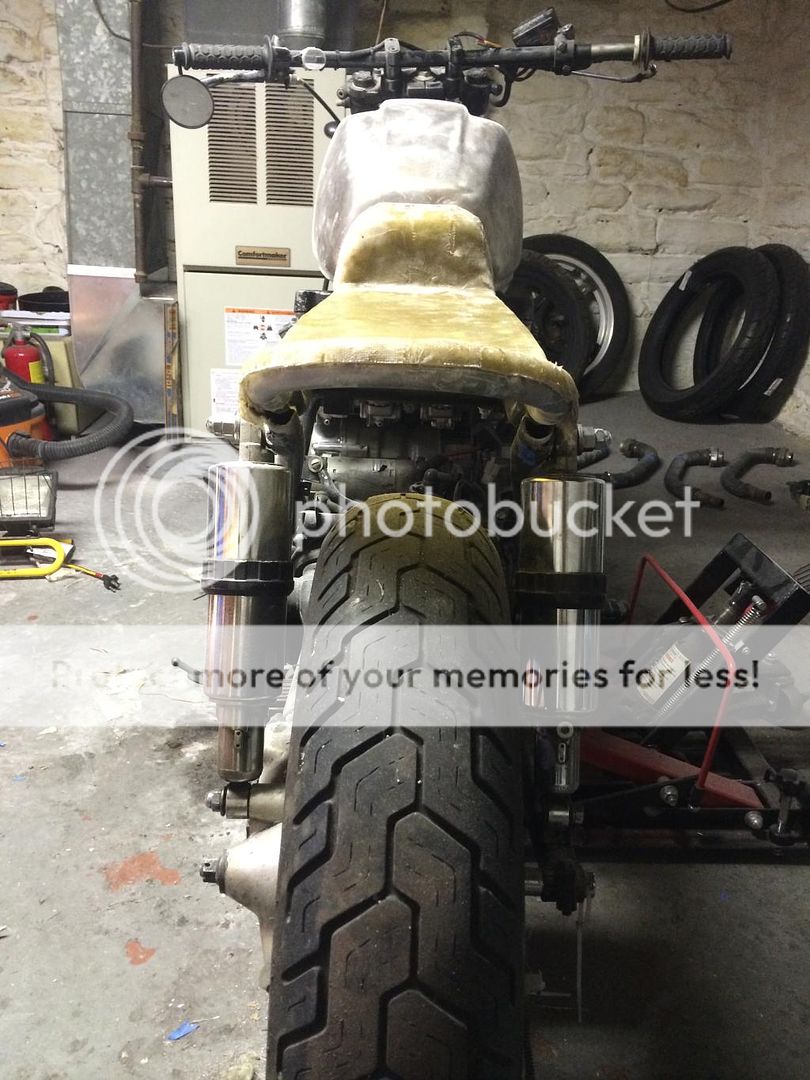
Shortened the hoop another inch and welded it and the slugs to the frame. I moved and cut up the mounting brackets for the DCC Seat mount and they are now all inside of the edge of the seat and nearly invisible. I then welded a different and less bulky tank mount to the frame and got everything aligned properly before I taped for fiberglass.
This is after some trimming all around. I think I will probably cut another 3/16s off of the bottom, and I also need to clean up the area where it meets the tank. I definitely will not be color matching it to anything; it will be black, otherwise I think it will be an eyesore. I'll fiberglass a seat pan on top of this once it's trimmed, patched , sanded and primed.
This build is progressing very nicely! I'm assuming that you checked for max rear suspension travel with your new frame mods and that you will be adding some form of inner rear fender/splash panel to keep crud out of your pod filters.
Thanks and affirmative to both. Did the old ratchet strap test and was fine to me. I'll be upgrading the shocks to something stiffer as well. the stock inner plastic fender still fits perfectly so it will definitely be utilized.
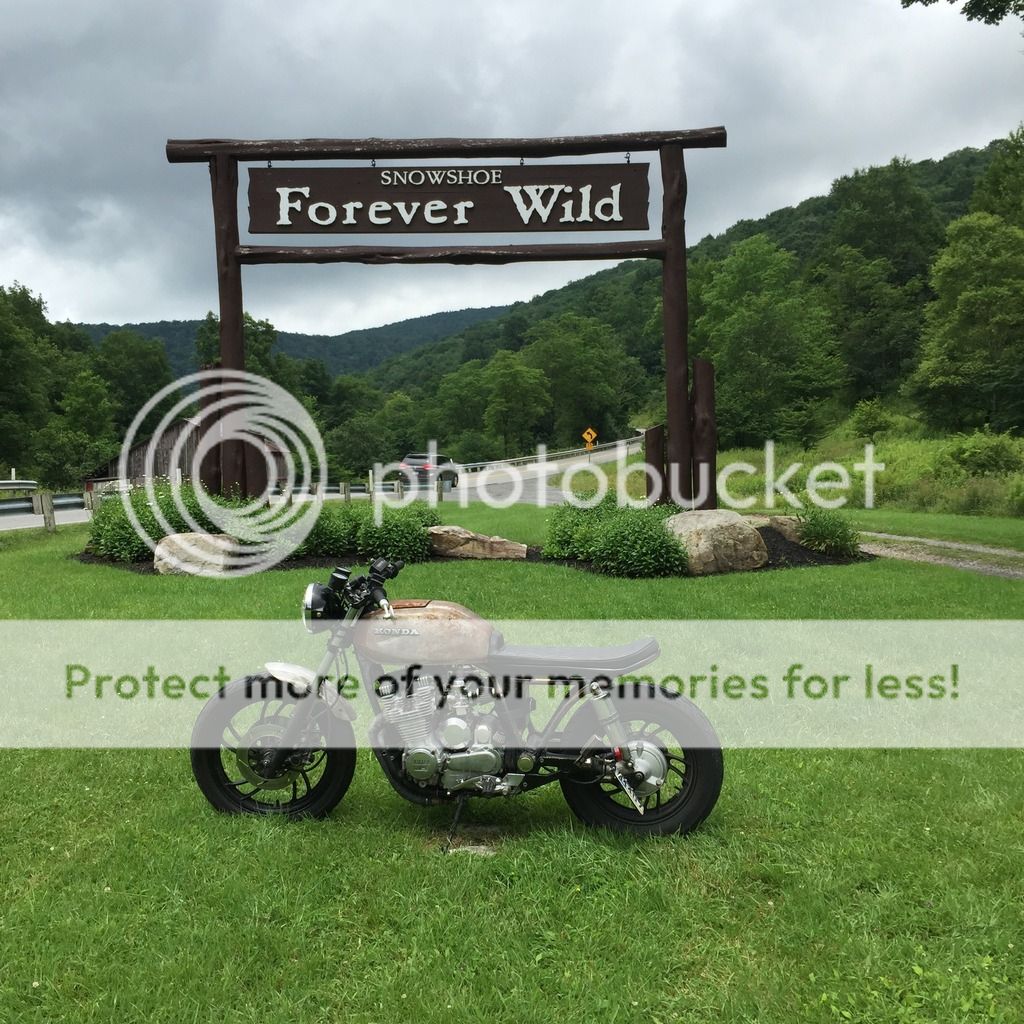
Since I last posted I've gotten the bike on the road, and it runs well the way I have it rejetted. Mostly rewired to my liking, just have to move the ignition and wire in the horn. The seat is complete, and I'm just waiting on a new MC/Shift lever for the cockpit.
New exhaust will be welded on in a week or two, and then I'll be ready for paint!
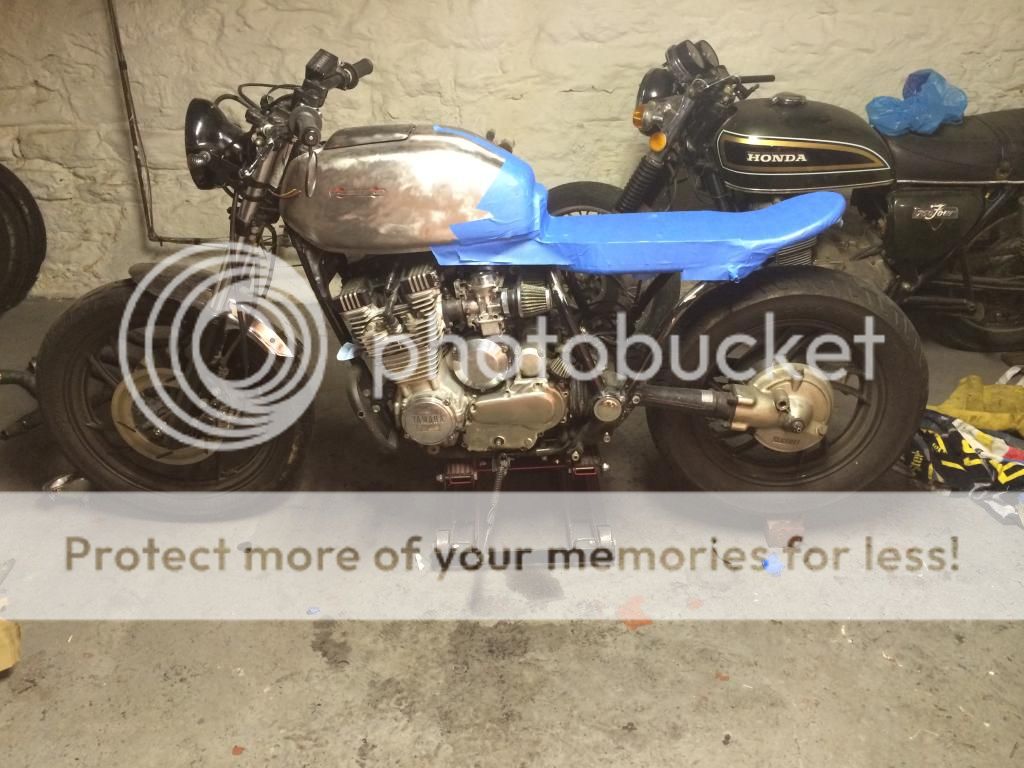
Pardon the Honda Emblems. I can't really decide If I want to fill in the emblem mounts before paint, or order a set of stock old-school ish YAMAHA emblems that I can only hope will have their mounting points the same width as the honda's.
This is what I'd like, but you'll note that the mounting holes are offset, so they will not fit this tank.
Your last image went missing. RE: emblems - it might be easier to fill the Honda emblem mounting area smooth and add a YAMAHA decal after painting. You can even get a raised ("puffy") decal now.
I've been spending most of my time on my CB, but I've taken care of some odds and ends.
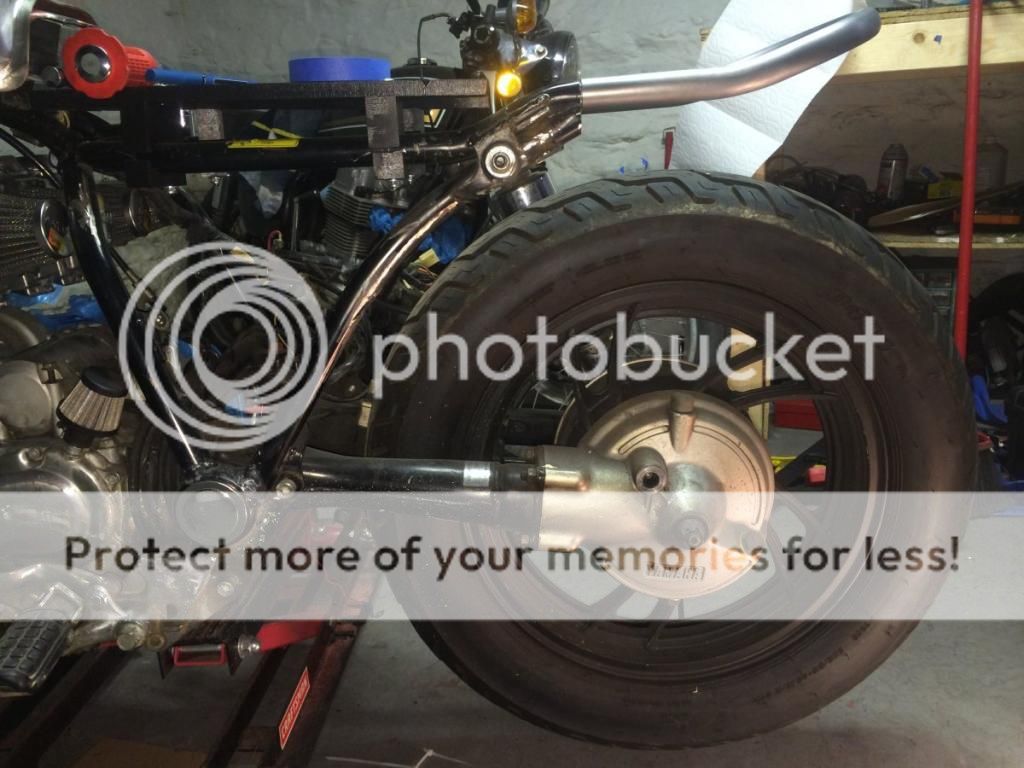
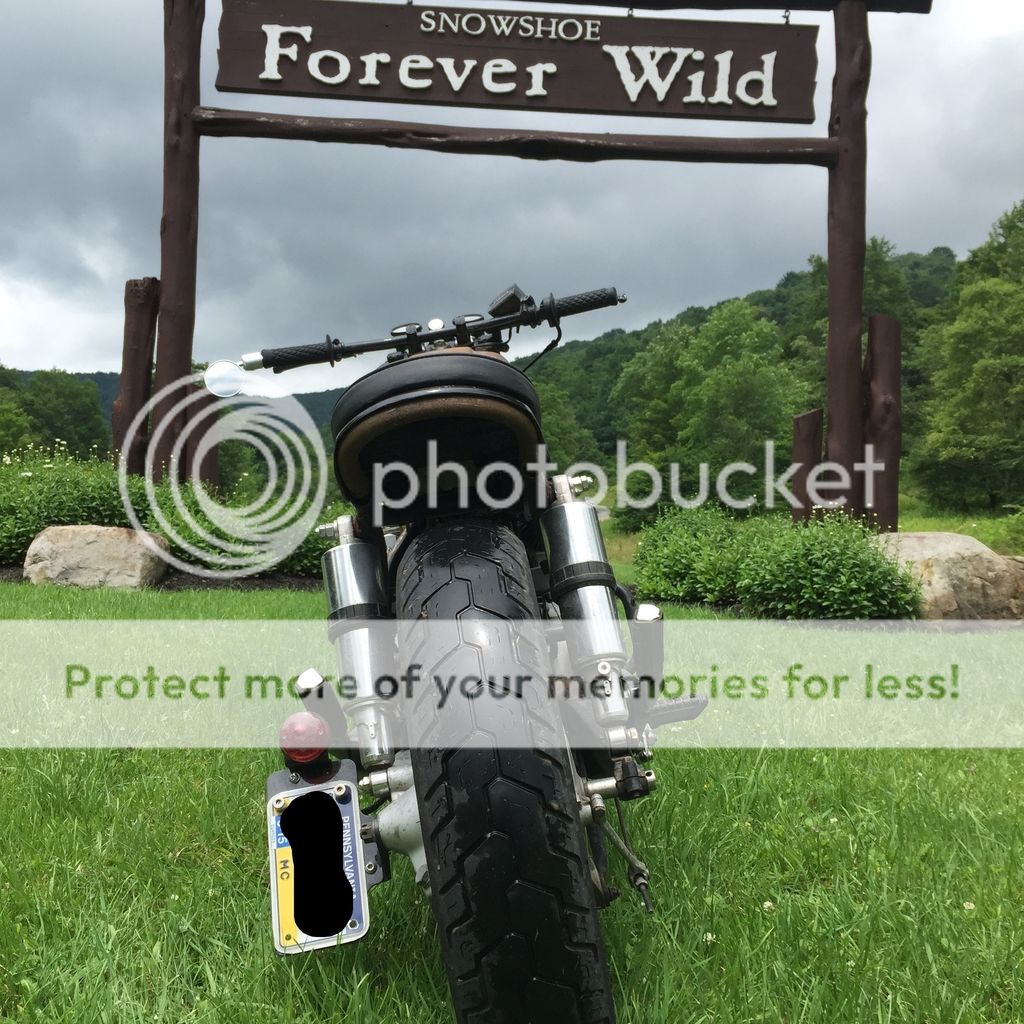
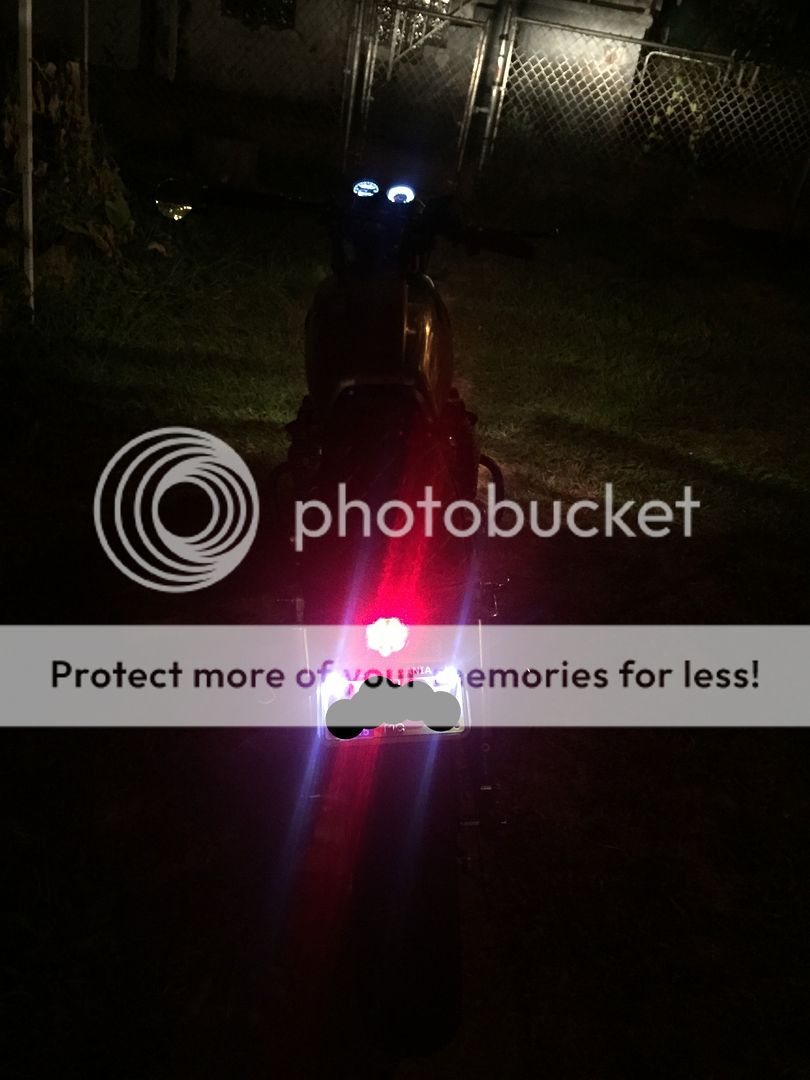
Got some new cables, fashioned up a rear fender/light/plate mount instead of the mount/light down at the axle. I also crudely polished the sides of the tank while leaving a strip of rust along the top because why not. I also mounted the gauges much closer to one another.
As much as I played around with doing a true 4-2 exhaust, Nothing made it run better than a stock exhaust collecter which has a crosspipe. This winter I will chop it up a bit and do something nice with some mufflers.
Plenty bright at night
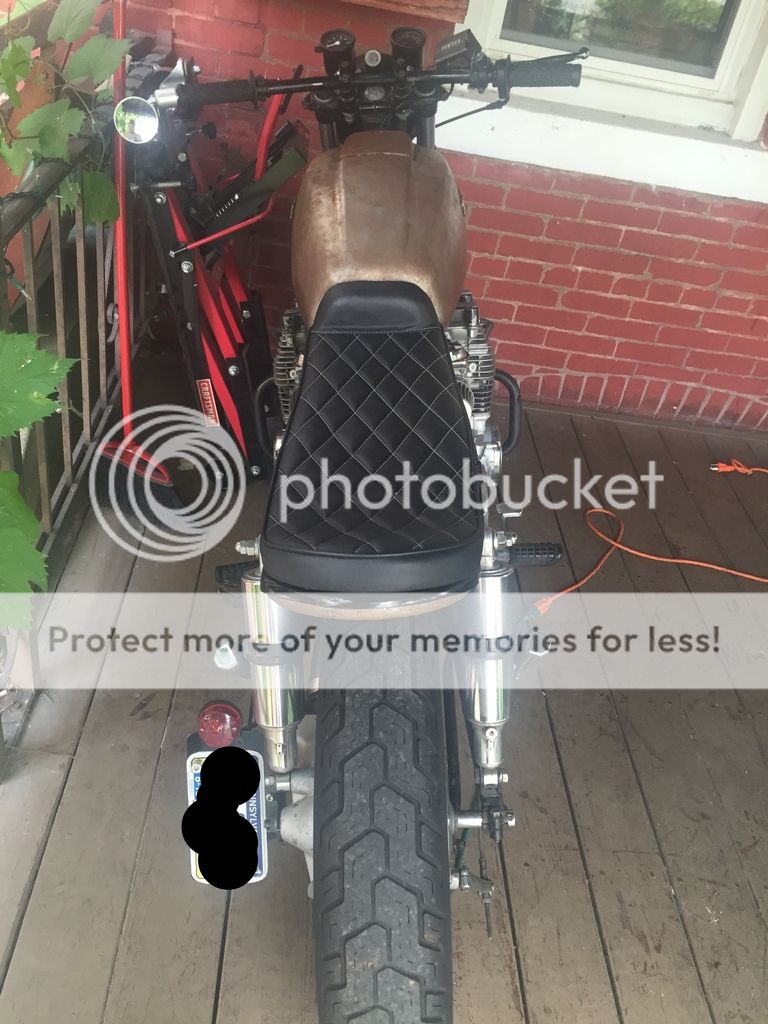
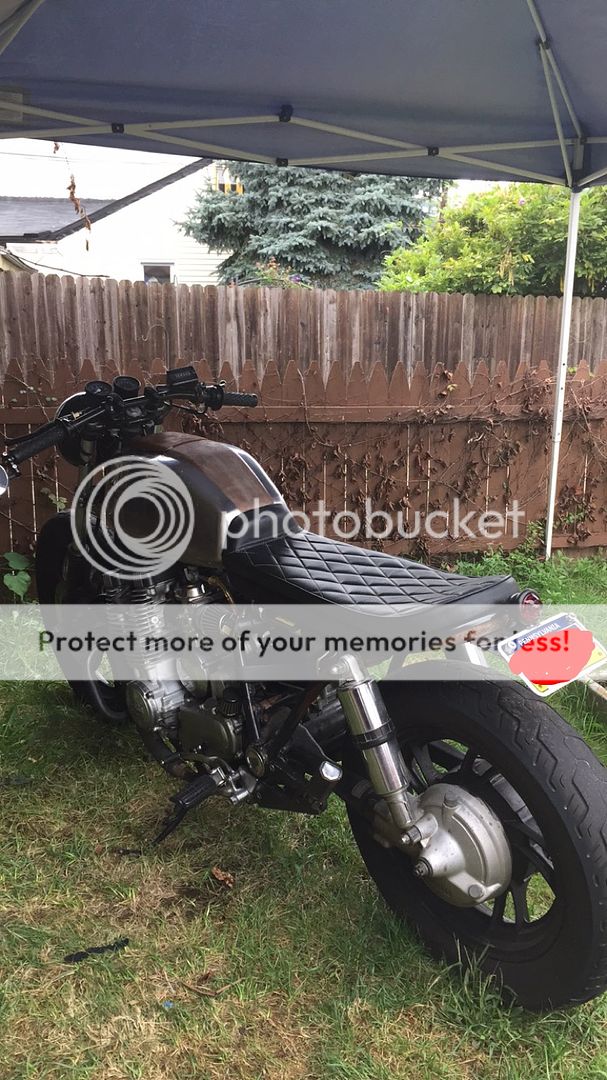
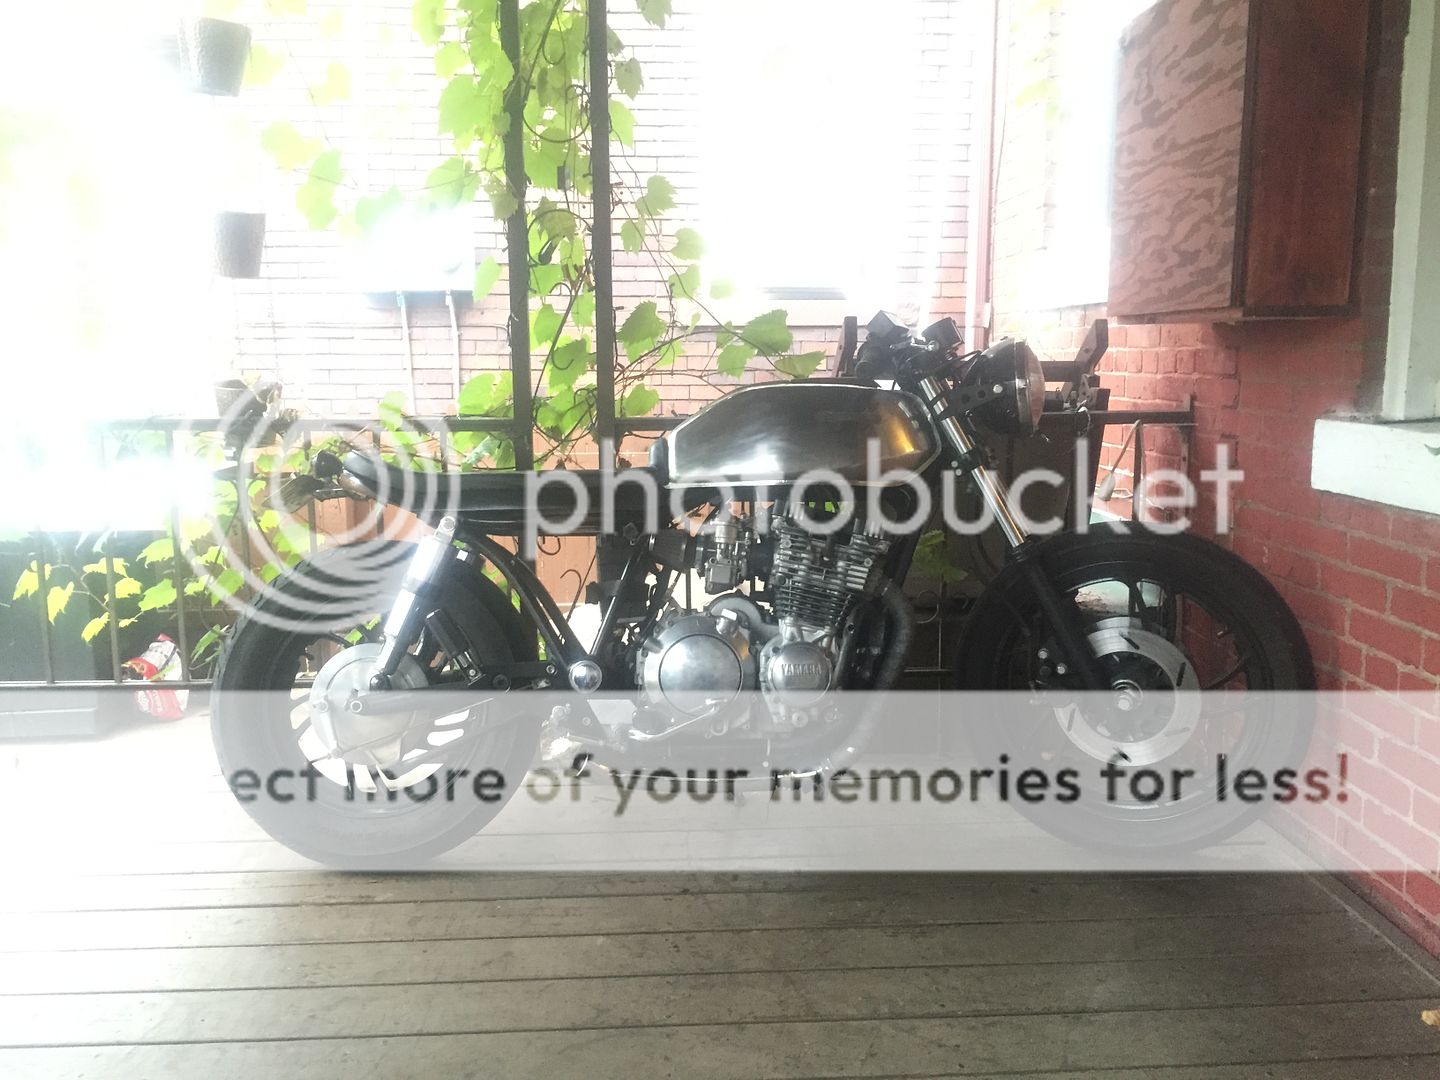
And as it sits now:
I want to also say that using the VintageConnections to rewire was a great idea. It's simple, effective, and stock looking.
I've got a ton to do this winter as far as powedering the frame, doing new suspension all around, and hopefully sourcing one of those kits from a virago that allows me to put a small, fat 16" rear wheel up front.
This site uses cookies to help personalise content, tailor your experience and to keep you logged in if you register.
By continuing to use this site, you are consenting to our use of cookies.