
We noticed you are blocking ads. DO THE TON only works with community supporters. Most are active members of the site with small businesses. Please consider disabling your ad blocking tool and checking out the businesses that help keep our site up and free.
You are using an out of date browser. It may not display this or other websites correctly.
You should upgrade or use an alternative browser.
You should upgrade or use an alternative browser.
1975 CB550F Brat Project
- Thread starter zwade
- Start date
donniedarko
New Member
Have you pulled the carbs apart yet? im curious as to the condition after seeing that petcock. :-\
donniedarko said:Have you pulled the carbs apart yet? im curious as to the condition after seeing that petcock. :-\
I'm a little nervous to because I got a telescoping mirror and went in the tank and she's got some rust.
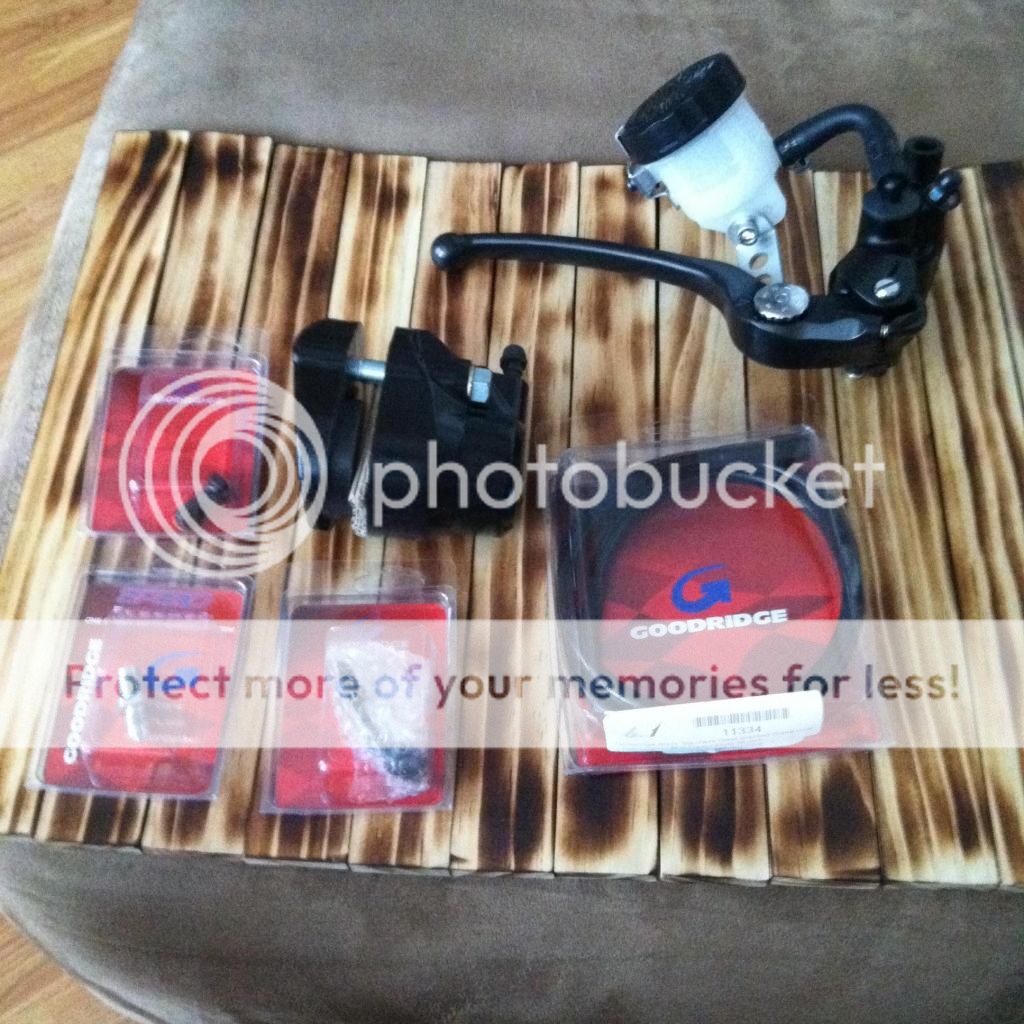
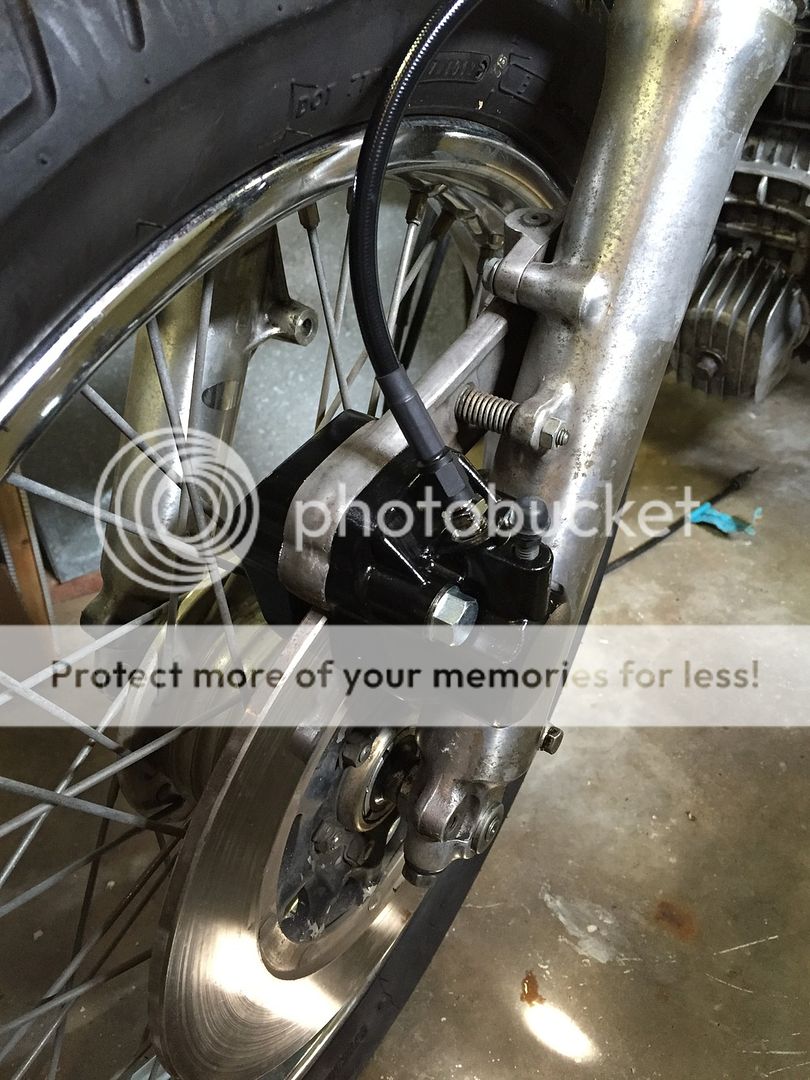
I've been slowly making progress on this, got a few more things wired up and I cut off the rear part of the frame to make way for the tail hoop I got from DCC. I also received my rear plate bracket from Cognitomoto with the LED taillight and turn signals. My front brake caliper is eff'd so I'll have to order a new one and while I'm at it I decided to get the Nissin Master Cylinder assembly as well as a stainless steel brake line kit from 4into1. So I'll be updating with some pics at some point in the next few weeks
Tijmen said:Looking good, following!
Thanks!
Awesome, I'm always up for Q&A and suggestions/discussions since this is my first buildyorkie350 said:just jumped onboard this build, look forward to following ya project working on a 550f myself always up for Q & A's
UPDATE
I've got some picture updates today. As I mentioned previously, there was some rust in the tank. I bought some distilled water and some cider vinegar and plan on cleaning that out soon.
1)
2)

3)

4)

5)
6) Still trying to decide how I'm going to do this
7)
8.) Frame Slugs
I've got some picture updates today. As I mentioned previously, there was some rust in the tank. I bought some distilled water and some cider vinegar and plan on cleaning that out soon.
1)
2)
3)
4)
5)
6) Still trying to decide how I'm going to do this
7)
8.) Frame Slugs
great looking build so far! Im also working on my first build and love seeing others doing the same for inspiration.
one thing I would recommend from research I have done, you mentioned in your first post that you were not going to use a front fender...a lot of the older bikes used the fender as a fork brace so I would suggest sourcing one out or make sure you get a solid fork brace to add in at some point in your build
I know you may not be at this point in your build just yet but just one thing that jumped out at me since I was unaware of this when i started my build.
good luck with the rest I will be checking in on this one!
ShaggyPit said:great looking build so far! Im also working on my first build and love seeing others doing the same for inspiration.
one thing I would recommend from research I have done, you mentioned in your first post that you were not going to use a front fender...a lot of the older bikes used the fender as a fork brace so I would suggest sourcing one out or make sure you get a solid fork brace to add in at some point in your build
I know you may not be at this point in your build just yet but just one thing that jumped out at me since I was unaware of this when i started my build.
good luck with the rest I will be checking in on this one!
Thanks man, I'll keep that in mind!

yorkie350 said:sweet way to keep crap from back end doing something on those lines myself remember ya gotta leave at least 3" cut out for chain side especialy when ya suspension is under full load or ya gonna go ??? oops
I'll keep that in mind, thanks!
UPDATE
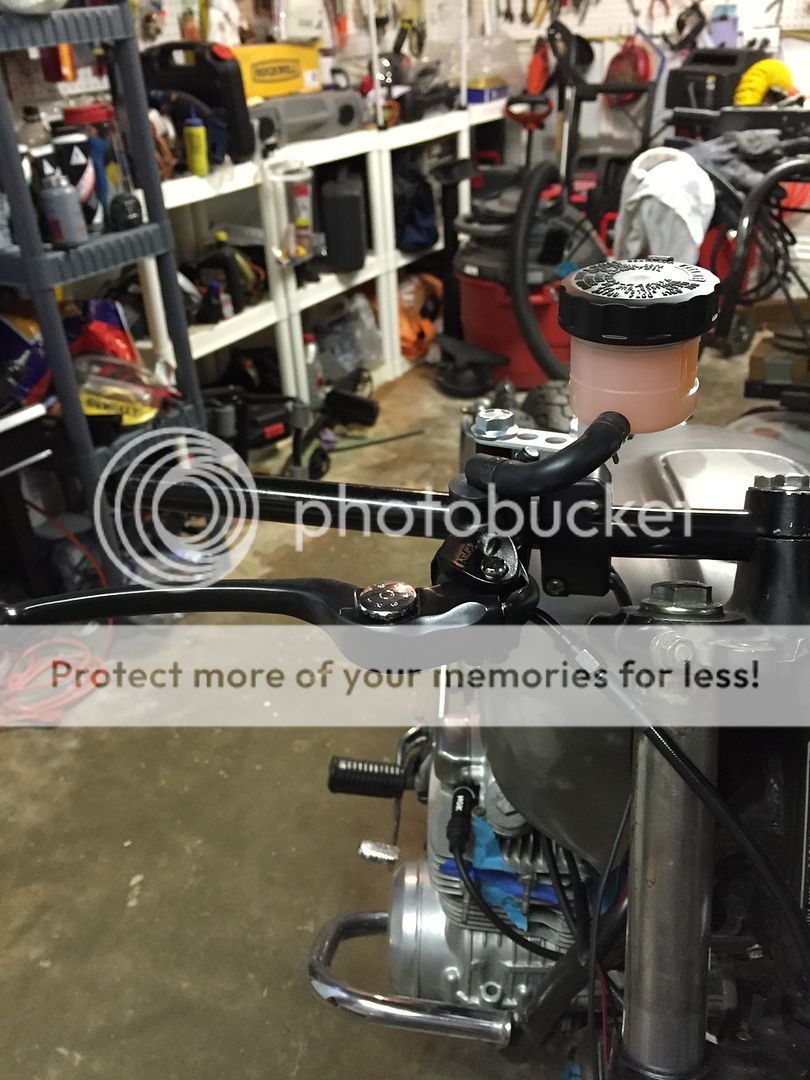
Another small update, I got all my front brake parts in for a completely new assembly. The Nissin radial master cylinder from DCC and the new front caliper assembly and stainless steel brake line kit from 4into1. I have to say I'm pretty excited about this setup!
1)
2)
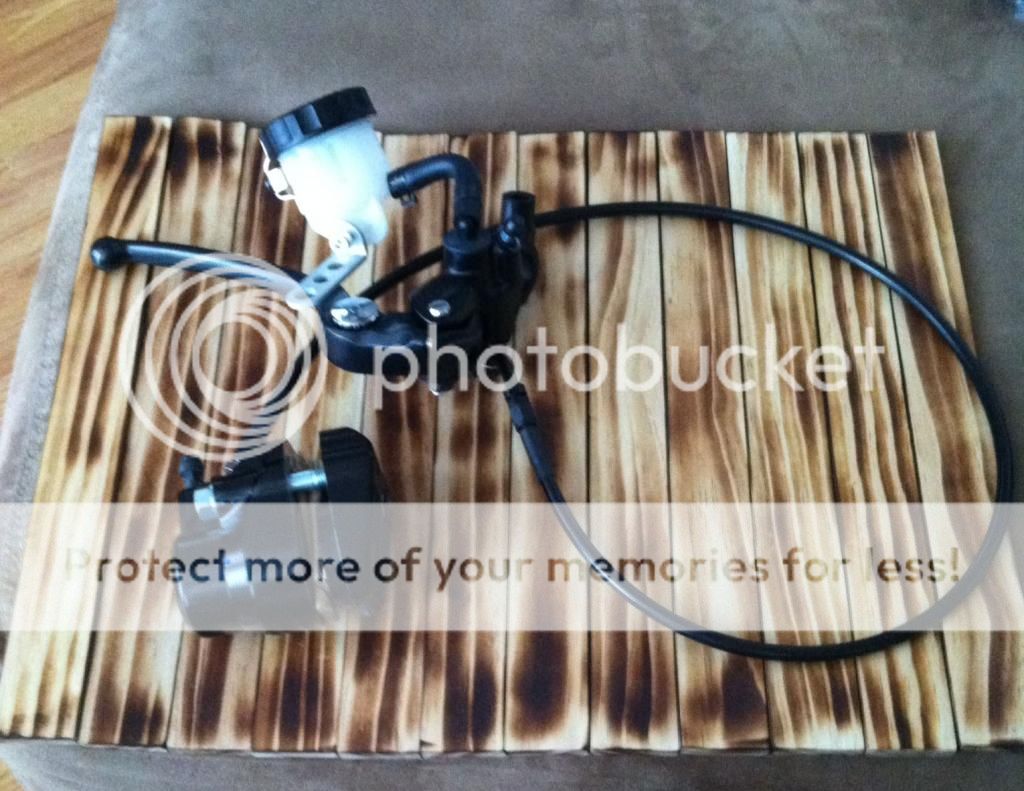
Another small update, I got all my front brake parts in for a completely new assembly. The Nissin radial master cylinder from DCC and the new front caliper assembly and stainless steel brake line kit from 4into1. I have to say I'm pretty excited about this setup!
1)
2)
UPDATE
Parts update, got some goodies in the past week. My seat, exhaust, grips, and headlight all came in. I hope to get the rear hoop welded up soon, I had some surgery last week so I have to take it easy for awhile. You may also notice the paint stripped off the gas tank, still have a little to do on that.
1). Emgo Black 5 3/4" Bottom Mount Headlight
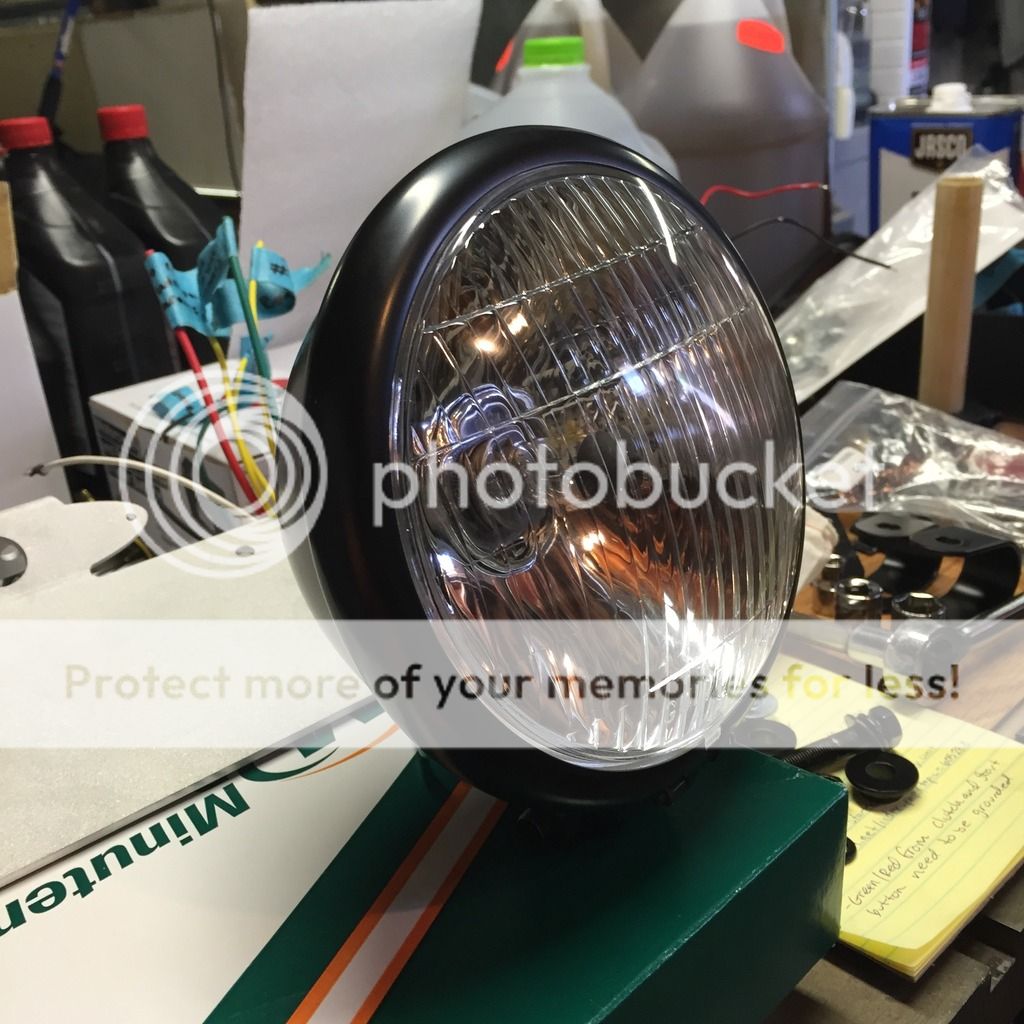
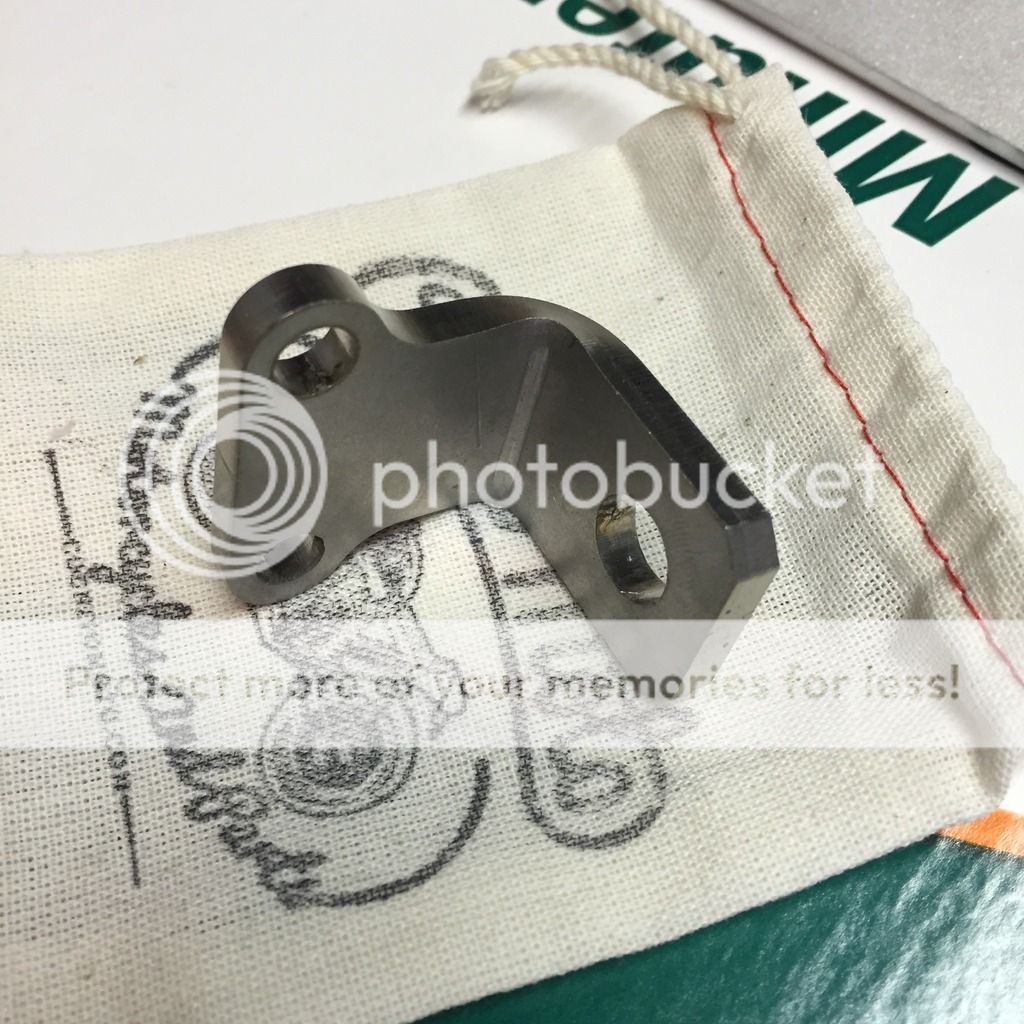
2). Headlight mount from Cognito Moto
3). Biltwell Black Thruster Grips

4). DCC Brat Upswept Black Seat
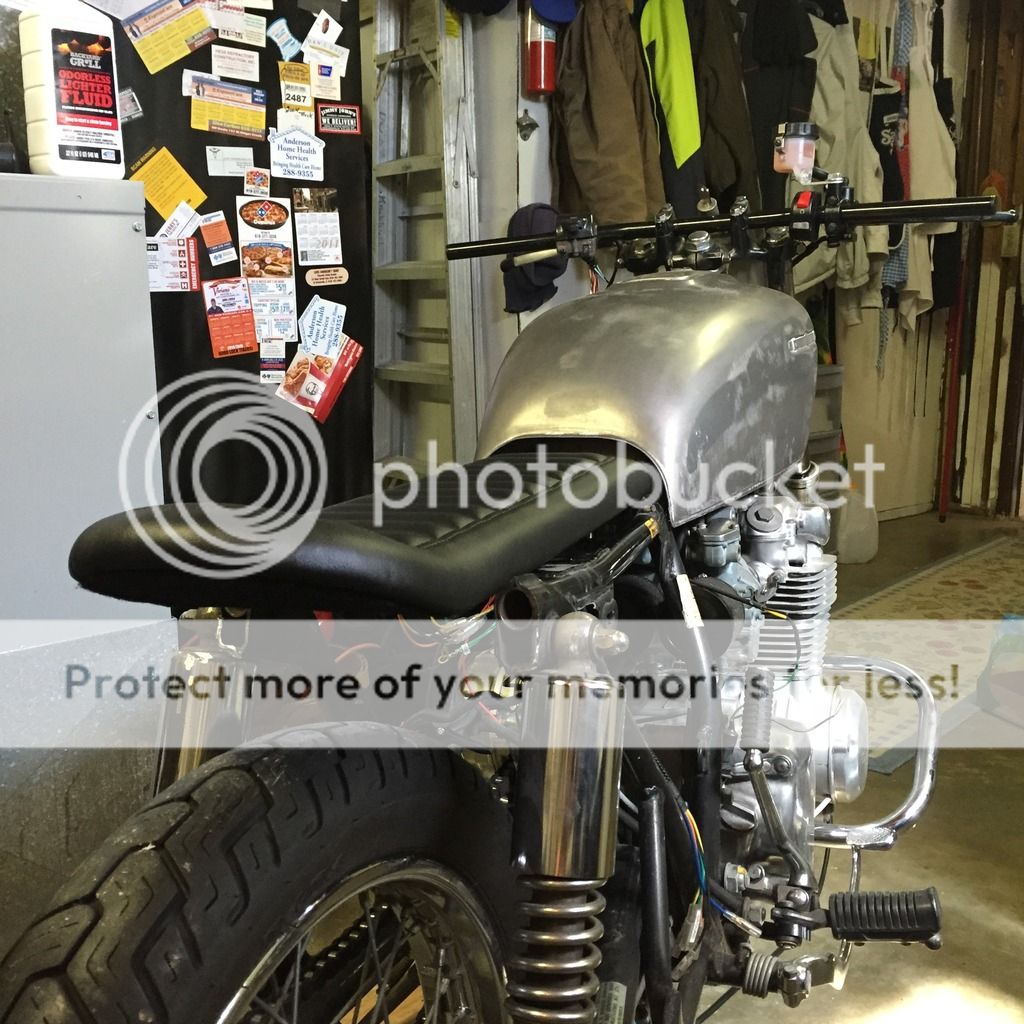
5). Carpy 4 into 1 Raw Steel Exhaust

Parts update, got some goodies in the past week. My seat, exhaust, grips, and headlight all came in. I hope to get the rear hoop welded up soon, I had some surgery last week so I have to take it easy for awhile. You may also notice the paint stripped off the gas tank, still have a little to do on that.
1). Emgo Black 5 3/4" Bottom Mount Headlight
2). Headlight mount from Cognito Moto
3). Biltwell Black Thruster Grips
4). DCC Brat Upswept Black Seat
5). Carpy 4 into 1 Raw Steel Exhaust
UPDATE
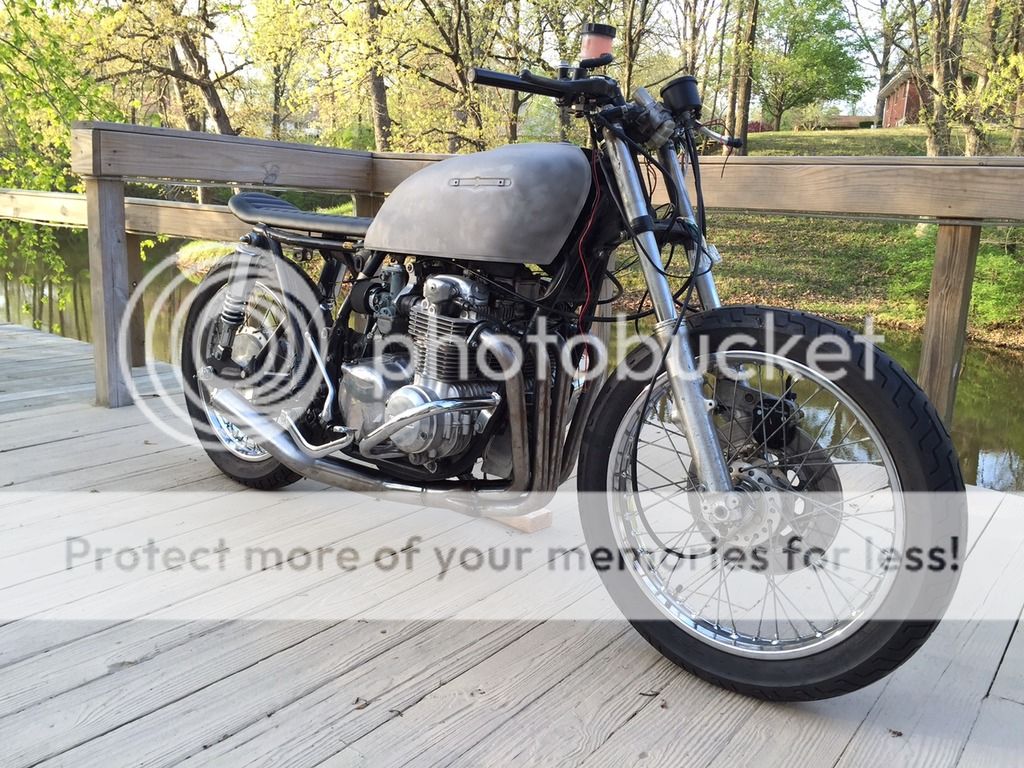
I put my carpy 4-1 exhaust on a few weeks ago.
1)
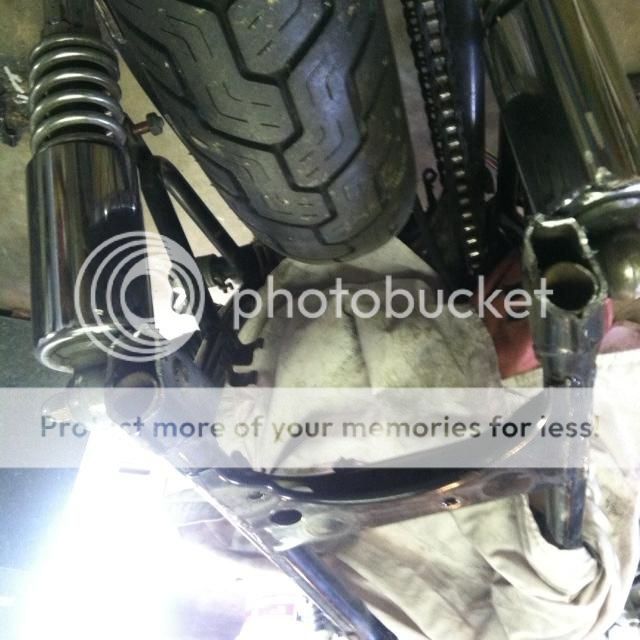
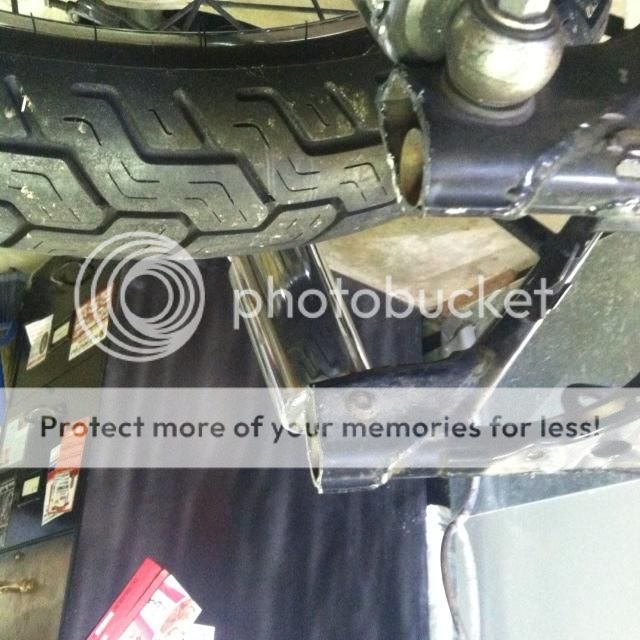
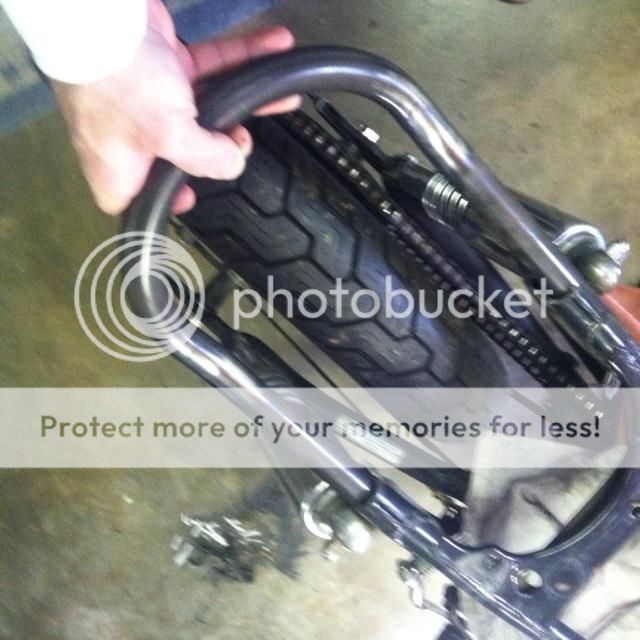
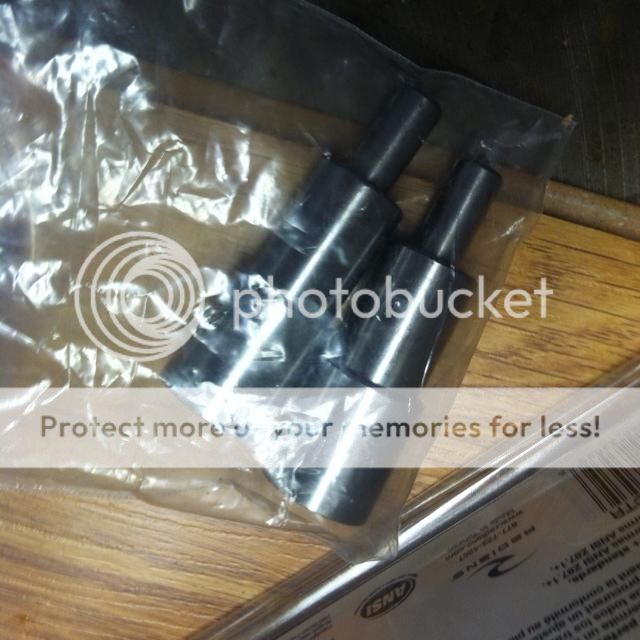
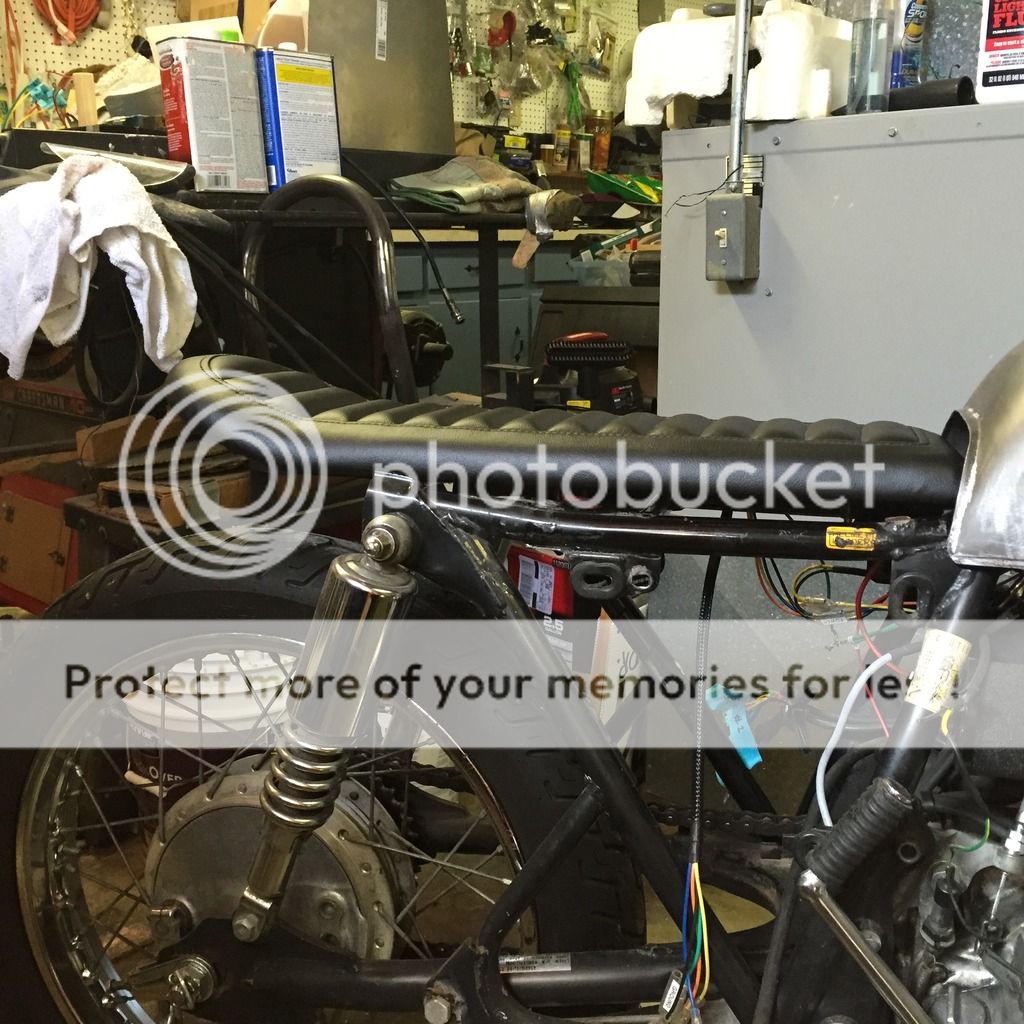
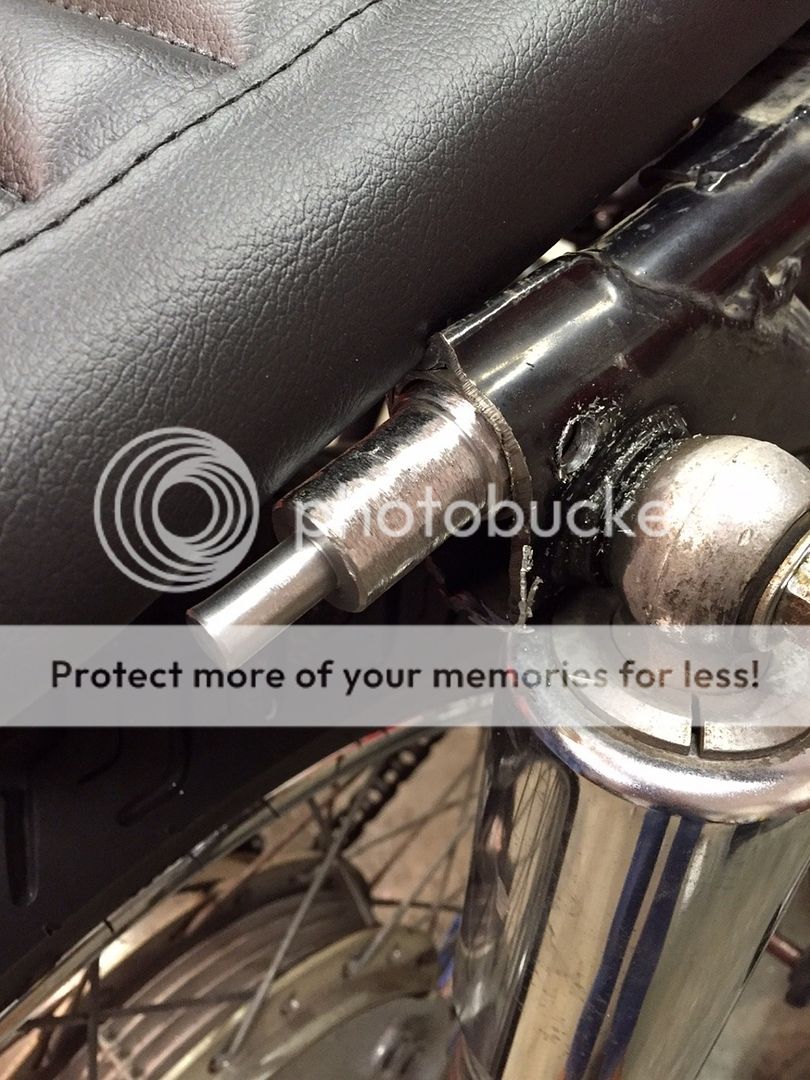
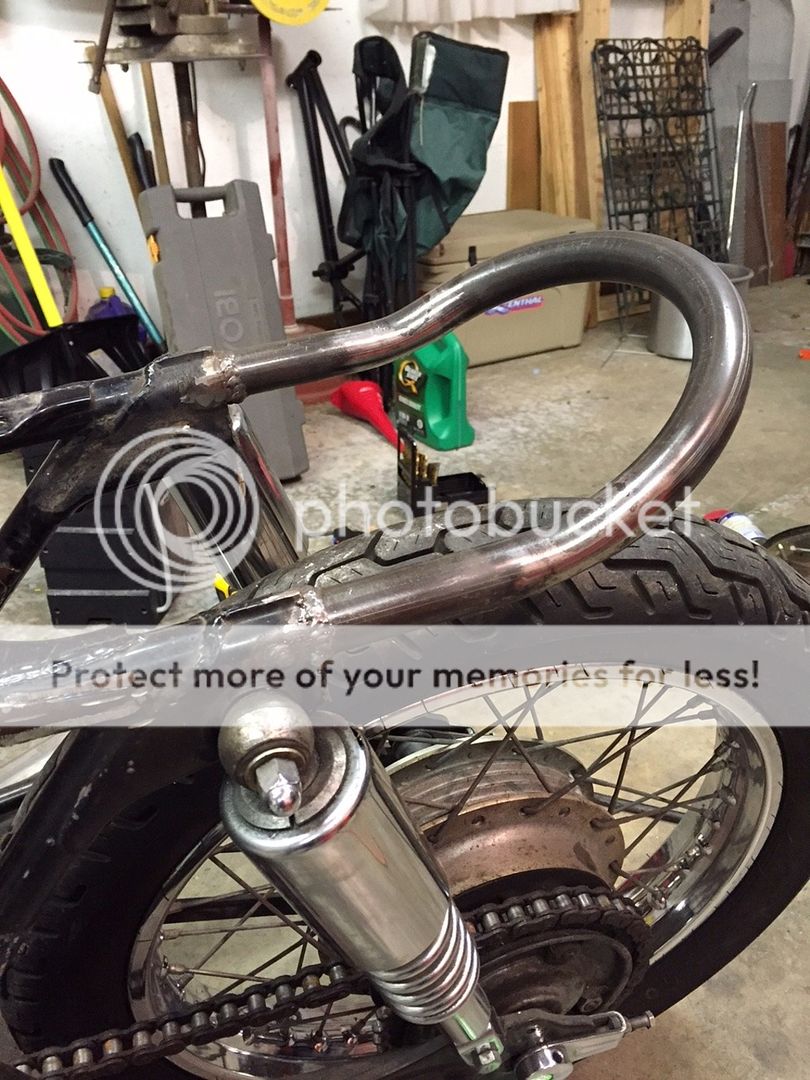
I went to my cousins house this past Wednesday and he helped me put on my DCC rear tail hoop. We put a rod in the tubing on the rear of the frame and banged it out so it was more circular than oval. Then we drilled a hole on each side of the frame tube and put the (slightly grinded down) DCC frame studs in and welded those in. Put the loop on and he welded it up. Looks awesome!
2)
3)

4)
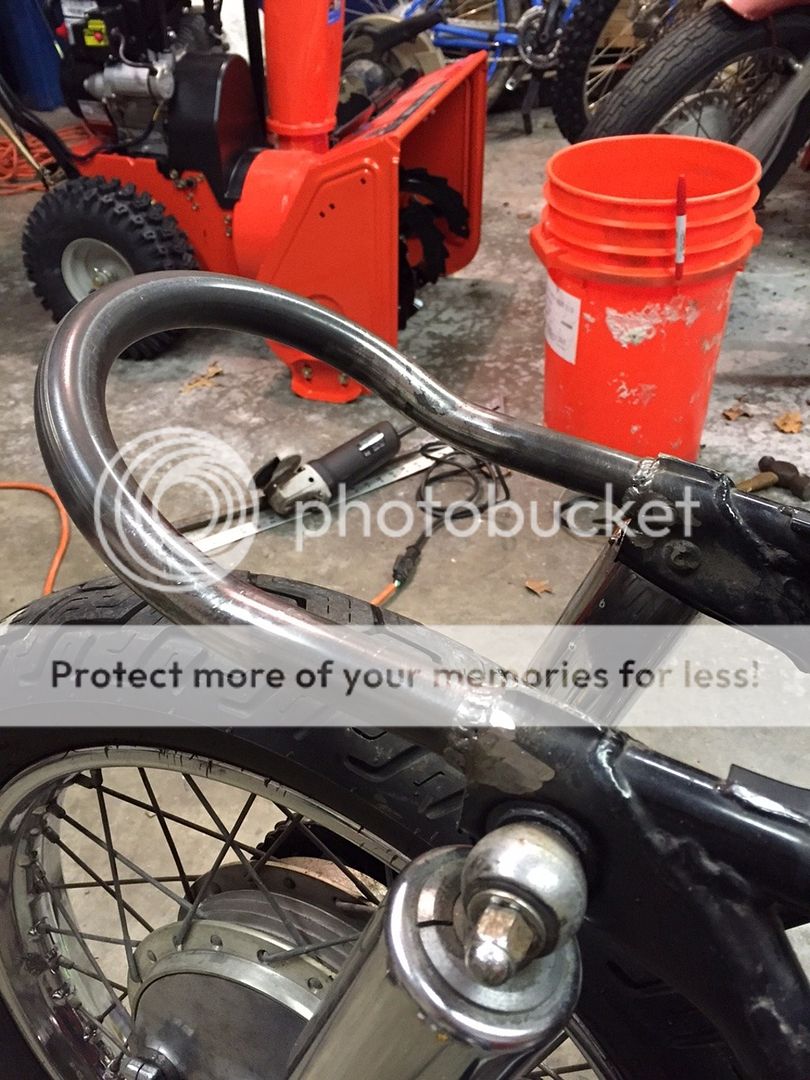
5)
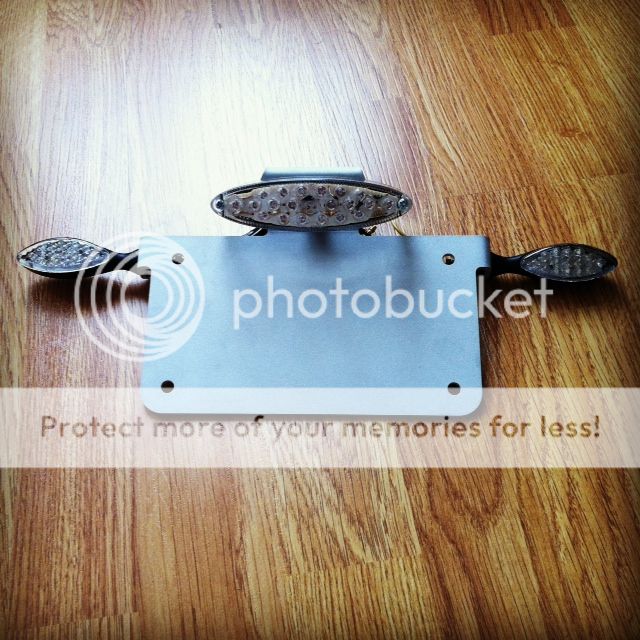
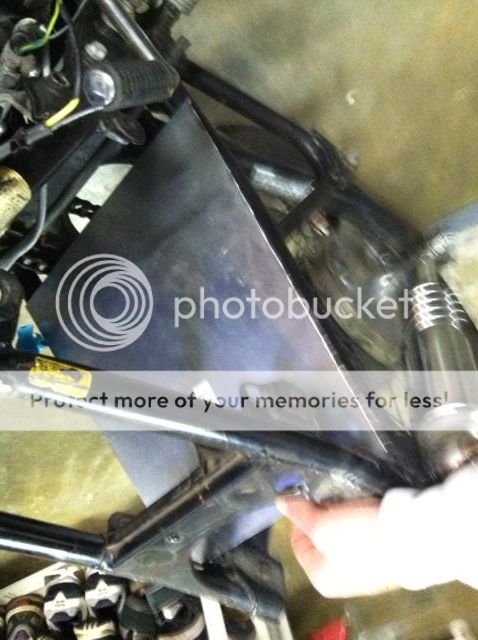
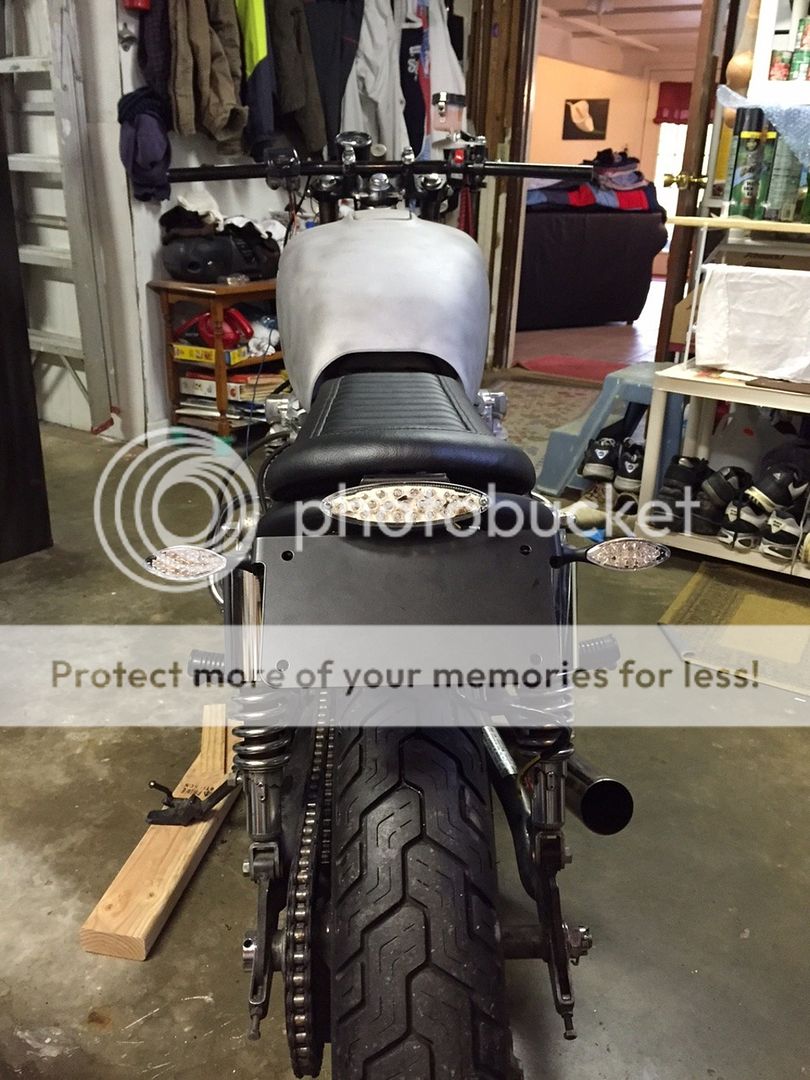
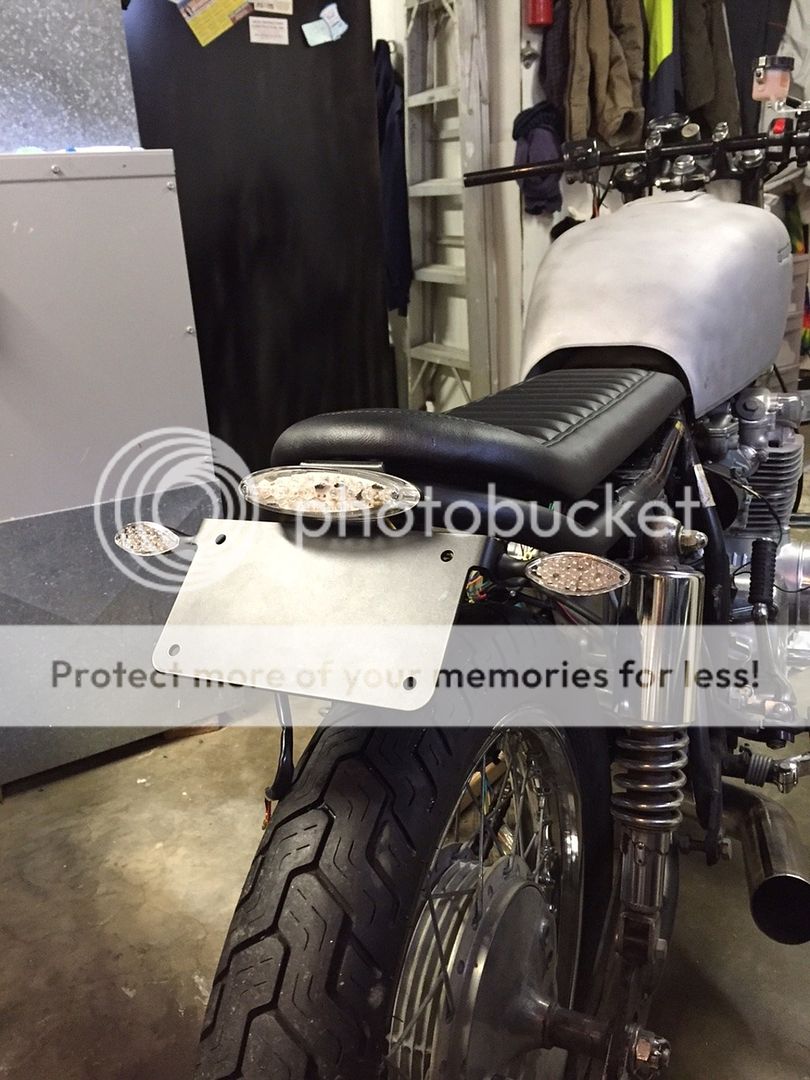
This weekend I measured out and drilled holes for my cognito moto license plate bracket (had it powder coated matte black btw) and got that mounted on with the taillight and turn signals. I also rattle canned the loop flat black and it actually turned out great (makes the rest of the bike look like shit).
6)
7)
Then I decided to take on the task of ridding my tank of rust using the cider vinegar method, which took all day sunday lol. There was a lot in there but im confident it's all good now, mounted the new strainer and petcock too.
8)

9)

10) (round one)

11) (round one)

12) (round two)

13) (round three)

I rinsed the vinegar out with distilled water and then blew it dry with a hose and my compressor and flushed some fresh gas through it. After that I filled it with fresh premium and some stabil so hopefully that keeps it good for the time being.
I put my carpy 4-1 exhaust on a few weeks ago.
1)
I went to my cousins house this past Wednesday and he helped me put on my DCC rear tail hoop. We put a rod in the tubing on the rear of the frame and banged it out so it was more circular than oval. Then we drilled a hole on each side of the frame tube and put the (slightly grinded down) DCC frame studs in and welded those in. Put the loop on and he welded it up. Looks awesome!
2)
3)
4)
5)
This weekend I measured out and drilled holes for my cognito moto license plate bracket (had it powder coated matte black btw) and got that mounted on with the taillight and turn signals. I also rattle canned the loop flat black and it actually turned out great (makes the rest of the bike look like shit).
6)
7)
Then I decided to take on the task of ridding my tank of rust using the cider vinegar method, which took all day sunday lol. There was a lot in there but im confident it's all good now, mounted the new strainer and petcock too.
8)
9)
10) (round one)
11) (round one)
12) (round two)
13) (round three)
I rinsed the vinegar out with distilled water and then blew it dry with a hose and my compressor and flushed some fresh gas through it. After that I filled it with fresh premium and some stabil so hopefully that keeps it good for the time being.
john83 said:Looking cool.
Thanks appreciate it!


