
We noticed you are blocking ads. DO THE TON only works with community supporters. Most are active members of the site with small businesses. Please consider disabling your ad blocking tool and checking out the businesses that help keep our site up and free.
You are using an out of date browser. It may not display this or other websites correctly.
You should upgrade or use an alternative browser.
You should upgrade or use an alternative browser.
1975 CB550F Brat Project
- Thread starter zwade
- Start date
calisoul said:Hey so I like what you've got going so far. I'm actually building something similar. I'm curious, The seat doesn't really seem to fit on the frame and there is a downward bend in the middle. what are your plans for that?
I don't have the mounting brackets yet so I'm not sure how it will look finished or what my plan is yet. But when I get to that point I'll let you know!
xb33bsa said:i like the idea/method with the brush on the drill, very creative thinkinghow well did it perform a task ?
edit: i was thinking that bottle brush was on a drill motor in the tank for scrubbing under powr ?
No drill, just scrubbed it with the brush by hand
Cleric40 said:Do you have any side view pictures with the cognito moto tray? I am trying to get an idea of how deep it sits in the triangle area of frame
I can get some next time I go to work on it and post them for ya!
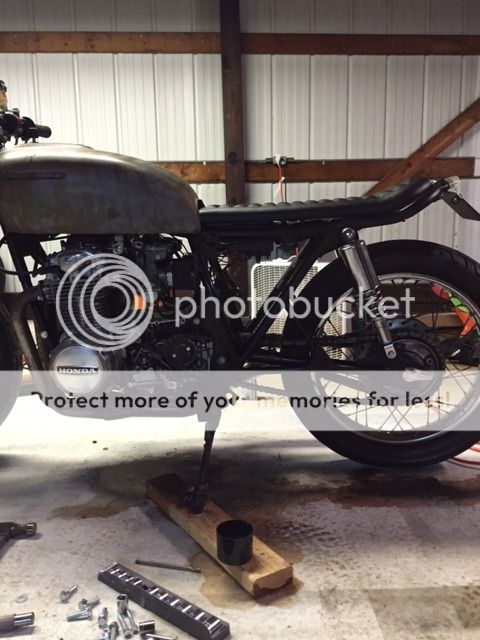
UPDATE 7-20-2016
Here is all the work that's been done in the past 2 weeks. She runs now! Just need to take it to get a tune and have the carbs rebuilt and then I'll be on the road.
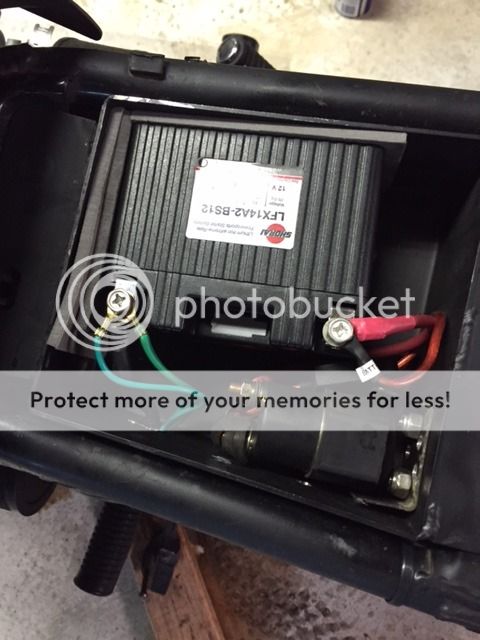
1) Here is my cognito tray with my battery and starter solenoid mounted inside
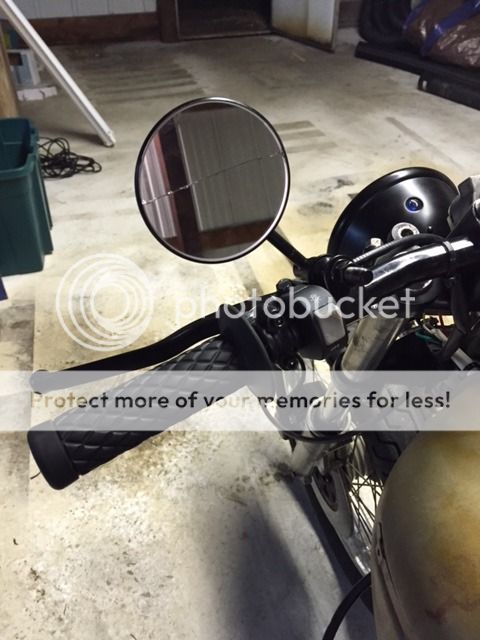
2) My mirror I took out of the box and dropped and broke tonight lol
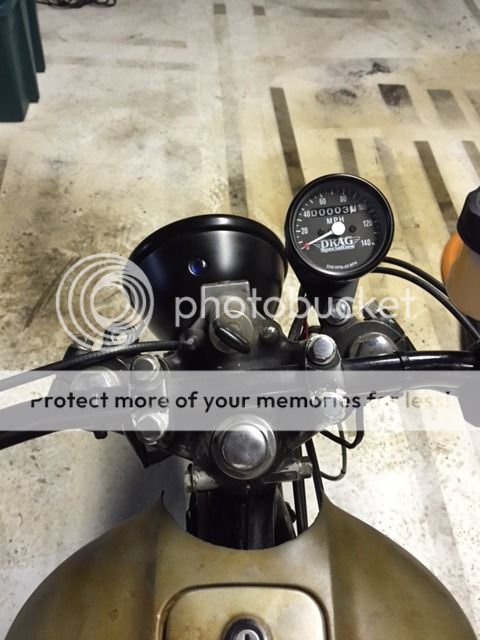
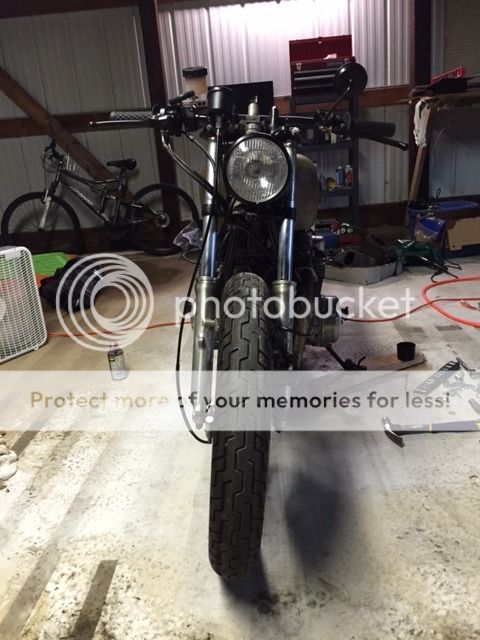
3) Headlight mounted and changed where the speedo sits
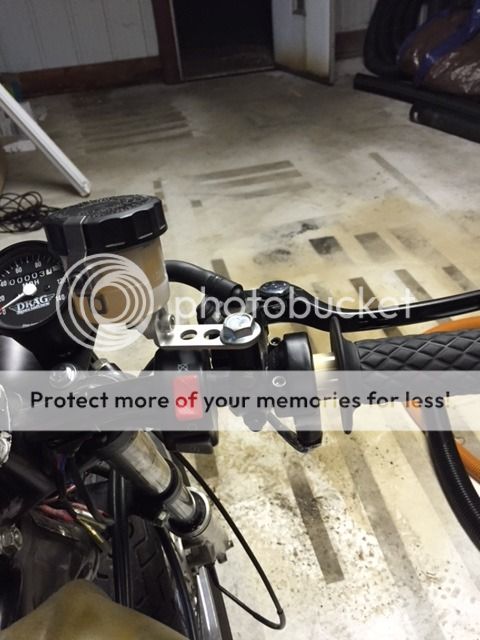
4) Throttle on, grips and starter switch mounted
5) Front view
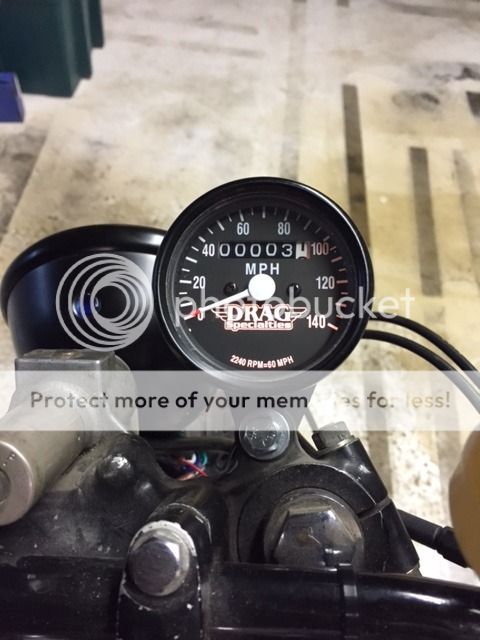
6) Speedo light wired up
7) Plates and brake light on and wired, decided to skip having turn signals

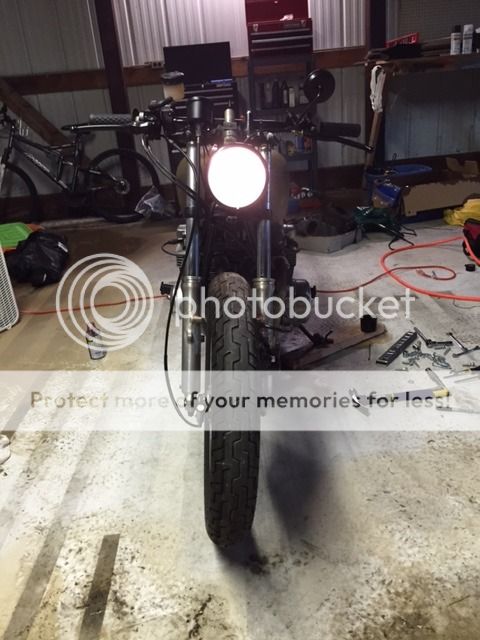
8) Headlight wired up!
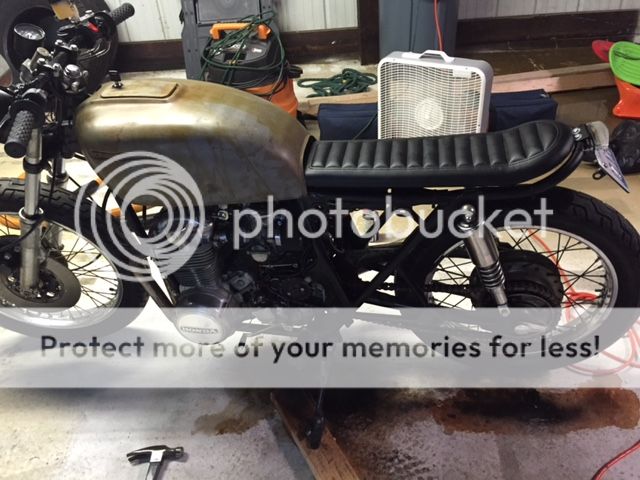
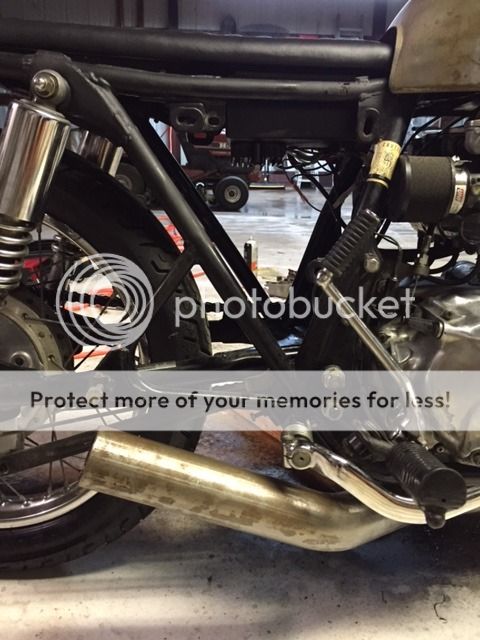
9) Rattled canned flat black the starter cover and rear fender. Going to mount the rear fender at 9 and 12 o' clock kind of angle to protect the air filters from crap

10) Decided I'm not going to mount the seat, it wedges in and stays in place just fine, with my ass on there it wont go anywhere lol
11)
12)
Here is all the work that's been done in the past 2 weeks. She runs now! Just need to take it to get a tune and have the carbs rebuilt and then I'll be on the road.
1) Here is my cognito tray with my battery and starter solenoid mounted inside
2) My mirror I took out of the box and dropped and broke tonight lol
3) Headlight mounted and changed where the speedo sits
4) Throttle on, grips and starter switch mounted
5) Front view
6) Speedo light wired up
7) Plates and brake light on and wired, decided to skip having turn signals
8) Headlight wired up!
9) Rattled canned flat black the starter cover and rear fender. Going to mount the rear fender at 9 and 12 o' clock kind of angle to protect the air filters from crap
10) Decided I'm not going to mount the seat, it wedges in and stays in place just fine, with my ass on there it wont go anywhere lol
11)
12)
Cody.linhart
Been Around the Block
Where did you find a lock and key for the gas cap latch?
silverstonepgt
The Beerfish
zwade said:UPDATE 7-20-2016
4) Throttle on, grips and starter switch mounted
I had to trim 1/3" off the end of the throttle tube to get the Biltwell grips to sit right against the throttle properly. Hacksaw and file will take ya two minutes, and look a million times better!
Great progress so far!
Sent from my iPhone using DO THE TON
djmaynard
Been Around the Block
You mean to put wire on the inside of the grips, slip them on and pull out the wire?xb33bsa said:nice work
its a good idea to wire the grips, you dont need to use glue that way,
however some use both
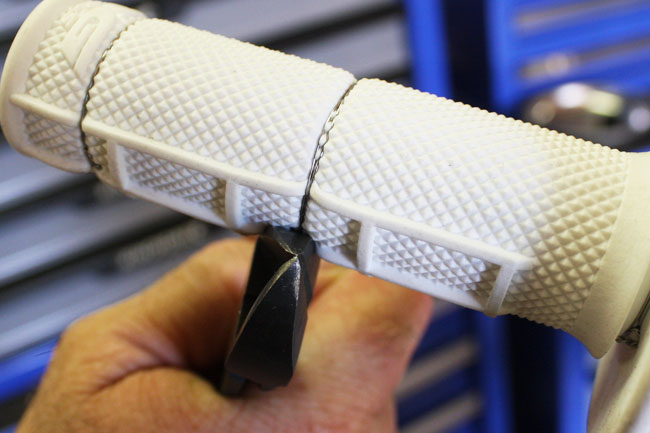
no a safety wire wrap usully done in a figure 8(twice around ) and some go 2 some 3 seperate wraps
very common in offroad racing google is your friend https://www.google.com/search?q=safety+wire+mx+grips&rlz=1C1FLDB_enUS562US569&espv=2&biw=1156&bih=643&source=lnms&tbm=isch&sa=X&ved=0ahUKEwjqwKPImpfOAhUo7IMKHbB9AD8Q_AUIBygC
but if you dont glue them, wire them
they can get water underneath (from washing or rain)and slip off right when you are tugging hard to avoid that deer
its a bad bad deal having a grip come off, its pretty much gonna end in road rash
djmaynard said:Just awesome and your first build taking everything apart like that?!? Great job.
Thanks! Yeah I dove in a little deep but luckily I have some good friends who helped me along the way
Cody.linhart said:Where did you find a lock and key for the gas cap latch?
That's how it came on the bike
silverstonepgt said:I had to trim 1/3" off the end of the throttle tube to get the Biltwell grips to sit right against the throttle properly. Hacksaw and file will take ya two minutes, and look a million times better!
Great progress so far!
Yeah I will do that eventually, I'm just enjoying riding it finally right now lol
xb33bsa said:nice work
its a good idea to wire the grips, you dont need to use glue that way,
however some use both
These things are on there pretty damn tight right now, if they some how loosen up over time though I will try that out, thanks!

grandavemoto
New Member
Man, this whole build has been crazy inspiring! I'm beginning my first bike & build in the next week. 1972 CB450; and I'm gonna have a ton of questions, good to see everyone chiming in! Great work!


