Vinnie's CB750 Cafe build - Motor time.

vinniefranco

New Member
I have more progress on the 750! I will fill out this post and throw in tons of pics once I have some time away from the wife. But until then here is my flickr cafe photoset of what I have so far.

http://www.flickr.com/photos/timbe/sets/72157623361402394/

Lemmie know what you think!
 
Re: Vinnie's CB750 Cafe build.

vinniefranco said:
Lemmie know what you think!

Good work on that harness ;)

Taking shape nicely. Can't wait for the write-up (or did I miss it? :-\ )

ian
 
Re: Vinnie's CB750 Cafe build.

After putting a little over 4,000 miles on a 68 CB450 K1 I decided I needed more power and a ride that I would not feel guilty cutting up to make it into the bike that I wanted.

So sadly I sold off my CB450 to raise money on my next project. A CB750 cafe racer!
I found a deal on 2 750's a 76 with funny harley parts on it and a 1970 with a 74 motor in it.

I decided to use the 70 for my project since the harley modded bike had the frame cut up. Although the bike provided us with plenty of laughs.

4333969966_ebb3b00e2c_b.jpg

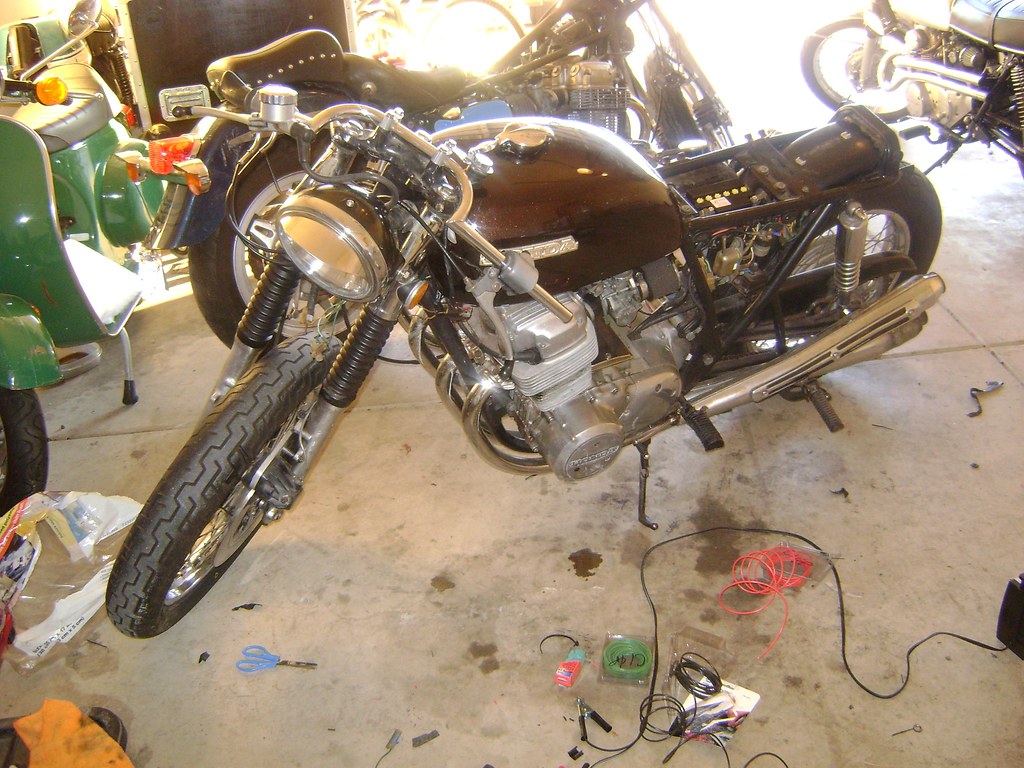
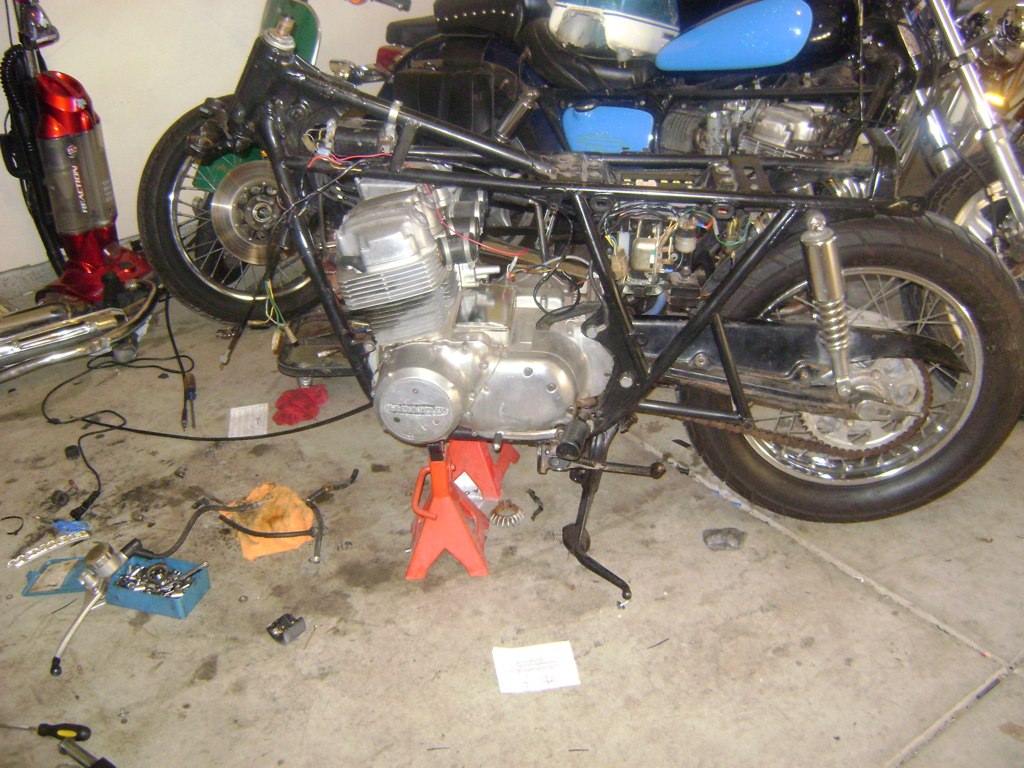
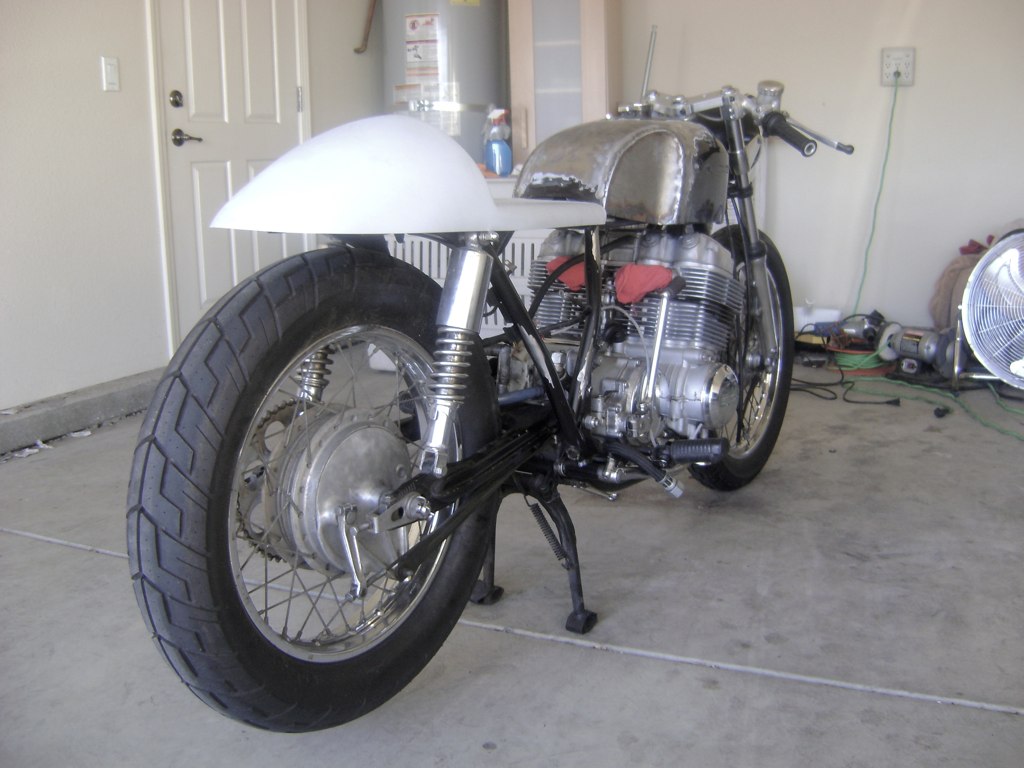
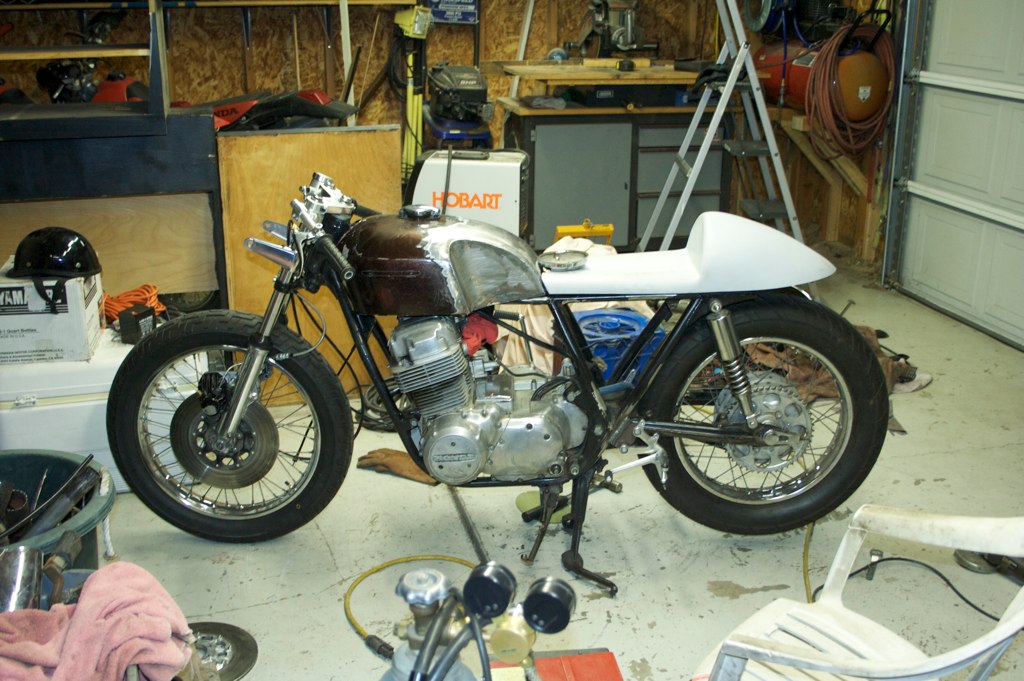
Here she is right after I got her home. Her PO was "trying" to make it into a cafe racer which consisted of cutting all the wires off the front end and throwing away the side covers and seat. I didn't mind the seat and side covers being gone, but the slash job on the harness was a bit frustrating.

4333969630_e0c4c5e925_b.jpg

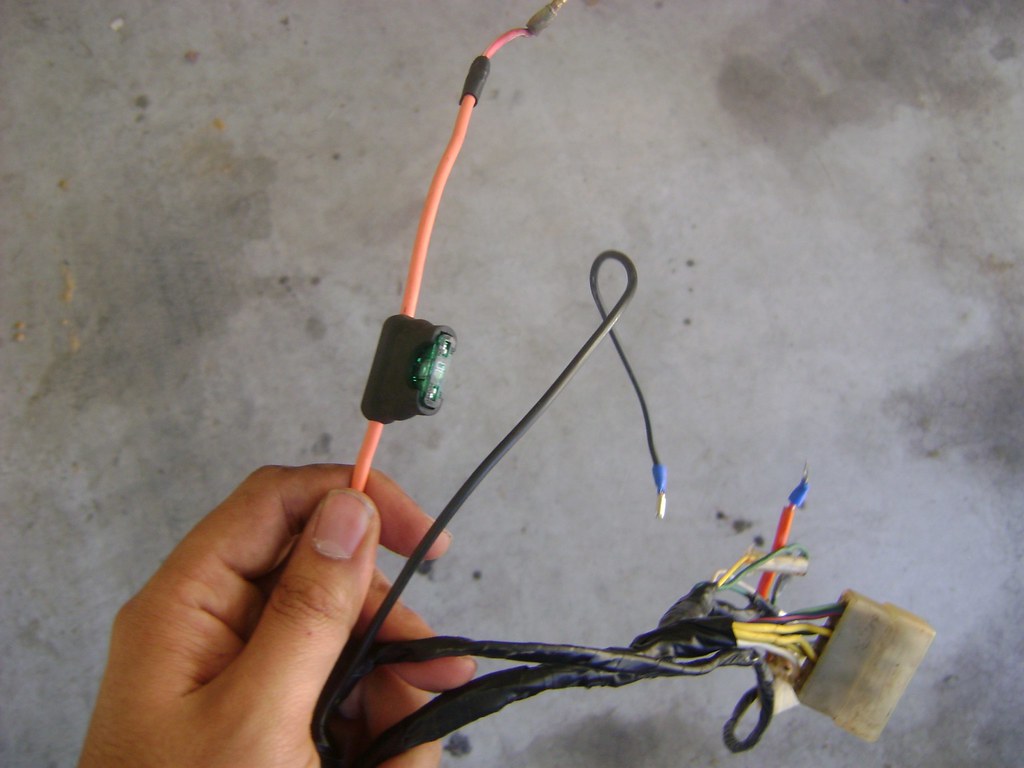
After some work I rebuilt a new harness to better accommodate the lack of turn signals, the starter that I will be removing. All I have is ignition circuit and a headlight, and brake light switch. Bare bones.

I also used a more modern blade type fuse holder.

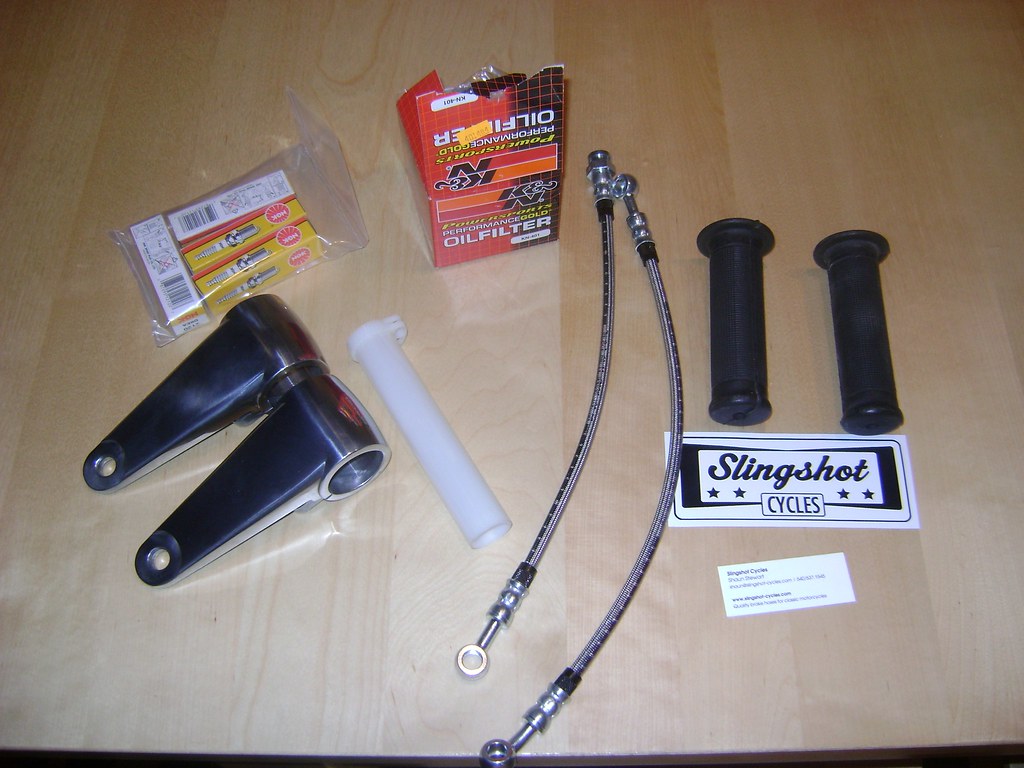
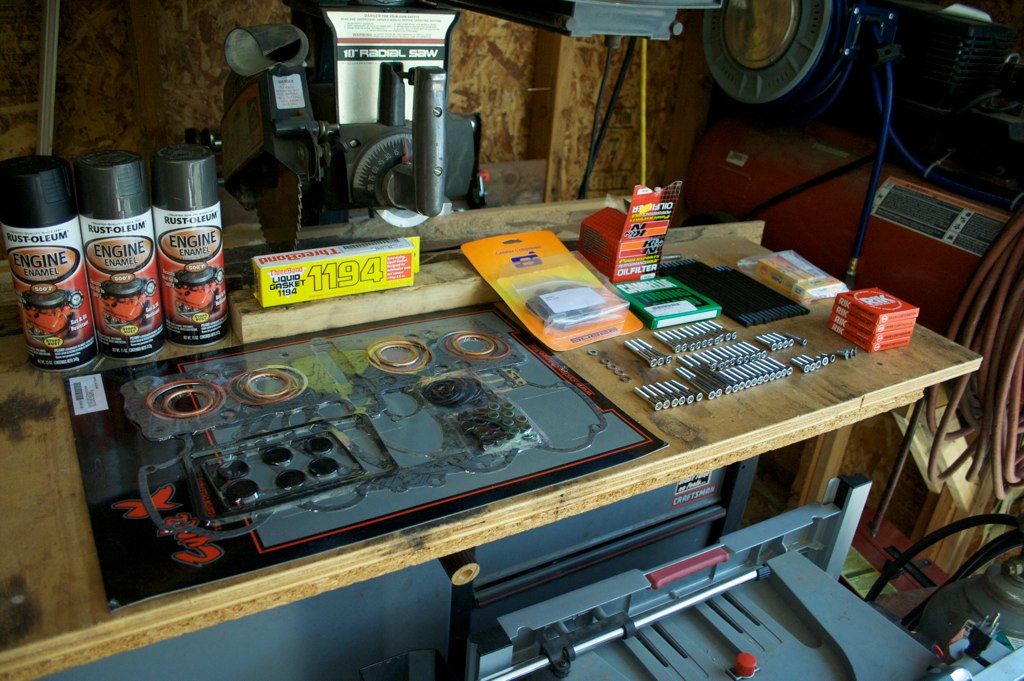
Then I went on a spending rampage and dropped money on the following items/services

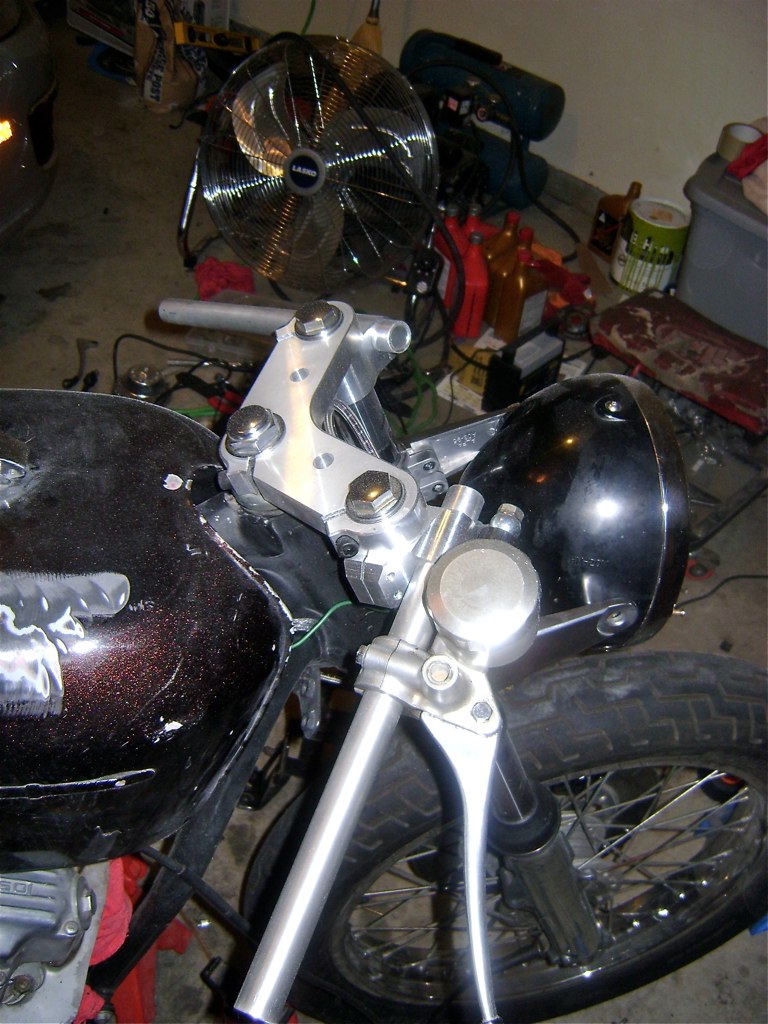
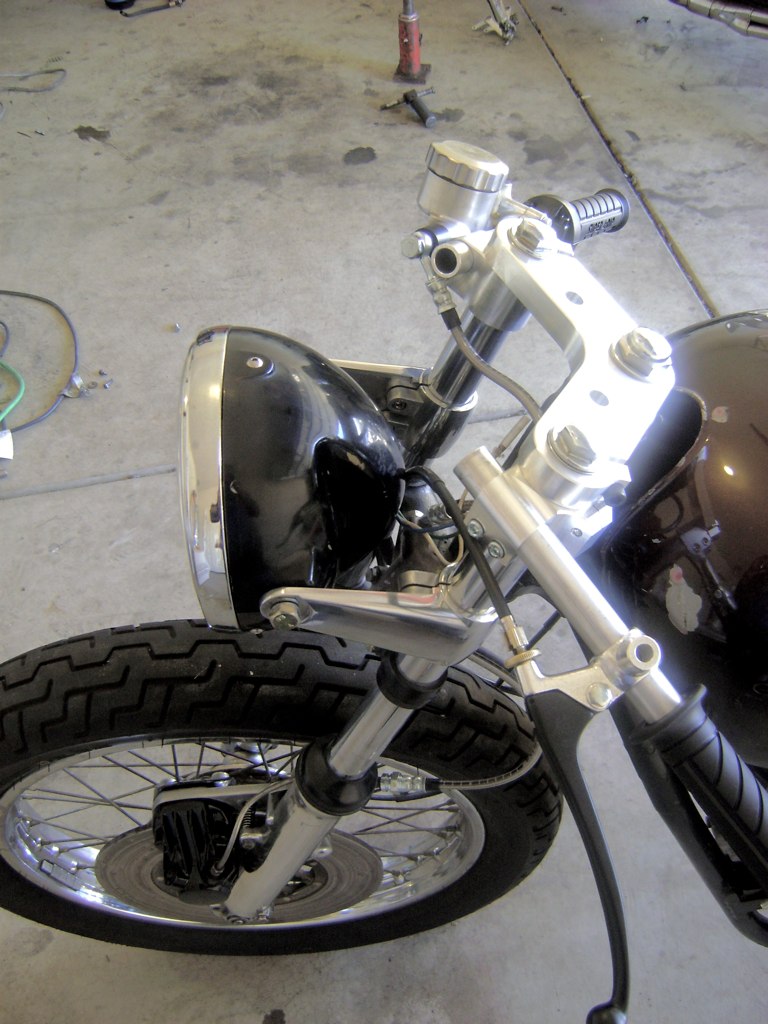
35MM BILLET 6061 Clip ons
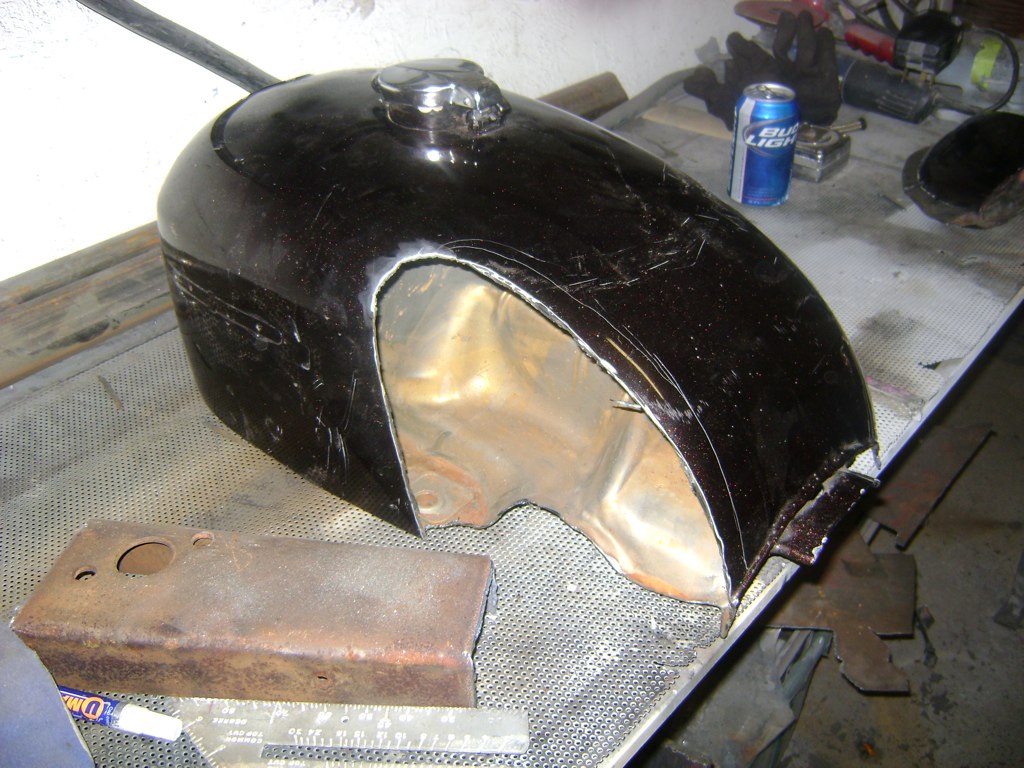
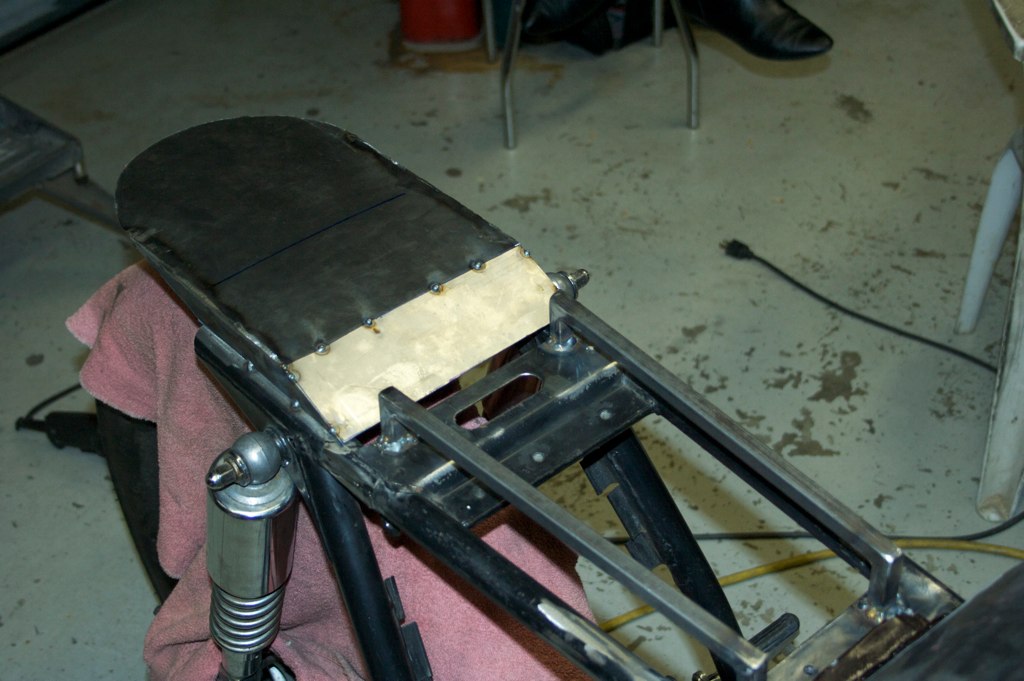
RocCity Cafe Seat
DMV Fees (Both bikes)
DYNA S electronic ignition
Aluminum Headlight Bracket 35mm
TUNE UP KIT CB750k tuneup 1970-81 NGK D8EA K&N 401
CB750 SOHC braided brake line kit
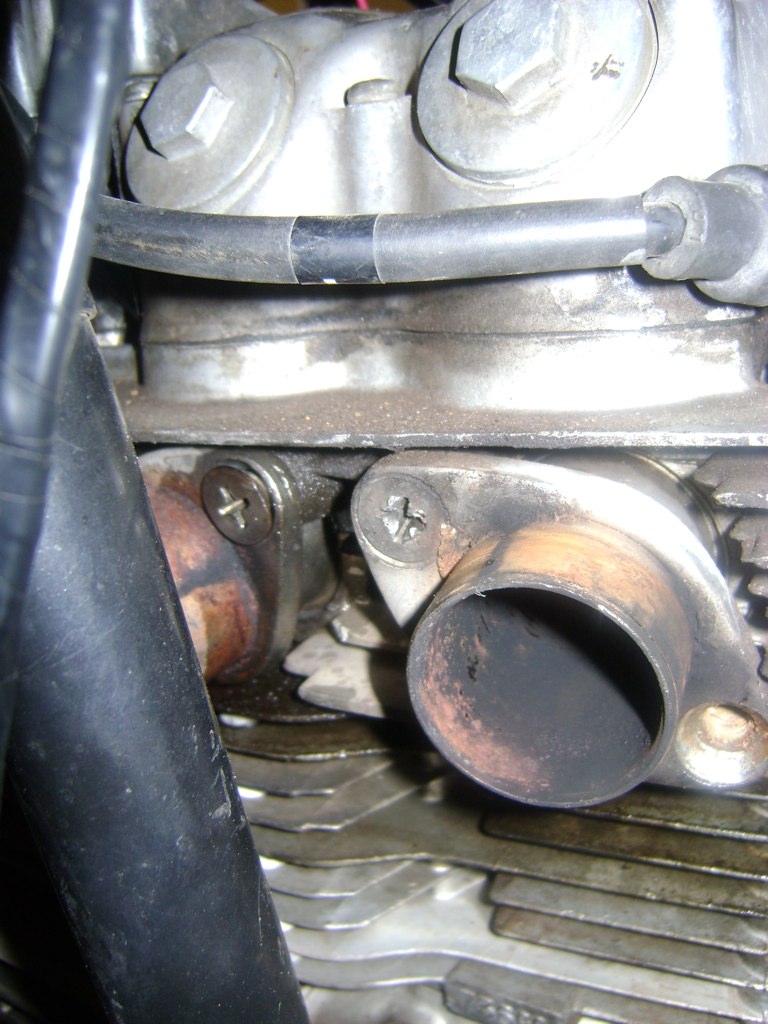
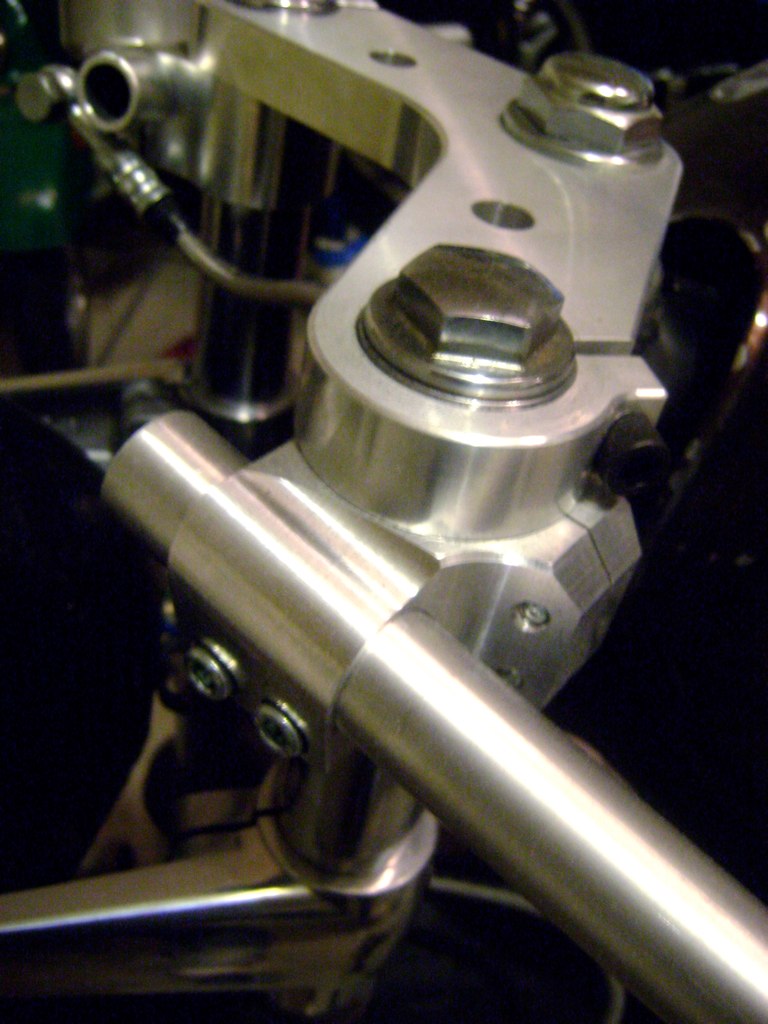
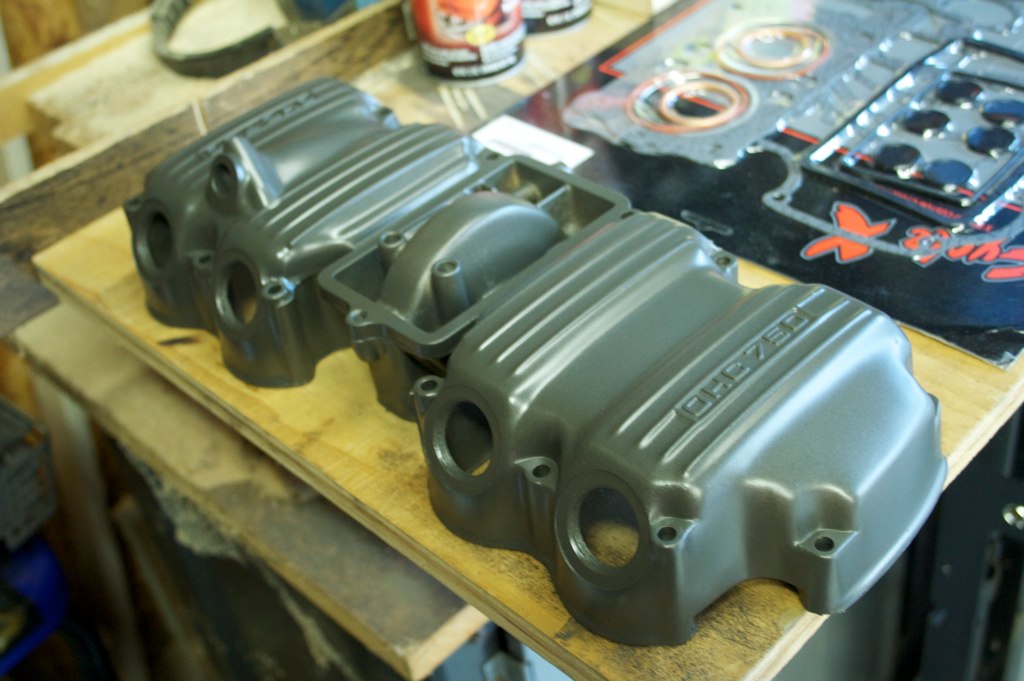
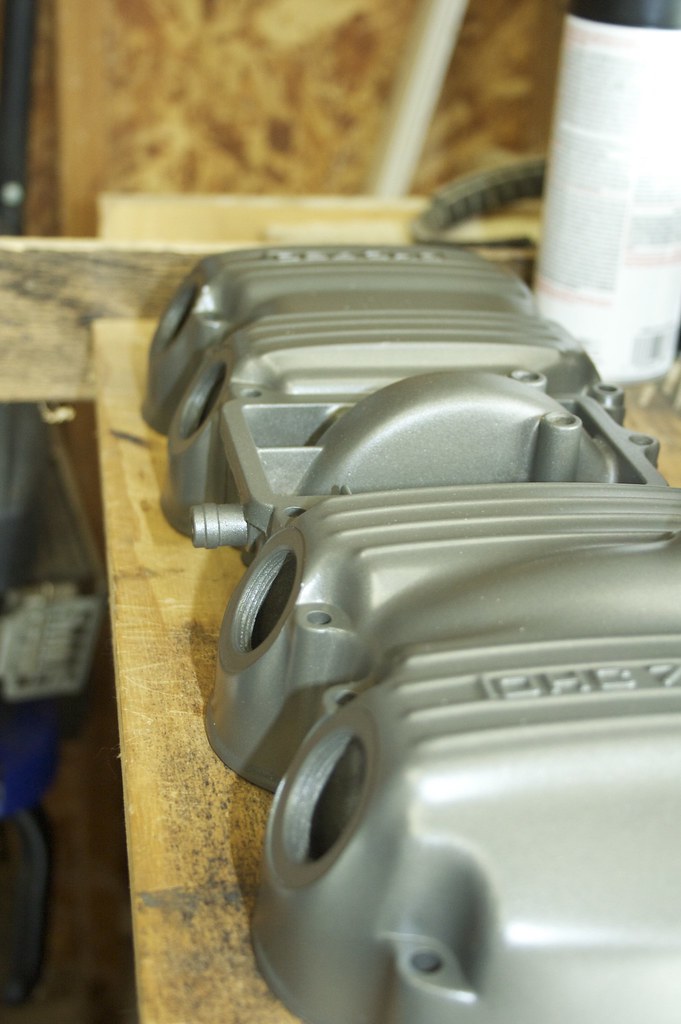
Cycle X Rebuilt Carbs/ 4-2-1 Exhaust/ Aluminum Tree Top
Brake rebuild kit.
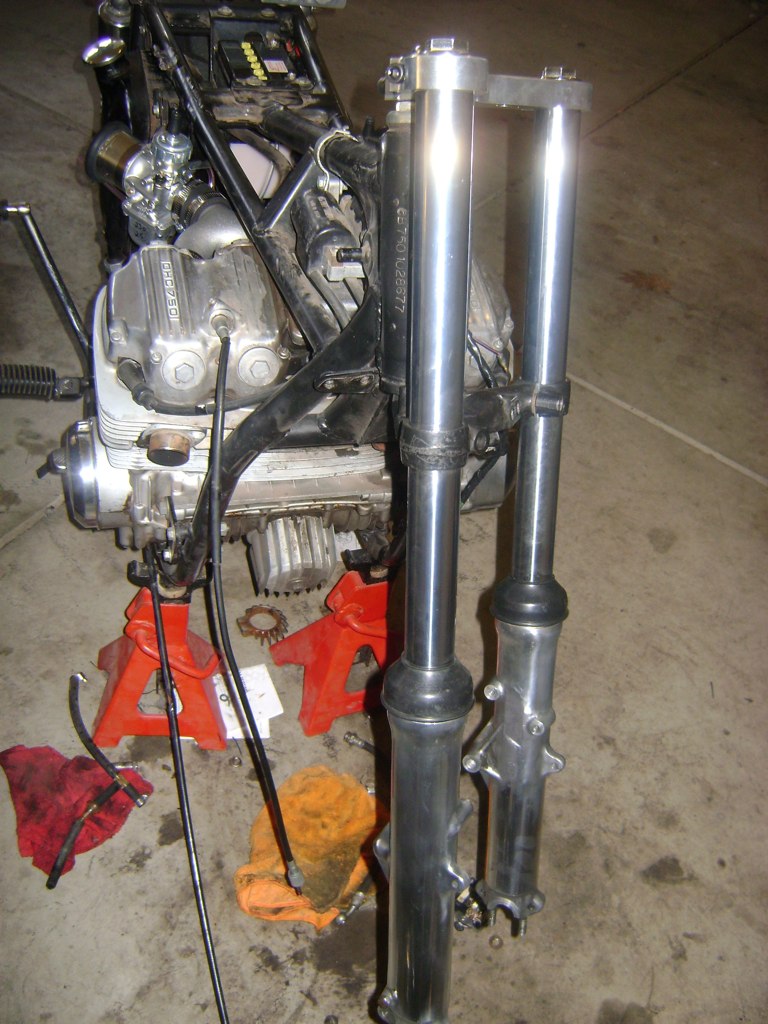
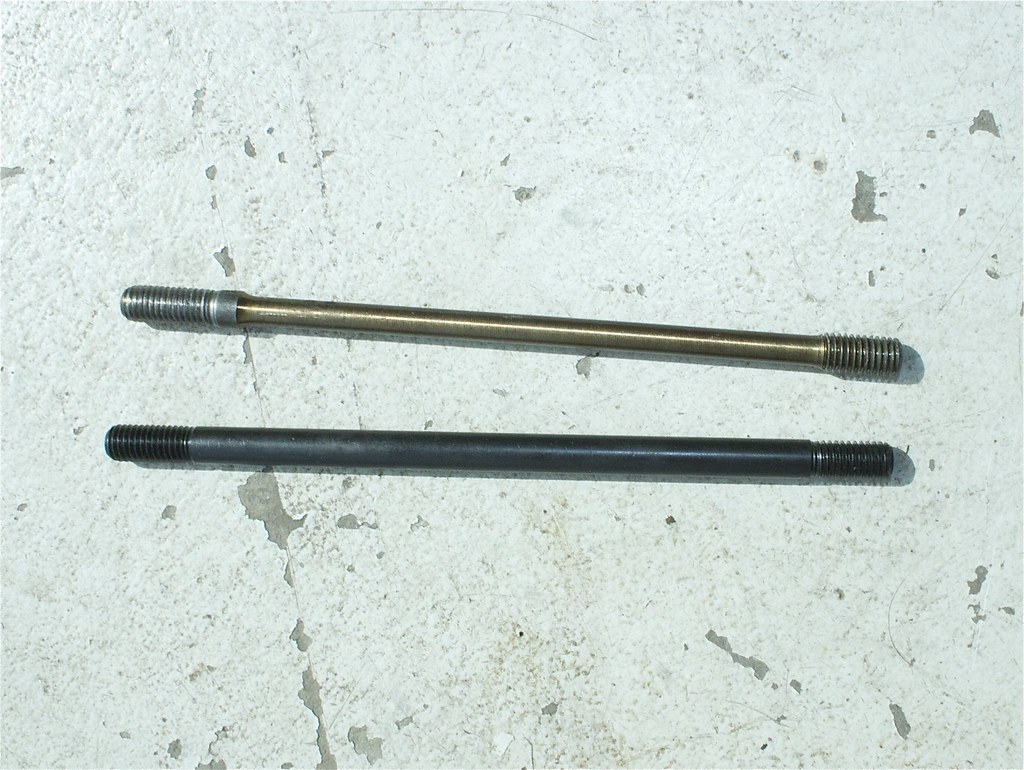
Cycle X -2 Fork tubes
Fork seals
Grips

4333228551_9a06e60614_b.jpg

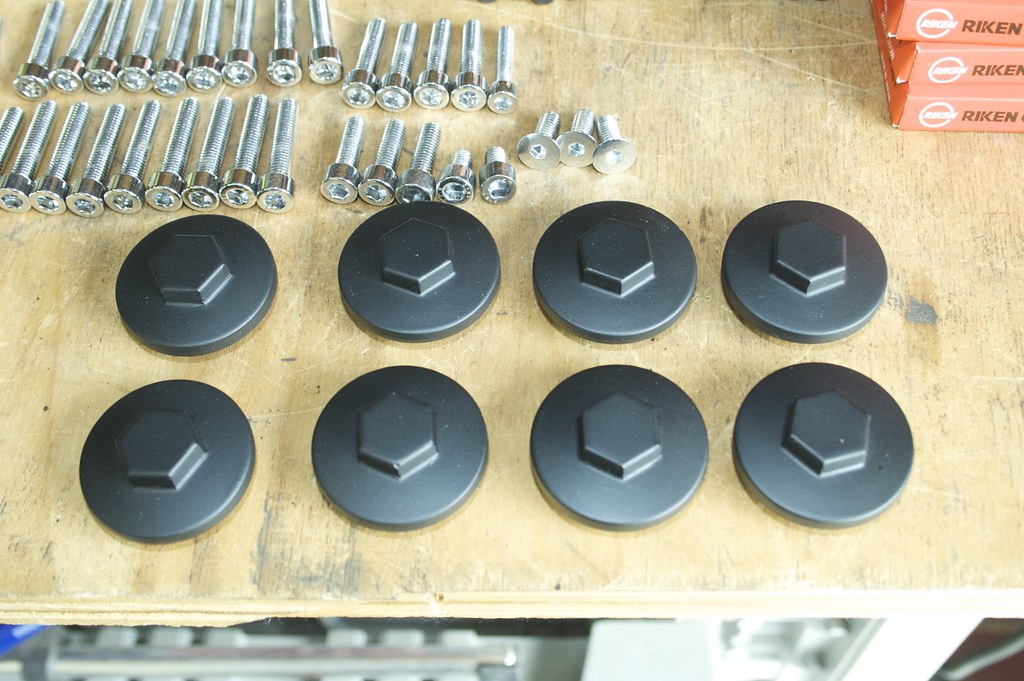
Parts that shipped out quickly

More to come...
 
Re: Vinnie's CB750 Cafe build.

I then decided to jump in and dish out my tank. This was terrifying since the donor tank was spotless inside and actually held gas quite well ;)

4360407121_dd8ff39c3d_o.jpg

Diving into slicing up the tank

4360406853_09966623f2_o.jpg

Matching and cutting

4360408957_82a4c11b82_o.jpg

Checking my cuts to see if it's what I wanted.

4360408693_95b93cefd6_o.jpg

I cut the tank so the lines of the dishes matched up with the flowing lines of the frame and angle of the cylinder head.
 
Re: Vinnie's CB750 Cafe build.

4360411641_dd604d21fc_o.jpg

I then got to work on rebuilding the front end. (Since the Cycle X tubes,and aluminum tree top arrived and I couldn't wait to see the difference)

4361154622_24eb2599dd_o.jpg

New drop tubes, seals and aluminum tree top installed.

My 4-2-1 exhaust from Cycle X also arrived so I began the process of installing it.
This requires removal of the stock flanges and bolts.

4361154920_f0e487385a_o.jpg

During this process I managed to crown two bolts. This guy here which I drilled out, and a bolt on the other side farthest one out was jammed so bad that it did not give up the ghost to heat, penetrating fluid, and it even snapped off a extraction bolt IN there with it.

So once I am done fabricating all that needs to be done on the frame. The engine will come out. I will pop off the cylinder head, and drop it off at the machine shop to have them drill it out. Sooooo frustrating!
 
Re: Vinnie's CB750 Cafe build.

By far the biggest week yet. I ordered a solid state regulator/rectifier off of ebay for 20 bucks.
4399705215_dd9b5afa5f_b.jpg

It's from a 79 CB750C. Following the wiring instructions posted here http://forums.sohc4.net/index.php?topic=48275.0 to adapt it to my harness.

Also dropped off plans for a aluminum custom oil tank, based loosely off of this design: http://forums.sohc4.net/index.php?topic=55328.0 Should be done by next week!

Now on to the fabrication part of my weekend....

I bought rearsets from a wrecked CBR929 for 80bucks. Quickly made a couple brackets to mount them, and welded them up. I'll make them look more "designed" after I pull the motor and do my final work on the frame. That way they don't just look like square blocks hanging off of the frame.

4430628895_1c1294025b_o.jpg

4430629035_4a17d2bcdb_o.jpg


Then the looooong process of building out the rails to hold my seat at the proper height and built a cowl plug / battery tray for the rear...

I used some square tubing for the seat brackets and 16 gauge steel for the cowl plug / battery tray.

4430629569_a11765f476_o.jpg

Measuring the height for the rails

4430629977_9d9fccab4f_o.jpg

One bracket done.

4431399172_9076136a58_o.jpg

Brackets tacked into place

4431399656_966c70ab03_o.jpg

Seat cowl plug / Battery tray tacked into place.

4431400494_8561646a70_o.jpg

Moment of truth. Checking fit and height of the seat

4431400096_891af52db6_o.jpg


4430631657_c01512abdc_o.jpg

The story so far.

I am beat, next week I should get my oil tank. I'll fab up some brackets for it, then out comes the engine for a rebuild!
 
Re: Vinnie's CB750 Cafe build.

I can't believe I haven't read this one yet! Everything's lookin really good. How well is the tank holding gas?
 
Re: Vinnie's CB750 Cafe build.

Big R said:
I can't believe I haven't read this one yet! Everything's lookin really good. How well is the tank holding gas?

It's not :) it has some pinholes on the bottom. My friend has a nice tig. He is going to put some nice solid seams on the bottom
 
Re: Vinnie's CB750 Cafe build.

Thanks everyone for the encouragement!

4446413593_3b6c662f65_b.jpg

I got the elephant out tonight...My back hurts :)
4446413241_298cbdc3c3_b.jpg


Starting the top end rebuild this weekend!
 
Re: Vinnie's CB750 Cafe build.

Yeah, motors like that make me want to get a fork truck.

Wait a minute...... we have fork trucks at work....
 
Dove into the motor today.

4468469091_dda2f31c5e_o.jpg

Everything organized and ready to go.

4468469305_4584095dfa_o.jpg

Valve train before disassembly.

4468469755_c50ef53cfc_o.jpg

Camshaft removed.

4469245688_3132b6d2d9_o.jpg

Setting them aside for later.

4469246404_278f9c2078_o.jpg

Jugs that still need cleaning.

4469245922_7a290d02cd_o.jpg

Cylinder studs removed. This was not a fun process.

Nearly every stud came out with a combination of a vise grip and the "double nut" technique. The very last stud was extremely difficult. After soaking it in penetrating fluid for 2 hrs. I used 2 vise grips, the double nut technique, and the aid of another person to slow break it loose. It fought every twist but it eventually came out without breaking.

I am extremely grateful that I had an extra set of hands.

4469246642_38b325f9e7_o.jpg

The engine blew it head gasket right after I got it running. I figure this is due to it sitting for awhile. Any how no real load happened on the motor, nor did I ride it around. So here is the engine head with the nasty combustion chamber.

4468473593_9a12c0509f_o.jpg

Head after I made my first pass with a soda blaster. Tracking down large quantities of baking soda proved to be a problem. Also this stuff makes quite the mess. Word of caution if you have any oily residue the baking soda makes a death clump that I would definitely make sure is completely clean. This will ensure you don't damage your oil pump.

4469249402_5ac633d23f_o.jpg

More cleaning to do.

Tomorrow's todo list:
Finish up cleaning the jugs and head.
Paint them both.

I'm at a stand still until the wristpins and clips I ordered show up. (I forgot all about them.)
 
Update! Starting on cleaning up the motor, this involves degreaser, baking soda, a blaster, sand paper and patience.

4468470695_88f313c799_o.jpg

Valve cover painted! "Cast Iron"

4470766755_16fb220bda_b.jpg

Second coat.

4470767483_cb5e85f7e8_b.jpg

Jugs painted.

4471547870_b22acdc162_b.jpg

Tappet covers painted "Semi-Gloss Black"

4471548406_41e4e25495_b.jpg

I highly recommend APE studs, they are burley compared to the stock stretchable studs.

Community question:

How can I clean up the case for painting? It's heavy I have nothing to suspend it with and it needs a good scrubbing. Blasting it is out of the picture because the side covers will be removed.

What's the best way to clean up a crusty case? And how can I paint this elephant (I was thinking of setting it on it's side)
 
Update:

The engine case, I spent hours today cleaning and prepping the case for paint. Tedious work but it's all in the details.

The onto the cylinder head...I ran into a problem.
Soda blasting is great except for one glaring issue. If you have oil on the part you are trying to clean it will glob up into a nice death ball, which resists water and does not clean up easy. Not a big deal on my cylinder jugs since the only part that was oiled up where the cylinders themselves.

However the cylinder head was another story. Being nervous that I would miss a death ball and *&^* up my oil pump or worse, I took the head down to my fathers shop to use his sweet media blasting booth.

Blasted the head, stator cover, gear cover, clutch cover. Blew out as much of the silica as I could with compressed air. Then washed them all up in a solvent parts cleaner and trucked them home.

A quick acetone rubdown then I shot my parts with a couple coats of engine paint.

4485228355_e153917ce6_b.jpg

4485968852_f2f93e8304_b.jpg

4485968854_48dc027a5f_b.jpg


I'll clean up the slight overspray with acetone after letting the paint set overnight. Acetone is quickly becoming my favorite product. ;D

TODO of what's left:
  • Paint case semi-gloss black
  • Reassemble engine
  • Fab up brackets for steering damper and custom oil tank.
  • Media blast and paint frame (dark silver)
  • Brake linkage for rearsets.
  • Body work on tank
  • Paint cowl and tank midnight blue with a satin finish

I know I'm missing stuff I need to do but hey I'll burn that bridge when I get there.
That's all I got for now.
 
Back
Top Bottom