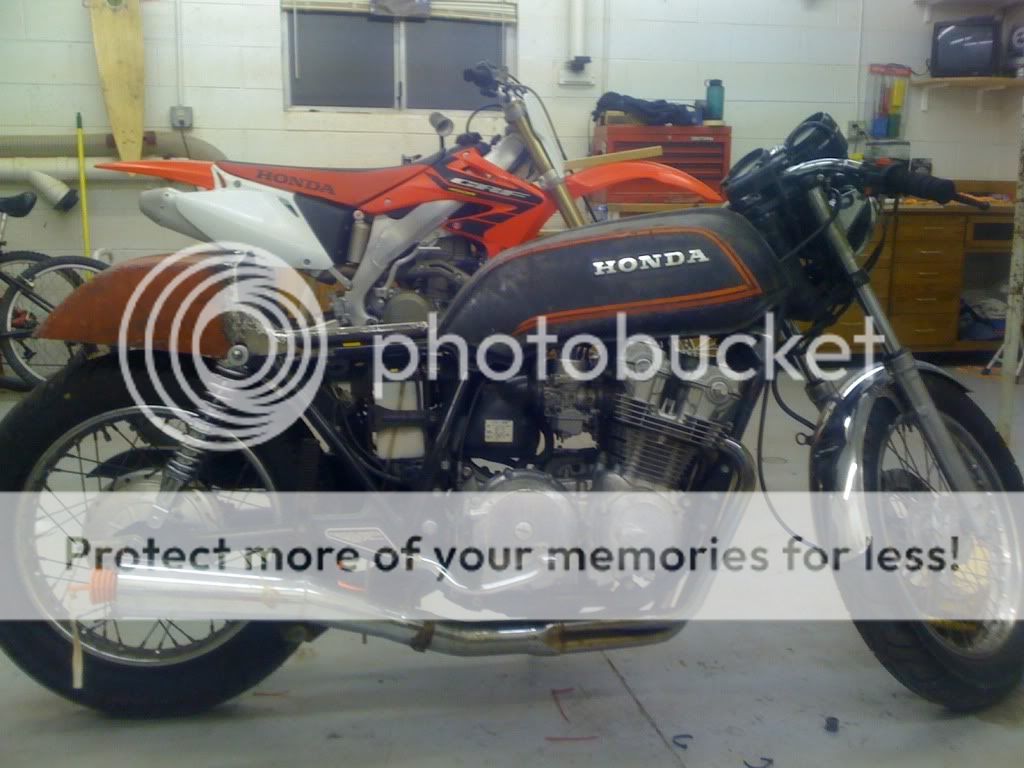
So i havent done much yet but I have big plans ;D
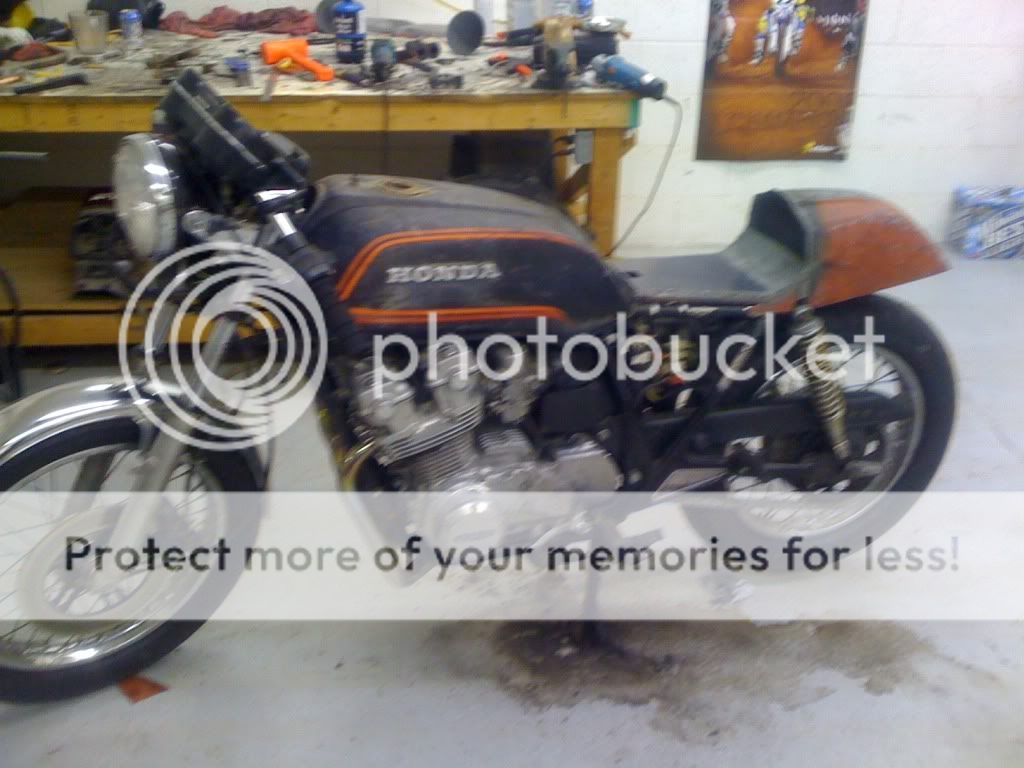
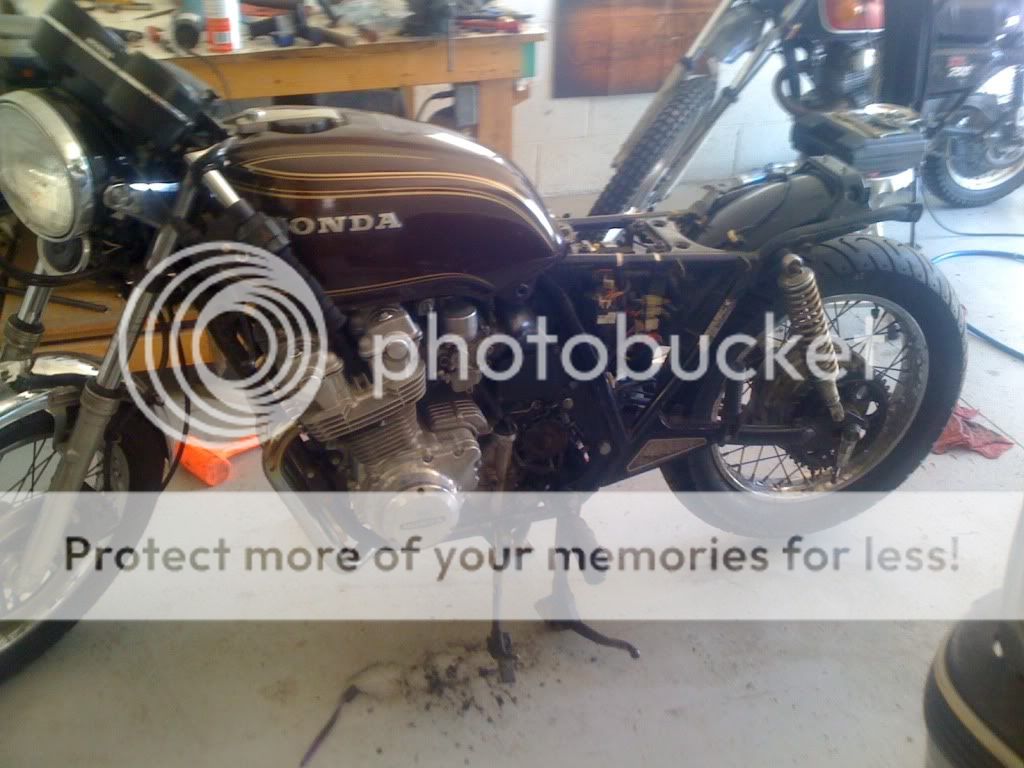
heres what i started with...
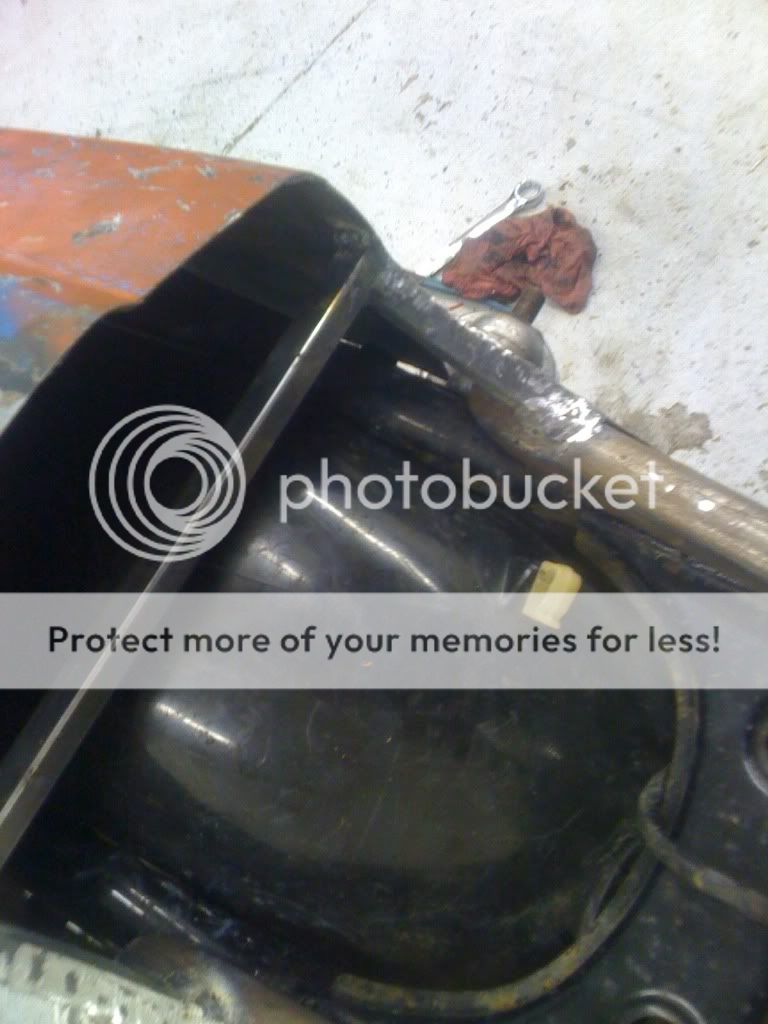
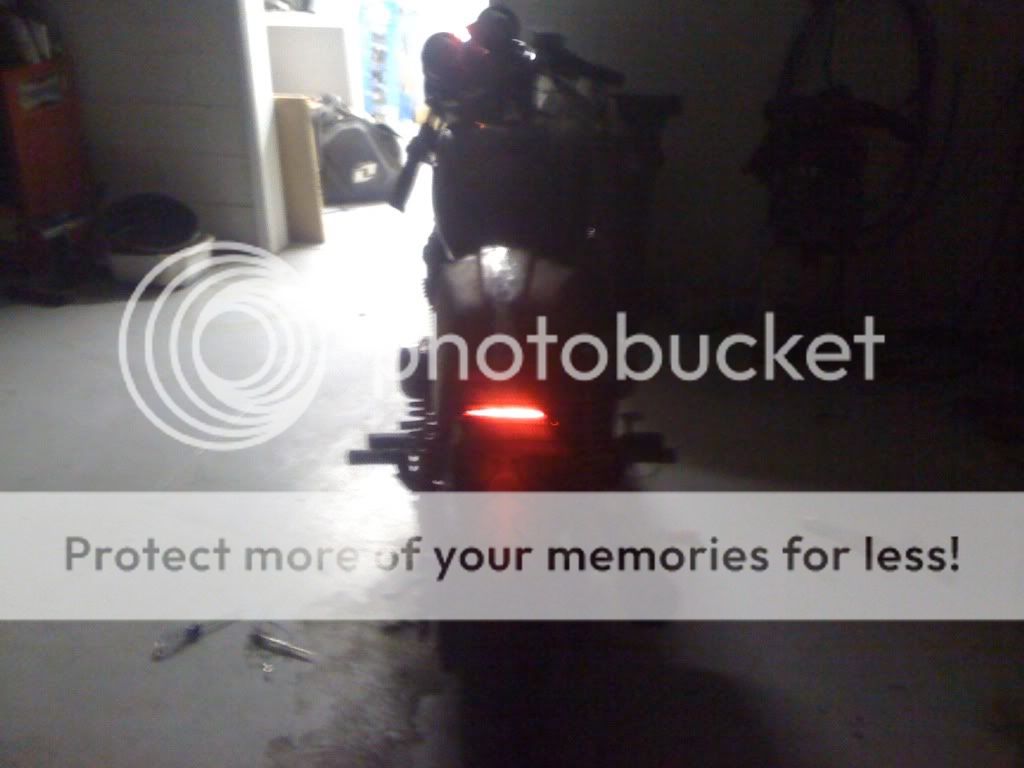
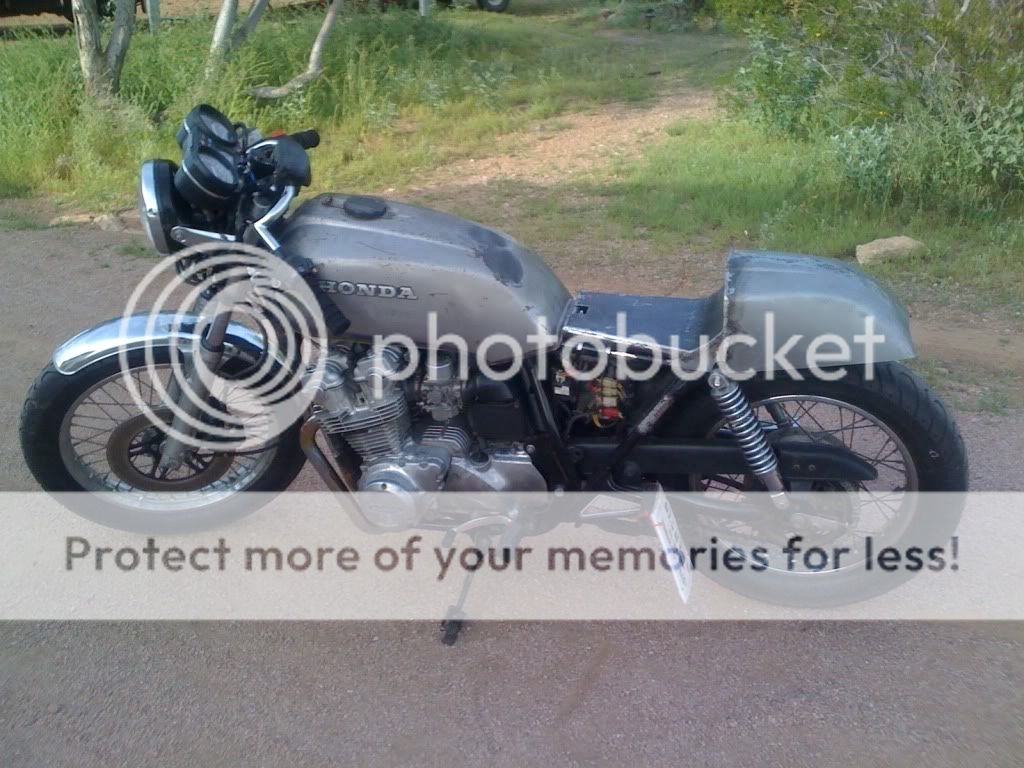
pulled the bags crash bar sissy bar etc. started cleaning carbs and getting her to run properly. jets were in the wrong places and all kindsa fun. Also gotta love the 4into2s with no baffles.
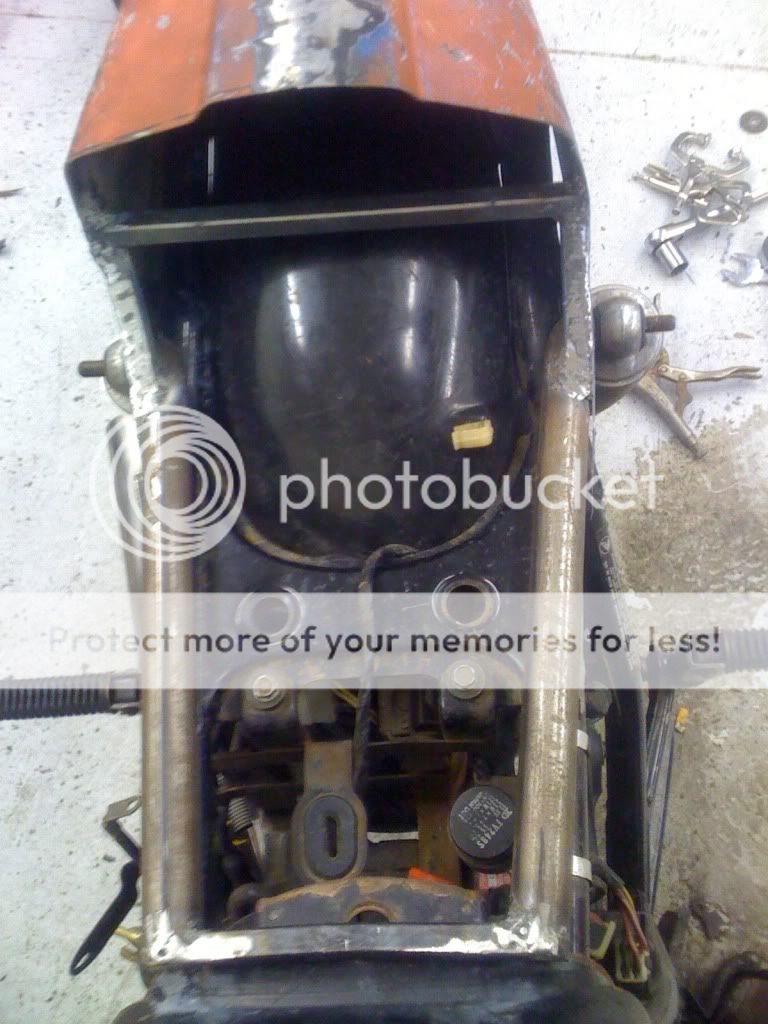
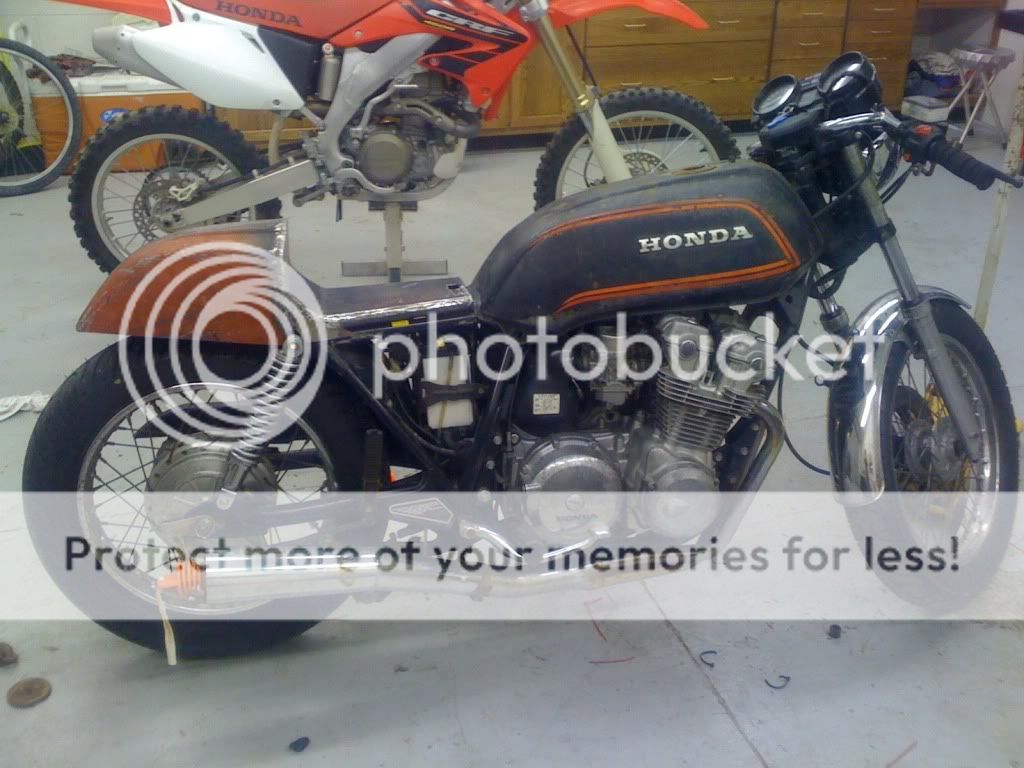
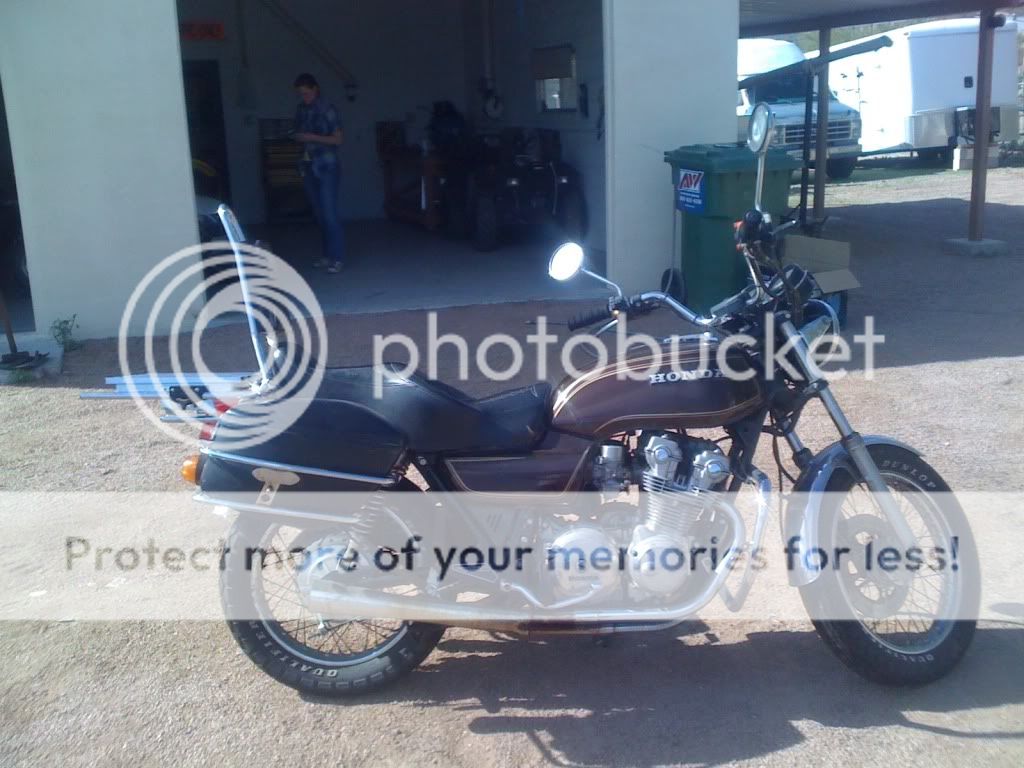
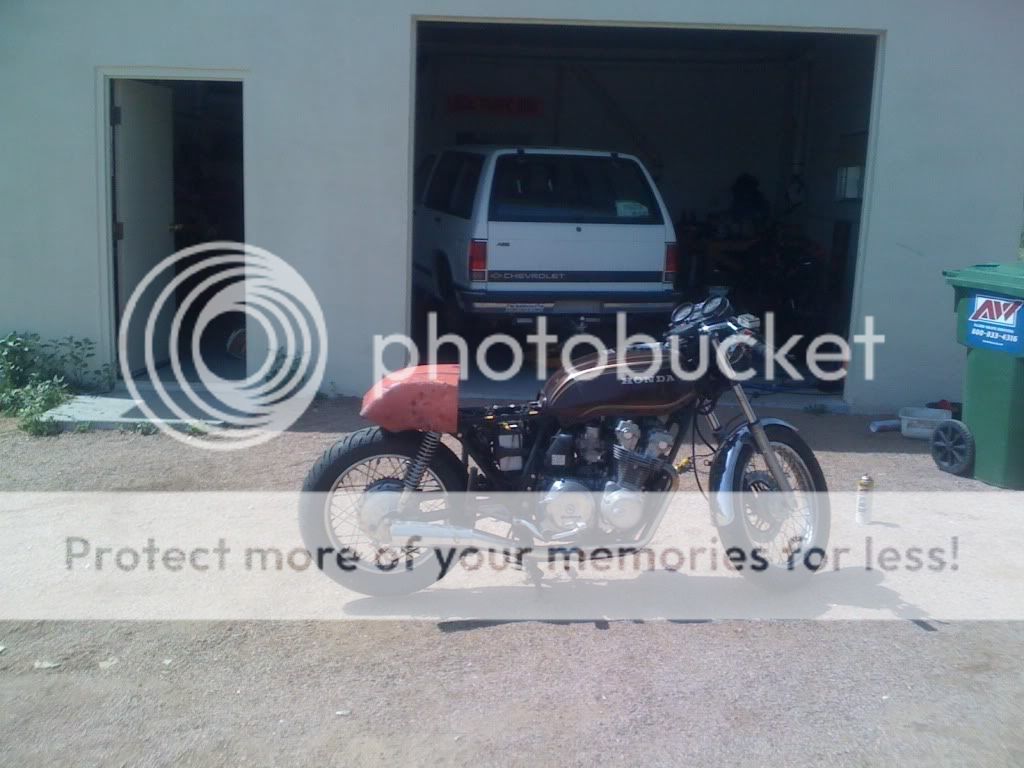
As it sits now. Picked up clubman bars rerouted some cables and wires. Got a kerker 4into1 with the baffle. Most of my parts are coming from Bobs. Its a phoenix area cycle bone yard. (hence the name Bones)

soon to come:
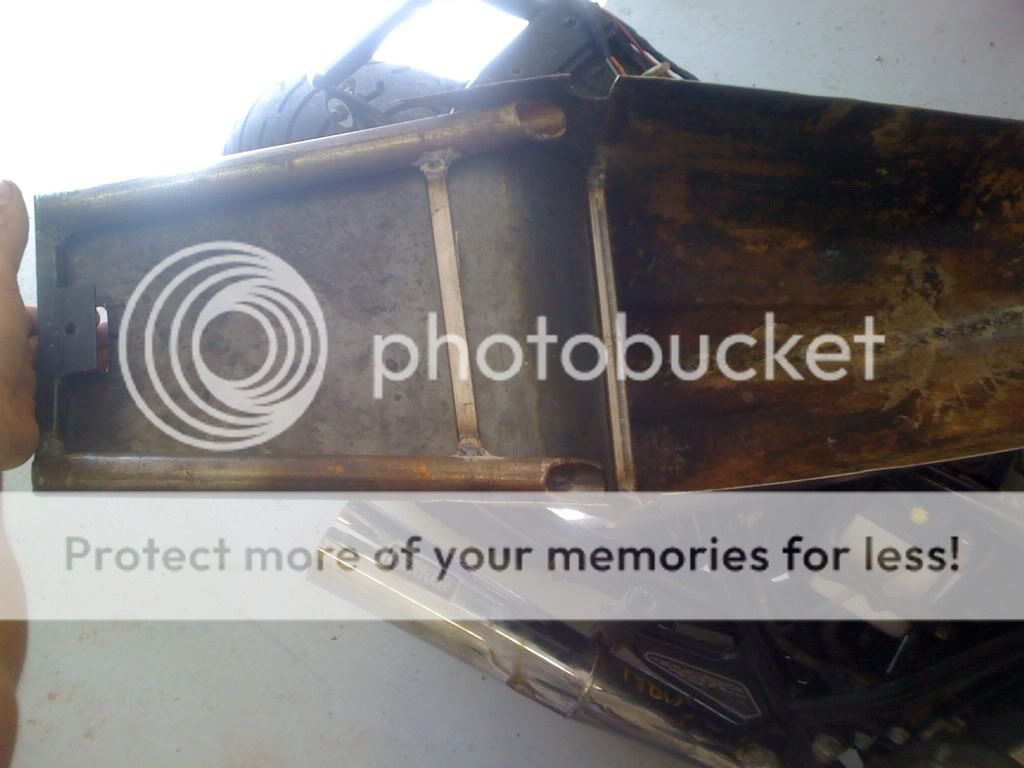
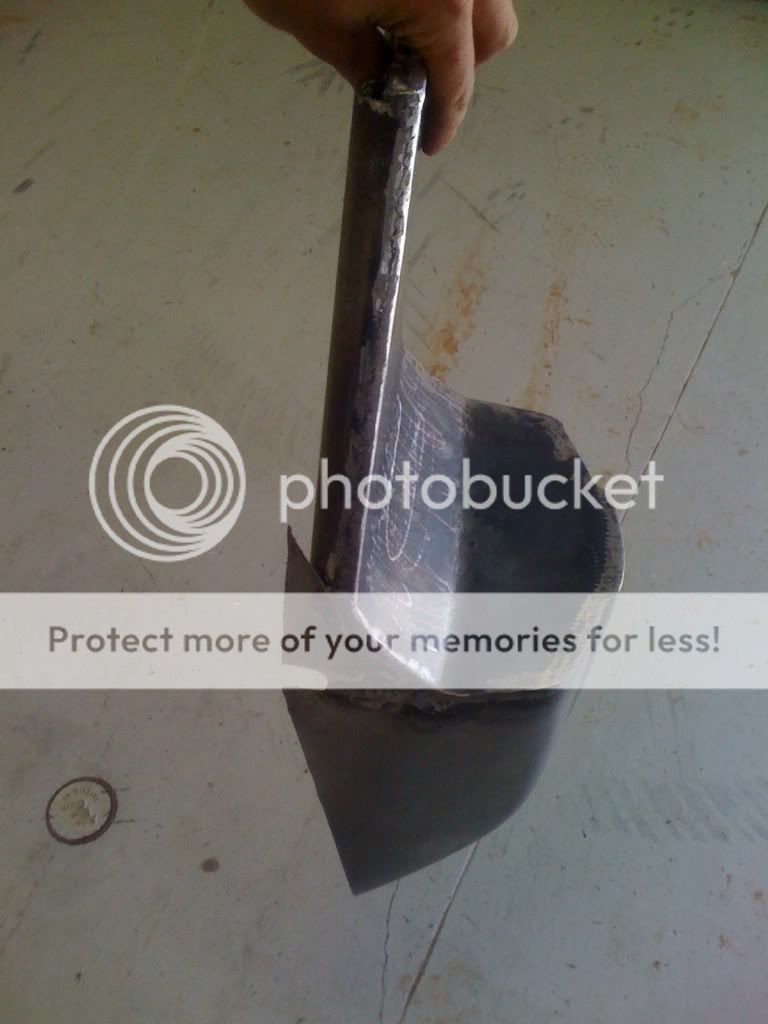
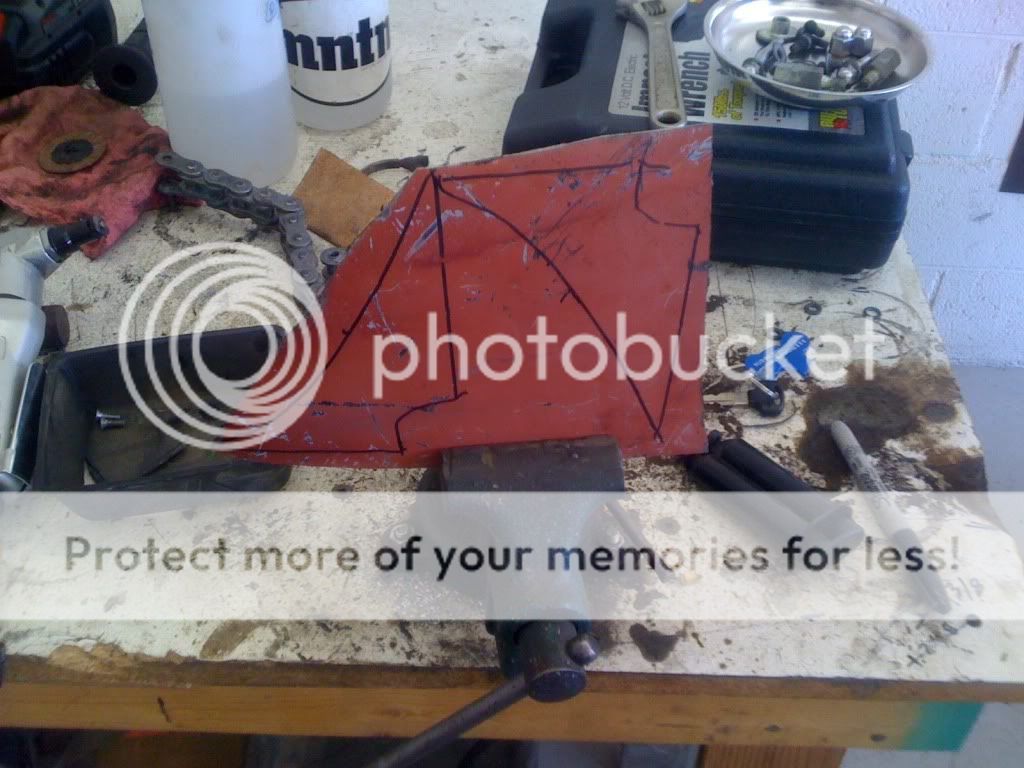
New seat made from same style tank.(ASAP!!!)
Instal the new tires that are sitting in the shop.
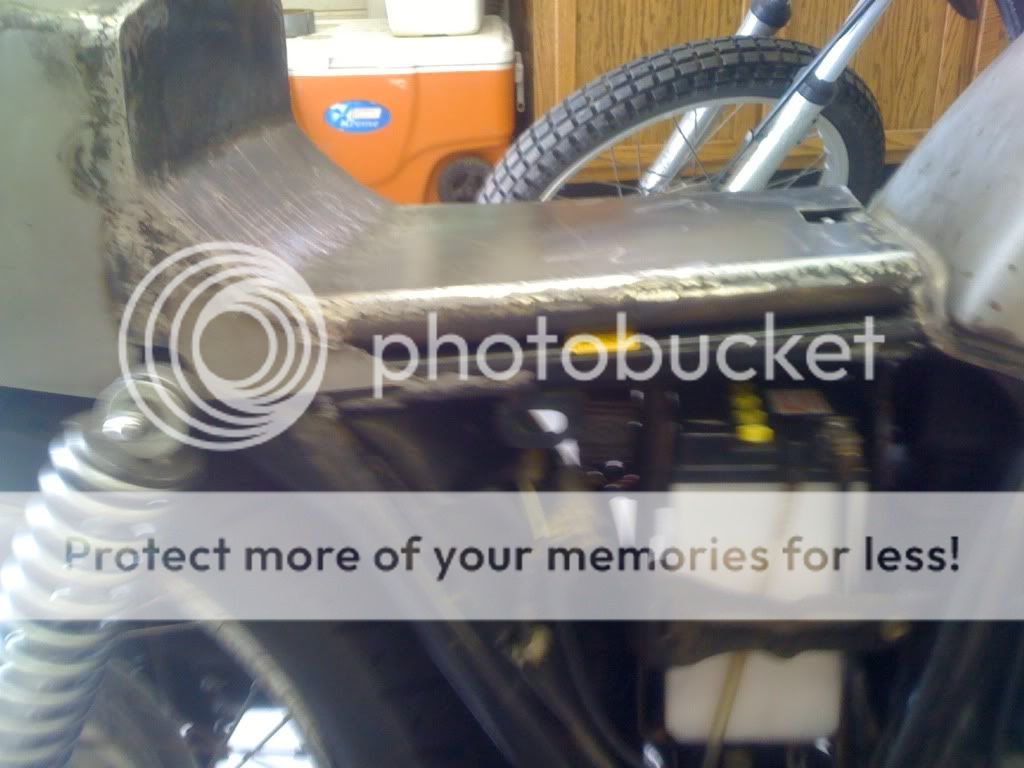
speedcell battery to the tail secton
Tuck wiring under seat.
Paint and wrap the exhuast.
clip ons.
Pods, if i can manage to get the jetting proper(ive herd its quite a task with the stock dohc carbs)
Paint tank and tail, or pollish not sure yet ( bye bye poo brown)
Daydreams:
Modern front end!!!
Theres a million other little things i want/plan to do but you can get the baisic idear...
heres what i started with...
pulled the bags crash bar sissy bar etc. started cleaning carbs and getting her to run properly. jets were in the wrong places and all kindsa fun. Also gotta love the 4into2s with no baffles.
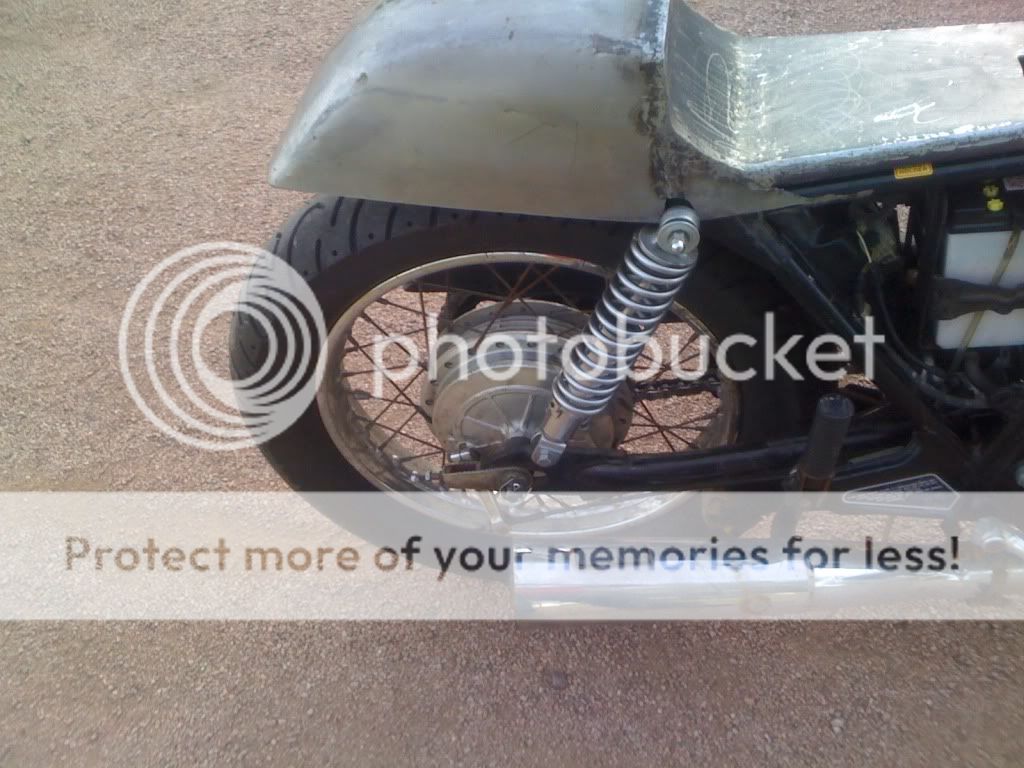
As it sits now. Picked up clubman bars rerouted some cables and wires. Got a kerker 4into1 with the baffle. Most of my parts are coming from Bobs. Its a phoenix area cycle bone yard. (hence the name Bones)
soon to come:
New seat made from same style tank.(ASAP!!!)
Instal the new tires that are sitting in the shop.
speedcell battery to the tail secton
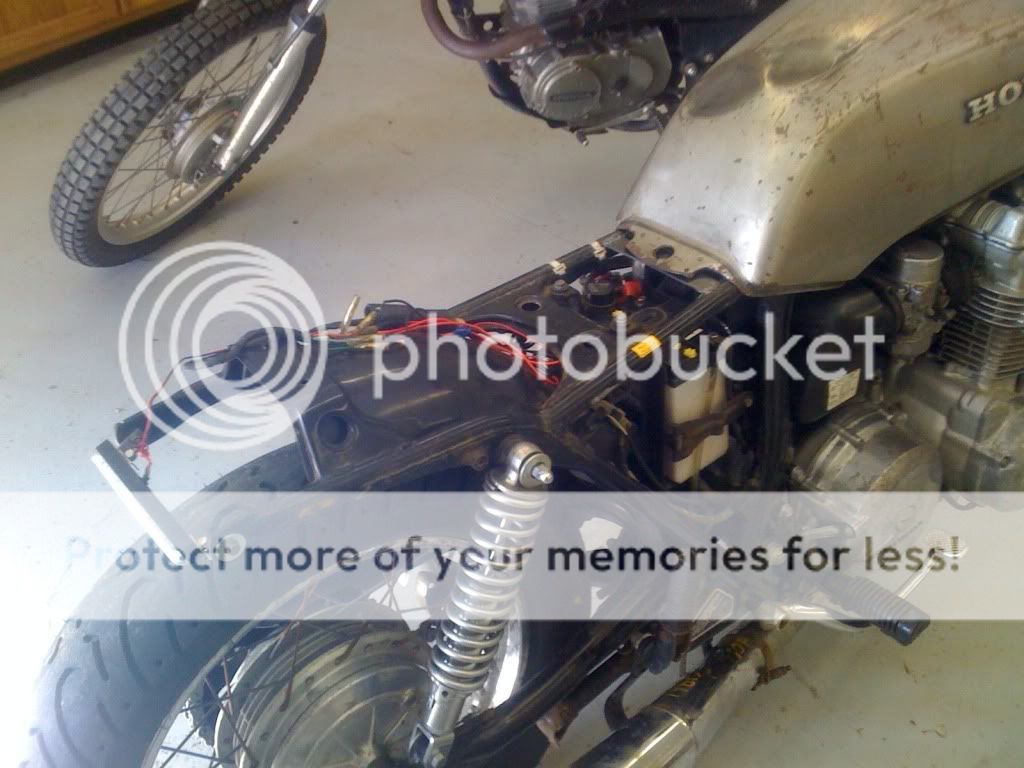
Tuck wiring under seat.
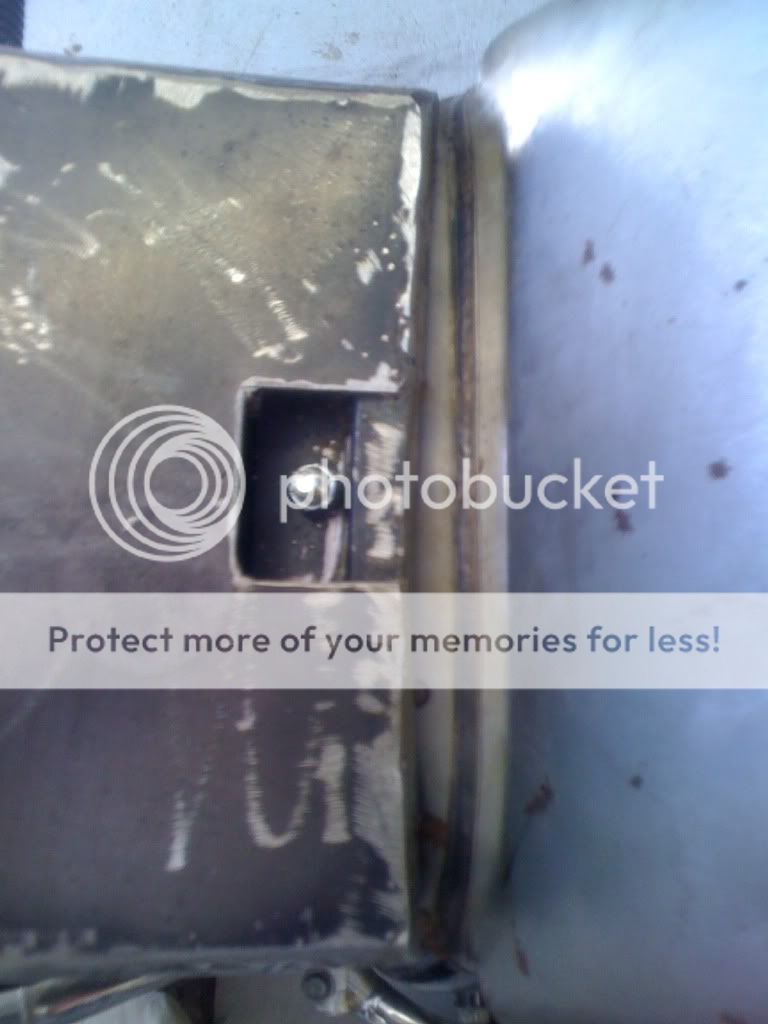
Paint and wrap the exhuast.
clip ons.
Pods, if i can manage to get the jetting proper(ive herd its quite a task with the stock dohc carbs)
Paint tank and tail, or pollish not sure yet ( bye bye poo brown)
Daydreams:
Modern front end!!!
Theres a million other little things i want/plan to do but you can get the baisic idear...
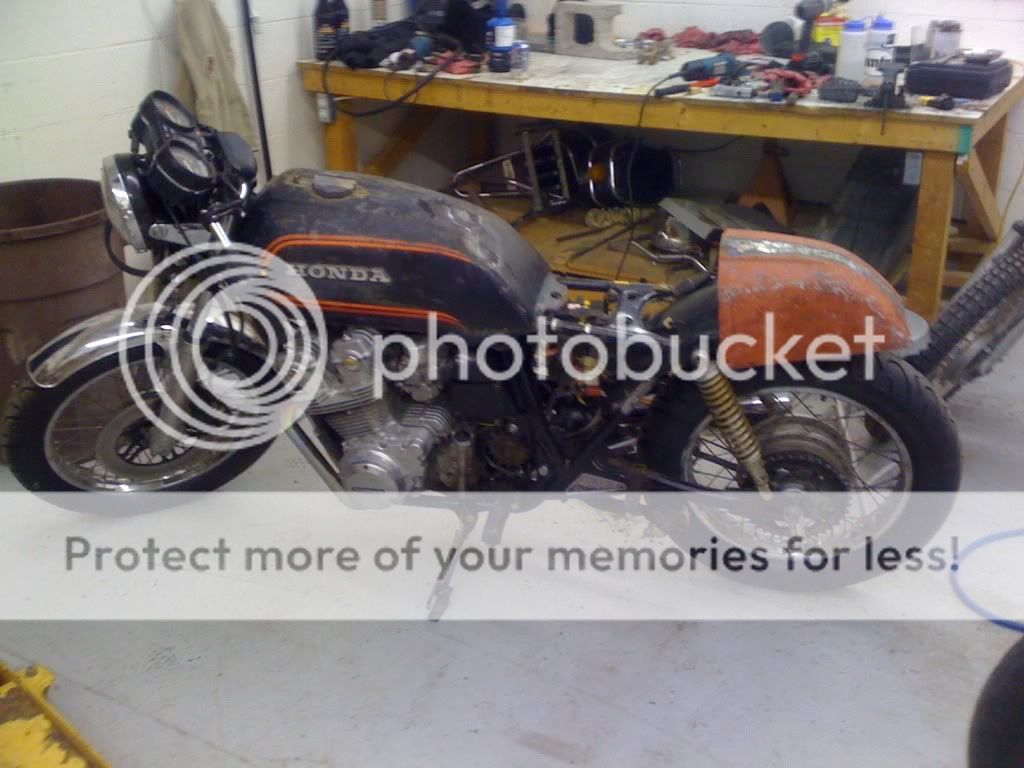

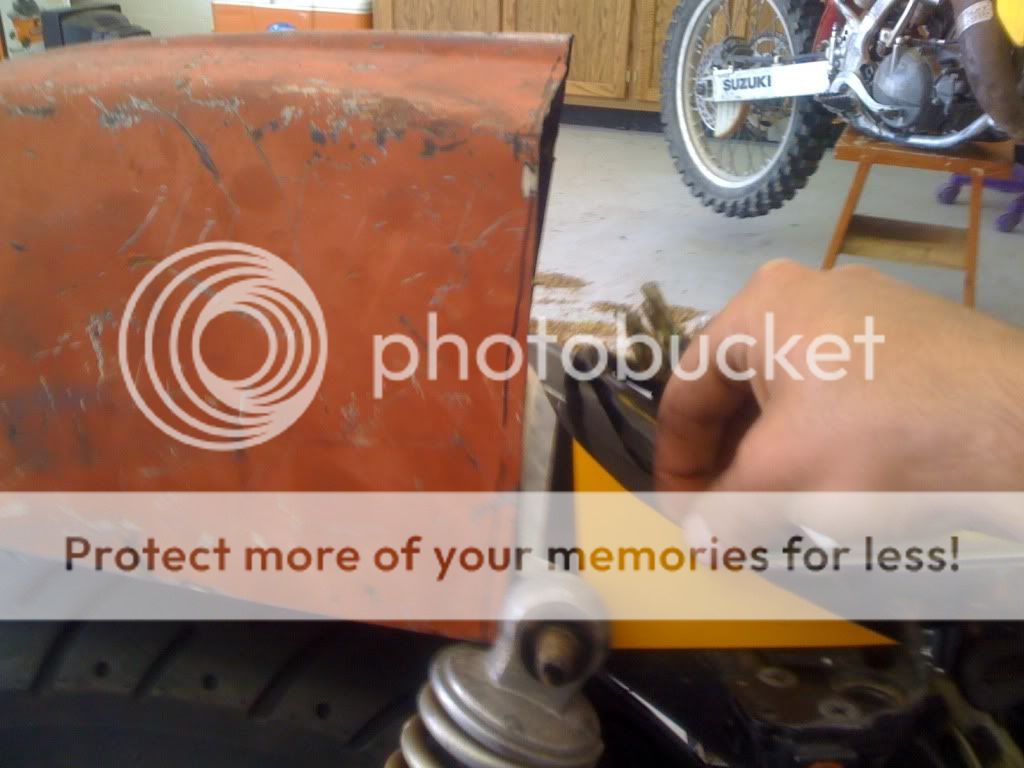

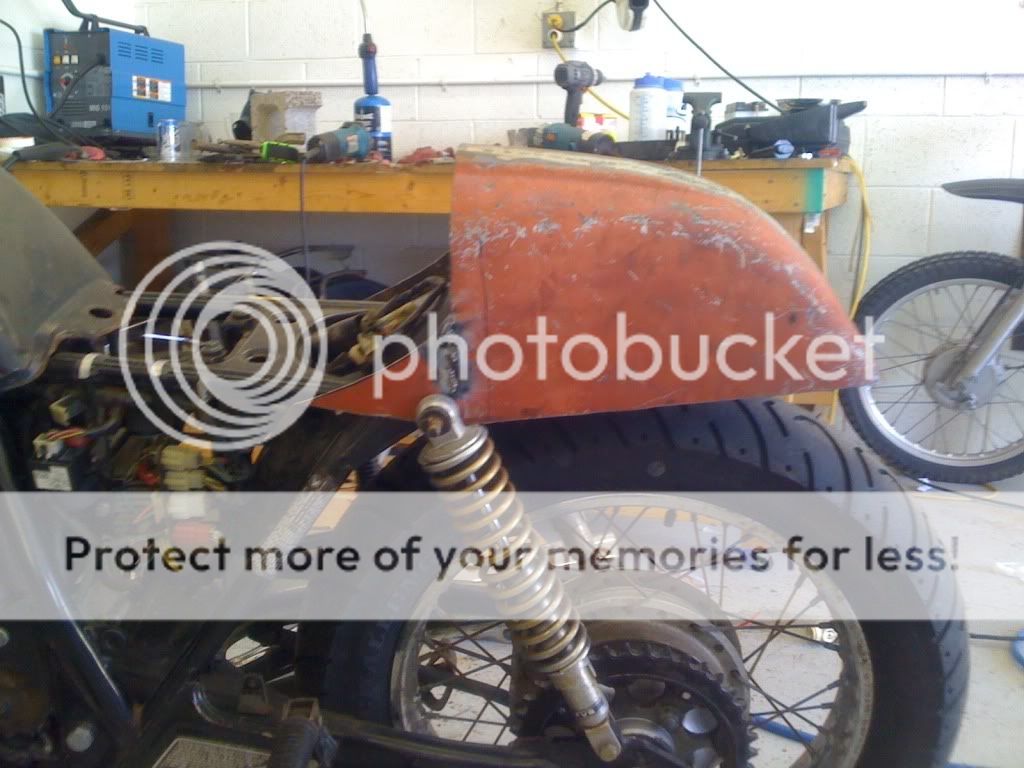
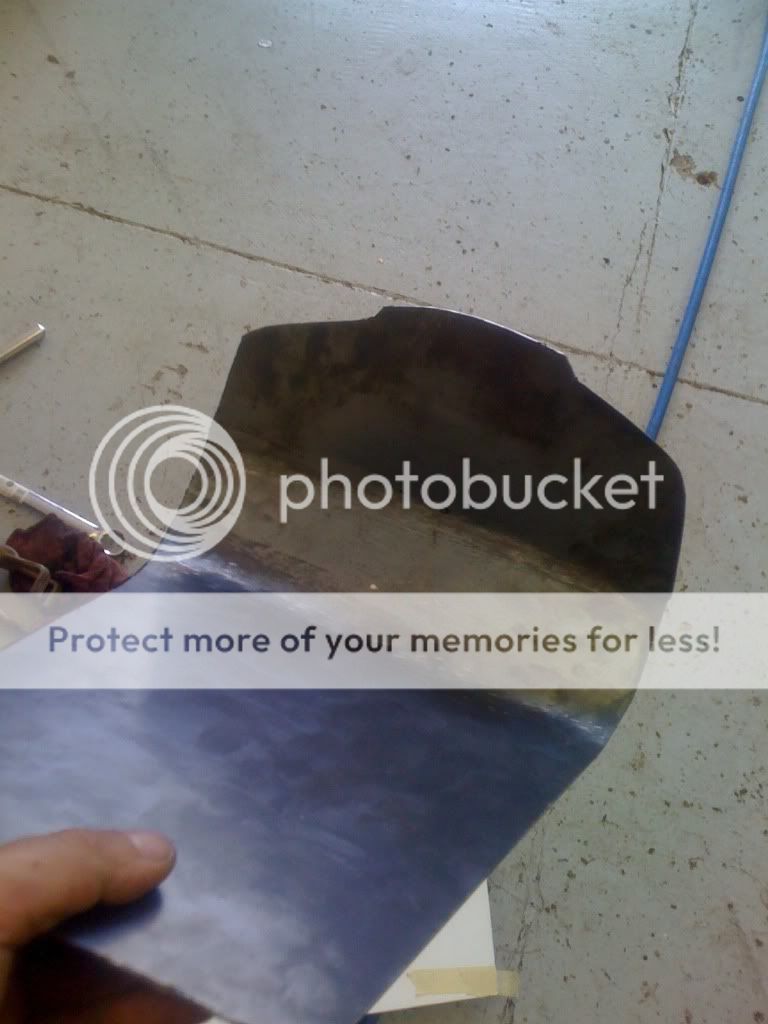
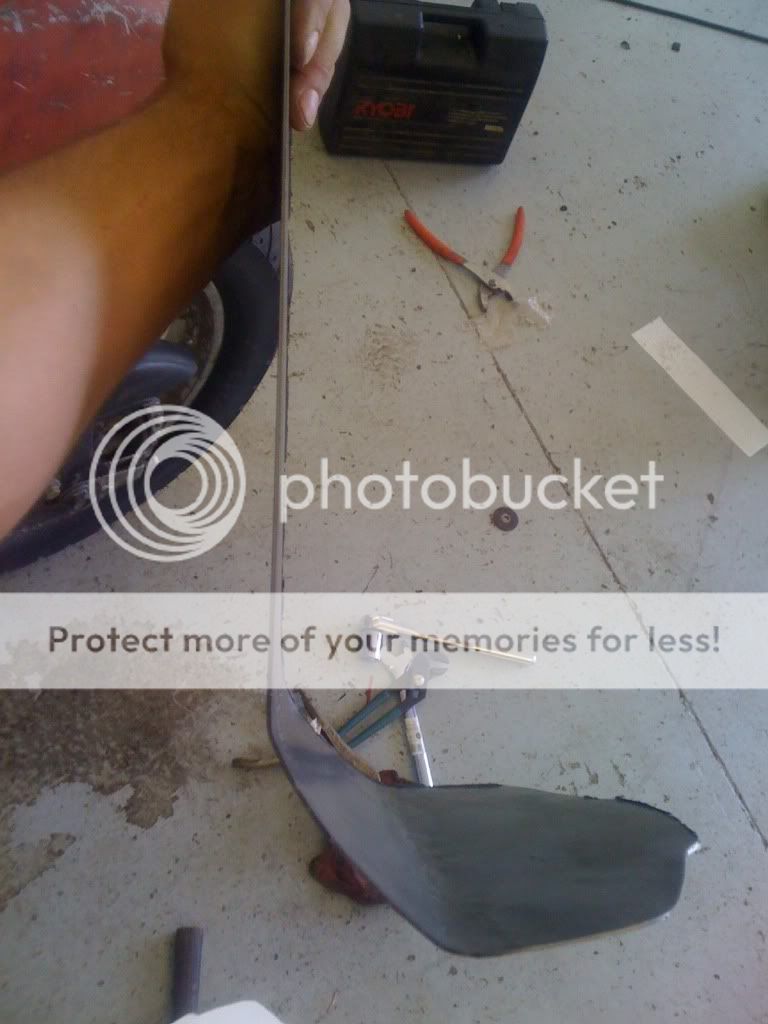
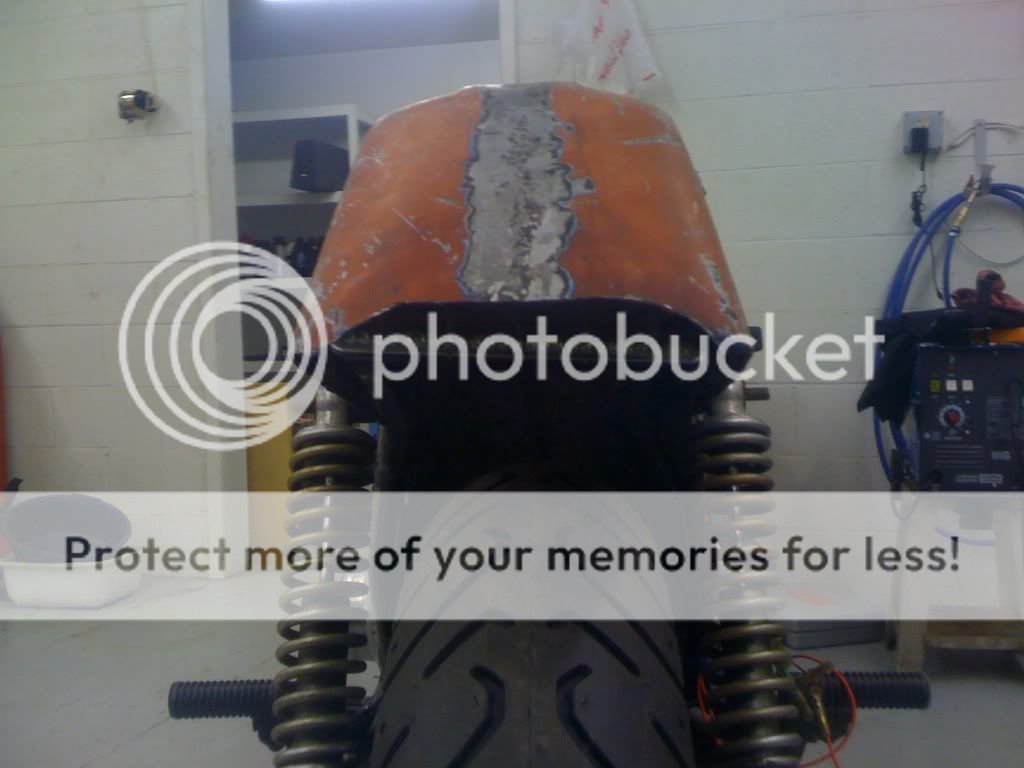
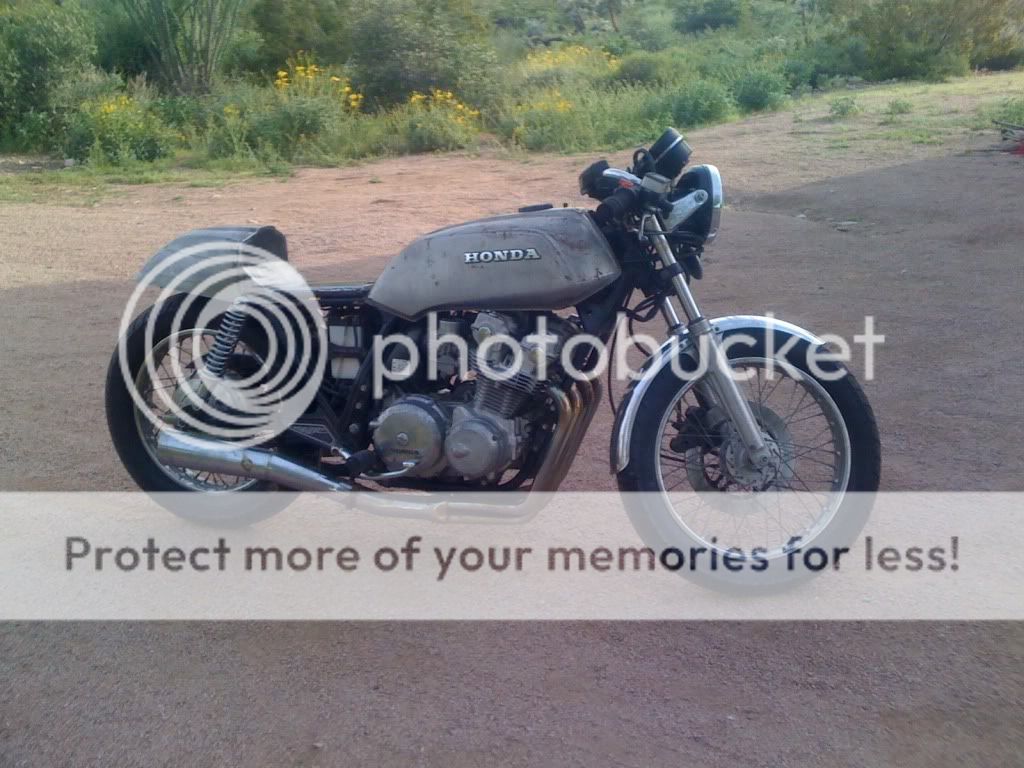
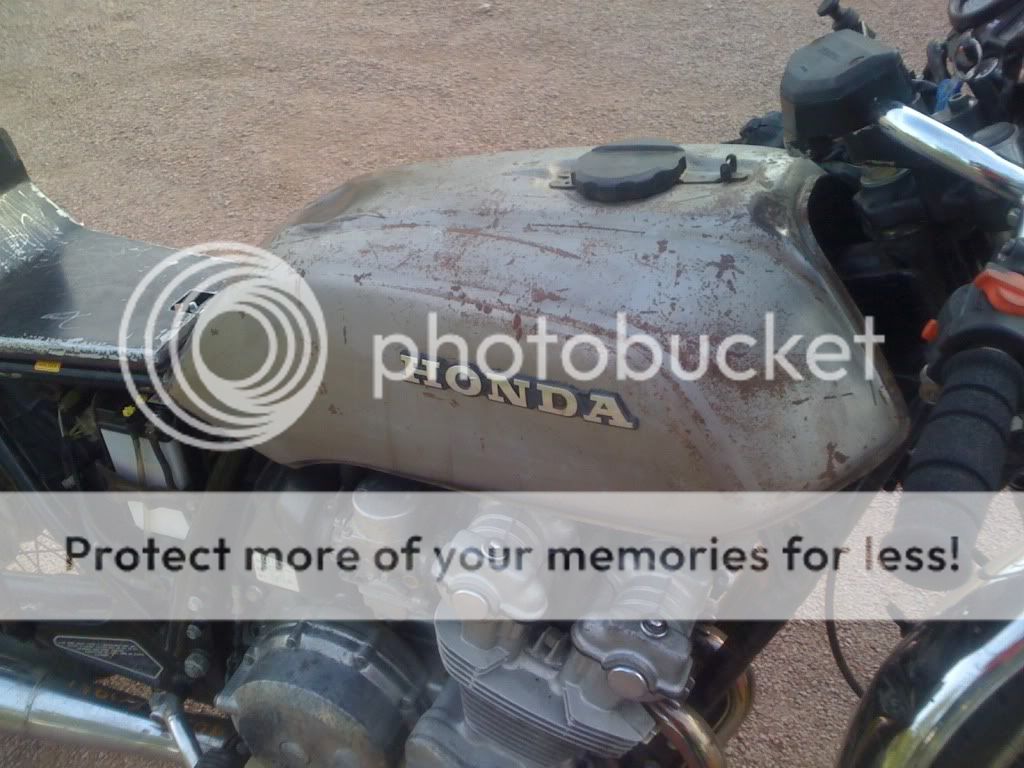
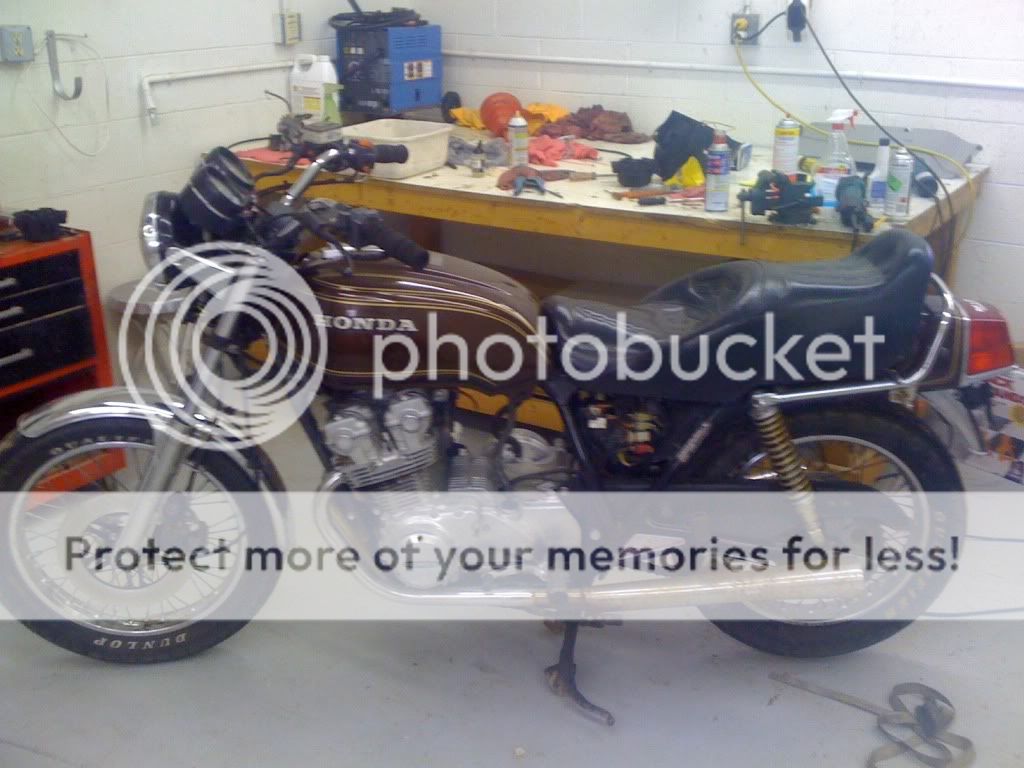
 anywho, heres some fresh pics.